Facebook
 Reddit
 Email
Email
Roaring Knight is the final boss that you encounter in Deltarune Chapter 3. Here’s how you can beat him easily.
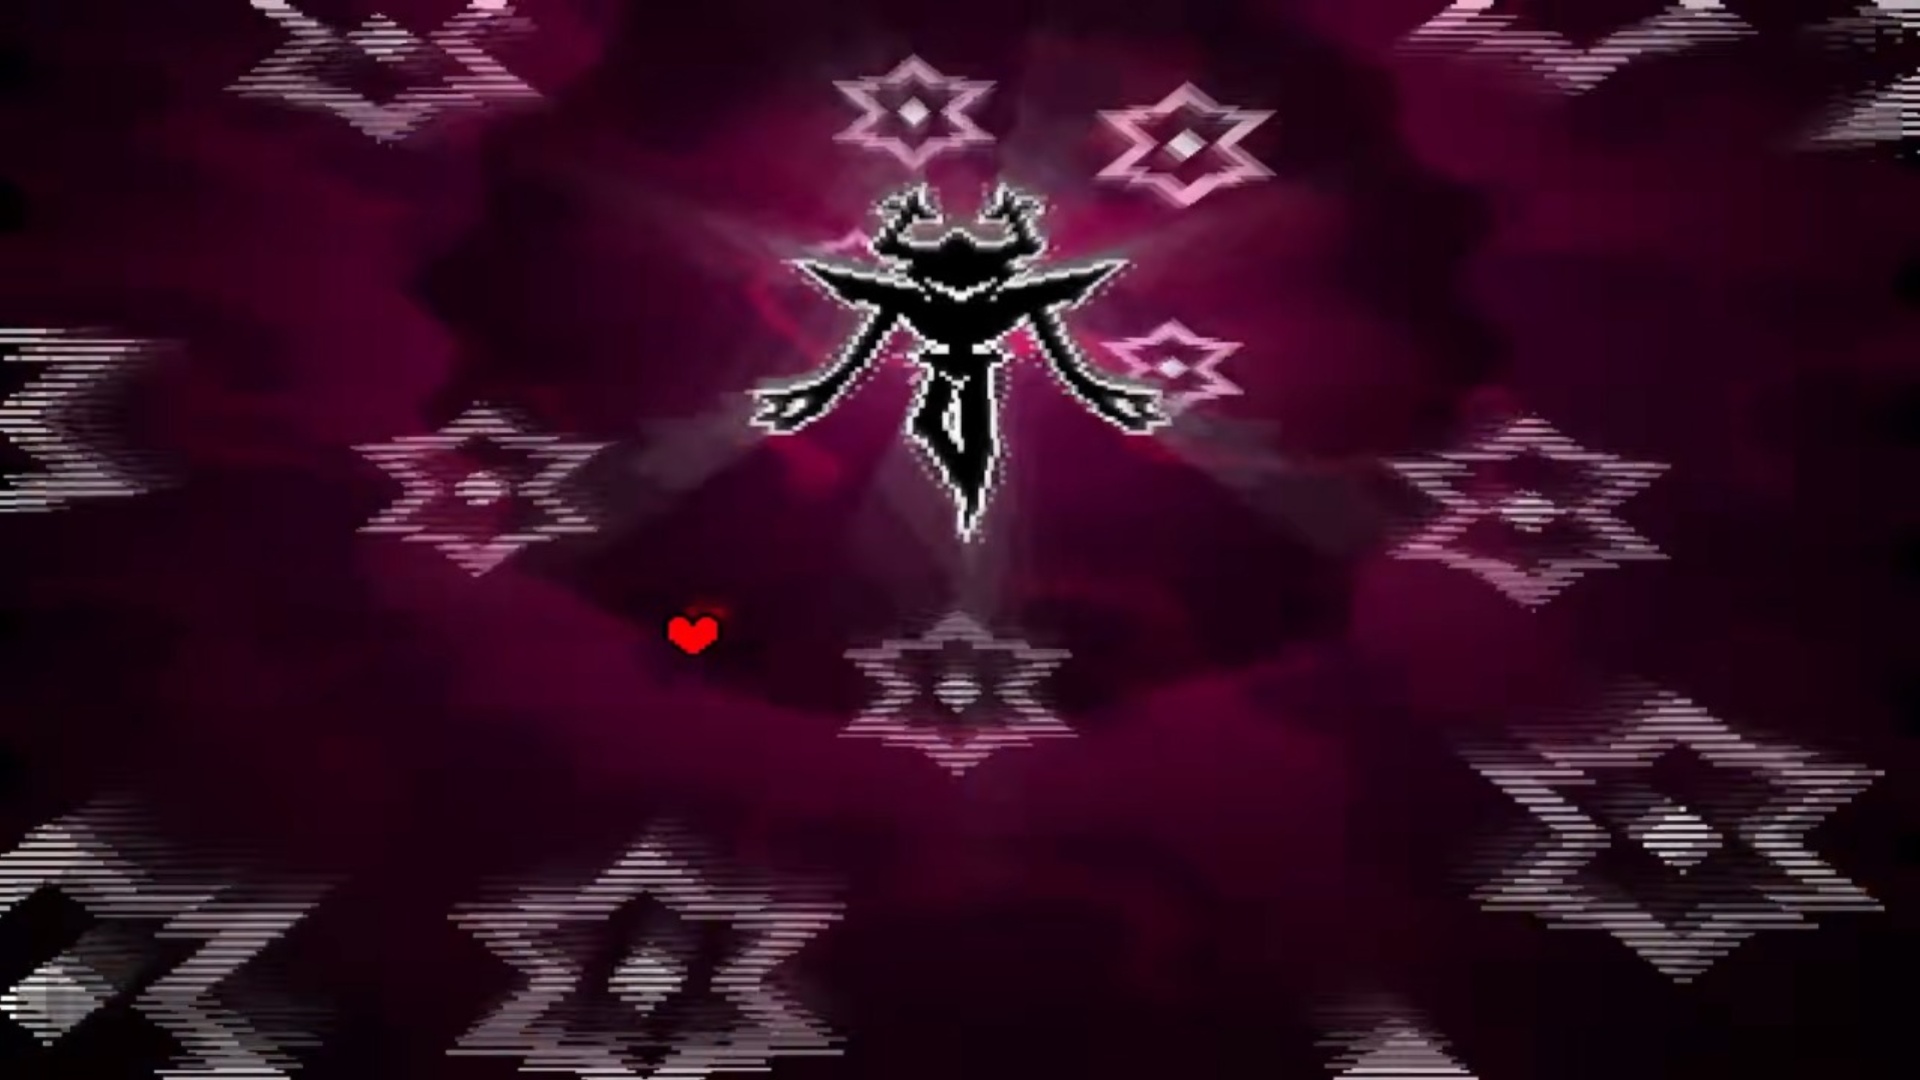
Deltarune focuses on solving puzzles, enjoying the story, and battling enemies. At the end of Chapter 3, you face the Roaring Knight, one of the toughest bosses in the entire game. Moreover, without proper preparation and knowledge, this boss can end the fight in just a couple of attacks. To help you complete Chapter 3 and advance to Chapter 4, here’s a guide on ways to defeat the Roaring Knight in Deltarune.
Also Read: Deltarune: Card Castle Order Puzzle Guide
Party Equipments Against Roaring Knight in Deltarune
The Roaring Knight is the final boss who appears immediately after your last interaction with Tenna. Be sure to obtain the Shadow Mantle item, which is the best equipment you can have for this fight. Additionally, you will need at least two or three revives, as the Roaring Knight is a formidable enemy who can easily take down your characters.
Here’s what your items should look like for your party members before the fight:
- Kris: Saber10, Spikeband, and Twin Ribbon
- Susie: Jevilstail, Shadow Mantle, and Toxic Axe
- Ralsei: Dealmaker, Twin Ribbon, and Flex Scarf
Tips on Defeating Roaring Knight in Deltarune

Party Tips:
- Use Hold Breath on the first turn with Kris. This provides a permanent speed boost.
- Don’t focus too much on Ralsei. He is primarily effective for healing if he survives the Roaring Knight’s onslaught. Moreover, avoid using revives on Ralsei; save those for Kris or Susie.
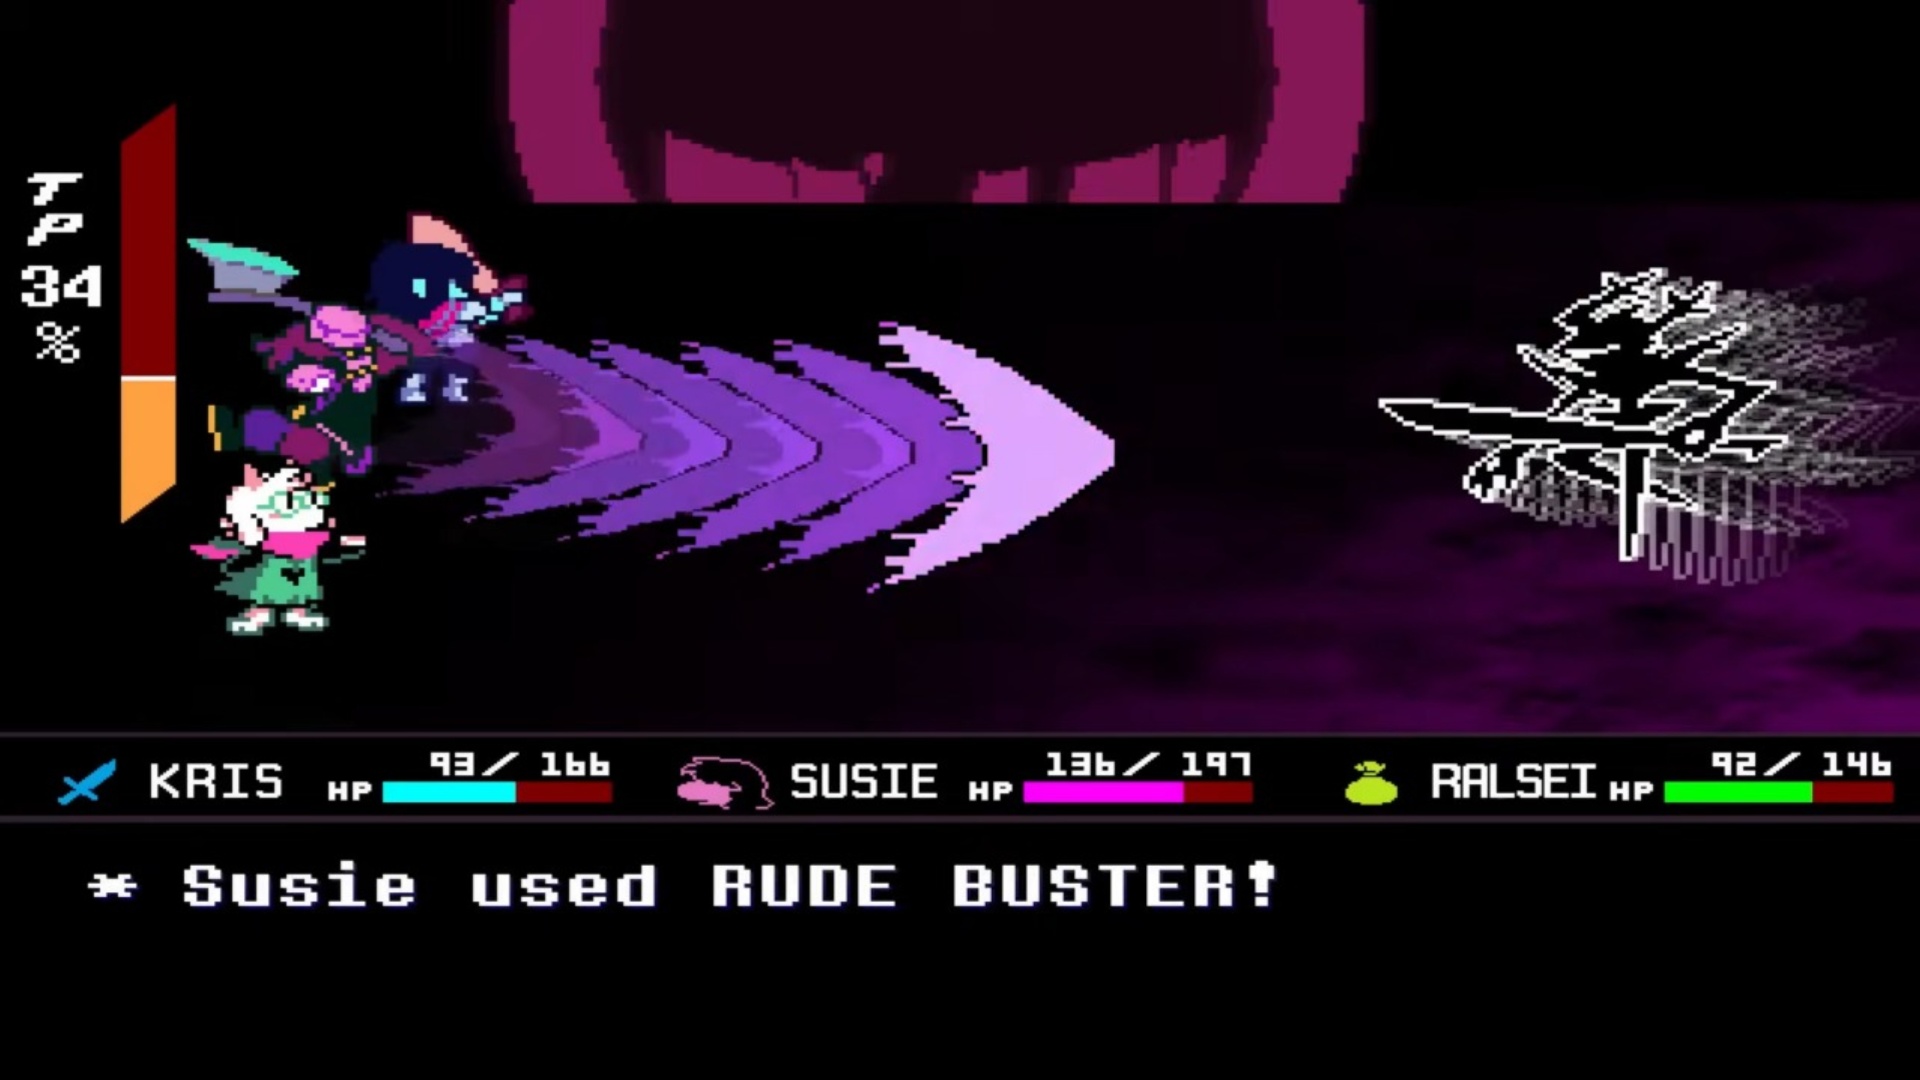
- Susie should be your main damage dealer. Use Rude Buster to consistently deal damage to the boss. Additionally, Rude Buster will be your primary attack for the entire fight.
- Be sure to revive Susie as soon as she is downed. She’s crucial to winning this battle.
Roaring Knight Tips:
| Attack Name | Description/How to Dodge |
|---|---|
| Star Show | The Roaring Knight shoots stars from his fingertips in a wide arc. Position yourself at the bottom right of the board to dodge most of the projectiles, and be ready when they burst into mini shards. |
| Sword Thrust | You can easily avoid incoming swords by moving counterclockwise in a circle. This is the simplest attack to dodge, allowing you time to heal. |
| Battle Board Breaker | The Roaring Knight divides the Bullet Board into two sections, with projectiles moving diagonally in either direction. There are always gaps between the bullets that you need to navigate to avoid damage, although you may still be hit due to the speed of the incoming projectiles. |
| Sword Slides | Swords slide horizontally across the top and bottom of the Bullet Board. To avoid damage, stay between the swords. Later in the battle, this attack may change direction and begin to move in a circular pattern. |
| Tri-Sword Attack | Three lines will appear on the screen, moving in a circular motion. Do not remain on the line to evade damage. Moreover, this attack is telegraphed, making it easier to dodge. |
| Modified Sword Thrust | This time, more swords will appear on the bullet board, trapping you in a smaller circle. You’ll need to dodge the incoming swords in this confined area, moving in the same circular motion to evade damage. |
| Roaring Goner | When the Roaring Knight glows and appears in the center of the screen, he will suck in projectiles from the edges and shoot them out like the Hyper Goner attack from the final boss in the Pacifist Route of Undertale. Dodging most of these attacks is challenging, so be sure to heal before facing this move. |
Finally, the fight ends after the final attack, and the Roaring Knight leaves after a cutscene. Before moving on, make sure to pick the Shadow Crystal off the ground. It is a very powerful weapon that does extra damage against dark enemies in Chapter 4.
Thank you for reading the article. We provide the latest news and create guides for Baldur’s Gate 3, Starfield, ARK Survival Ascended, and more. Also, watch Deltia play games on Twitch or visit his YouTube channel!