Facebook
 Reddit
 Email
Email
Discover the secrets to optimizing Windows 11 for gaming, and say goodbye to sluggish input delay within your game.
Gone are the days of Windows XP, a period often regarded as the golden era of computing. The operating system was intuitive, easy to use, and offered nearly everything that was needed. Windows 7 repaired the collateral damage done by Windows Vista. But the main problem remained. As the days went by, background processing continued to increase. A fancier UI/UX design with a themed interface looks good, but it consumes a significant amount of CPU power and RAM in the process.
As of 2025, and considering inflation, there aren’t many gamers who upgrade every year. Most keep their PCs for more than 7 years. When Windows 10 hit the retail shelves, it was praised for bringing back the Windows 7 vibe, but unfortunately, Windows 11 is the polar opposite. It’s built on the 10’s framework, now much more improved with the 24H2 upgrade and more.
Still, it’s a big background hog. When it comes to gaming, gamers generally find this OS unappealing. Countless telemetry processes are running, including unwanted apps and bloated interfaces.
This article directly addresses these problems, providing official and third-party solutions to mitigate them so that your games run better, RAM utilization is reduced, and you can eliminate the annoying Microsoft telemetry that tracks everything you do. Let’s get started.
Optimize Windows 11 for Gaming: De-bloating Windows (Third Party)
As mentioned earlier, Windows 11 has become resource-intensive, and the number of background processes and unwanted apps continues to increase. The only solution here is de-bloating. So, what is de-bloating? It’s essentially a third-party script or shell software, created by reputable developers (as mentioned here), that strips away telemetry services, uninstalls unwanted apps, performs registry tweaks, and more. De-bloating mainly helps because it does the following things:
- Reduces RAM and CPU usage by eliminating background apps and services
- Minimizes input delay and stuttering during gaming sessions
- Improves privacy by turning off telemetry and tracking features
- Streamlines the OS for faster boot and load times
All of these are extremely important for gaming. Below are the two most popular de-bloating tools you can try out. Remember, for this process to work correctly, you must perform a fresh installation of Windows. On an existing installation, such as a PC used for more than a month or two, this process will likely cause more issues than it solves in terms of effectiveness.
1. Win11Debloat
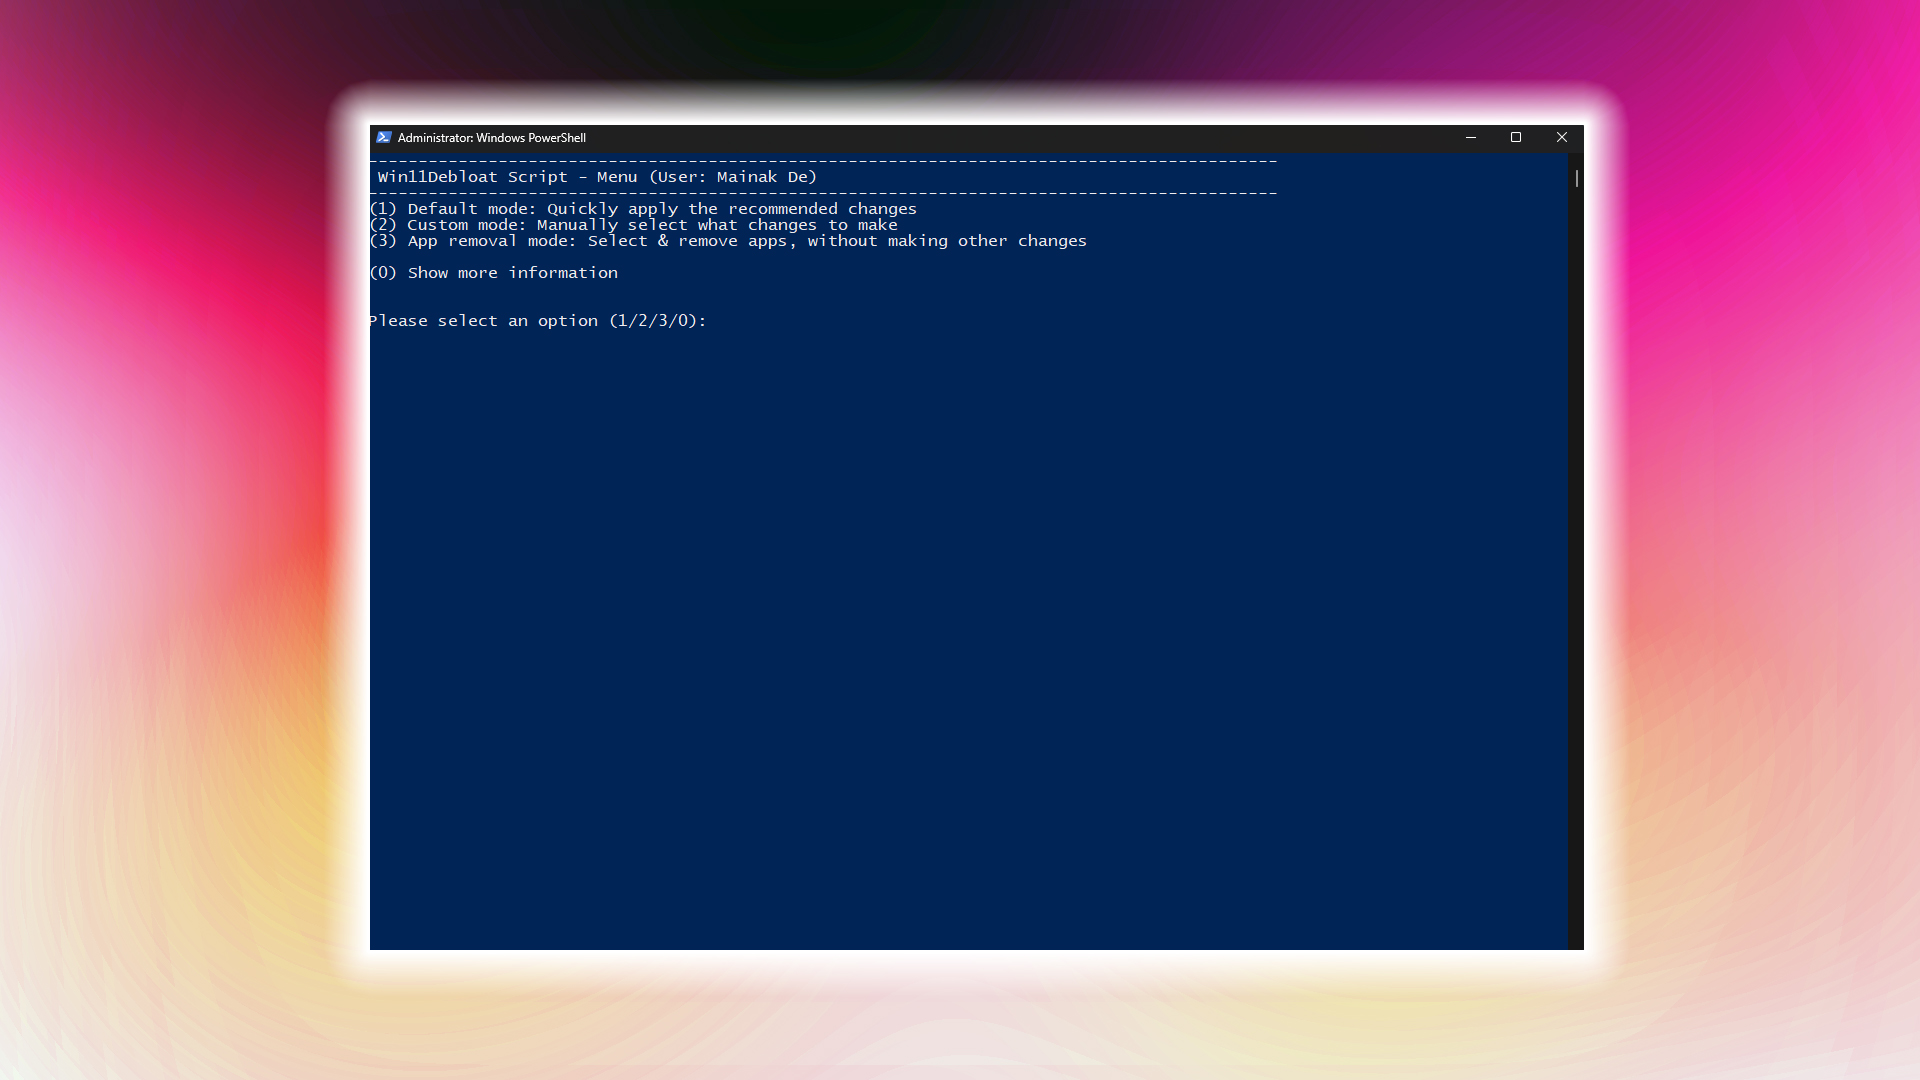
A widely recommended PowerShell script that removes bloatware, turns off telemetry, and cleans up intrusive UI elements.
How to use:
- Type the following command in a new PowerShell window:
- & ([scriptblock]::Create((irm “https://debloat.raphi.re/”)))
- Follow on-screen instructions
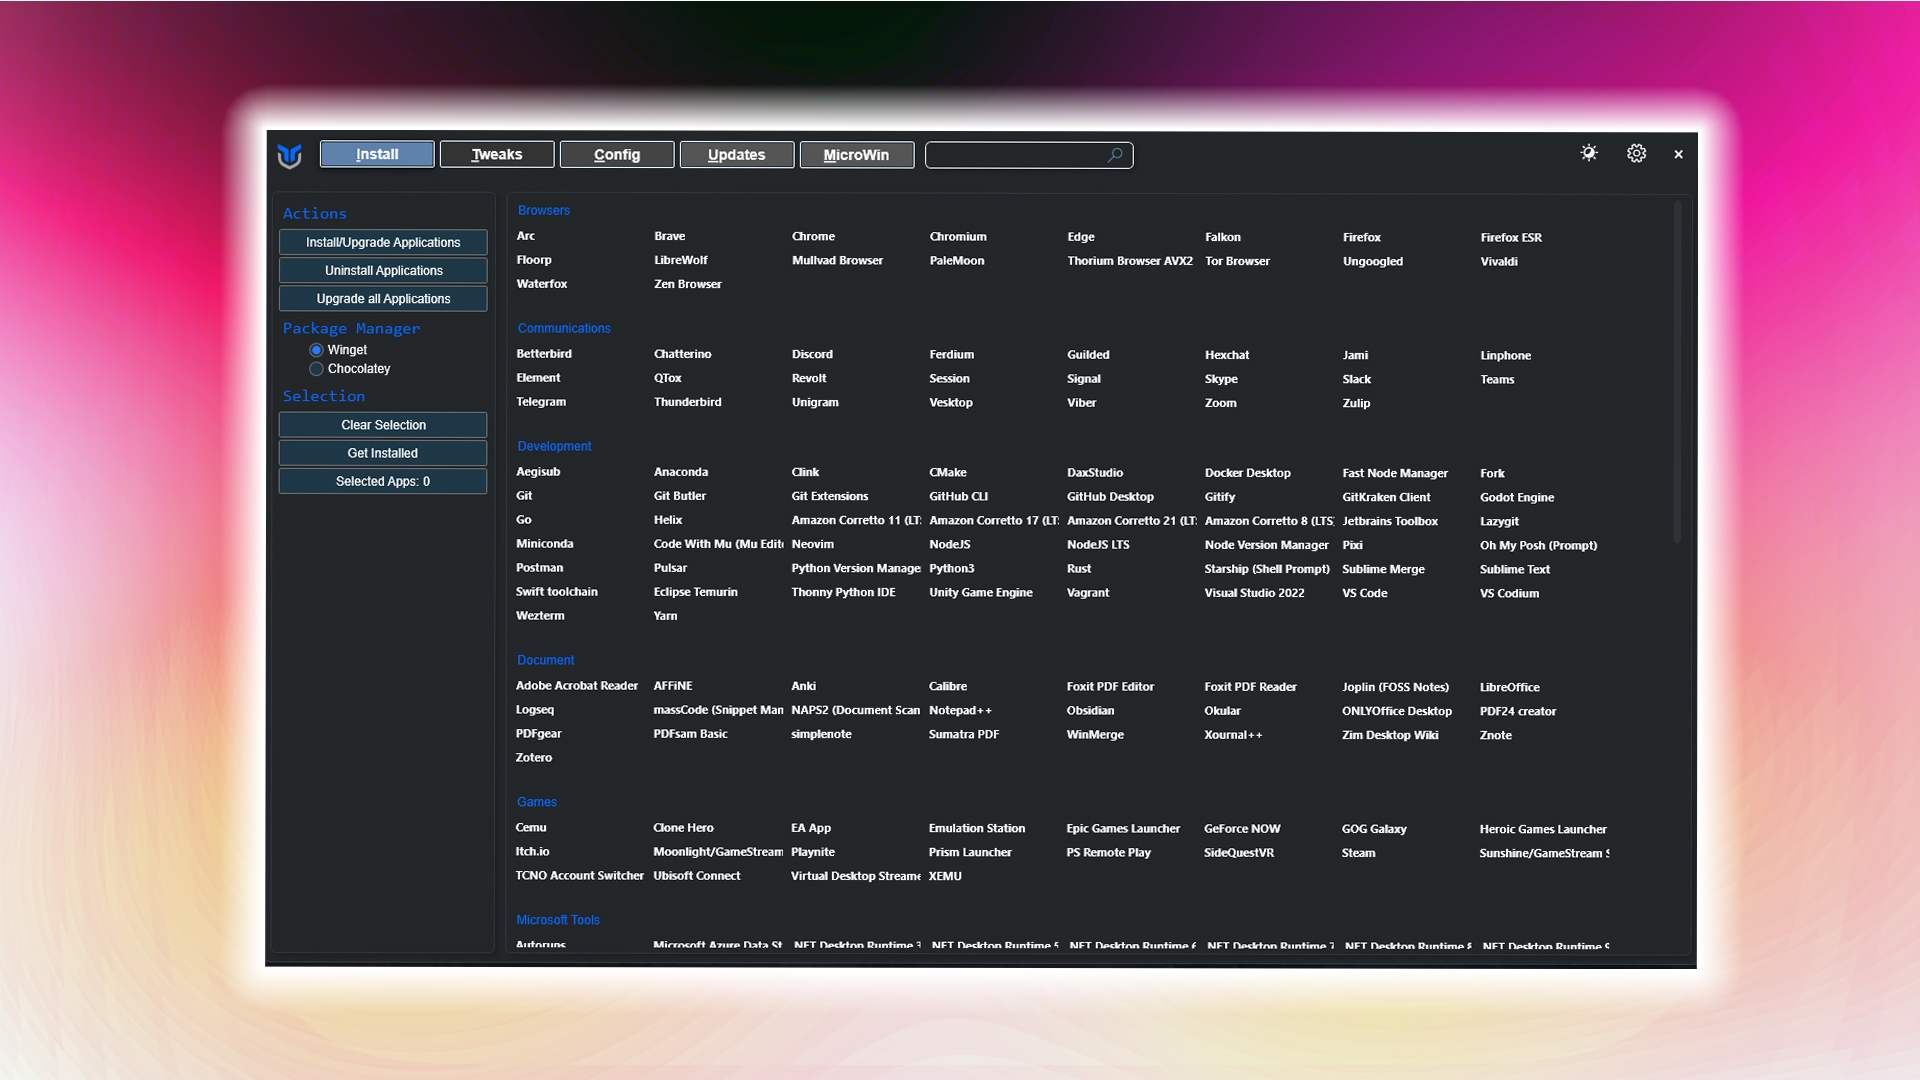
2. Chris Titus Tech Windows Utility
This is the most trusted tool in the community. It offers a diverse range of use cases, including installing apps without a browser, de-bloating, customization, and many more.
How to use:
- Type the following command in a new PowerShell window:
- powershell -ExecutionPolicy Bypass -Command “& {irm ‘https://christitus.com/win’ | iex}”
- Follow the on-screen instructions and choose which options you want.
Optimize Windows 11 for Gaming Using Official Tweaks

If de-bloating is not an option for you, consider these alternatives instead. However, remember that de-bloating is essential for the best gaming experience. If you’re out of options now, it’s fine; follow these methods for now.
Enable Game Mode
Windows Game Mode prioritizes resources for D3D or Vulkan-based applications, as well as any API related to rendering. As a result, it reduces input lag to some extent, and your 1% and 0.1% lows are more consistent.
It’s pretty simple to do it:
- Press Windows key + I to open Settings
- Click on Gaming, then Game Mode
- Toggle Game Mode to On
You are good to go.
Power Settings
Configure your power plan for maximum gaming performance.
- Open Settings > System > Power
- Set Power mode to Max Performance
- For ultimate performance, enable the hidden Ultimate Performance power plan via PowerShell. Open a PowerShell window as an administrator and type the following: powercfg -duplicatescheme e9a42b02-d5df-448d-aa00-03f14749eb61
Security Features (Optional)
Please do this only on your personal gaming device. Doing this on a corporate device may put your job at risk. Follow the instructions:
- Memory Integrity: Head over to: Settings > Privacy & security > Windows Security > Device security > and then, Core isolation details
- Toggle Memory Integrity OFF (Note: this reduces security protection)
Disable Startup and Background Apps
- Open Task Manager (Ctrl + Shift + Esc), go to the Startup tab, and turn off all non-essential entries.
- Go to Settings > Apps > Installed Apps, check the apps with background permissions, and deactivate any that are unnecessary.
You can also do this via the msconfig utility. However, it allows much broader control. Choose whichever you feel comfortable with.
Disable Animations and Transparency Effects (Low-End Gaming PC)
- Open System Properties (or press Win + R and type sysdm.cpl), then navigate to Advanced > Performance > Settings.
- Choose “Adjust for best performance” or manually disable the following (based on your preference):
- Animated windows
- Transparency
- Shadows
Verdict
As of today, de-bloating Windows or customizing it to this extent is mandatory. 16 GB of RAM is slowly starting to show its age, and PC hardware is obnoxiously overpriced. Additionally, budget or low-end hardware, which has limited upgradability, is particularly vulnerable to every Microsoft update.
The core concept of the new Windows is phenomenal, but it comes with a massive operational overhead. Stripping away the unnecessary stuff doesn’t break the OS, but instead helps you utilize your hardware for gaming much better than the in-stock iteration.
We provide the latest news and “How To’s” for Tech content. Meanwhile, you can check out the following articles related to PC GPUs, CPU and GPU comparisons, mobile phones, and more:
- 5 Best Air Coolers for CPUs in 2025
- ASUS TUF Gaming F16 Release Date, Specifications, Price, and More
- iPhone 16e vs iPhone SE (3rd Gen): Which One To Buy in 2025?
- Powerbeats Pro 2 vs AirPods Pro 2: Which One To Get in 2025
- RTX 5070 Ti vs. RTX 4070 Super: Specs, Price and More Compared
- Windows 11: How To Disable Lock Screen Widgets