Facebook
 Reddit
 Email
Email
Learn in quick and easy steps how to set up your new Windows Laptops. With key considerations such as signing in to accounts and more.
Do not feel overwhelmed by all those icons, the numerous starting apps, and the constant notifications that keep popping up randomly after powering on your new laptop. Yes, it’s unfortunate; laptop vendors often include a lot of software that is usually considered unnecessary bloatware.
They tend to do this because of their business terms with these app vendors, but you can keep them or uninstall them if they annoy you. Likewise, no matter how powerful or entry-level your laptop is, setting it up properly is very crucial, it will be beneficial for you in the long run, as you will clean up the laptop in the process, as a result of which, RAM, CPU usage, all of these factors will be optimized. Let’s get started.
Set Up a New Windows 11 Laptop: Initial Power-On and Configuration
After pressing the power button and turning on the laptop, select your region and language on the Windows 11 welcome screen. Once you see prompts that require an Internet connection, connect to Wi-Fi or Ethernet, and choose ‘Connect automatically’ for Wi-Fi to save time. After that, accept Microsoft’s license terms and proceed. If you have already completed these steps, you can skip this part.
Sign in and Establish Accounts
Once you are in the desktop window, log in with your Microsoft account. Create a new one if you don’t have one. Doing this saves your files and syncs settings across your other devices on the same account.
After setting up Windows Hello (using PIN, fingerprint, or Face ID), link your Microsoft account to activate Windows and back up your BitLocker key.
Install Updates and Drivers
After you sign in to your Microsoft account, open Settings, then select Windows Update and click Check for updates. Install any updates that are shown. Once done, visit your laptop’s manufacturer’s page, enter the model and make, and then download the latest audio drivers, network drivers, and chipset drivers. For the GPU, you can do that from either Intel / Nvidia or AMD.
De-bloat Your System
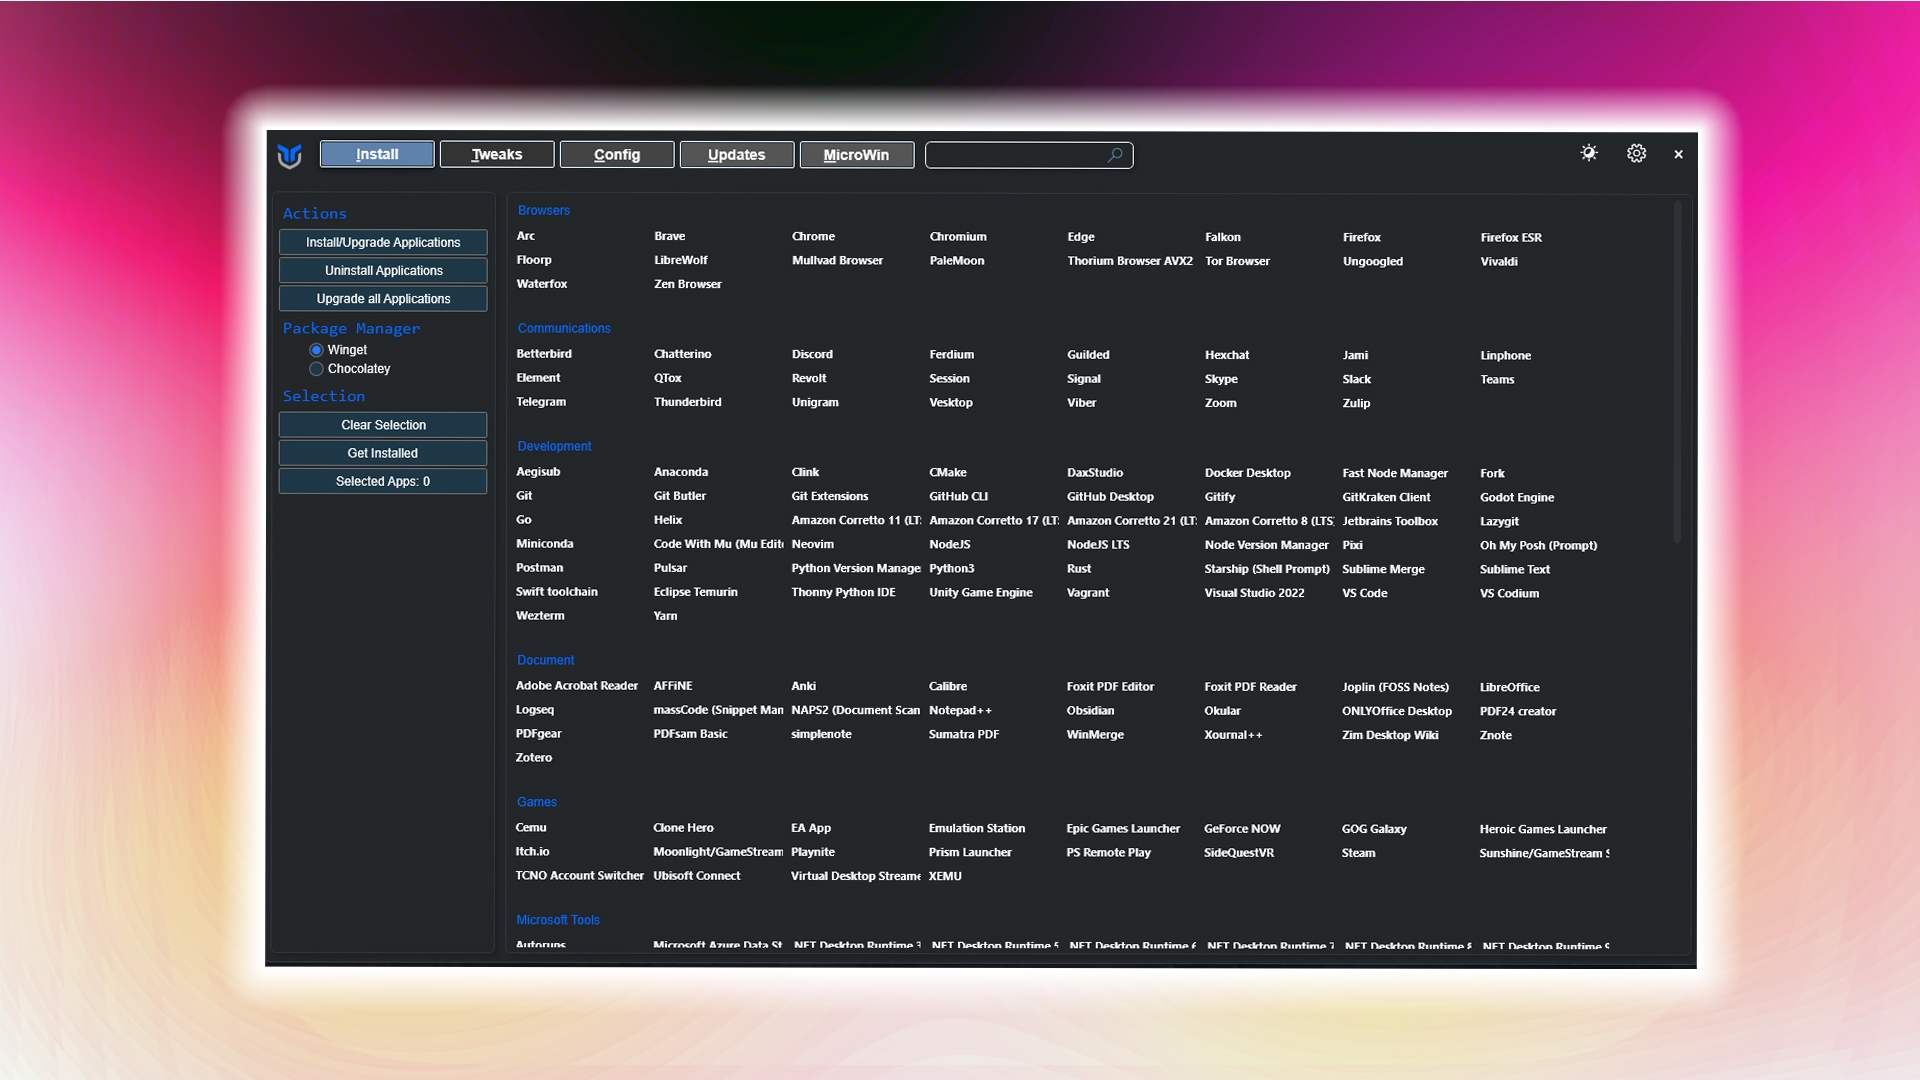
You can get rid of the unnecessary apps mentioned at the beginning via third-party tools along with Windows’ telemetry and other background resource-heavy features. You can follow the detailed article here, especially the section that talks about de-bloating: How To Optimize Windows 11 for Gaming.
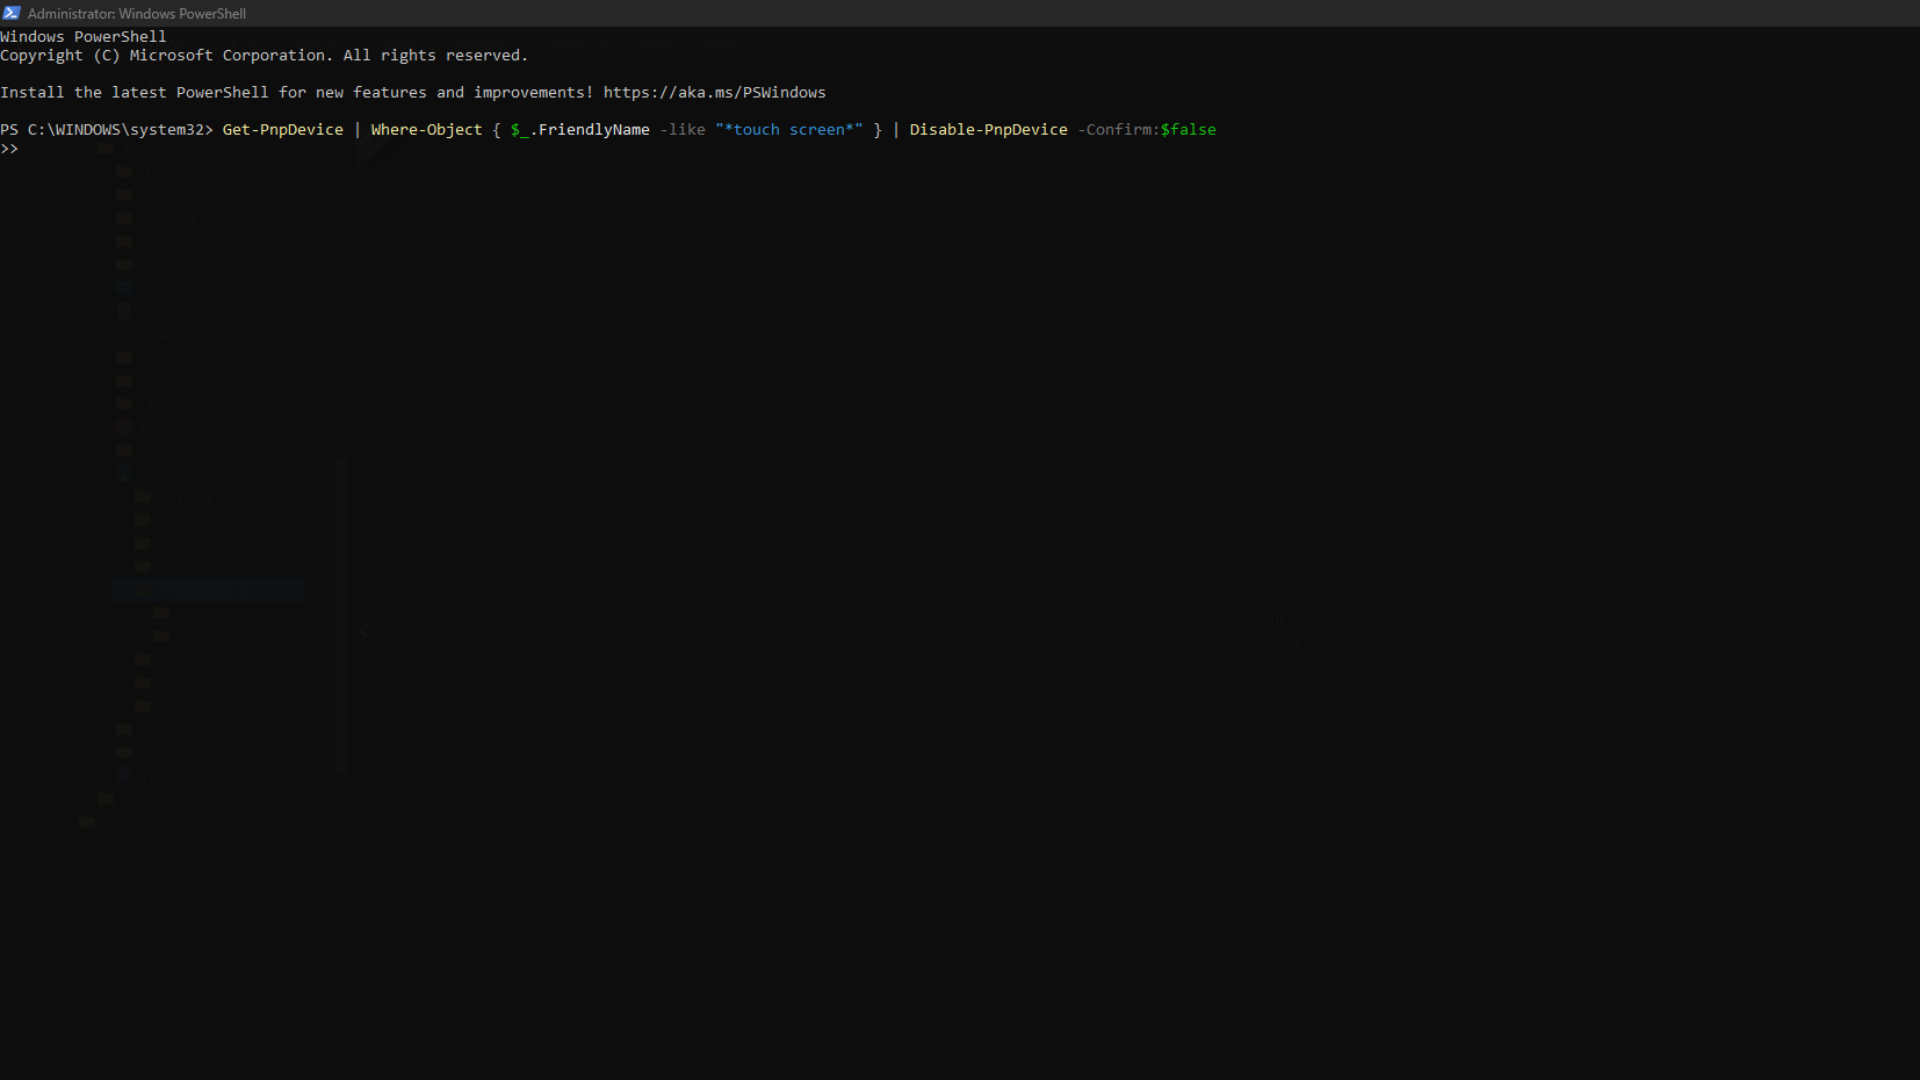
Recapping, you can download Chris Titus’ Debloating tool via this command in an administrator PowerShell window. iwr -useb https://christitus.com/win | iex
Once you open it, the rest of the process is intuitive and self-explanatory.
Install Essential Software
It is likely that a copy of Microsoft Word, PowerPoint, a PDF reader, and a browser will be pre-installed among the bloatware. If not, you can use Winget to download it.
Open a PowerShell window and to install Chrome type the following command: winget install –id Google.Chrome –accept-package-agreements –accept-source-agreements
For brave, type: winget install –id Brave.Brave –accept-package-agreements –accept-source-agreements
Once you have a working browser, you can download almost anything you want.
Configure Backups and Recovery
Most people who prefer absolute performance disable any sort of recovery or restore points and turn off hibernation via the command (powercfg-h off) in an administrator command prompt window. If you require these, they are on by default. Here is what you can do next, ie.
Open Settings, then navigate to System, Storage, and enable Storage Sense to clean up temporary files automatically. Keeping OneDrive depends on whether you have a subscription for it; if not, debloating tools take care of it.
Tweak Privacy and Performance
This part also includes de-bloating tools that take care of that. However, if you are not using those, here is what you can do.
Open Settings, then go to Privacy and disable location tracking and background apps that you won’t be using. After that, head over to System, then Settings, then Display, and adjust the brightness and scale it for your eyes (in case you cannot find the shortcut button to do this on your laptop)
Your laptop should now be good to go. Remember, debloating Windows is crucial; the intuitiveness in the UI and those apps just get in the way of fully utilizing your laptop’s performance.
We provide the latest news and “How To’s” for Tech content. Meanwhile, you can check out the following articles related to PC GPUs, CPU and GPU comparisons, mobile phones, and more:
- 5 Best Air Coolers for CPUs in 2025
- ASUS TUF Gaming F16 Release Date, Specifications, Price, and More
- iPhone 16e vs iPhone SE (3rd Gen): Which One To Buy in 2025?
- Powerbeats Pro 2 vs AirPods Pro 2: Which One To Get in 2025
- RTX 5070 Ti vs. RTX 4070 Super: Specs, Price and More Compared
- Windows 11: How To Disable Lock Screen Widgets