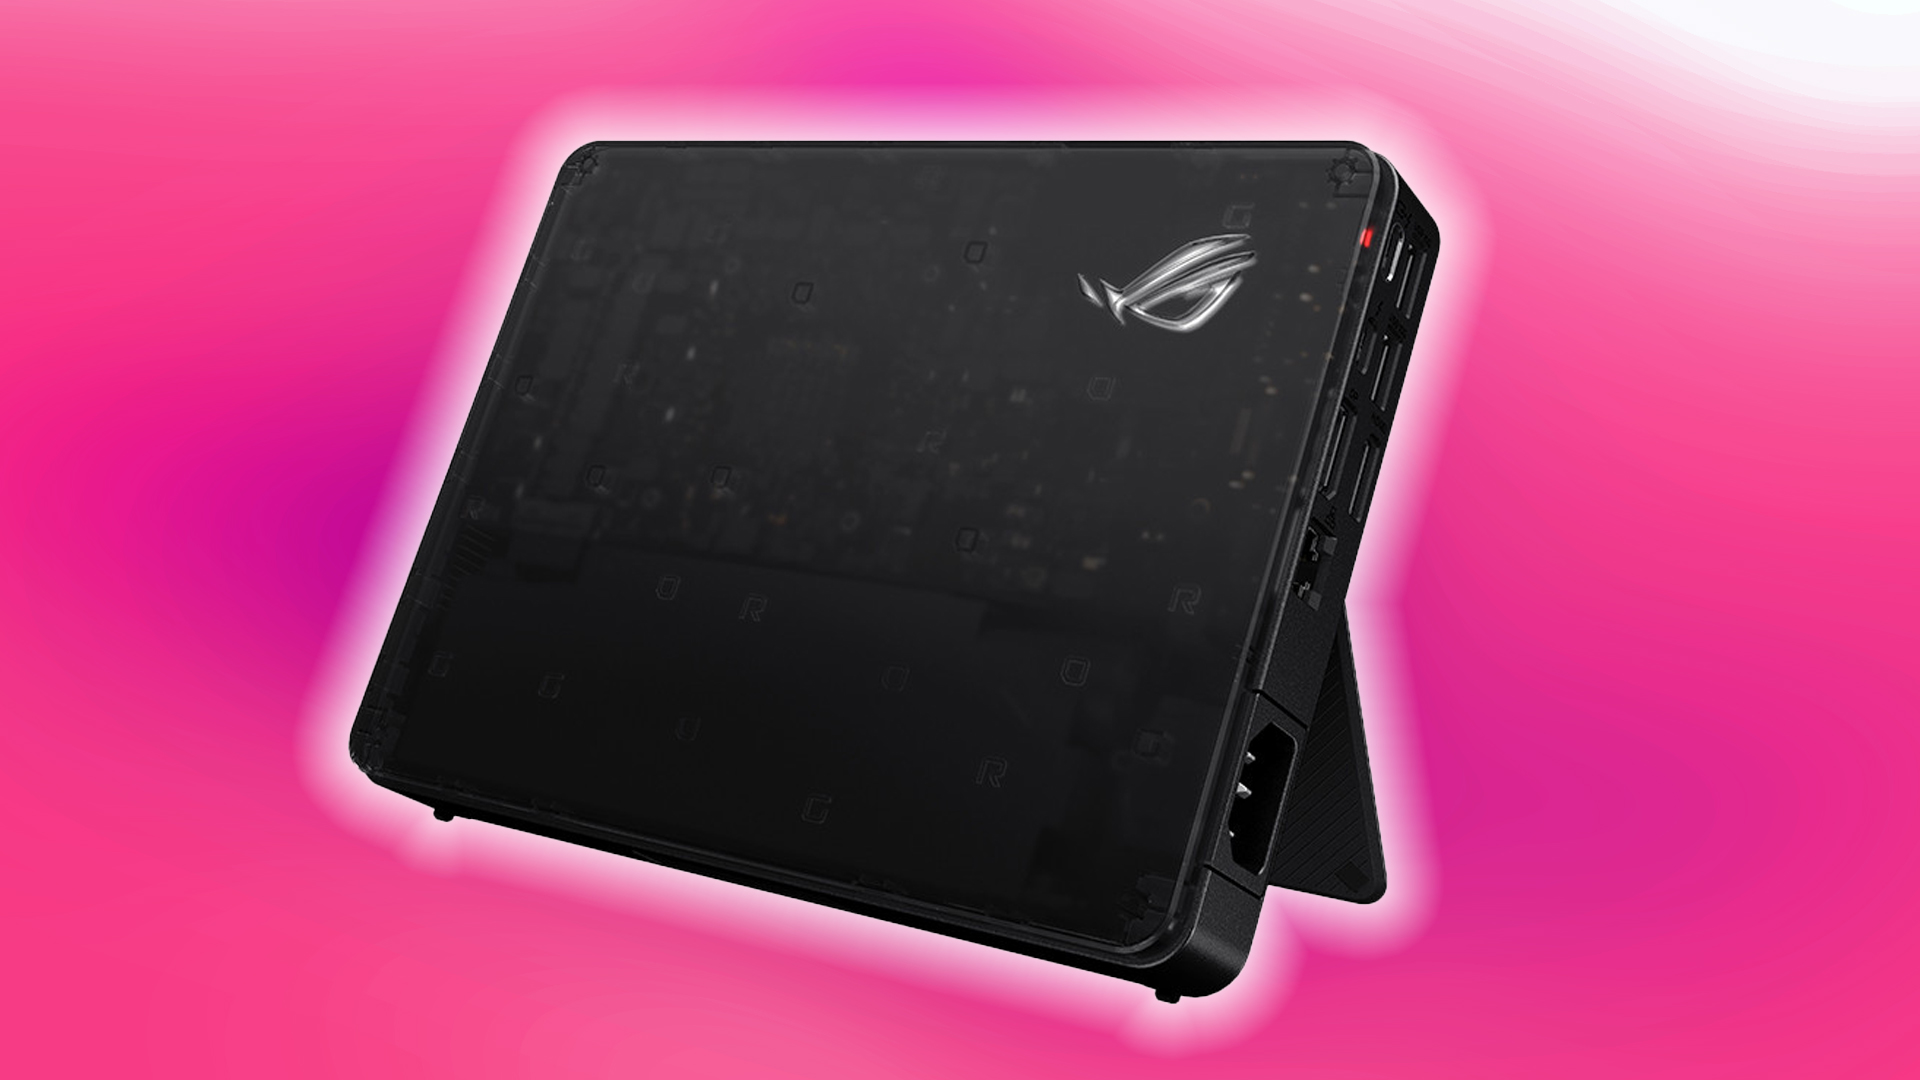
Learn how to utilize a desktop GPU with your laptop by considering key factors such as Thunderbolt 3/4, setup process, and more.

Suppose you are one of those content creators who prefer traveling with your laptop onboard. You may come across an external GPU enclosure. If you already own one, you may be wondering how to connect it and set it up properly with your laptop. Here’s how you can do so.
If you don’t own one and are planning to get one for yourself. In that case, you can consider reading: 5 Best External GPU Enclosures for 2025
Requirements for Connecting an External GPU

For starters, your laptop must have a Thunderbolt 3 or Thunderbolt 4 port. The newer it is, the better it will be. Regular USB-C ports without Thunderbolt support lack the raw bandwidth necessary for your GPU to operate correctly. Before making a laptop purchase, definitely for e-GPU usage, thoroughly check and confirm the Thunderbolt compatibility.
Now, for the eGPU components, you need these three main components:
- eGPU enclosure (Razer Core X, AKiTiO Node, or similar).
- Compatible desktop GPU (NVIDIA or AMD graphics card).
- Power supply with sufficient wattage.
Note: Any 600W+ 80+ Gold-rated power supply should be sufficient for almost any GPU you choose to use with an external enclosure.
Connection Methods: Thunderbolt 3/4 and More
This is the go-to method for most laptops with Thunderbolt ports.
- Connect the eGPU enclosure to your laptop using a high-quality Thunderbolt 3 or 4 cable. Yes, it’s mandatory; please don’t skimp on cables.
- Ensure both ends connect firmly.
- Power on the enclosure first, then start your laptop.
Note: Suppose your laptop doesn’t have a Thunderbolt port. You can resort to using USB-C for eGPU setups. However, do so only if your laptop supports USB-4, as it has the same 40 Gbps bandwidth and PCIe tunneling capabilities as Thunderbolt 3 and 4.
Setup Process
- Install the GPU into the eGPU enclosure following the manufacturer’s instructions (You can watch YouTube videos too, in the process).
- Connect power cables from the PSU to the graphics card.
- Secure all connections and close the enclosure.
Setup and System Configuration
- Update BIOS/UEFI to the latest version (in some cases, if you don’t do this, the e-GPU may not even be recognized by your laptop).
- Also, ensure that you keep the Thunderbolt and the laptop’s chipset drivers updated.
- Install GPU drivers from NVIDIA or AMD’s official websites (the same applies for Intel GPUs as well.
- Restart your system to recognize the eGPU.
- Driver management shouldn’t be an issue, as GPU vendors typically handle this automatically.
Conclusion
That’s pretty much it. If you have completed all the steps correctly, you should be able to see your desktop GPU listed in your editing software or Device Manager. Use it, and have fun.
We provide the latest news and “How To’s” for Tech content. Meanwhile, you can check out the following articles related to PC GPUs, CPU and GPU comparisons, mobile phones, and more:
- 5 Best Air Coolers for CPUs in 2025
- ASUS TUF Gaming F16 Release Date, Specifications, Price, and More
- iPhone 16e vs iPhone SE (3rd Gen): Which One To Buy in 2025?
- Powerbeats Pro 2 vs AirPods Pro 2: Which One To Get in 2025
- RTX 5070 Ti vs. RTX 4070 Super: Specs, Price and More Compared
- Windows 11: How To Disable Lock Screen Widgets
 Reddit
 Email
Email


