Facebook
 Reddit
 Email
Email
Here is how to fix 100% Disk Usage and CPU Spikes by disabling Superfetch, the DiagTrack service, and other services.
Over the years, Windows has become heavily bloated with UI and UX features, services for users’ feasibility, and numerous additional processes, including telemetry. All of these things are responsible for spiking Disk Usage, along with eating CPU cycles at the same time. Specifically, if your PC or laptop is a couple of years old, starting it takes a long time to prepare itself.
On modern systems with Gen 4 or Gen 5 NVMe drives, all of this happens instantaneously, making both the CPU and storage solutions compelling. But even then, it can become tedious at a certain point. Below is a quick guide on how you can fix this issue.
Note: The guide below recommends that you create a system restore point before making these changes. There is a slight chance that changing registry settings may brick your system.
Also Read: 5 Best Games for RTX 5090 Laptops
Fixing 100% Disk Usage and CPU Spikes
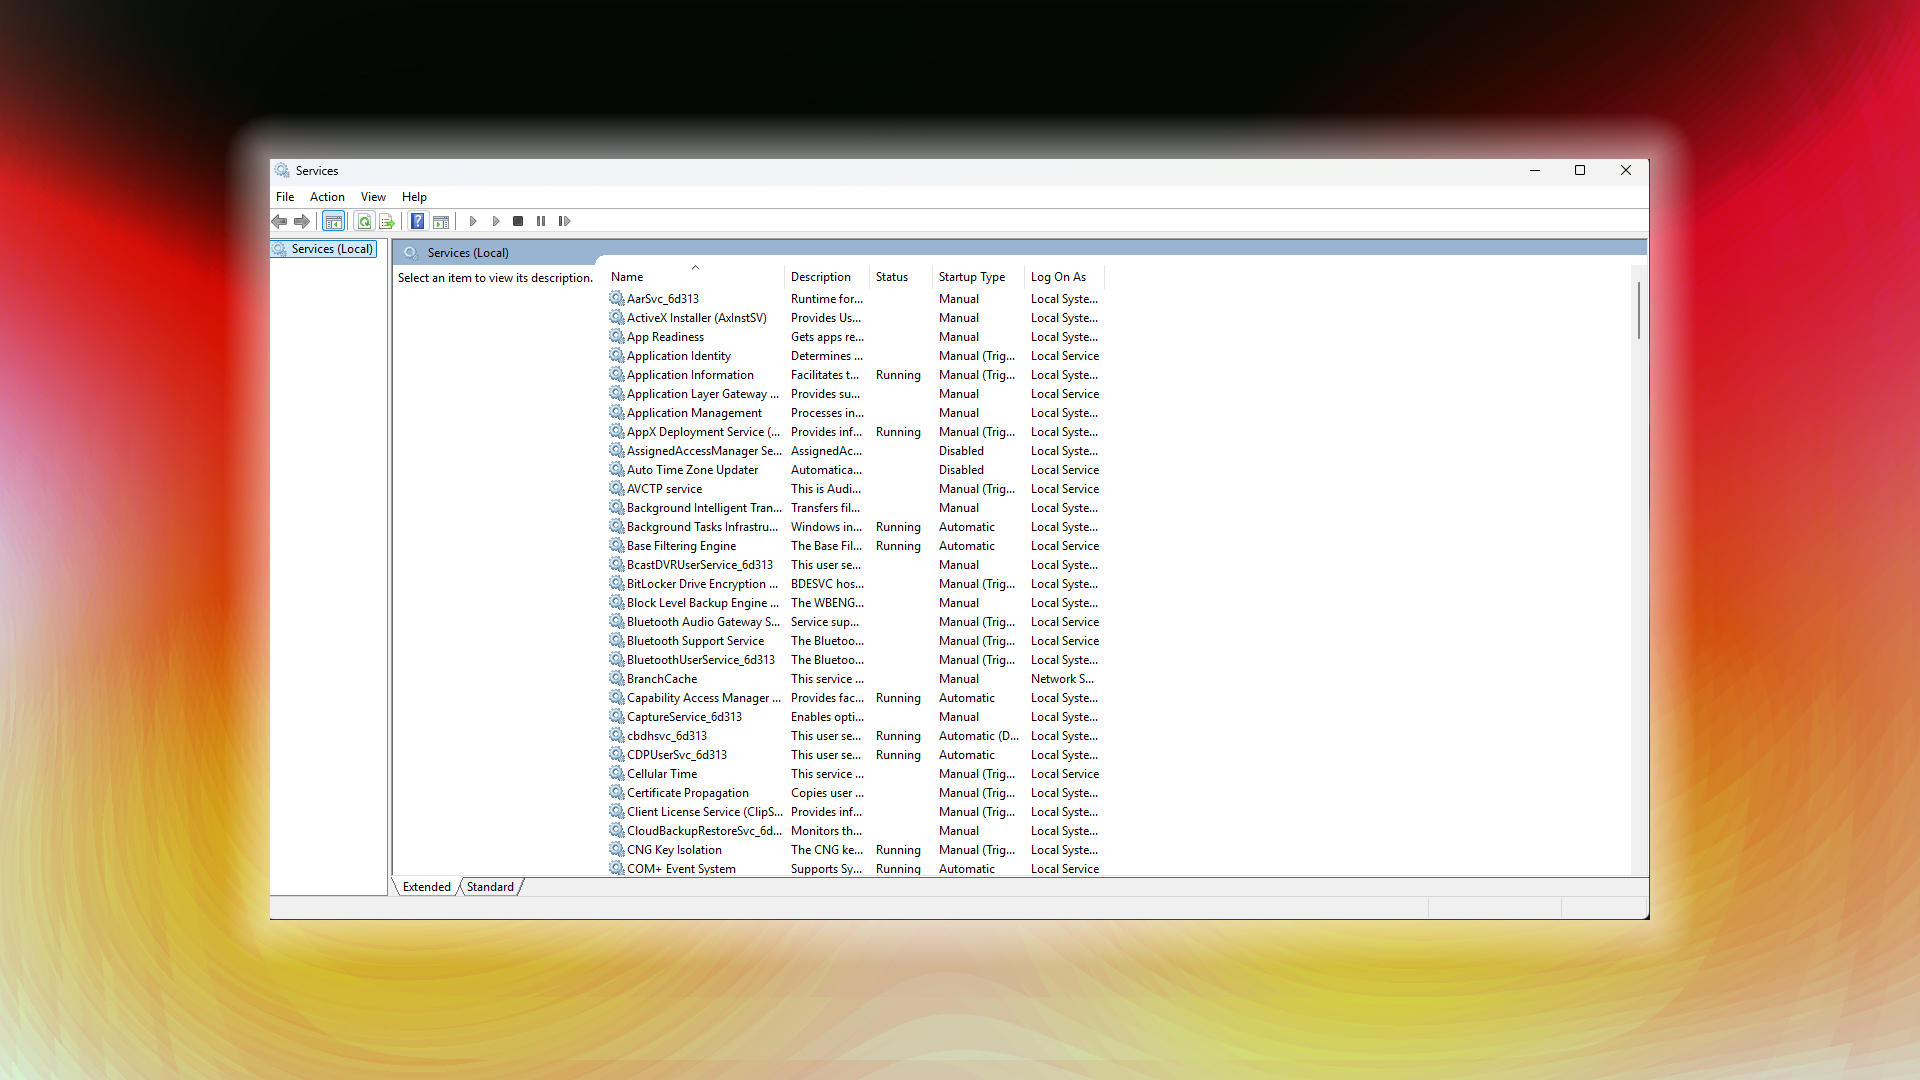
With Windows 8, high disk usage was mainly associated with BITS (Background Intelligent Transfer Service), which was responsible for continuously downloading never-ending system updates and never showed signs of stopping. After Windows 10, this has become SysMain (Superfetch); BITS still exists, but it has taken a back seat. Here is how you can disable SysMain.
- Press Windows Key + R
- Type services.msc and hit Enter
- Find SysMain (or Superfetch on older systems)
- Right-click it > Properties
- Change Startup Type to Disabled
- Click Stop > Apply > OK
Stop DiagTrack Service
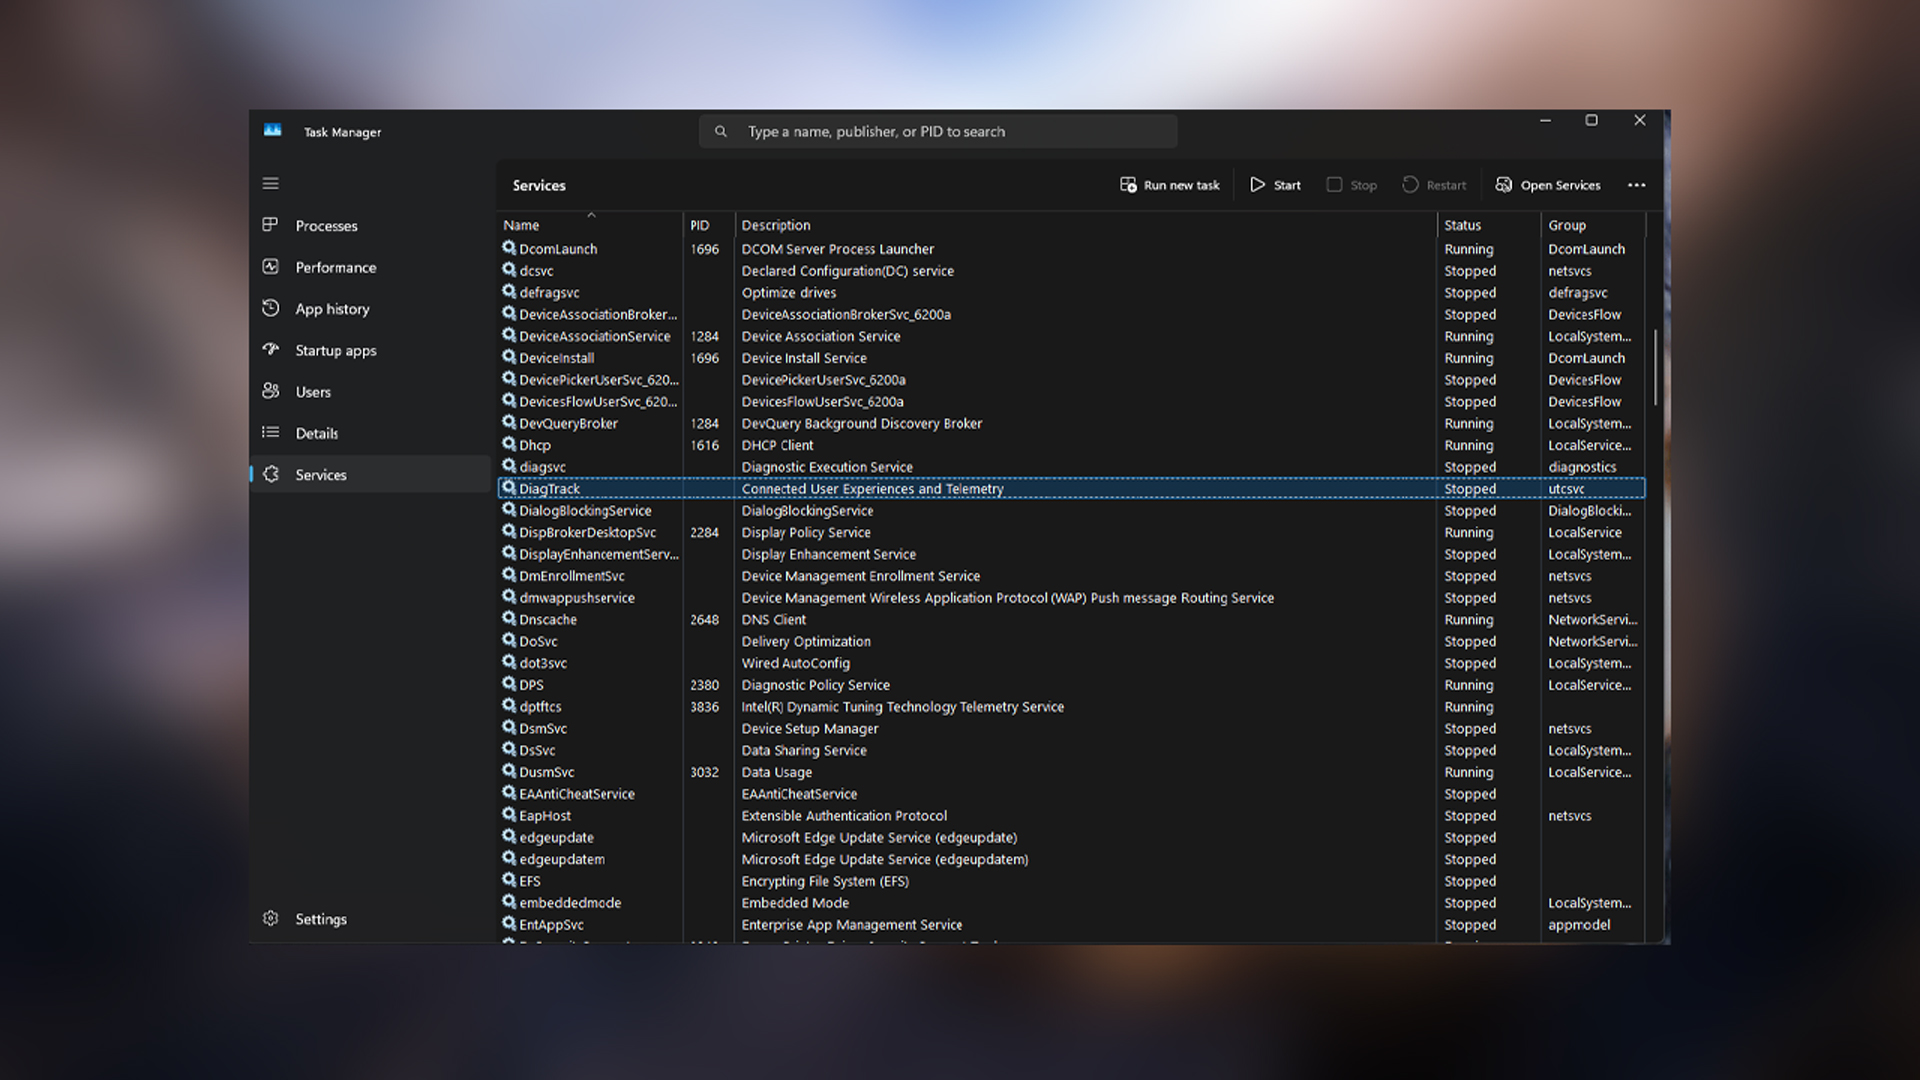
As we’ve mentioned, telemetry services consume CPU and Disk resources. To address this, we are disabling the DiagTrack Service, which not only extends your SSD’s lifespan but also resolves the usage spiking issue.
- Open Task Manager (Ctrl + Shift + Esc)
- Go to the Services tab
- Find DiagTrack
- Right-click > Stop
This is to temporarily disable and check if the problem is fixed; if it is, it should resolve your issues. So here is how you can disable this permanently.
- Press Windows Key + R
- Type regedit
- Navigate to: HKEY_LOCAL_MACHINE > SOFTWARE > Policies > Microsoft > Windows > DataCollection
- Create a new 32-bit DWORD named Allow Telemetry
- Set value to 0
Disable Windows Search
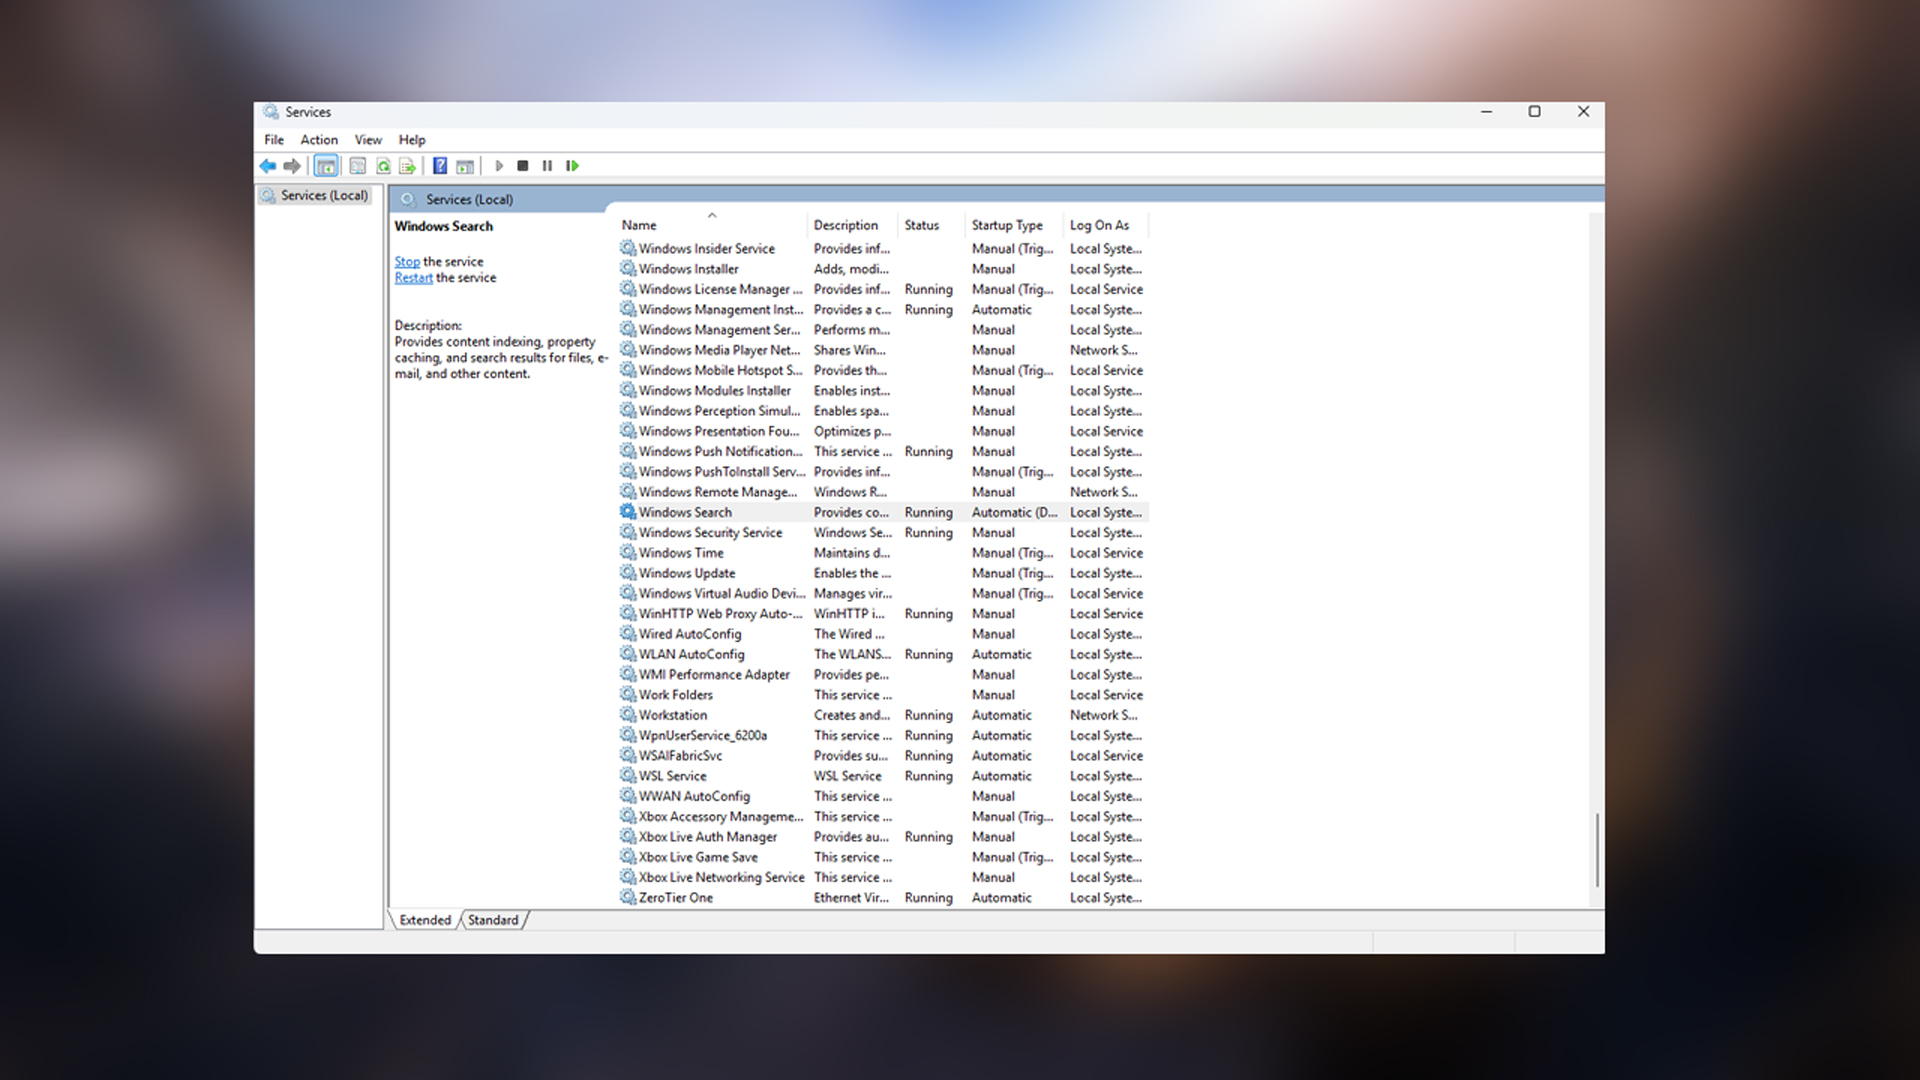
On older systems, with a SATA SSD, SSHD, or even an HDD, Windows Search can get in the way of high disk usage. If you do not use this feature often, it’s better to disable it. Here’s how you can do so.
- Press Windows Key + R
- Type services.msc
- Find Windows Search
- Right-click > Properties
- Change Startup Type to Disabled
- Click Stop > Apply > OK
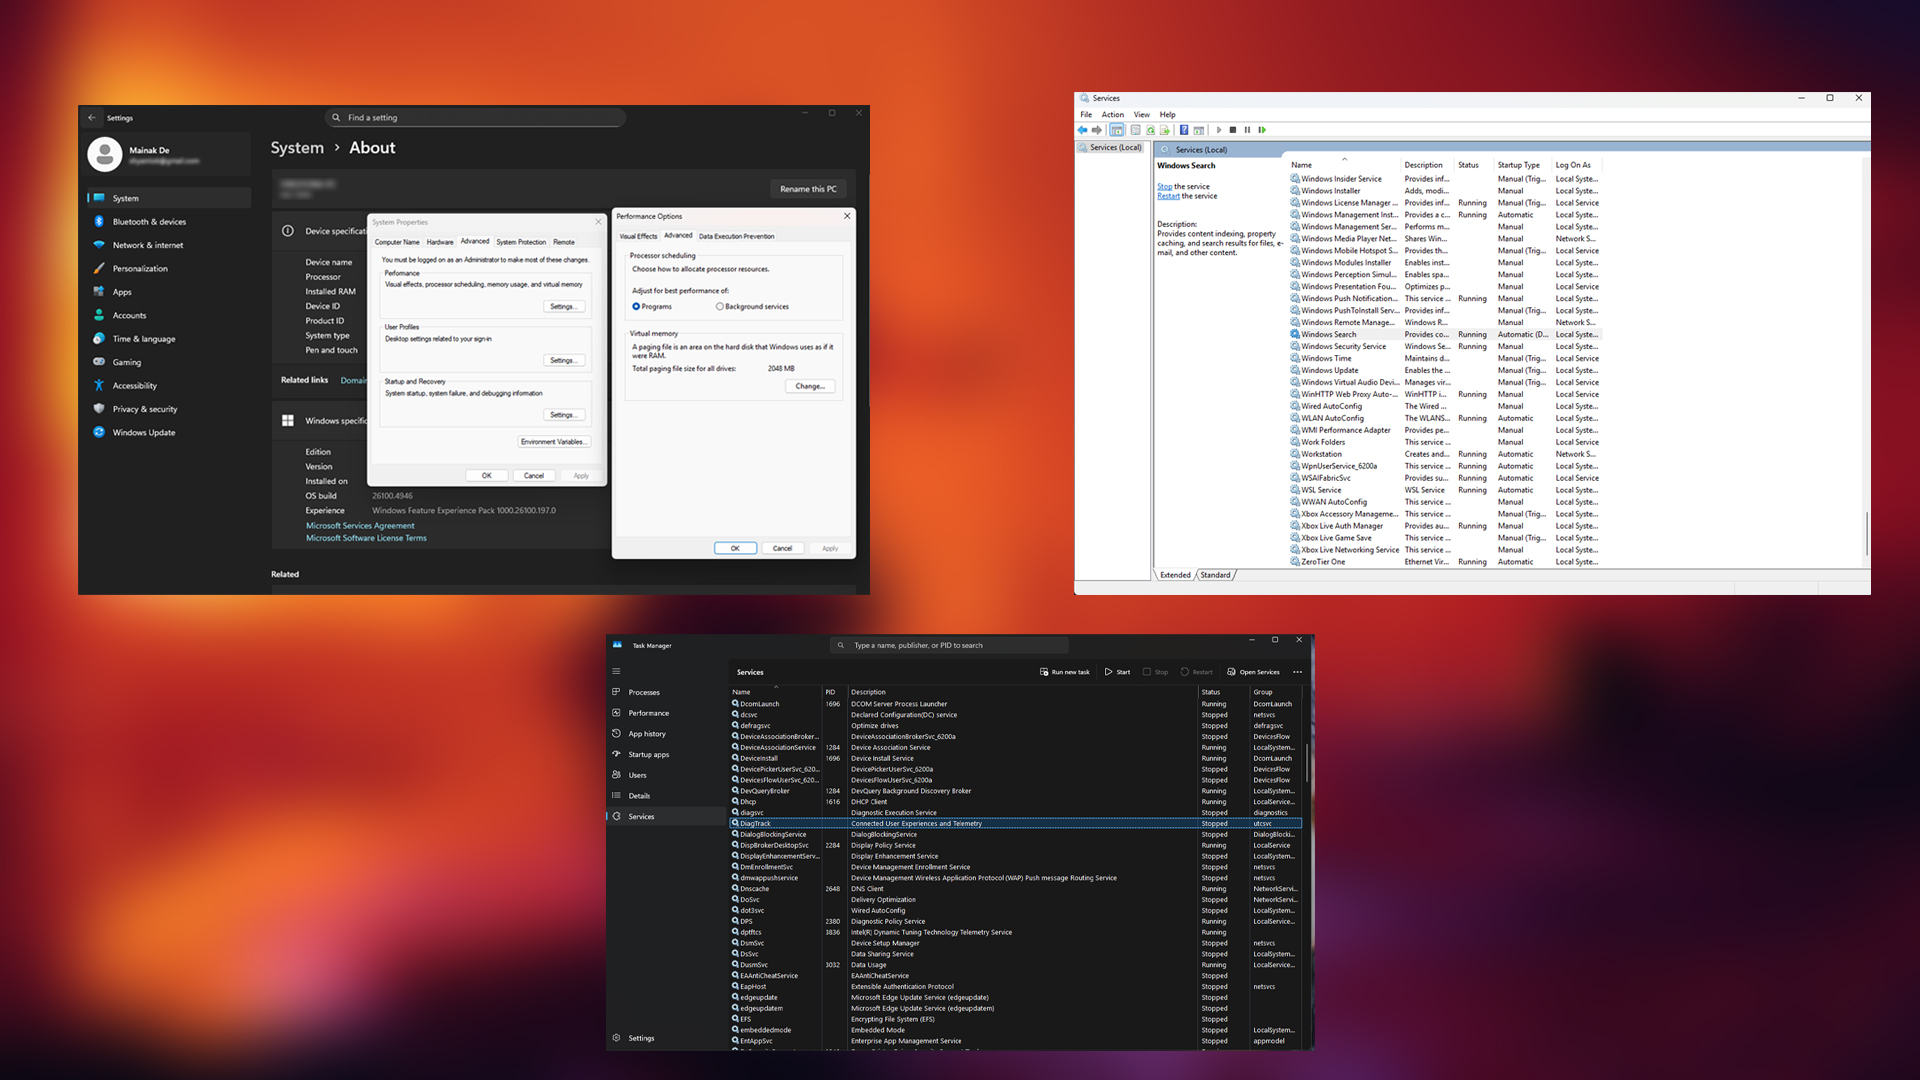
Adjust Virtual Memory

Sometimes, incorrect page file settings may also create problems like the ones we are discussing. Though this is the last-ditch effort, otherwise something is wrong with the OS, or the storage drive is falling apart, or there are deeper problems that only a hardware technician can fix with deep scrutiny. If this step doesn’t solve the issue, it’s best to proceed with RMA, depending on your device, PC, or laptop.
- Press Windows Key + Pause
- Click Advanced system settings
- Under Performance, click Settings
- Go to the Advanced tab
- Click Change under Virtual Memory
- Uncheck Automatically manage paging file size
- Select Custom size
- Set Initial size to 1.5x your RAM (in MB)
- Set the Maximum size to 3x your RAM
- Click Set > OK > Restart
Also Read: Intel Core Ultra 7 265K vs Core i7 14700K: Which Is Better?
We provide the latest news and “How To’s” for Tech content. Meanwhile, you can check out the following articles related to PC GPUs, CPU and GPU comparisons, mobile phones, and more:
- 5 Best Air Coolers for CPUs in 2025
- ASUS TUF Gaming F16 Release Date, Specifications, Price, and More
- iPhone 16e vs iPhone SE (3rd Gen): Which One To Buy in 2025?
- Powerbeats Pro 2 vs AirPods Pro 2: Which One To Get in 2025
- RTX 5070 Ti vs. RTX 4070 Super: Specs, Price and More Compared
- Windows 11: How To Disable Lock Screen Widgets