Facebook
 Reddit
 Email
Email
Dismantle Willem’s schemes in Borderlands 4’s The Mole’s Gambit side mission, and defeat the traitorous leader for Legendary rewards.
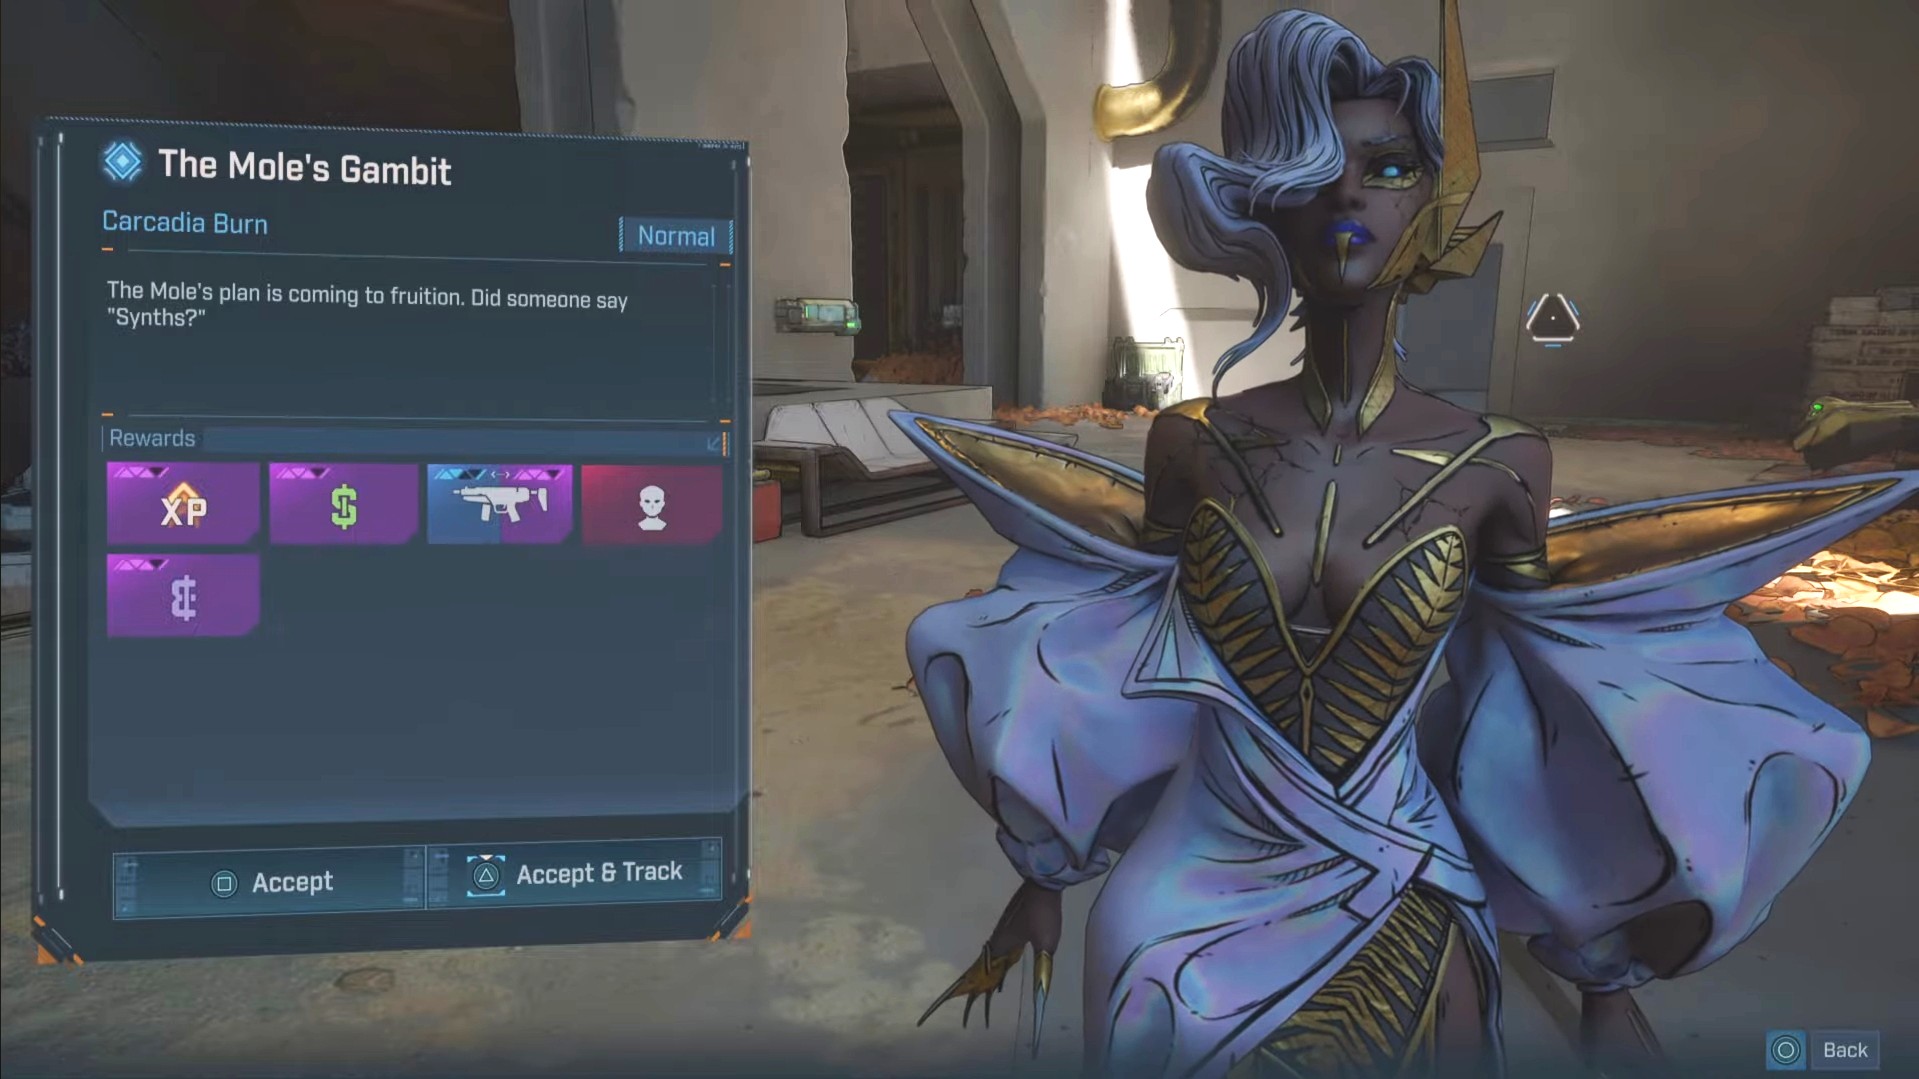
The Mole’s Gambit is the fifth Electi side mission following Enter the Electi Part 1, Enter the Electi Part 2, The Council Divided, and A Traitor Within. With the true identity of the mole revealed, Levaine tasks you with undoing the backstabbing schemes of Leader Willem. The side story culminates in a confrontation with the traitor, which can yield powerful Legendary loot.
Borderlands 4: The Mole’s Gambit Walkthrough
- Rewards:
- Rare or Epic SMG
- Vault Hunter Head: Cursed to Live
- Cash, XP, and Eridium
Destroy Willem’s Devices
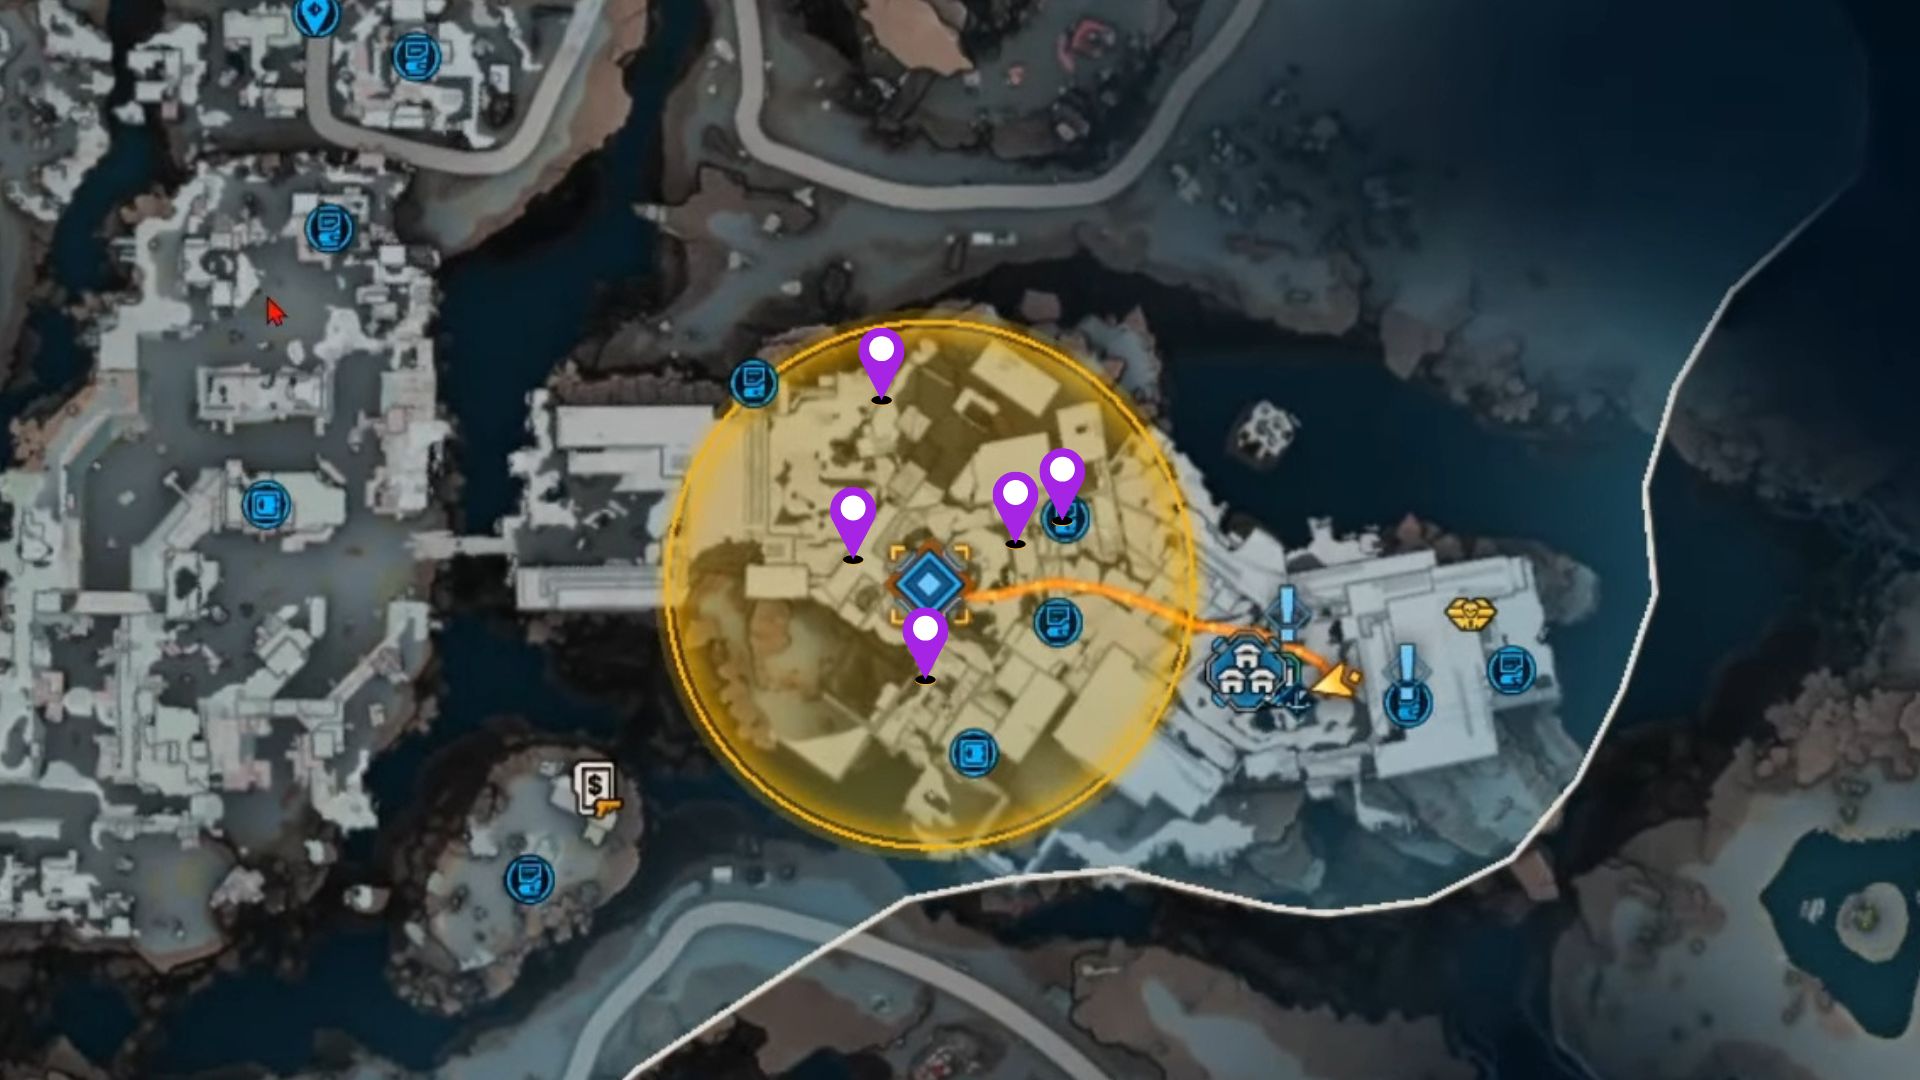
Begin The Mole’s Gambit by speaking with Levaine in the Leaders Chamber, Carcadia. Retracing your steps from Enter the Electi Part 2, you’ll need to destroy the five devices you installed on behalf of Leader Willem. Search the points marked on the Carcadia map above and destroy the devices highlighted in red.
Find EMP Parts
Head to the Ripper camp directly north of Carcadia to collect three EMP parts. Each part is located near one of the three cranes in the search area.
- Find the first EMP part on the southwest side of the search area, attached to the door of the crane there.
- Head north to find the second EMP part on the antenna on the rear side of the crane’s roof.
- The final EMP part is toward the northeast, lying on the ground near the staircase leading up to the third crane.
Hack the Order Convoy
Travel south toward the marked spot to reach the Order convoy. Eliminate the guards around the convoy and interact with the console installed in the back of the second truck. ECHO will hack into it, and Levaine will send you Willem’s precise location in a nearby Order base.
Breach the Order Depot
Summon your vehicle and head east to the Order Depot at The Excrucible. Fight your way through the enemies and head left of the main door. Use your grappling hook on the point ahead to reach the facility entrance.
Set Off the EMP
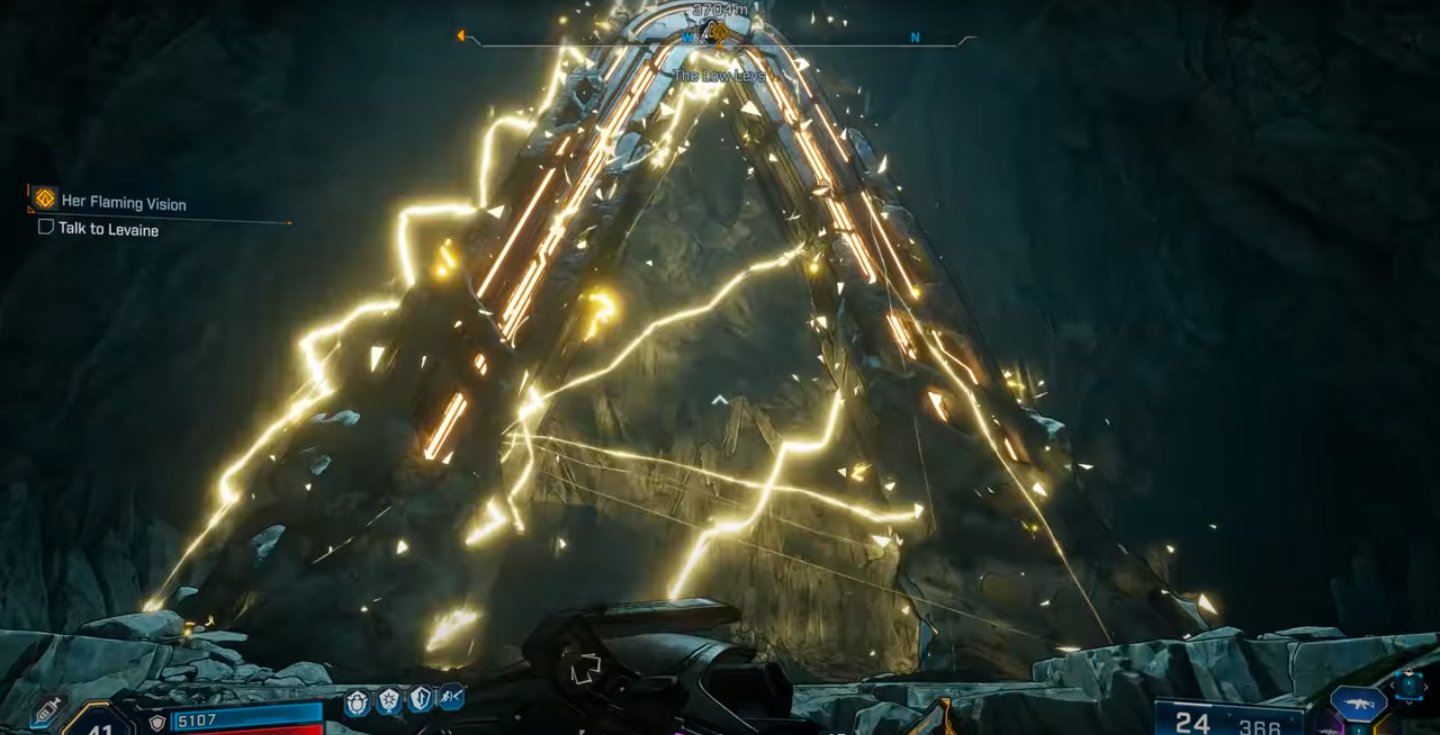
Enter the Order Depot and set the EMP in the middle of the chamber, where its position is outlined in green. Interact with all three outlines to put the three EMP parts together. Eliminate enemies while the EMP charges. After 90 seconds, the EMP activates, killing all nearby enemies.
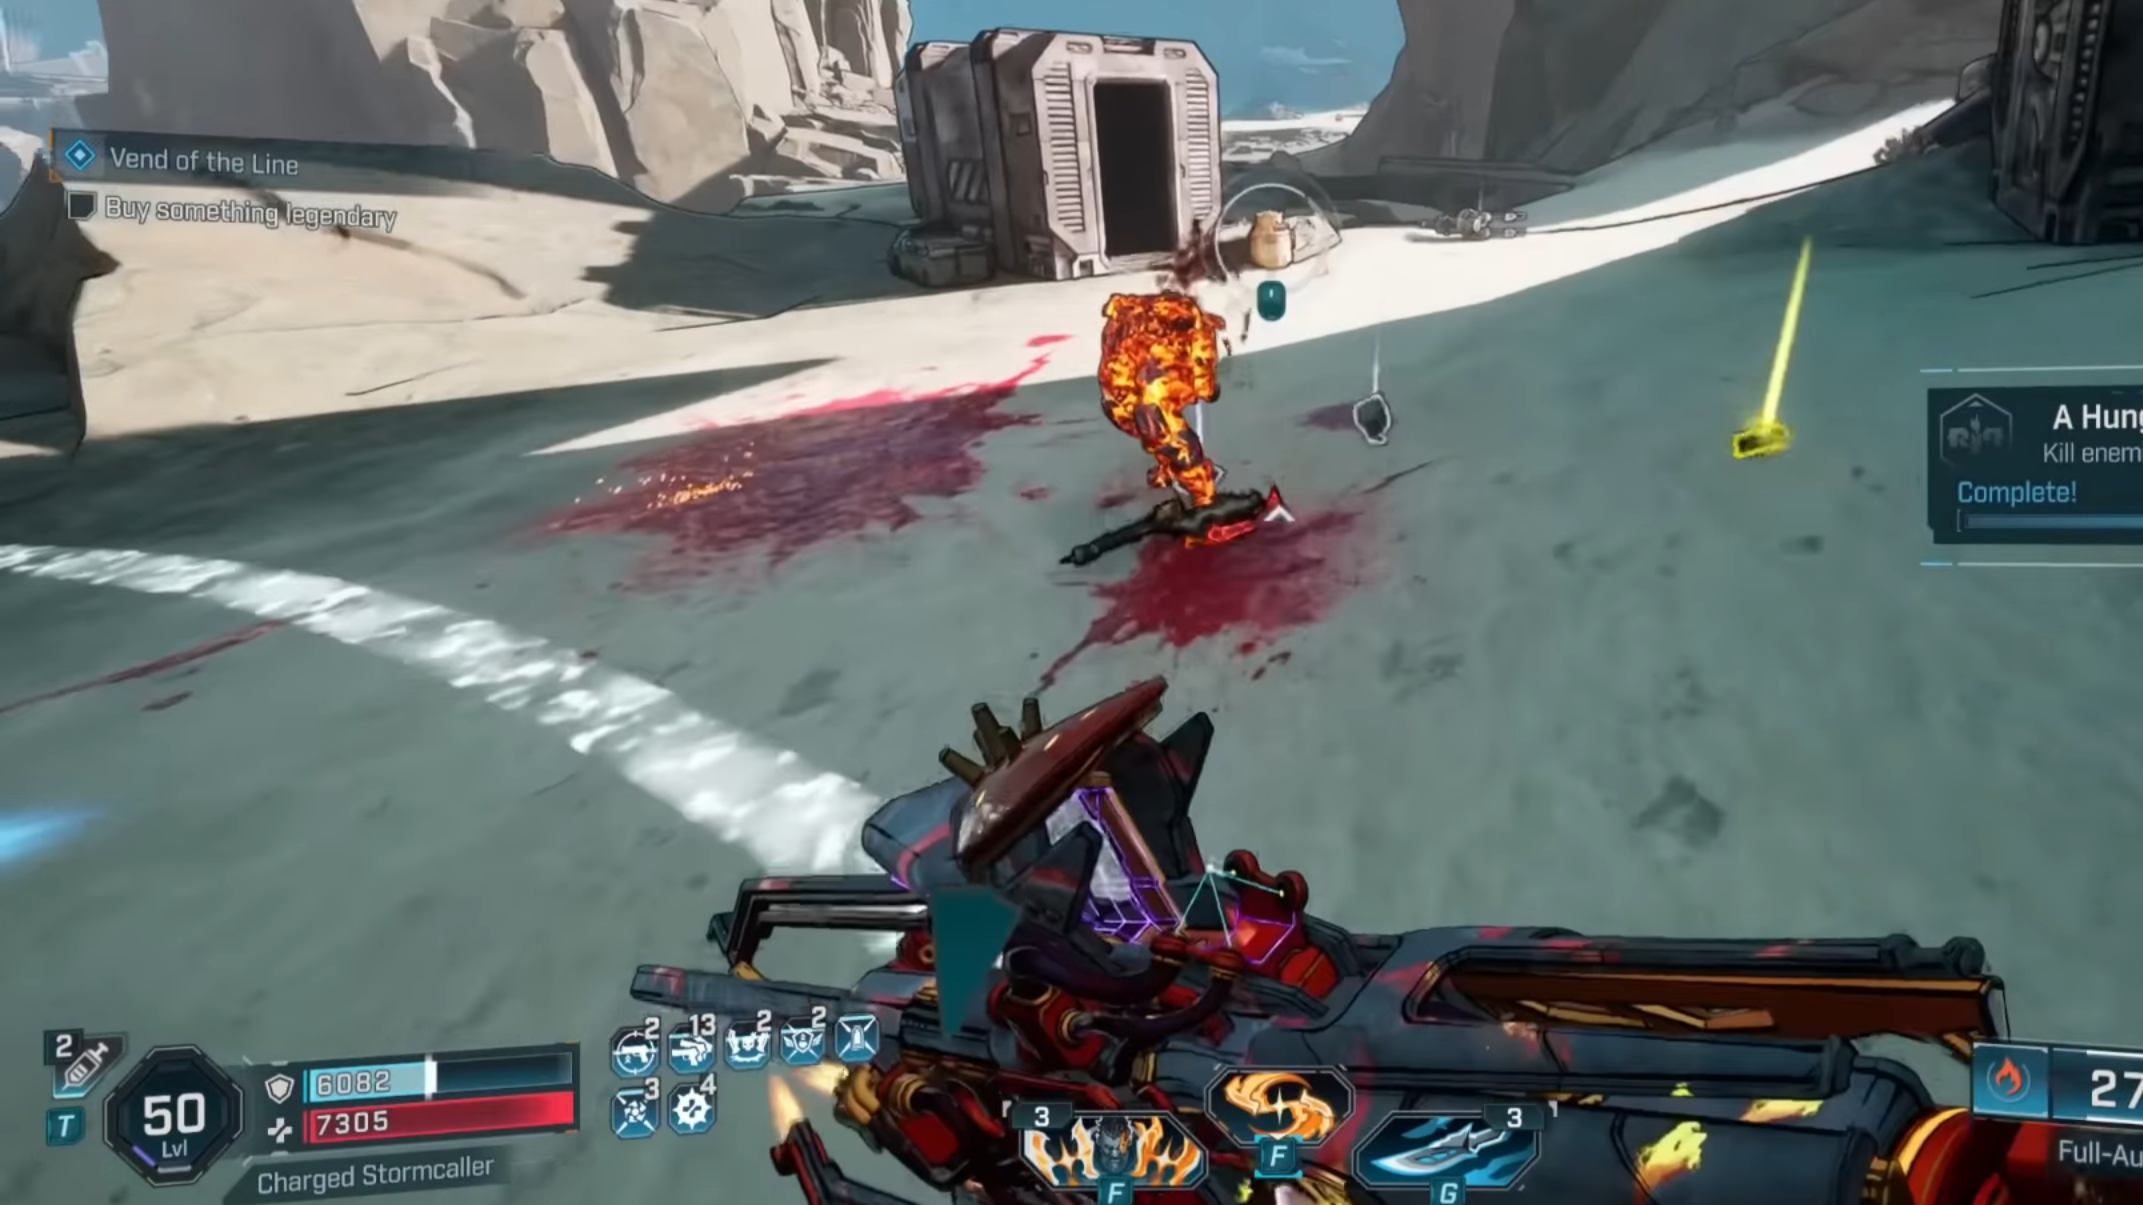
Travel further into the facility to reach a room with two vending machines and a checkpoint. Drop down into the area below to begin the boss fight with Leader Willem.
Borderlands 4: Leader Willem Boss Fight Guide
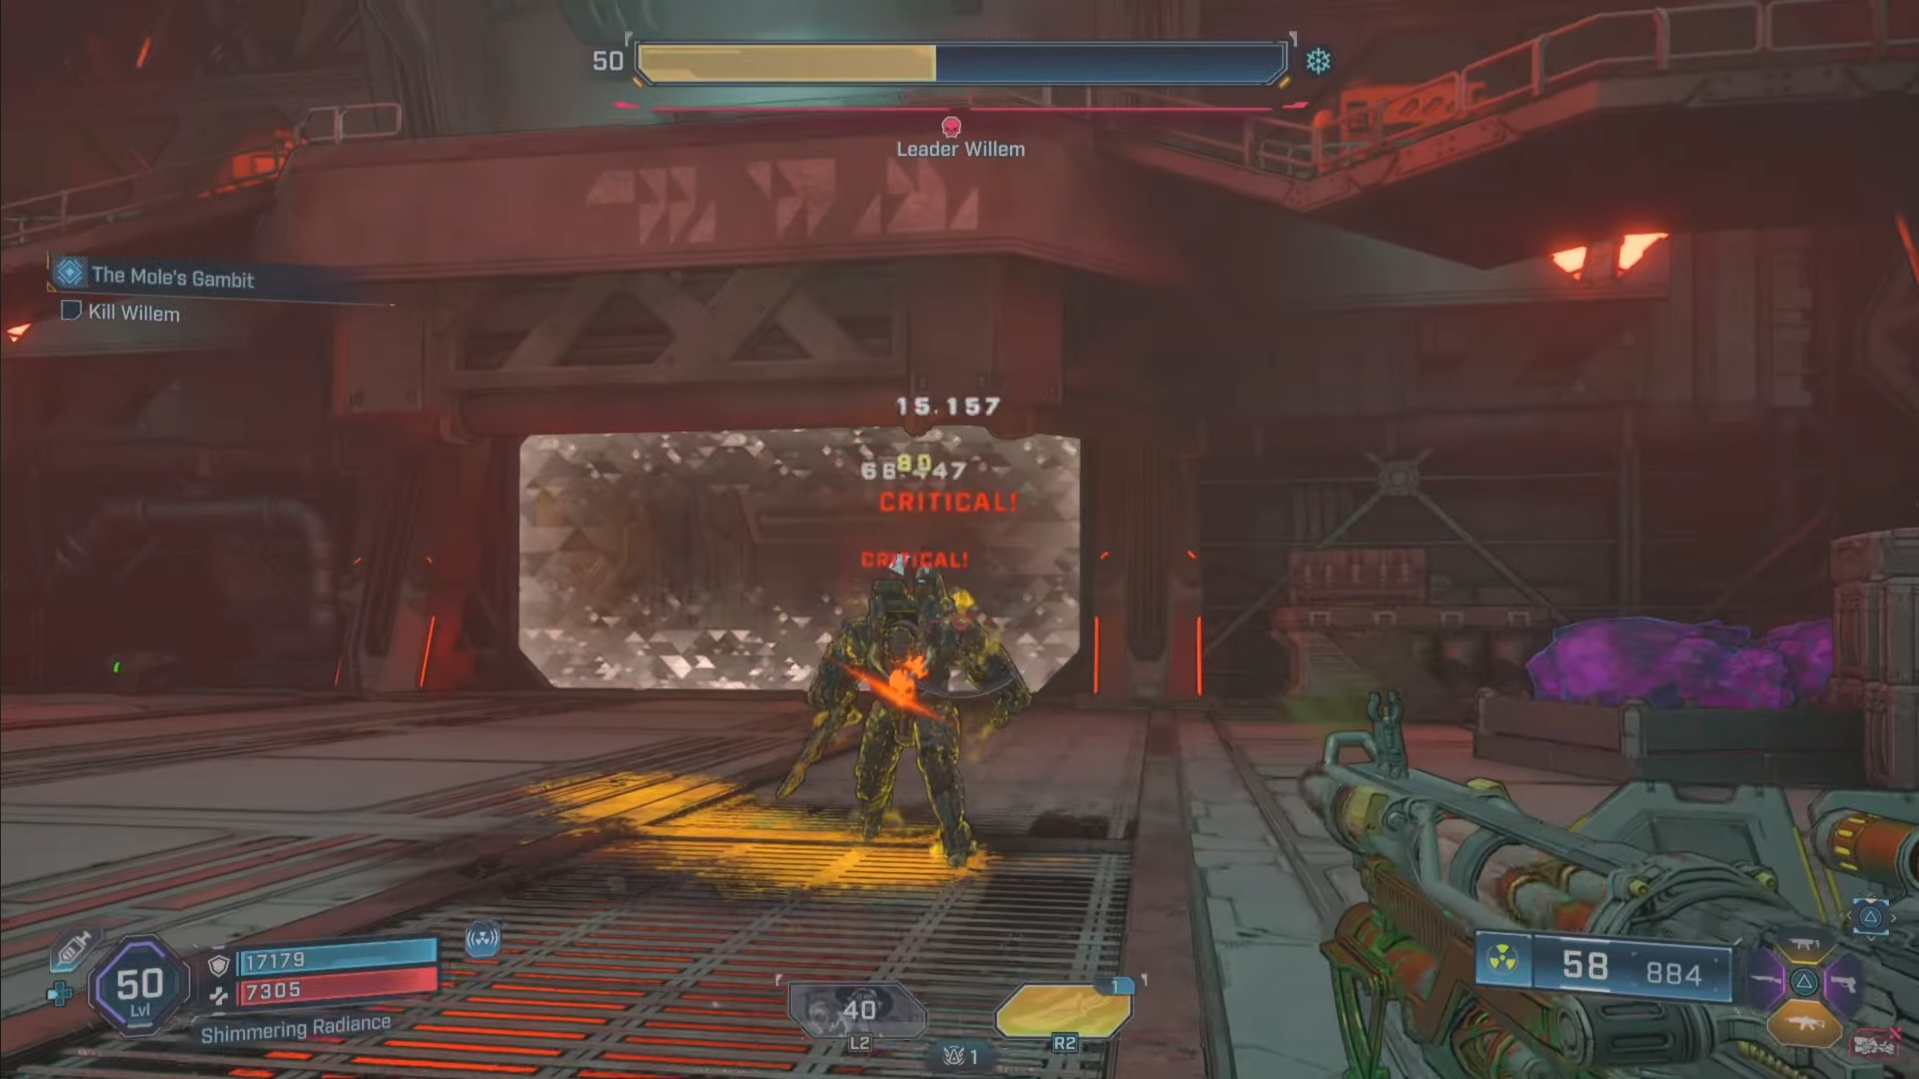
- The boss possesses two health bars: Shield and Armor. Shock and Radiation damage can quickly deplete the former, while Cryo and Corrosive damage are effective at melting through the latter.
- Leader Willem’s weak spots include his head and backpack. Target either when possible to land critical hits.
- The boss uses his handheld weapon and grenades for attacks that are most effective at close range. Maintain your distance and use cover to negate most incoming damage.
- Target and eliminate Order soldiers to decrease incoming damage, but leave at least one alive if you think you’ll need a Second Wind later.
Also Read: Borderlands 4: Leader Willem Boss Guide
Leader Willem Legendary Drops
| Legendary | Type | Effect |
|---|---|---|
| Firepot | Grenade Ordnance | • Spicy – Spawns homing Torgue Stickies over time. |
| Rainbow Vomit | Shotgun | • Color Spray – Shoots three different elemental droplets at once. The elemental droplets will be random upon drop, such as Corrosive, Cryo, and Radiation. |
| Zipper | Pistol | • Prison Rules – Grants +75% Critical Damage and +75% Damage when hitting a target in the back. |
Talk to Levaine
After defeating Leader Willem, return to Levaine, and the Leaders will thank you. The Mole’s Gambit concludes here alongside the Electi faction storyline, awarding you the achievement: Mole Money, Mole Problems.

We provide the latest news and create guides for Borderlands 4. Meanwhile, you can check out the following articles or catch us playing games on YouTube: