Facebook
 Reddit
 Email
Email
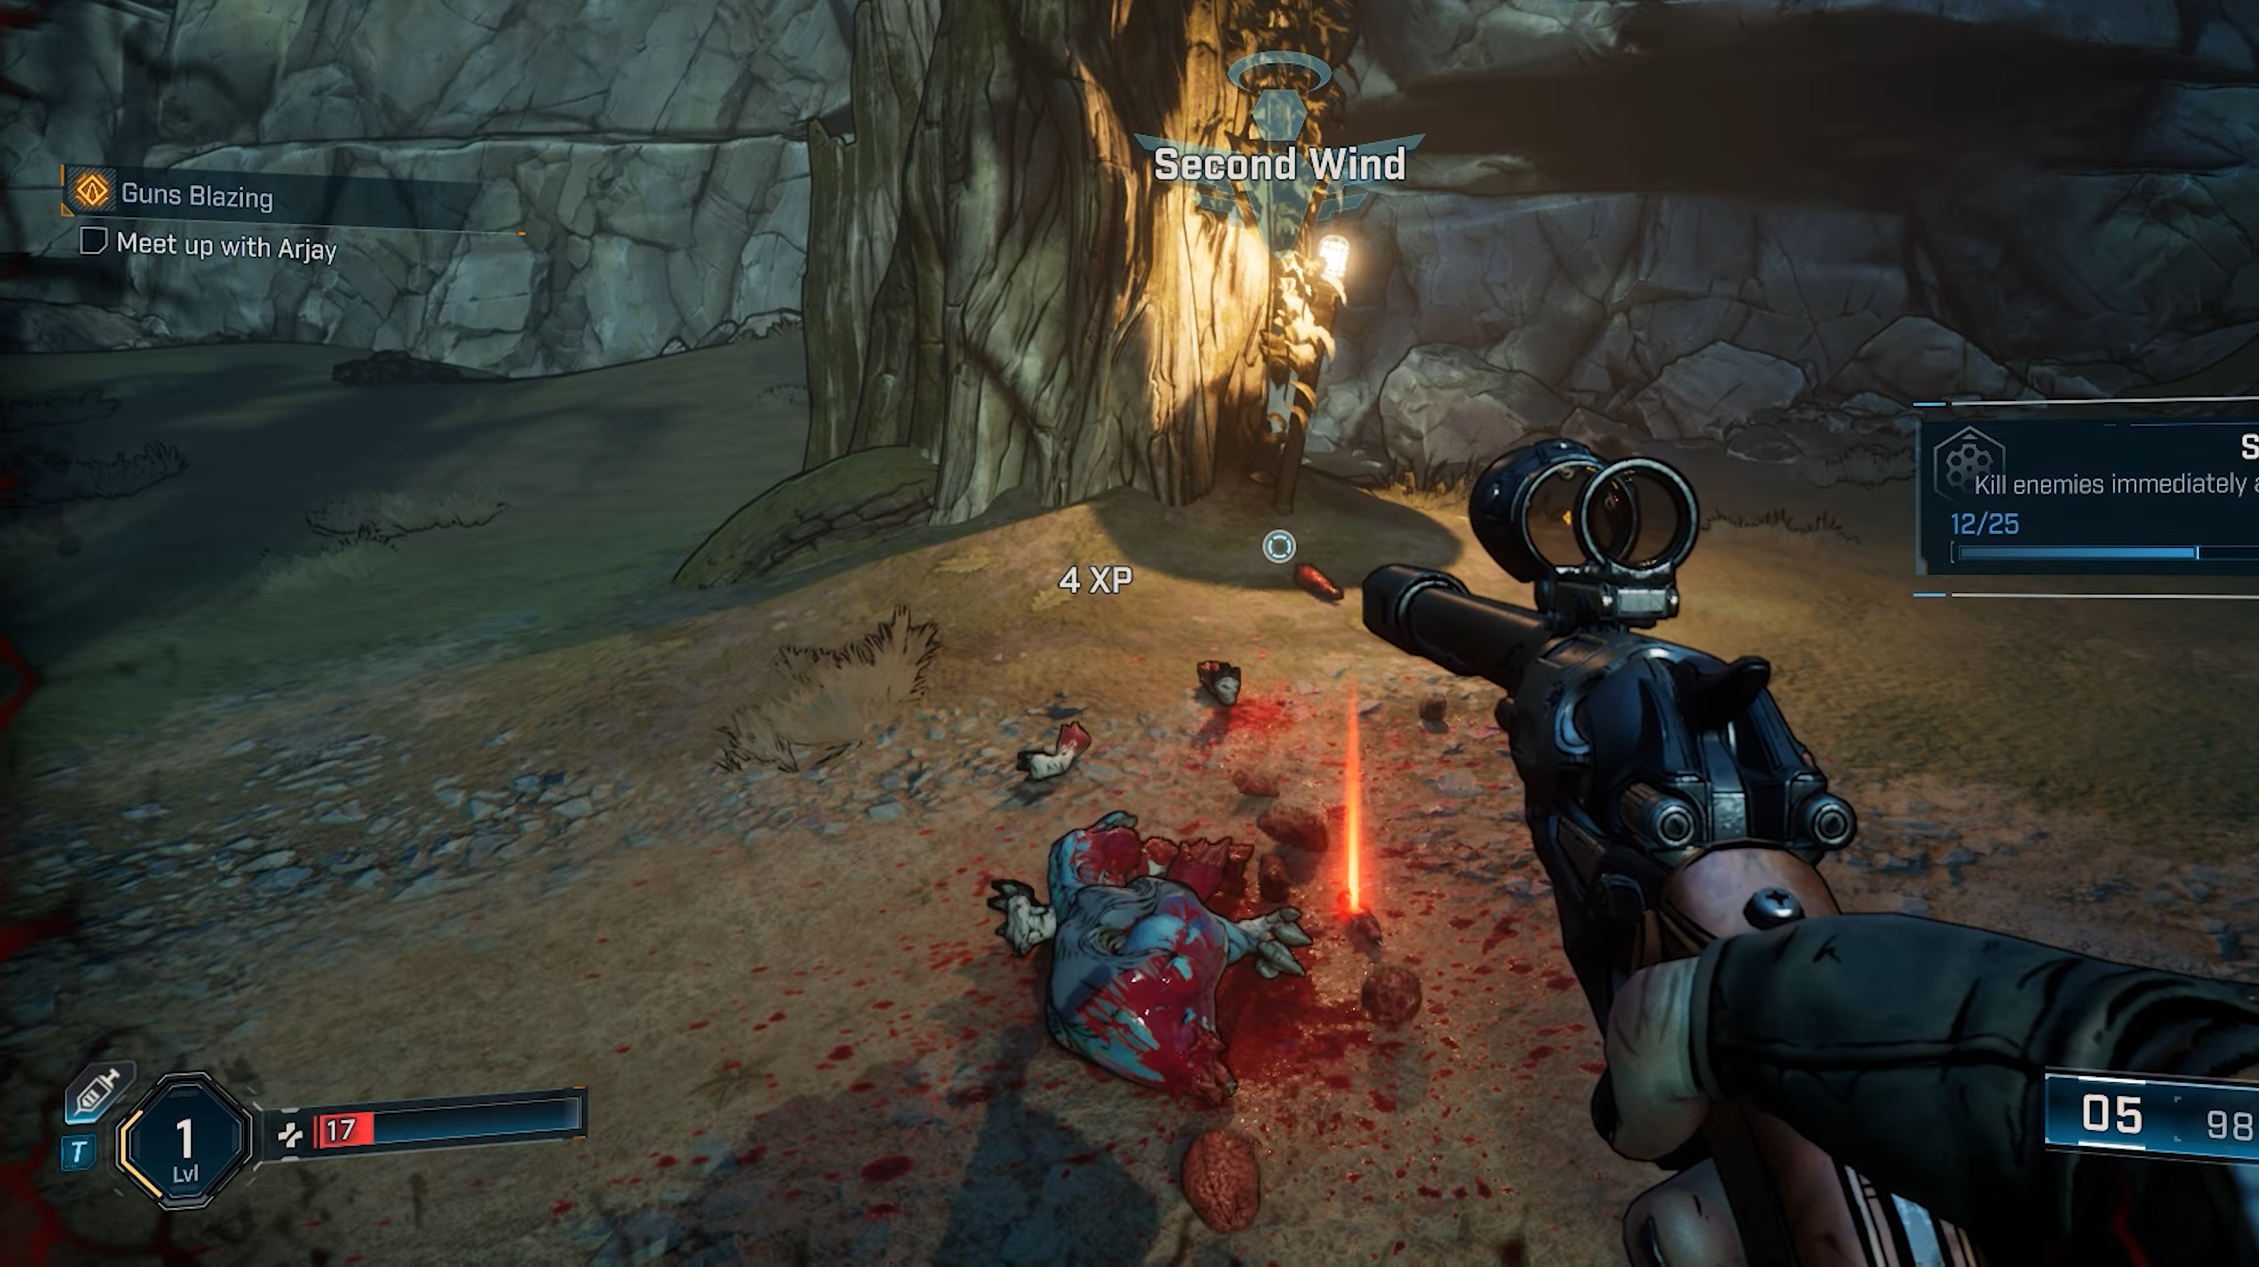
Get a second chance to get back into the action with the help of the Second Wind feature in Borderlands 4, and get redemption.
The Second Wind feature in Borderlands 4 is basically your beacon of hope during a situation of despair. There are times when the rounds may get overwhelming with hordes of enemies or boss battles getting the better of you.
If in such situations you are not able to find a quick escape or don’t have your teammates in near sight, you can resort to using the ‘Second Wind’ to give you another fighting chance. In this article, we will explore the ‘Second Wind’ feature in Borderlands 4 and the best time and method to use it.
Second Wind Overview in Borderlands 4
One important measure to keep in mind during boss battles, especially, is to keep at least a few enemies alive for your own benefit. If you were to be in a downed state, there are two possible actions you can take. One of them includes having a teammate of yours, be it a co-op or a friendly bot, in close proximity. If they revive you, you will earn a Second Wind while also rewarding the assisting player with 100 XP points. This will, however, not contribute in any manner towards your weapons proficiency level.
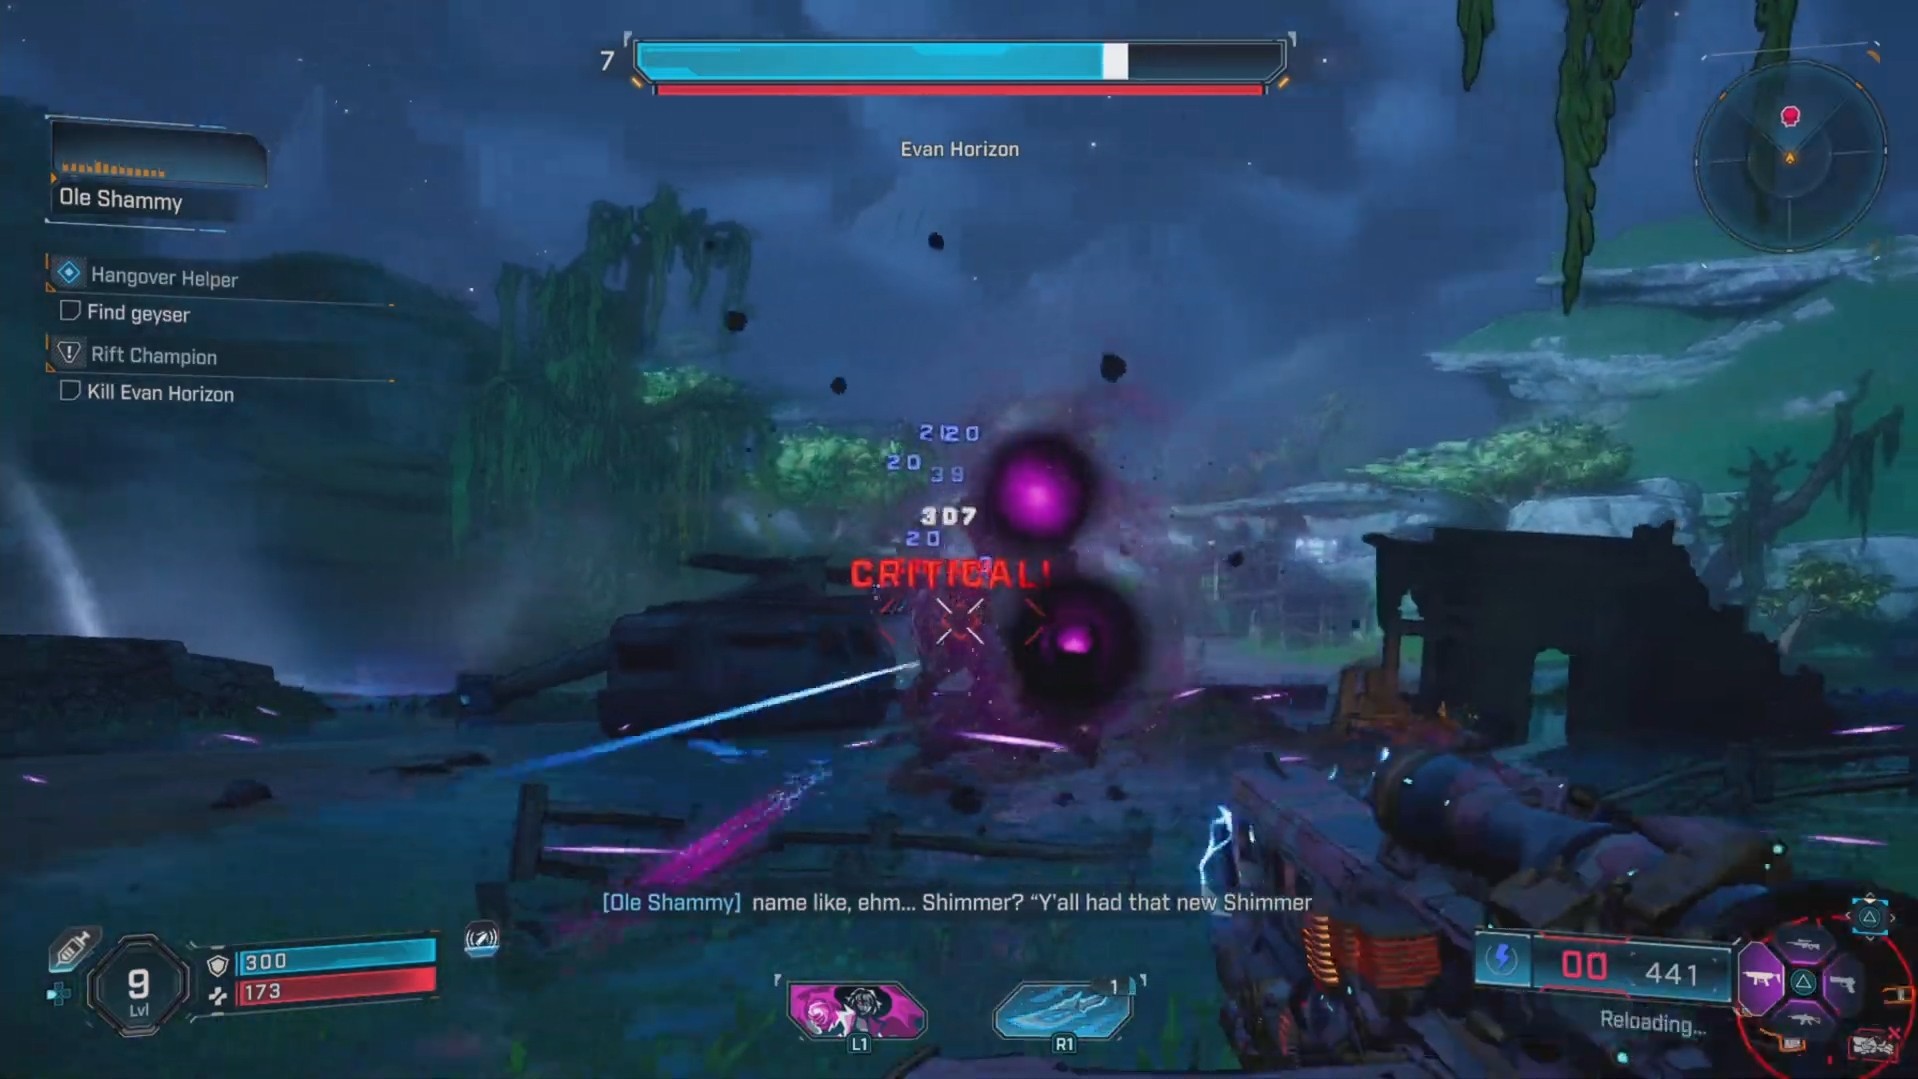
The secondary way is purely self-dependent, and you don’t need to worry about having a teammate around and journeying out on your own. On the contrary, you would need an opponent to be around you if you succumb to your injuries. Once you reach a downed state, you will have a prompt button to either ‘Give Up’ or to ‘Fight For Your Life’.
If you shoot at a nearby enemy, you will instantly earn a Second Wind and come back to life, straight into action. This action could be a result of either the damage you inflict when down or damage being done over time by a status effect from your weapon.
Second Wind Effect
While useful with regard to bringing you back to life for a second shot at redemption, there are some pros and cons to this feature. You will return in a critical state with only 25% of your health intact, but with a fully recharged shield.
Additionally, any damage you deal with your weapons will increase for a short duration of time. During this time, you should try to make a quick escape from the area. Do keep in mind that if you were to drop down immediately after, the bleed-out time will shorten, making it necessary for you to kill an enemy faster. This loop will continue to stack up till you manage to finally escape from the area or hit the ‘give up’ prompt.
Also read: Borderlands 4: Craven’s Nook Order Bunker Guide

We provide the latest news and create guides for Borderlands 4. Meanwhile, you can check out the following articles or catch us playing games on YouTube: