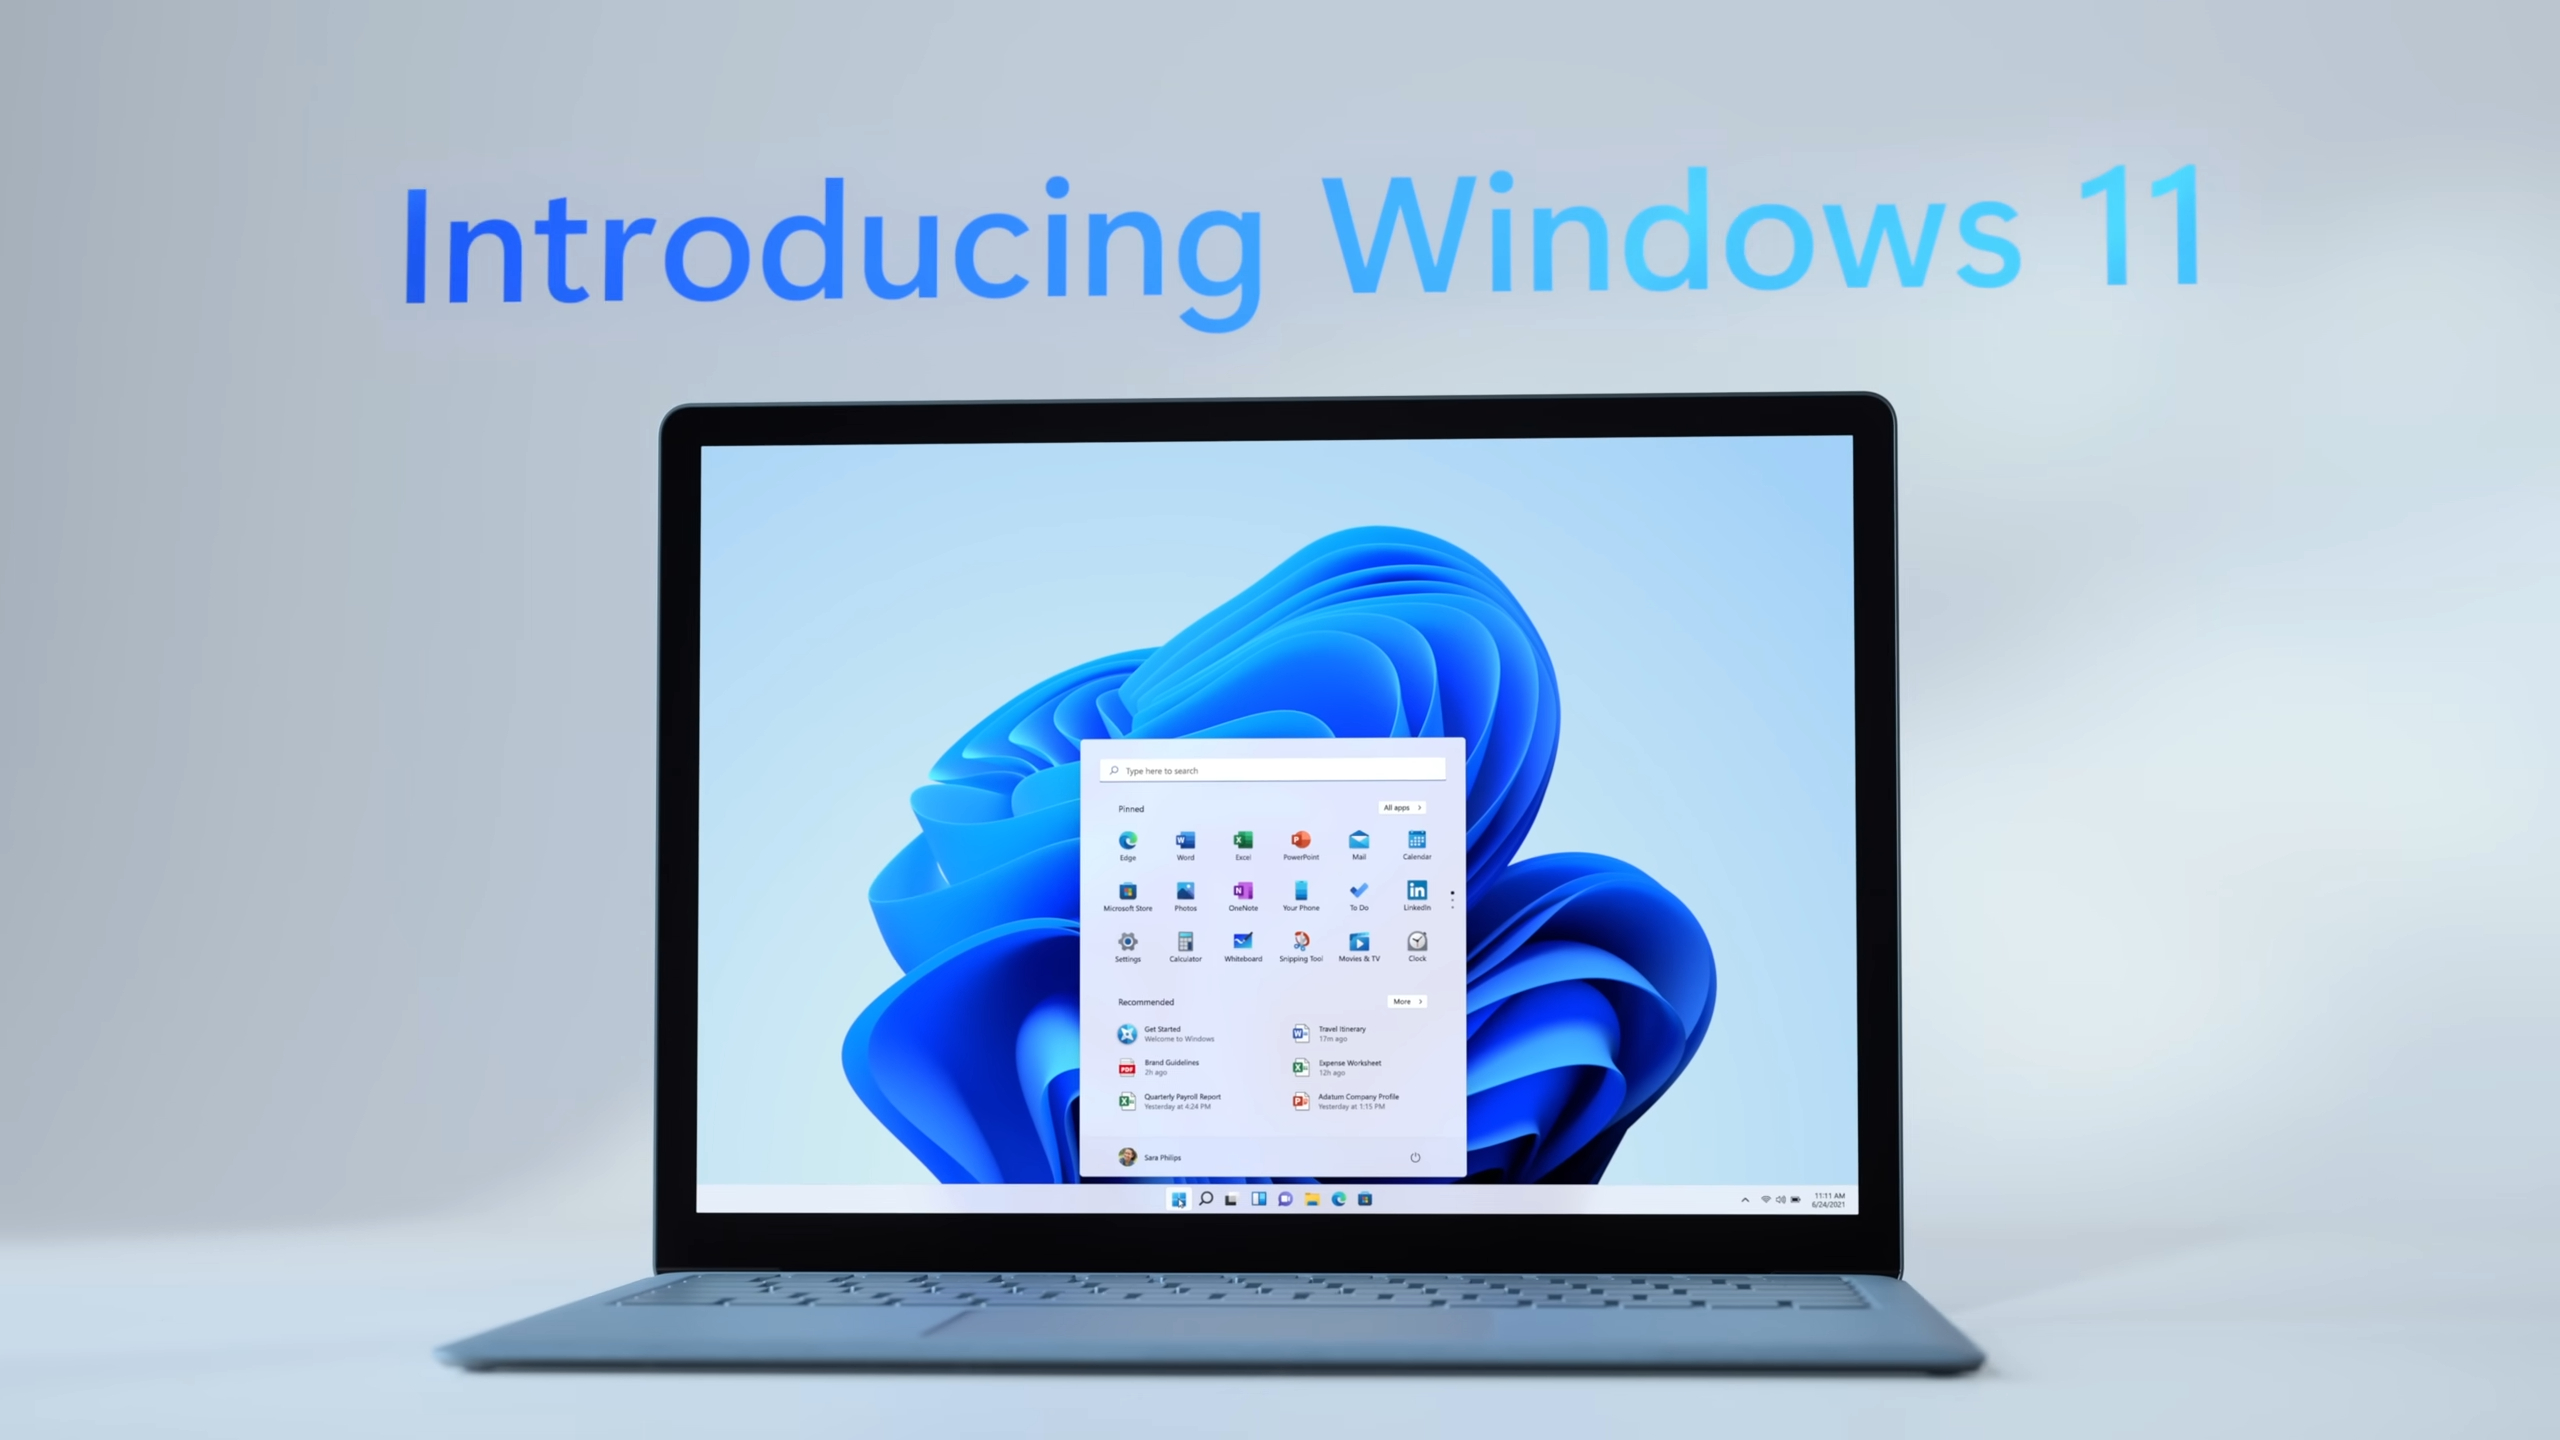
Here are some things you should do after installing Windows 11 that will improve gaming performance and reduce stutters.

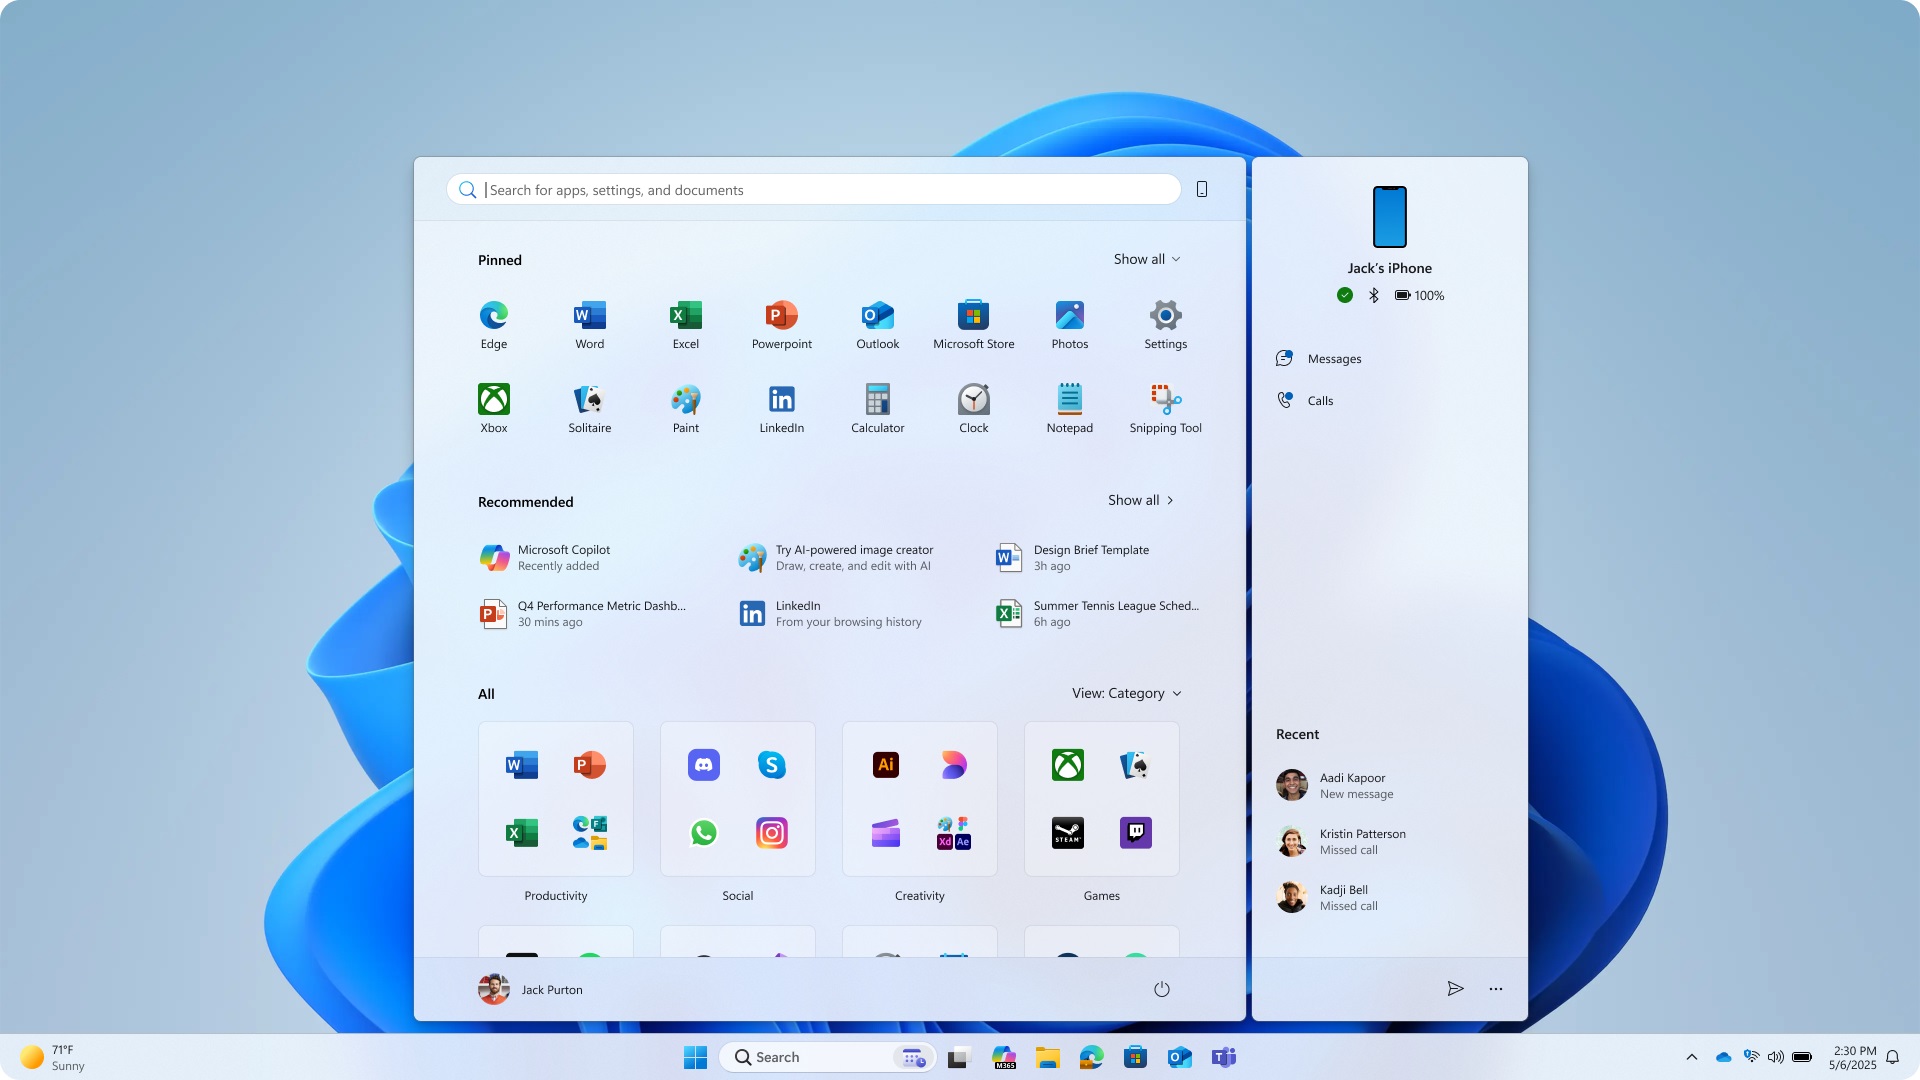
It’s no secret that Windows 11 is bloating. Even after freshly installing Windows from the ISO, you will find a bunch of pre-installed apps. These apps and other services run in the background and consume valuable CPU resources and RAM, leaving less for your games.
However, the good news is that you can claw back much of the lost performance. This article shares things you should do after installing Windows 11 to improve gaming performance.
Note: Parts of this article are subjective and reflect the writer’s opinions.
Best Things To Do After Installing Windows 11 for Better Gaming Performance

1) Disable Hibernation and Fast Startup
Hibernation is a feature Windows uses for fast startup. In other words, it allows your PC to boot faster. However, it increases latency and can even introduce random stutters in some games. Disabling it will decrease latency issues and improve performance in some games. To disable it, run PowerShell in admin mode and enter the command “Powercfg /hibernate off” without the quotes. The best thing is that disabling this feature doesn’t make the PC startup noticeably slower.
2) Uninstall Unwanted System Apps
This is a no-brainer. Windows 11 ships with many apps by default, and you must remove them. Go to the Settings app and start uninstalling anything that you don’t use. Also, if you don’t use Xbox Game Pass, remove all Xbox apps except for the Xbox Game Bar app, which can come in handy for recording game clips. Remove all the apps you don’t use or need. This will not only free up disk space but also valuable RAM and CPU resources.
3) Disable Core Isolation/Memory Integrity
Windows 11 has Core Isolation/Memory Integrity turned on by default. It’s a security process that keeps core parts of the Windows OS and memory safe using virtualization technology. While you may not notice it in everyday apps, it has a profound impact in gaming. This feature can lower performance by up to 30%, depending on the game. Therefore, you can disable it to improve gaming performance. Launch the Windows Defender app and head over to Device Security/Core Isolation. After that, turn off the toggle for Memory Integrity.
4) Disable Game Mode
It may sound counterintuitive, but leaving it on will do more harm than good. That’s because this feature is designed to reduce the impact of background apps when gaming. However, since we have already uninstalled many of the system apps in the second step, leaving this feature on is useless. It may also hamper gaming performance. Therefore, it is best if you disable it in the settings. Head over to Settings/Gaming/Game Mode, and turn off the Game Mode toggle.
5) Disable Startup Apps
Some programs are notorious for adding themselves to the Startup Apps list. It essentially controls which programs will start automatically when you turn on your PC. Every time your PC turns on, all the programs on that list will turn on and run in the background, reducing gaming performance. Therefore, you should remove all programs from the Startup list except for the bare essentials, such as Windows Defender and/or Nvidia Control Panel. Launch the Task Manager, and click on the Startup tab. Now, start disabling every item on the list except for the bare essentials. This should vastly improve gaming performance.
We provide the latest news and “How To’s” for Tech content. Meanwhile, you can check out the following articles related to PC GPUs, CPU and GPU comparisons, mobile phones, and more:
- 5 Best Air Coolers for CPUs in 2025
- ASUS TUF Gaming F16 Release Date, Specifications, Price, and More
- iPhone 16e vs iPhone SE (3rd Gen): Which One To Buy in 2025?
- Powerbeats Pro 2 vs AirPods Pro 2: Which One To Get in 2025
- RTX 5070 Ti vs. RTX 4070 Super: Specs, Price and More Compared
- Windows 11: How To Disable Lock Screen Widgets
 Reddit
 Email
Email


