Facebook
 Reddit
 Email
Email
The City in the Shadow of Prism Tower is one of the longer missions in Pokemon Legends Z-A, so follow this walkthrough to complete it quick.
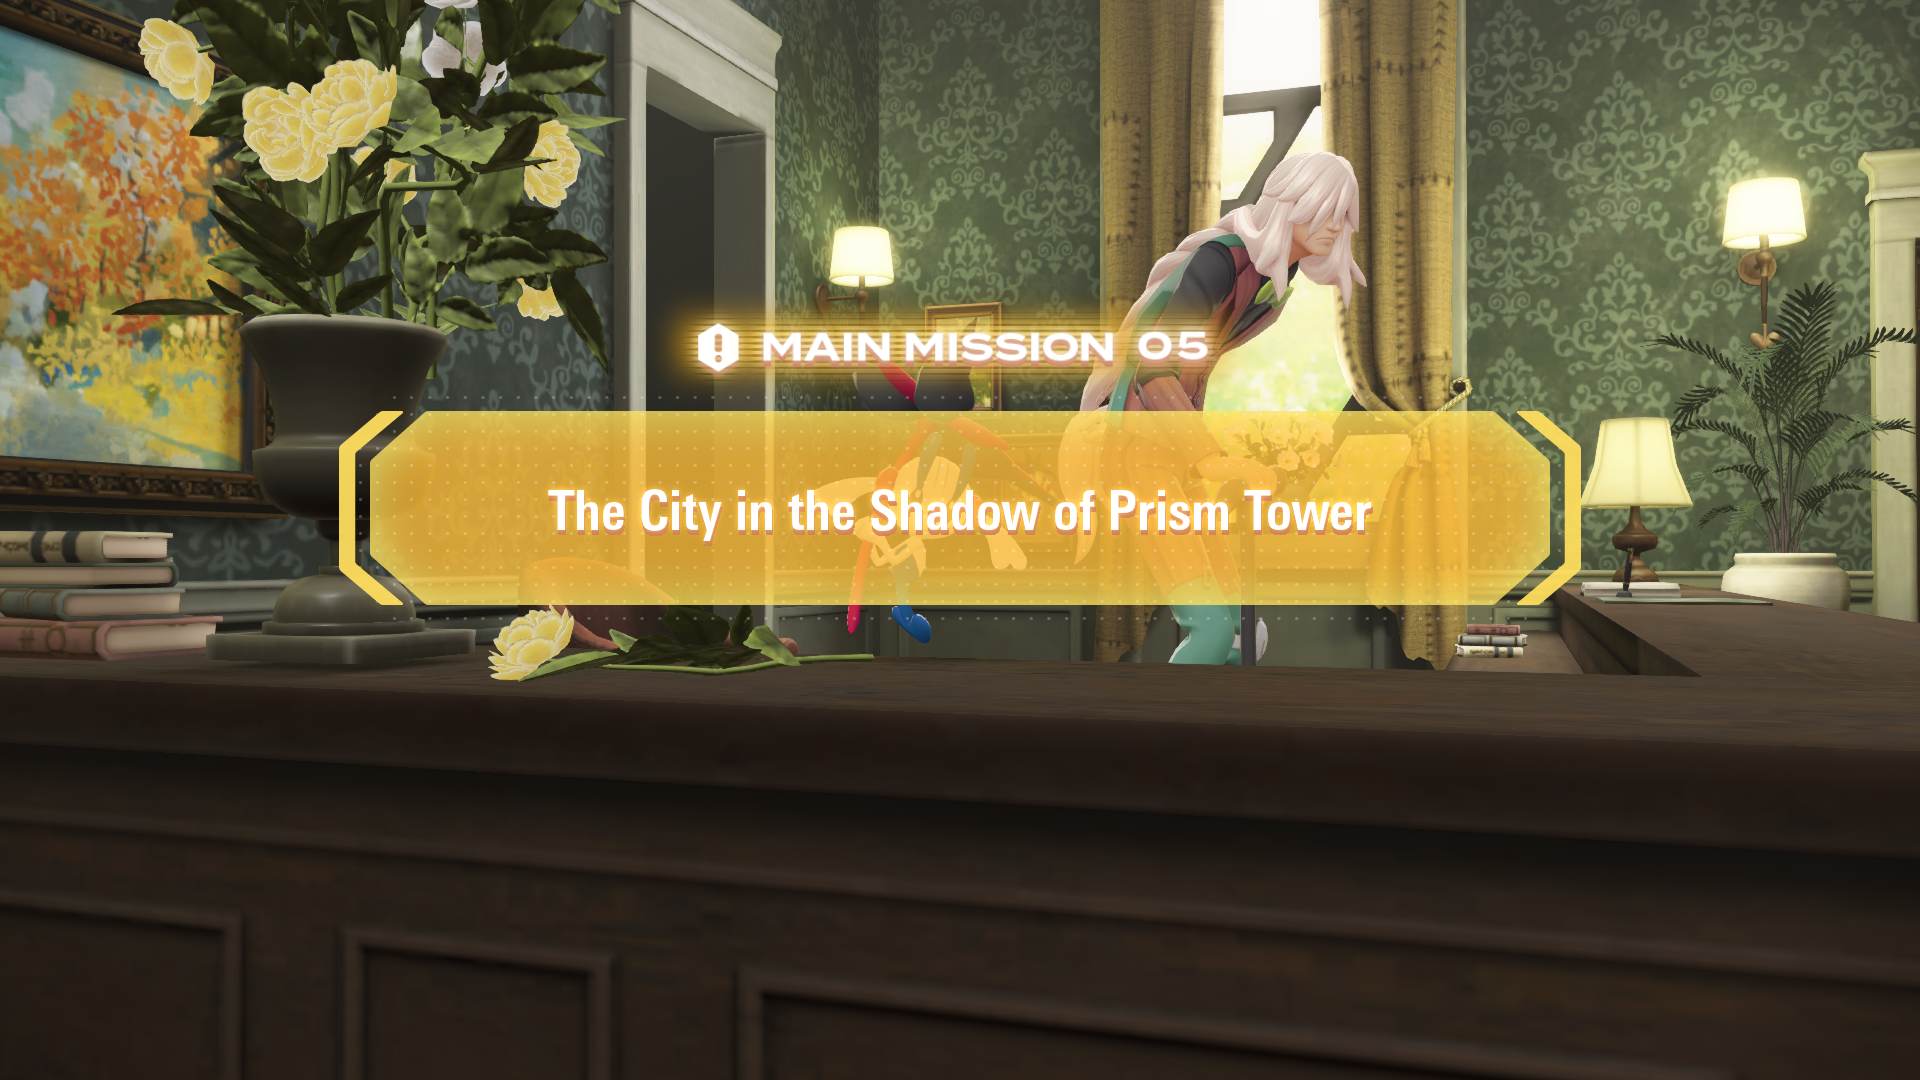
The City in the Shadow of Prism Tower is the fifth main mission in Pokemon Legends Z-A, and it finally lets you fully explore Lumiose City, and expand your team of Pokemon. You must complete a series of side missions to finish this quest, and this walkthrough will show you how to start and finish this quest, with all the best activities to do in between.
Here is a comprehensive walkthrough for The City in the Shadow of Prism Tower mission in Pokemon Legends Z-A.
How To Start The City in the Shadow of Prism Tower in Pokemon Legends Z-A
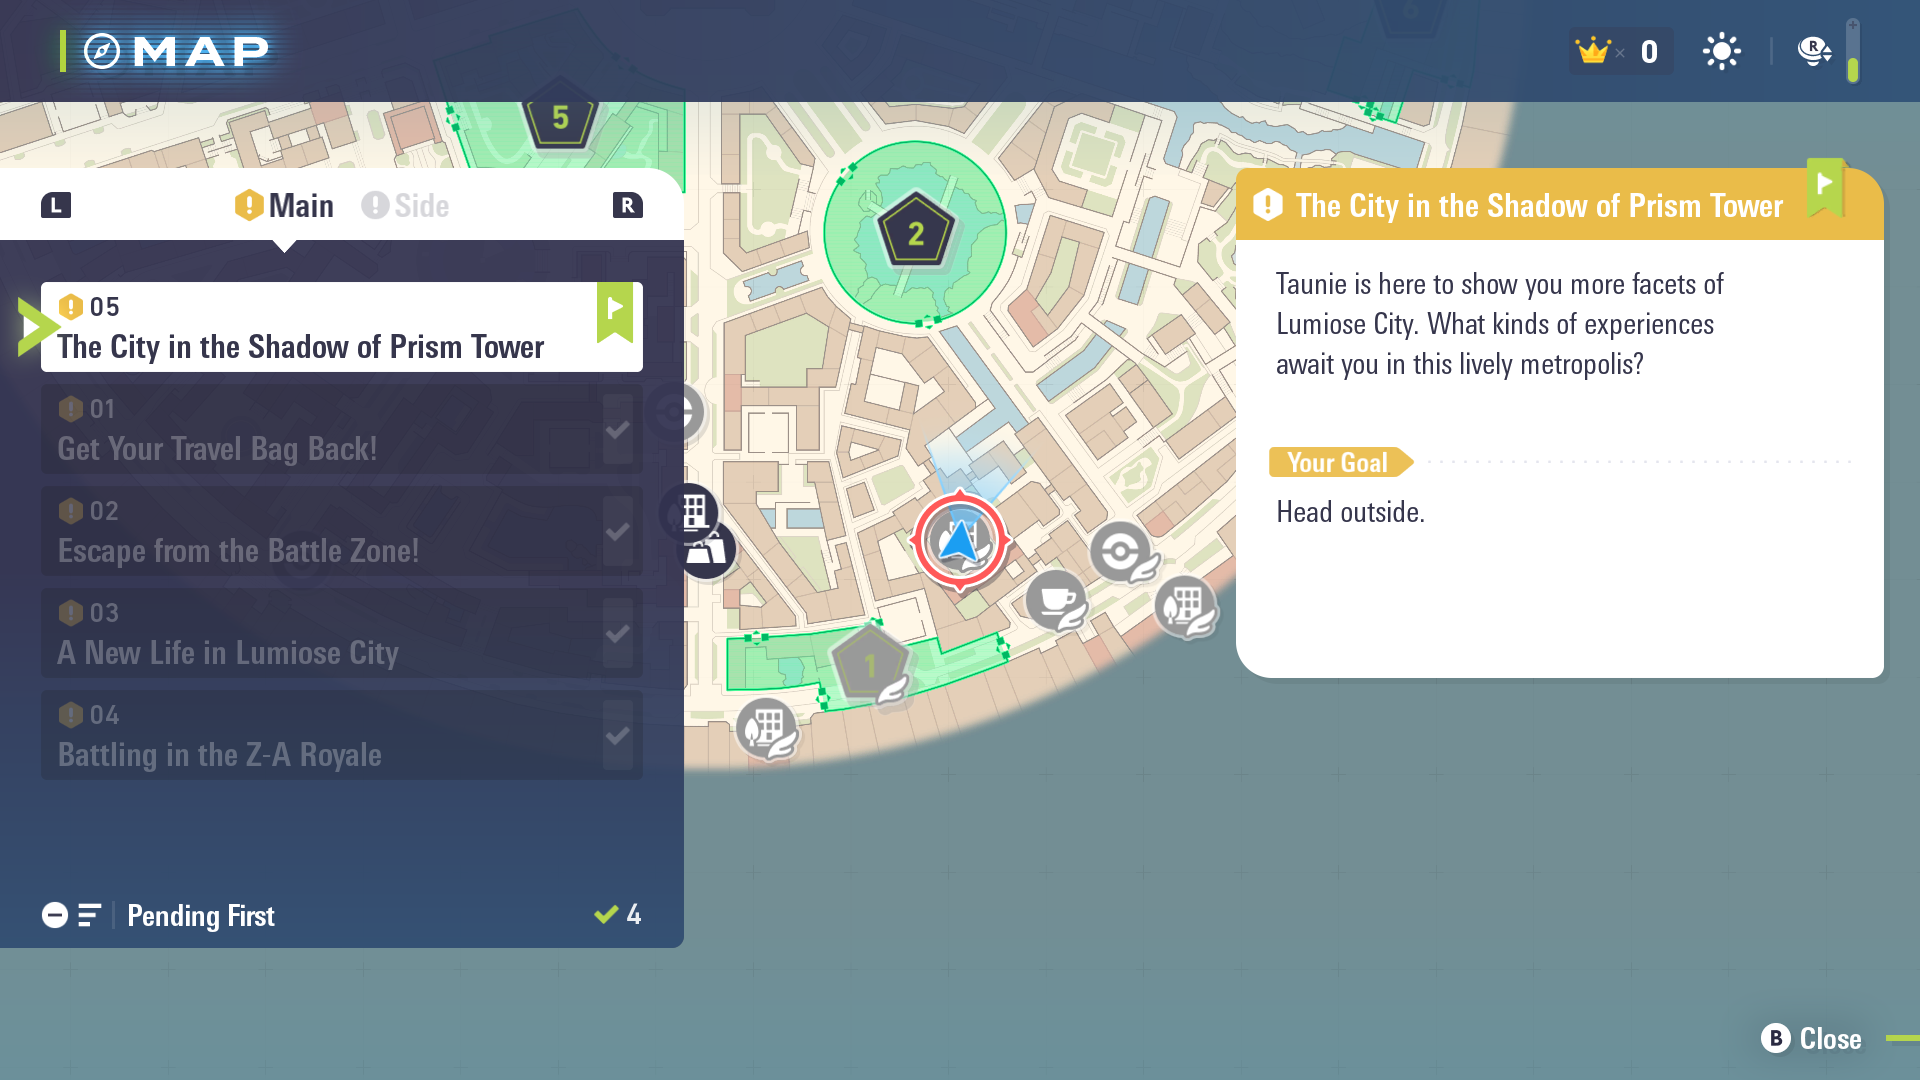
After defeating Zach in the fourth main mission, Team MZ goes to celebrate your victory at Hotel Z. Here, the next main mission will start. You will have to head outside the hotel to progress it.
This will start a cutscene where you will be given an important key item, a Red Canari Plush by Tarragon. This is also where you will be informed about Colorful Screws, which are collectibles to be found all across the city.
Note: The Red Canari Plush increases the experience earned by your Pokemon, making it invaluable.
The City in the Shadow of Prism Tower Walkthrough For Pokemon Legends Z-A
Follow Your Rival
Taunie/Urbain will lead you to the next part of this quest. You cannot deviate from this route much, so don’t try to wander around. Firstly, you will be introduced to the Mega Crystals growing all over the city. Send out your Pokemon to break these and collect Mega Shards.
Note: Try to collect as many of these Mega Shards while exploring the city later on. You will be able to trade these in for Mega Stones to Mega Evolve later and even Exp candies.
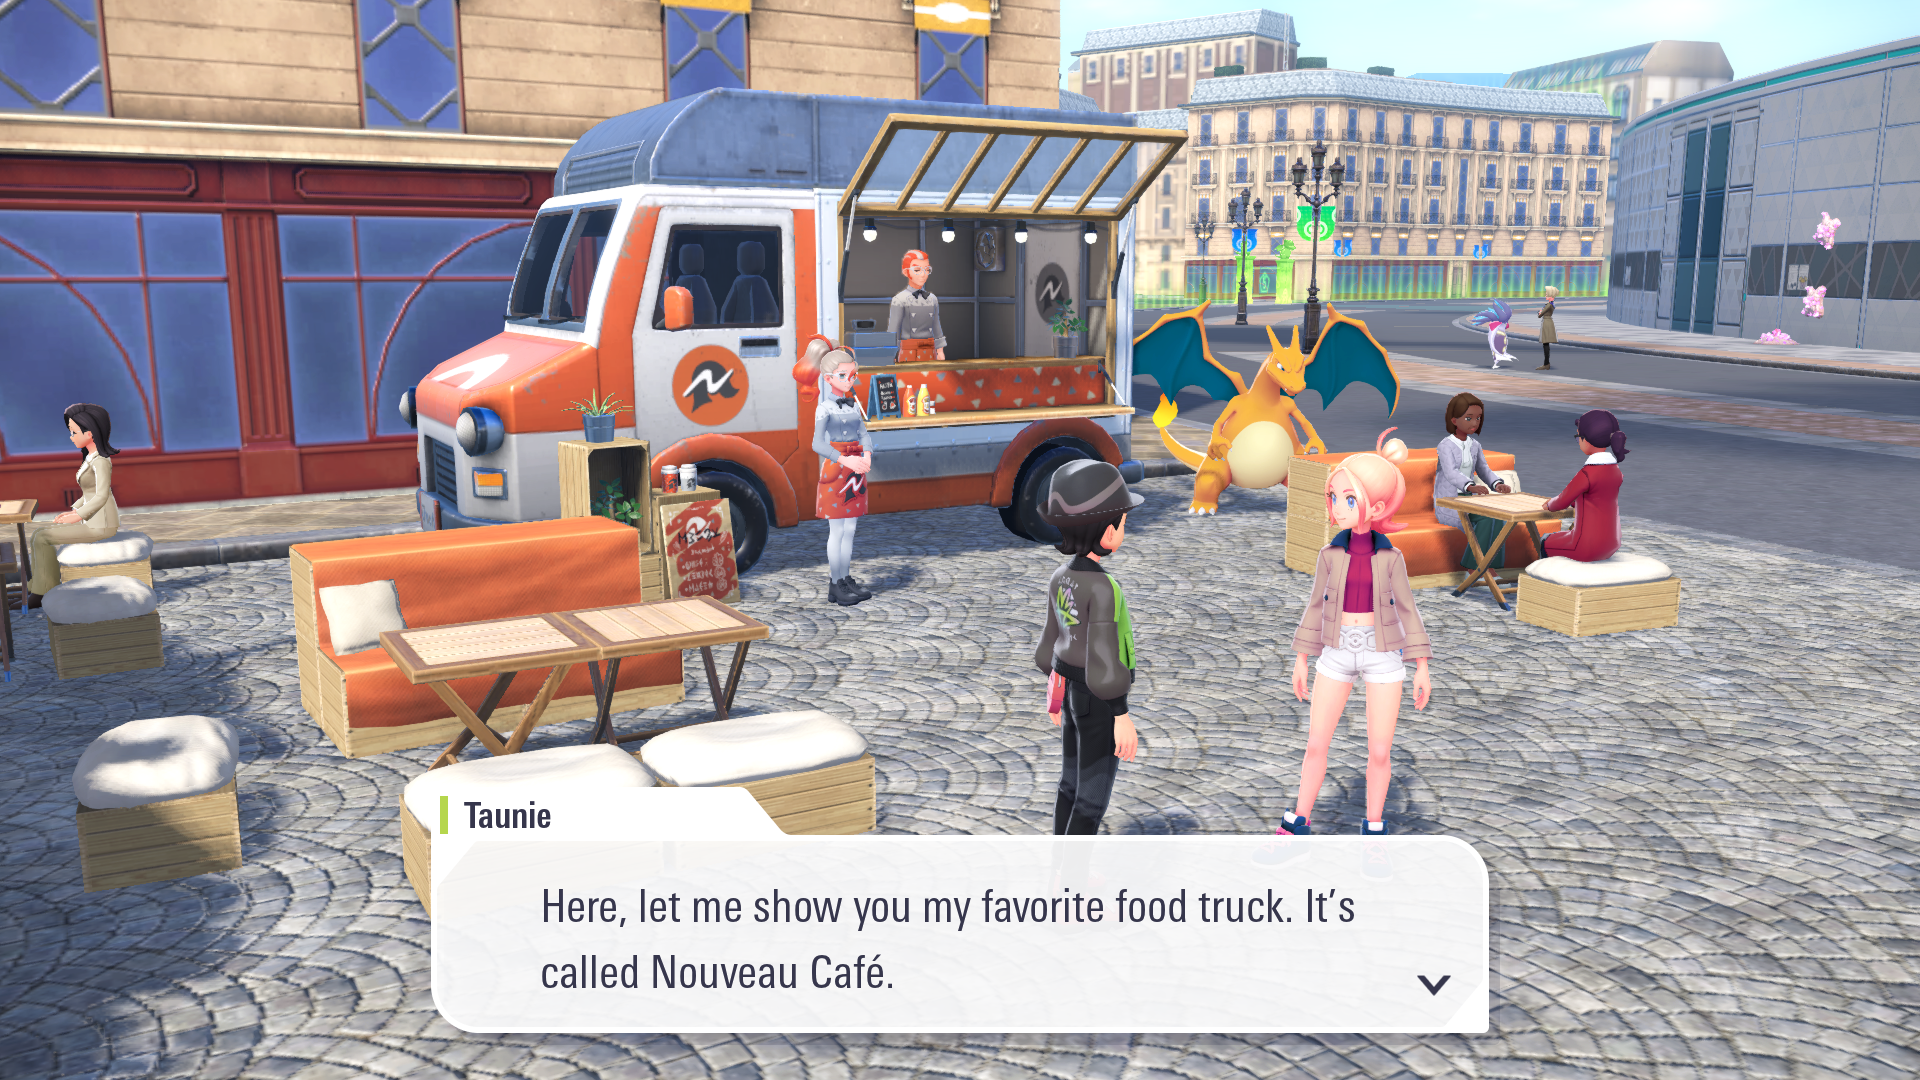
After that, you will also be informed about the Rotom Phone safety feature, which lets you jump off tall buildings without any repercussions. Use it to follow your rival. On the way to Nouveau Cafe, you can explore Wild Zone 2 to catch some Pokemon if you wish. Use it to make a good early-game team.
From there, you will be introduced to Vinnie, the secretary to Quasartico’s CEO.
Fist of Justice: Josee Battle
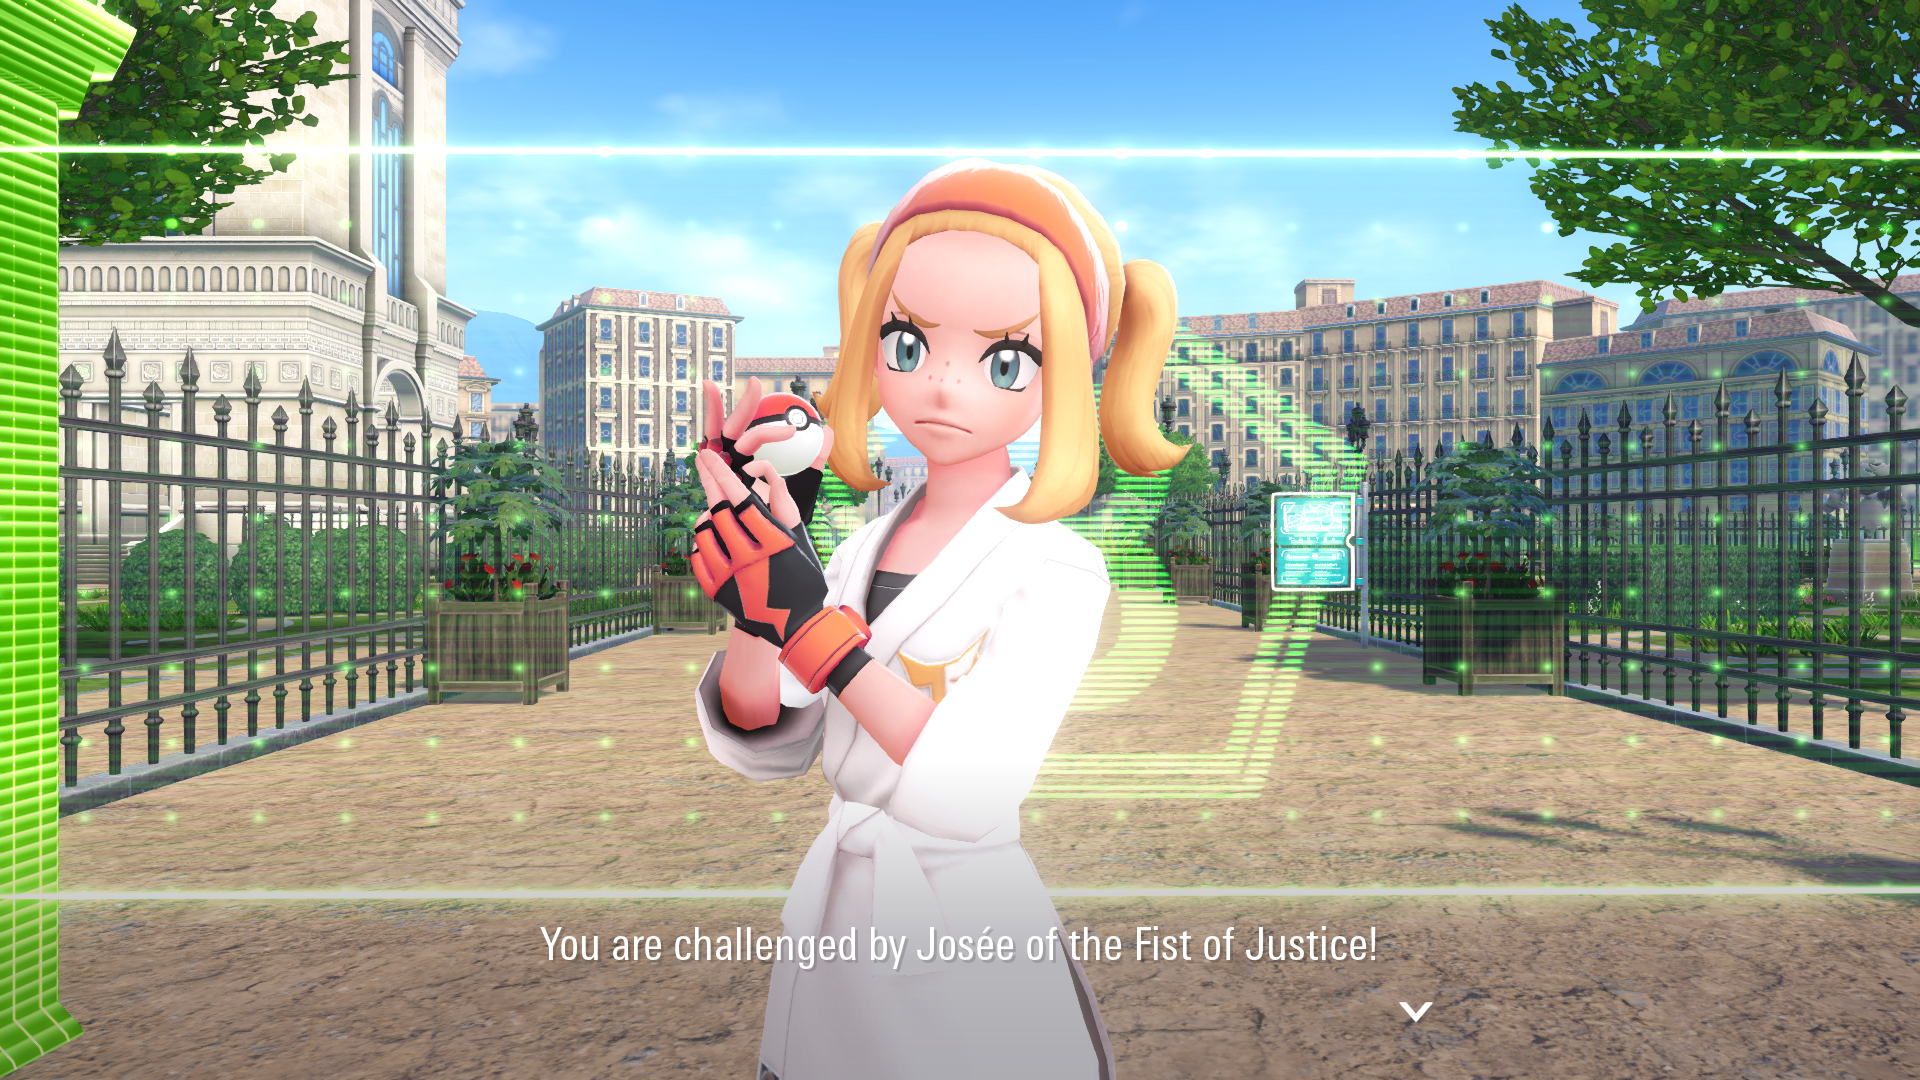
You will eventually make your way to the entrance of Wild Zone 3. However, you cannot enter this location initially, as Ivor, the leader of the Fist of Justice organisation, is delivering a speech in front of it.
Josee, one of the members, will challenge you to a Pokemon battle. Her team is as follows:
- Machop
- Meditite
You should have at least one Flying type Pokemon by this point, Pidgey or Fletchling. Any of them can greatly help out against Josee. After you have defeated her, a cutscene will play out, and the Fist of Justice members will depart. You can now enter Wild Zone 3 and catch any Pokemon inside you want.
Note: One Pokemon you should definitely catch inside is Pikachu. Moreover, if you plan to add one to your team, make sure to catch another one. You will need this for completing a side mission shortly after. However, do be careful, as multiple wild Pokemon could attack you at once making things difficult.
After you are done, proceed to the Looker Bureau as marked on the map to start a cutscene and put a pause on this mission.
Side Missions
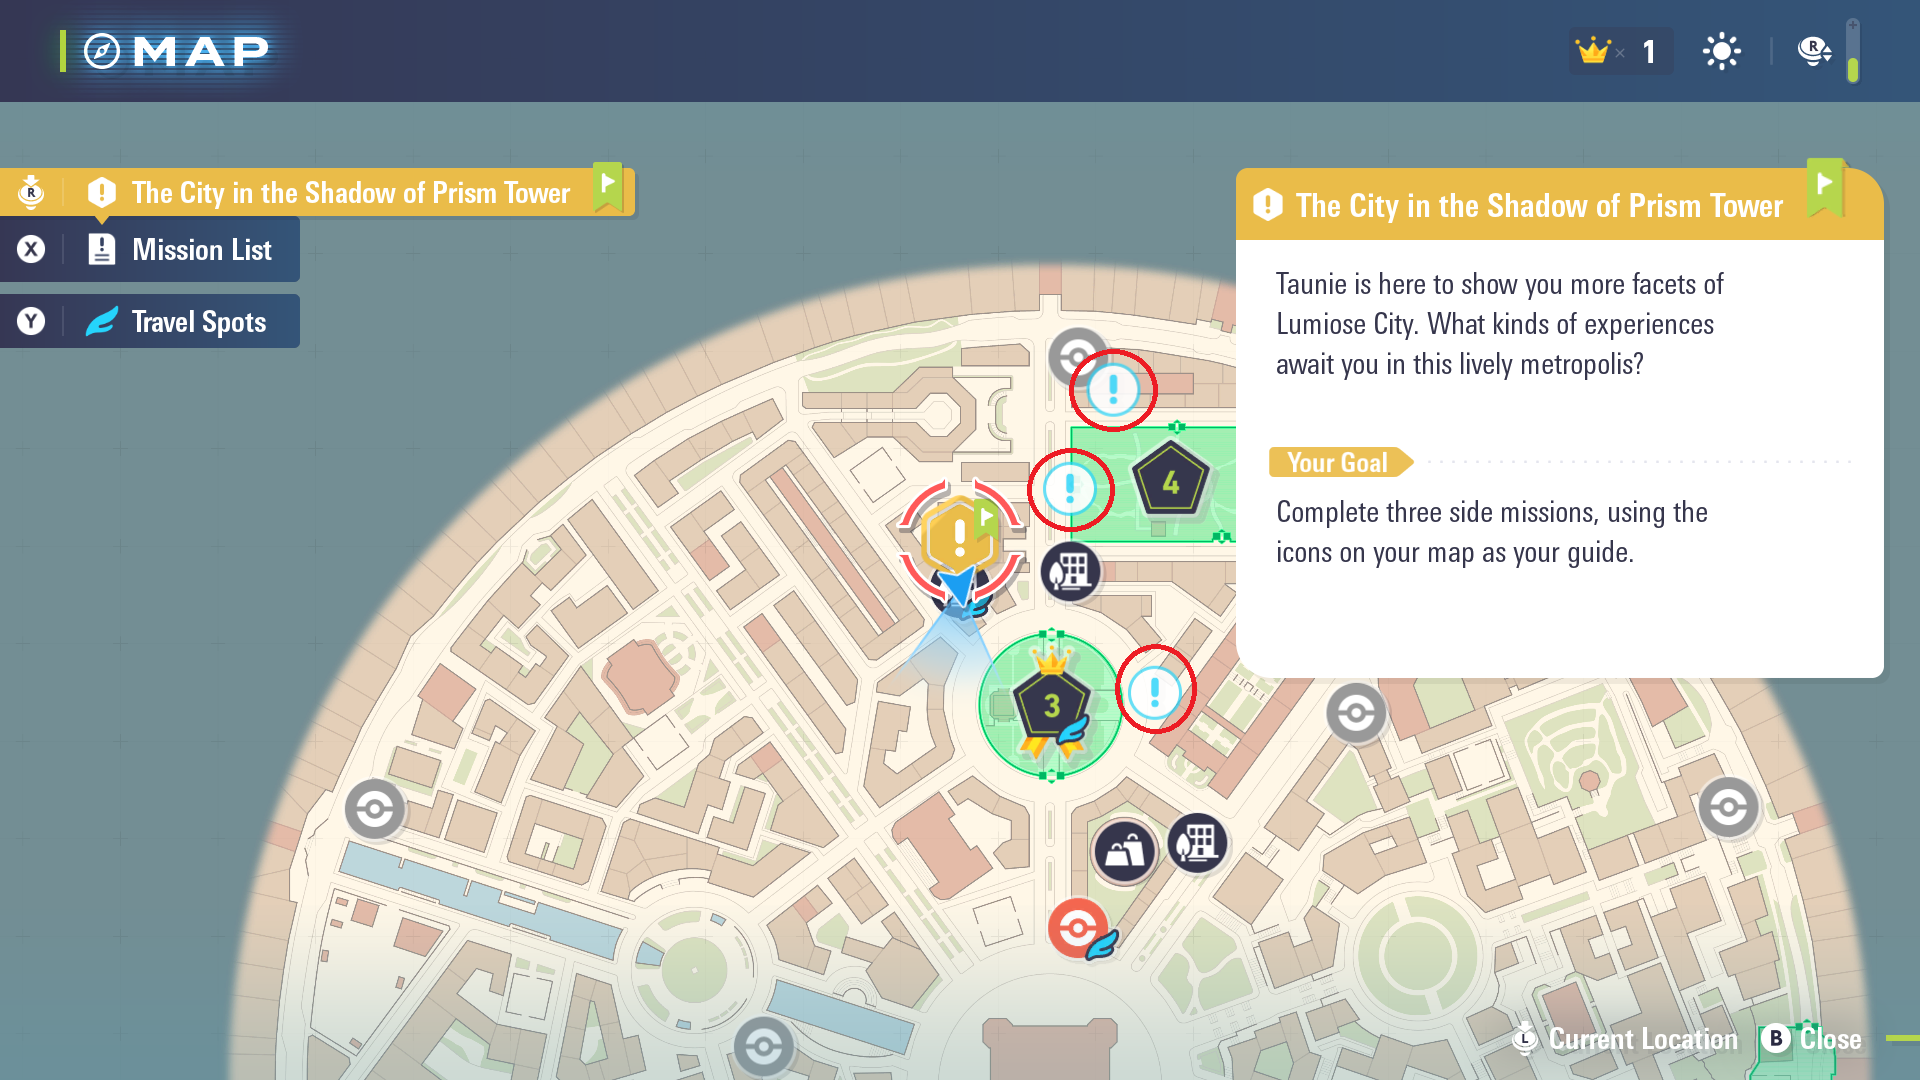
Talking with Emma will unlock various Side Missions inside the city. Moreover, you will have to complete three side missions to progress this mission. You will find the location of all three missions marked on the map image above. Meanwhile, if you want to know how to complete each mission, read below.
- Side Mission 001 A Big Ol’ Bunnelby: Follow the client to the alleyway and battle against an Alpha Bunnelby. You can catch it quickly after defeating it.
- Rewards: Poke Dollars 400, Fresh Water x2
- Side Mission 002 A Use for an Evolution Stone: Client needs a Pikachu. You can find one inside Wild Zone 3 and bring it back to trade for a Heracross.
- Rewards: Poke Dollars 800, Poke Balls x5, Potion x3
- Side Mission 003 Sableye in the Cemetary: Head inside Wild Zone 4, and go to the top right corner. Battle a Sableye and retrieve the ring for the client.
- Rewards: Poke Dollars 4000, Revive x2
After all three missions are complete, head back to Emma, and a cutscene will play out where she Mega Evolves her Ampharos as a demonstration. This will also start the next main mission of the game, Reaching Rank X. That will wrap up the walkthrough for The City in the Shadow of Prism Tower in Pokemon Legends Z-A.
We provide the latest news and create guides for Pokemon Legends Z-A. Meanwhile, you can check out the following articles or catch us playing games on YouTube: