Facebook
 Reddit
 Email
Email
Trying to find all the Lost Relic locations? Let us lend you a hand with all the locations you will need to complete the quest.
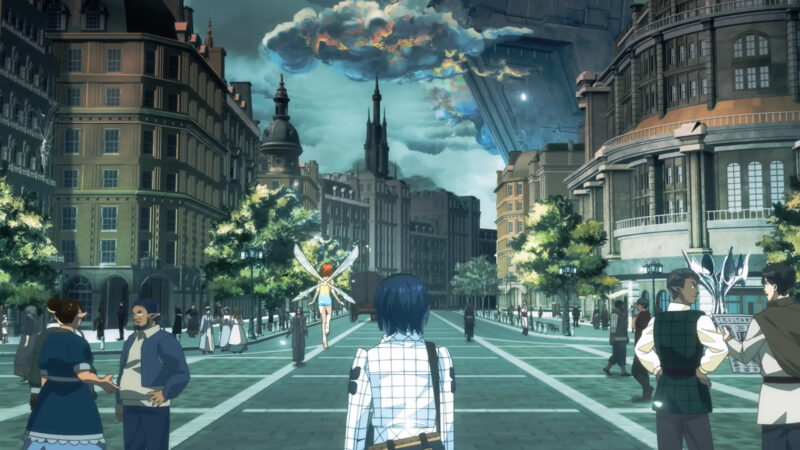
Collecting every Lost Relic in Metaphor ReFantazio can be a tiring task, especially when you don’t know where to start looking. This mission is essential for you to improve your bond with Neuras, a character introduced pretty early on in the game. Even if some of you don’t care about ‘bonding’ with the NPC, completing a collectible quest still gives you a rewarding feeling like no other.
Neuras’ relics are spread all across the United Kingdom of Euchronia. It can be a hassle going to every location just to pick up an ancient artifact. Lucky for you, the game only unlocks certain locations once you pick up the bounty for that area. You can go back to pick up relic later if you miss it the first time around, but why not learn where each of them is placed to avoid a second trip?
Lost Relic Location 1 (Glass Ornament)
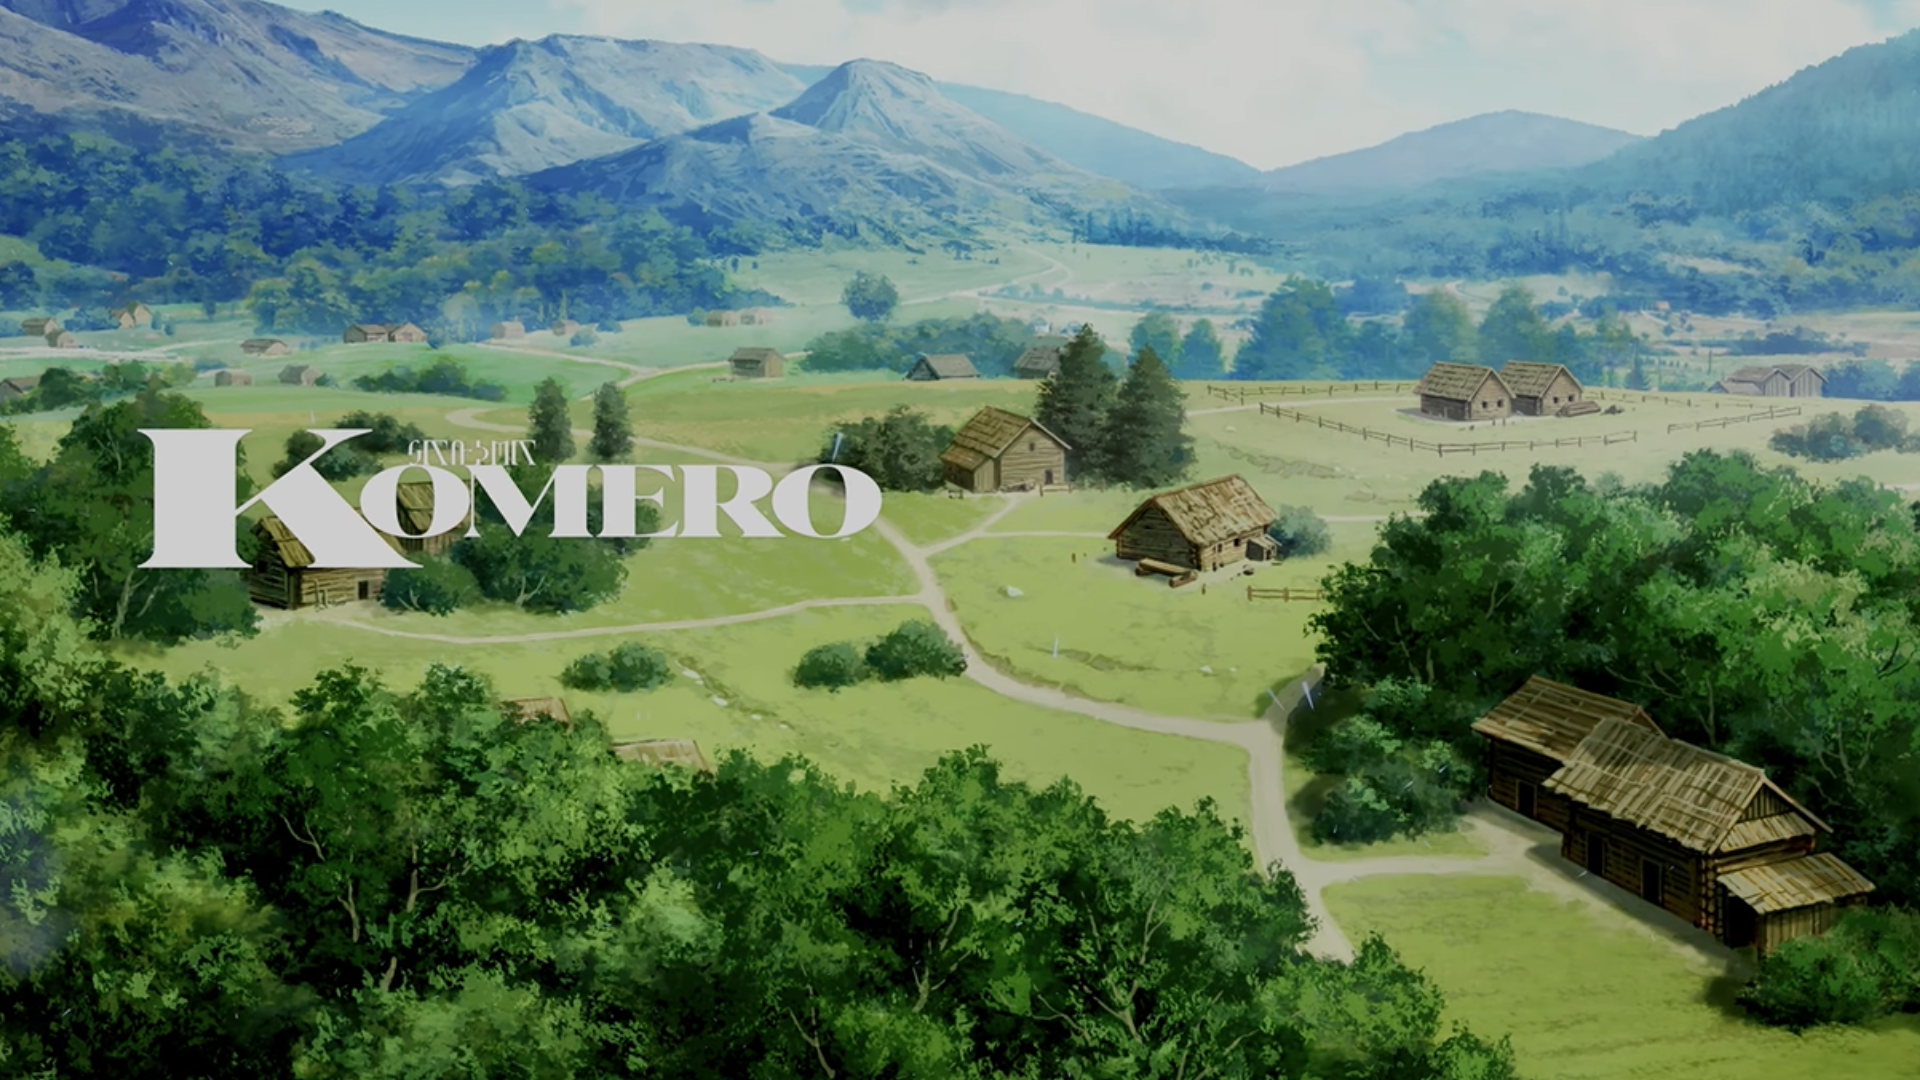
After talking to Neuras the first time around, he will tell you a story about his mentor who would leave him his inheritance. This creates the Providing a Spark Quest. Find the first relic in Komero. Paying the informant in Martira or accepting the Man-Eater in the Mine bounty will allow you to travel to Komero through the Gauntlet Runner. As you arrive, a dialogue cutscene will play out among your followers. This will reward you with the Glass Ornament.
Lost Relic Location 2 (Screwed-Up Mineral)
Reach the Man-Eater Grotto for this collectible after accepting the said bounty. The hilariously named mineral is right by the entrance, but it’s placed on an edge too high to get to. Continue down your path and turn left in the end. Take the first right and keep on the path that you are now on until you find a way heading upwards. Make your way to the eastern side of the map from around the pillar. You can crawl under a small opening in the wall to reach the chest where the Relic is waiting for you.
Lost Relic Location 3 (Gypsum Cube)
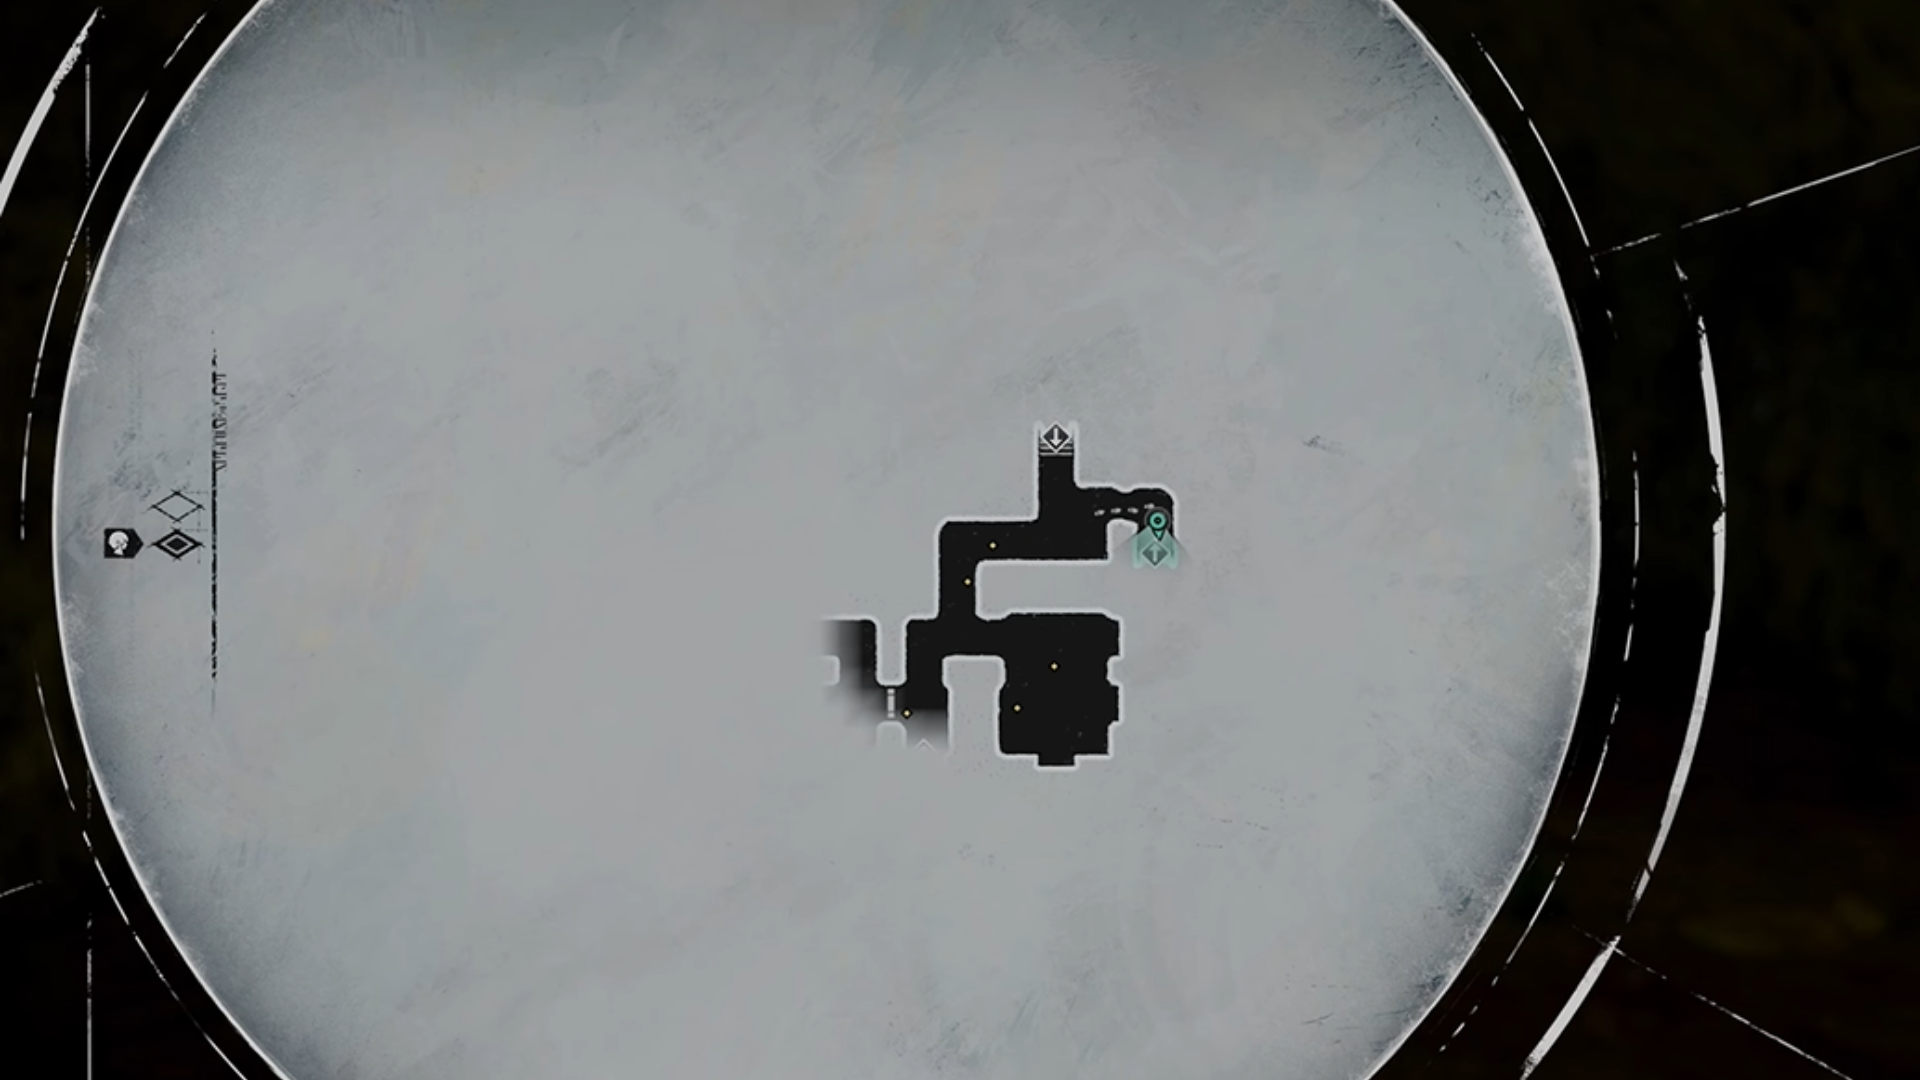
Accept the Superior Scrimshaw Bounty Quest from the Craftsman in the Merchant’s Bazaar in norther Brilehaven. This will take you to the Tomb of Lament. The quest marker will show you where to go. As you can see on the map, turn right to crawl through a tunnel. You will find a similar looking tunnel headed towards the marker. Enter it to accept your reward: the Gypsum Cube.
Lost Relic Location 4 (Mossy Pillar)
Complete the Dragon Temple, recruit Eupha, and talk to her in the town. She will assign the Trial of Malnova Quest needed to reveal the location of the next relic. This will take you to north of Virga Island, in the Land of Ceremony.
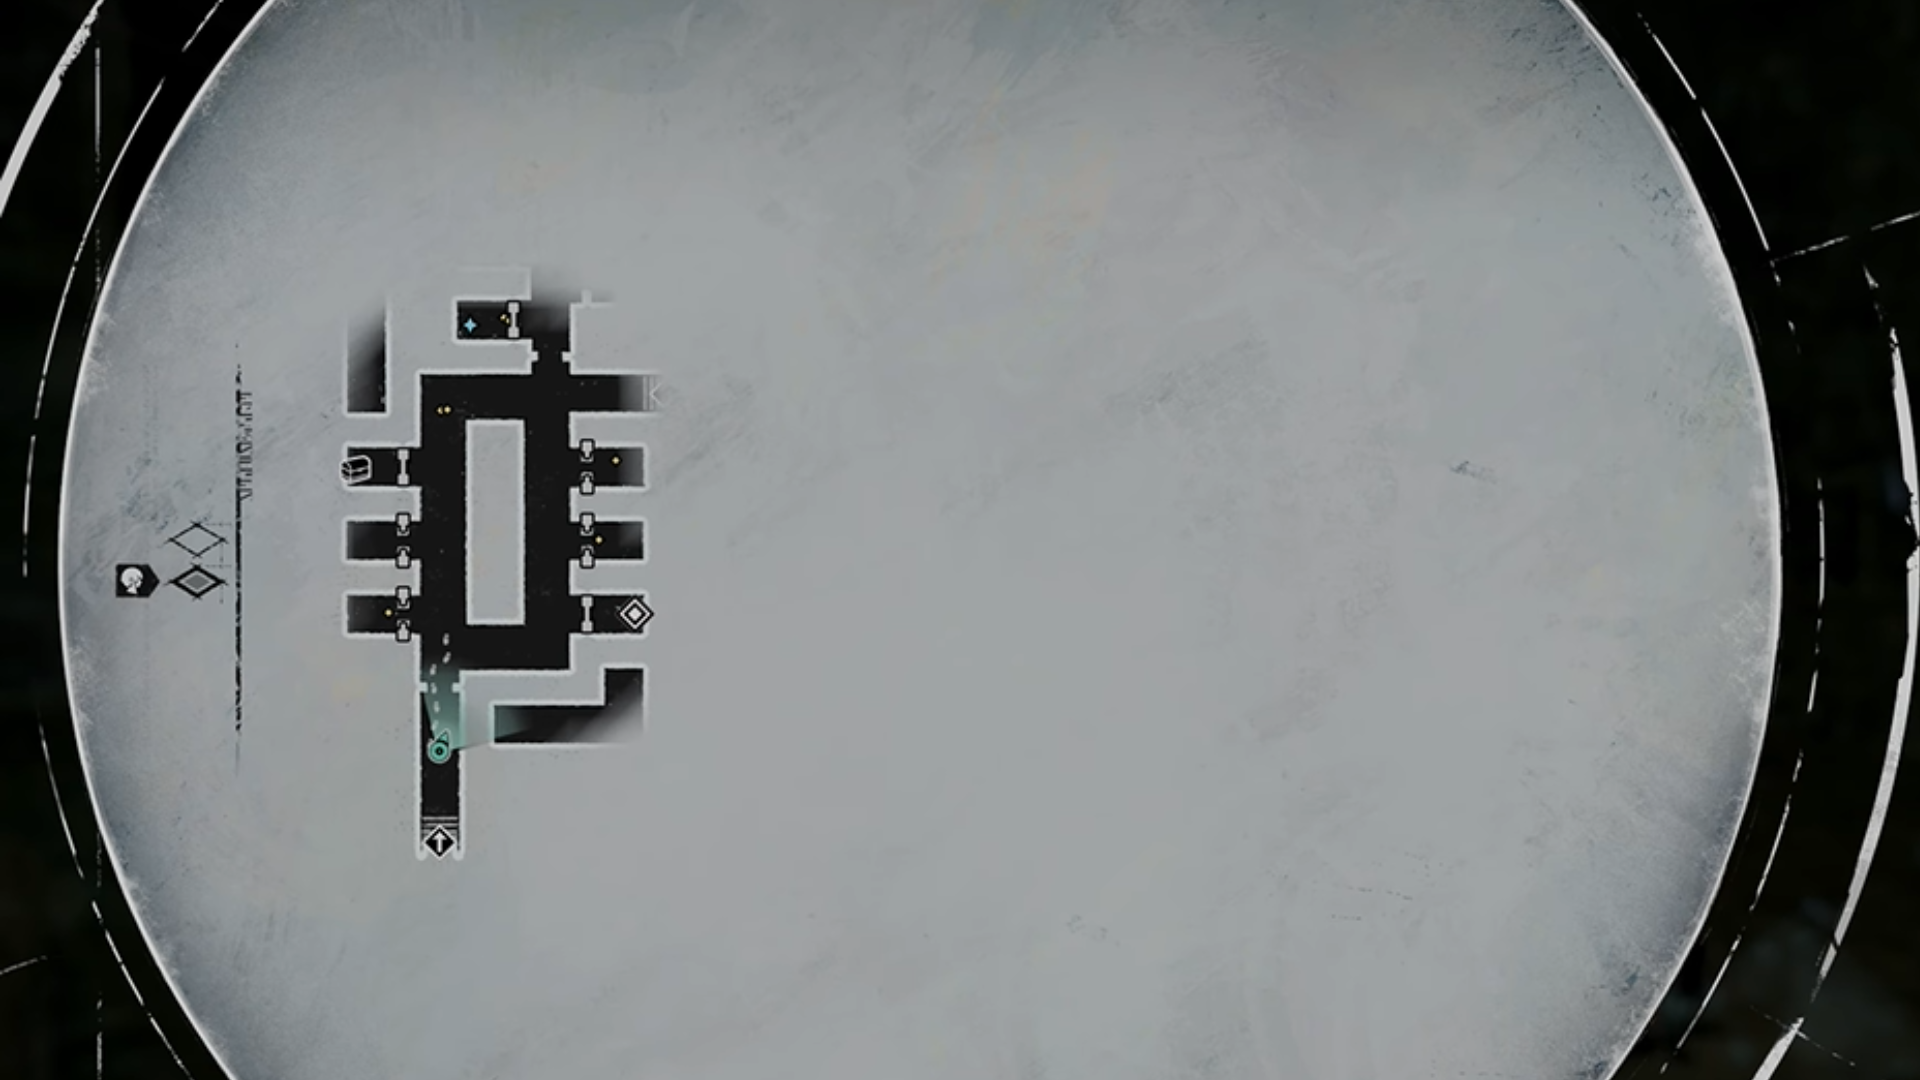
Go up and right after you enter the dungeon. Follow the path in front of you. After reaching the end of the zig-zag path, you will find an opening with a chest located inside. Open it to find the Mossy Pillar inside.
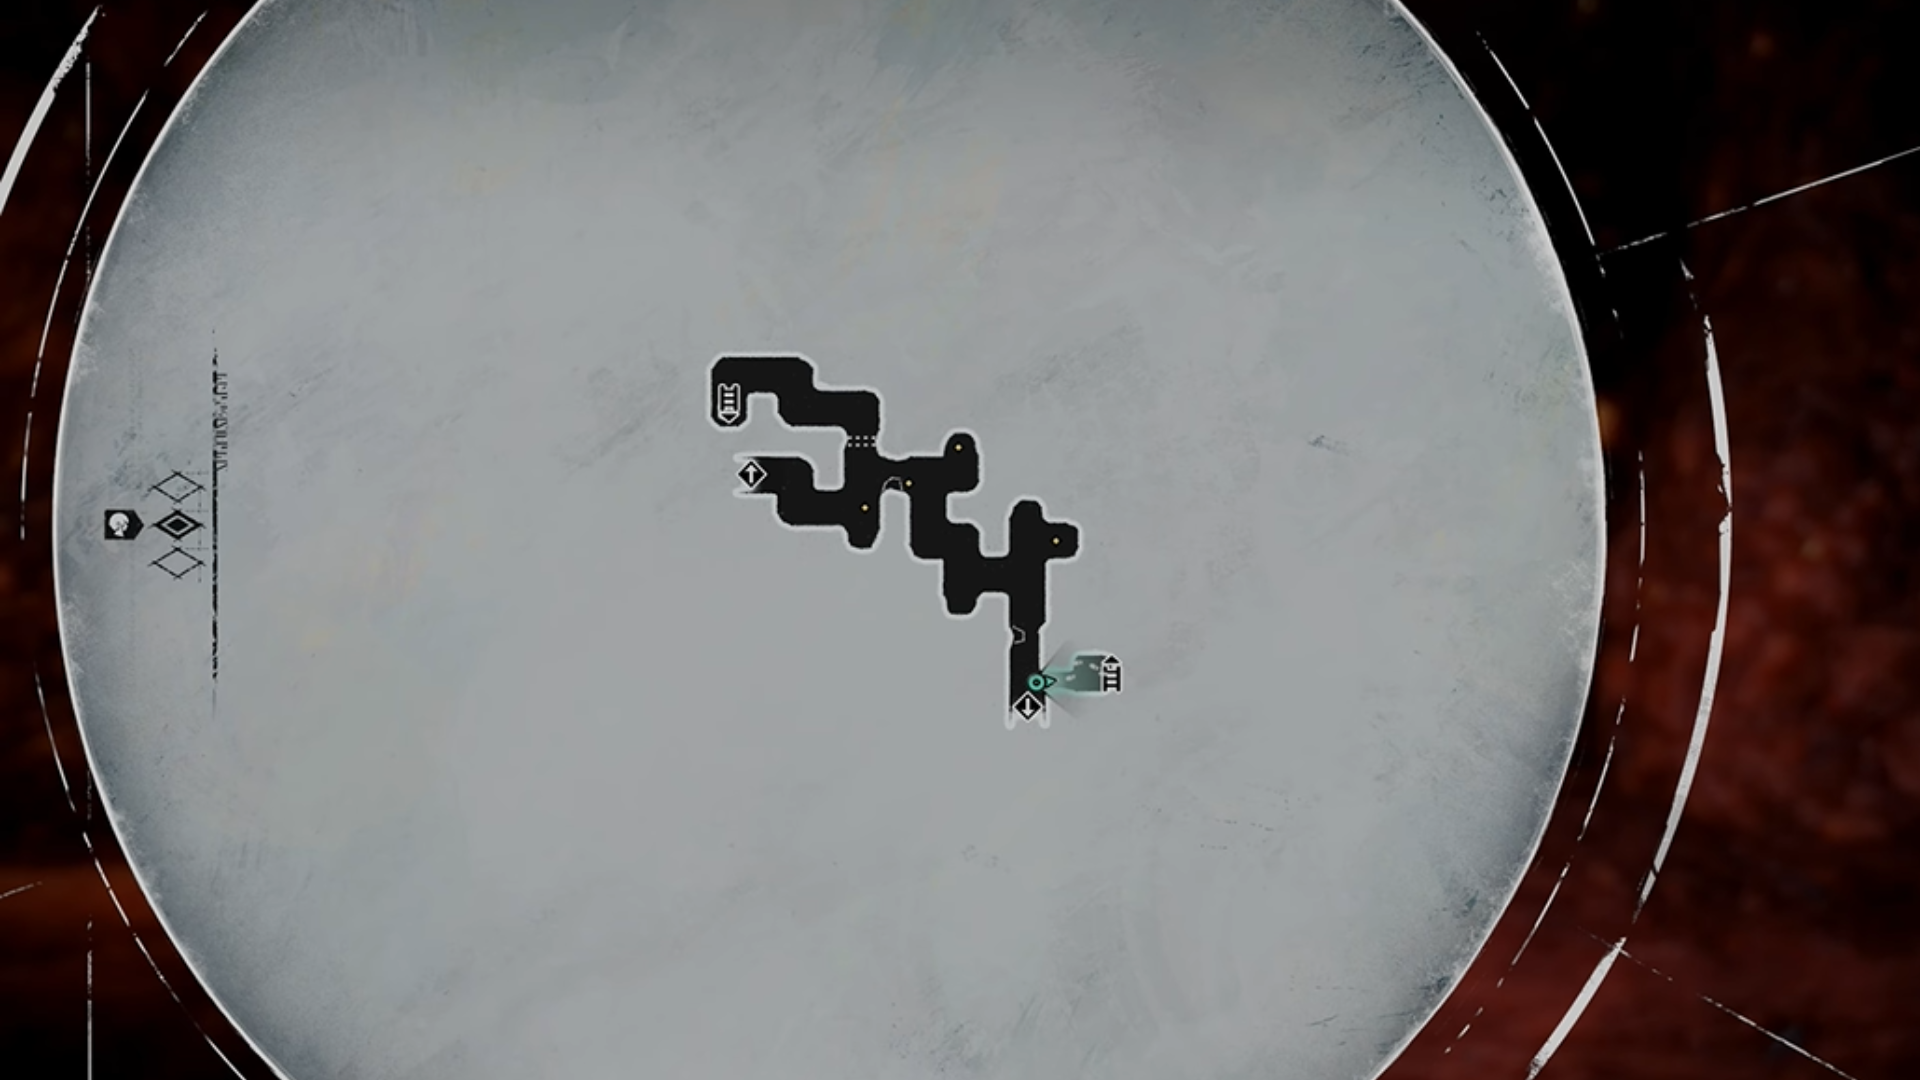
Lost Relic Location 5 (Parquet Chest)
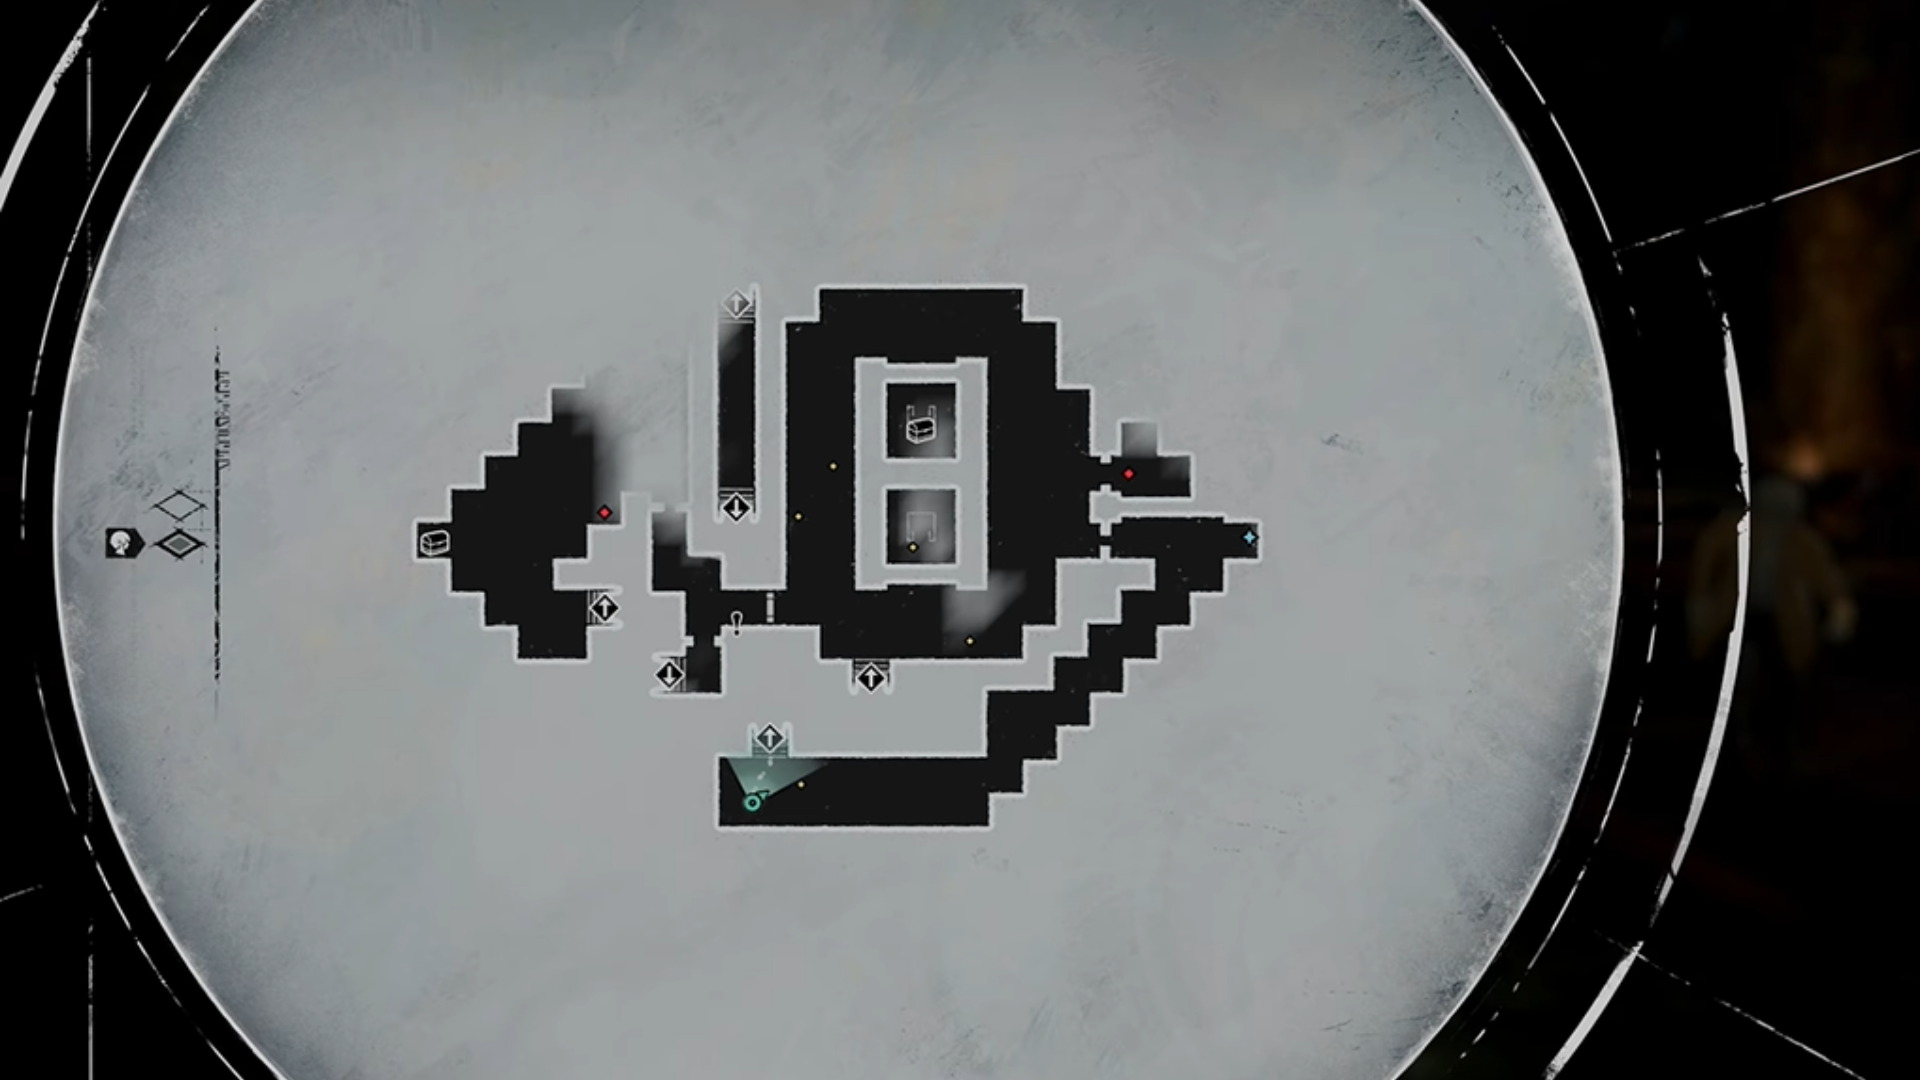
Spend some time on the Virga Island after the collecting previous relic and completing that bounty. Kill some time until you are about to leave the island because this is when the bounty for The Greater One-Eyed Scroundrel will show up. Once you enter the dungeon, head straight until the paths diverge. Head left as shown on the map. Crawl under the crack in the wall, and there will be a chest on the right, waiting for you to open it.
Lost Relic Location 6 (Stitched Sphere)
Yet another interesting artifact awaits you. This time around, the situation is a bit open-ended. If you can pick up The Edge of Glory quest upon returning to Grand Trad’s Sunshade Row, it will lead you straight to Mt. Vulkano. However, feel free to talk to Eupha as well. She will assign you the Wayward Shepherd quest. Both of these missions will take you to the same location where the sixth Neuras relic will be.
Once in the dungeon, fall down the pit located on the same floor as the entrance. Keep going down the slope to find a ladder. Climb it. There will be two giant holes on the floor that you have to walk past. Be careful because you wouldn’t want to fall down. The chest is right near the second hole that you can walk around by slowing down.
Lost Relic Location 7 (Panhandled Ore)
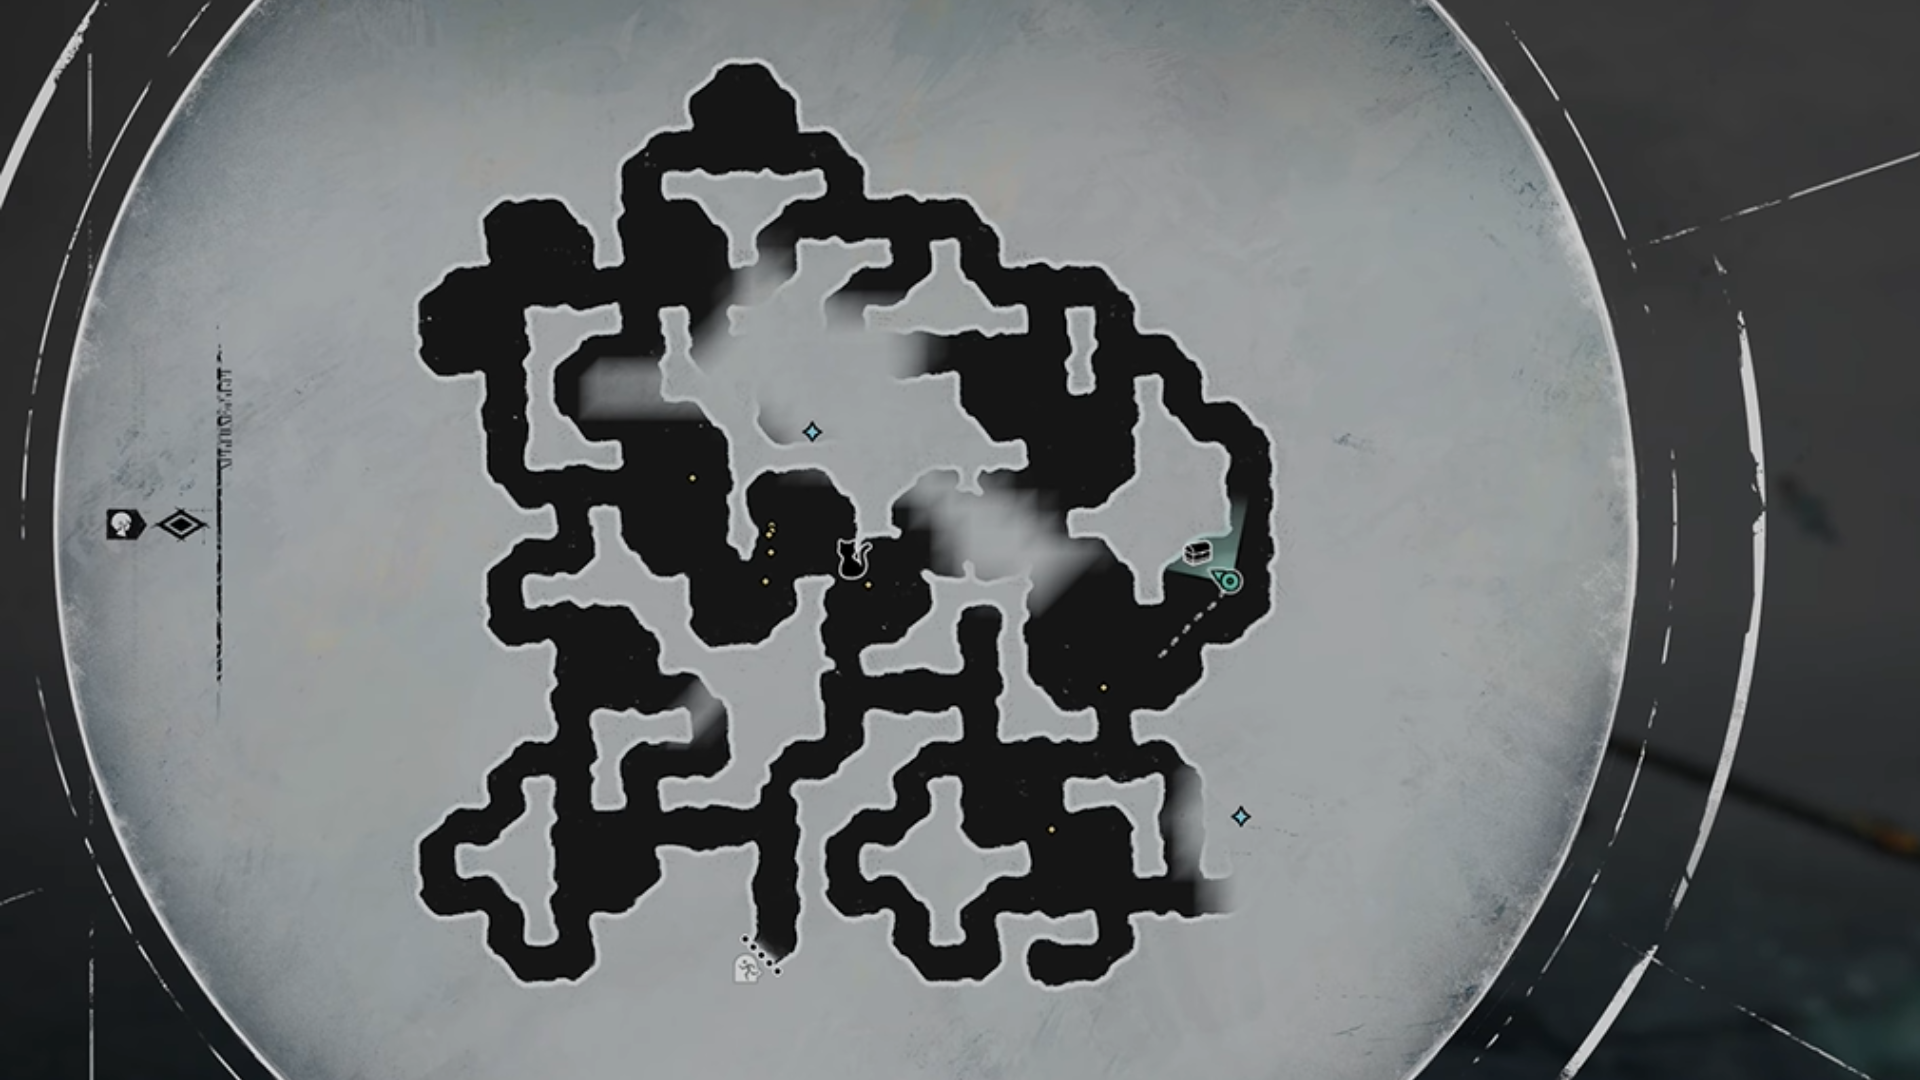
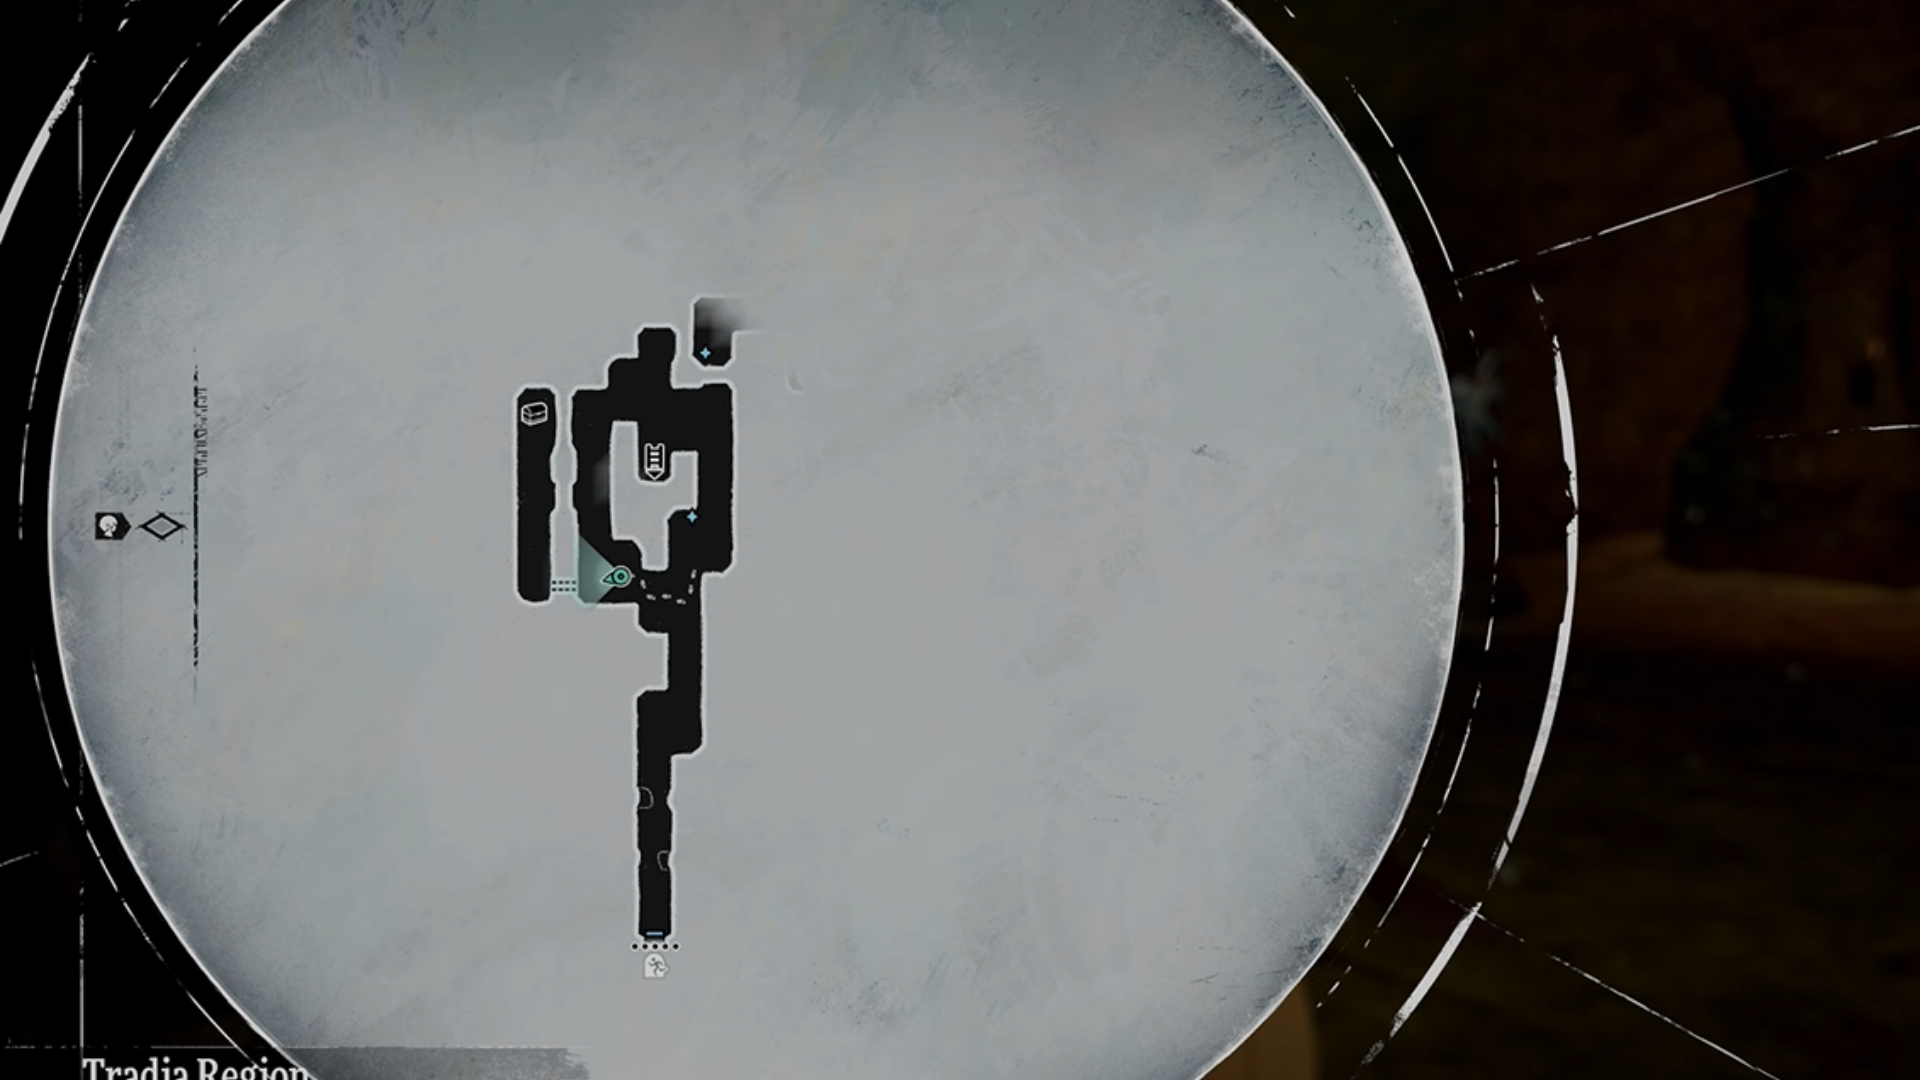
Accept the quest The Fiend in the Forest to progress and find the seventh relic. The said Bounty will send you north of Altabury Heights into the Everfrost Forests. You will find the chest in the area shown on the map above. There are no twisted and puzzling pathways to get there. However, you might want to take care of the bounty first. Just like other dungeons, there will be enemies patrolling the place. Don’t bother engaging with every since one of them.
Take what you were here for, which happens to be the Panhandled Ore. This will sum up the relics that you can visit by yourself after accepting the mentioned quests.
What About the 8th Relic Location?
There is no particular order to collecting this last relic. It will keep showing “Area Unknown” until Neuras reaches Rank 6 in your gameplay. He will then reveal the location for the remaining relic. Beware of the dungeon he points to because you can run into combat there. Go in prepared even for a boss fight. Once you are done with the final location, you will have completed and collected all the relics in question.
It’s time to congratulate yourself because it was a difficult road up until now. Make sure to celebrate this moment before heading on to the next quest on your list.
Looking For More?
Thank you for reading the article. We provide the latest news and create guides for Baldur’s Gate 3, Starfield, ARK Survival Ascended, and more. Also, watch Deltia play games on Twitch or visit his YouTube channel!