Facebook
 Reddit
 Email
Email
Learn all you need to know to complete the Death Stranding Episode 3 in our step-by-step walkthrough guide.
- Death Stranding 2 Episode 3: How To Complete
- Pass Through the Plate Gate and Enter Australia
- Connect Your Q-Pid to the Australian Plate Gate’s Terminal
- Go to the Bridge of the DHV Magellan
- Deliver the Chiral Decontaminator to the Government’s Base
- West Environmental Observatory
- The Musician
- Investigate the Unusual Tar Currents Near West Fort Knot and Connect It to the Chiral Network
- Destroy the Giant Mech
- Restore the Monorail and Deliver Special Alloys to F1
- Deliver All the Terraforming Equipment To Rainbow Valley
After a quite short Episode 2, Death Stranding 2 Episode 3 Walkthrough is lengthy, with players having much to do. There’s a tense sequence where you make your way through a BT area after arriving in The Land Down Under. There’s much to do and find out here, and we will jot down all the main points you need to know.
Death Stranding 2 Episode 3: How To Complete
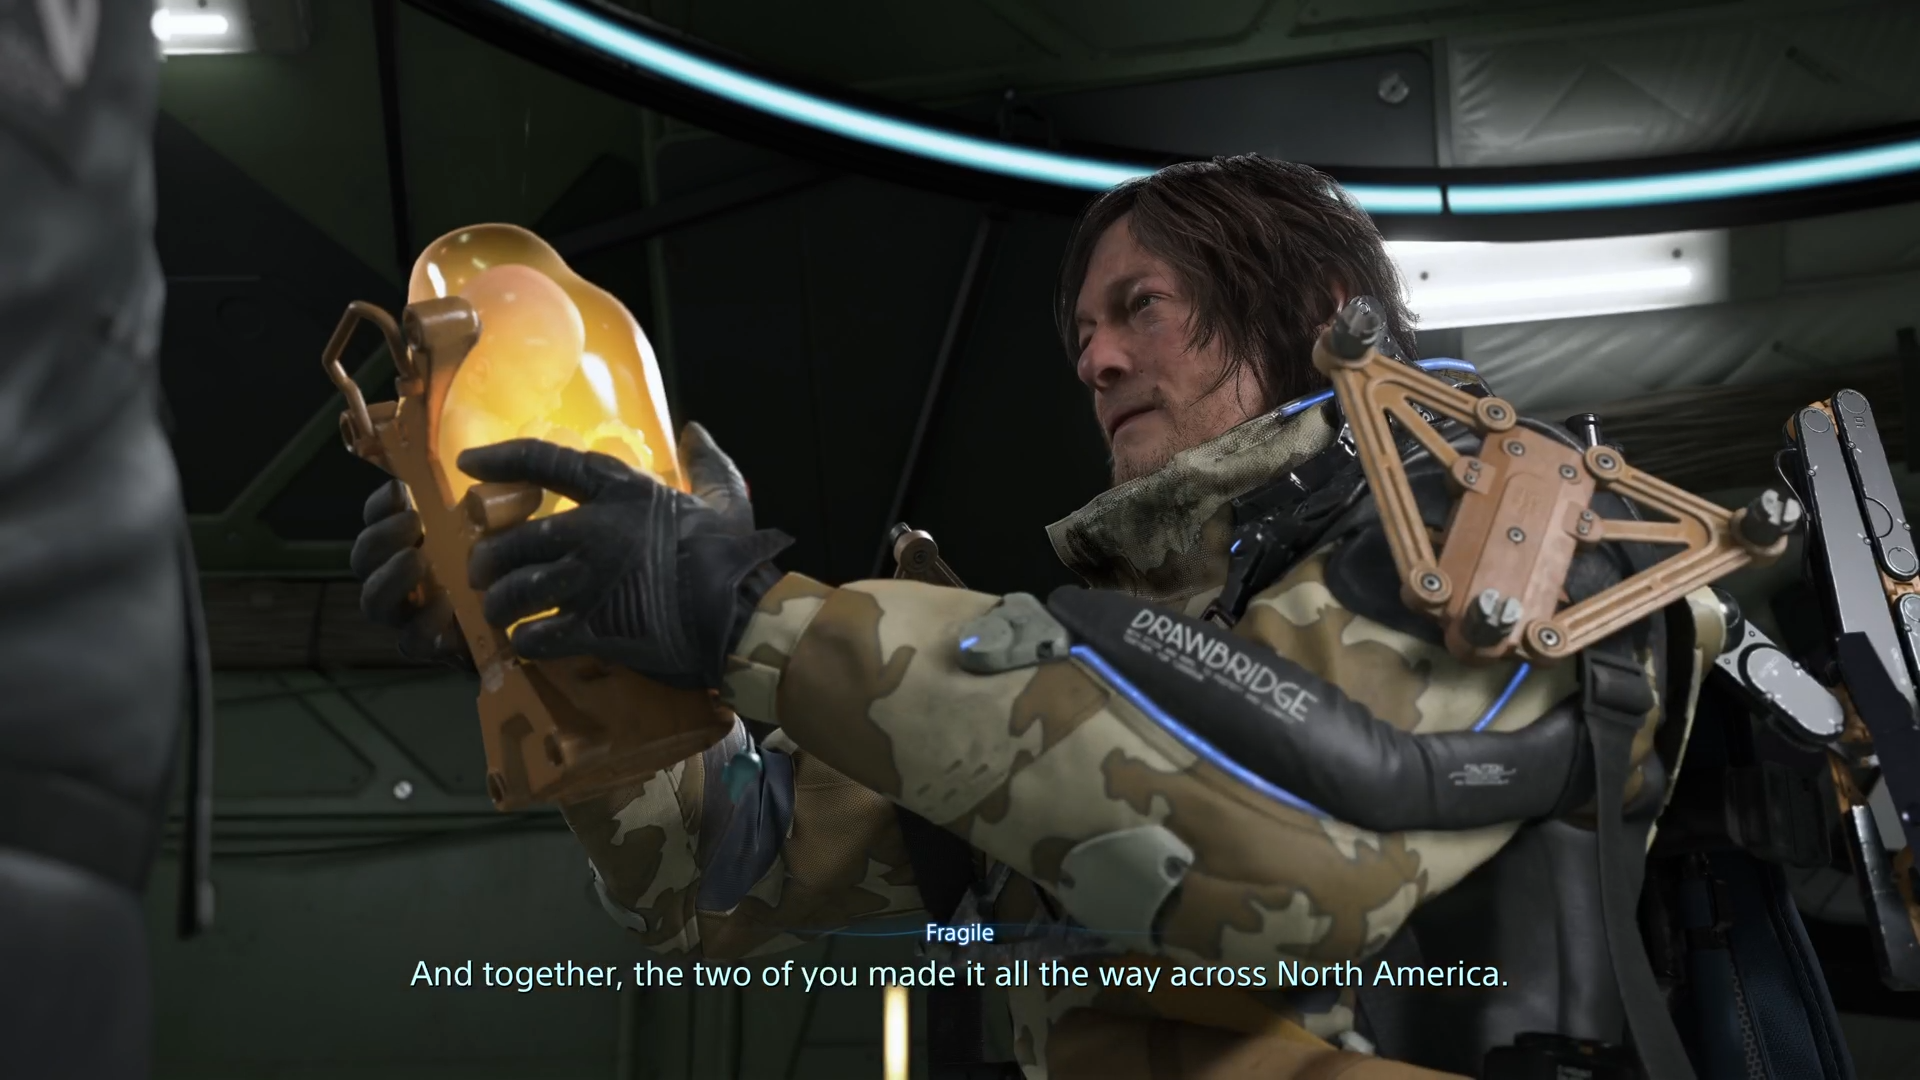
Sam wakes up in a private room on the ship. He looks extremely pale (we assume it is because of chiralium). Before you can meet Fragile, you will have to wash your face at the sink (which will elicit a short Lou hallucination for Sam). Once you are back on your bed, you can interact with the door to leave the room.
Fragile appears the moment you hit the square and the door opens. Once you arrive at the ship’s bridge, Fragile introduces you to Tarman, the resident doctor, geophysicist, and the one piloting the ship. The DHV Magellan uses the tar currents to travel underground from one place to another seamlessly. While it is traveling this way, all the occupants “bathe in chiralium.”
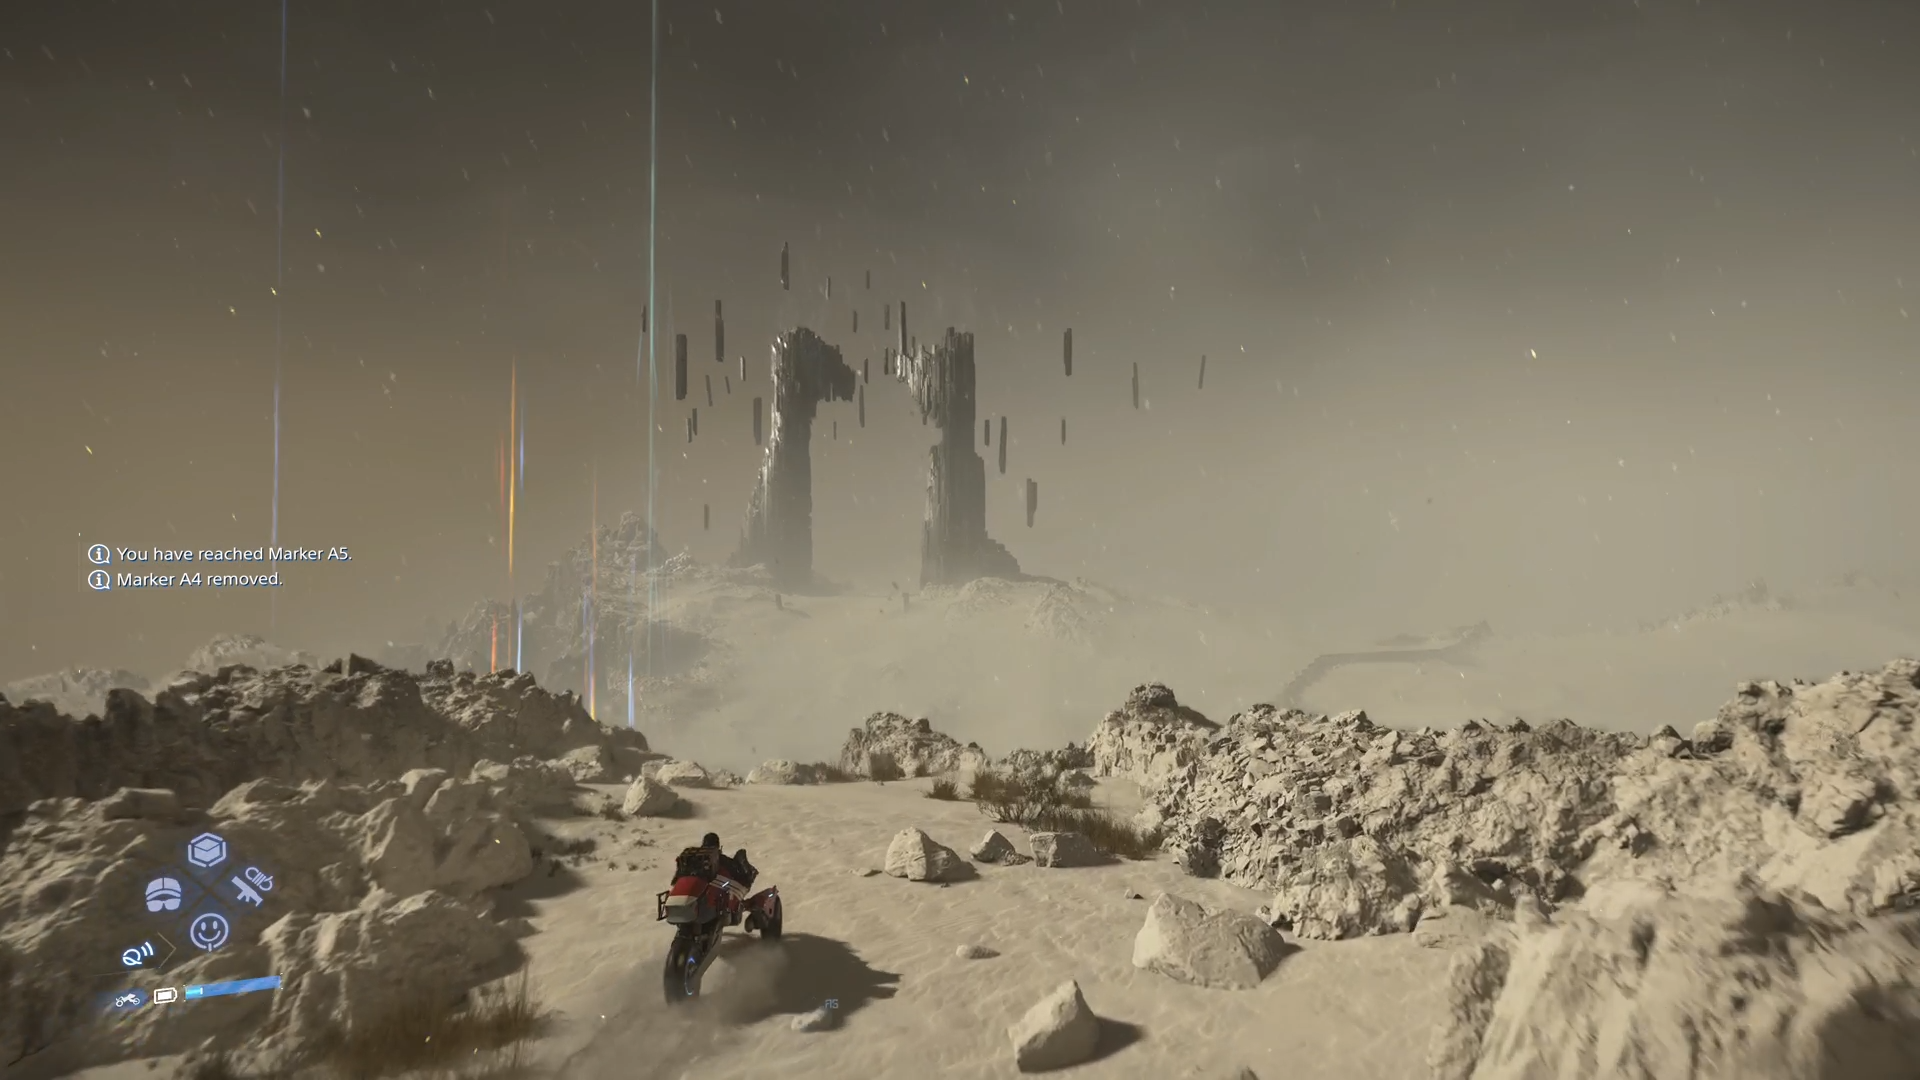
At this point, the DHV Magellan is going to the Plate Gate in Mexico (near Deadman’s lab that we connected to the chiral network in Episode 1 of Death Stranding 2). The target is to use that Plate Gate to get to Australia and introduce the Land Down Under into the chiral network.
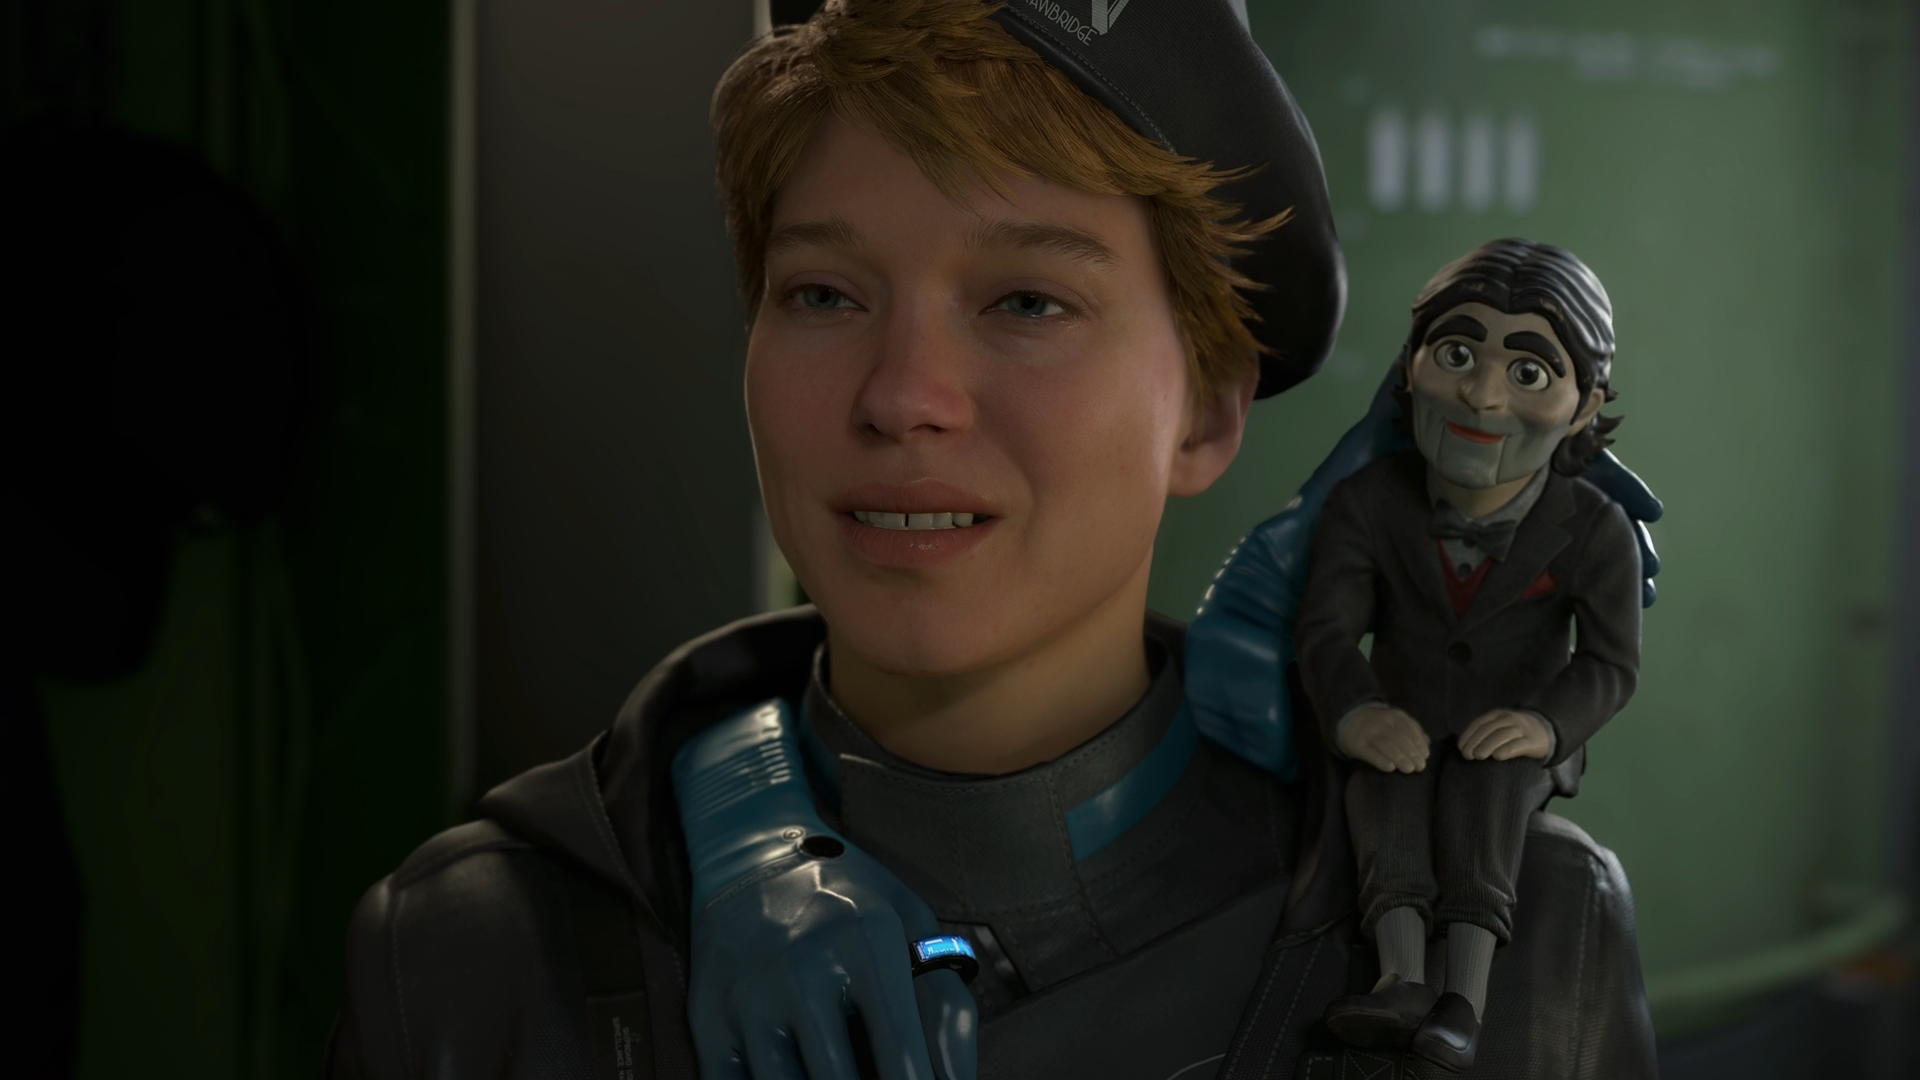
We also meet Dollman here, “a man whose Ka would up stuck inside a” doll. Before the transformation, the man used to be a spirit medium. He will join you on your journey as a useful guide.
Pass Through the Plate Gate and Enter Australia
Once the cutscene is over, press X to groom yourself at the mirror in your private room. After that, look at the door and press X to go to the surface. You will get a short cutscene here when you connect to the BB Pod. Fabricate a trike and head toward the Plate Gate terminal ahead of Deadman’s lab in Mexico.
At the Plate Gate terminal, figures cloaked in red dresses will appear carrying a red coffin. They will cross the Plate Gate and disappear. After the cutscene, go straight to the Plate Gate. At the gate, a short cutscene will play, after which you will be on the other side in Australia.
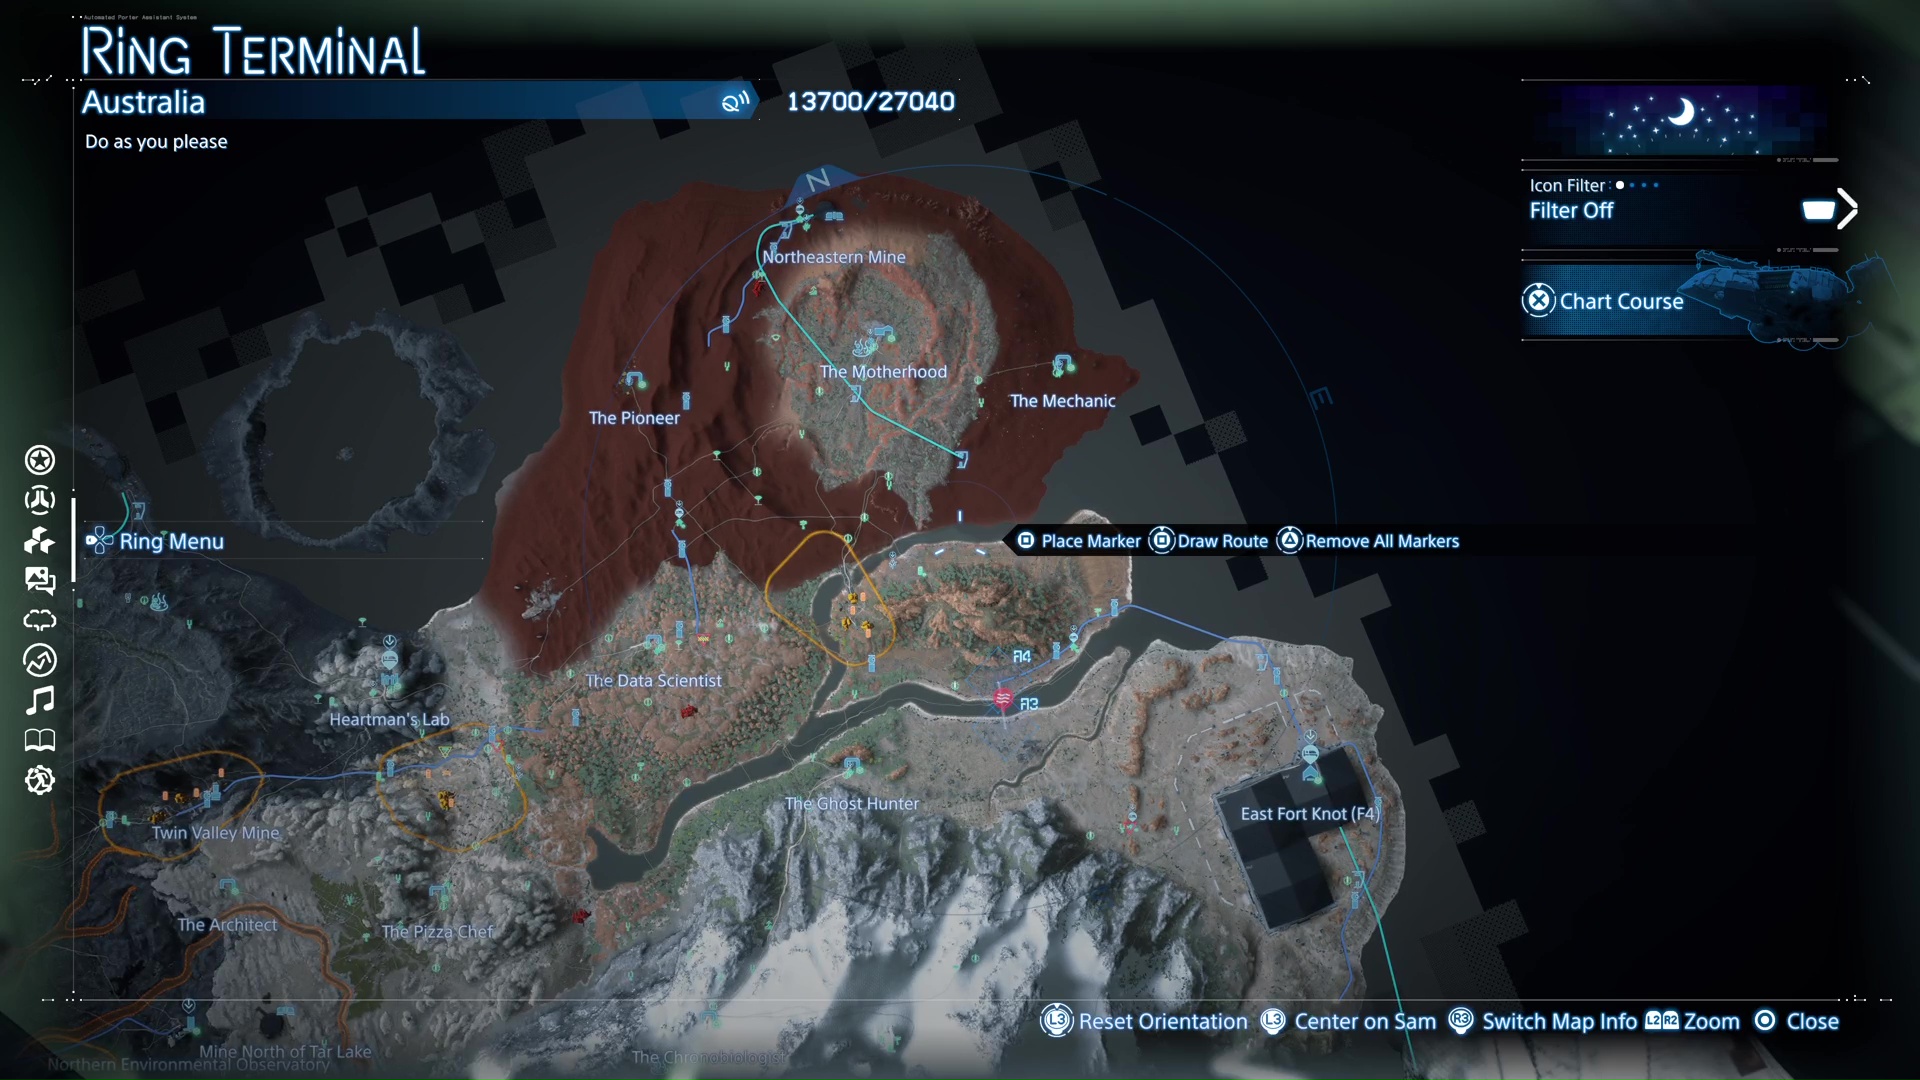
Connect Your Q-Pid to the Australian Plate Gate’s Terminal
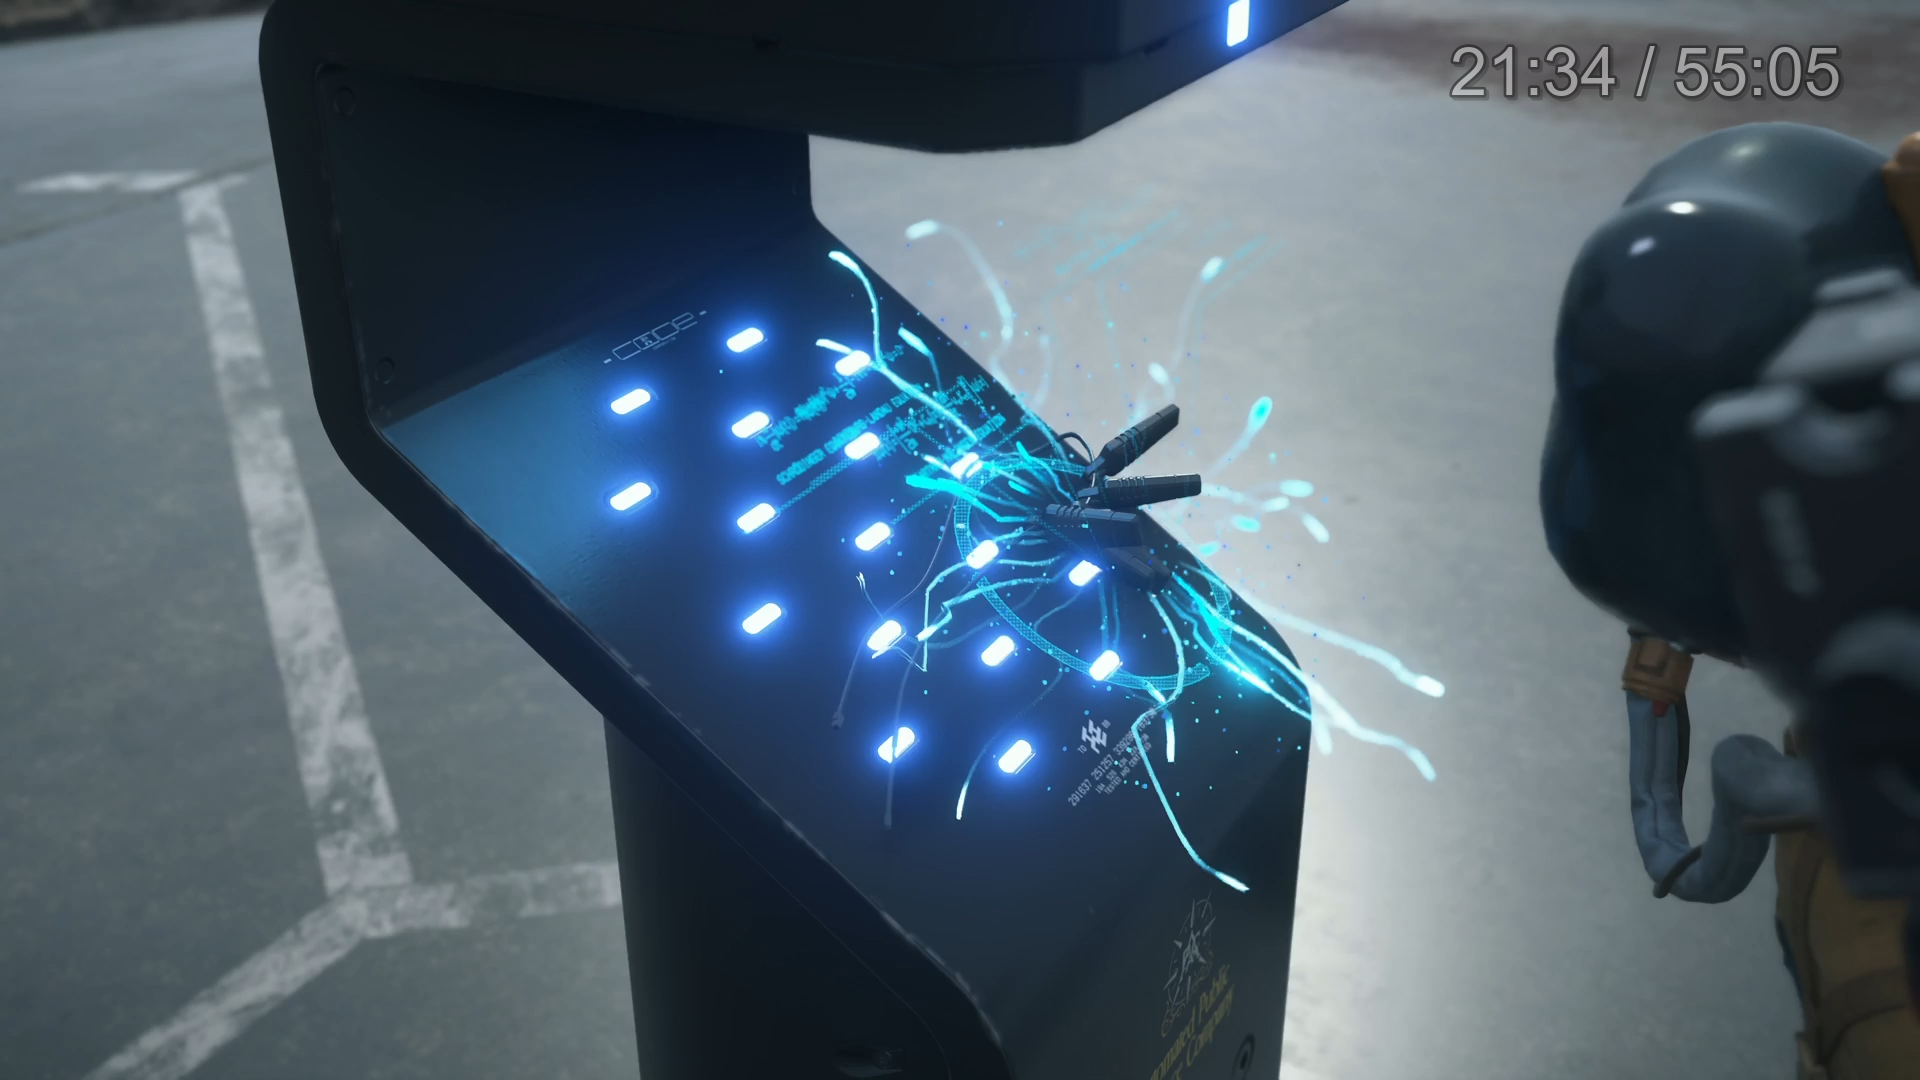
Make your way to the Plate Gate terminal and connect your Q-pid there. This will be the first section of the Land Down Under connected to the chiral network. The DHV Magellan will appear there immediately afterward.
Go to the Bridge of the DHV Magellan
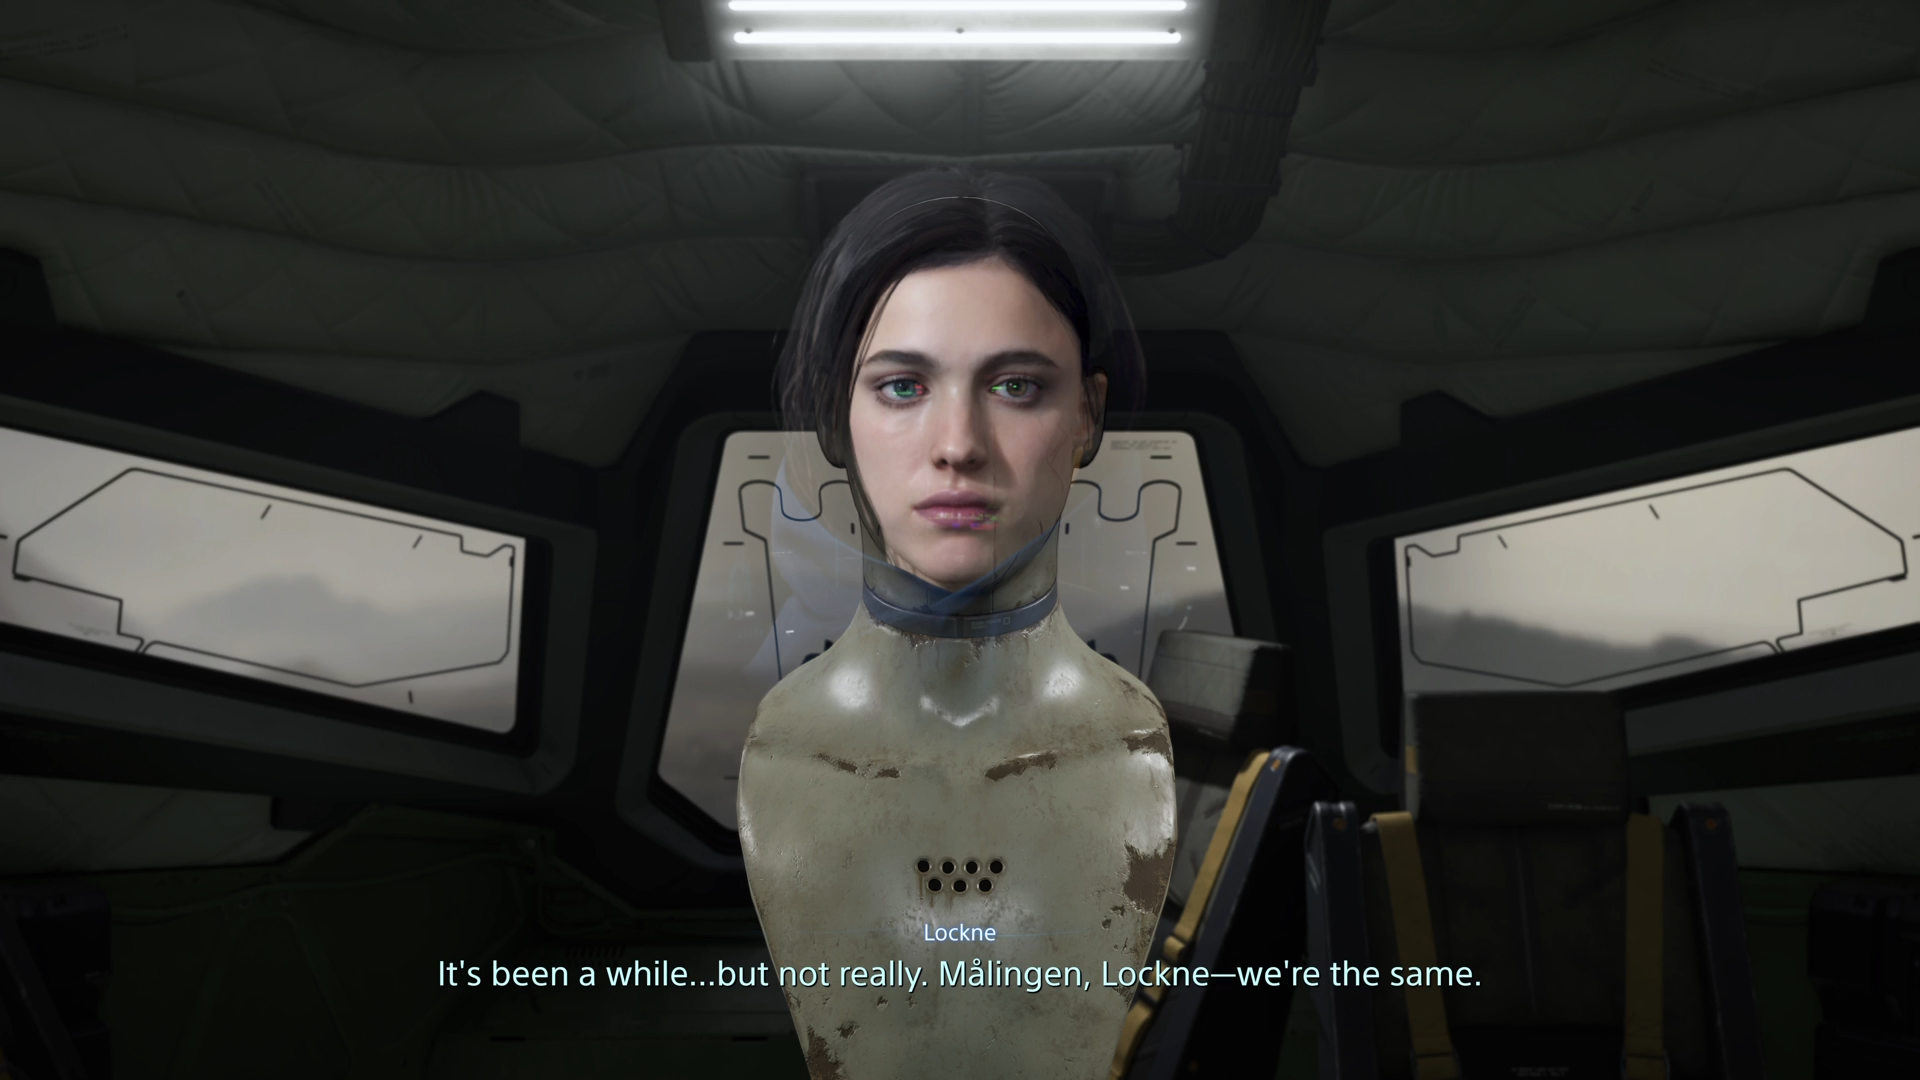
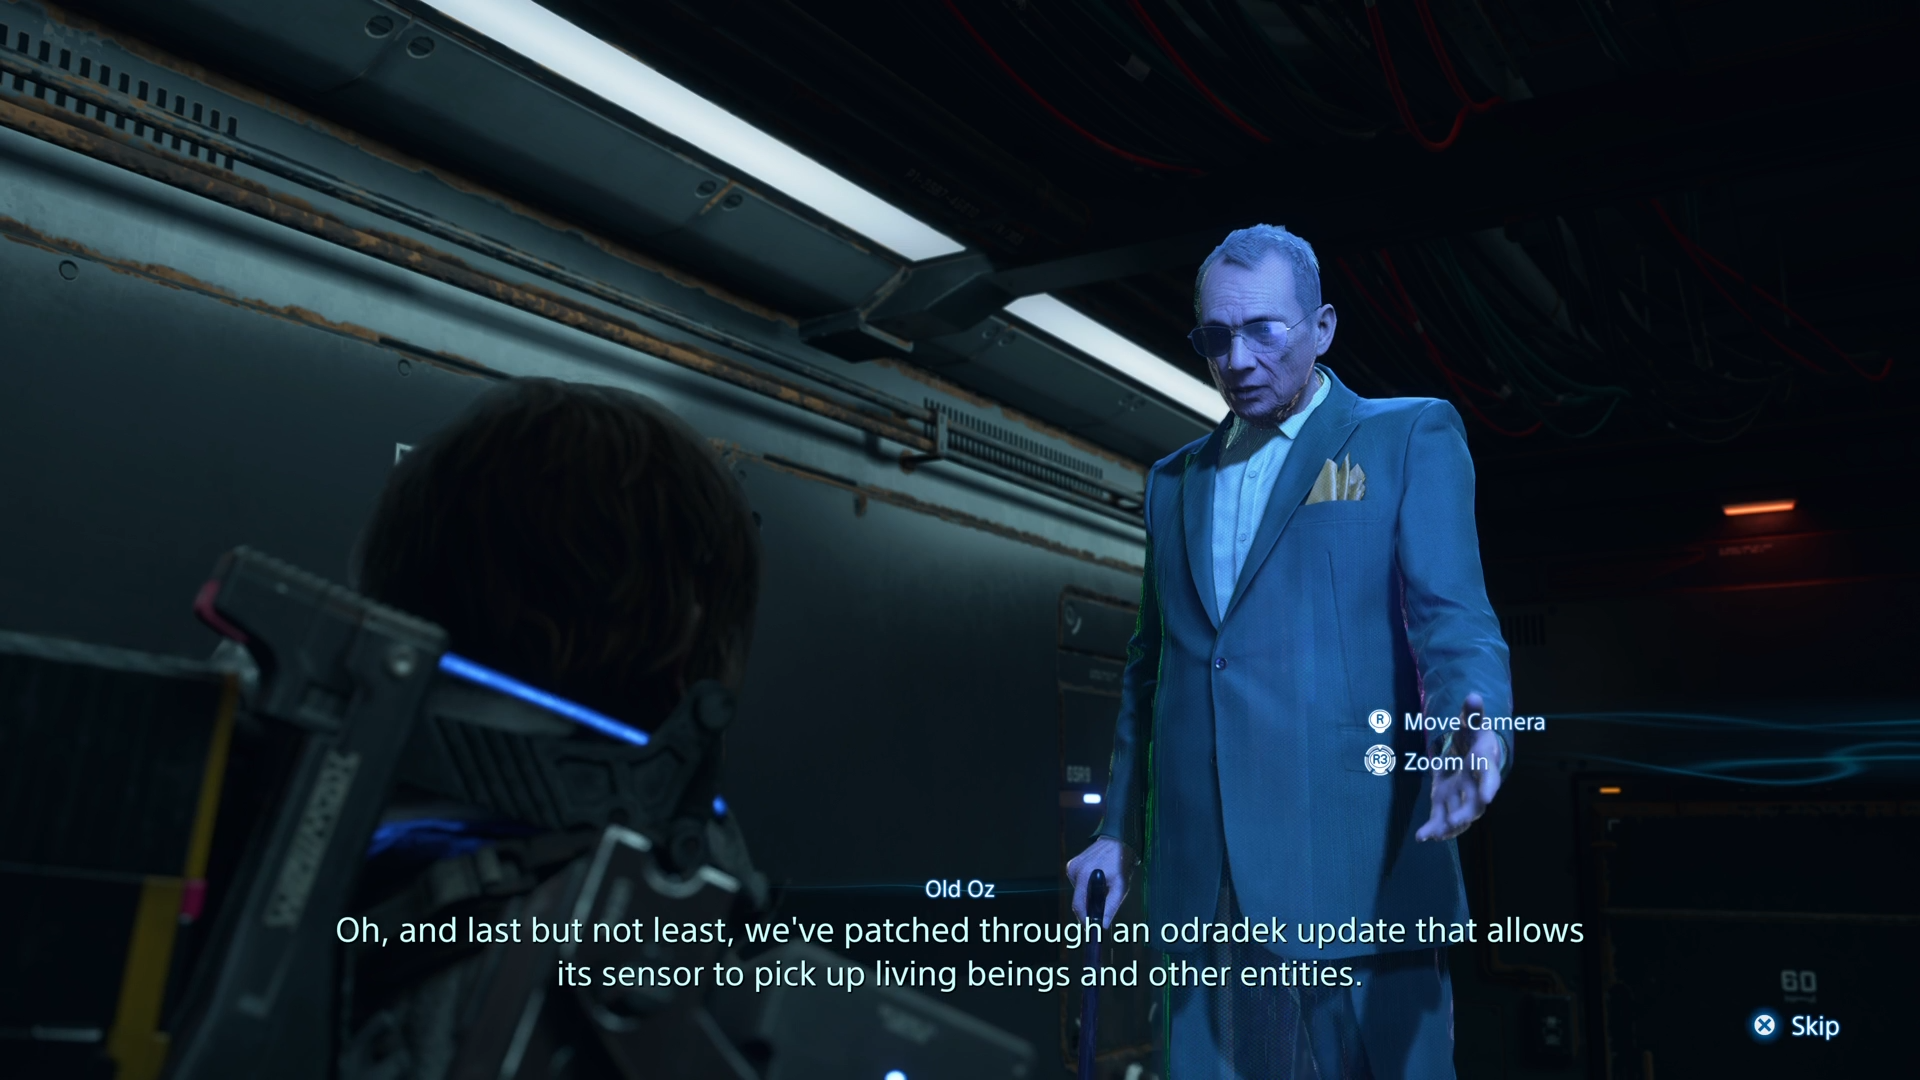
Fragile will ask you to come back to the DHV Magellan, where the mysterious patron of Drawbridge will meet Sam. On the bridge, you will meet Charles, a talking mannequin that serves as a substitute for Drawbridge’s patron. It explains why Sam is in Australia, the President, APAC/APAS, and the role Drawbridge is playing. Given that Sam doesn’t trust the faceless mannequin, you can choose to give it the face and voice of a previous acquaintance.
You can choose between Die-Hardman, Heartman, Lockne, and Deadman. Once you make a choice, you will be asked to confirm. You can also choose someone else to make a different choice. If you choose anyone other than Die-Hardman for the first choice and then choose Someone Else in the next step, you cannot choose them again. The President’s hologram appears after this, explaining the current situation of the UCA and APAC. Once the cutscene is over, you can go to the DHV Magellan delivery terminal for your next order.
Deliver the Chiral Decontaminator to the Government’s Base
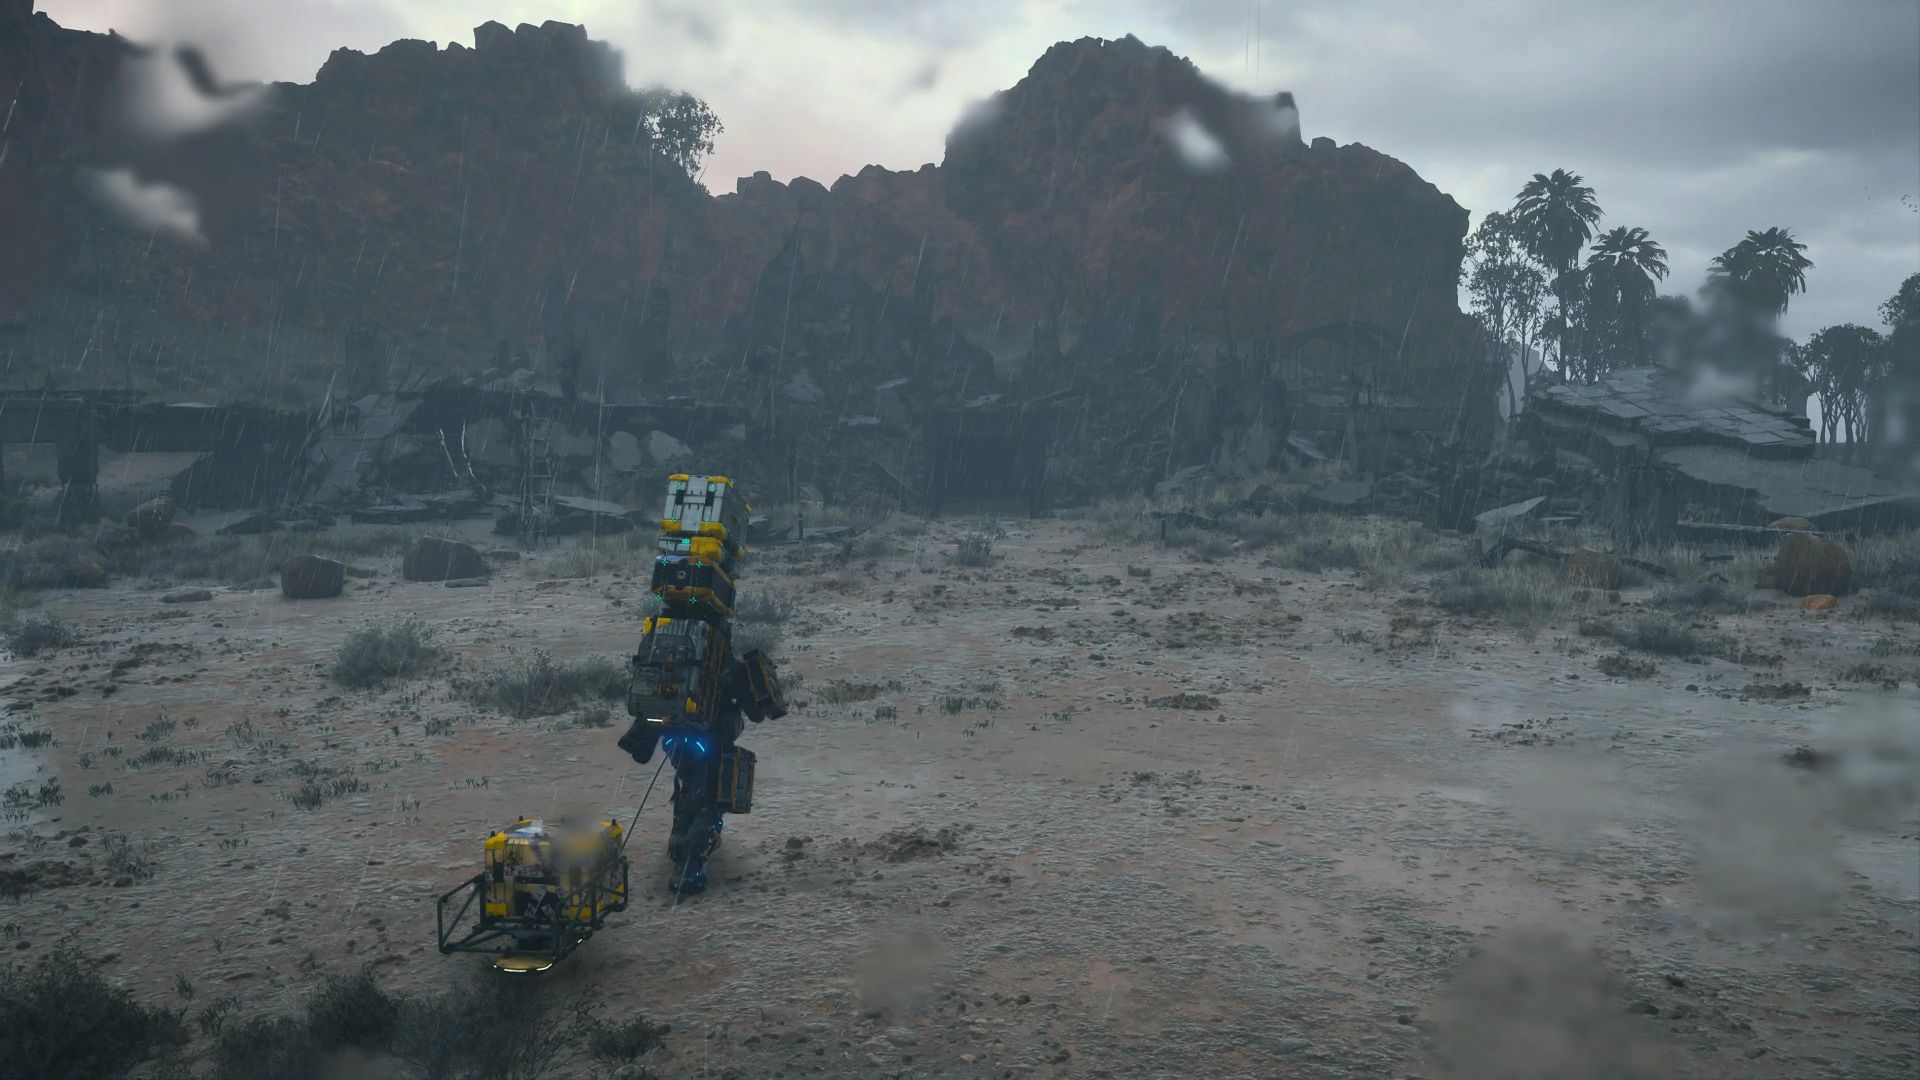
You should take several ladders and climbing anchors for this journey, as you will be crossing a BT-infested area. This location is like a labyrinth amidst tall rocky formations on either side. Once you are near this area, the sky will turn red, and the Odradek will get activated.
You should crouch and slowly move through the area. Pay close attention to your Odradek to figure out where the closest BT is. Use ladders and climbing anchors judiciously so you don’t run out of them before you cross the area. Blood Grenades and weapons with MP bullets can also be helpful. If you are caught by a BT and a Catcher appears in a tar ring, you can simply run away instead of engaging in a fight.
Once you are out of the BT area, make sure Lou is in a good mood. You will also have to cross a river, which you should be able to do directly. Try to cross the river where it is narrow, and if possible, lay down a ladder. Also, be mindful of your stamina before stepping into the water.
Deliver the cargo at the Government’s Base to complete the mission. The DHV Magellan will appear once you connect the location to the chiral network. The Bola Gun will also get unlocked.
West Environmental Observatory
You will have to dispatch the bandits around the West Environmental Observatory. The Tranq Sniper Rifle and the Smoke Grenade will come in handy during this. Once you have taken care of the assailants, you can connect the location to the chiral network at the delivery terminal.
The Musician
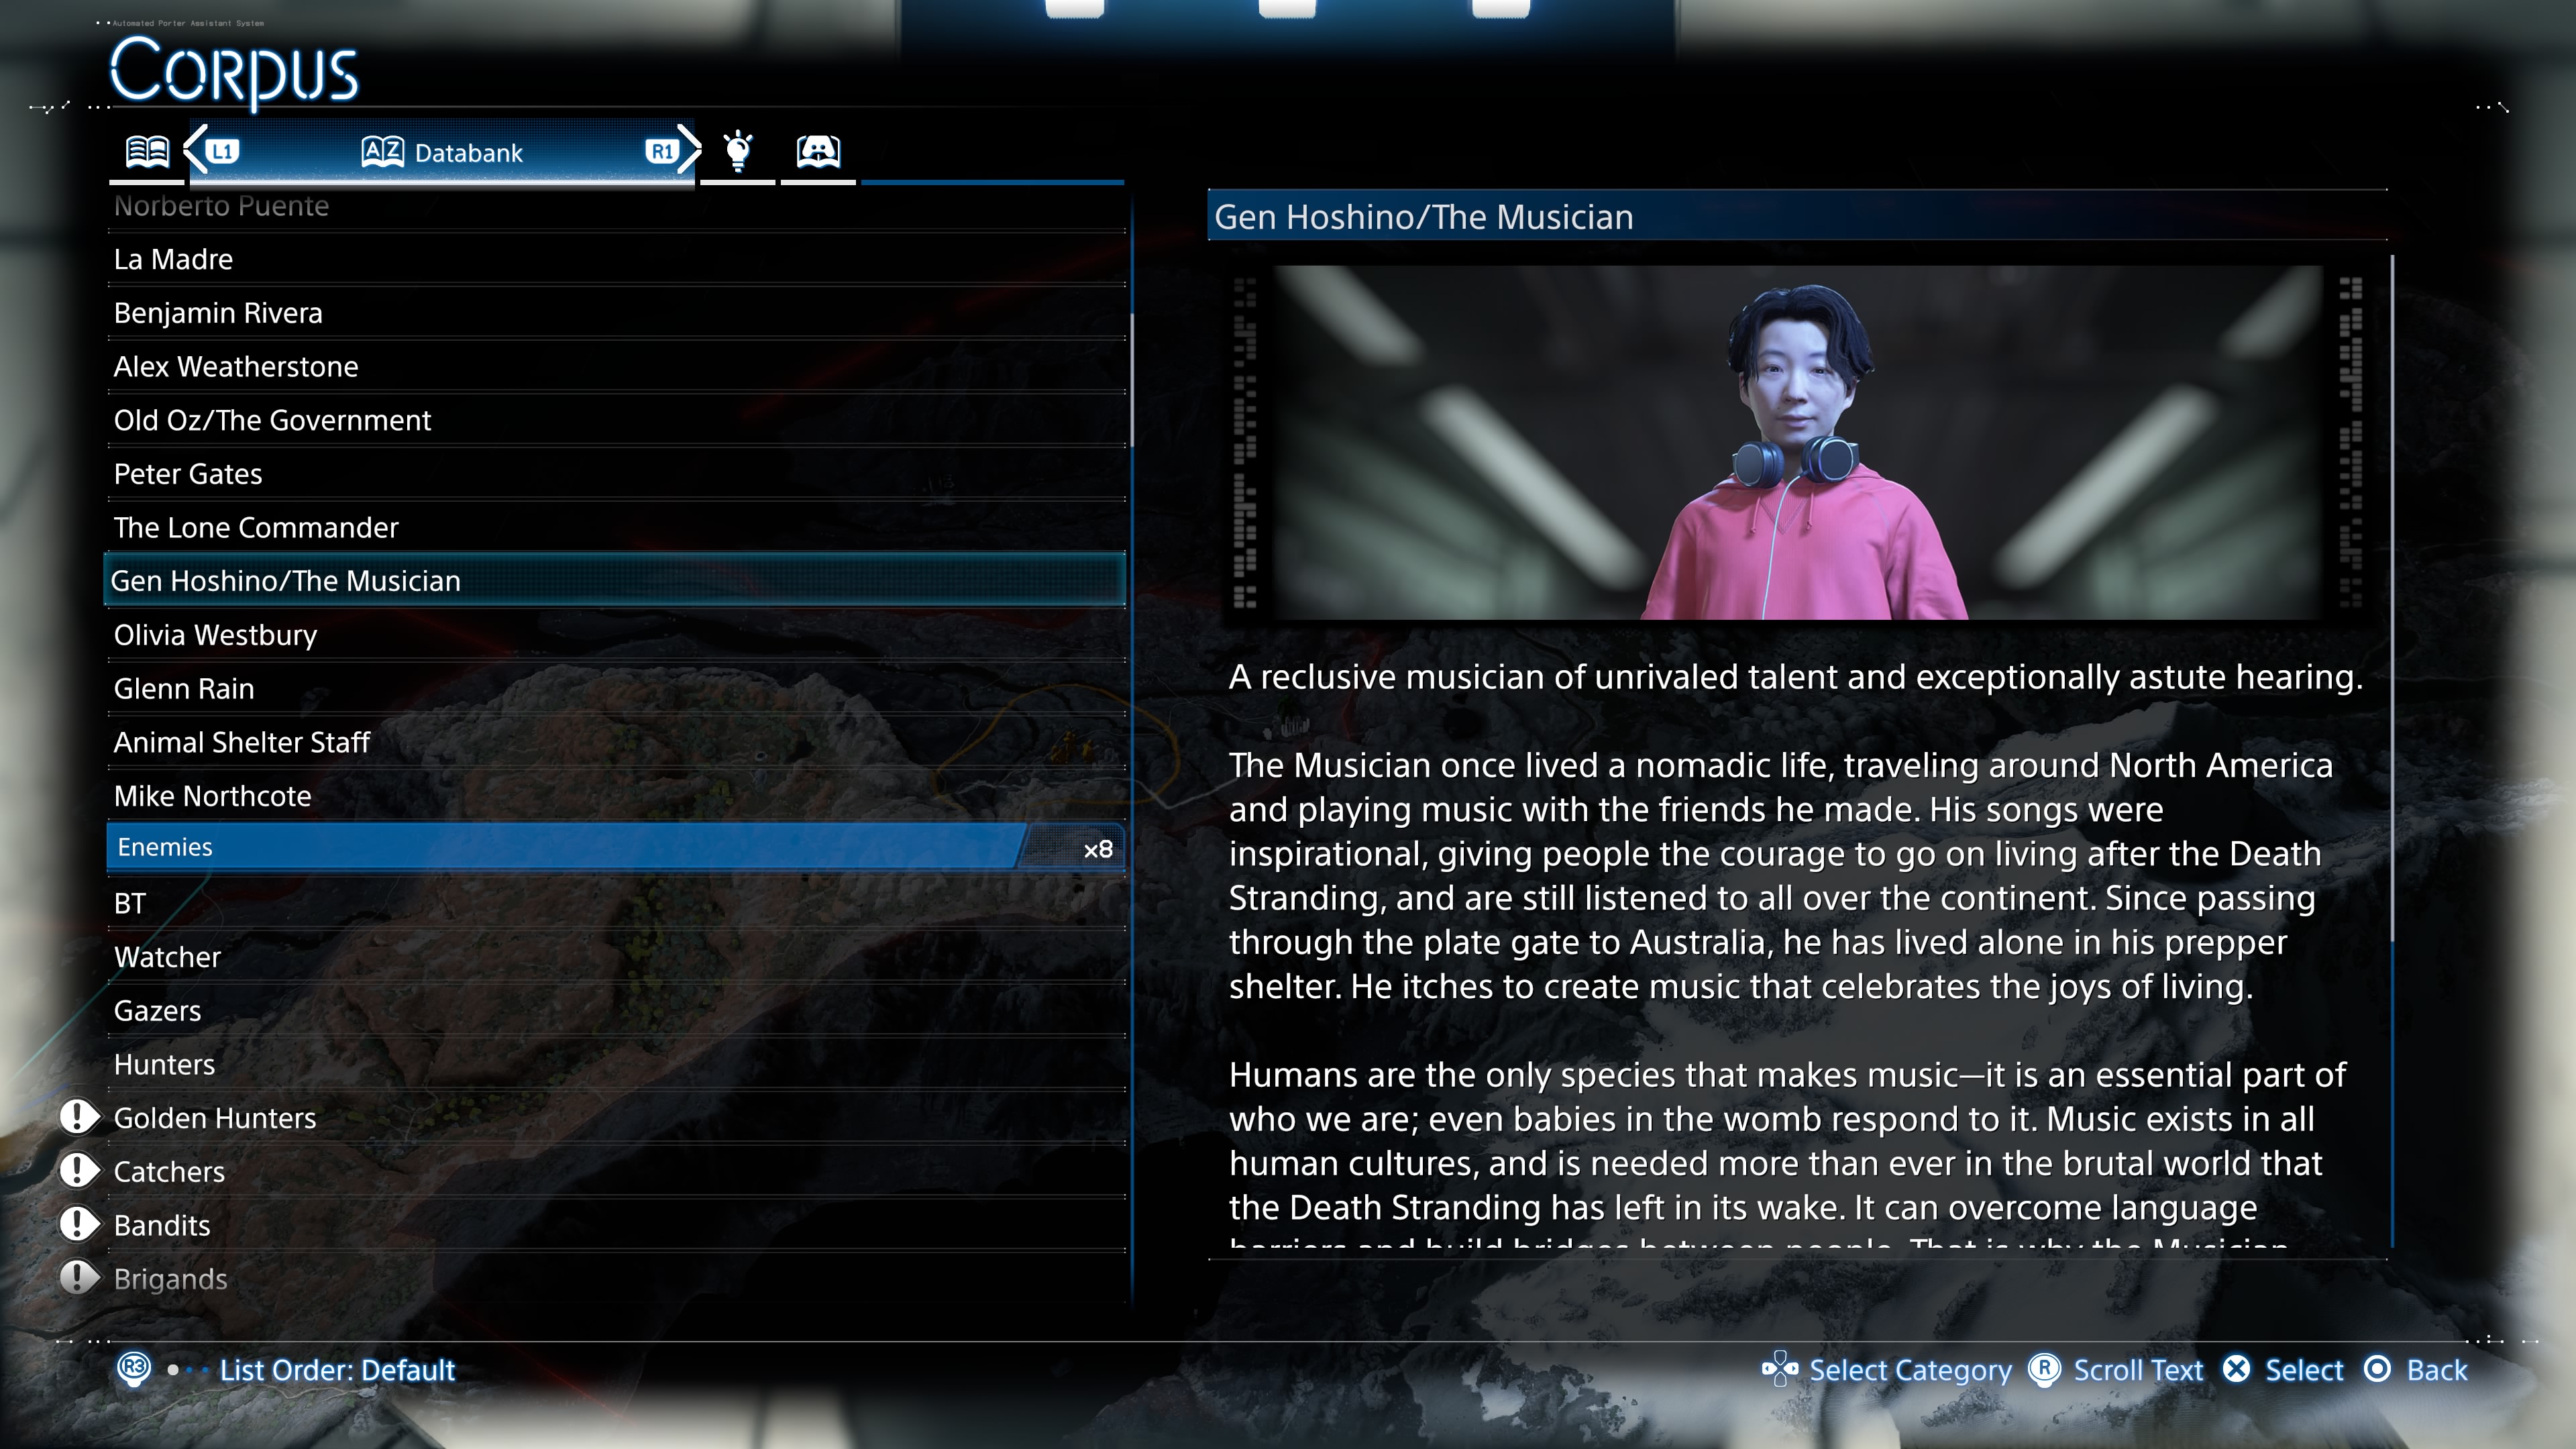
Your next mission will involve destroying a communication disruptor device that is interrupting the connection in a bandit camp on the way to the Musician. Tarman has a specific file that he wants the Musician to look at. The bandit camp has quite a few combatants that you will need to deal with. Close-quarter combat is an option, but we advise you to use a Tranq Sniper Rifle for as long as possible without getting caught. Use Dollman to recon the area before engaging.
Once you have connected the Musician to the chiral network, he will give you the Music Player. This unlocks the ability to listen to unlocked music in Death Stranding 2 whenever you want. The Musician will take the file that Tarman provided and promises to investigate the matter.
Investigate the Unusual Tar Currents Near West Fort Knot and Connect It to the Chiral Network
The ride will be easy, as there are no bandit camps or difficult terrain to traverse. You will have to cross a river, but a trike will easily be able to do so. Stock up on Assault Rifles and Blood Bags, as you will have to fight a massive mech outside of West Fort Knot.
Once you reach near West Fort Knot, a cutscene will trigger. The same group of figures clad in red cloth will appear with the red coffin. A mysterious figure will step out of the coffin, revealing himself to be Higgs. Once Higgs is done with his monologue, he will call forth a large mech with eight tentacles and a glowing red ball for a face. This will kickstart a boss fight.
Destroy the Giant Mech
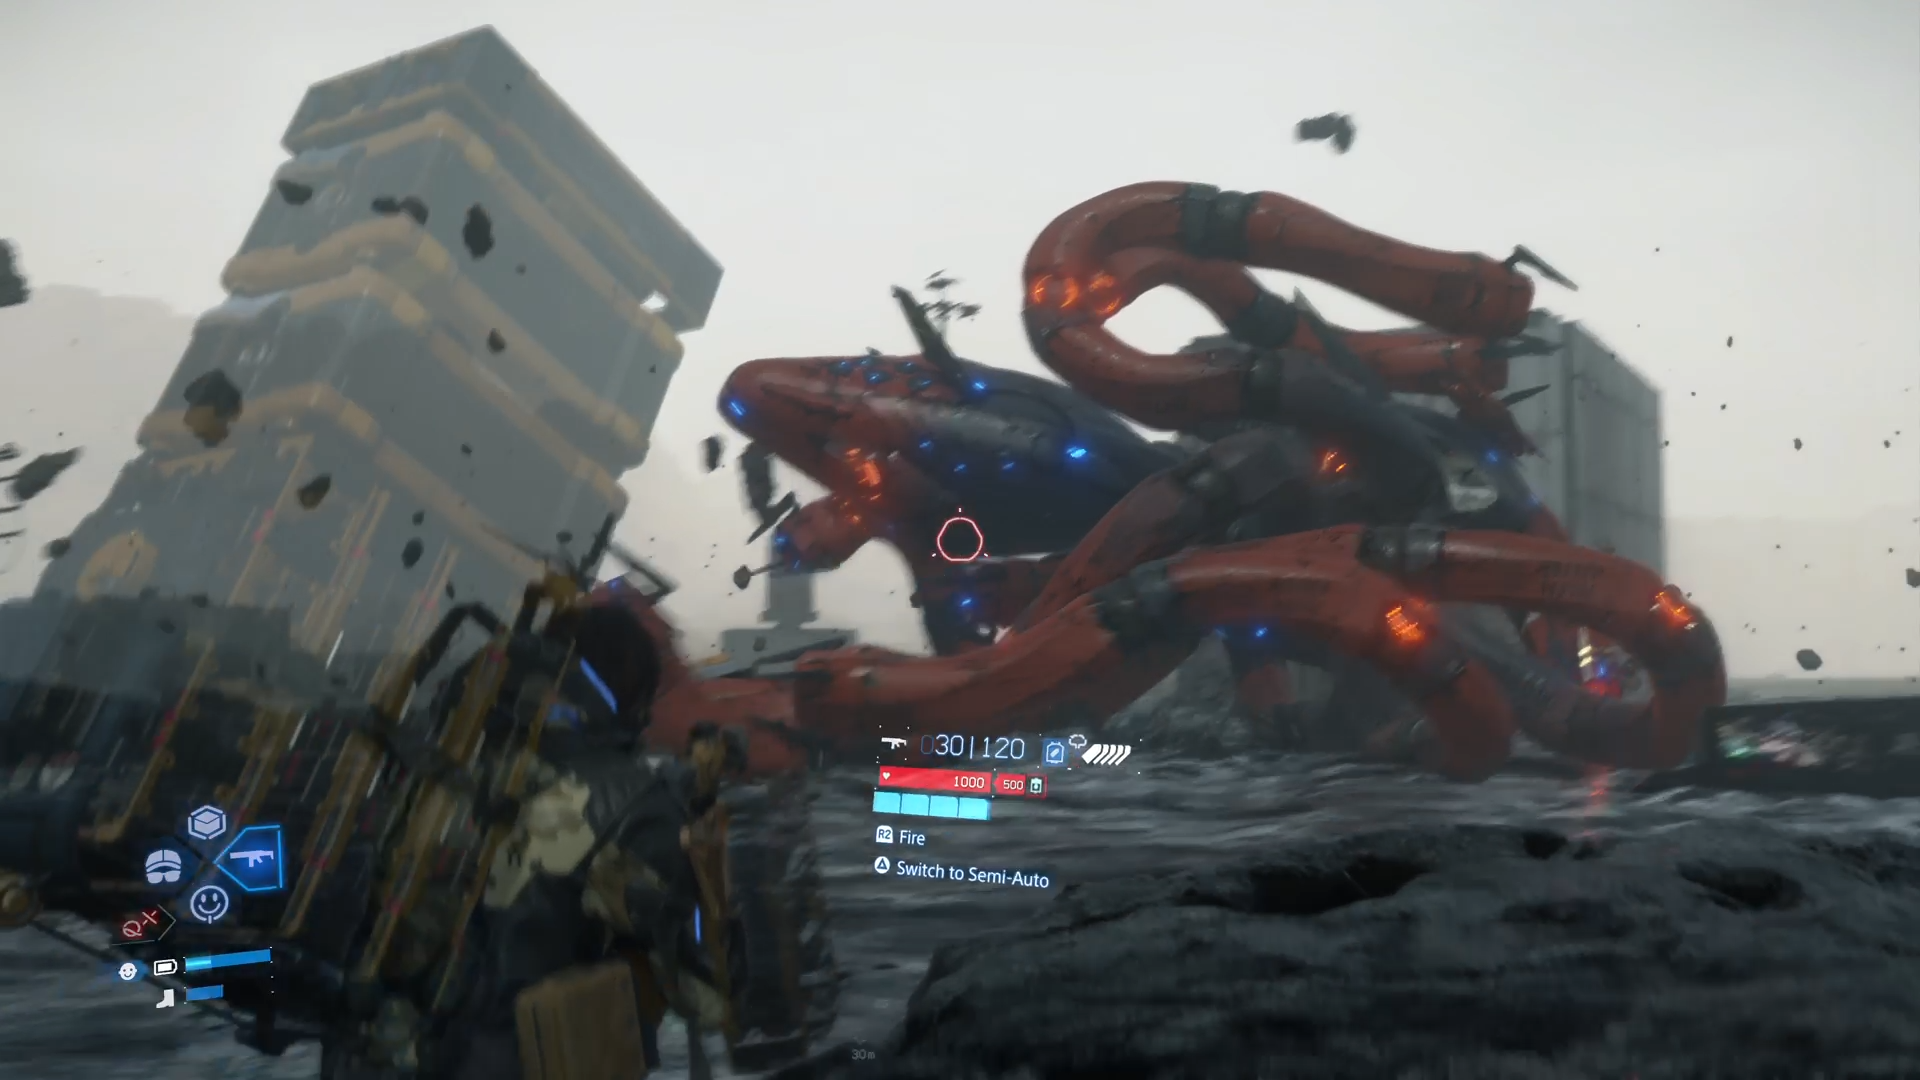
Keep your distance, as the giant mech will have sweeping attacks with its tentacles. Each tentacle has a glowing weak point in the middle. There are two similar glowing weak points at the back of the mech’s body. You can destroy all of these weak points to deal more damage.
You can also hit its face to deal more damage. Apart from the sweeping attack, the giant mech will often slam its tentacle and body, aiming for you. These attacks have a short rest period during which you can deal damage without threat. On low health, the giant mech also has a new sweeping attack where it punches straight ahead with six of its tentacles.
Deplete the entire yellow bar to defeat the giant mech. Don’t worry about running out of ammo, as you will find weapons at times in the tar pool. With the giant mech defeated, connect West Fort Knot to the chiral network. This also unlocks the Floating Carrier Level 1. With the place connected, DHV Magellan will appear. Sam and Fragile will talk about the reappearance of Higgs and whether he was involved in the killing of Lou in Episode 1. Sam asks her to look into the past of Lou as BB-28 in the UCA archives.
Restore the Monorail and Deliver Special Alloys to F1
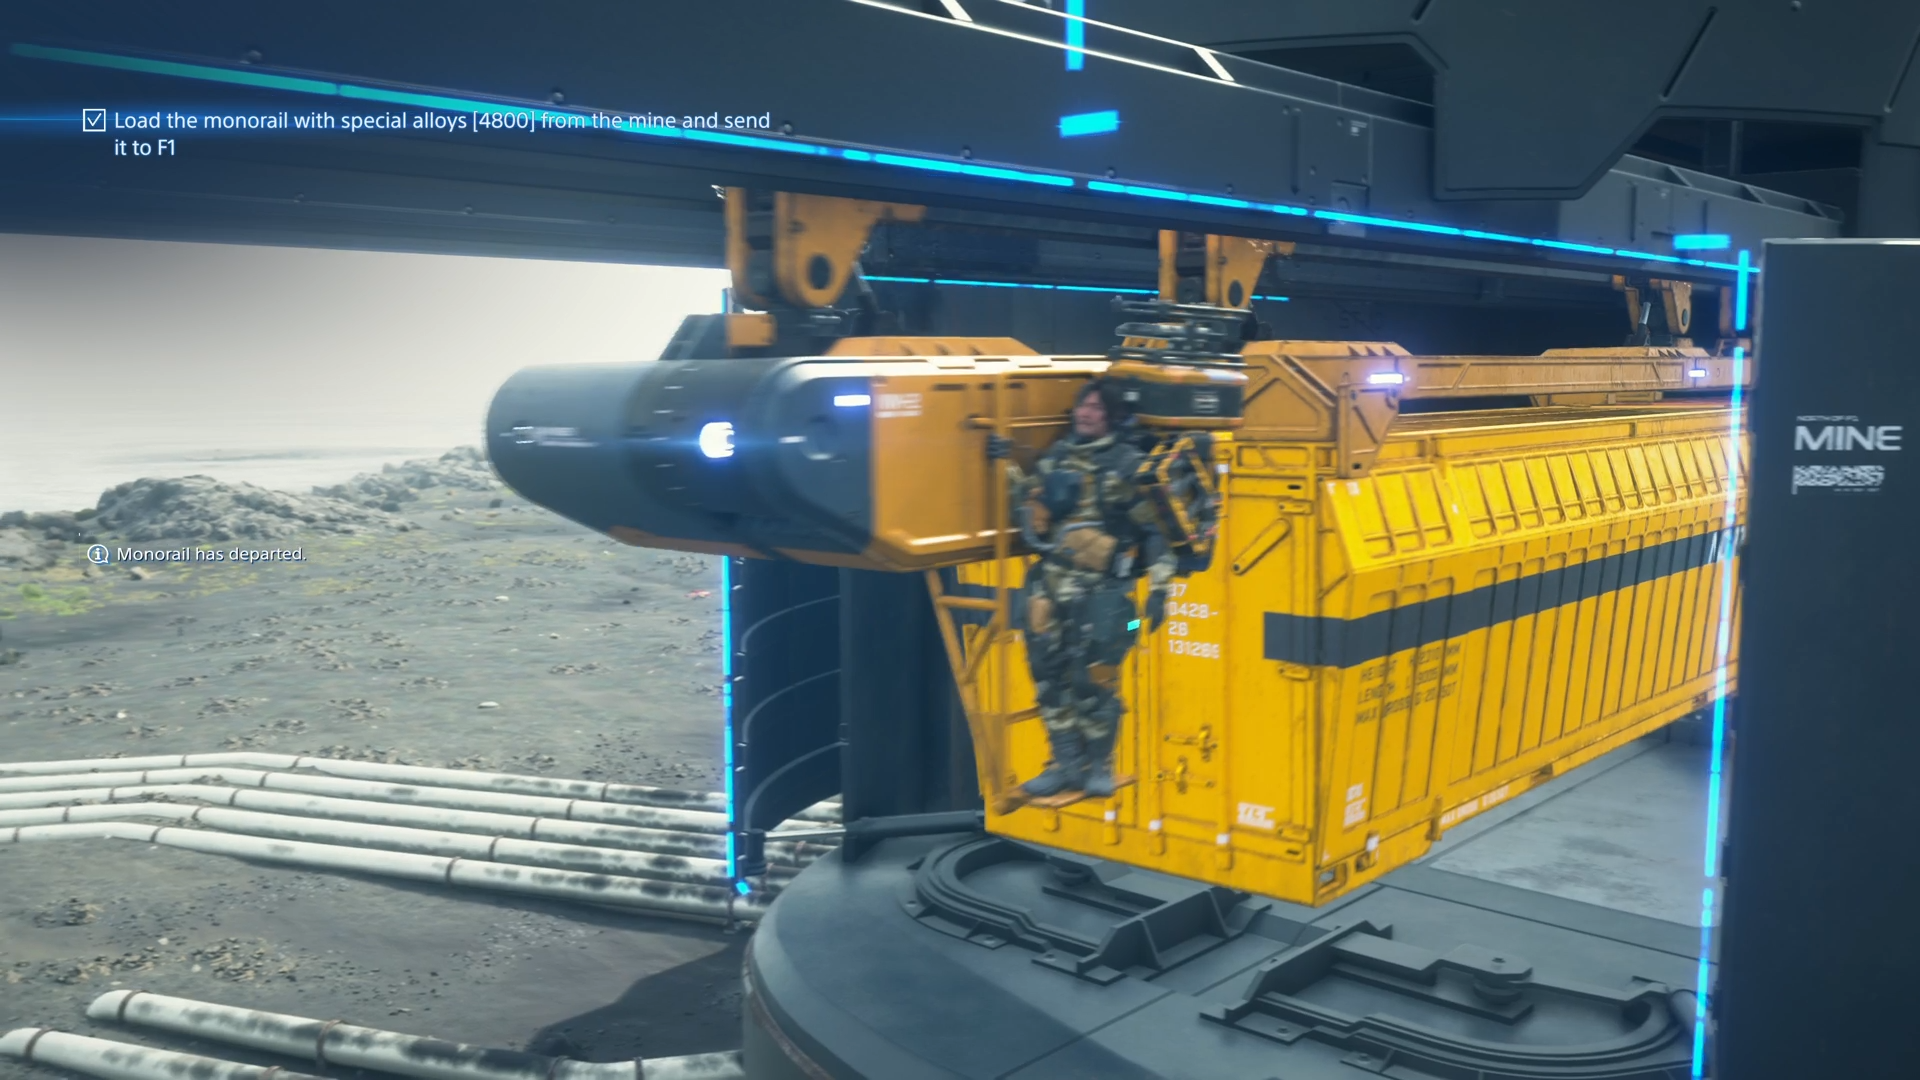
You will have to carry 1x Special Alloys [480], 1x Special Alloys [240], and 1x Resins [320] to the mine north of F1 to restore the monorail. Use a trike to carry the materials and avoid the tar pits, which contain chiral creatures. Instead, take a right to go around it and head straight to the mine.
Collect as many chiral crystals as you can find on the outskirts of the mine. You will need 2000x chiral crystals to get the required 4800x Special Alloys from the mine. Once you deliver the order, activate the mine, restore the monorail, and mine the material, you can use the monorail to get back to West Fort Knot.
Upon clicking Use the Monorail, remember to Load Cargo, Load Vehicle, and toggle Get On/Off Monorail. Then hit dispatch to start the journey. Deliver the shipment to F1 to complete the mission. You will be asked to visit the bridge of DHV Magellan afterward, where Fragile provides information she has gathered about Lou’s past.
Fragile lets us know that there was another BB-28 that was decommissioned four years ago, after which Lou was given the same designation and kept in storage. Once the cutscene is over and you wake up in your private room, Dollman will tell you that Tarman has left books for you to read. Turn the camera to look at the table and interact with the books to trigger a cutscene revealing Tarman’s backstory.
Deliver All the Terraforming Equipment To Rainbow Valley
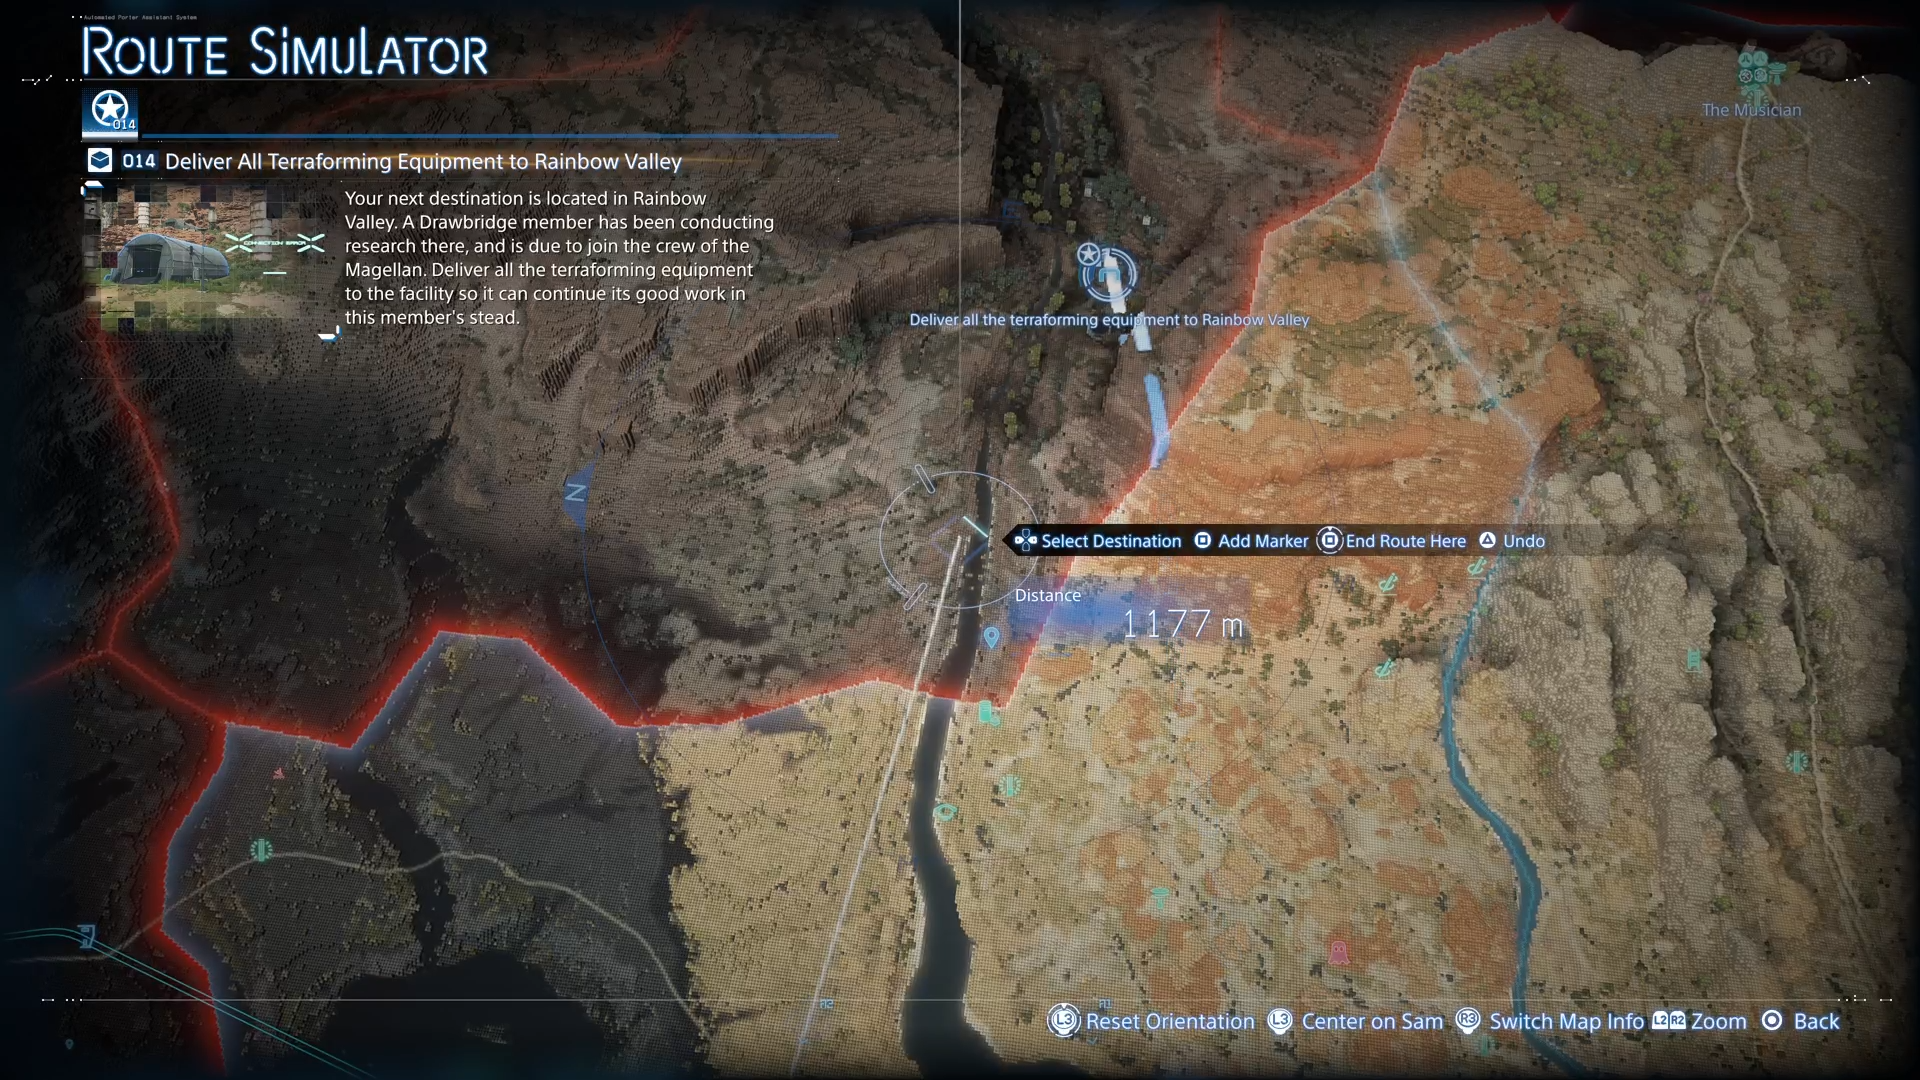
This is the final mission of Death Stranding 2 Episode 3. You will be tasked with delivering 6x Terraforming Equipment to Rainbow Valley. Fragile will also tell you that a Drawbridge member is conducting research nearby that location. For this delivery, get out a trike and load your cargo.
While plotting the route, do not cross the river until you are almost opposite the location of Rainbow Valley, and the river is narrow. Use X to make the trike jump if you get caught on rocks. If instead you cross it earlier and take the right side of the river to reach Rainbow Valley, you will have to deal with BTs.
Once you connect Rainbow Valley to the chiral network, the Tar Cannon’s weapon data will get unlocked. It is used to extinguish flames and will be required in the next mission. Glenn Rain, the person at Rainbow Valley, tells you of the Drawbridge comrade who can be found “in the ravine on the other side of the river.”

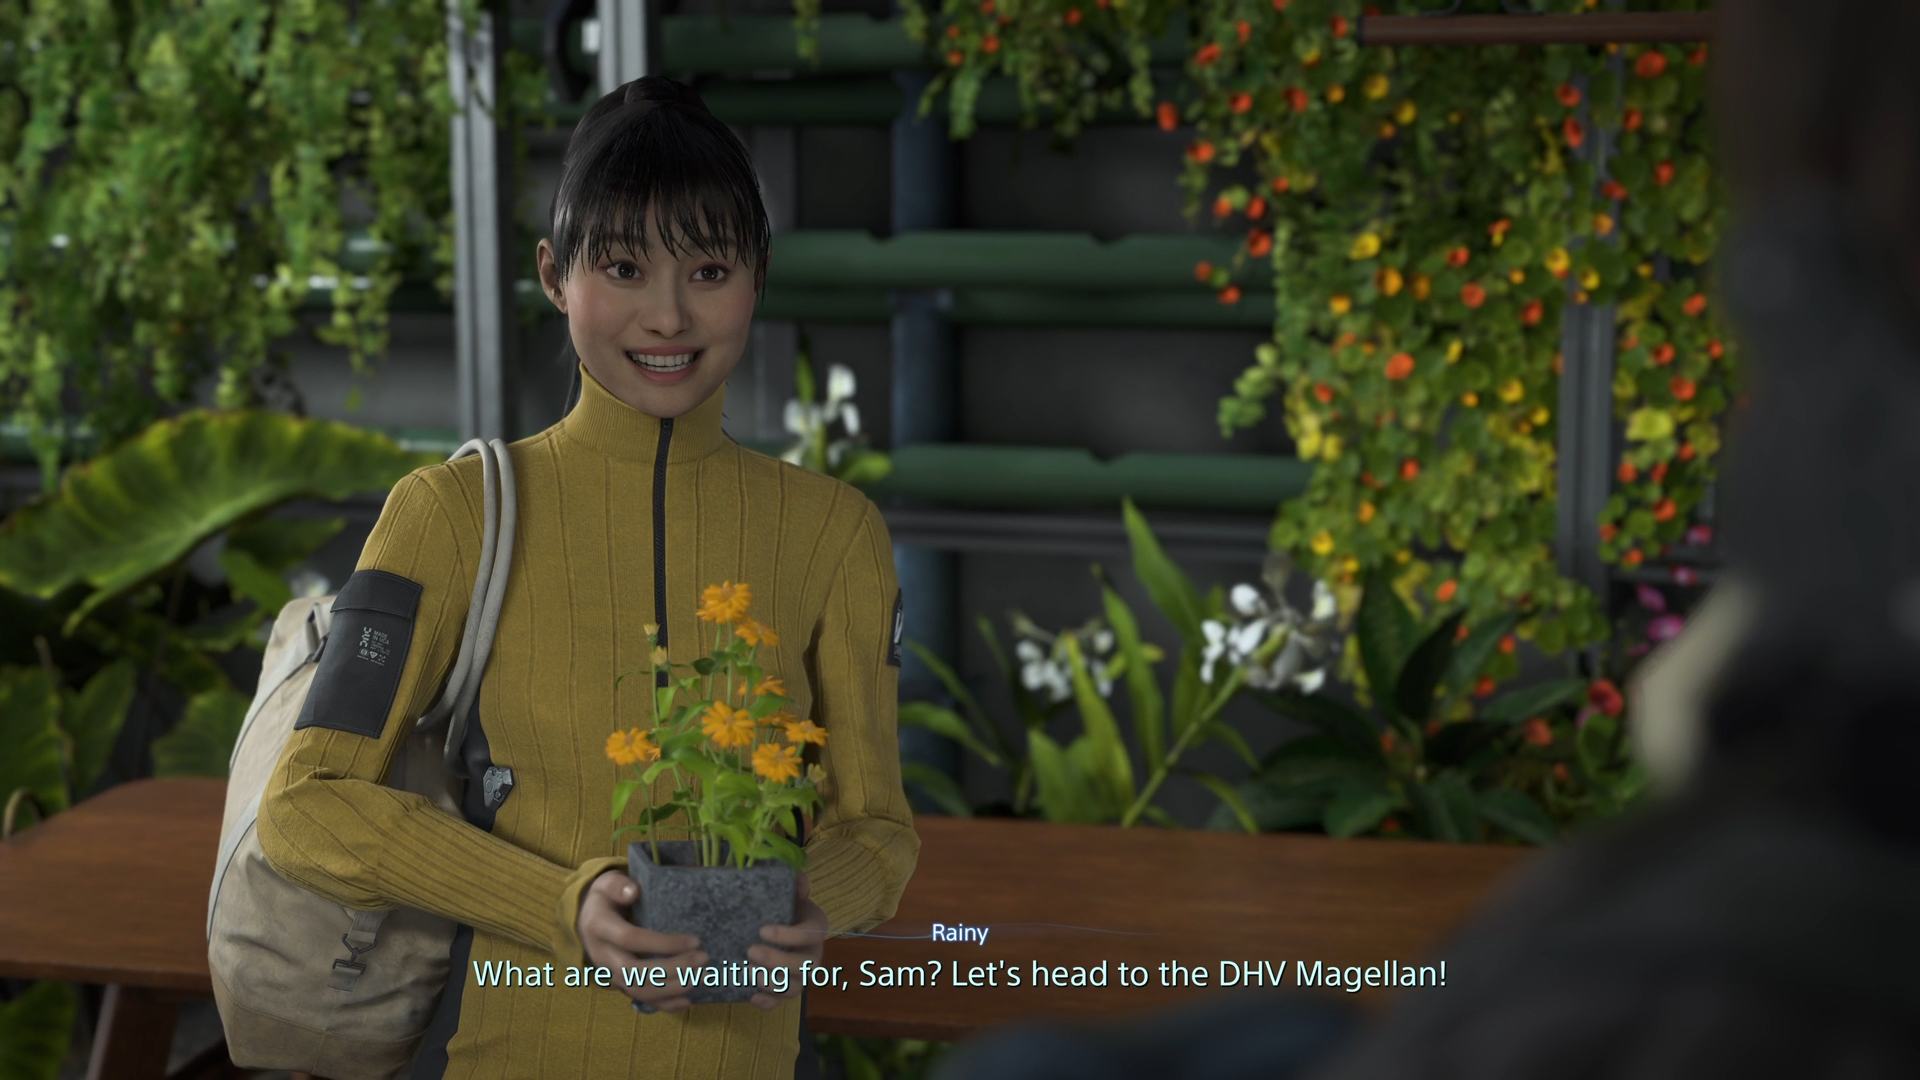
Step out of there, head directly opposite, cross the river, and follow the road on the right as it leads to the mission objective. As you draw near, a cutscene will trigger with a mysterious figure dancing to ‘Raindrops Keep Falling on My Head’ and playing in the rain. When the cutscene ends, head straight to the shelter to follow the figure.
Inside, go down the stairs, turn right, go down the stairs, and another cutscene begins. The figure introduces herself as Rainy (played by Shioli Kutsuna), and both she and Sam make their way to DHV Magellan.
This concludes the Death Stranding 2 Episode 3 walkthrough. Check out our Death Stranding 2 Episode 4 Walkthrough to learn what happens next.
We provide the latest news and create guides for Death Stranding 2. Meanwhile, you can check out the following Death Stranding 2 articles or catch us playing games on YouTube: