Facebook
 Reddit
 Email
Email
You can do the Raider Remembrance Quest in Elden Ring Nightreign to reveal glimpses of the Nightfarer’s backstory.
Unlike previous FromSoftware games, Elden Ring Nightreign does not use subtle environmental storytelling methods. Instead, the co-op title is more direct with the stories it is trying to tell. Because of that, each Nightfarer in the game has their questlines just like the Raider’s Remembrance. Through it, players get to see glimpses of the character’s past and piece together the events and thoughts that build the warrior to be the way he is.
So, if you want to complete this quest, here is a complete walkthrough of the Raider Remembrance quests in Elden Ring Nightreign.
How To Complete the Raider Remembrance Quests in Elden Ring Nightreign
Before you begin the Raider‘s Remembrances, first, you should be familiar with the Journal. In the game, it is a book that you can find on the left side of the Table of Grace, in the Roundtable Hold. The Journal contains entries regarding every single Nightfarer, including the Raider. With its help, you will be able to start the Remembrance quests and learn more about the characters.
However, to unlock more entries or Remembrances, you will need to gather Memory Fragments. There is no confirmed method of obtaining these items; however, defeating Bosses and completing Expeditions seems to be the only way. So, once you have enough Memory Fragments, you can choose the “Begin Remembrance” option in the Raider’s entry to start the quests. This Nightfarer has three Remembrances.
First Raider Remembrance
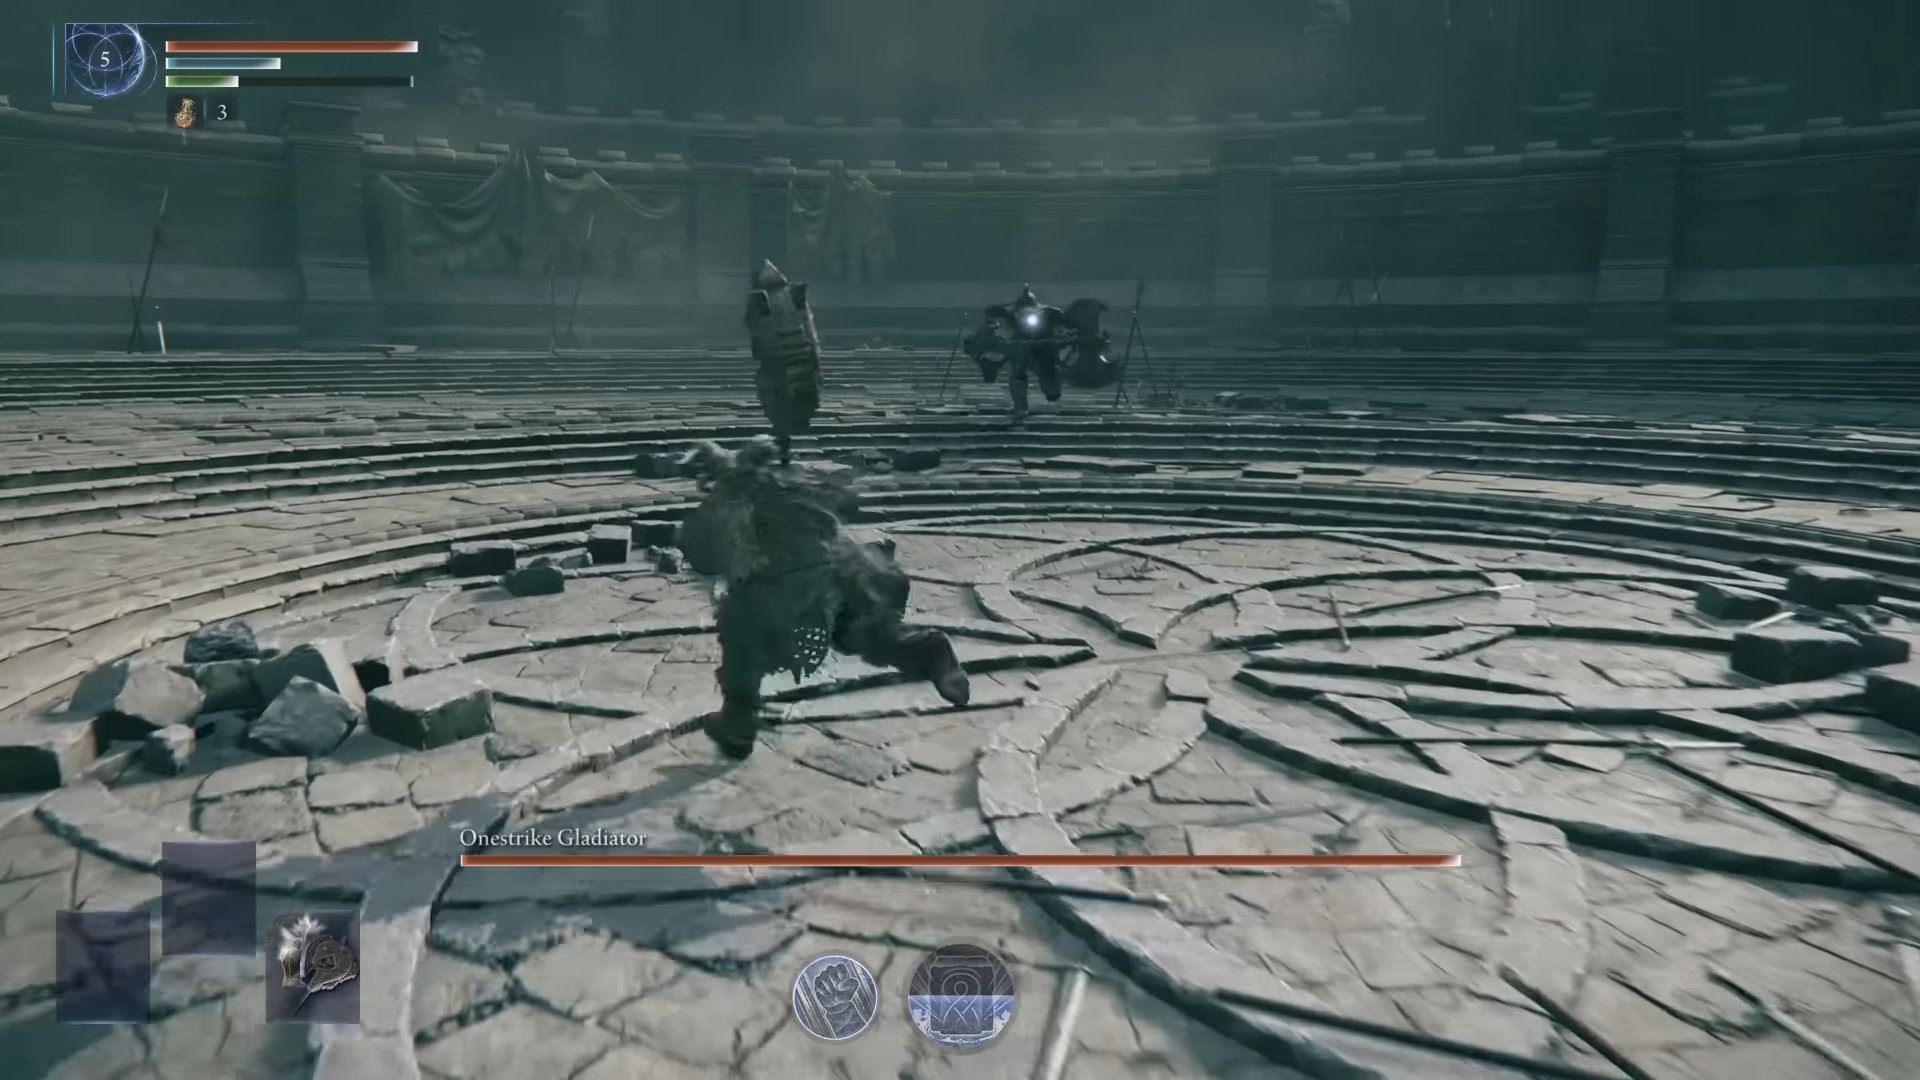
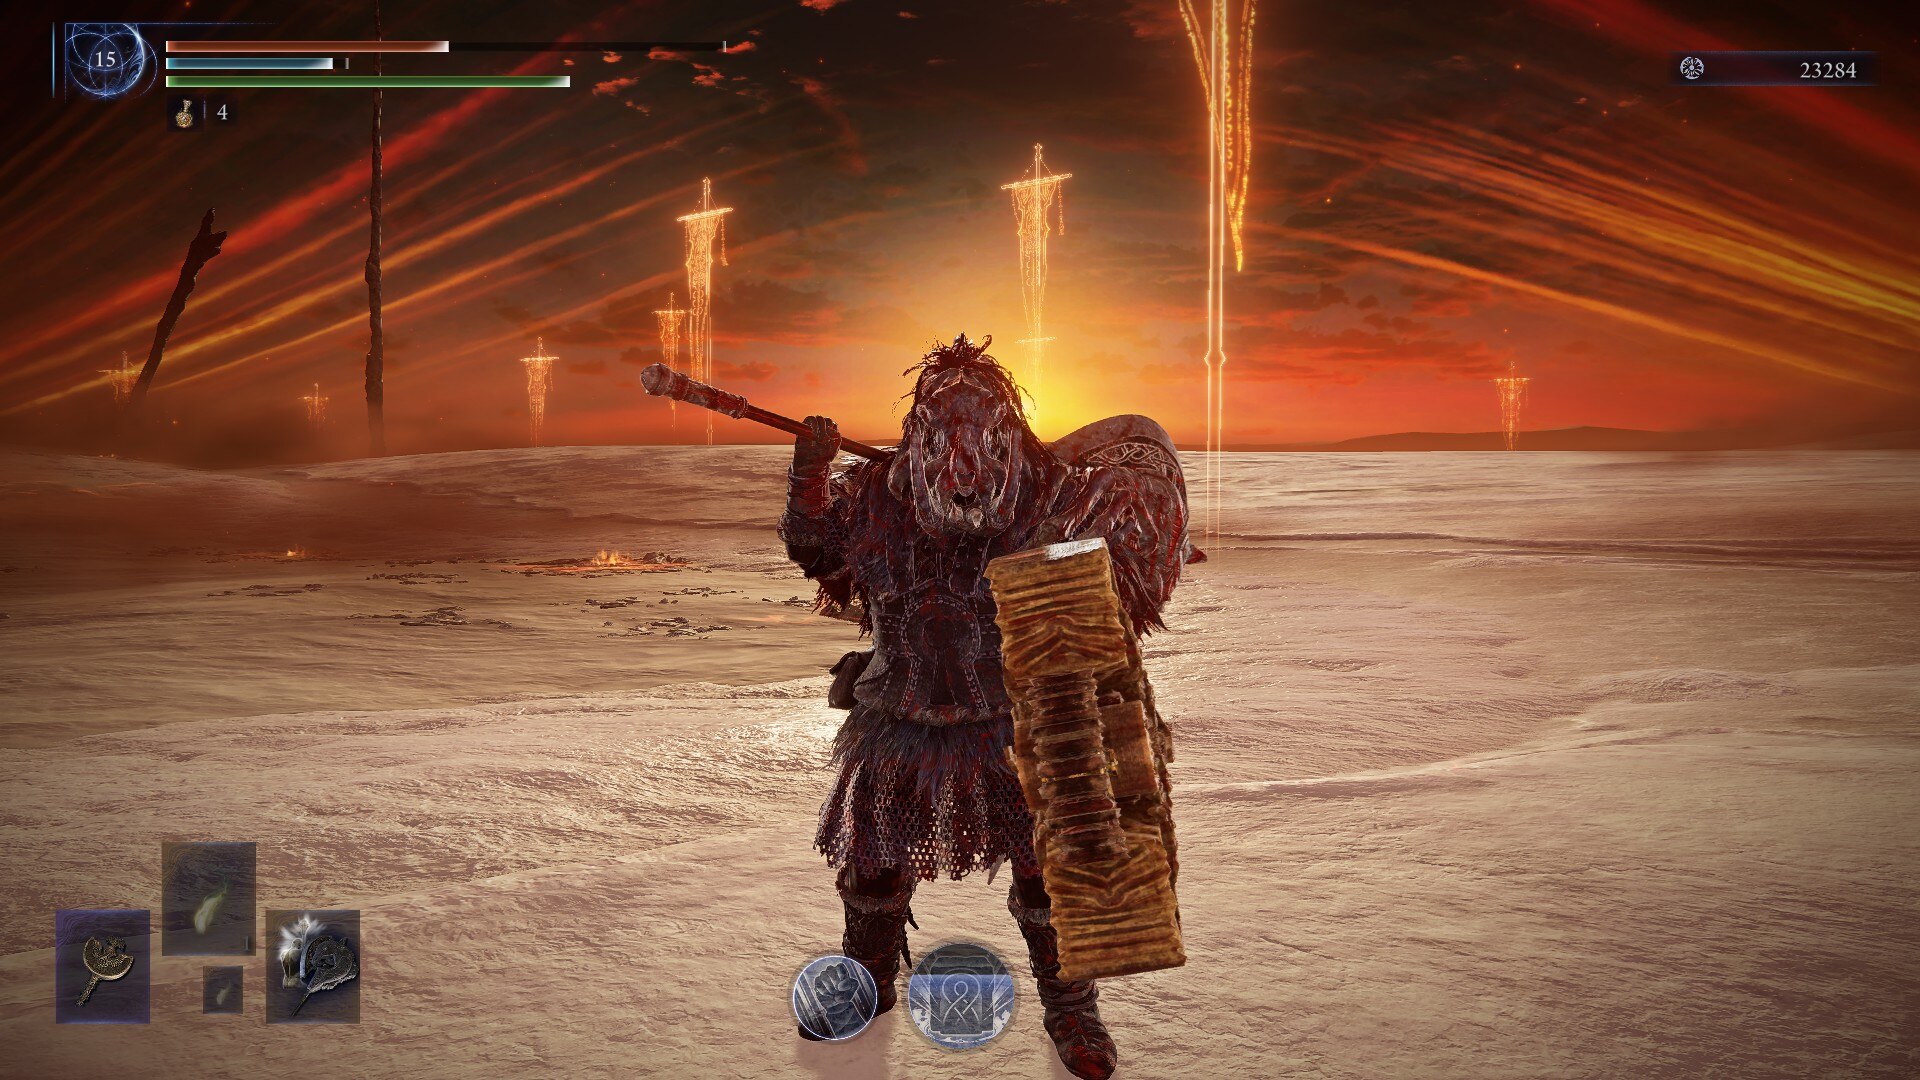
During the Remembrance quests of other Nightfarers, you will have to visit Limveld sooner or later. However, the Raider is an exception to this. All of his Remembrance quests happen in places that are related to his memories. During the Raiders’ first Remembrance, you will be fighting a Gladiator. So, we must visit the coliseum. To know more, follow the steps below:
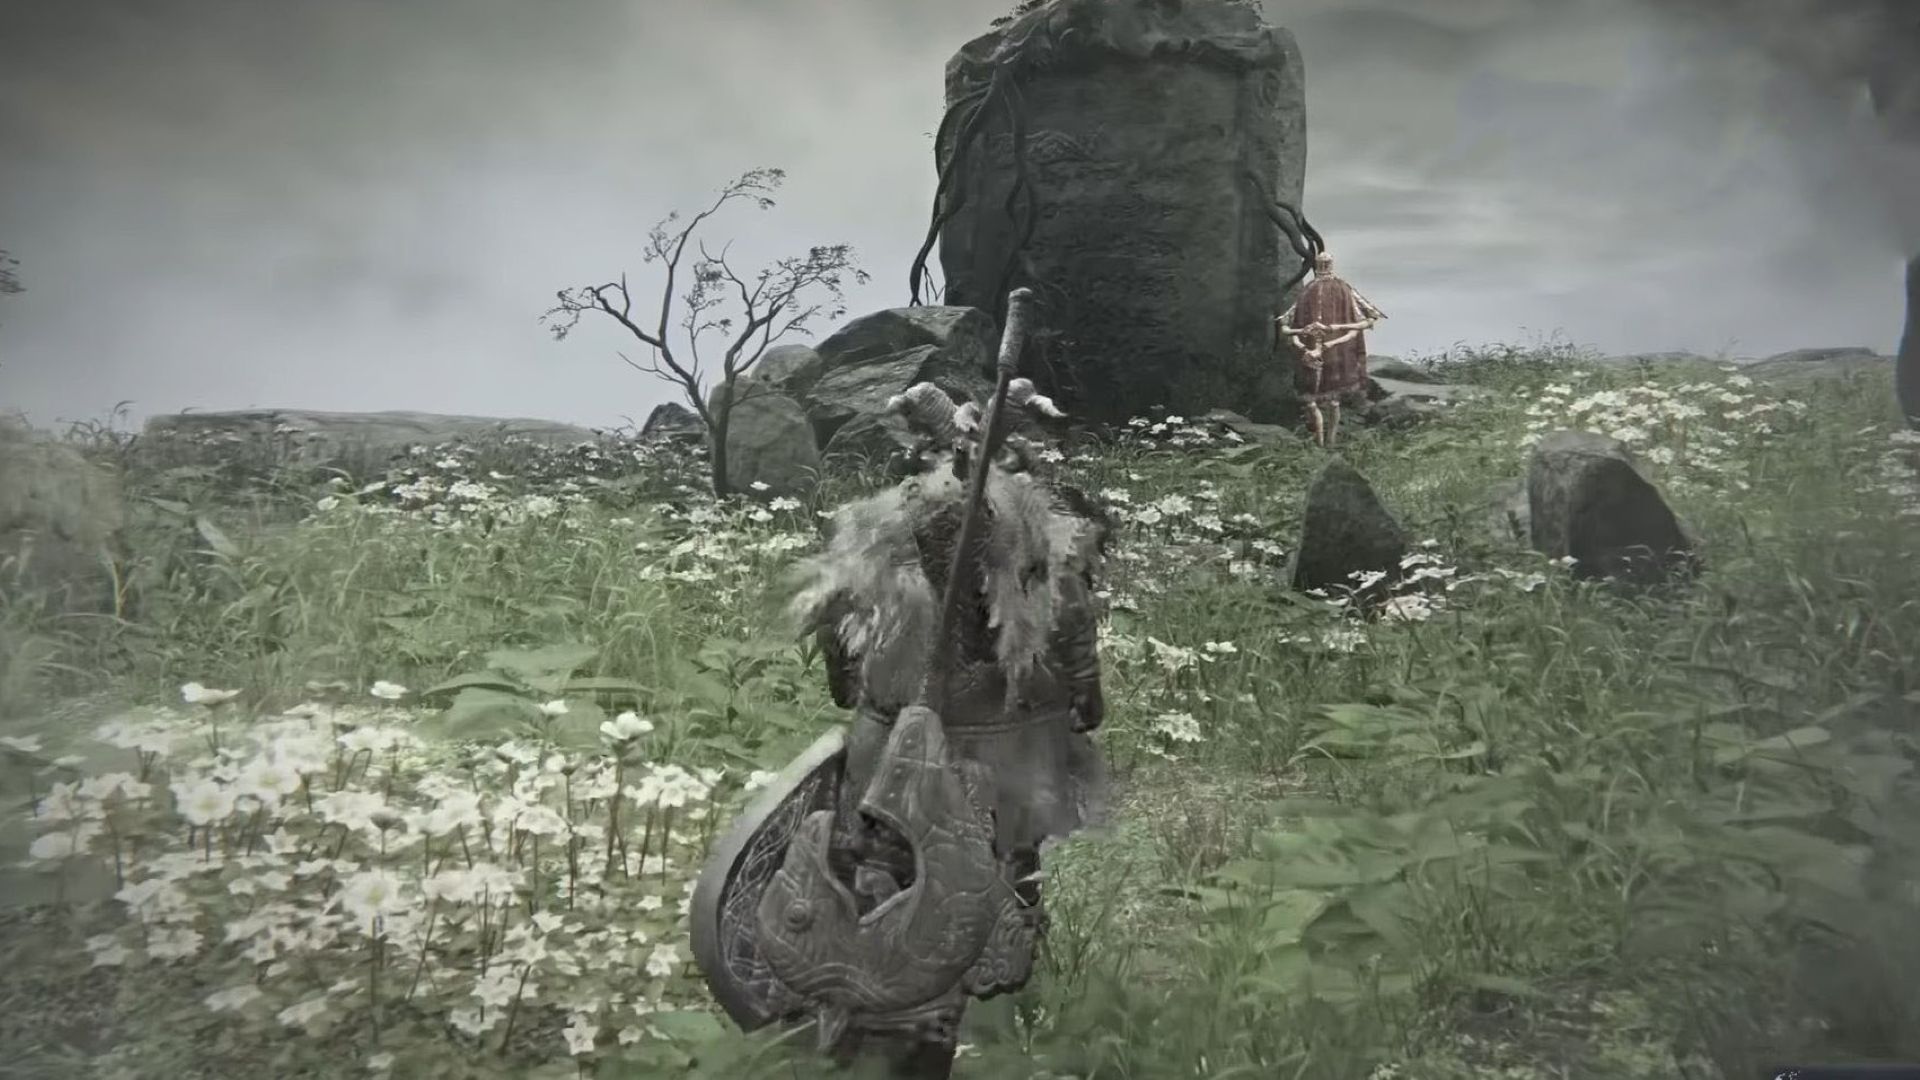
- Talk to the Iron Menial and discuss the monument. Exhaust all his dialogue.
- Interact with the monument and enter the Coliseum.
- Confront and defeat the Onestrike Gladiator.
- Obtain the Torn Braided Cord.
- Return and hand the Torn Braided Cord over to the Iron Menial.
- Complete the Remembrance.
Despite being a boss fight, the Onestrike Gladiator won’t give you much trouble, and you can beat him relatively easily. Remember that you have your Relic Rites for these fights, so we suggest that you focus your build on Solo Battles. Once you complete the Raider’s first Remembrance, you will get the Torn Braided Cord relic as a reward. It increases the Raider’s character skills’ power.
Second Raider Remembrance
Similar to the first quest, the Raider’s second Remembrance will again pit you against a boss. This time, the enemy will be much stronger compared to your previous fight. However, the enemy won’t be as difficult as a Nightlord, so you can still defeat it without any complications. Follow the steps given below to complete all of the objectives in the second Remembrance.
- Talk to the Iron Menial and exhaust all dialogue.
- Enter the Coliseum by touching the monument.
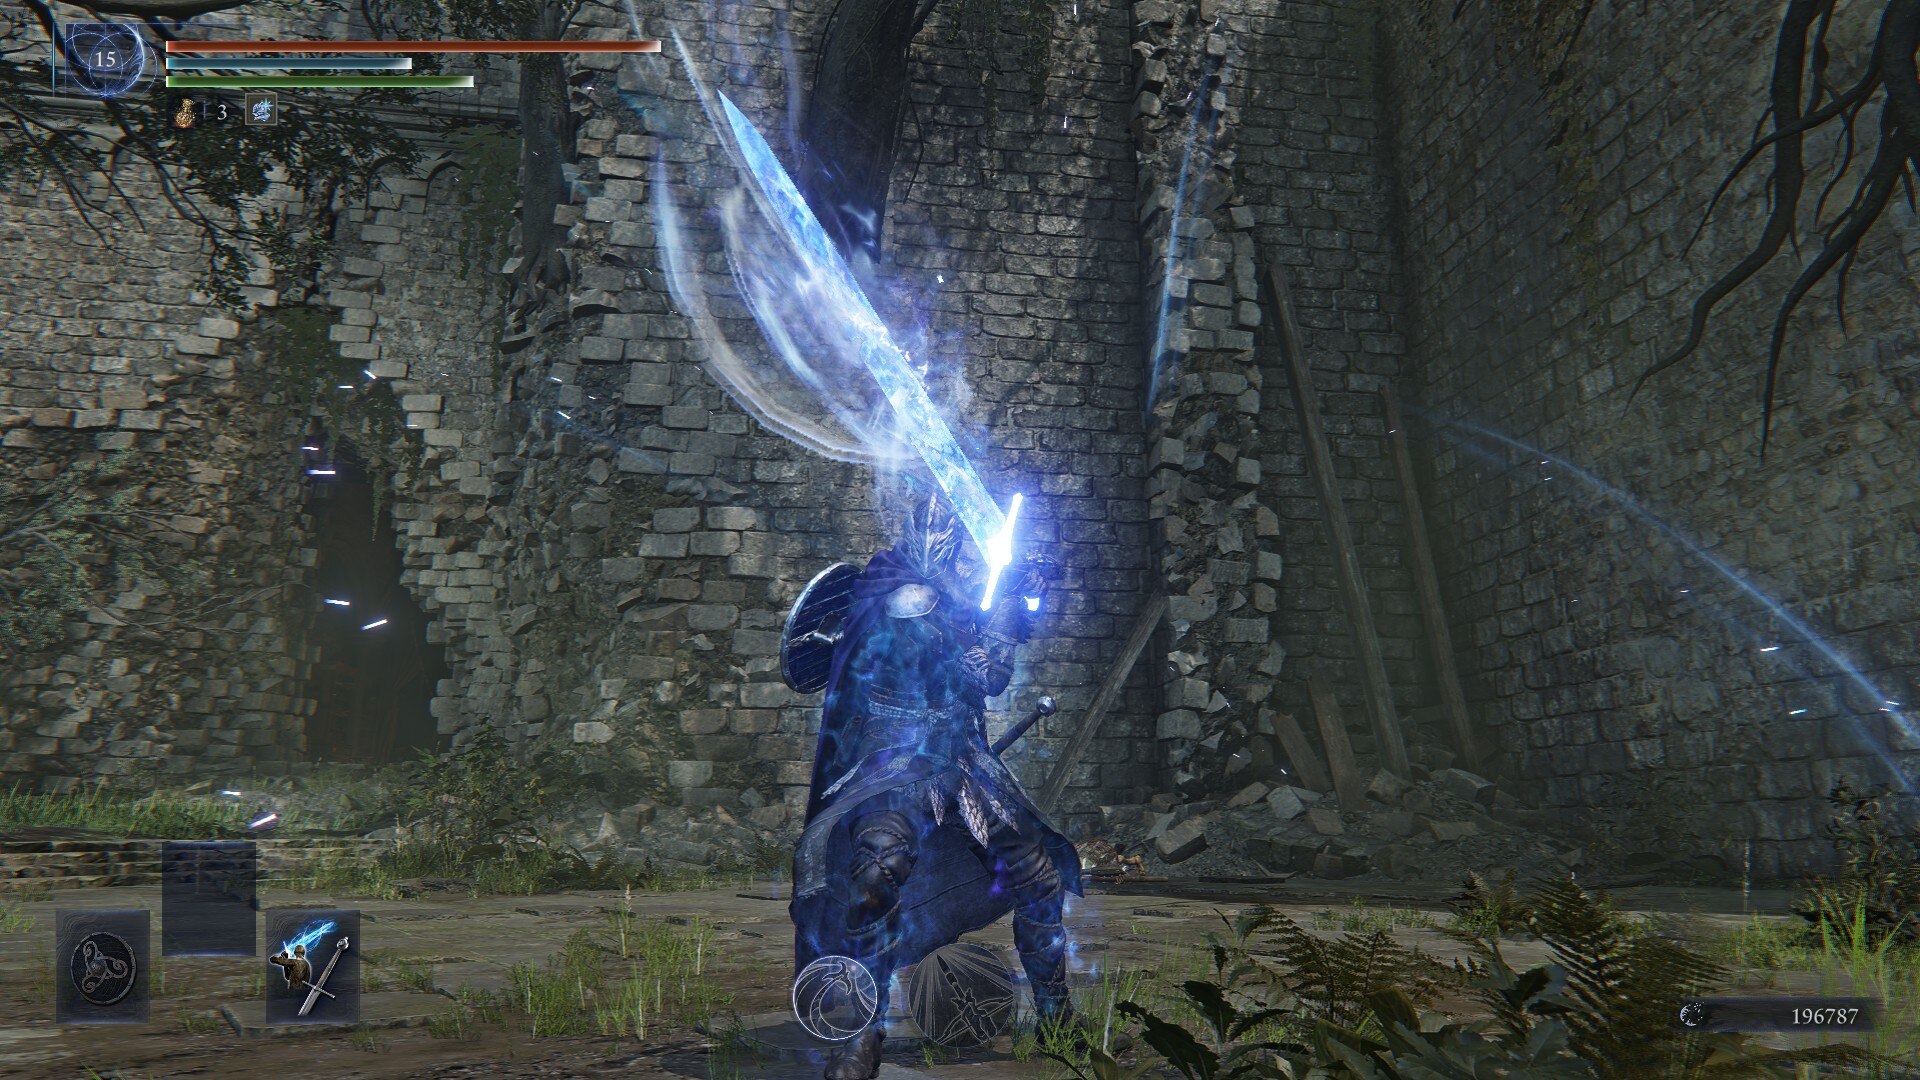
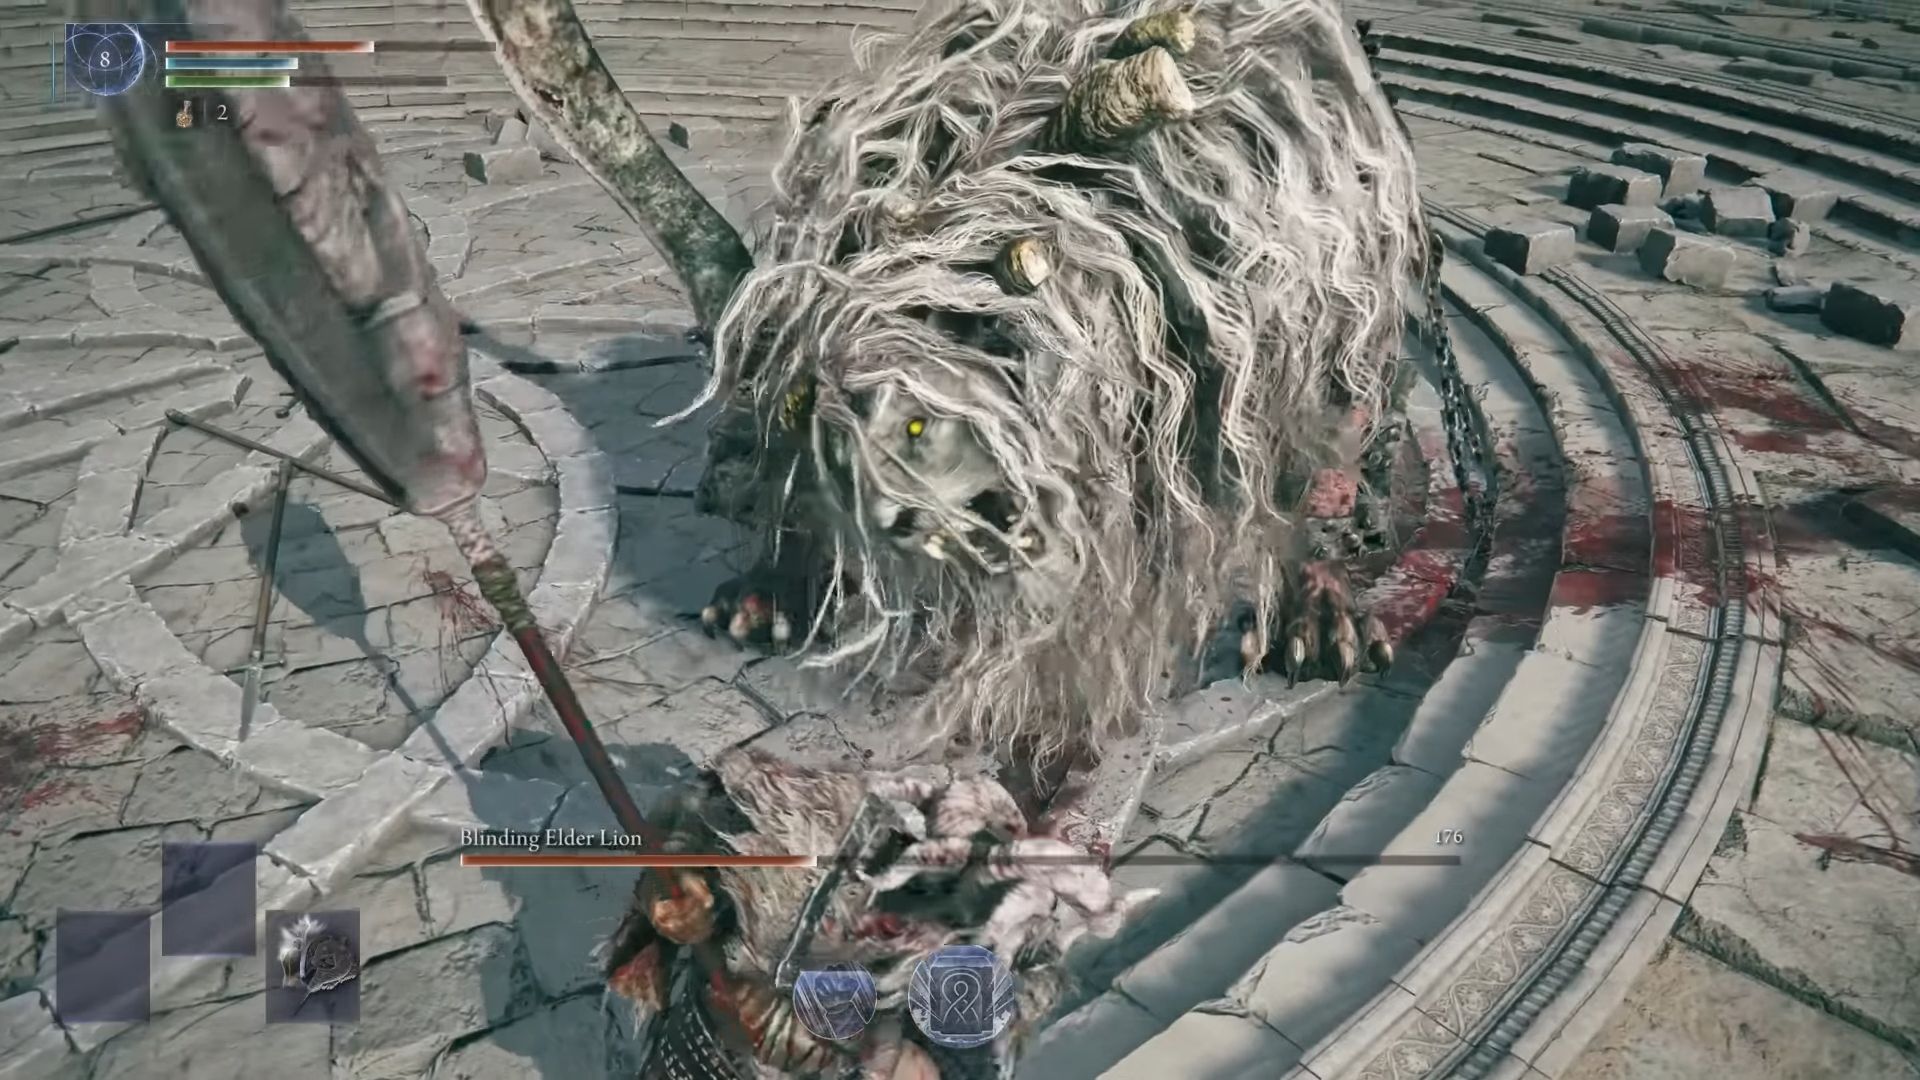
- Confront and defeat the Blinded Elder Lion.
- After you return, speak to the Iron Menial again.
- Complete the Remembrance.
During this boss fight, focus is important, as you will quickly realize that the Elder Lion is both stronger and faster than the Gladiator. However, as a simple solution, you can hit this beast with the two-handed axe to stagger it. So, once you memorize the attack pattern of the Lion, the enemy won’t pose much threat to you. After defeating this boss, you will get the Raider’s Chalice as a reward.
Third Raider Remembrance
By the time you start the Raiders’ third Remembrance, you will notice a pattern. Each of these quests presents you with a boss more difficult than the last one. Similarly, the last Remembrance quest will throw you into yet another boss fight with higher difficulty. However, this time, the fight can be hard for many. Once you start the quest, follow the steps given below:
- Speak to the Iron Menial, and he will tell you that the monument is currently inactive.
- Teleport to the Coliseum by standing next to the fallen pillar on the shore.
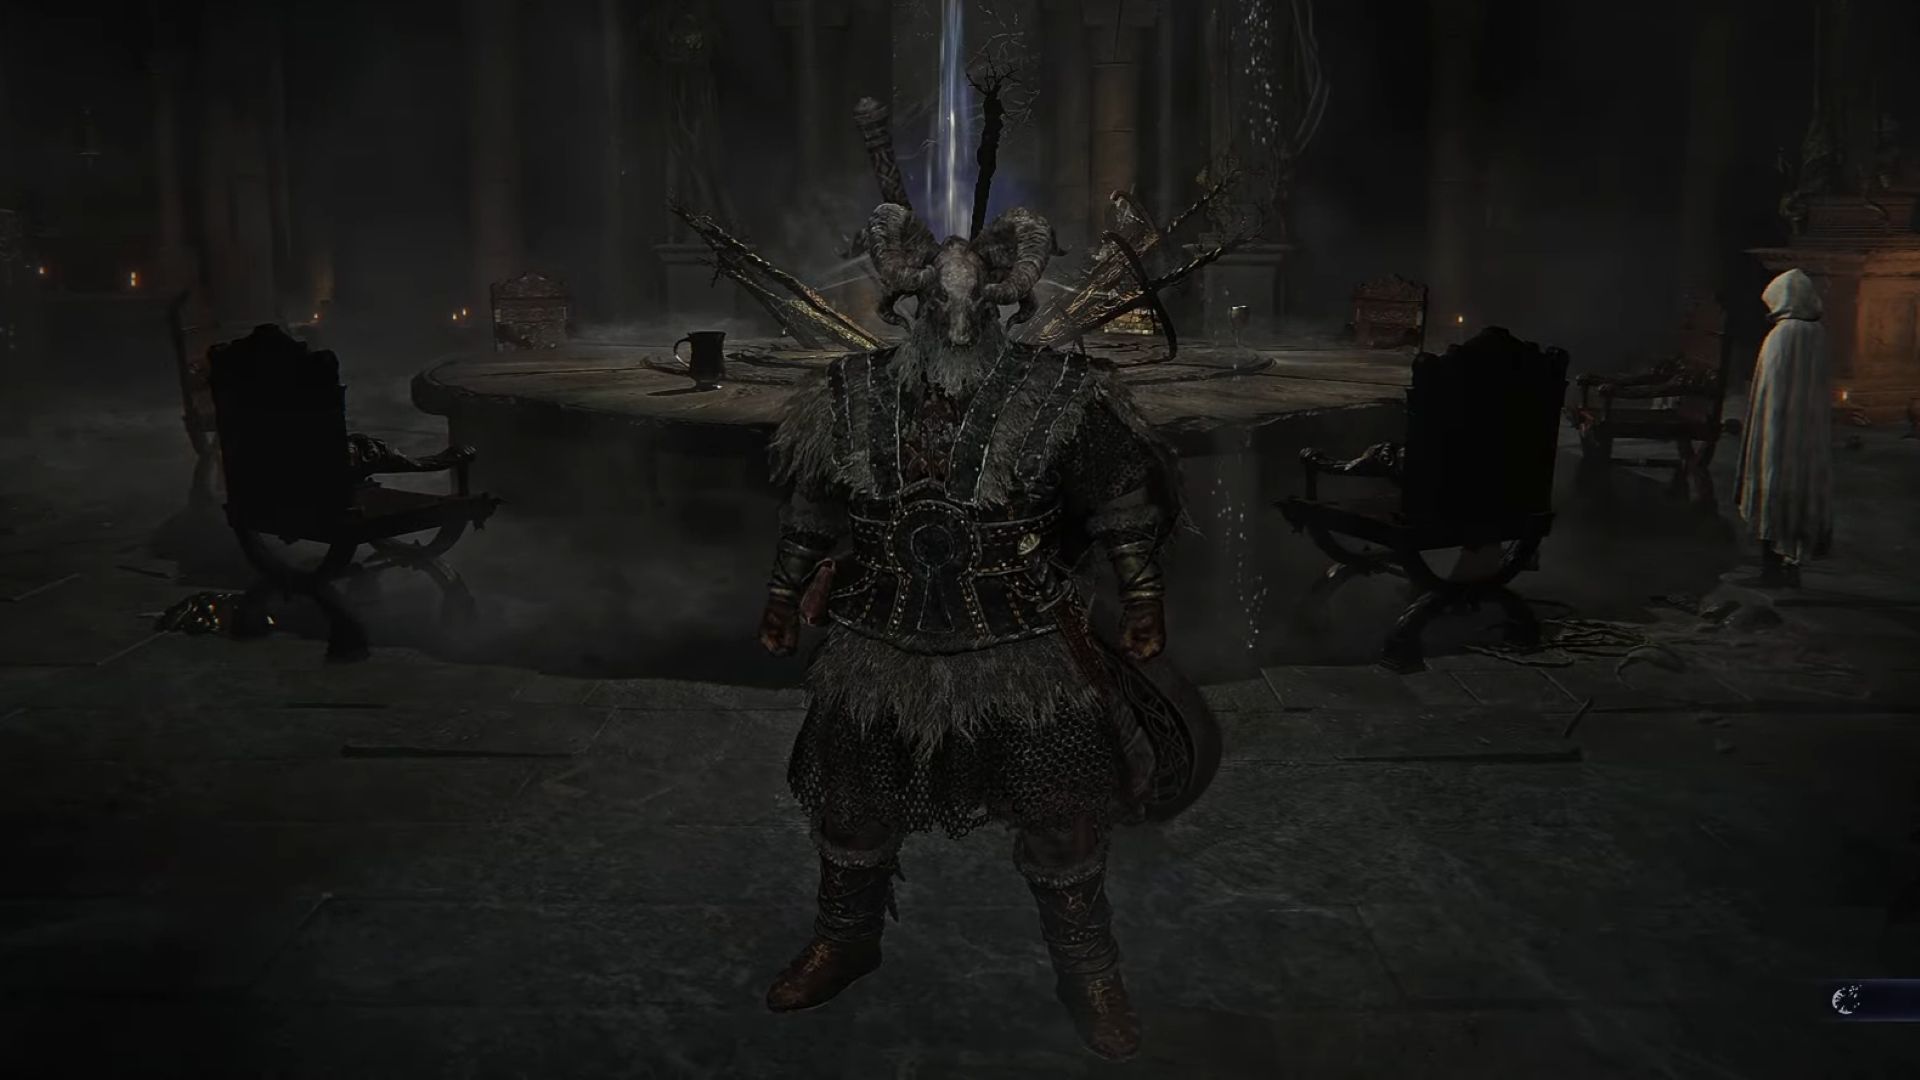
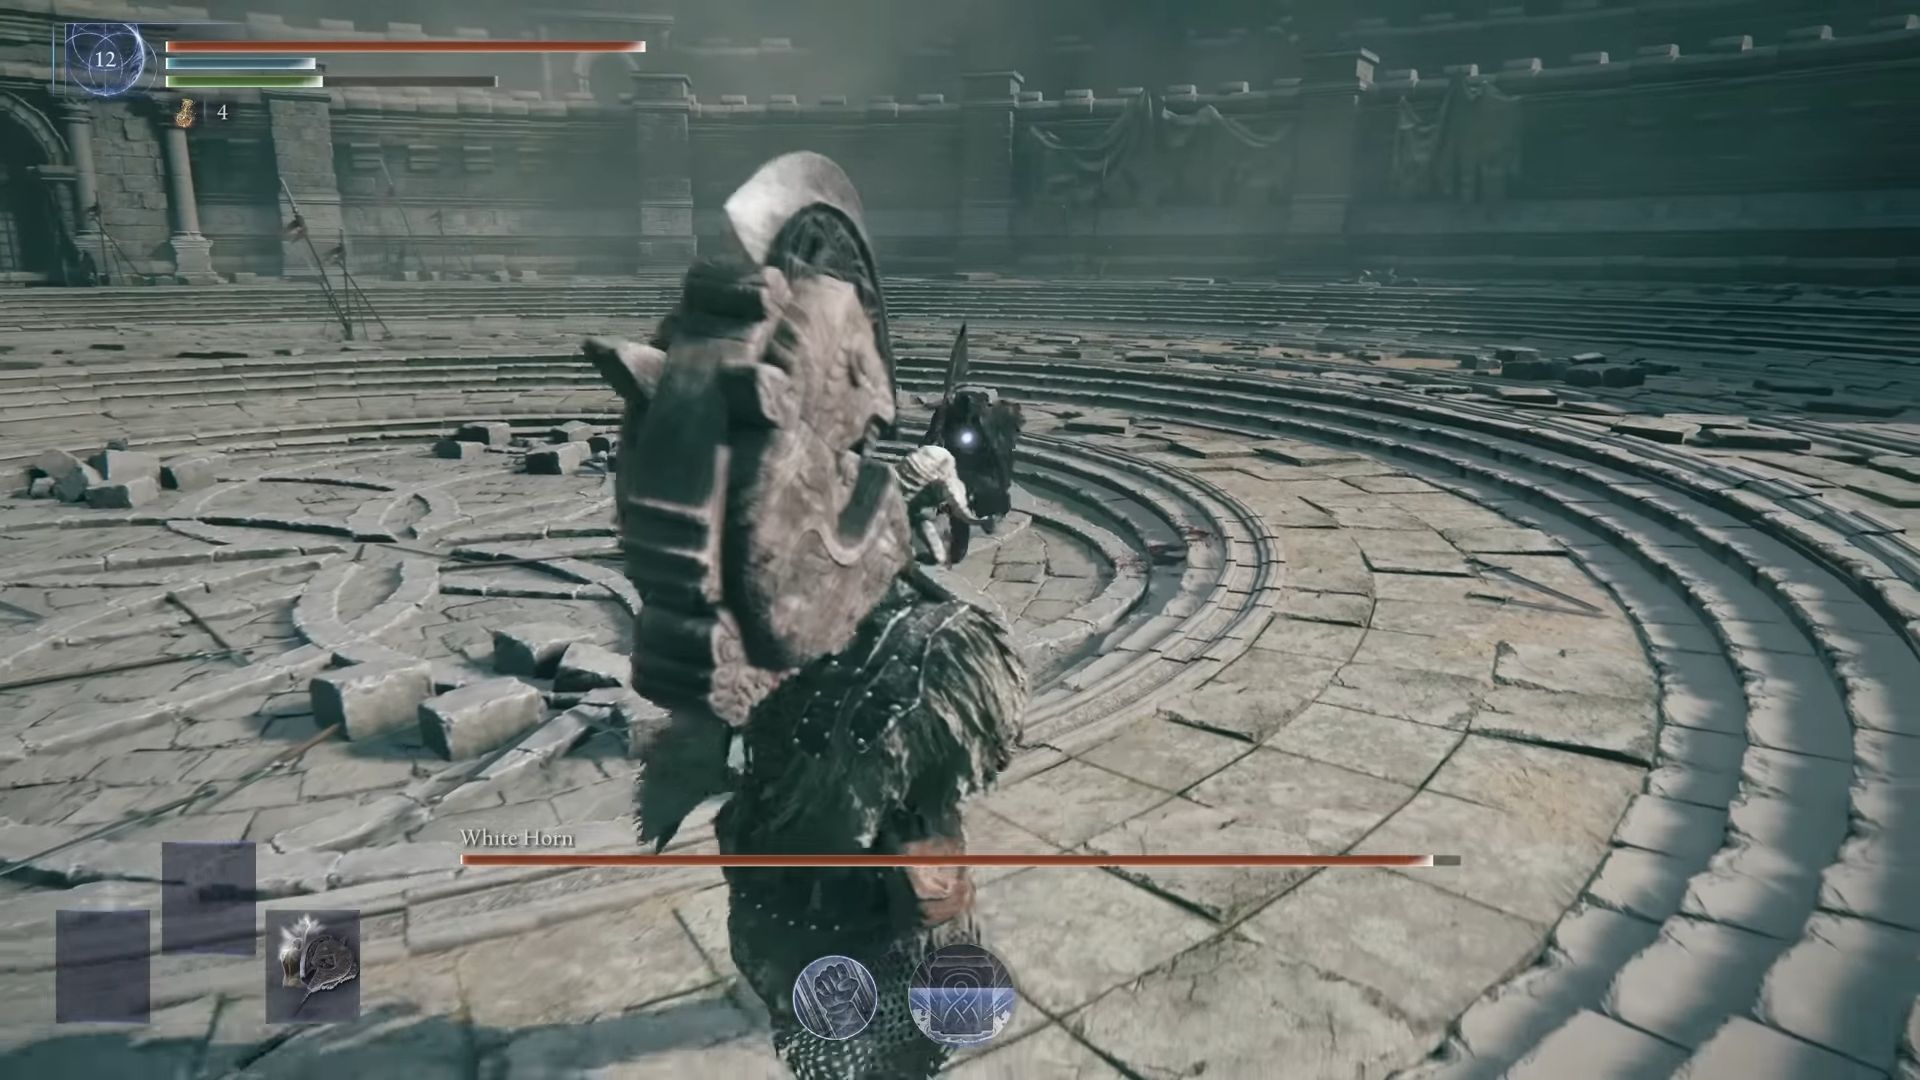
- Confront and defeat the boss, the White Horn.
- After returning, speak to the Iron Menial again.
- Make an offering to the Monument. It will reveal secrets regarding the Raider’s identity.
- Complete the Remembrance.
Unlike the previous two enemies, the White Horn will have two different phases in Elden Ring Nightreign. Also, this boss’s fighting style is similar to the Raiders, but you can still easily stagger them with offensive strikes. However, that does not mean you should keep attacking the White Horn blindly. Only go on the offensive when the enemy gives you the window to do so, and keep draining their health.
Then, the boss will transform into a Tree Spirit once their health drops to 50%. After you learn the new moves, the strategy remains the same. Despite being the second stage, the fight won’t give you much trouble. However, we do recommend dodging and attacking instead of soaking up the incoming damage. After you defeat the White Horn, you will get the Raider’s Remembrance skin and the Black Claw Necklace. The latter heals anyone who defeats an enemy if they are near the Totem Stela.
Thank you for reading the article. We provide the latest news and create guides for Elden Ring Nightreign. Also, check out our YouTube channel!