Deeper into the Darkness is the third mission in the game. In this article, we will walk you through Final Fantasy 7 Rebirth Chapter 3.
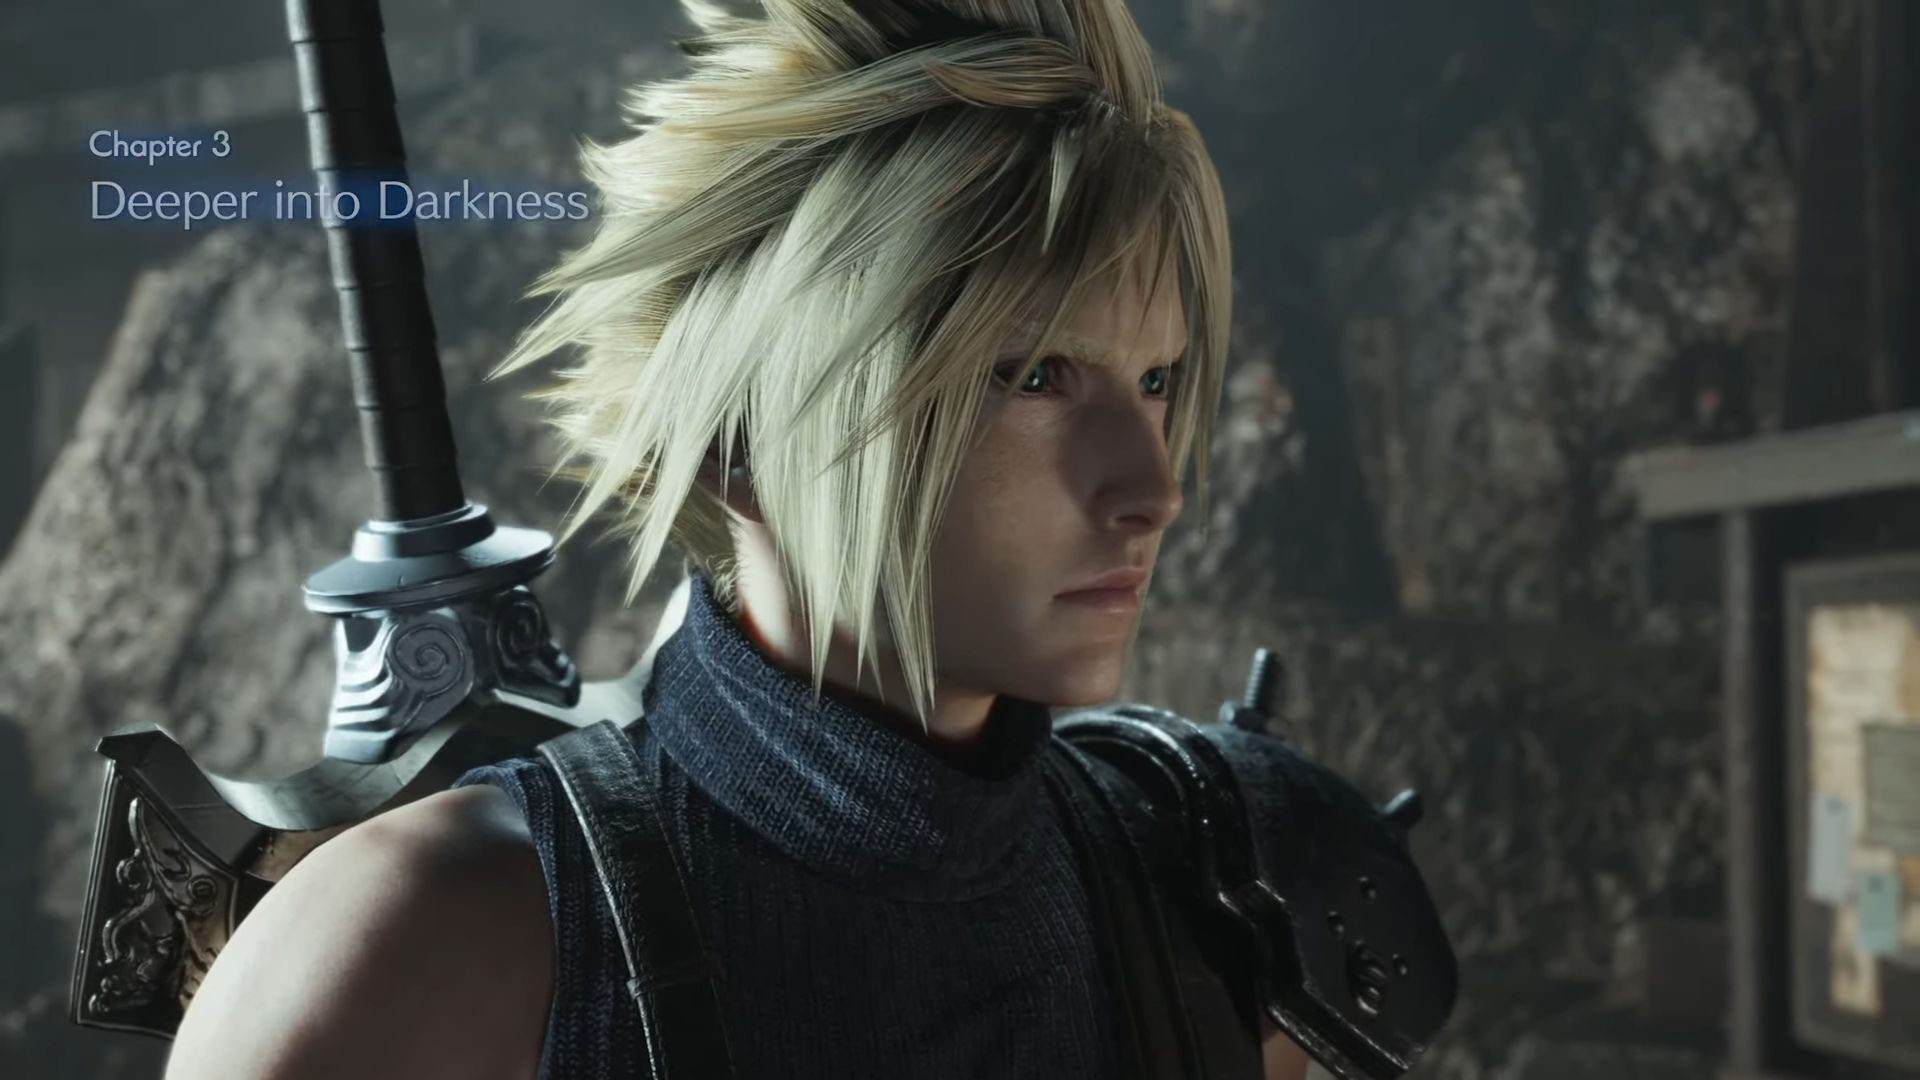
Deeper into the Darkness is the third chapter of the story. This mission takes place right after the “A New Journey Begins” quest. In the third mission, the game breaks the flow of its gameplay. Instead of the open-world approach, we see Cloud and the others searching for their way out of the Mythril Mines. It is a fairly linear quest, where you will have to follow some mysterious hooded figures at the beginning to find out where they are going. You are free to explore the interior of the mines; however, the entire mission will begin and end in the Mythril Mines. This guide will walk you through the entire Final Fantasy 7 Rebirth Chapter 3.
Final Fantasy 7 Rebirth is an open-world action RPG by Square Enix. The game is a sequel to FF7 Remake, and it is also the second game in the trilogy that will completely remake the original Final Fantasy 7 from 1997. Rebirth continues the story from the previous game. We see Cloud Strife and his companions on their journey to stop Shinra and Sephiroth from destroying the world.
Chapter 3
There is a lot to do in the Mythril Mines. It has many enemies you can fight, vending machines you can find, and new and returning characters making their appearances. Final Fantasy 7 Rebirth Chapter 3 does not let the momentum fall despite being a straightforward mission inside a mine. It is a good mission that progresses the story of Rebirth further. We are going to take a comprehensive look at the mission below and explain everything that will help you finish this mission.
Start Exploring the Mines
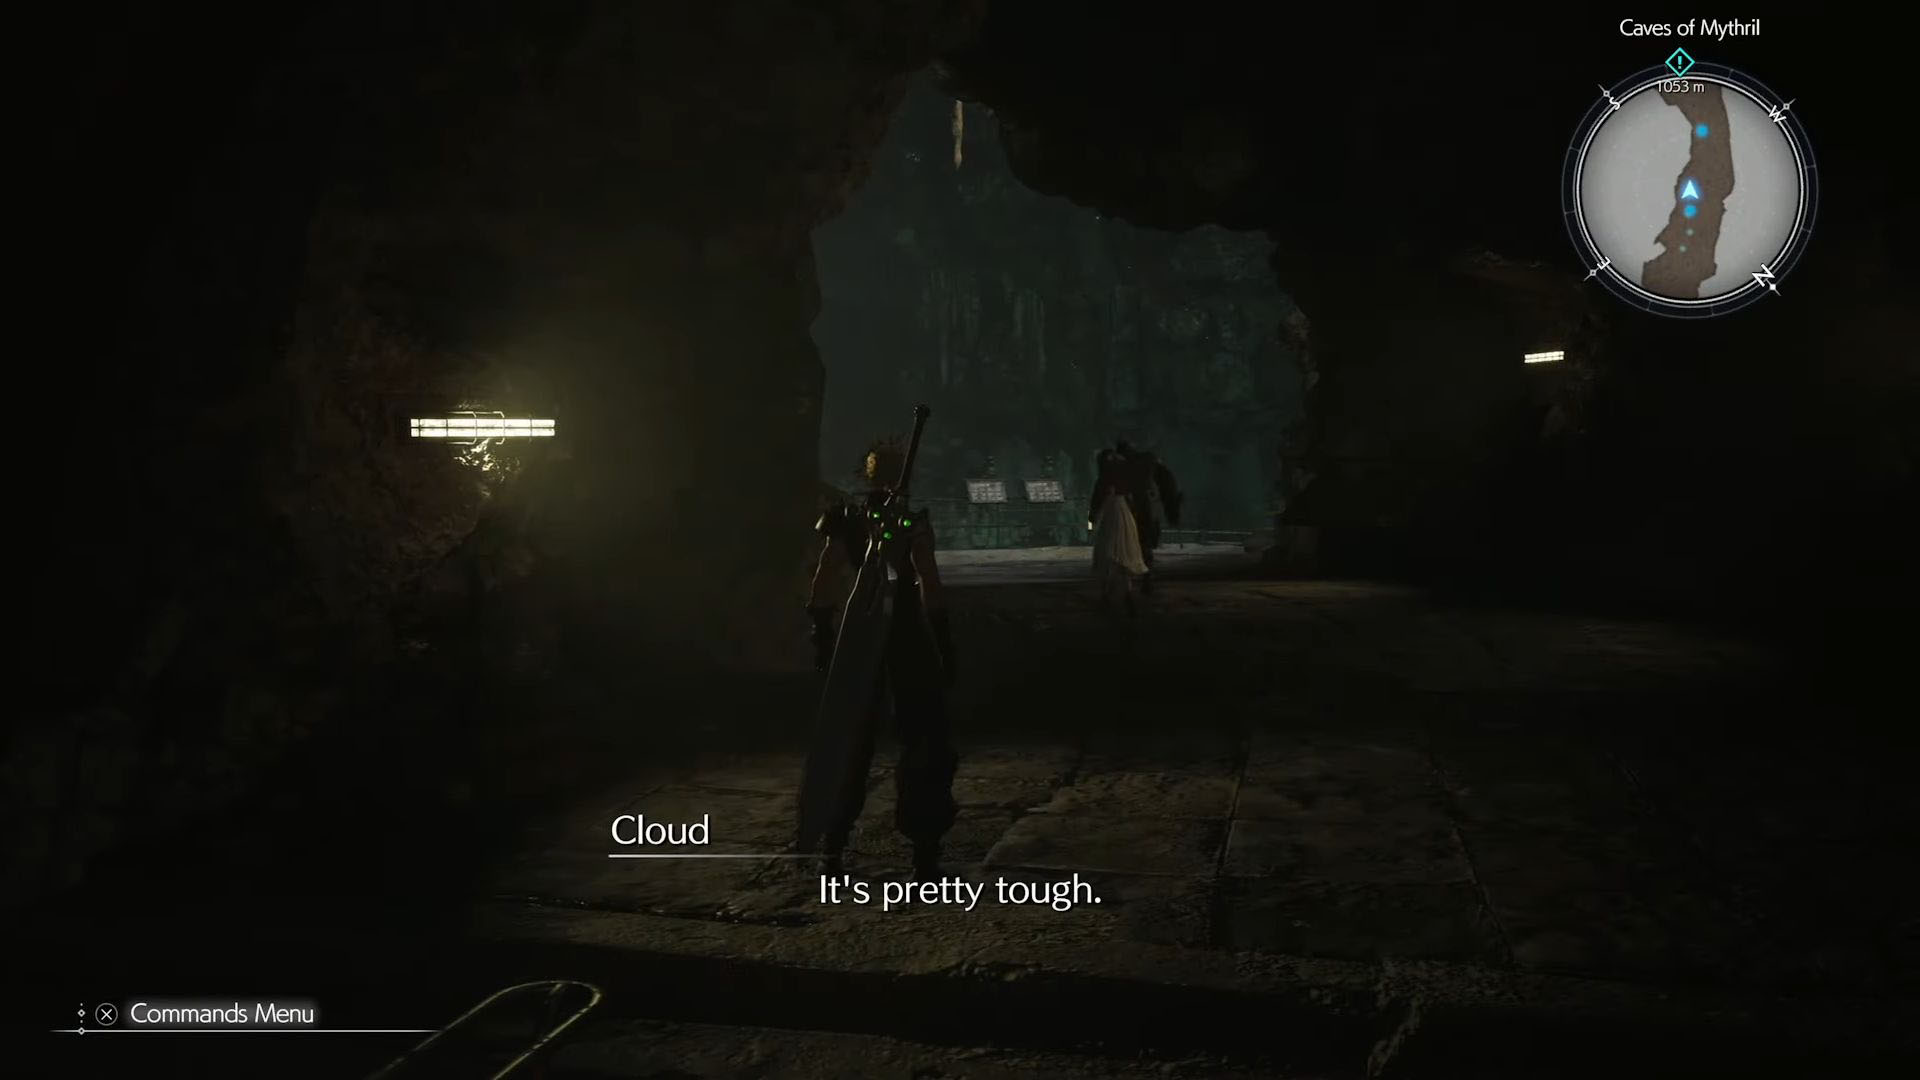
After a cutscene, the game will put you at the entrance of the Mythril Mines. Go further into the mines and start exploring. There will be a resting place alongside a vending machine nearby; use them as you see fit. When you are done with the vending machines, keep going deeper into the mines until you spot some mysterious figures wearing black hooded robes. Get closer to them, and a cutscene will trigger. After that, Barret and Red XIII will part and go a separate way, but no need to worry—you will see them again.
After Barret and Red XIII leave, follow the tunnel. You will reach a place with some crawlers lurking about. Kill them and jump on the broken stairs on the right side to proceed further. It should take you through a narrow bridge. At the end of it, you will find a stairway; use it to go down and fight some more crawlers. Look for another stairway with a chest on its left. Open the chest to collect the rewards and then go down the staircase.
There will be another chest down there. Kill the monsters, loot the chest, and then follow the minecart tracks into a tunnel with a sign over it. You will find an ogre when you get out of that tunnel. Exploit its weakness to fire and defeat it.
Get the Broken Minecart out of the Way
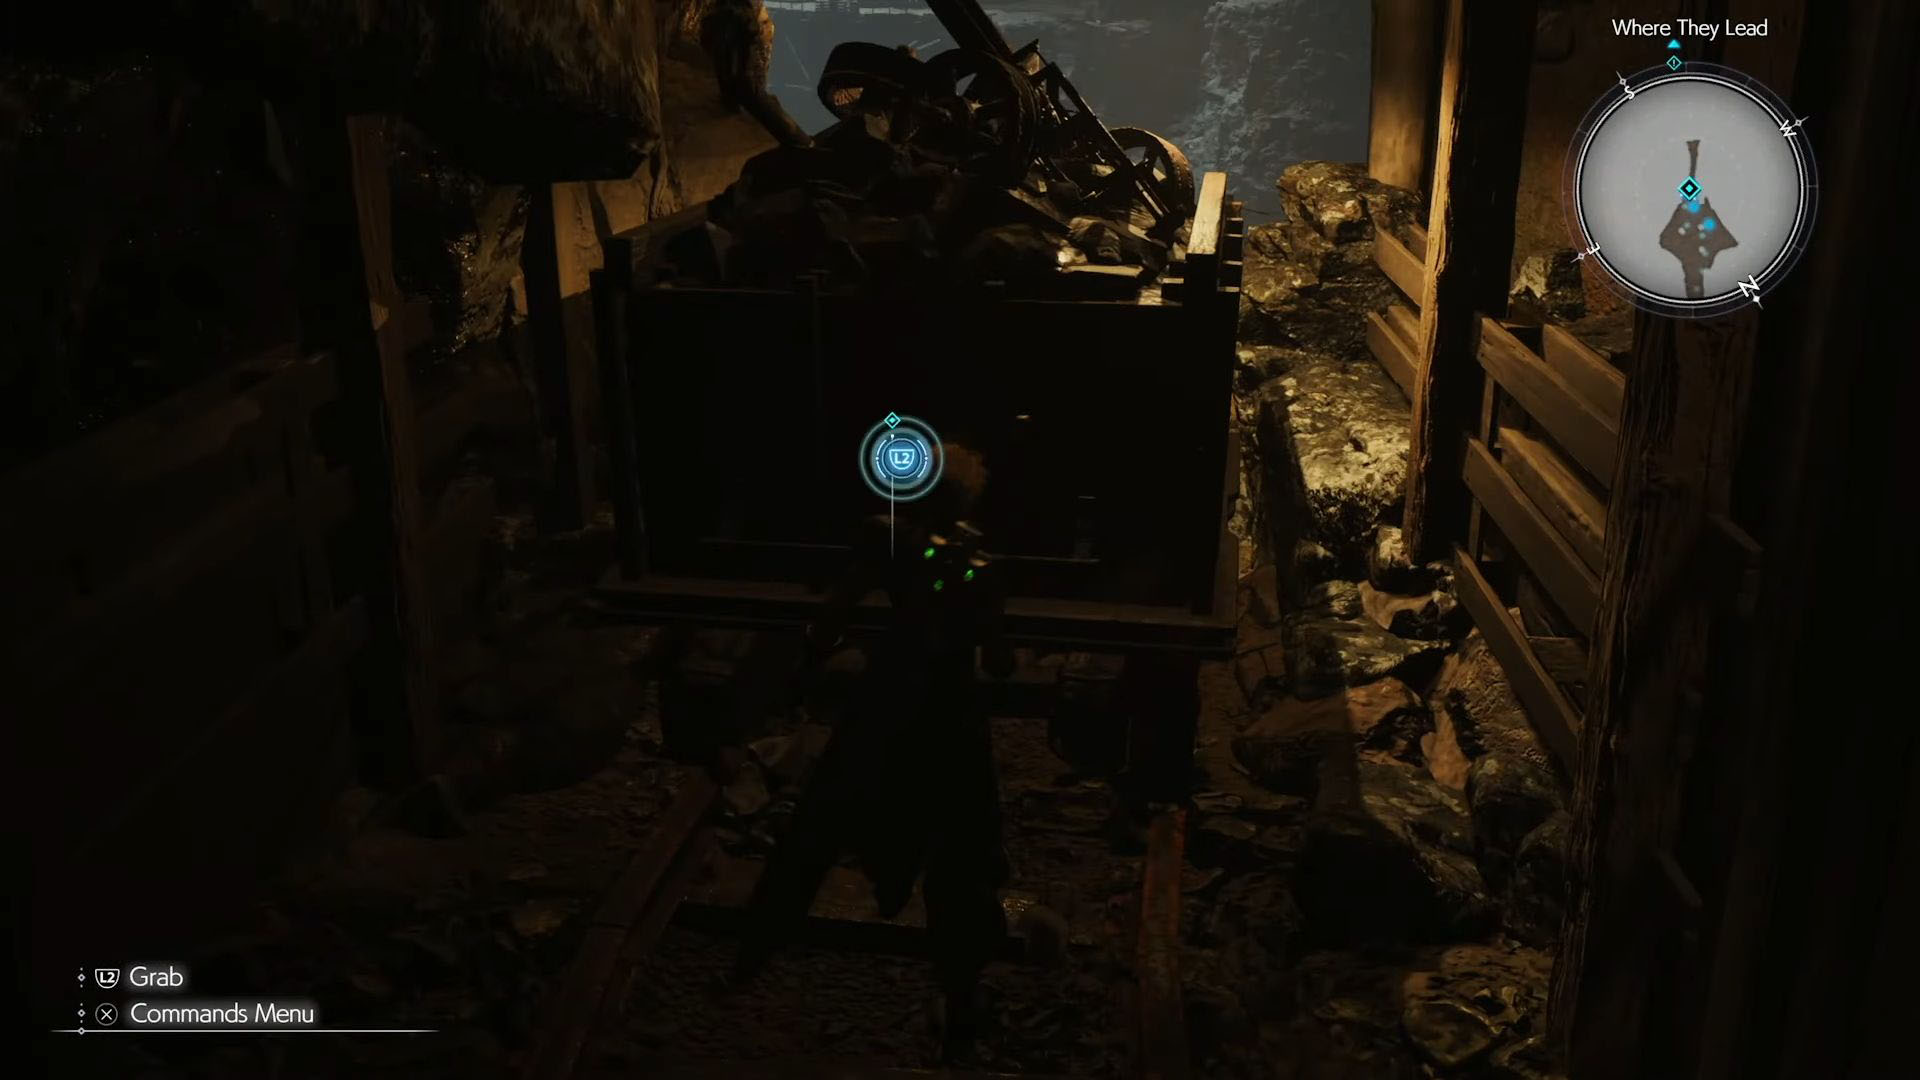
Go deeper into the mines and follow the minecart tracks. Soon you will find a big minecart at the end of the tunnel blocking your way. Press L2 and pull the cart backward until there is enough space for you to go through. When you exit the tunnel, the game will play a short cutscene and point you toward the intended direction. Cross the bridge on the left and defeat the monsters. After that, you will find a broken elevator and ladder, and a minecart on the left side of it. Push the minecart to the broken ladder and jump over it to enter the platform above.
Keep going forward until you see two ogres. Defeat them using the same method as the previous ogre fight. Once they are defeated, on the right side, you will find a ladder; use it to go up. Follow the stone path, and you will find a resting place with vending machines. Restore your health and move forward. Shortly after, you will start to hear two people having a conversation. Eavesdrop on it, and a cutscene will occur, leading to the first boss fight of Final Fantasy 7 Rebirth Chapter 3.
Rude and Elena
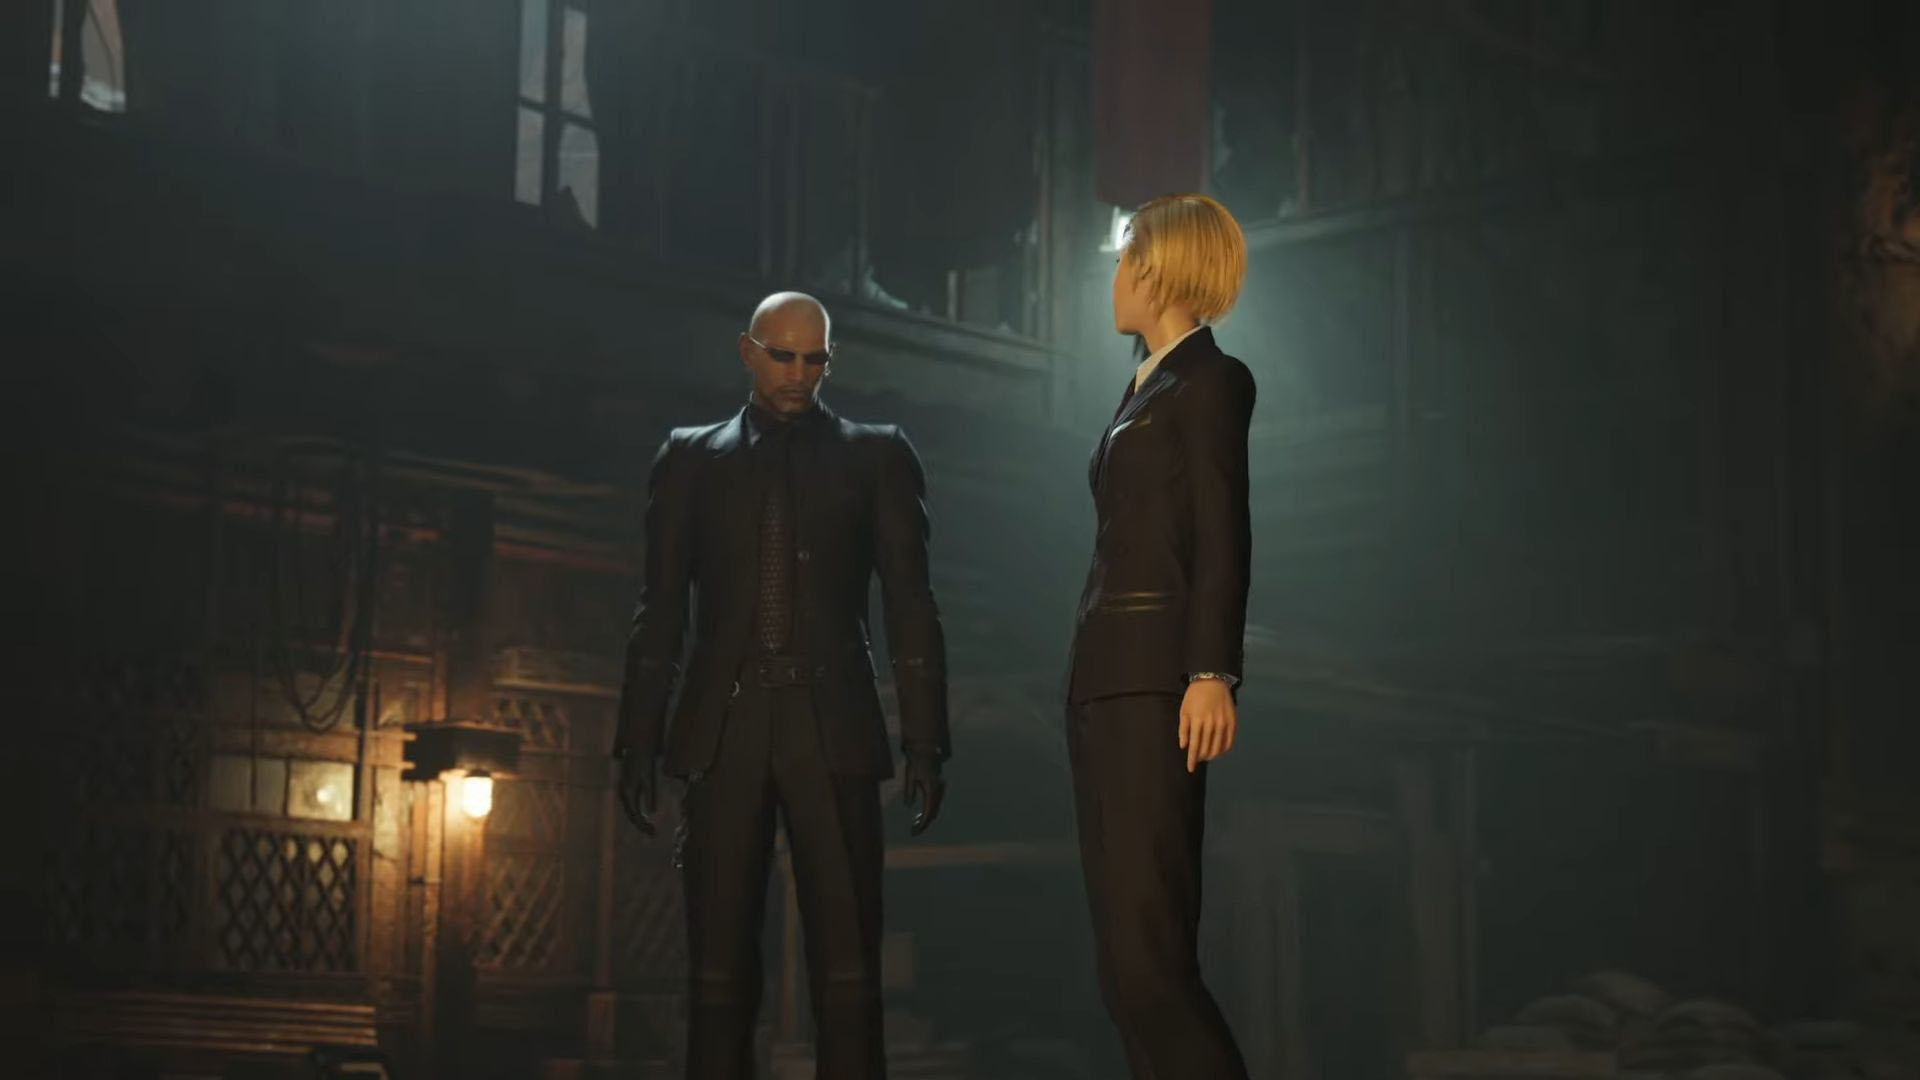
After the cutscene ends, Cloud and friends will have to fight Rude and Elena in a boss battle. Rude will primarily focus on close-range combat, but Elena can strike from close range as well as use her daggers to do some ranged attacks. She will also jump and throw stun grenades at you. You cannot block stun grenades, so you must dodge this attack. Rude, on the other hand, will use a move called Spirit Geyser in addition to his fists and kicks. This attack makes yellow energy smoke shoot up at random places, so you must dodge it as well.
Elena has a weakness to lightning, while Rude is weak to air damage. Strategize accordingly and exploit these weaknesses as much as you can. Shortly after, a cinematic will play, and both Rude and Elena will enter the Atlas Stance. Elena cannot be targeted during this stage and will hit all three party members when she is done charging her ability. So in this moment, focus on Rude and try to stun him, and take him out first. The fight gets a bit easier once one of them is out.
Find a Way Out
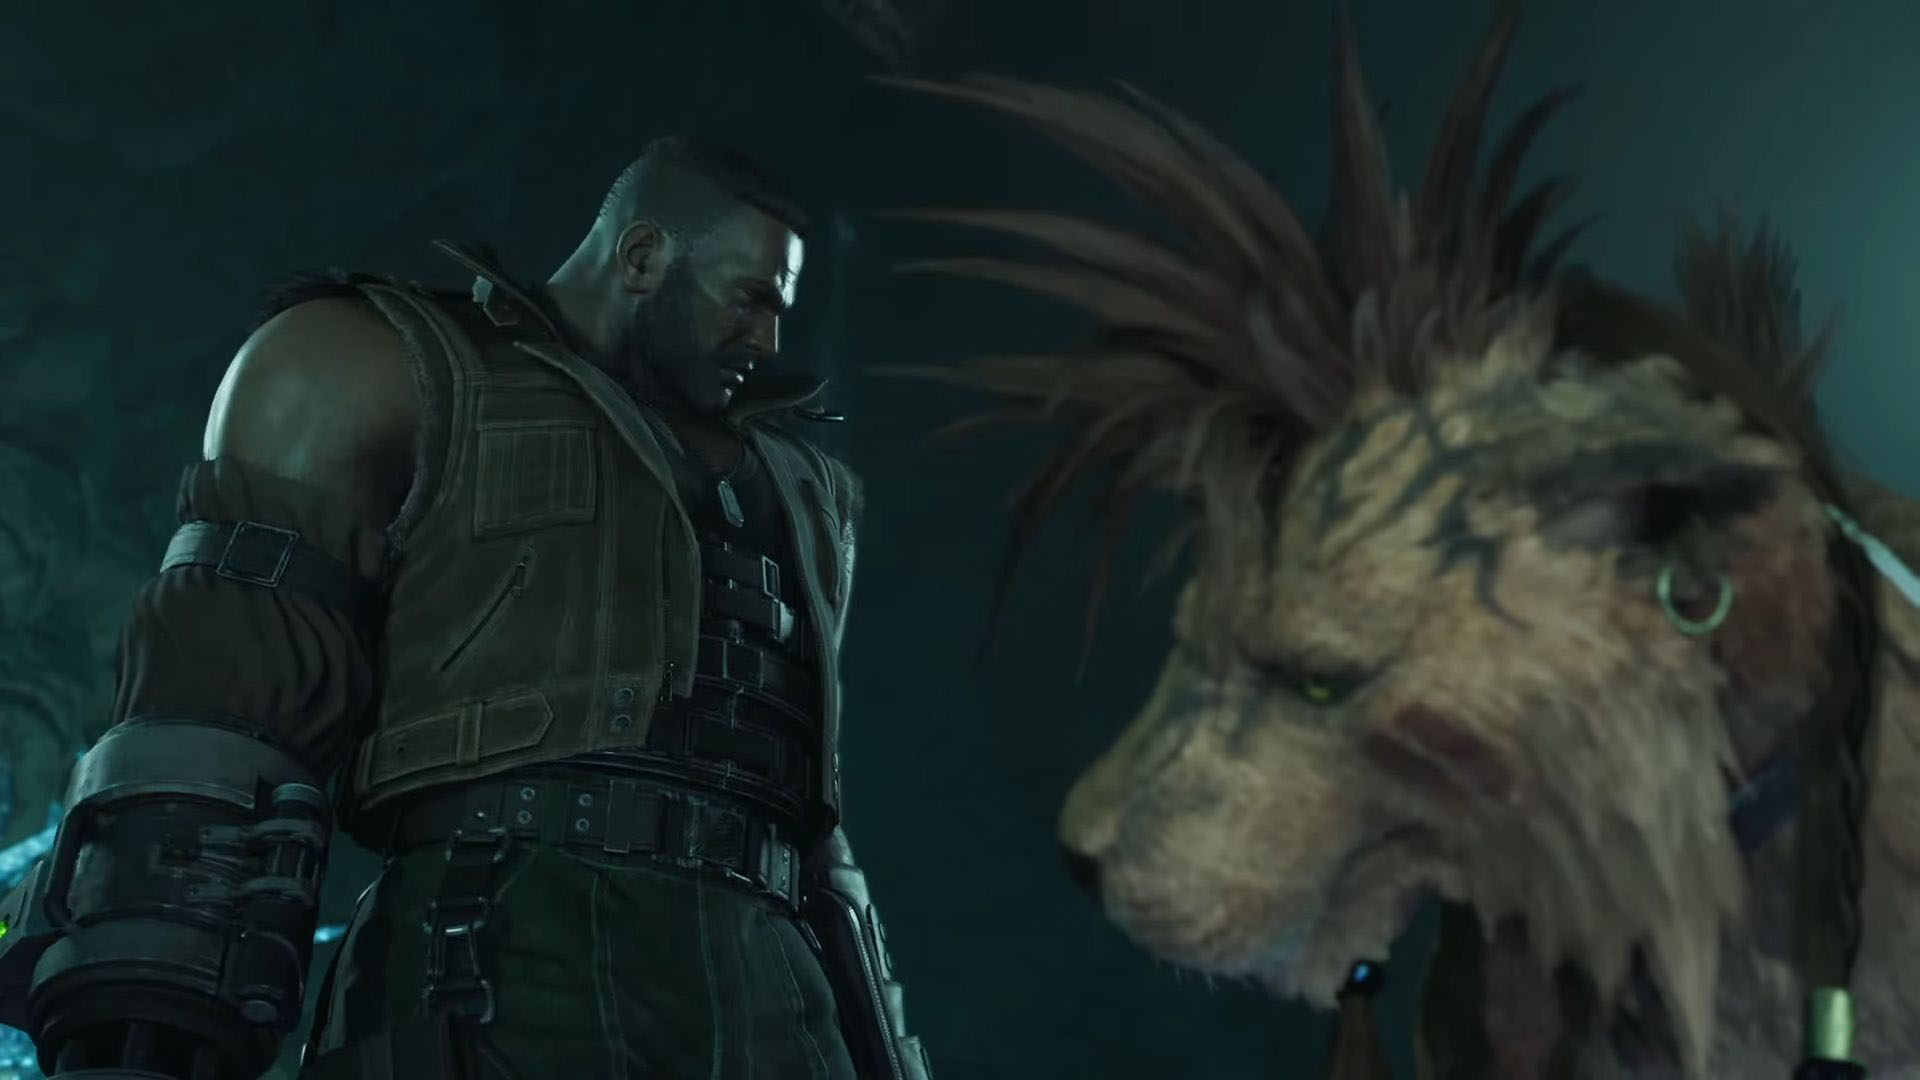
Once you have defeated both Rude and Elena, a cutscene will transition the player to Barret and Red XIII. As Barret, keep moving forward until you come across a vending machine with a chest nearby. Claim the chest and rest at the nearest resting point. From time to time, you will see a blue direction marker appearing on your screen. This marker indicates the crystals Barret can shoot and destroy with his gun. Keep going straight and cross the river to go to the other side. Follow the blue direction marker; it will lead you to some climbable ledges. Destroy the crystals and climb the ledges to go up.
Once you are up, go straight. On the northeast corner, you will find more climbable objects. Climb further up. When you are at the top, keep moving straight along the path. You will encounter an Archdragon; kill it. Follow the minecart tracks, and you will stumble across a lever. Use it to switch between the tracks. The left track leads to a chest, and the right track leads toward the way forward. Push the nearby cart to the right ledge, and climb over it. Go through the tunnel, and you will find an ogre. Defeat it using fire and Barret’s gun.
A boulder will block your way; destroy it using Barret’s gun. At this point, you will get a glimpse of Cloud and the other companions. Go left of the broken bridge and shoot the ladder to make it come down. There will be a resting place next. Restore your health and use the vending machine if needed. You will find a lever near it; use it to open the iron gate. Destroy the rock blocking the way and push the minecart further forward. Switch the tracks and then keep pushing again. Shortly after, a cutscene will play. After that, the bridge will be up for Cloud and the others. Go back the way you came from, and Aerith will open a gate for you. Go straight until a cutscene occurs.
The Mythril Golem
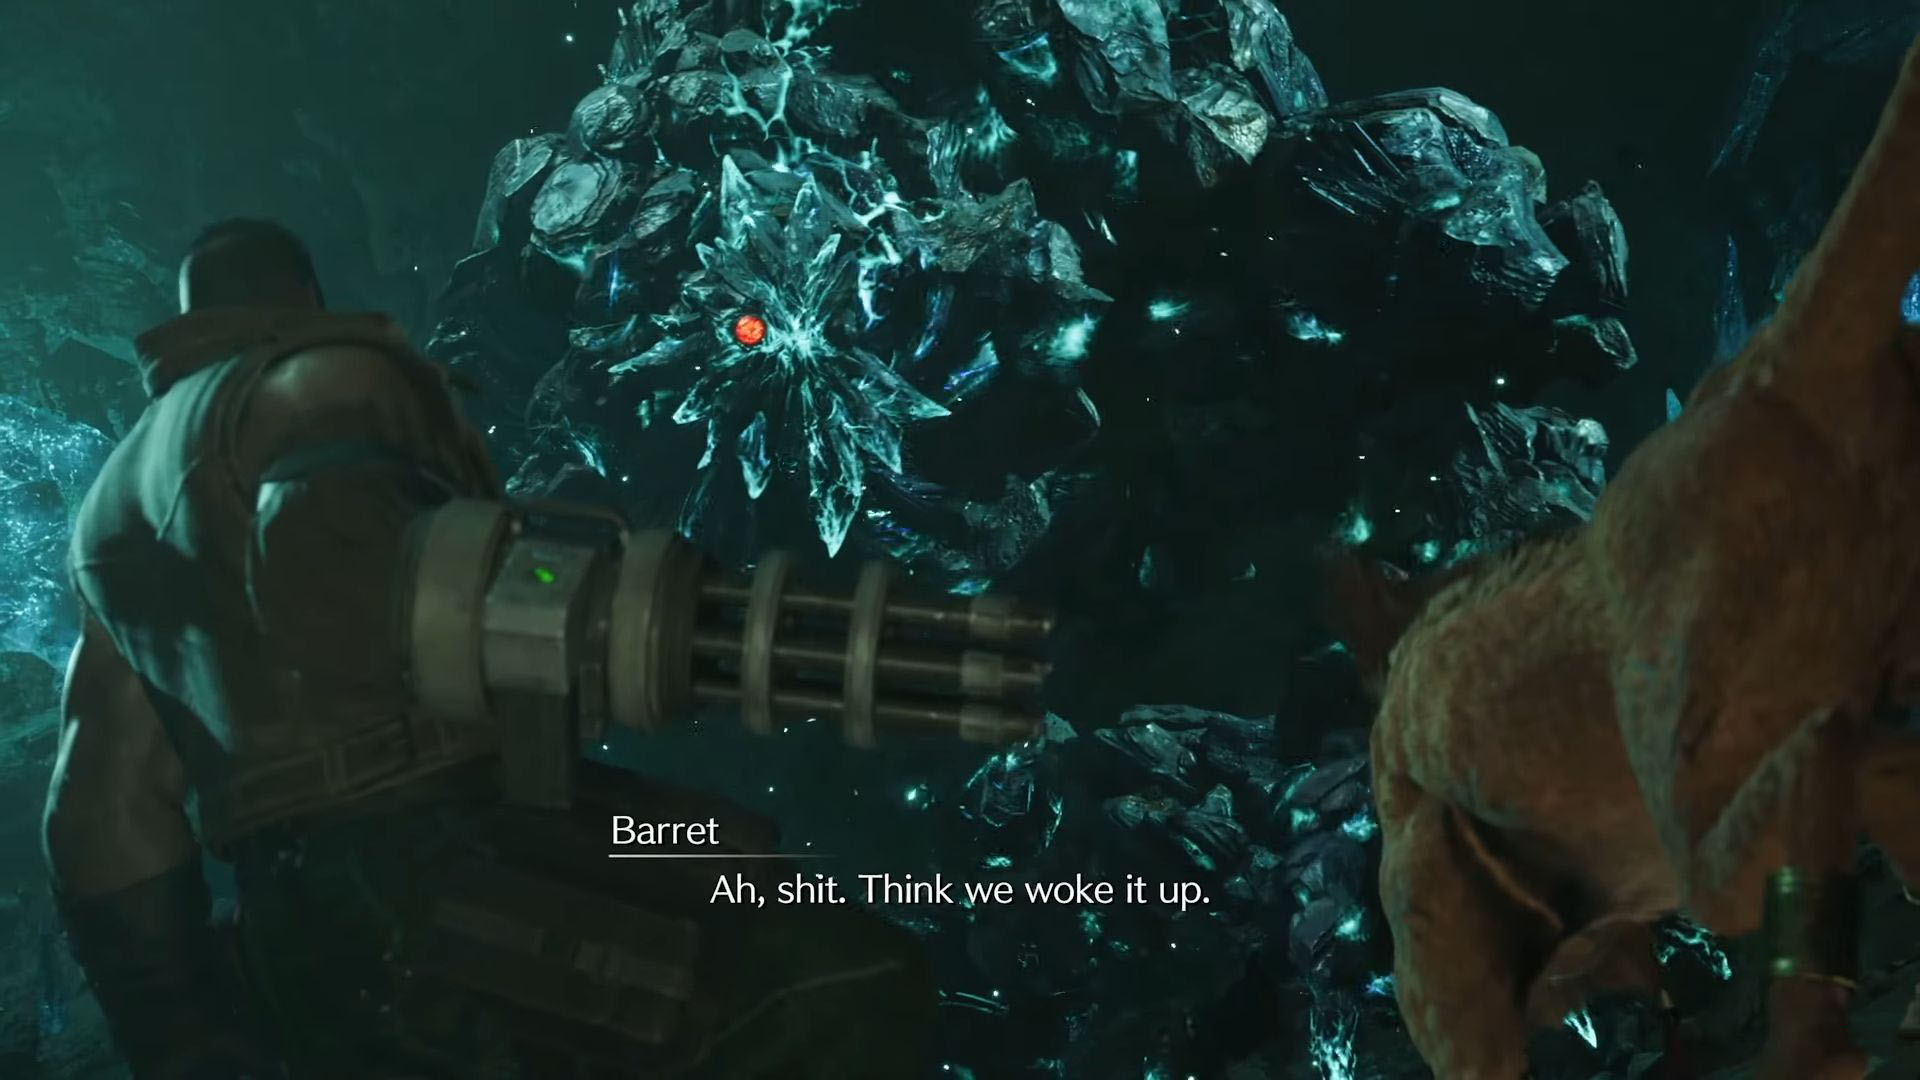
At this point in the game, you will be thrown into a boss battle against the Mythril Golem. In the beginning, you will only be able to shoot its head. Dodge its sweep attacks and forward lunges, and keep damaging the head until its health reaches zero. Once the head is gone, it will be much easier to stagger the boss. This will be the best opportunity to deal as much damage as possible. The golem will regenerate its head when it recovers from the stagger. Move out of the way when it uses the Mythril Hammer attack. It will also drop glowing rocks, which explode after a bit, so stay alert for those.
After a cutscene, the golem will have new parts on its body. However, now its spine and right arm can be targeted. If you destroy these two parts, the golem will lose some of its abilities alongside the body parts. Once you have destroyed the spine and right arm, focus on the head again to stagger and damage it. Repeat this process until the boss is defeated.
Reunited
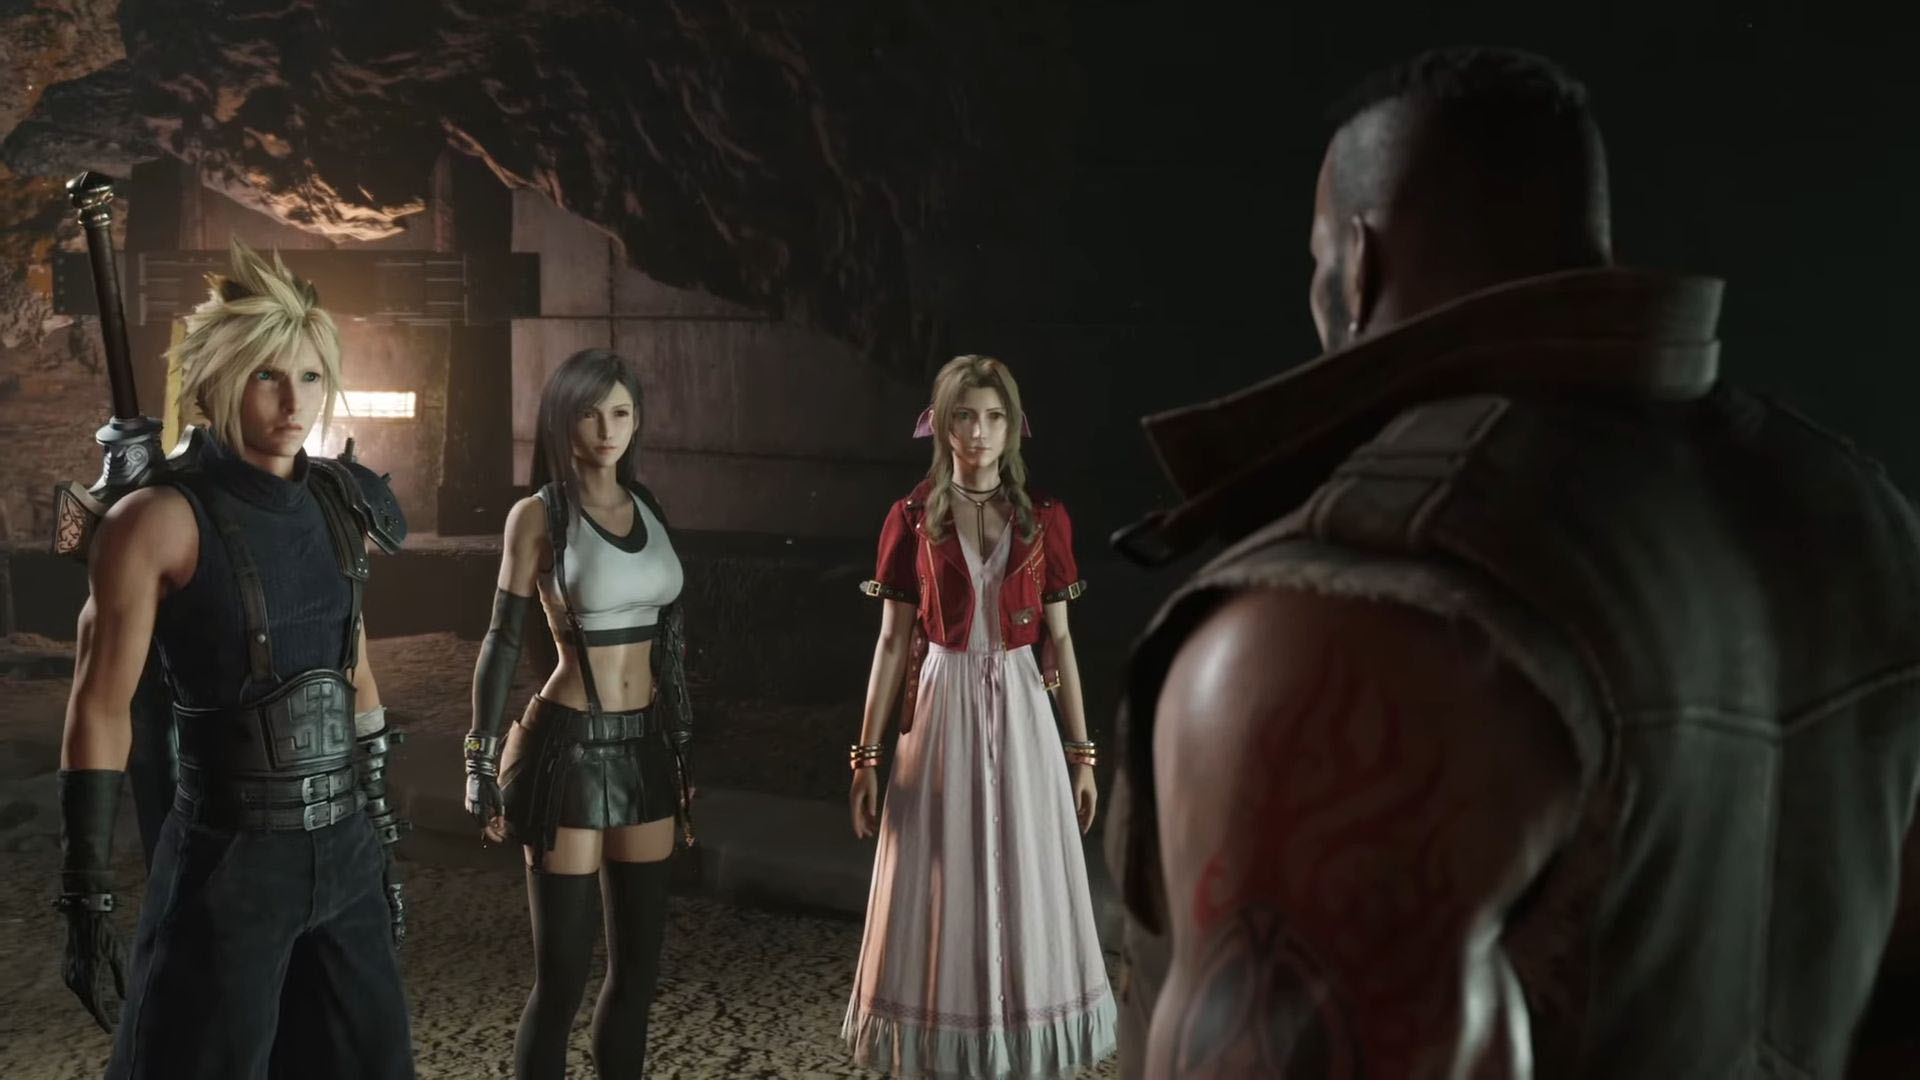
When the golem dies, it will open the path for you. Go through the tunnel to come across the bridge. On the right, you will find the lever Aerith used to open the gate for you, and alongside it, you will find a chest. Go left from the chest and keep following the bridge. You will have to climb over a ledge on the left side of where the bridge ends. In the new area, you will be reunited with the rest of the party.
A cutscene will trigger, and you will have control over all the party members yet again. Continue down the path and fight various enemies along the way. As you move forward, you will notice sunlight coming from the end of the tunnel.
Once out of the mines, get closer to the black-hooded figures to begin a cutscene. This will mark the end of Final Fantasy 7 Rebirth Chapter 3 and the beginning of Chapter 4.
Looking For More?
Thank you for reading the article. We provide the latest news and create guides for Baldur’s Gate 3, Starfield, ARK Survival Ascended, and more. Also, watch Deltia play games on Twitch or visit his YouTube channel!
 Reddit
 Email
Email
