Facebook
 Reddit
 Email
Email
In this guide, we shall go over where to find the Mask Shards in Hollow Knight Silksong. These items give your overall health a boost.
In Hollow Knight: Silksong, you can collect 20 Mask Shards in total. For every 4 shards, Hornet gets a Health Bar Upgrade. By collecting these Mask Shards, you can increase Hornet’s chances of surviving hits. Let’s take a look at where all the Mask Shards are located in the game and how you can collect them.
All Mask Shard Locations in Hollow Knight Silksong
Mask Shard 1
The first of these can be simply purchased from Pebb in Bone Bottom. It will cost you 300 Rosary Beads, which can be farmed by defeating the corrupted Pilgrims haunting the Mosshome above the town.
Mask Shard 2
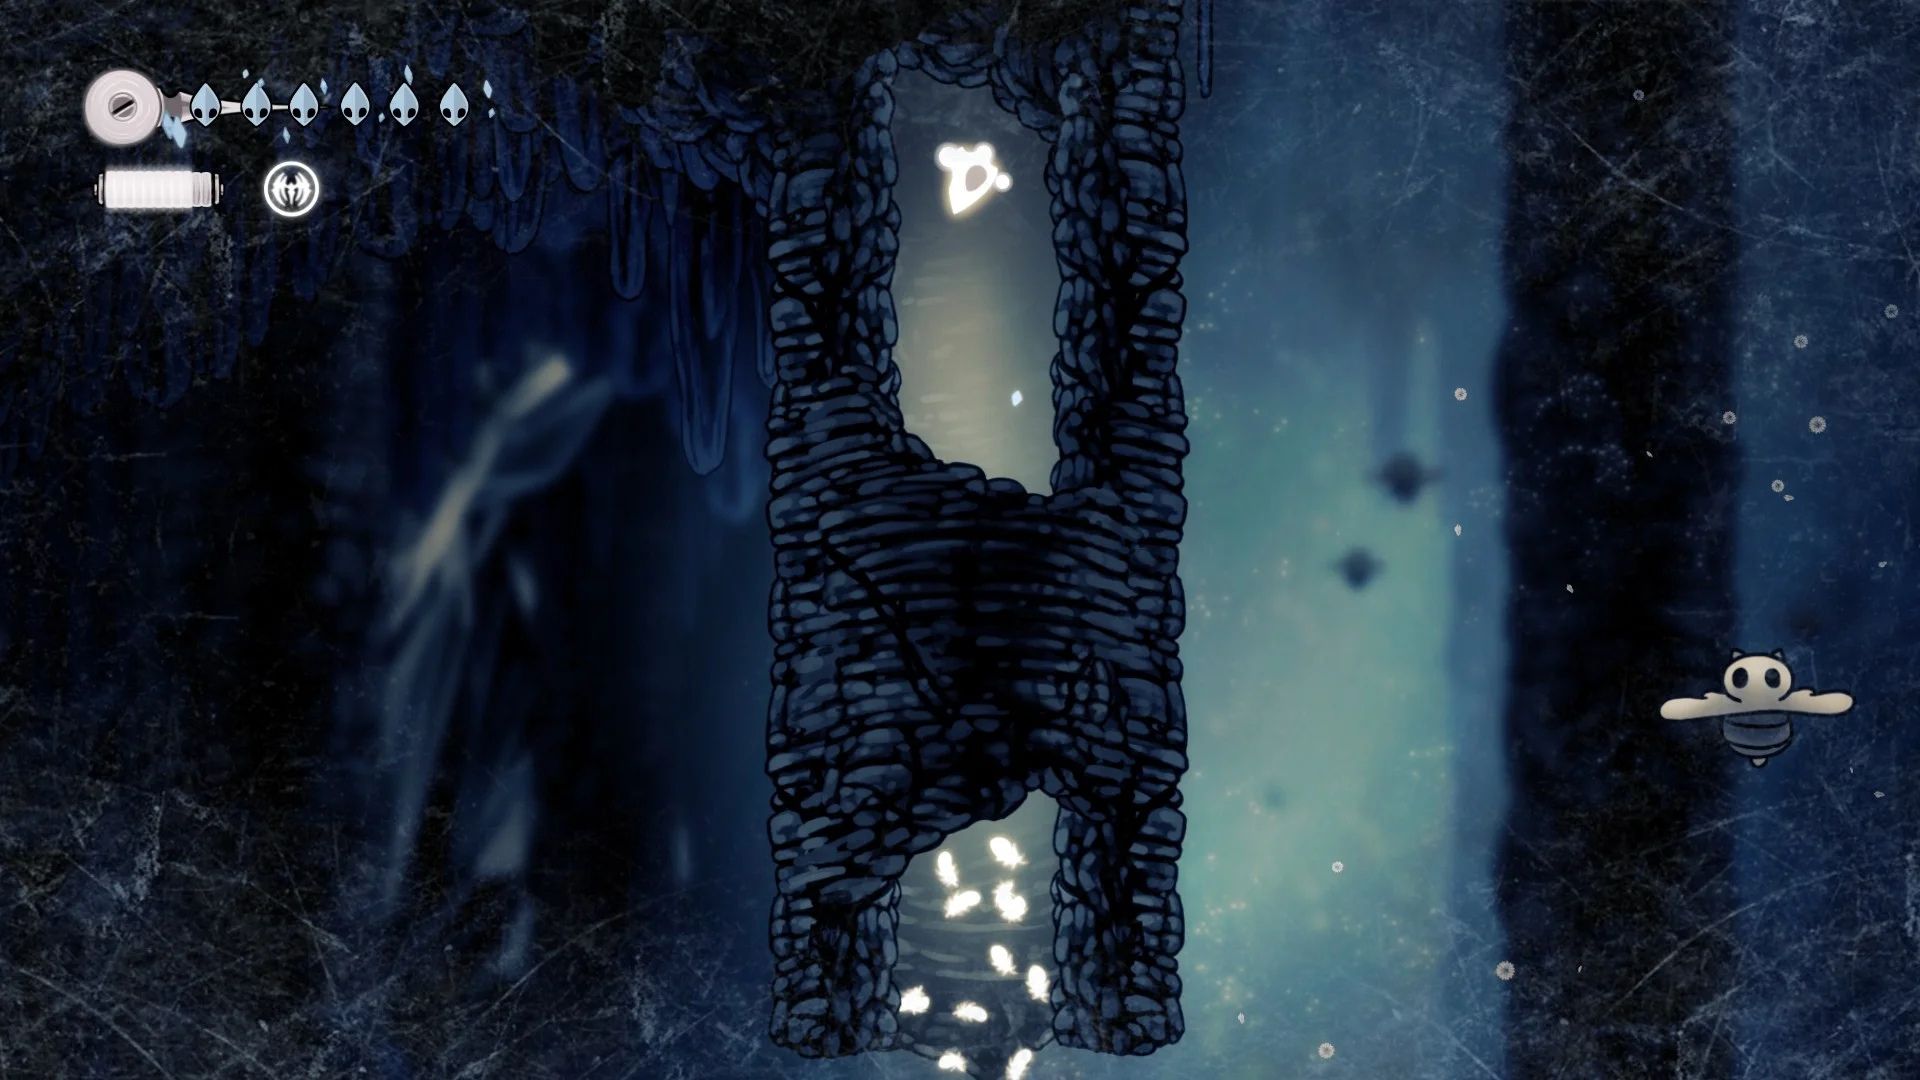
Once you unlock the Swift Step Upgrade, enter the Wormways through Bone Bottom and Mosshome. Ignore the legendary beast, move past it, and jump down into the pit. Attack the right wall when you reach the bottom to get the Mask Shard.
Mask Shard 3
Use the Drifter’s Cloak as well as the blooming flowers to reach this Mask Shard. Keep heading east from West Shellwood Beach, until you see the item behind some vines you can hack past.
Mask Shard 4
There’s a Mask Shard hidden behind a locked door. While you can’t get it immediately, you can access it via The Marrow. This is a combat trial requiring you to defeat four waves of enemies. Once they are defeated, collect the Mask Shard.
Mask Shard 5
You will need both the Needolin skill and Cling Grip for this Mask Shard. The first is needed to access the area, and the second to traverse it. Hit the two light sources, then run back the way you came and use the teleporter. Travel east until you reach a room, then continue until you arrive at a location filled with lava geysers. Carefully avoid them and make your way to the top left corner to get the Mask Shard.
Mask Shard 6
This one is relatively simple and can be acquired earlier if you have the Drifter’s Cloak. Attack the explosive rocks to create a steam draft. Use them to travel upward until you reach the location of the Mask Shard.
Mask Shard 7
After you fulfill the Savage Beastfly Wish, take the Horn Fragment it drops back to Bellhart to claim your Mask Shard.
Mask Shard 8
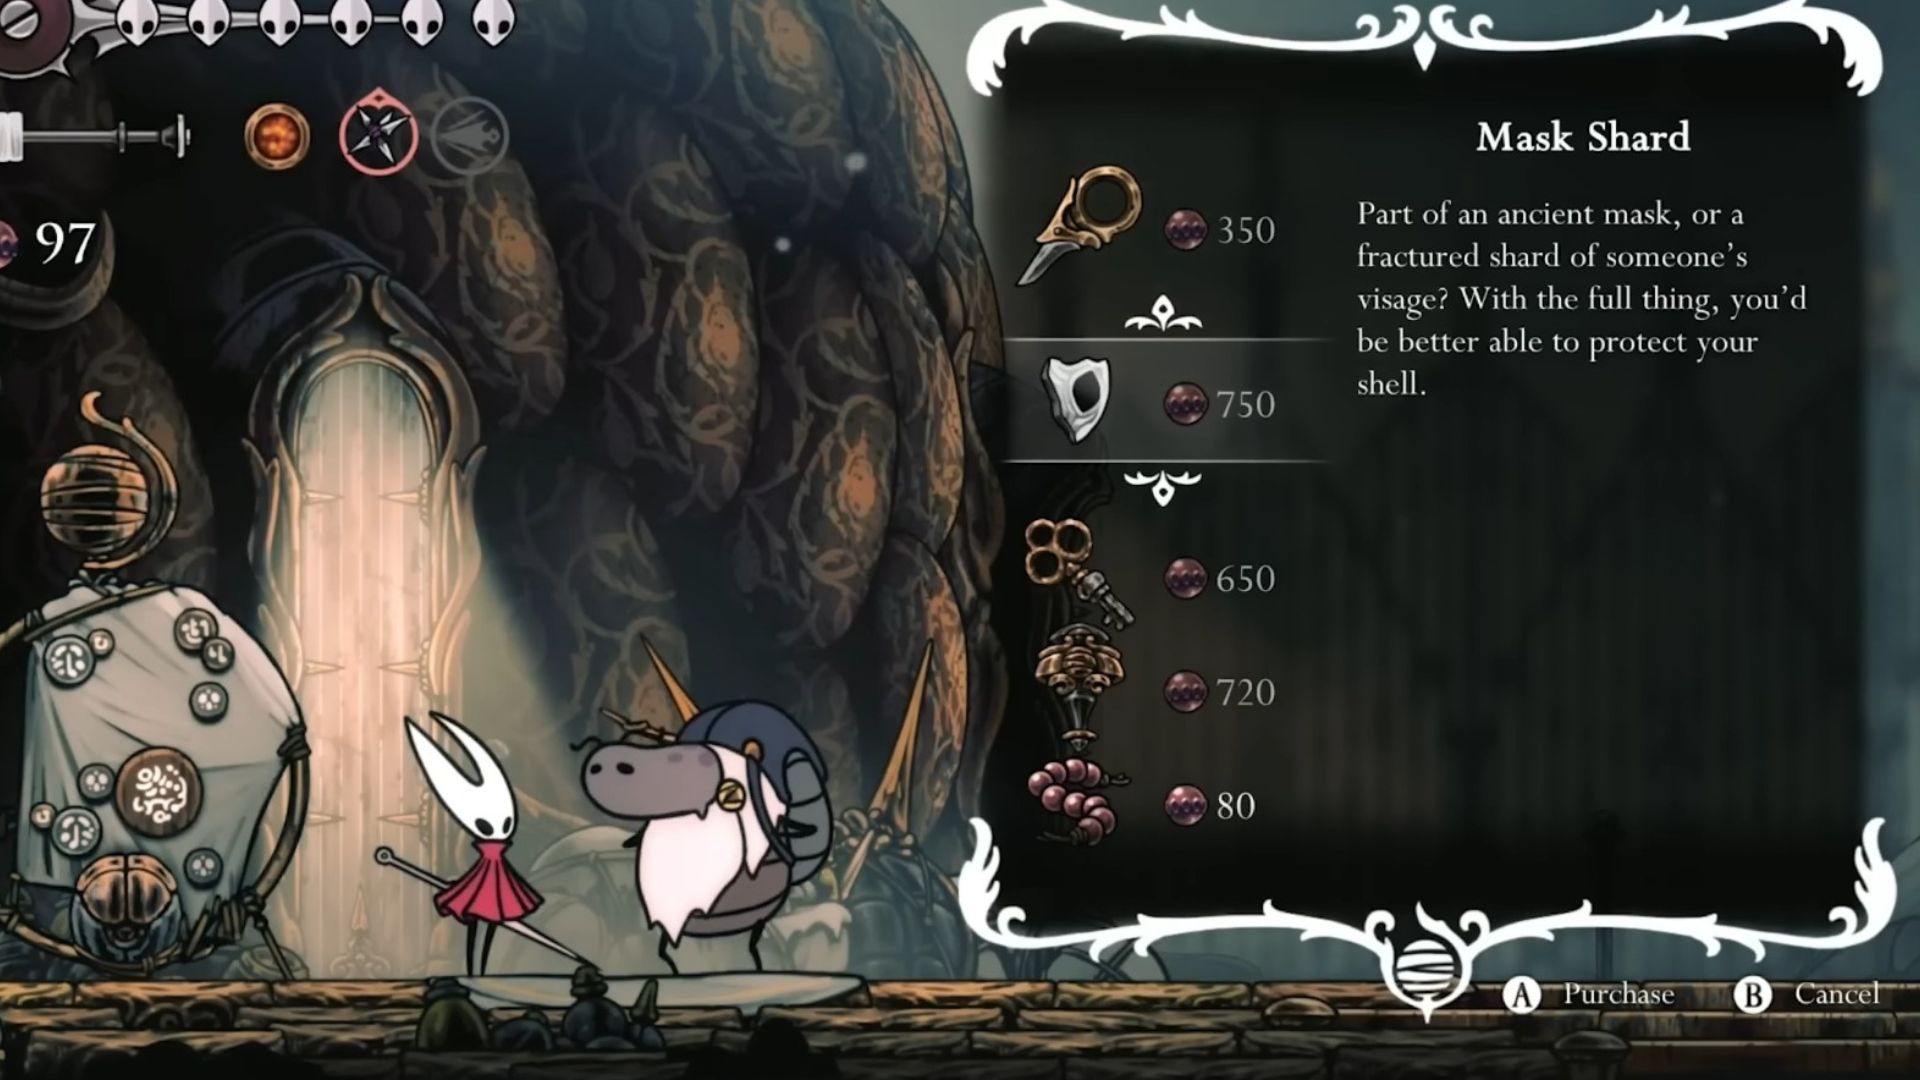
After completing The Wandering Merchant, you can purchase a Mask Shard from Jubiliana for 750 Rosaries.
Mask Shard 9

This Mask Shard can be acquired after an Arena Battle in the Chloral Chambers. Moving up the tunnel will lead to the item’s location.
Mask Shard 10

You will need the Drifter’s Cloak and the Cling Grip for this one. Start at the tallest room just below Songclave, then enter the lower room to the right. Traverse your way through by hitting boxes until you reach the small room above the Vaultkeeper icon. Locate the hidden part of the ceiling that will drop a climbing wall, which you can use to climb up and acquire the fragment.
Mask Shard 11
Move west from the bench at Mount Fay, destroy the breakable wall, and continue until you reach a stone platform. Enter the hollow rock pillar with the Faydown Cloak and climb up with Cling Grip to acquire the Mask Shard.
Mask Shard 12
Move north from the paid bench at Bilewater, then go east on the first path you see. Keep heading north, avoiding the Bloatroaches and Slubberlugs, until you reach the Mask Shard.
Mask Shard 13
Travel east from the Seamstress’ home to reach Skull Cavern. You will need to clear out all the enemies at the bottom before moving up to get the Mask Shard. Once the lava starts rising, use the steam to keep moving left until you find the Mask Shard at the highest point of Skull Cavern. You will need the Clawline, the Drifter’s Cloak, and the Faydown Cloak.
Mask Shard 14

After beating Sprintmaster Swift in a race for the third time, you are rewarded with a Mask Shard.
Mask Shard 15
Start from the southern Blasted Steps bench and keep moving east and down. Once you are at the bottom, go west and north to reach the Mask Shard. Just like Skull Cavern, you will need the Clawline, the Drifter’s Cloak, and the Faydown Cloak.
Mask Shard 16
Move north from the eastern bench of The Slab. Break the wall and use the Key of Apostate to open the lock. Use the Clawline, Cling Grip, Drifter’s Cloak, and Faydown Cloak to reach the Mask Shard.
Mask Shard 17
Begin from the middle bench of Mount Fay, move south, then west until you reach the top. Traverse the freezing water until you reach the opening in the ceiling. You will need to use Silk Soar and Clawline to progress further while avoiding Mnemonord and their spikes. Keep going until you reach the Mask Shard.
Mask Shard 18
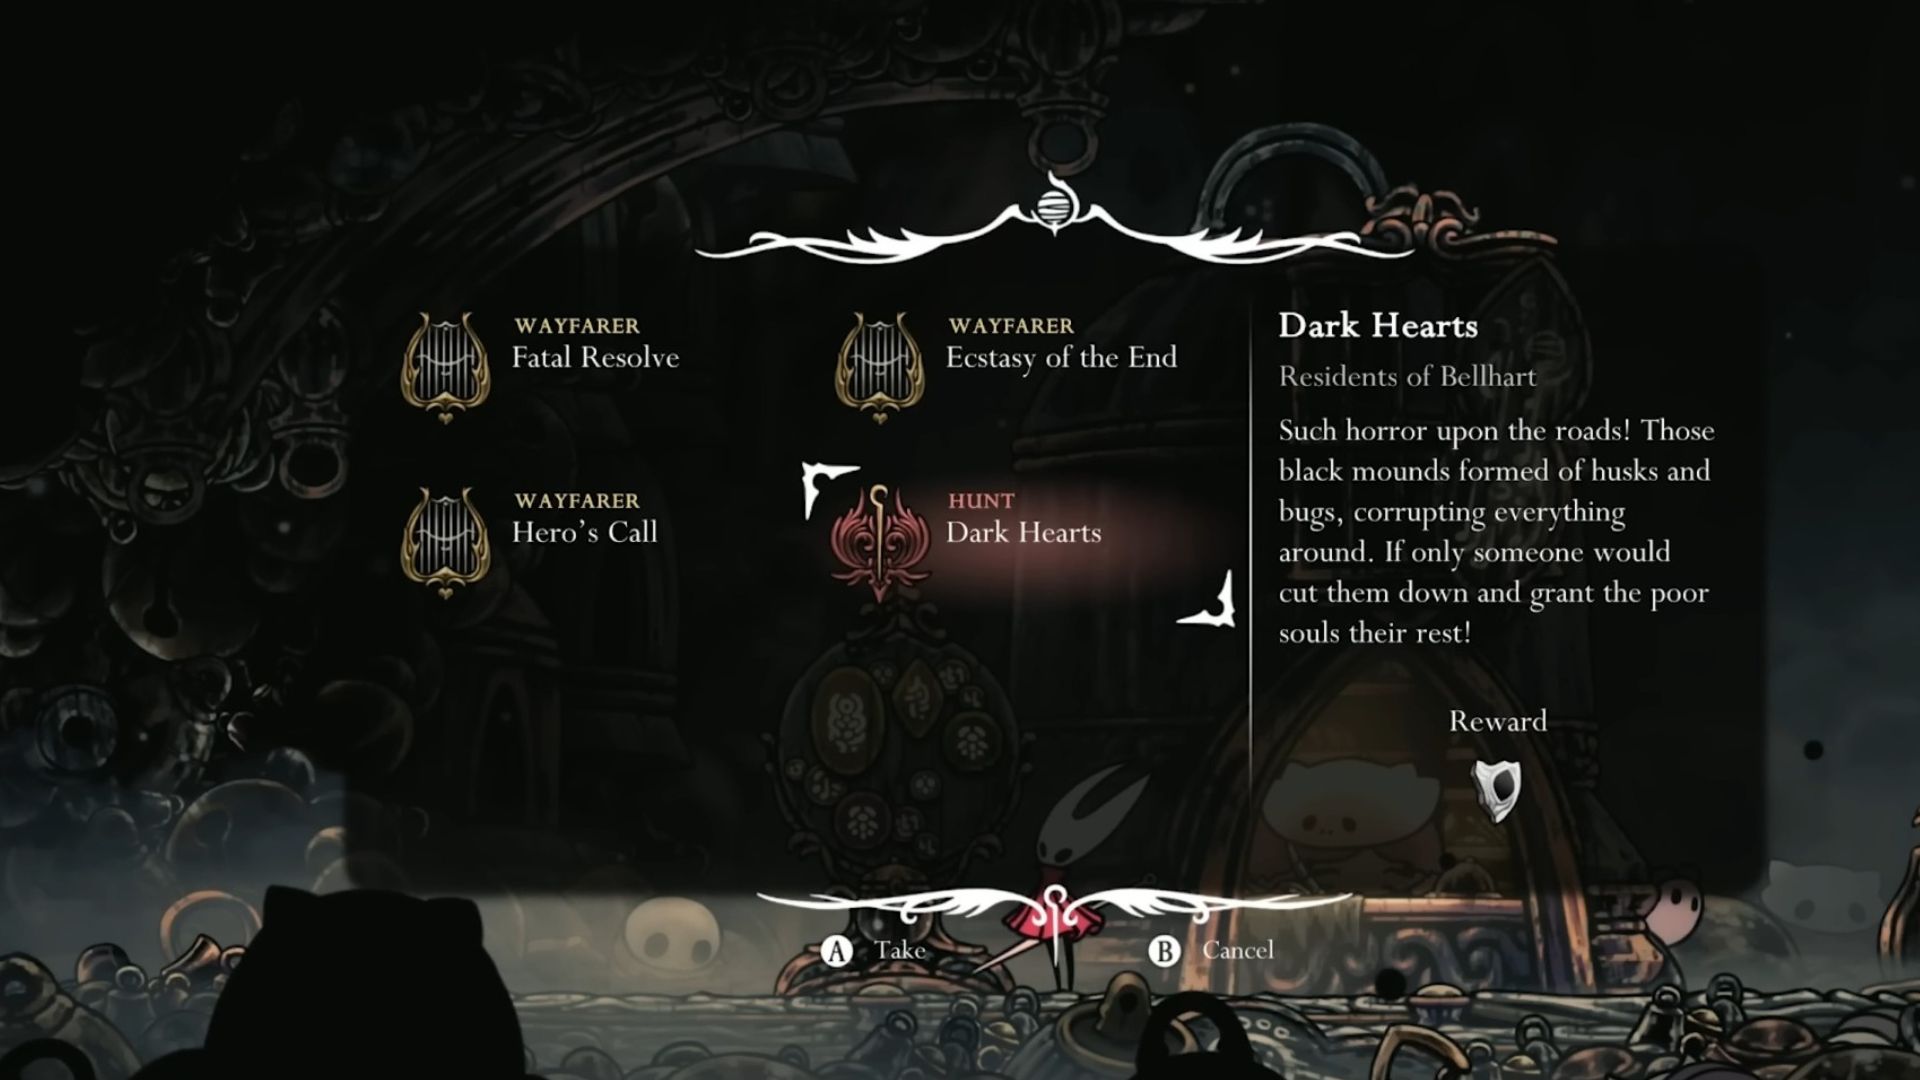
Complete the Dark Hearts wish by destroying 12 Void Masses to earn this Mask Shard.
Mask Shard 19
Defeat Gurr the Outcast and collect the Grass Doll from his trophy room. Show that at the wishboard to get the Mask Shard.
Mask Shard 20
Carefully navigate from the bench at Wisp Thicket while avoiding the spikes. You can either bypass or fight the fire-type enemies until you reach the Mask Shard.
We provide the latest news and create guides for Hollow Knight Silksong. Meanwhile, you can check out the following articles or catch us playing games on YouTube:
- Hollow Knight Silksong: Best Early-Game Build Guide
- Hollow Knight Silksong: Rosary Farming Guide
- All Hollow Knight Silksong Crests (And Where To Find Them)
- Hollow Knight Silksong: Best Endgame Build Guide
- Hollow Knight Silksong: All Endings and How To Get Them
- Hollow Knight Silksong: Best Keyboard Controls