Facebook
 Reddit
 Email
Email
Here are the exact details you need to set up a mesh WiFi system in your home or workspace. From planning to maintenance, stay tuned.
Before getting into mesh WiFi systems, you need a few requirements on your end. Does your home or office have multiple floors? Do you face WiFi dead zones far from the router? Lastly, do you have many smart devices scattered across different rooms? If any of these factors apply to you, you need mesh. Otherwise, a simple router works just fine.
So, what is mesh WiFi? In short, mesh WiFi is a type of wireless network system designed to provide extended WiFi coverage throughout your home or office. Think of this as a WiFi access point, but on steroids. This concept combines multiple routers (referred to as nodes or satellites) and enables them to work together.
That said, here’s how you can set up a mesh WiFi system for yourself. Follow these quick and easy steps, and you’re all set.
Note: There can be a plethora of Mesh vendors. This article provides a general overview of the concept. Regardless of which vendor you use, the idea remains the same.
Steps To Set Up a Mesh WiFi System
1. The Planning Phase

Before taking any action, a proper plan is necessary. The same applies here as well. Get a pen and paper, and take note of coverage gaps, thick walls (5 inches or more), and electronic obstructions. By electronic obstruction, we refer to devices such as microwaves and other magnetic appliances that can weaken the signal. Once you’ve determined the locations of these obstructions, sketch a simple floor plan and mark areas that require better WiFi, such as the living room, garage, or a small outdoor space.
2. Gather Your Equipment
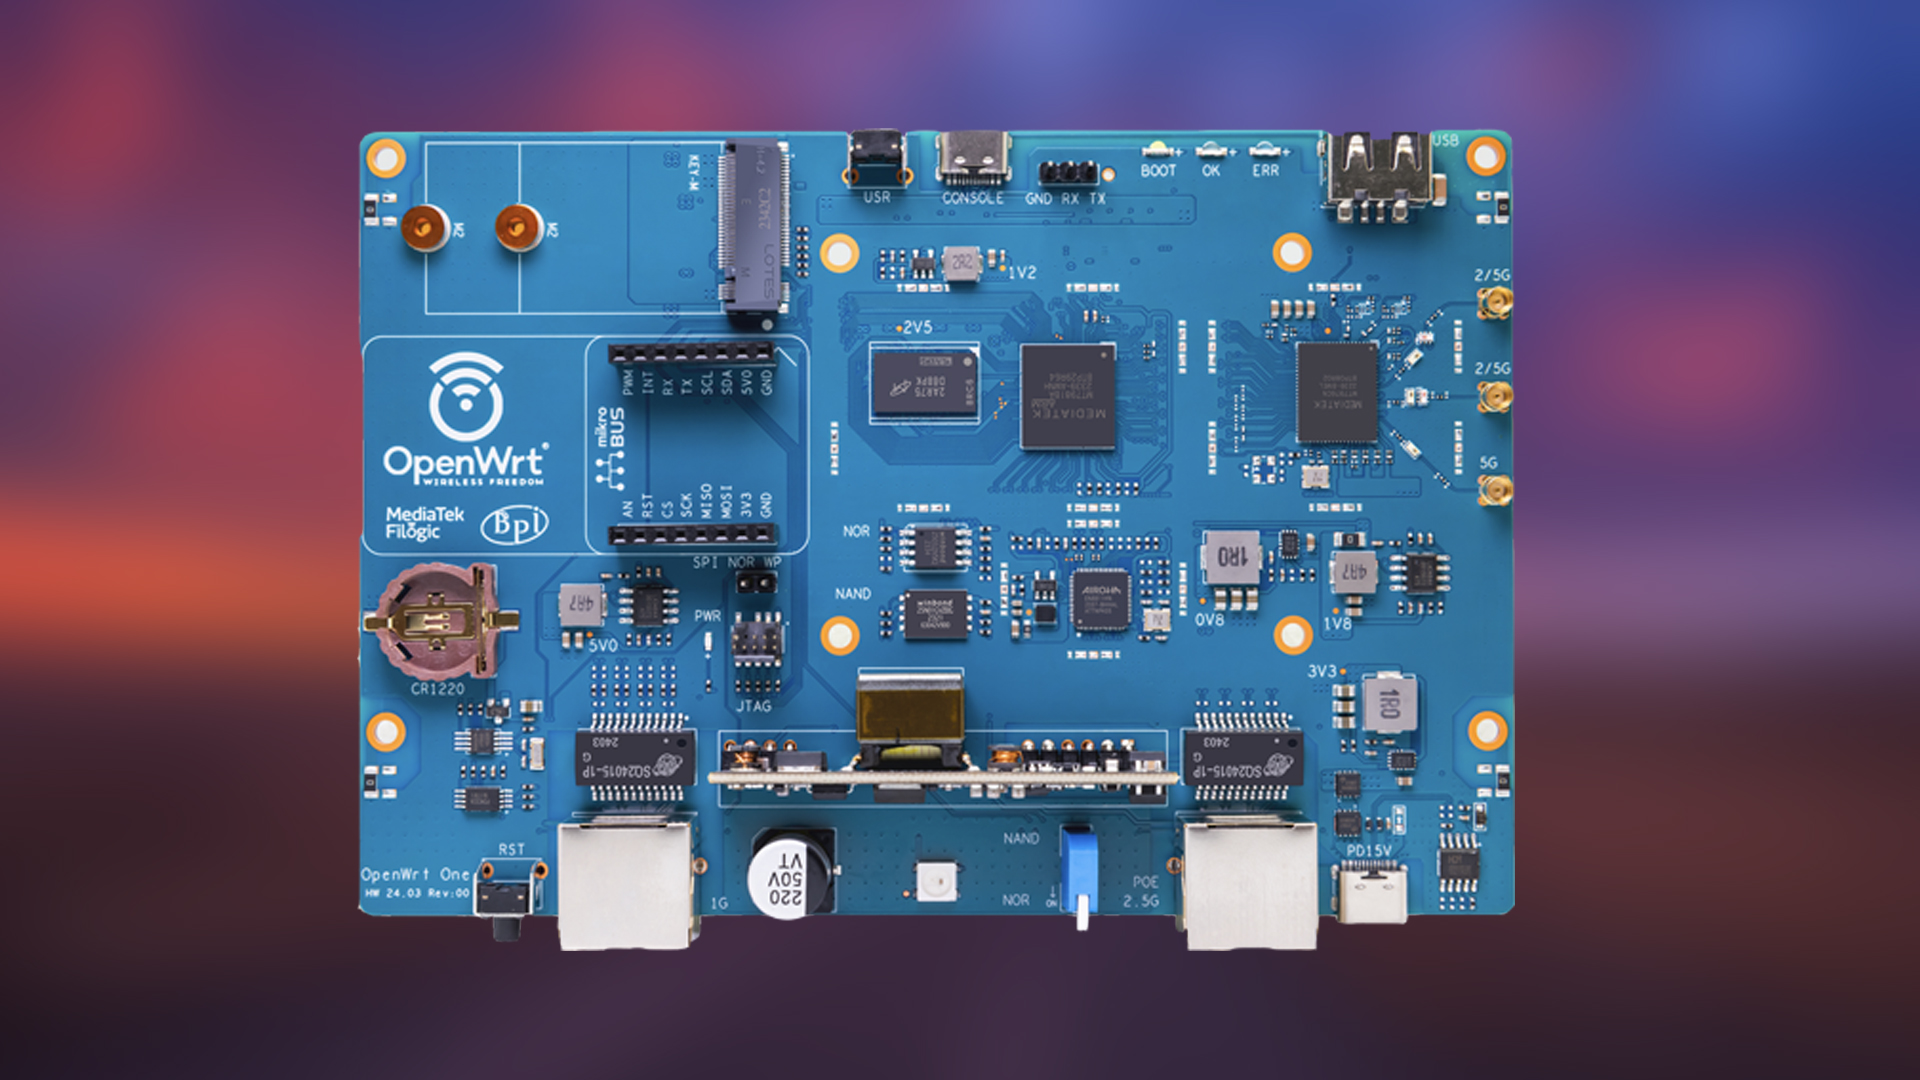
Select devices that support WiFi 6/6E and the 802.11s protocols. You need devices that use the Hybrid Wireless Mesh Protocol (HWMP) by default for path discovery. OpenWRT is highly suggested here; this protocol (HWMP) can be costly on mainstream routers. Once you have your routers ready for the mesh setup, proceed with connecting your modem or ISP device to your primary node router. Ensure that power and backup power are available for all networking components. Lastly, you’ll need a smartphone or tablet to install the node-management app.
3. Place the Primary Node
Here comes the fun part: positioning the main node, or the primary node, is very crucial. The positioning needs to be centered. To maximize the line of sight for WiFi coverage, ensure it is in an elevated position. If it’s a powerful router, consider using a cooling pad, as overheating can worsen the issue in the long term. Place it properly, then connect your modem or ISP router (the one that has the internet line) to your node and power it on.
4. Configure Protocols & App
- Install the vendor’s app (Orbi, Deco, Nest, etc.) on your iOS or Android device.
- Create or sign in to your account, and then follow the prompts to identify the primary node.
- Understand that, under the hood, nodes form peer links and use HWMP for proactive, tree-based, and reactive on-demand routing over MAC addresses.
- If devices are EasyMesh™ certified, they interoperate regardless of the vendor, enabling unified diagnostics, channel management, and client steering.
5. Add Satellite Nodes
- Placement: Plug each satellite into power at roughly two-thirds of the maximum wireless range from the primary node for optimal results.
- Pairing: Use the app to add and name nodes. The system automatically handles pairing via HWMP path requests or manual sync prompts.
- Ethernet backhaul: Wired is preferred. To minimize wireless interference, connect the primary node to the satellites with an Ethernet cable. This will yield better results than a WiFi-based connection.
6. Finalize Settings
- Single SSID and Password: Create a single network name and password for all nodes to make it easier to understand and so that others can easily recognize the network.
- Security: Enable WPA3 (or WPA2 if necessary) encryption to protect your network.
- Guest Network: Optionally, you can configure a separate SSID for your neighbors or people asking, “Hey, what’s the password?”
For optimal performance, enable Quality of Service (QoS), band steering, and Multi-User Multiple Input Multiple Output (MU-MIMO).
7. Test & Optimize
- Walk Test: Pretty self-explanatory. Walk around your home until the signal drops.
- Speed Test: Run speed tests near each node to confirm that the routers are performing properly.
- Interference Management: If performance dips, switch channels manually or enable automatic band steering in your respective vendor’s app.
- Self-Healing: The mesh can automatically reroute its traffic in case of issues by using HWMP or alternative protocols like OLSR and B.A.T.M.A.N. for path recalculation.
8. Maintain Your Mesh
- Firmware Updates: Regular updates help keep hackers at bay.
- Performance Monitoring: This is mandatory. Offline nodes or traffic congestion can cause major problems. It may cripple your network if left unnoticed for too long.
- Scalability: Add more satellites as needed. EasyMesh supports multi-vendor expansion with ease and minimal setup complexity. If you are using a TP-Link or Asus router, simply purchase a similar model. The process is much easier.
Verdict
Meshing is easy, isn’t it? Well, as easy as it may seem, setting it up properly and utilizing it can be quite complicated. There are countless mesh router packages from Asus, Ubiquiti, and TP-Link. You can give those a shot if all these processes are too much for you.
We provide the latest news and “How To’s” for Tech content. Meanwhile, you can check out the following articles related to PC GPUs, CPU and GPU comparisons, mobile phones, and more:
- 5 Best Air Coolers for CPUs in 2025
- ASUS TUF Gaming F16 Release Date, Specifications, Price, and More
- iPhone 16e vs iPhone SE (3rd Gen): Which One To Buy in 2025?
- Powerbeats Pro 2 vs AirPods Pro 2: Which One To Get in 2025
- RTX 5070 Ti vs. RTX 4070 Super: Specs, Price and More Compared
- Windows 11: How To Disable Lock Screen Widgets