Facebook
 Reddit
 Email
Email
Read through a spoiler-free guide of ‘The Ultimate Heist,’ the final quest of the Thieves Guild and one of the best in Oblivion Remastered.
Few moments in Oblivion Remastered match the excitement and tension of ‘The Ultimate Heist,’ the grand finale of the Thieves Guild questline. This lengthy mission tasks you with stealing nothing less than an Elder Scroll from the heart of the Imperial Palace. The thrilling quest requires the use of every stealth skill you have honed as a member of the Thieves Guild and even involves some of the items you have procured from previous guild missions.
How To Complete The Ultimate Heist in Oblivion Remastered
Getting Started
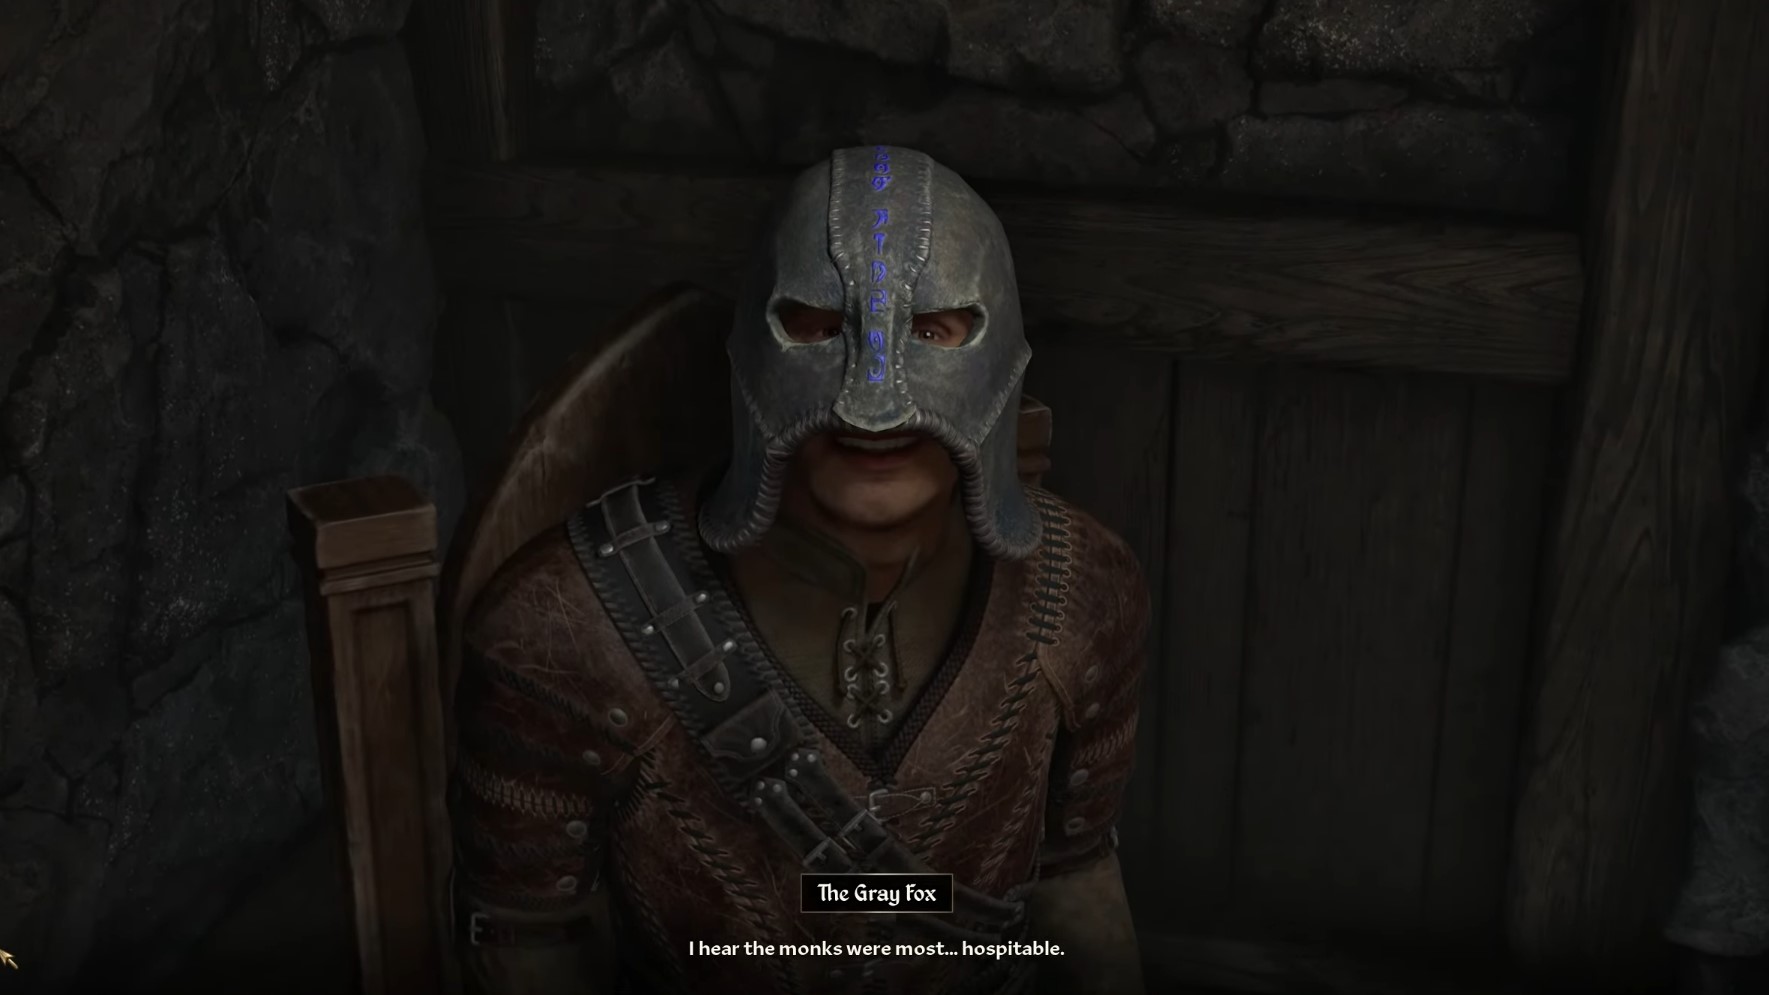
To begin the mission, you must have fenced at least 1,000 gold worth of stolen goods as a part of the Independent Thievery ongoing quest and completed the Boots of Springheel Jak quest. Once those conditions are met, wait in a major city until Amusei tracks you down with a summons from the Gray Fox. He instructs you to meet him at Othrelos’ house in the Elven Gardens District.
Here, the Gray Fox reveals his final plan: to steal an Elder Scroll. He equips you with critical items, some of which you have gathered in earlier missions. These include the Boots of Springheel Jak, the Arrow of Extrication, an Imperial Sewer Key, and a scroll—aptly named Plan for the Big Heist.
Activating the Old Way
Your first task is to activate the Old Way before heading into the sewers. Head to the Imperial Palace and sneak into the Elder Council Chambers. Navigate around the guards carefully, hugging the outer ring until you find the Glass of Time. Activate it, then make your way out without being spotted.
Entering the Sewers
Before starting this section, ensure that you have a healthy supply of lockpicks and a bow to shoot the Arrow of Extrication. The Chameleon spell is of great assistance in this mission. Travel to the Arboretum and find the grate to the Southeast Tunnel. Descend into the sewers, entering Beneath the Bloodworks. Turn a crank located on the right wall and dispatch the hostile creatures ahead as you proceed. Keep a close eye out for hidden chests along the way. Using the Imperial Sewer Key opens up new paths forward, and eventually, you’ll find yourself in the Palace Sewers, facing more dangerous enemies.
Navigating the Old Way
Entering the Old Way marks a major escalation. This area is riddled with high-level undead and deadly traps. Carefully work your way west and south, using stealth to survive. In the Lost Catacombs, you’ll need to use the Boots of Springheel Jak to reach elevated switches that activate two dormant Dark Welkynd Stones and open a path to the Hall of Epochs.
The Hall of Epochs and the Arrow of Extrication
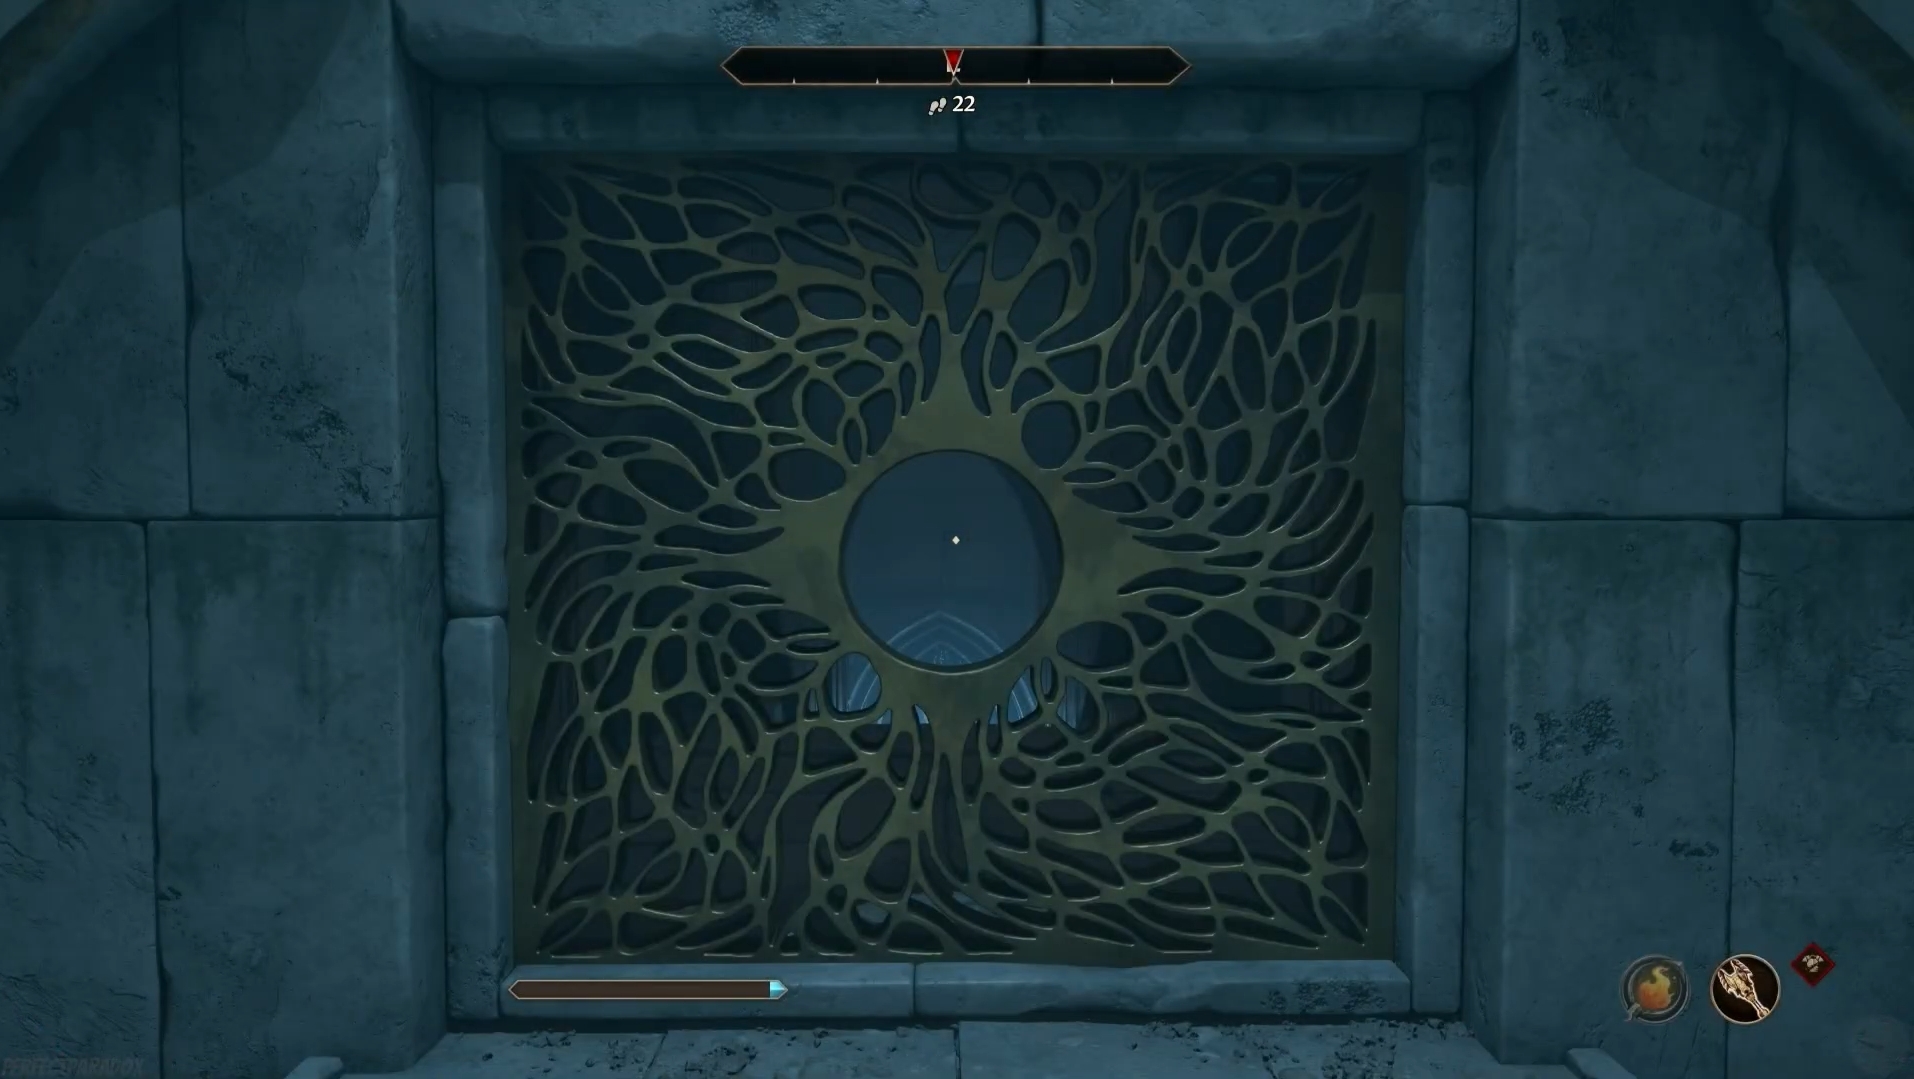
Inside the Hall of Epochs, fight or sneak past hostiles to find Welkynd Stones and reach the outer ring. When your journal updates, it’s time to find a vantage point. After battling through hidden rooms and unlocking secret paths, you finally gain access to the central podium. Here, standing on a pressure plate, you must shoot the Arrow of Extrication into a specific spot to open a hidden staircase.
Head south from the main room to find a pushable block on the balcony. This will open a hidden entrance leading to another hall. Push the block at the end of the hall and return to the main hall to find that the walls have been lowered. Stand on the pressure plate and shoot into the keyhole as it opens up. Be sure to save beforehand. A passage will reveal itself. Enter it and sneak past the Ayleid Guardians to reach the Imperial Guard Quarters.
Securing the Elder Scroll
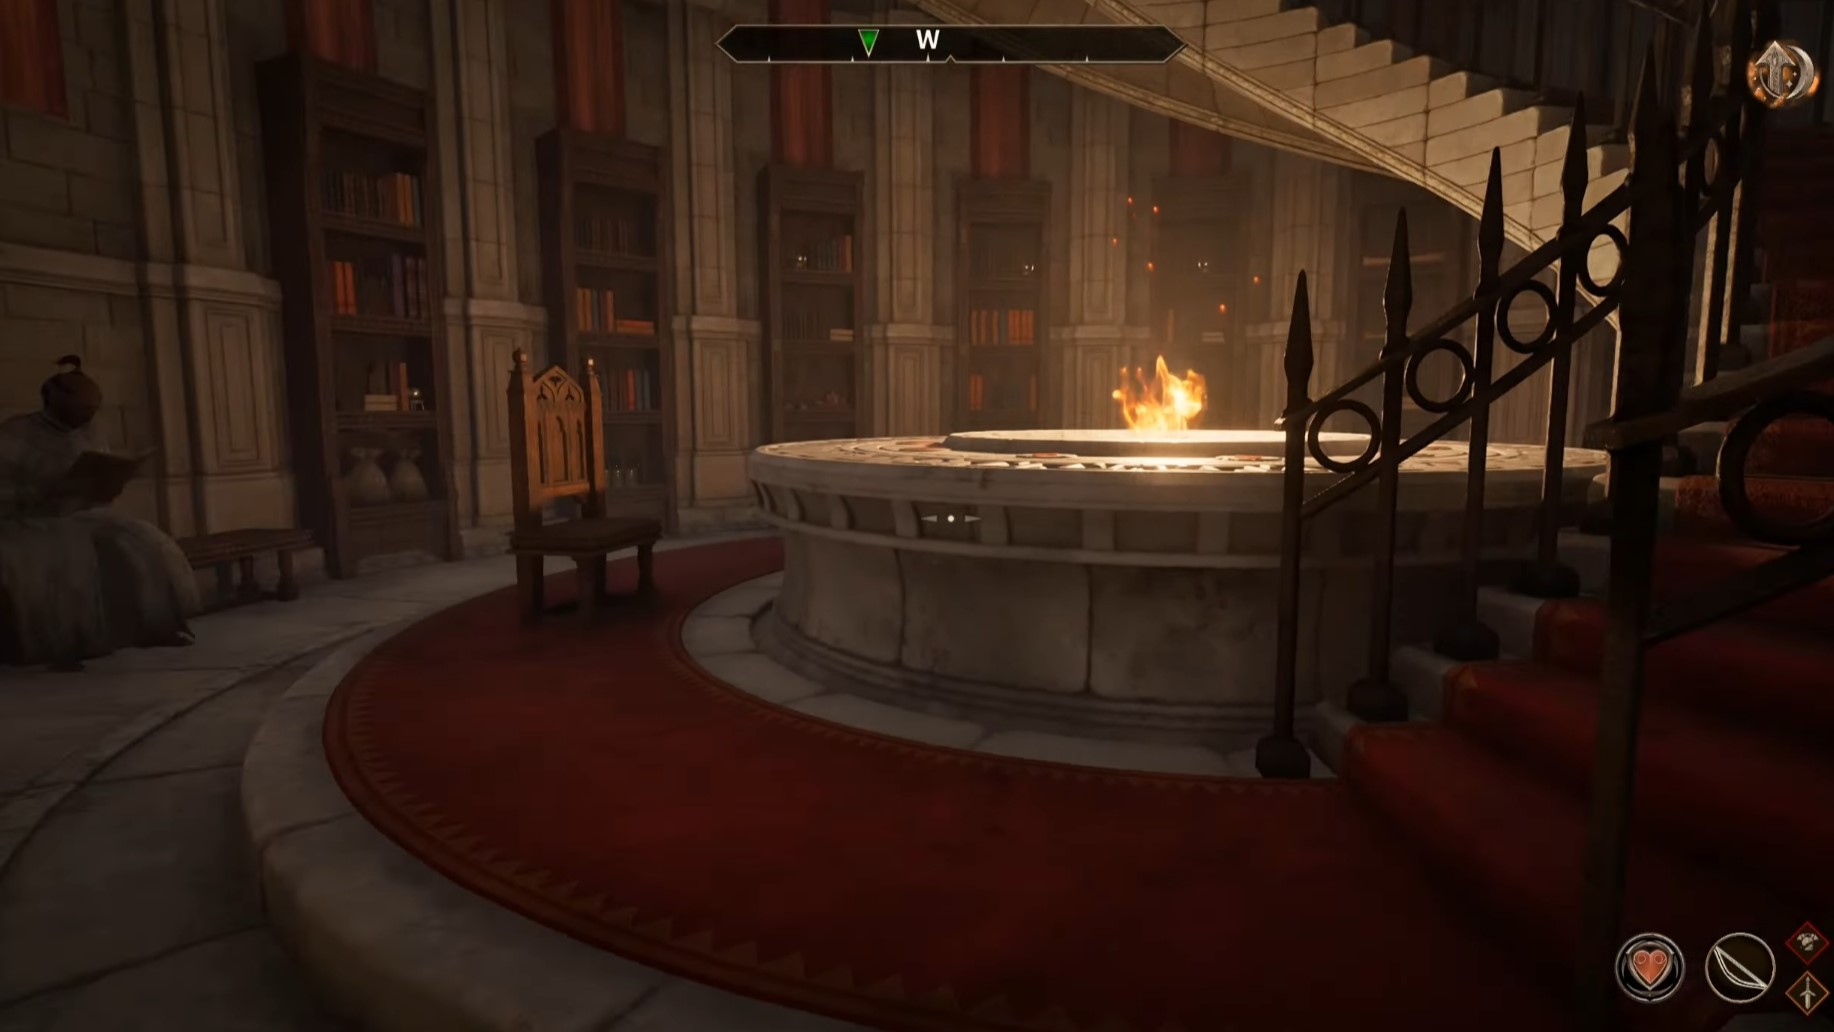
The secret path leads into the Imperial Guard Quarters, an area that requires complete stealth. Wait until it’s past 1 am to ensure that all the guards are asleep. Carefully sneak past Blind Moth Priests and ascend a level to reach the Elder Scrolls Library.
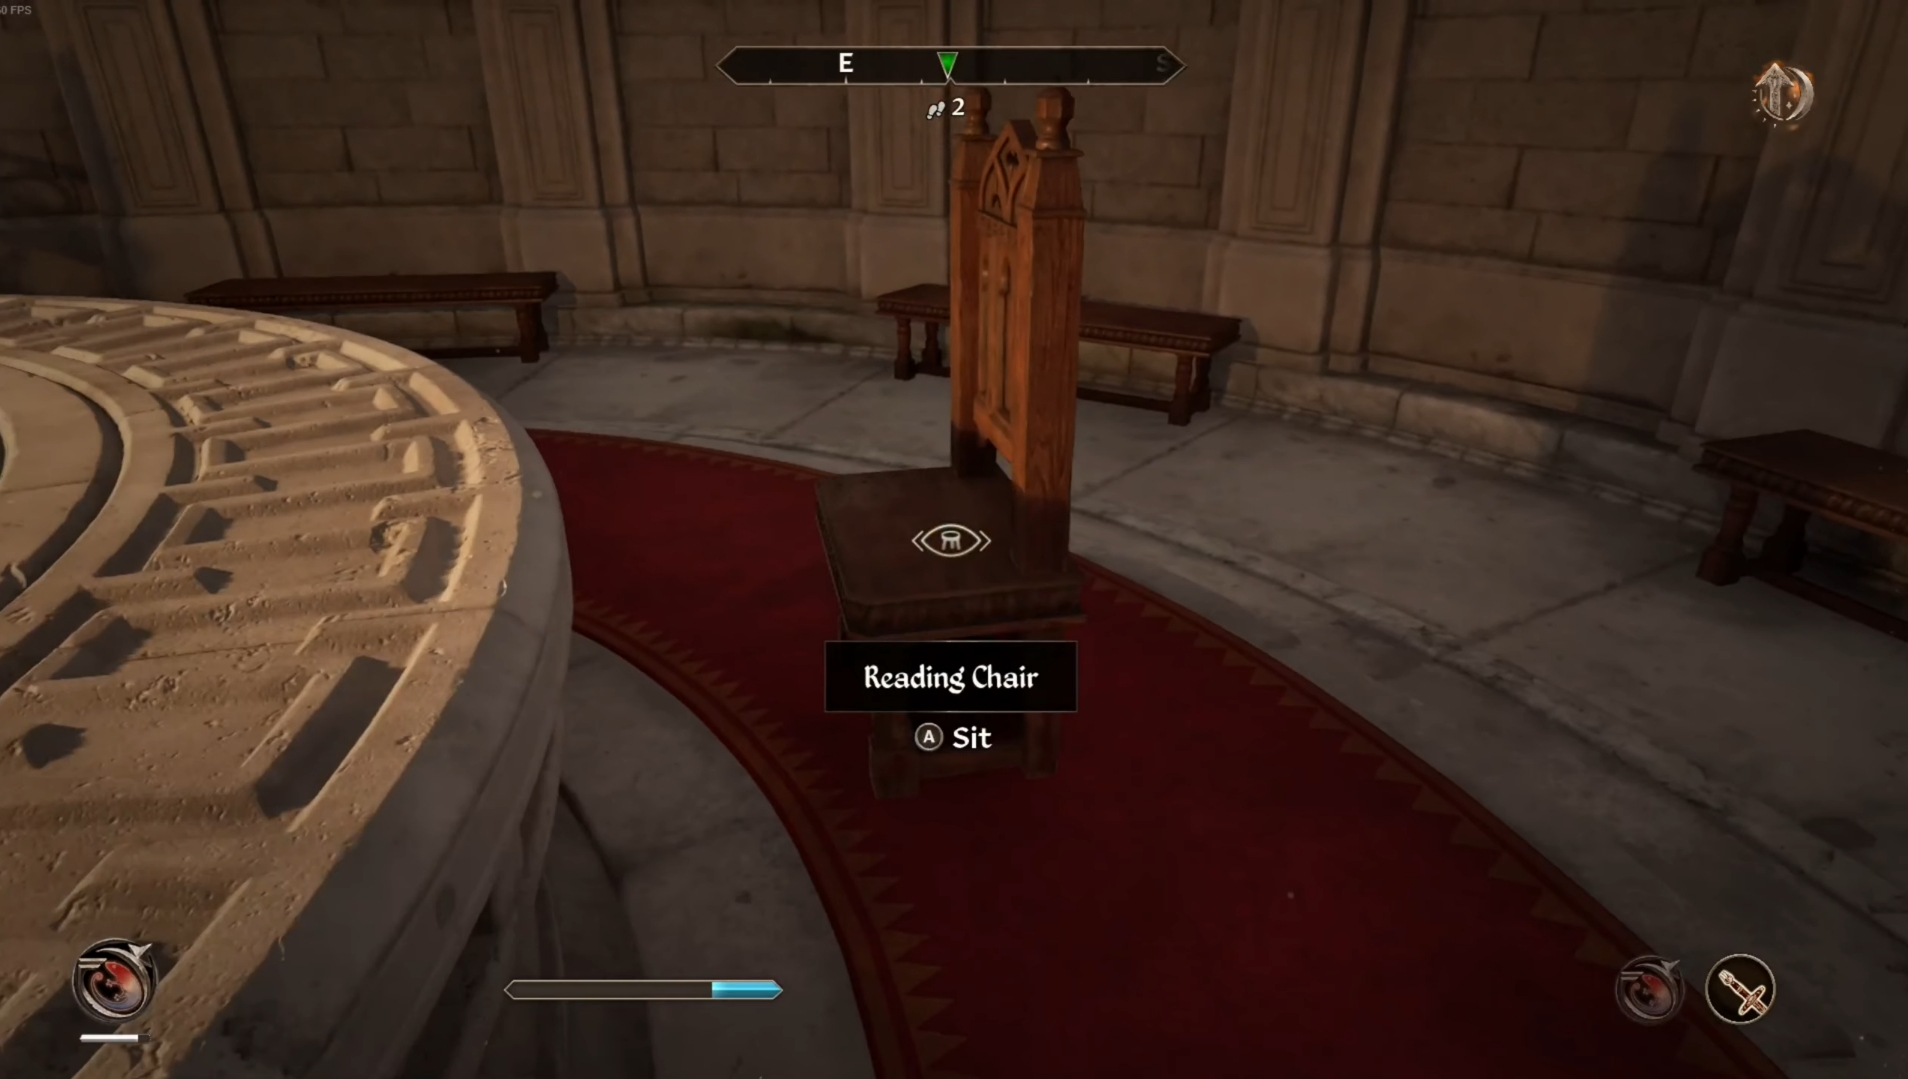
Enter the corridor on the right and pull the lever beside a sitting Blind Moth Priest. Head back the other way and enter a room with a circular table and a fire at its center. Sit on the reading chair near the fire, and it will trick the monks into placing the Elder Scroll in front of you. Steal the Elder Scroll when unobserved.
If you encounter a bug at this point and cannot sit in the chair, leave the library and enter it once more to reset the level and try again. After taking the Elder Scroll, escape via the palace’s upper levels, avoiding detection as you go to the Imperial Battlemage’s Chamber and down through a secret fireplace chute back into the sewers. Use the Boots of Springheel Jak to make the jump.
Completing the Mission
Return to the Gray Fox with the Elder Scroll. Your final task is to deliver a ring to the Countess of Anvil, which triggers the final reveal: the Gray Fox’s true identity and the end of his curse. In recognition of your success, you inherit the Gray Cowl and leadership of the Thieves Guild.
Looking For More About Elder Scrolls Oblivion Remastered?
Thank you for reading the Guide. We provide the latest news and create guides for Baldur’s Gate 3, Enshrouded, Dune Awakening, and more. Also, watch Deltia play games on Twitch or visit my YouTube channel!