Facebook
 Reddit
 Email
Email
Find all Ruby locations in Doom The Dark Ages and learn how to collect them to upgrade your weapons effectively.
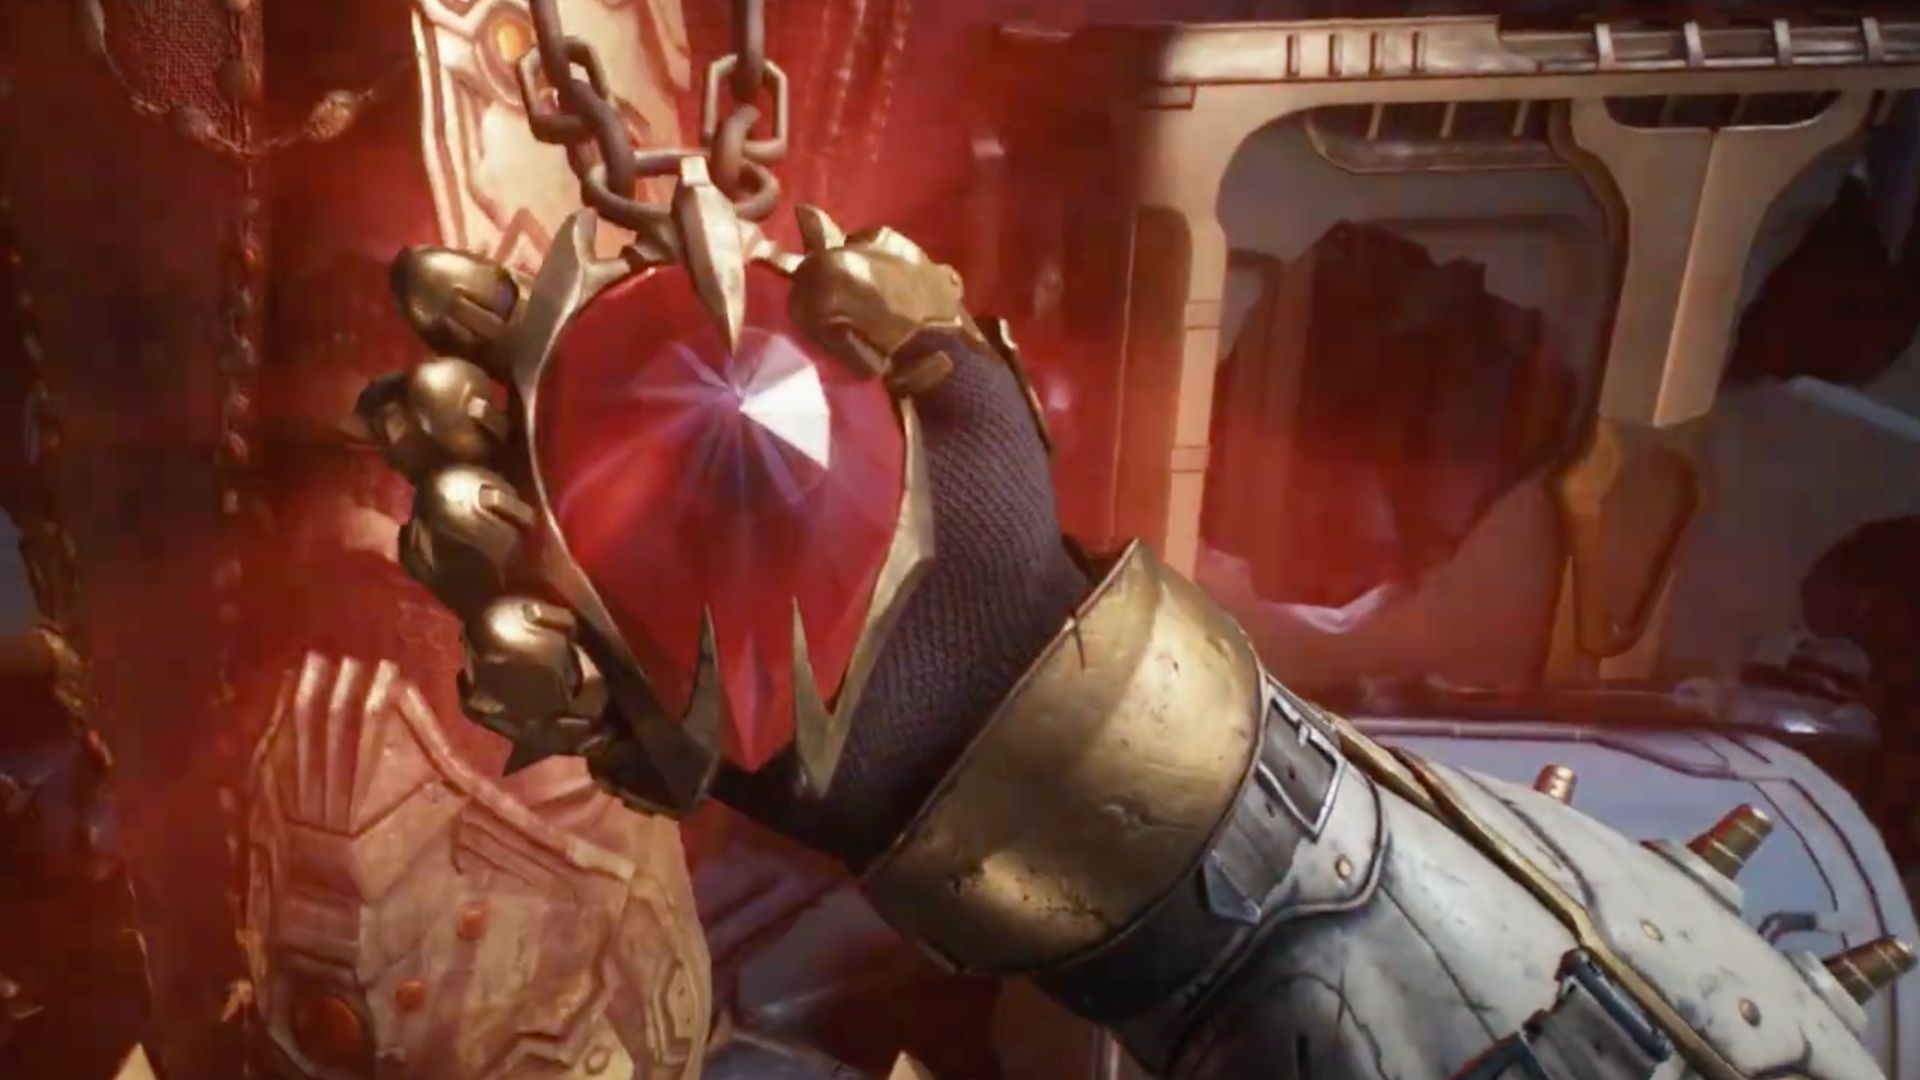
In Doom The Dark Ages, Rubies are crucial for strengthening your weapons to their second and third upgrade levels. Since they’re limited and often placed out of plain sight, it helps to keep track of each one. Here’s a detailed, chapter-wise guide to every Ruby location, structured to help you collect them without unnecessary wandering.
All Ruby Locations and How To Get Them in Doom The Dark Ages
1) Sentinel Barracks – Chapter 4
Your first chance to collect Rubies begins in Chapter 4. The initial one follows the main storyline. Just stick to the path, and you will come across it without needing to search a lot.
The second one, though, demands more effort. You will need to explore an off-path area. Drop down to a lower ledge, then climb through a narrow space to discover the hidden Ruby.
2) Holy City of Aratum – Chapter 5
In this chapter, both Rubies are tucked away behind environmental interactions. The first lies close to a Hell Carrier. After getting a new weapon, look out for a locked door. Above it, you will see a red lock. Breaking that with your shield allows you to move in and collect the Ruby.
The second is linked to a secret landing zone. Find the button that drains water nearby. Head down the hole it reveals, use the valve inside to access the Red keycard, and then use that to open a door hiding the second Ruby.
3) Siege – Part 1 (Chapter 6)
This section contains four Rubies. One is straightforward—go to the marked spot and collect it after dealing with any threats nearby.
For the second, swim through a submerged path beneath a caged area. You will reach a switch. Activating it grants access to the Ruby in the cage.
The third requires interaction with several Wolf Statues. Destroy all of them, then return to the marked spot to find the Ruby waiting for you.
You will find the final behind a door. The trick here is to first locate the area’s secret key. Use it at the specified spot to claim the fourth Ruby.
4) Siege – Part 2 (Chapter 7)
Only two Rubies are available here. One is hidden in a locked area. You will need to locate the secret key first. Use it to access a concealed zone filled with enemies. Once it’s clear, you can collect the Ruby.
The second can be found after entering an open spaceship zone. Instead of continuing forward, climb the nearby stack of boxes and make your way upward to reach the Ruby.
5) Abyssal Forest – Chapter 8
The first Ruby becomes visible after a drop into a deeper part of the level. Watch the side platforms as you descend and continue forward while collecting gold. Eventually, the Ruby comes into view.
For the second, keep following the objective until you find a ballistic cannon. To its left, jump to a distant platform. From there, continue moving forward until you spot the Ruby.
6) Ancestral Forge – Chapter 9
Head to the highest point available in this area to find the first Ruby. Use the spiraling pathways to reach the top, where it’s placed near a toy collectible.
The second is behind a locked door. Look nearby for a small gap that lets you aim at a red lock with your shield. Breaking it opens the door so you can pick up the Ruby inside.
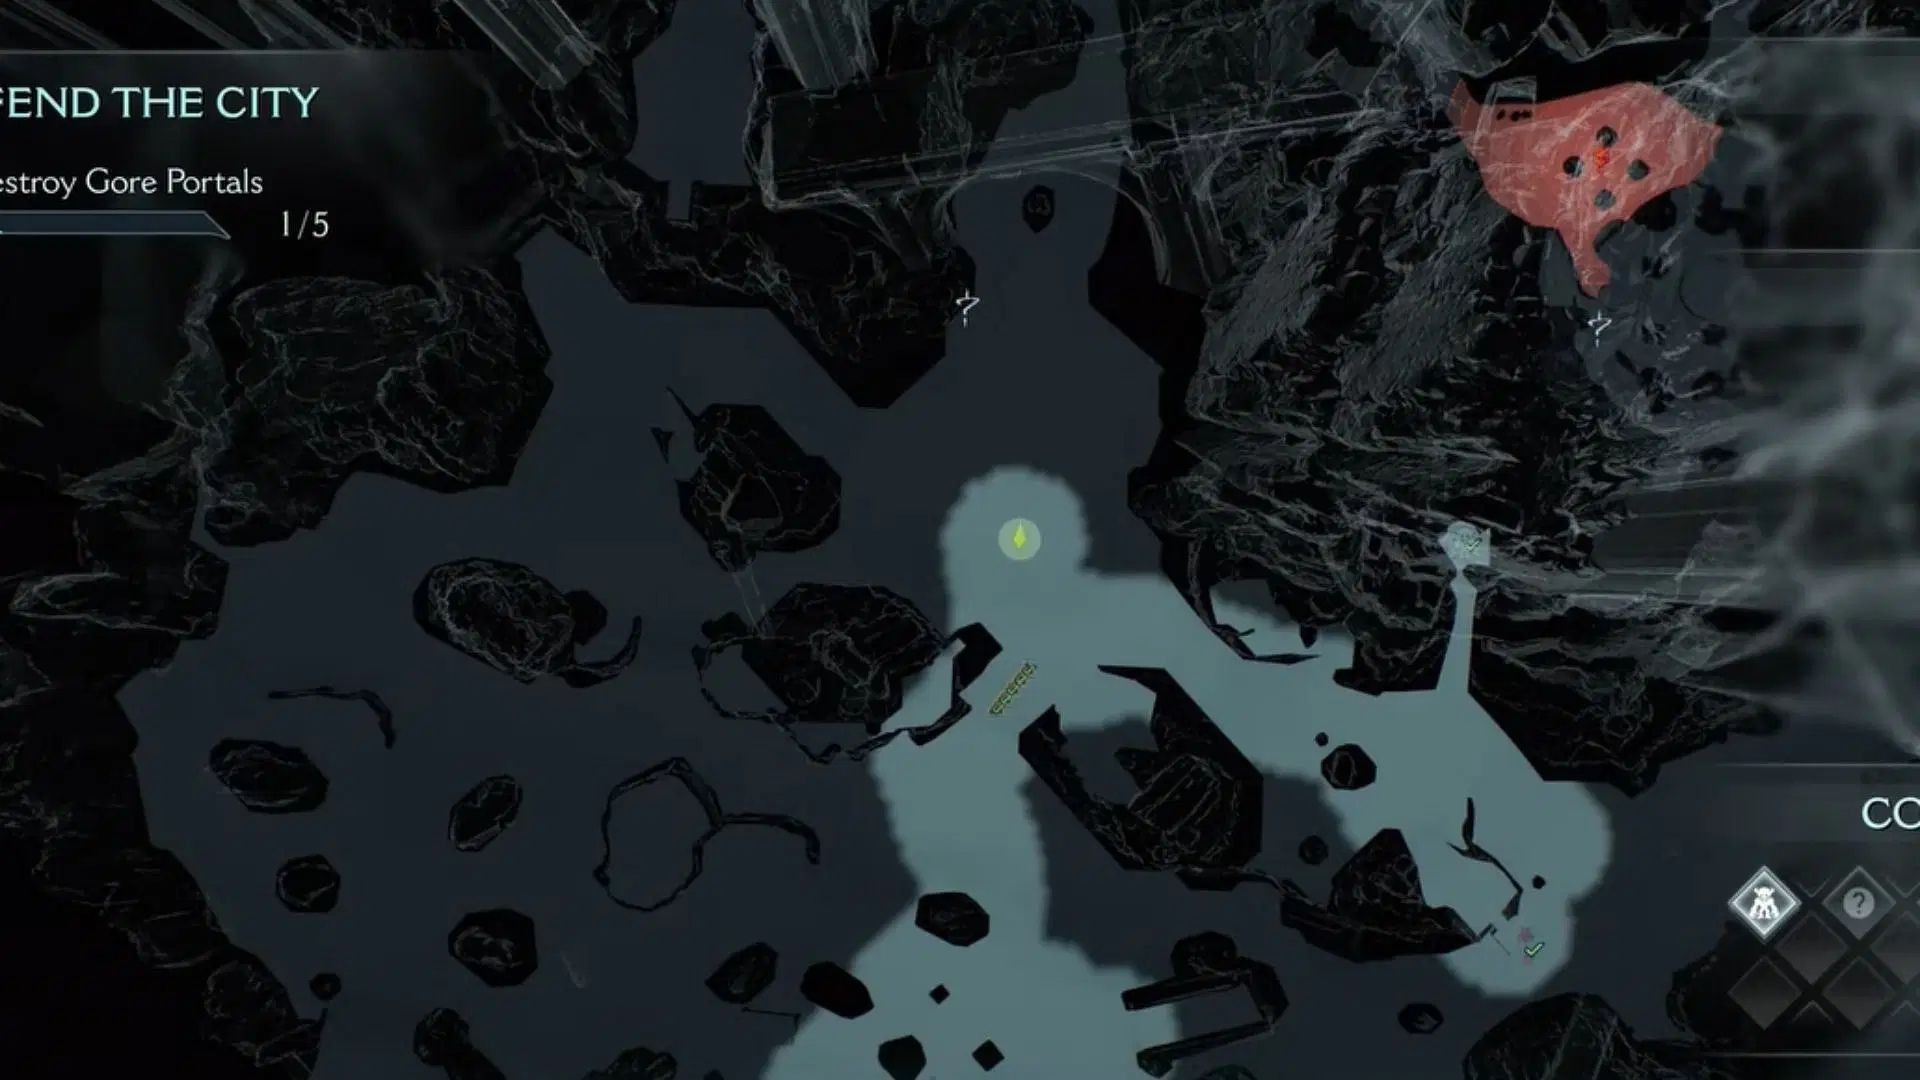
7) Forsaken Plains – Chapter 10
Start with the first Ruby just outside a Gore Nest. You need to enter and clear the nest area to access it.
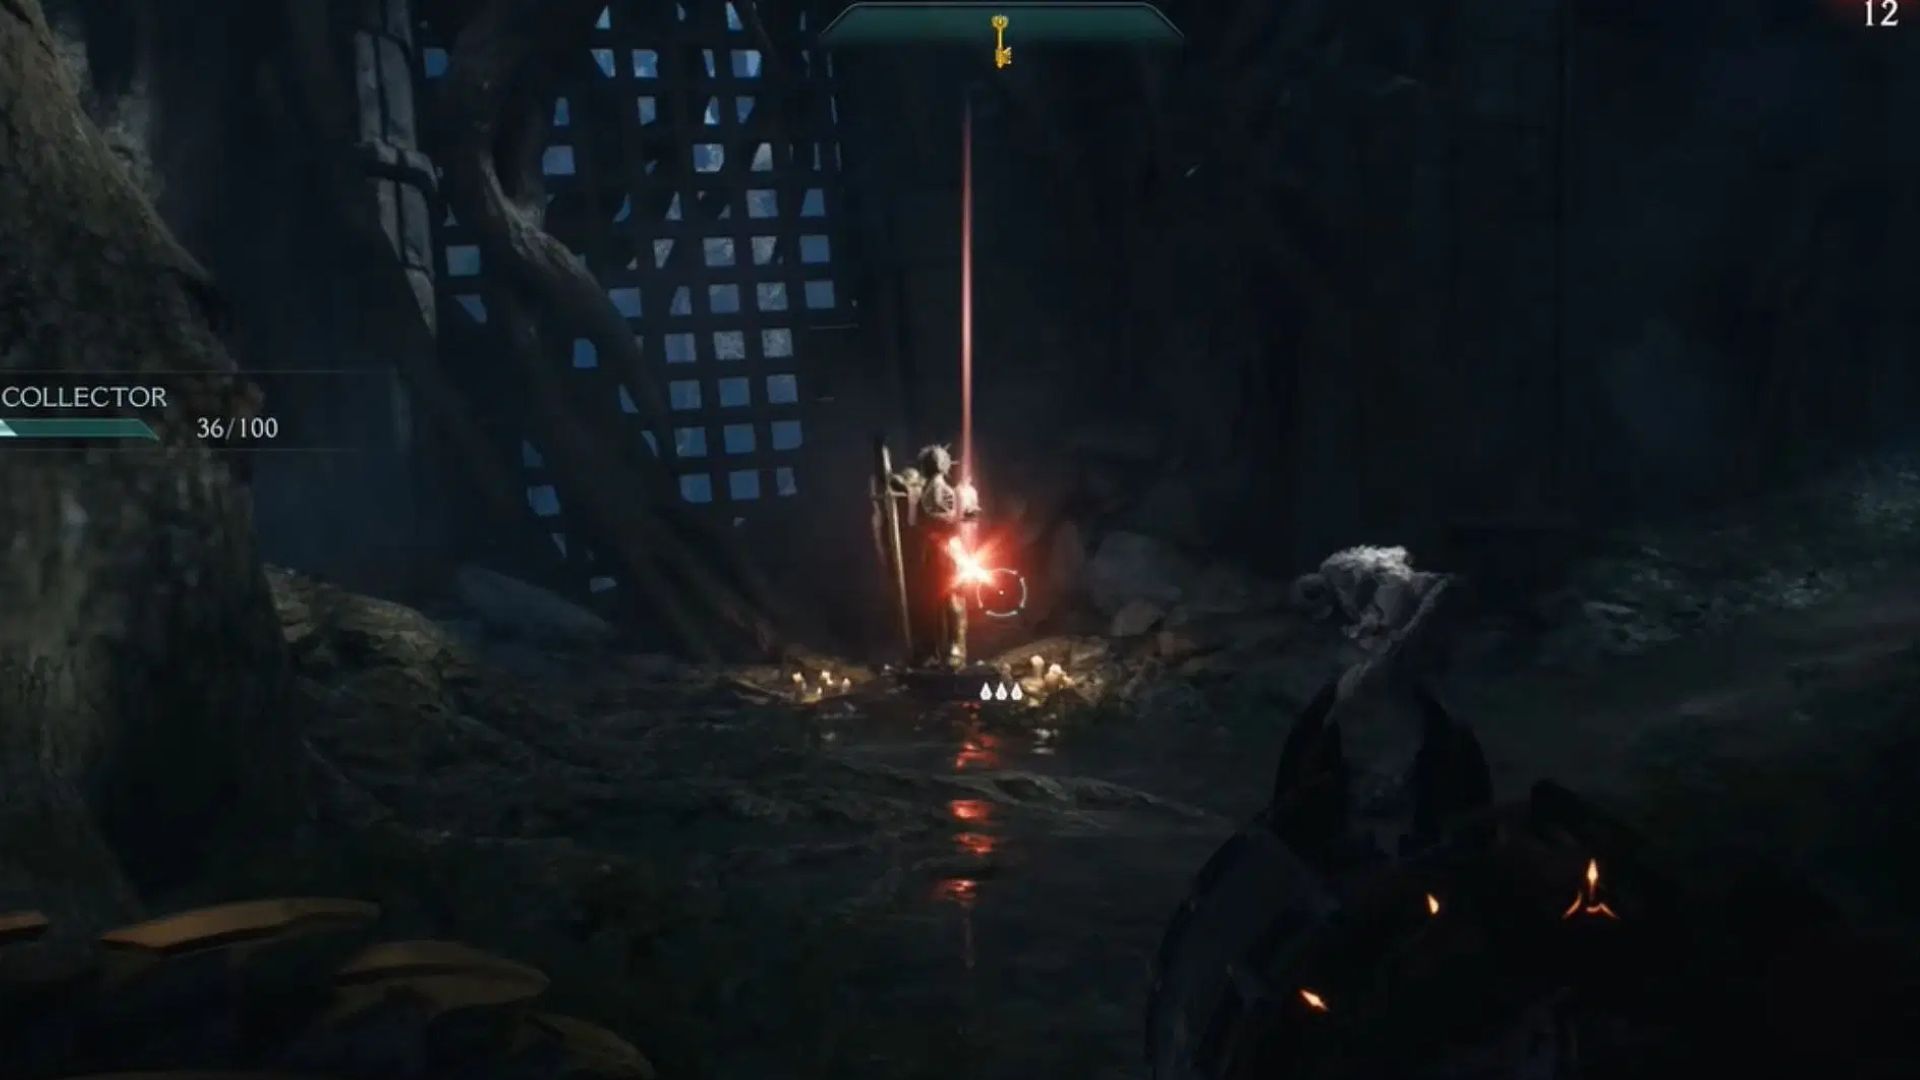
The second one is behind a hidden door. Track down the key, then fight your way through enemies beyond the secret entrance. The Ruby sits at the far end.
The last one requires the use of an elevator found beside a shrine. Take it up and step onto the high platform. The Ruby can be found here.
8) Spire of Nerathul – Chapter 14
At the first landing site, use a nearby jump boost to launch yourself up to wooden planks. You will find the first Ruby there.
The second is found after entering an underwater section. Swim carefully and avoid hazards. Once you reach the other end, the Ruby is there.
The third one is earned after defeating all enemies in a specified room. Clear it out completely, and you will get access to the Ruby.
9) Kar’Thul Marshes – Chapter 16
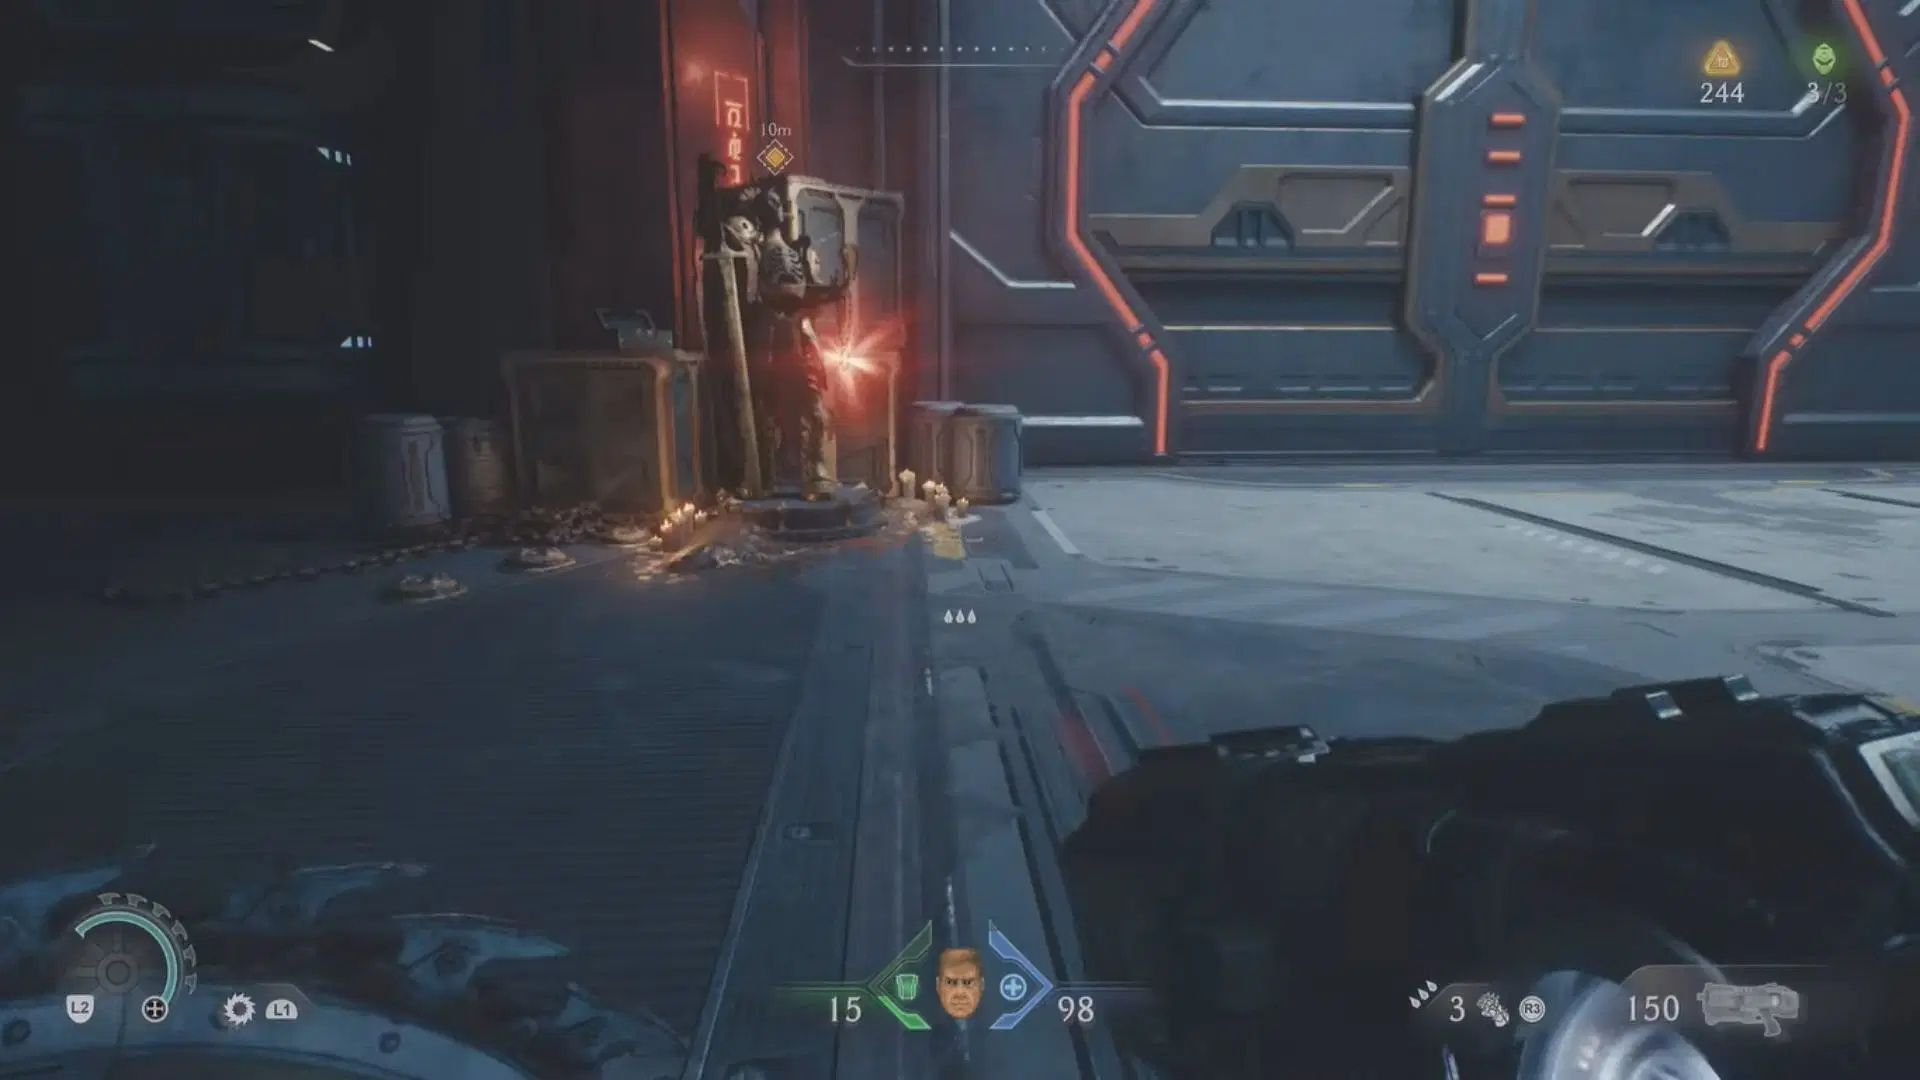
There’s only one Ruby in this chapter. Enter the building shown on the map, where you will be transported to an alternate area. Start by hitting a distant red lock from an elevated platform.
Then, move down and align two visual markers. Once they’re in place, throw your shield to destroy the structure. This reveals a path to the Ruby.
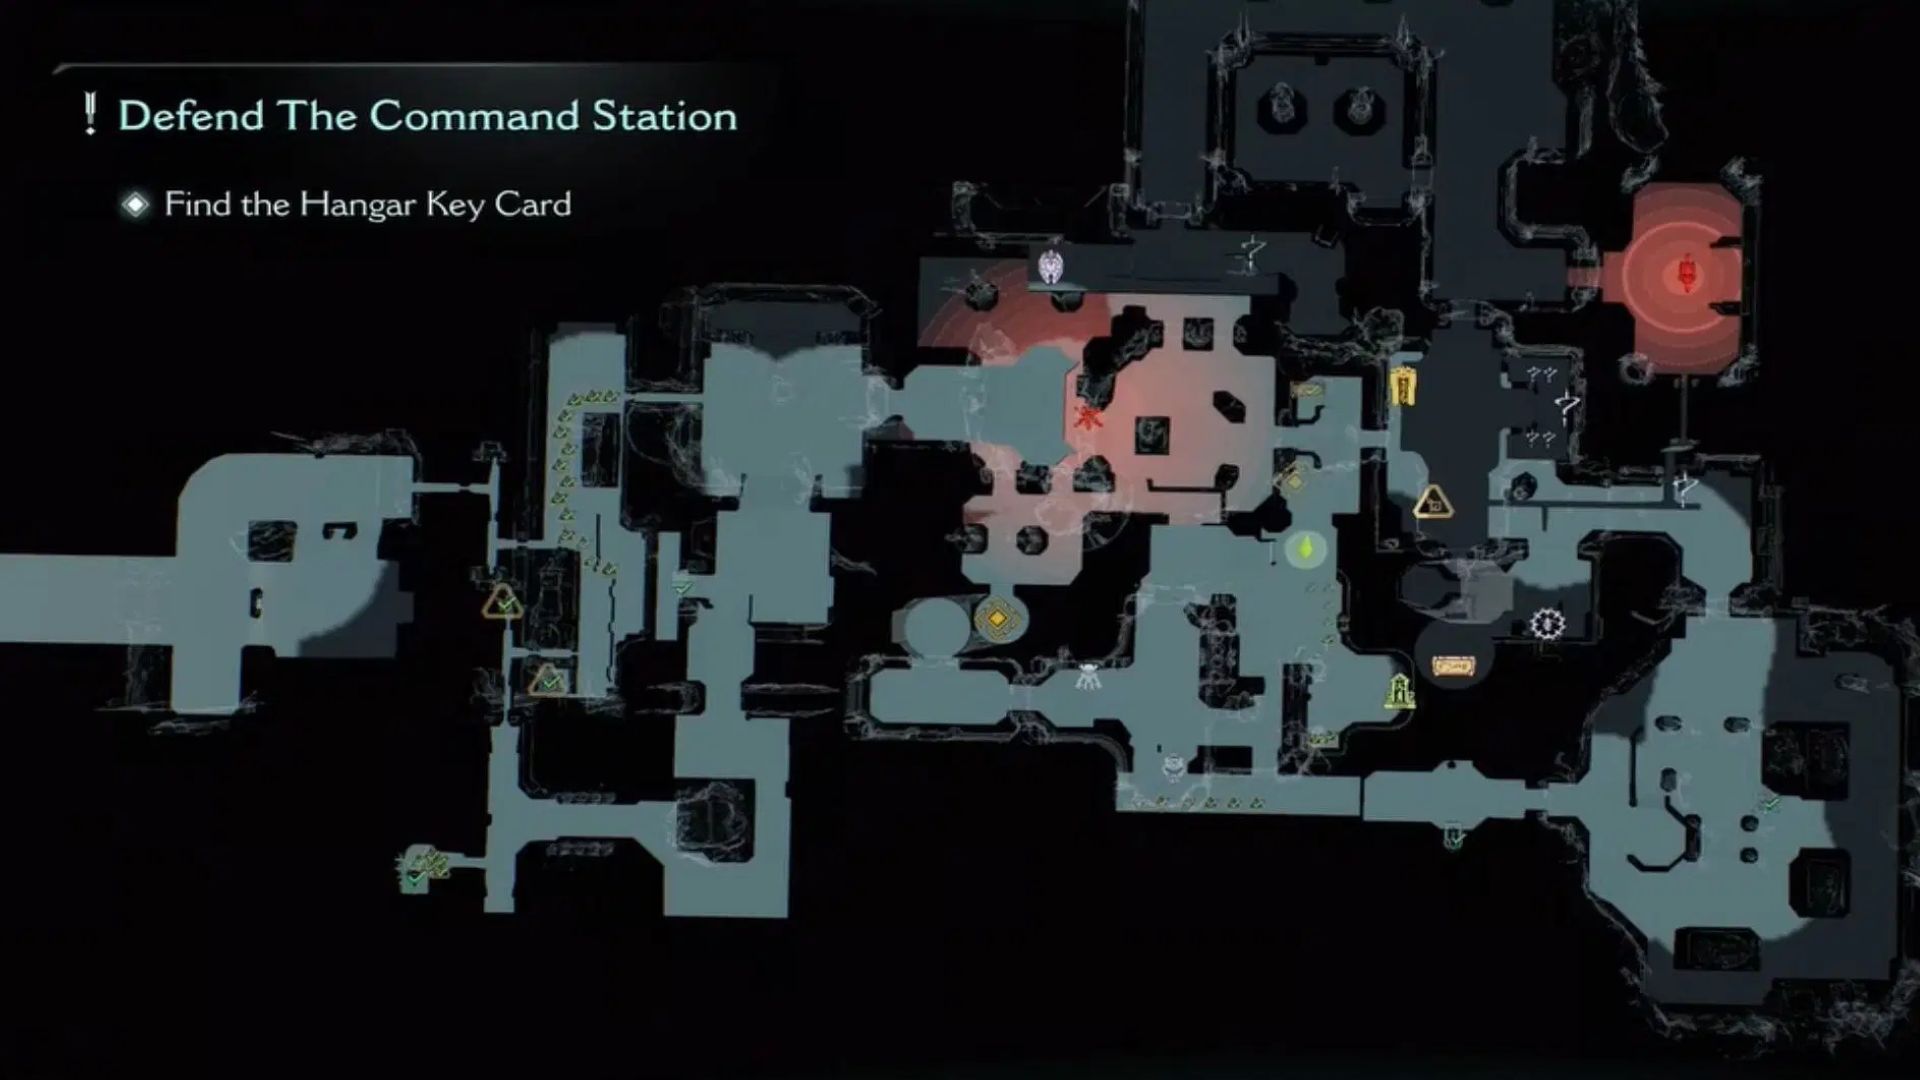
10) Harbor of Souls – Chapter 19
Begin by riding the elevator at the map-marked location. Use it to reach a platform with a red button. Stand on the button and throw your shield at the energy units across the gap. The door behind which the Ruby is hidden will now open. Do not call the shield back before you collect the item.
11) Resurrection – Chapter 20
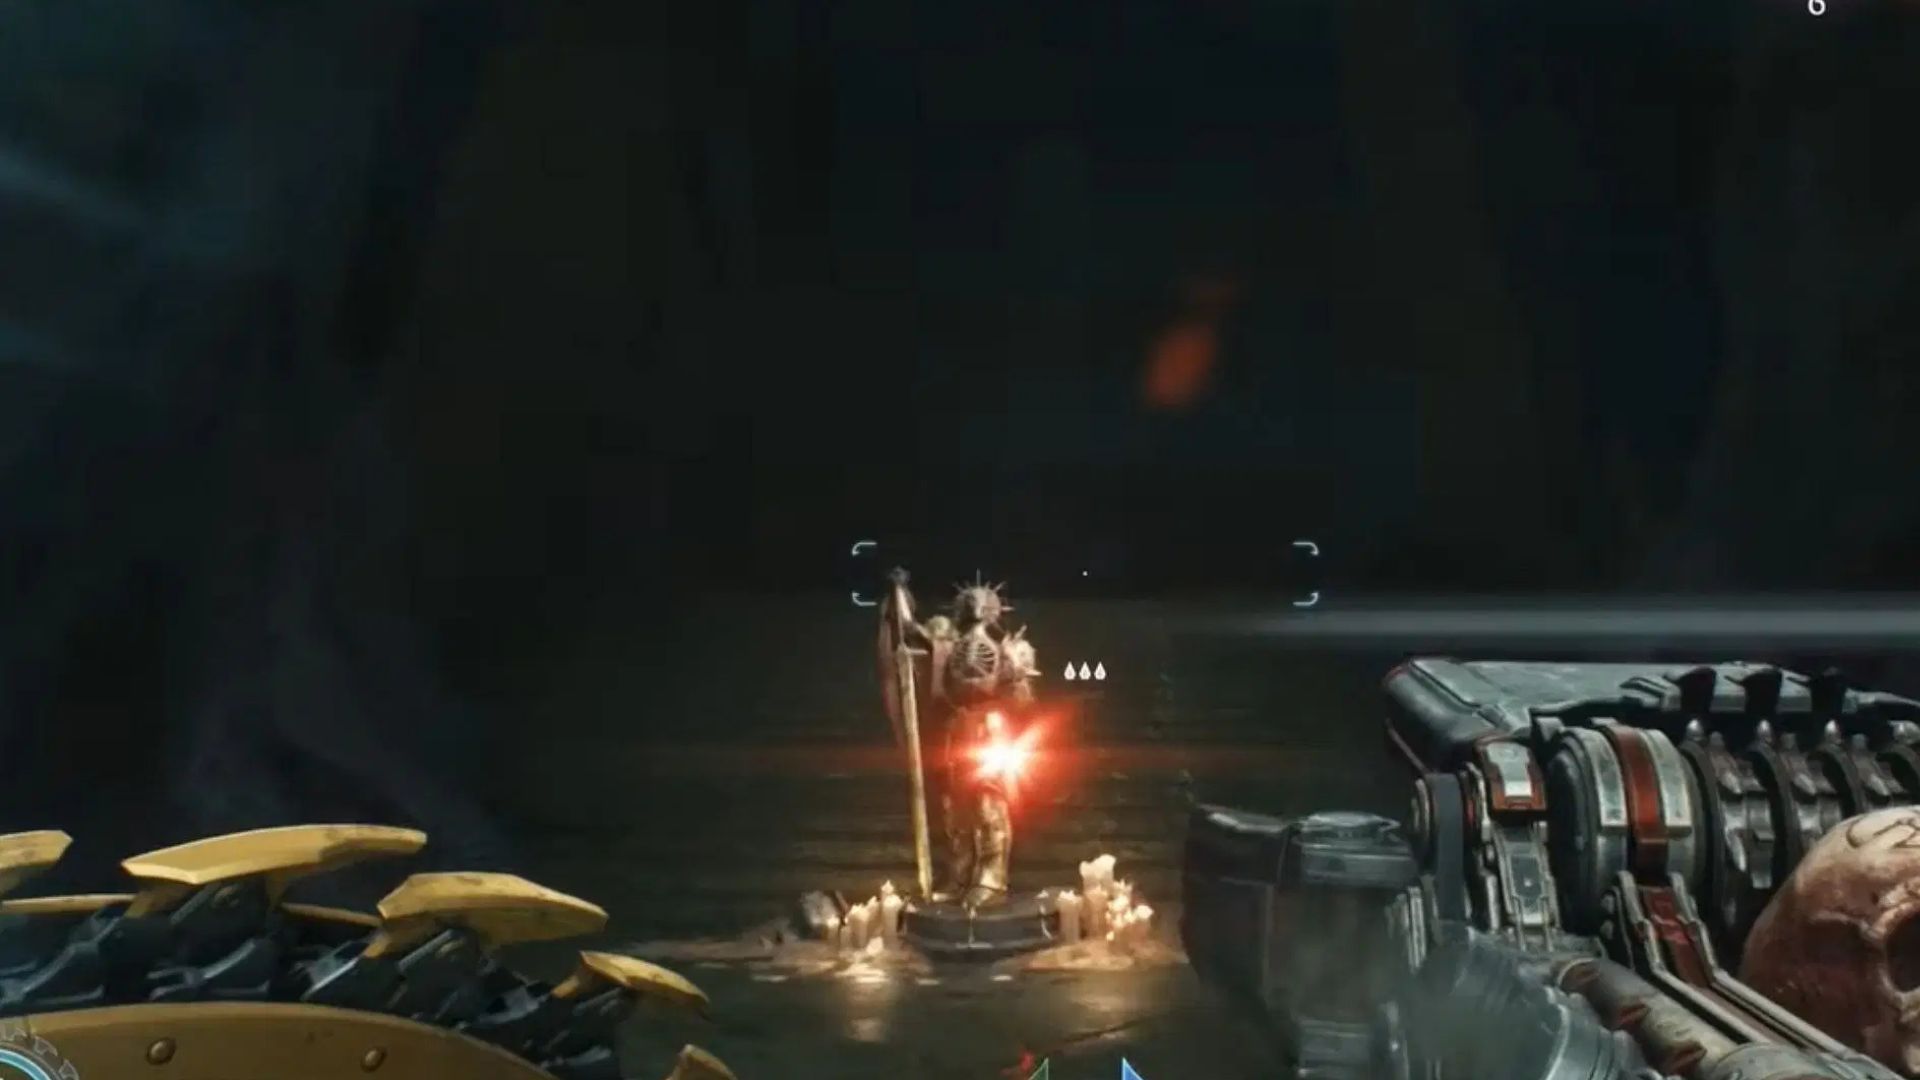
The first Ruby here sits on a statue. It’s in the open and easy to spot. To get the second, you will need a Blue key. Once you have it, open the nearby locked door and head up. The Ruby is placed along the way. The last one is also behind a Blue door. Use the same key to access it. Defeat everything inside to claim the third Ruby.
12) Reckoning – Chapter 22
Start with an elevator ride. Before going up, throw your shield at a nearby Blue button. This triggers a climbing wall. Use it to reach a second button, repeat the process, and eventually find the Ruby above.
The second is visible behind a door. Drop down to the lower area and use a jump boost to land on an overhead platform. Head across to grab the Ruby.
The last one is behind another secret door. The key can be found in the vicinity. Once obtained, go to the door’s location and open it to collect the final Ruby in the game.
Thank you for reading the article. We provide the latest news and create guides for Doom The Dark Ages. Also, watch Deltia play on Twitch or visit his YouTube channel!