Facebook
 Reddit
 Email
Email
Death Stranding 2 On the Beach has no shortage of cool structures, and these are our picks for the best ones.

Structures are essential features in both Death Stranding games. After humanity experienced a calamity they were unable to recover from, people began building walls and shelters to fend for themselves. This led to older structures like bridges being left unattended and withering due to the Timefall.
As a porter, Sam has access to a variety of different structures to get across certain areas or overcome obstacles. This article will list some of the most useful items worth your effort, chiral crystals and other resources.
Read More: Death Stranding 2: Best Backpack Enhancements and How You Place It
Best Structures in Death Stranding 2
1) Generator
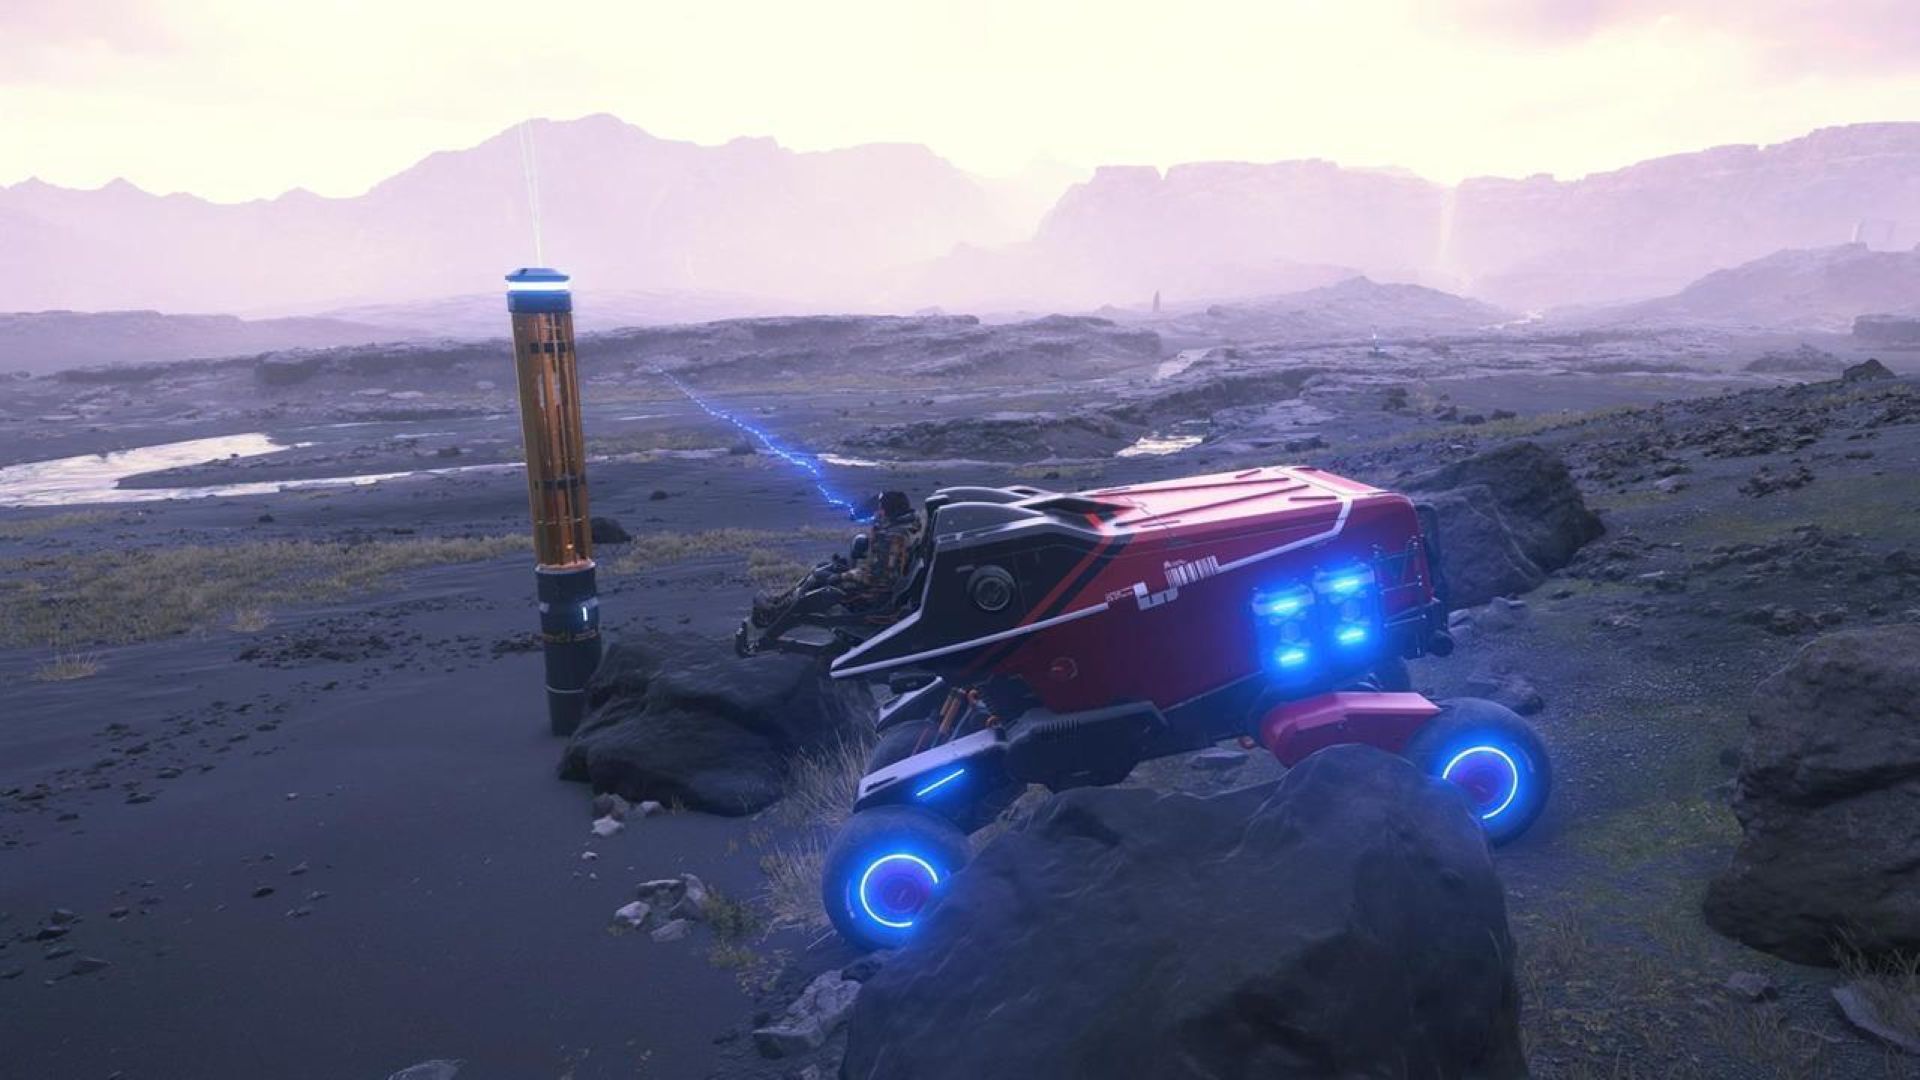
If you prefer to use a set of wheels to reach your destination, chances are you will run out of batteries halfway, especially if it is beyond the chiral network. Generators are one of the best structures in both Death Stranding games since they recharge anything you have that operates on batteries. Unlike devices today, there is no need to plug into a socket, as it recharges your devices as long as they are within range.
You can acquire the schematics for the generator by progressing through the story. This structure only requires a chiralium bandwidth of 350. It can charge the following items:
- Exoskeletons
- Vehicles
2) Zip Line
In the first game, you could set up zip lines and connect them to others in distant areas. The same principle is applied in the sequel, and then some. Sam can use a zip line to carry heavy cargo faster than he can on foot, and it can be convenient to fly over the heads of brigands or BT territory.
You will unlock the schematics for the zip line when you reach the Dowser’s outpost. This structure requires a chiralium bandwidth of 500.
3) Bridges
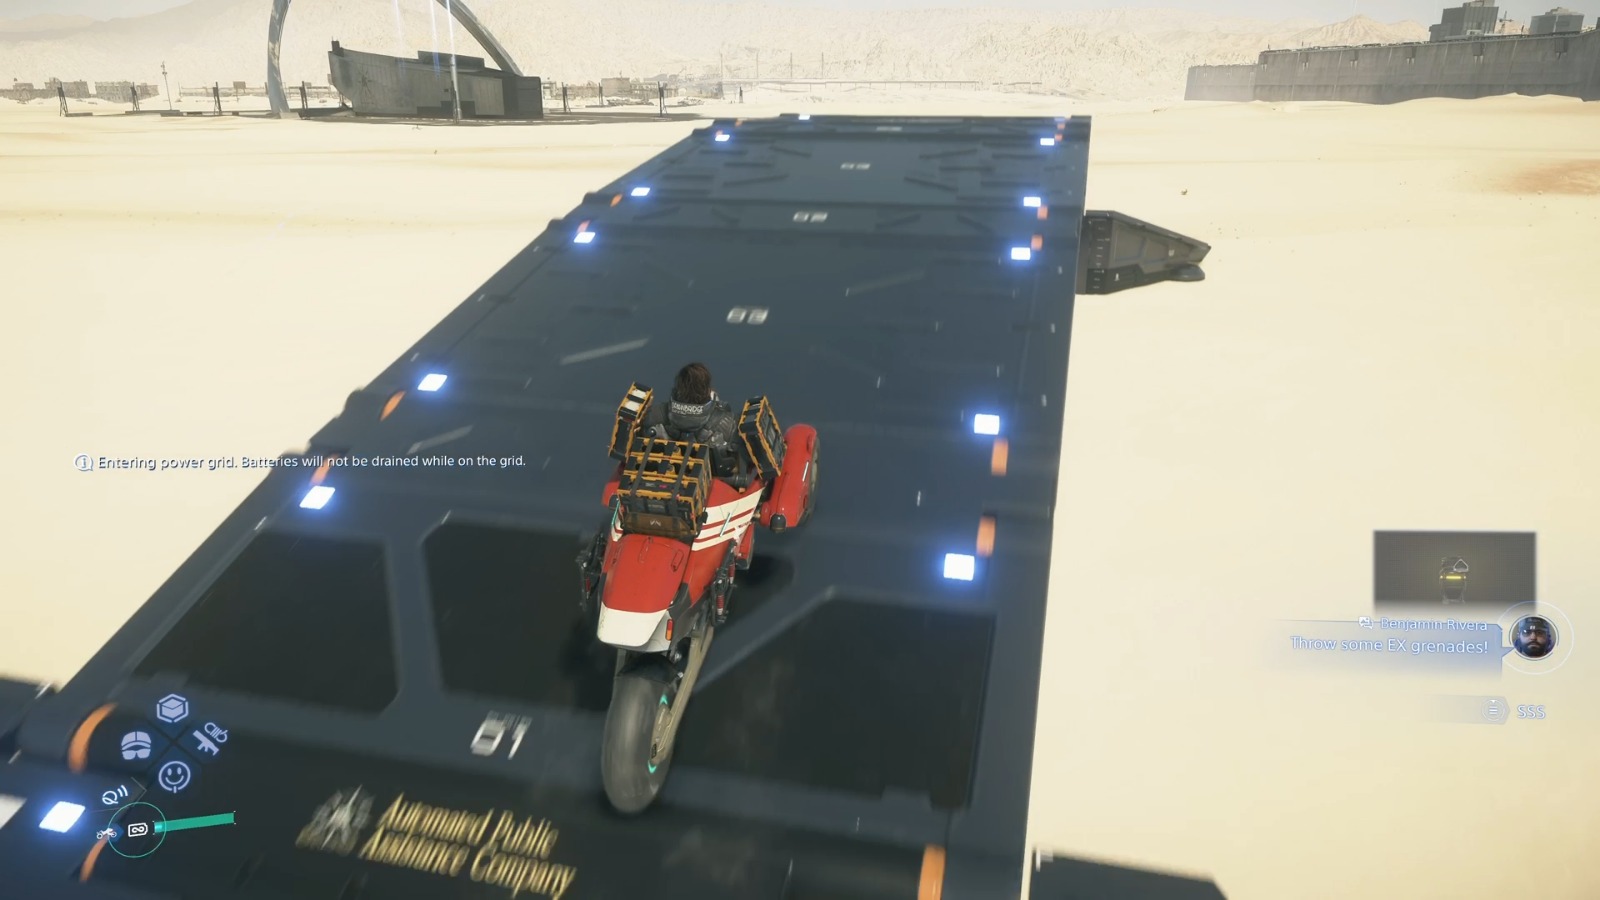
If you come across a massive river and the odradek scans the terrain as unsafe, it could be a hassle to backtrack to find a safer way to cross. Fortunately, in Death Stranding 2, you can build bridges after completing your fifth order. It is a handy structure to trim down travel time, and any vehicle on the bridge can run without losing batteries. You can fabricate bridges, and it only requires a chiral bandwidth of 1000.
4) Watchtower
The landscape is much different from the original game, considering the majority takes place in Australia. Setting up a watchtower is crucial, especially if there are enemies ahead or the chance of crossing BT territory. You will acquire the schematics for this structure during an order where you must recover stolen items from a brigand camp.
With the watchtower, you can get a bird’s-eye view of the terrain and even mark enemies. It is convenient and only requires a chiral bandwidth of 250.
5) Postboxes
One of the handiest features your PCC can turn into is a postbox. This structure is a glorified storage container that you can fabricate outdoors within the chiral network. You can stash resources and other recyclable items here and encourage other porters to do the same to finish constructing other structures.
In combat, you can set one up and hide your main order items to prevent losing them during the battle. It can hold most items and allow Sam to move faster without worrying about his precious cargo.
Read More: Death Stranding 2 Hamilton Watch: Price, Where To Get, and More

We provide the latest news and create guides for Death Stranding 2. Meanwhile, you can check out the following Death Stranding 2 articles or catch us playing games on YouTube: