Facebook
 Reddit
 Email
Email
In this guide, we shall go over all the Life Sigil locations in Doom The Dark Ages so you can get back into the action right away.

Doom The Dark Ages has taken the bigger-is-better approach to its gameplay, featuring some of the biggest levels in the series. As a result, the levels are now sprawling with demons and secrets alike, incentivizing players to explore. During your exploration, you’ll be beaten down by the demons more often than not, and this is where the game’s Life Sigils come in clutch.
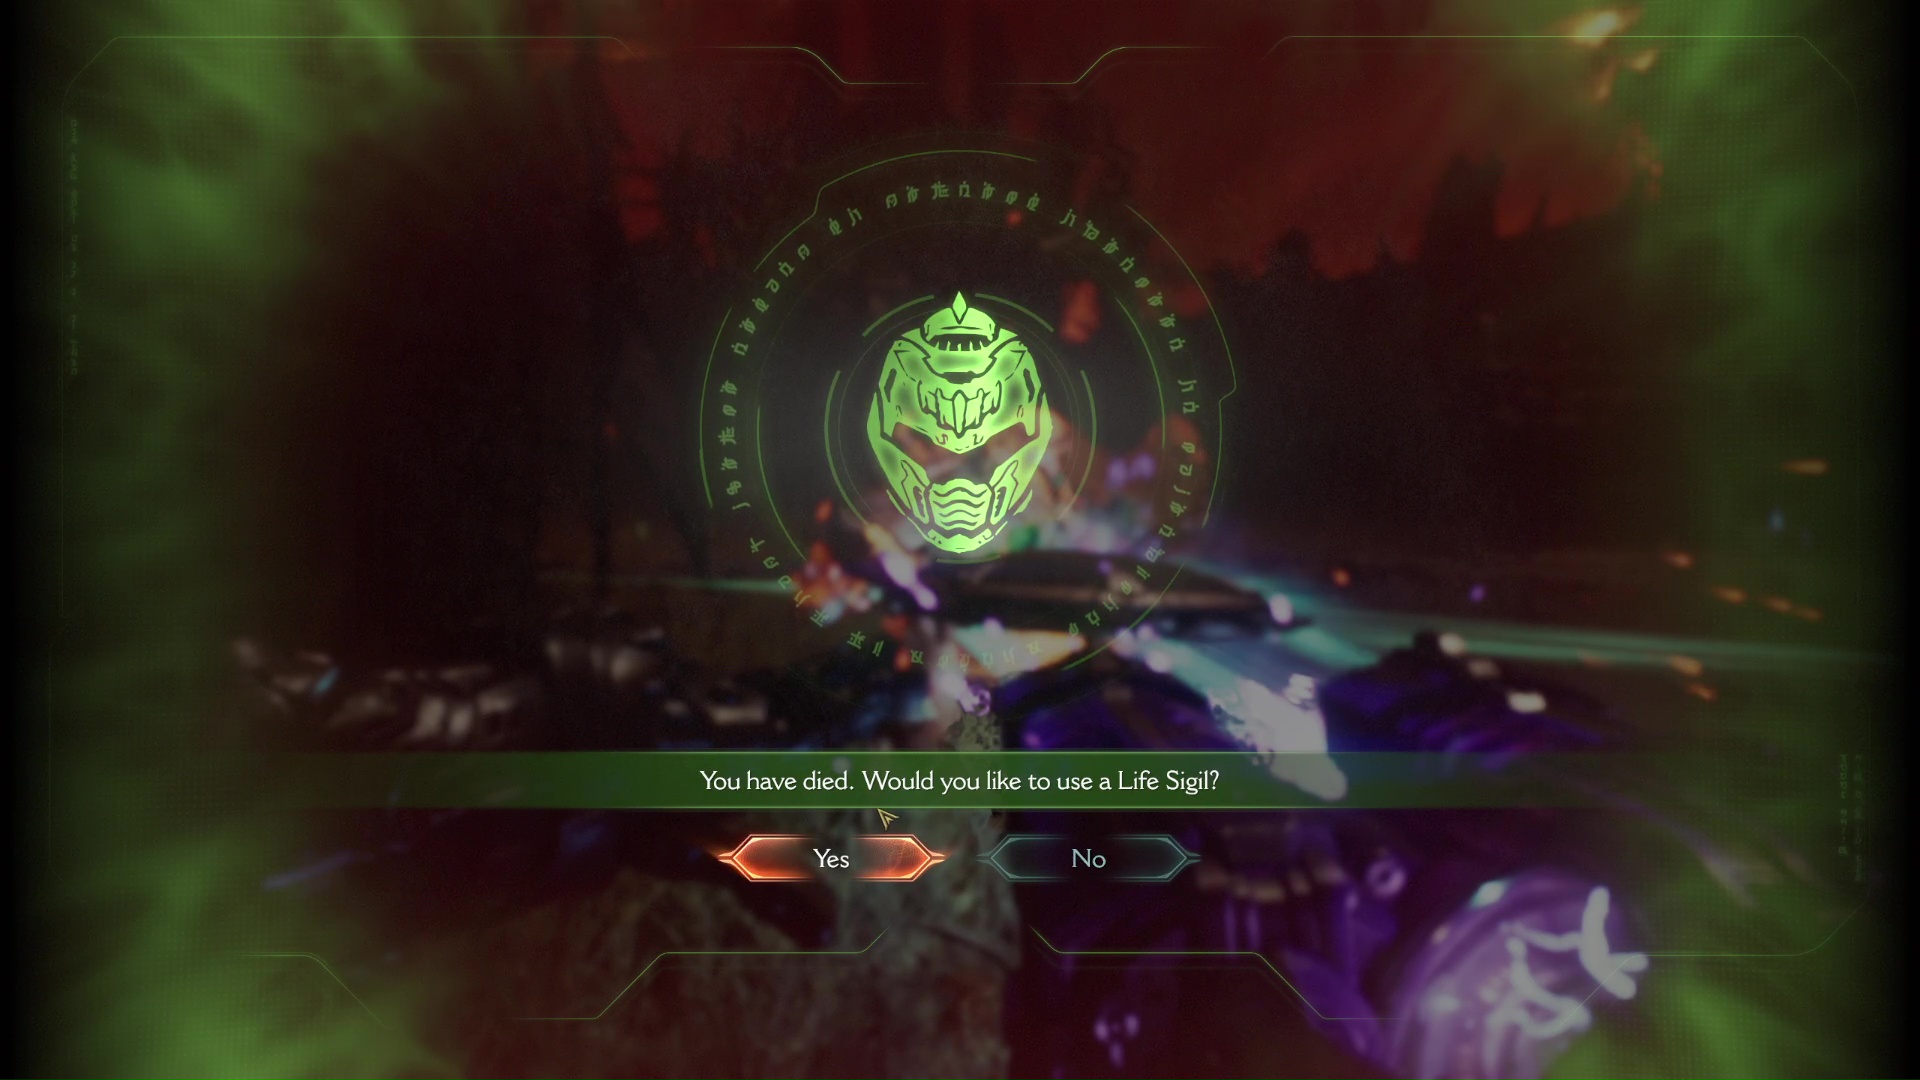
Life Sigils in Doom The Dark Ages act as extra lives, giving you extra chances to revive instantly. These sigils save you from the hassle of dying and reviving at a checkpoint, thereby losing progress. The Life Sigils are valuable and equally as tough to find. In this guide, we shall go over all the Life Sigil locations in Doom The Dark Ages.
Related: Doom The Dark Ages: How To Get Super Shotgun
Village of Khalim (Chapter 1) in Doom The Dark Ages
- Life Sigil #1: Complete the melee tutorial and enter the burning building. Break through the barrier on your left to find the Life Sigil.
- Life Sigil #2: Acquire the purple key and unlock the purple gate near the first portal arena.
- Life Sigil 33: Inside a cave on the path to the portals. Defeat all the enemies to unlock the gate and acquire the Life Sigil.
Hebeth (Chapter 2)
- Life Sigil #1: Just before entering the weapons facility, take a left and break through the barrier. You will find the Life Sigil at the end of this path.
- Life Sigil #2: When cutting through the labs searching for the source of corruption, look out for a glowing blue LED mech symbol on the wall. As soon as you see it, take a left and break through the barrier into the vents. The Life Sigil is at the end of the vents.
- Life Sigil 33: Inside a cave on the path to the portals. Defeat all the enemies to unlock the gate and acquire the Life Sigil.
Also Read: Doom The Dark Ages: How To Change Skins
Sentinel Barracks (Chapter 4)
- While clearing your path through the Sentinel Barracks, the roof will open above you, with a Life Sigil out of reach. To your left, you will find a control panel and a gate. Use the panel to open the gate and climb the wall up ahead. Follow the linear path to reach the Life Sigil.
The Holy City of Aratum (Chapter 5)
- Life Sigil #1: Follow the linear path after downing the Hell Carrier. It will lead you to an arena with a Shrine. Defeat the enemies and scale the wall to the left of the Shrine, which will lead you to a blue keycard. Drop down and unlock the blue gate ahead to find the Life Sigil.
- Life Sigil #2: Drop down the elevator shaft in the Hellcarrier to acquire the Life Sigil.
Siege – Part 1 (Chapter 6)
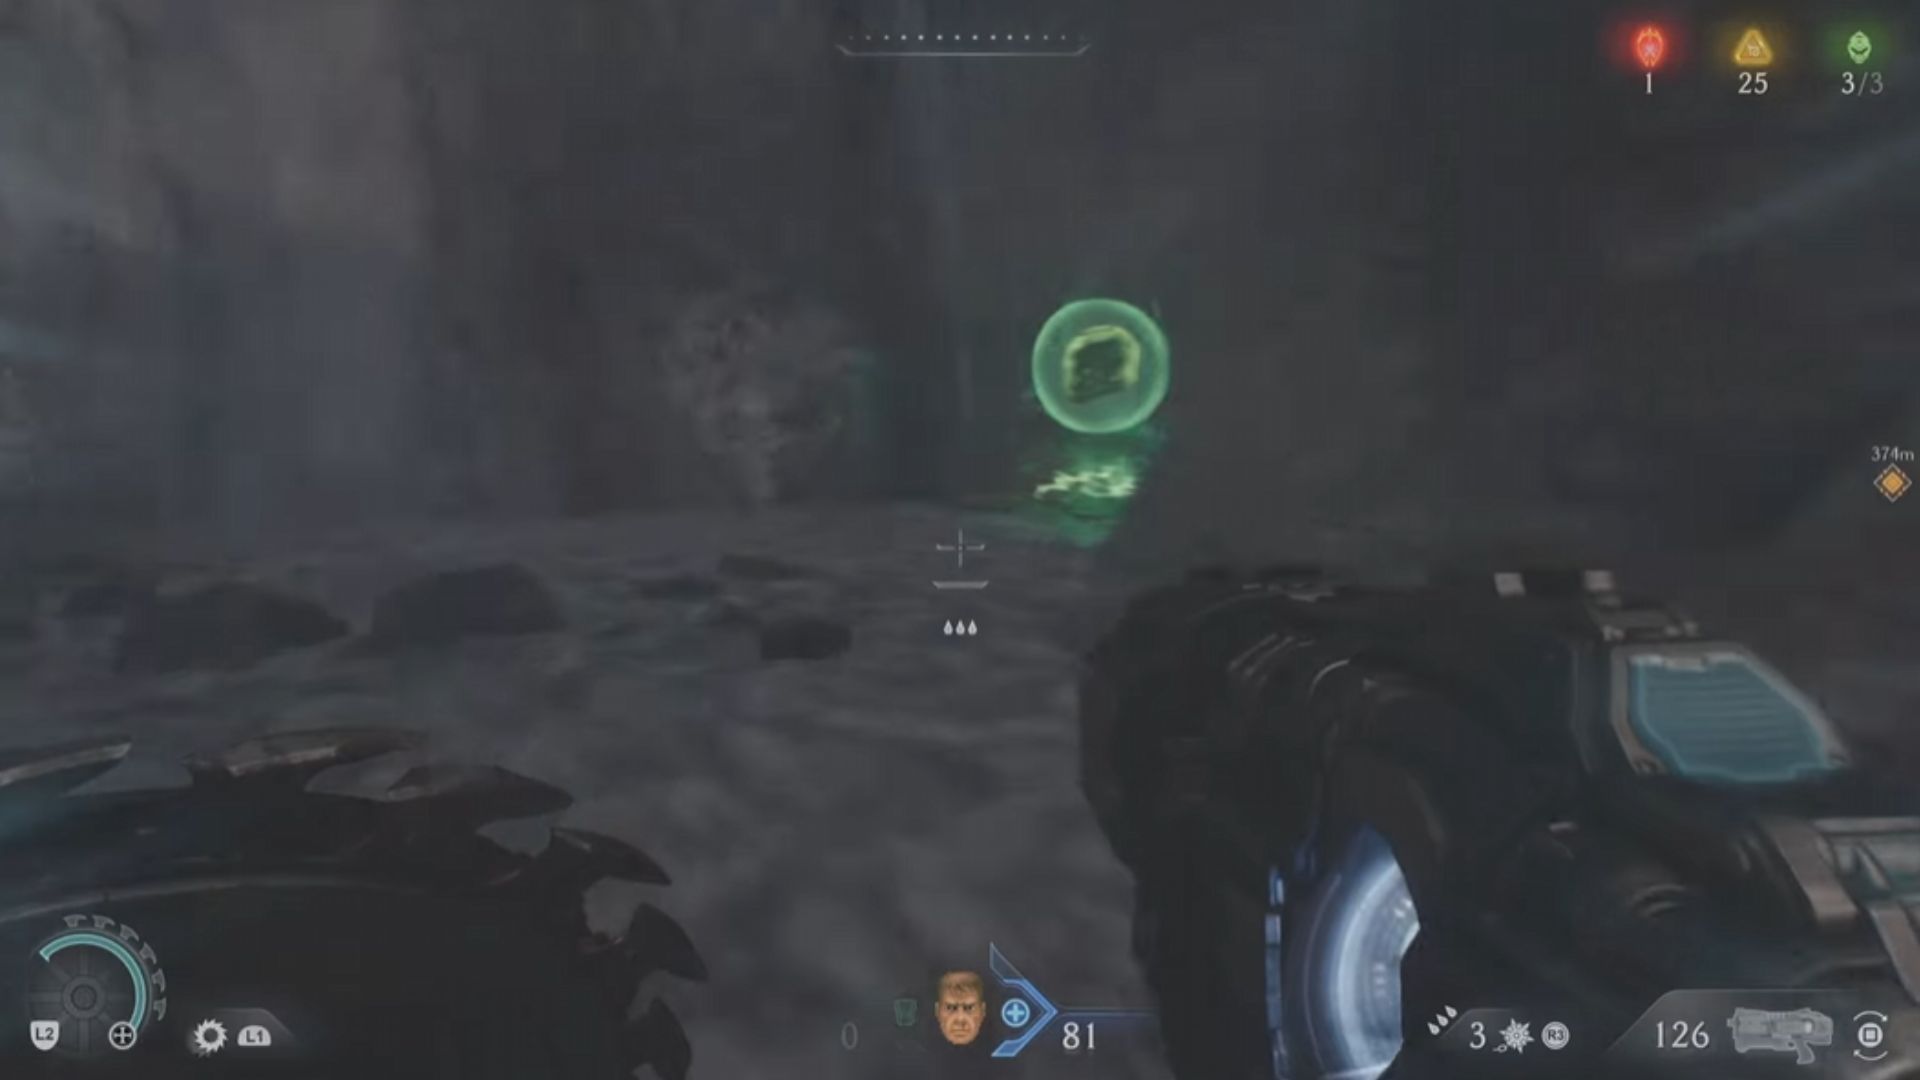
- Life Sigil #1: You will find a Life Sigil beside a waterfall on the bottom left corner of the map.
- Life Sigil #2: Head to the Shrine on the eastern end of the map. Follow the Gold Trail running behind the Shrine to reach the Life Sigil.
- Life Sigil #3: The Life Sigil is under a giant statue overlooking a Sentinel Shrine on the southern side of the map.

You May Like: Doom The Dark Ages: How To Get Doom Slayer Verdant Skin
Siege – Part 2 (Chapter 7)
- Life Sigil #1: When falling back to the Hangar, you will stumble across a slain titan on the west end of the map. Take a left from the titan’s corpse and climb the wall ahead. Break the barrier to enter inside and fight off the ambush. Push the green box ahead to discover another path. You will find the Life Sigil at the end of this path.
- Life Sigil #2: As you follow the objective, the marker will eventually lead you to a gate with twin blue LED lights. Ignore the marker and head to the end of the hall. Take a left at the dead end, and you will spot a barrier. Break this barrier to find a Life Sigil.
- Life Sigil #3: On your way to rescue Novik, you will enter an engine room of sorts. Climb up the platform on the left corner of the room and head inside through the broken wall. Shoot down the chain at the top, and the gear outside will start moving. Jump through the gear outside to find a Life Sigil.
Abyssal Forest (Chapter 8)
- Life Sigil #1: On your way to the Forge, you will reach a split in the road. Take the path heading right and follow the Gold Trail on this path. You will find a Life Sigil at the very end.
- Life Sigil #2: The second Life Sigil is near the Leader arena. You beat this Leader to acquire the armor upgrade. Scale up the scaffolding to the right of the large tower to reach the second Life Sigil.
- Life Sigil #3: You find this Life Sigil on your way to the Mine Entrance, just before the boss.
Ancestral Forge (Chapter 9)
- Life Sigil #1: Found on the bottom left side of the map. Use the grapple point to head up and let the Gold trail take you to the Life Sigil.
- Life Sigil #2: The Life Sigil is near the top left corner on the map. You’ll find a small arena here with a breakable barrier. Break through to find the Life Sigil.
- Life Sigil #3: The final Life Sigil is near the King Novik Codex page.
The Forsaken Plains (Chapter 10)
- Life Sigil #1: Before breaching the main gate, head to your left. Grapple up across the platform up ahead and turn around. Jump to the platform in front of you to find the Life Sigil.
- Life Sigil #2: On the western end of the map, you will find an underpass with two braziers. Pass through the gate on the left just before this underpass. Take this path and follow the Gold Trail, through the metal gate, to find a scalable wall. Head up to find the Life Sigil.
- Life Sigil #3: Head to the Shrine at the center of the map. Drop in the pit down below and head right to find the Life Sigil.
Read: Doom The Dark Ages: All Ruby Locations and How To Get Them
Sentinel Command Station (Chapter 12)
- Life Sigil #1: On your way to finding the Hangar Key Card, you will have to interact with a console panel (near the shrine) as part of the objective. Interact with the panel and circle back around to the hallway. Defeat the horde to unlock the red barrier and follow the Gold Trail to the next lever. Pull the lever to open the gate next to you. Pass through and climb the vent to your left to find the Life Sigil.
- Life Sigil #2: Take the yellow key and turn around and head through the yellow gate ahead. Drop down to the platform below and turn around. Dash through the barrier ahead to enter the vents. Pass through these vents and climb up. The Life Sigil will be behind you after you climb up.
Spire of Nerathul (Chapter 14)
- Life Sigil #1: Right after acquiring the Heaven Splitter shield rune, head up the slope and take a right once you see the crucifixes. Go past the Shrine to find a Life Sigil.
- Life Sigil #2: After passing through the shipwreck section, you will find a pillar jutting out of the wreckage. Walk across this pillar and drop down below. Turn around and drop off the edge of the cliff onto a hidden platform. You will find the Life Sigil here.
- Life Sigil #3: Fly your dragon through the blue tunnel and head to the next landing zone. Disembark and enter the first building to your left. You will find the Life Sigil in this building’s basement.
The Kar’Thul Marshes (Chapter 16)
- Life Sigil #1: Acquire the Relic Fragment in the top right corner of the map. Turn around and take the stairs to your right to reach the Life Sigil.
Temple of Lomarith (Chapter 17)
- Life Sigil #1: Right after the first underwater section, make your way towards the Shrine and dive into the water behind it. Swim through the passage underneath to find the Life Sigil.
- Life Sigil #2: You will find it during the maze-like section in a ship. This ship is near where you found the purple key.
Belly of the Beast (Chapter 18)
- Life Sigil #1: You find this Life Sigil after destroying the first green organ. Go past the organ, and you will spot the grapple point. Grapple up, follow the Gold Trail, and climb the wall ahead to find the Life Sigil.
- Life Sigil #2: You find this Life Sigil by following a Gold Trail near the third organ.
Resurrection (Chapter 20)
- Life Sigil #1: Exit the room with the Wraithstone and wolves (west side of the map) and take a left. You will find the Life Sigil at the end of the path.
- Life Sigil #2: You find this Life Sigil in the underwater puzzle section near the Makyr Drone Toy.
Reckoning (Chapter 22)
- Life Sigil #1: You will find this Life Sigil to the left of the Leader boss arena.
Thank you for reading the article. We provide the latest news and create guides for Doom The Dark Ages. Also, watch Deltia play on Twitch or visit his YouTube channel!