Facebook
 Reddit
 Email
Email
This guide will give you all the basic information related to how to create and customize your character in Genshin Impact.
Character customization is one of the most joyous aspects of any game. It is where you truly get to express yourself and create a unique personality for your account. These characters represent you in a world where you don’t have to worry about the way you are perceived and get to choose an identity for yourself.
Genshin Impact doesn’t shy away from offering generous options to personalize your in-game account. You wouldn’t be able to create your character in the traditional sense, but even through the limitations, you can set their identity and playstyle to a great extent. So, buckle up as we guide you through the various character customization features in the game.
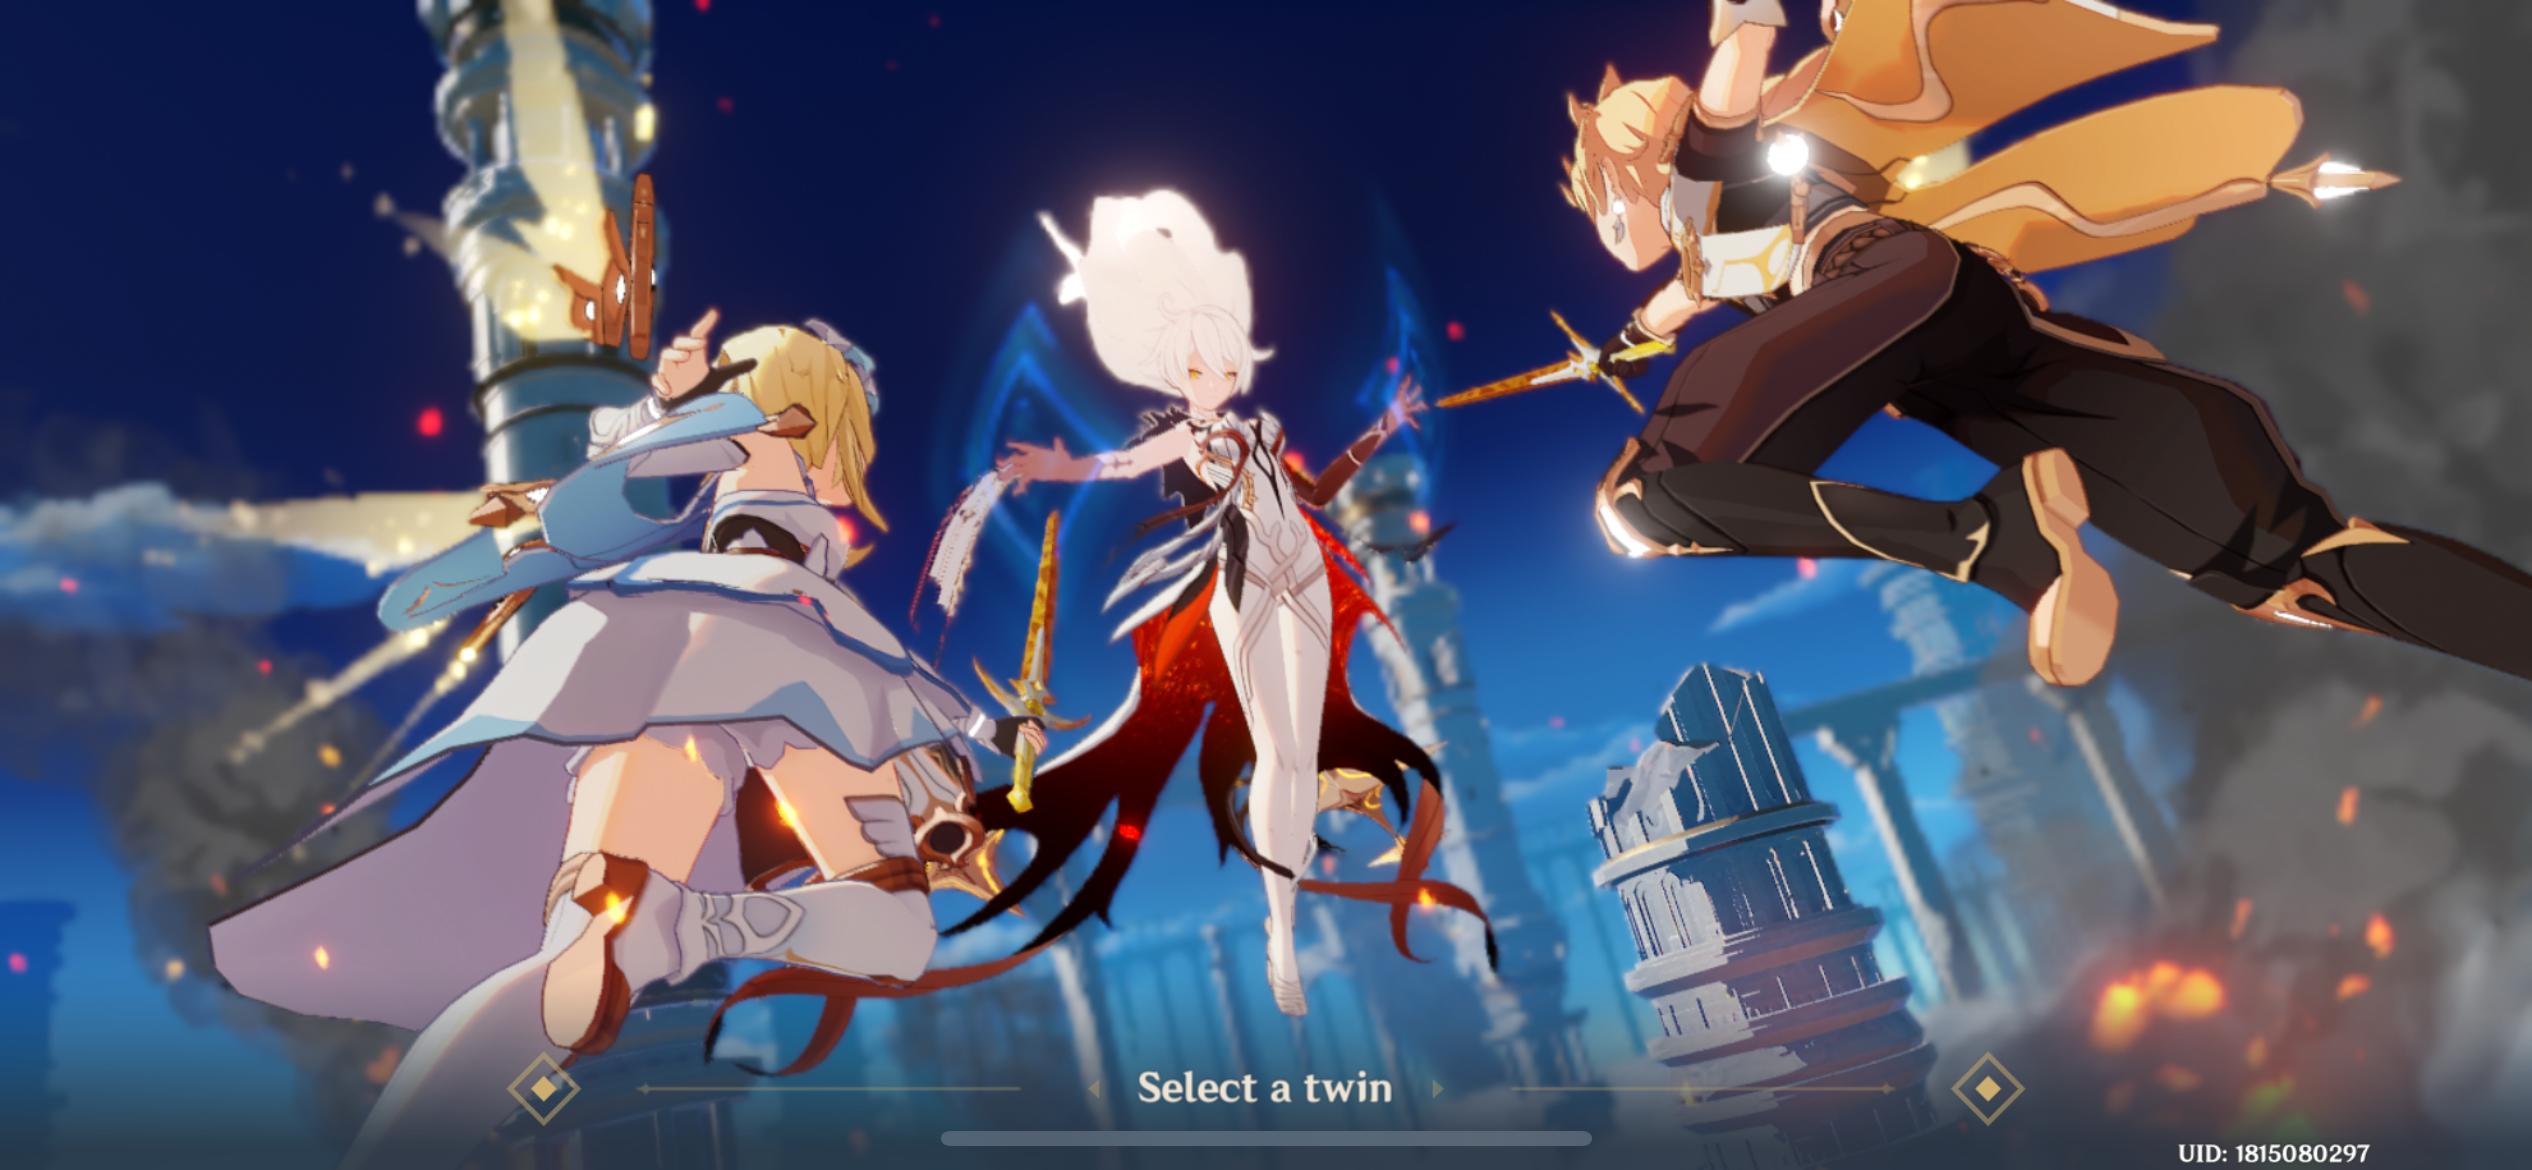
1) Choosing your Character
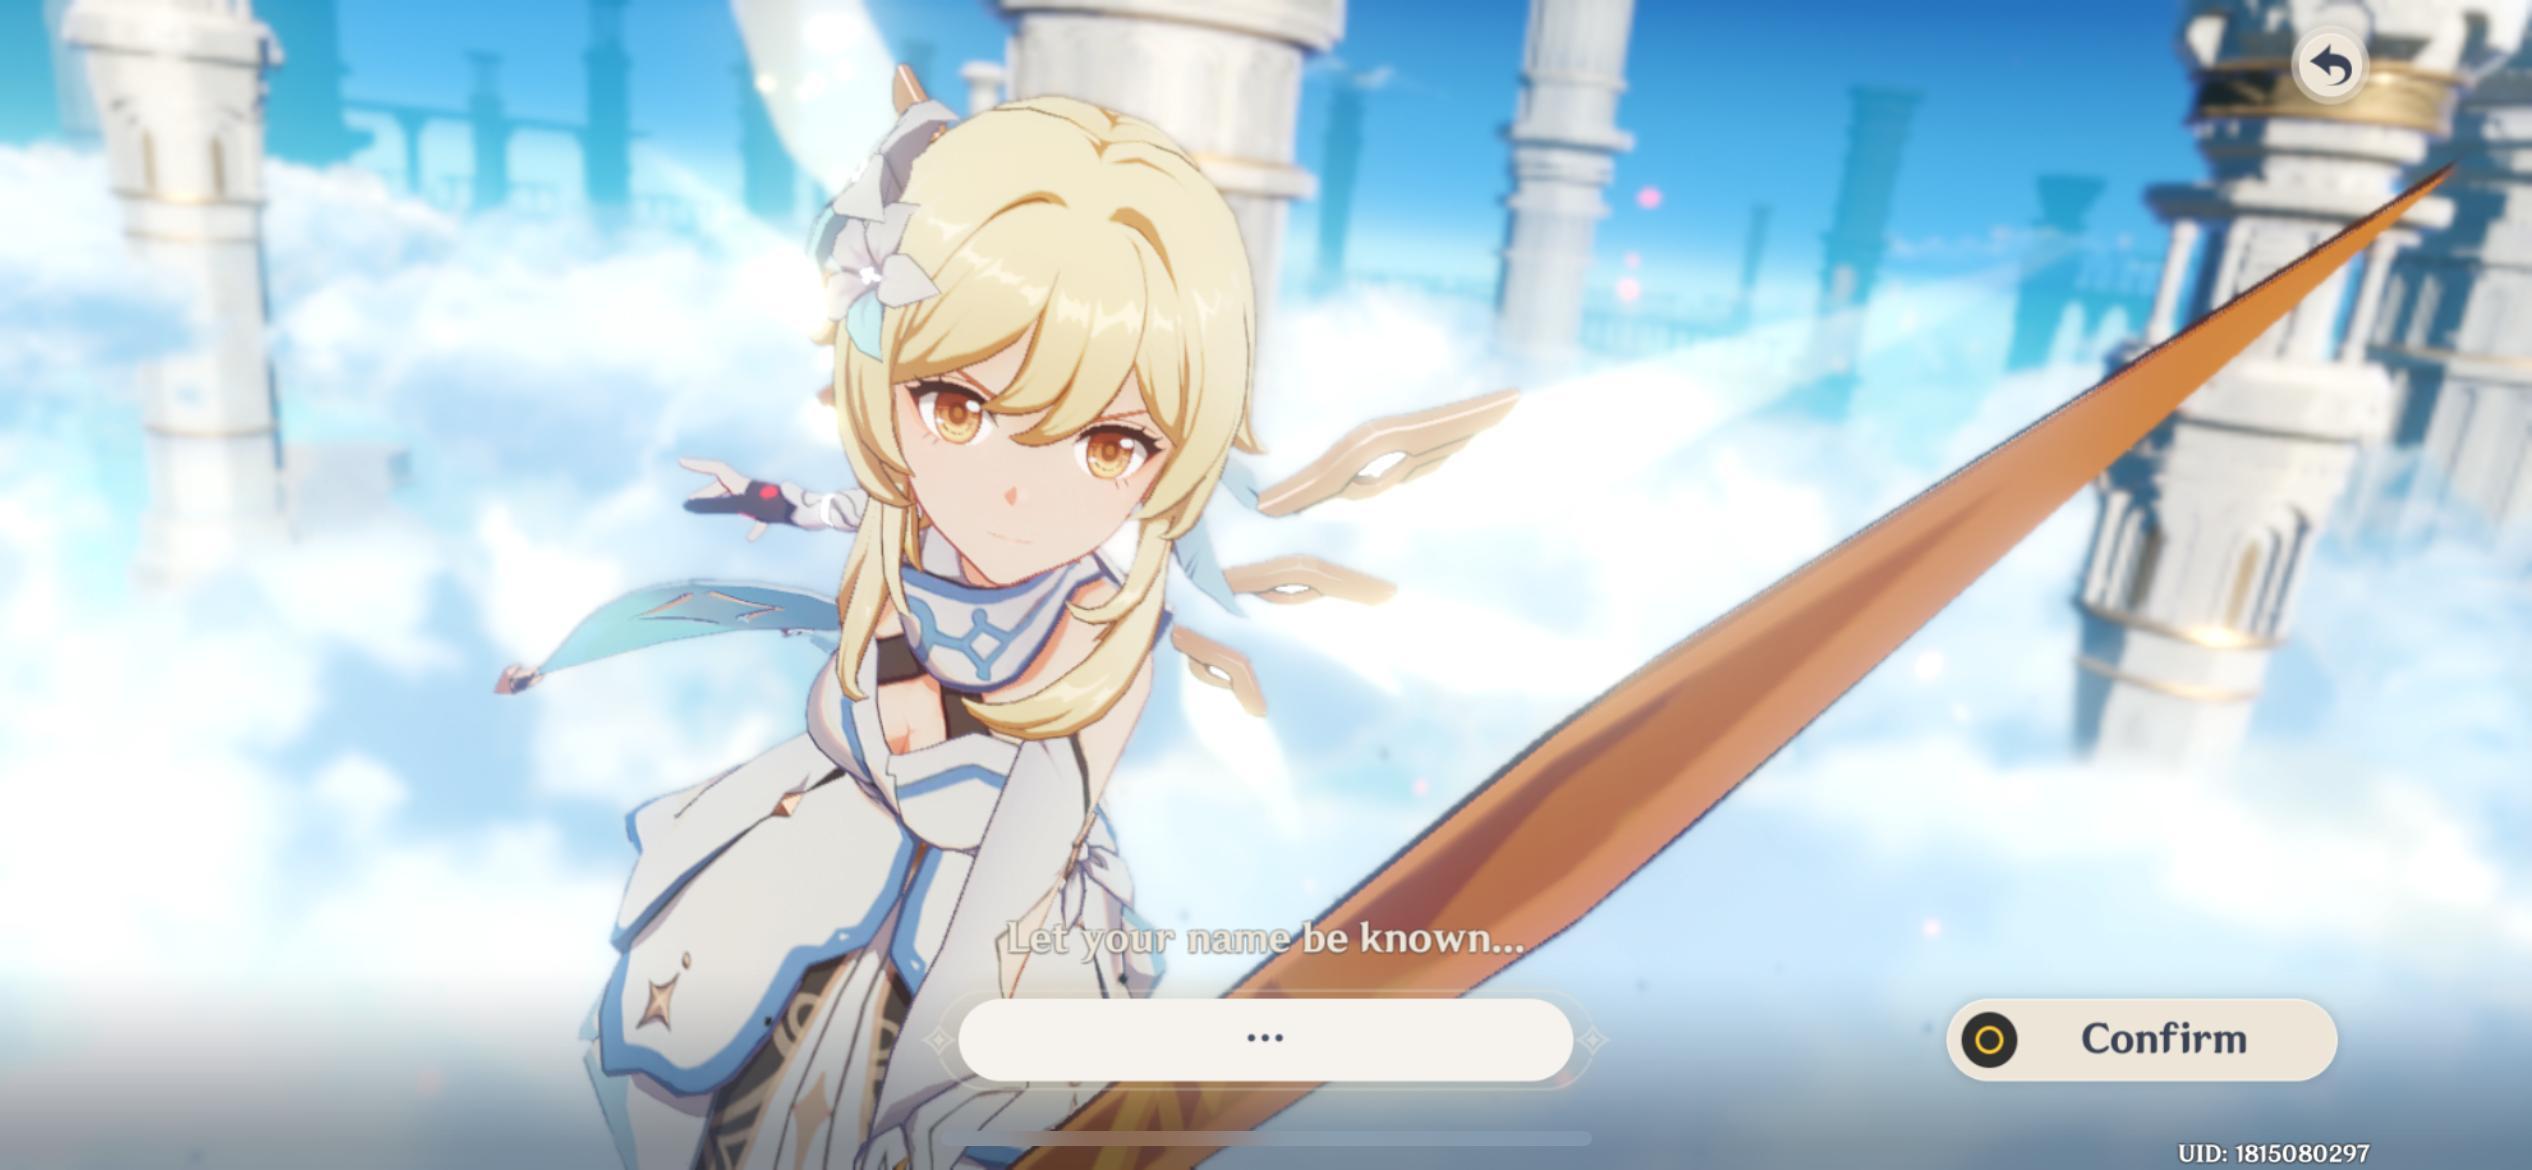
During the prologue, you spectate as two twin characters duel with a supposed God. As the twins get closer, you are prompted to choose one of the two characters: male or female. This will let you choose to play as either a male protagonist or a female one. Once you select the character of your liking, you can enter their name.
2) Setting Pin Icons on the Map
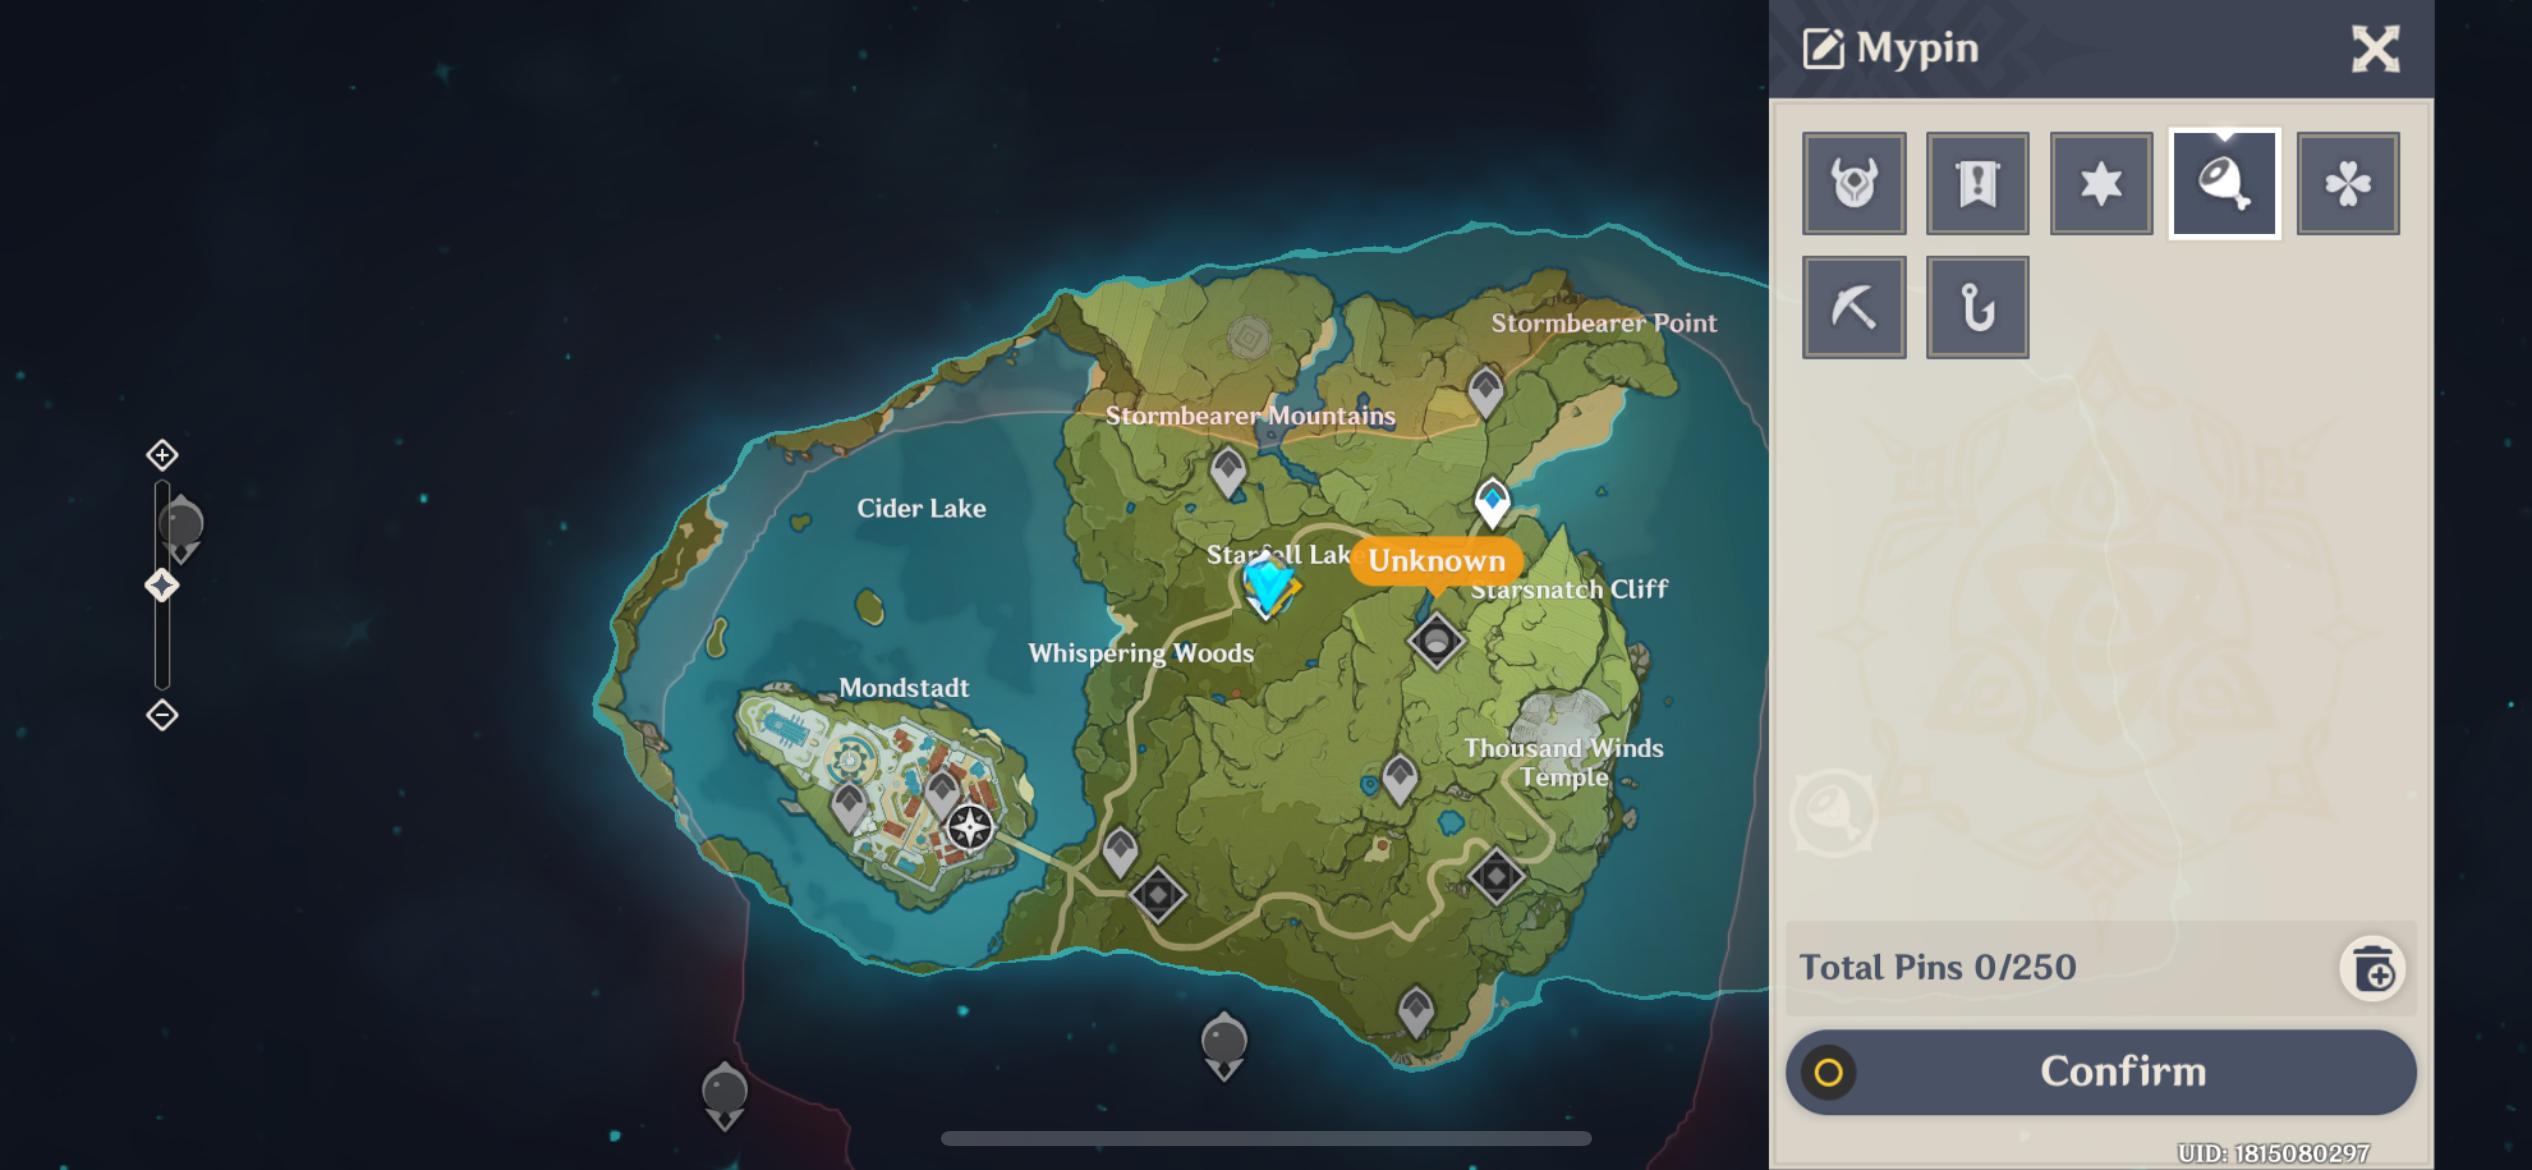
As soon as Paimon guides you to the ‘Statue of the Seven’ checkpoint, you will unlock a portion of the map and gain access to all the other editing options. First off, you can choose 250 of your own unique Pin Icons to use as navigation icons in the in-game map. This will help you remember a particular area on the map where you may have found good loot or resources.
3) Edit Profile

On the top left side of your screen, right above the mini-map, clicking on the icon will direct you to a pop-up menu. Over here, you will be able to customize your personal details for the character.
Upon selecting the tab of ‘Edit Profile’, you will be able to edit both the ‘Name Card’ and the ‘Character Showcase’. This determines how your profile appears to others. As you progress through the game, more options unlock to choose from.
4) Change Avatar
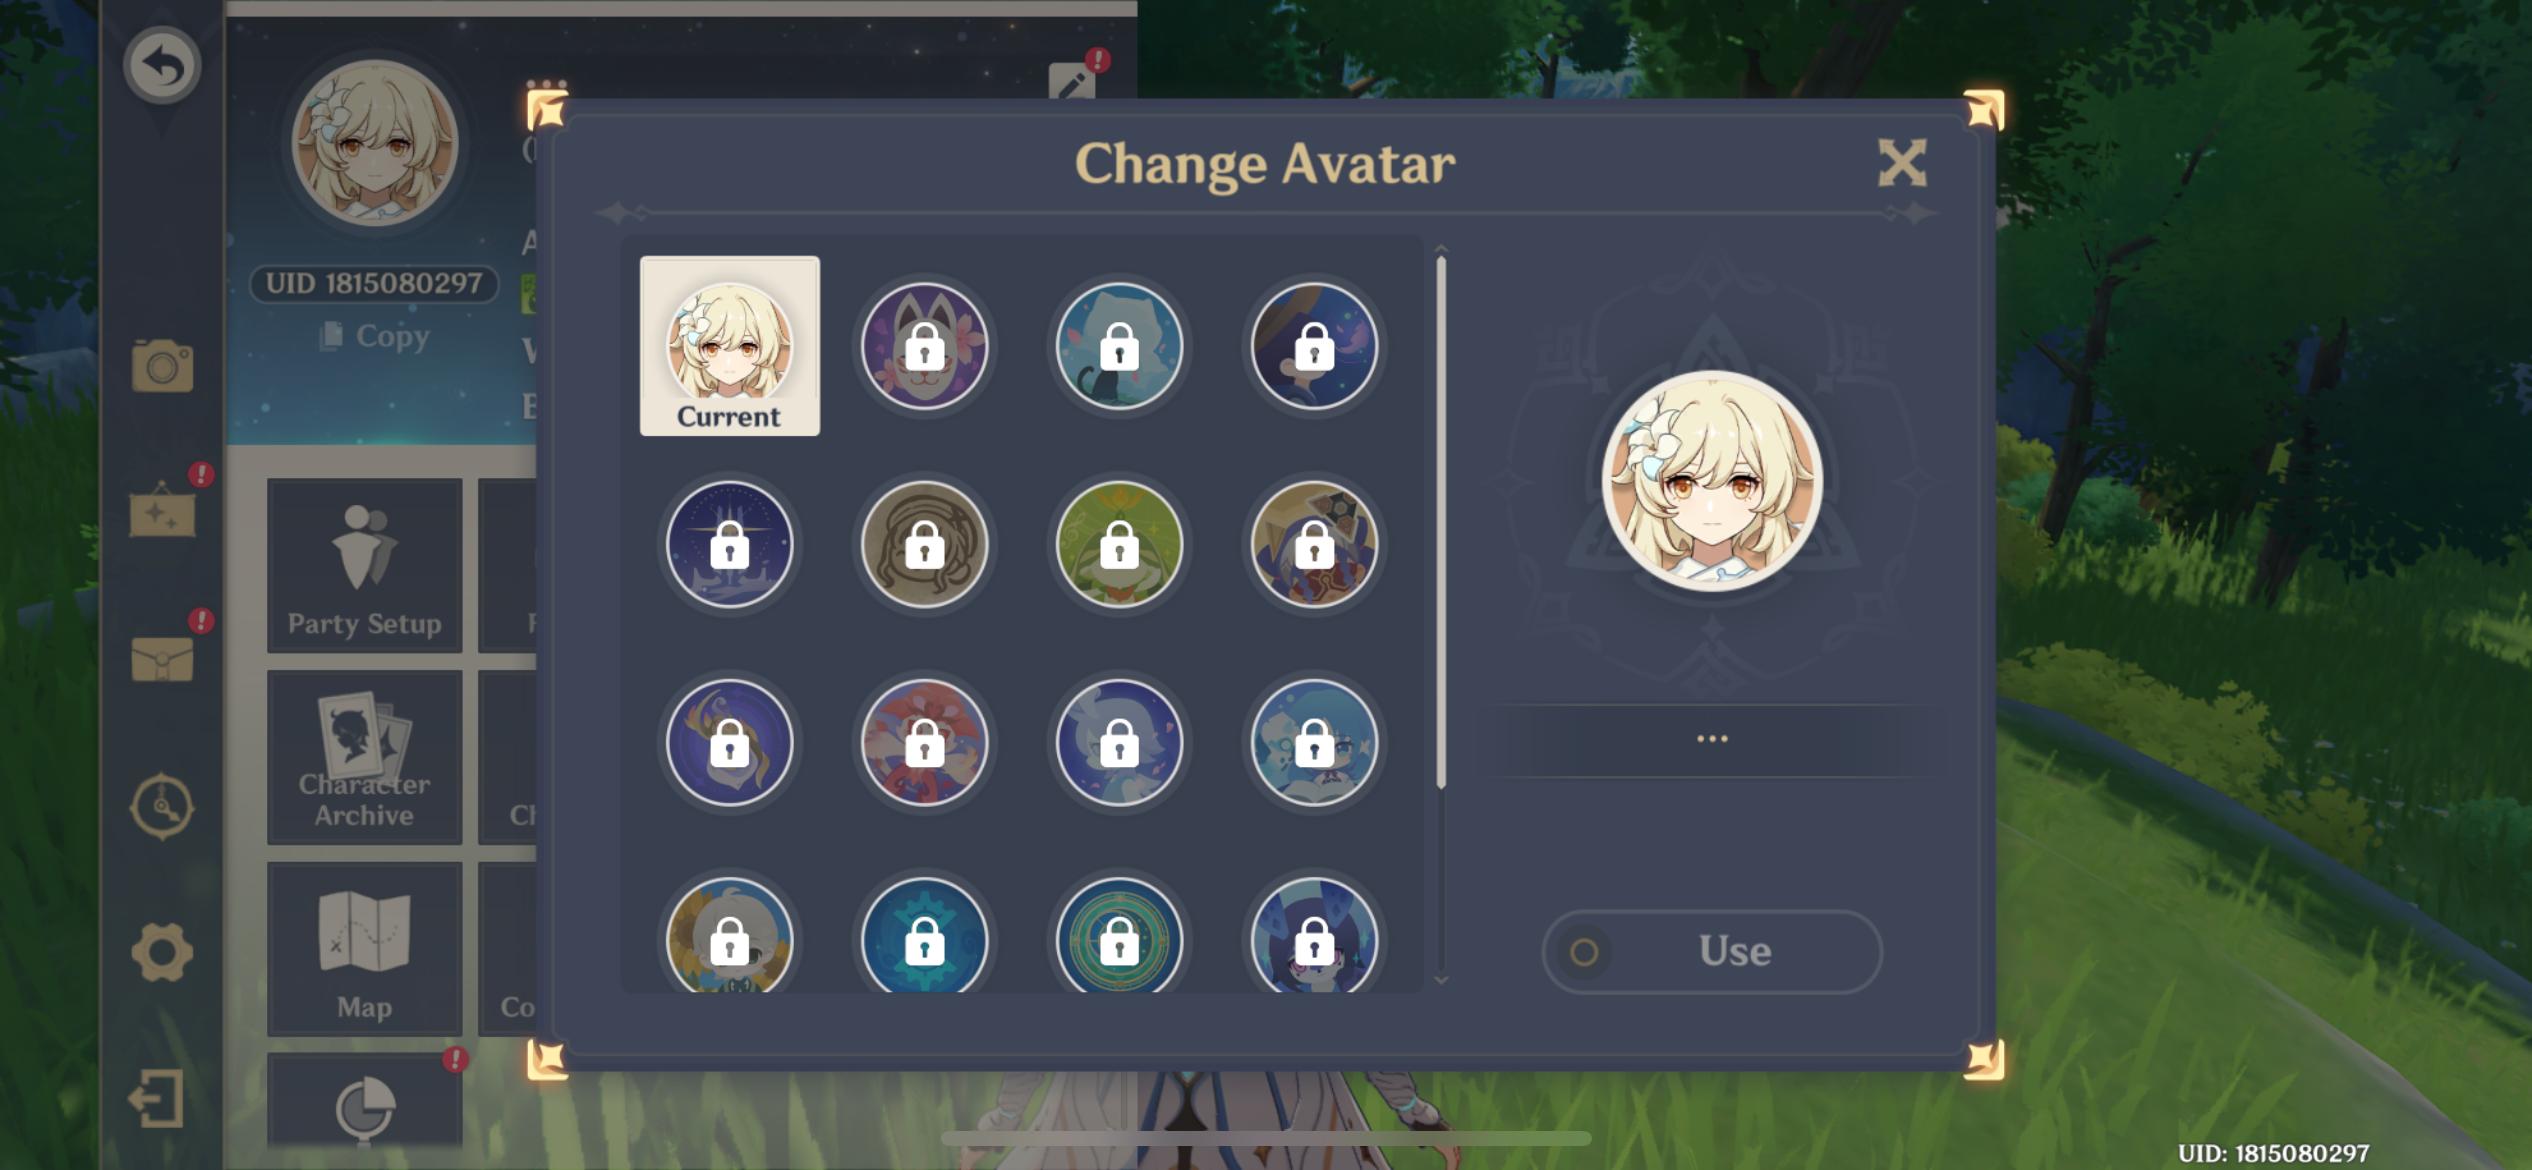
Selecting the Change Avatar tab helps you select a profile picture for your account. Once you unlock the multiplayer/co-op mode, other players would be able to see this pictorial representation of you.
5) Set Birthday
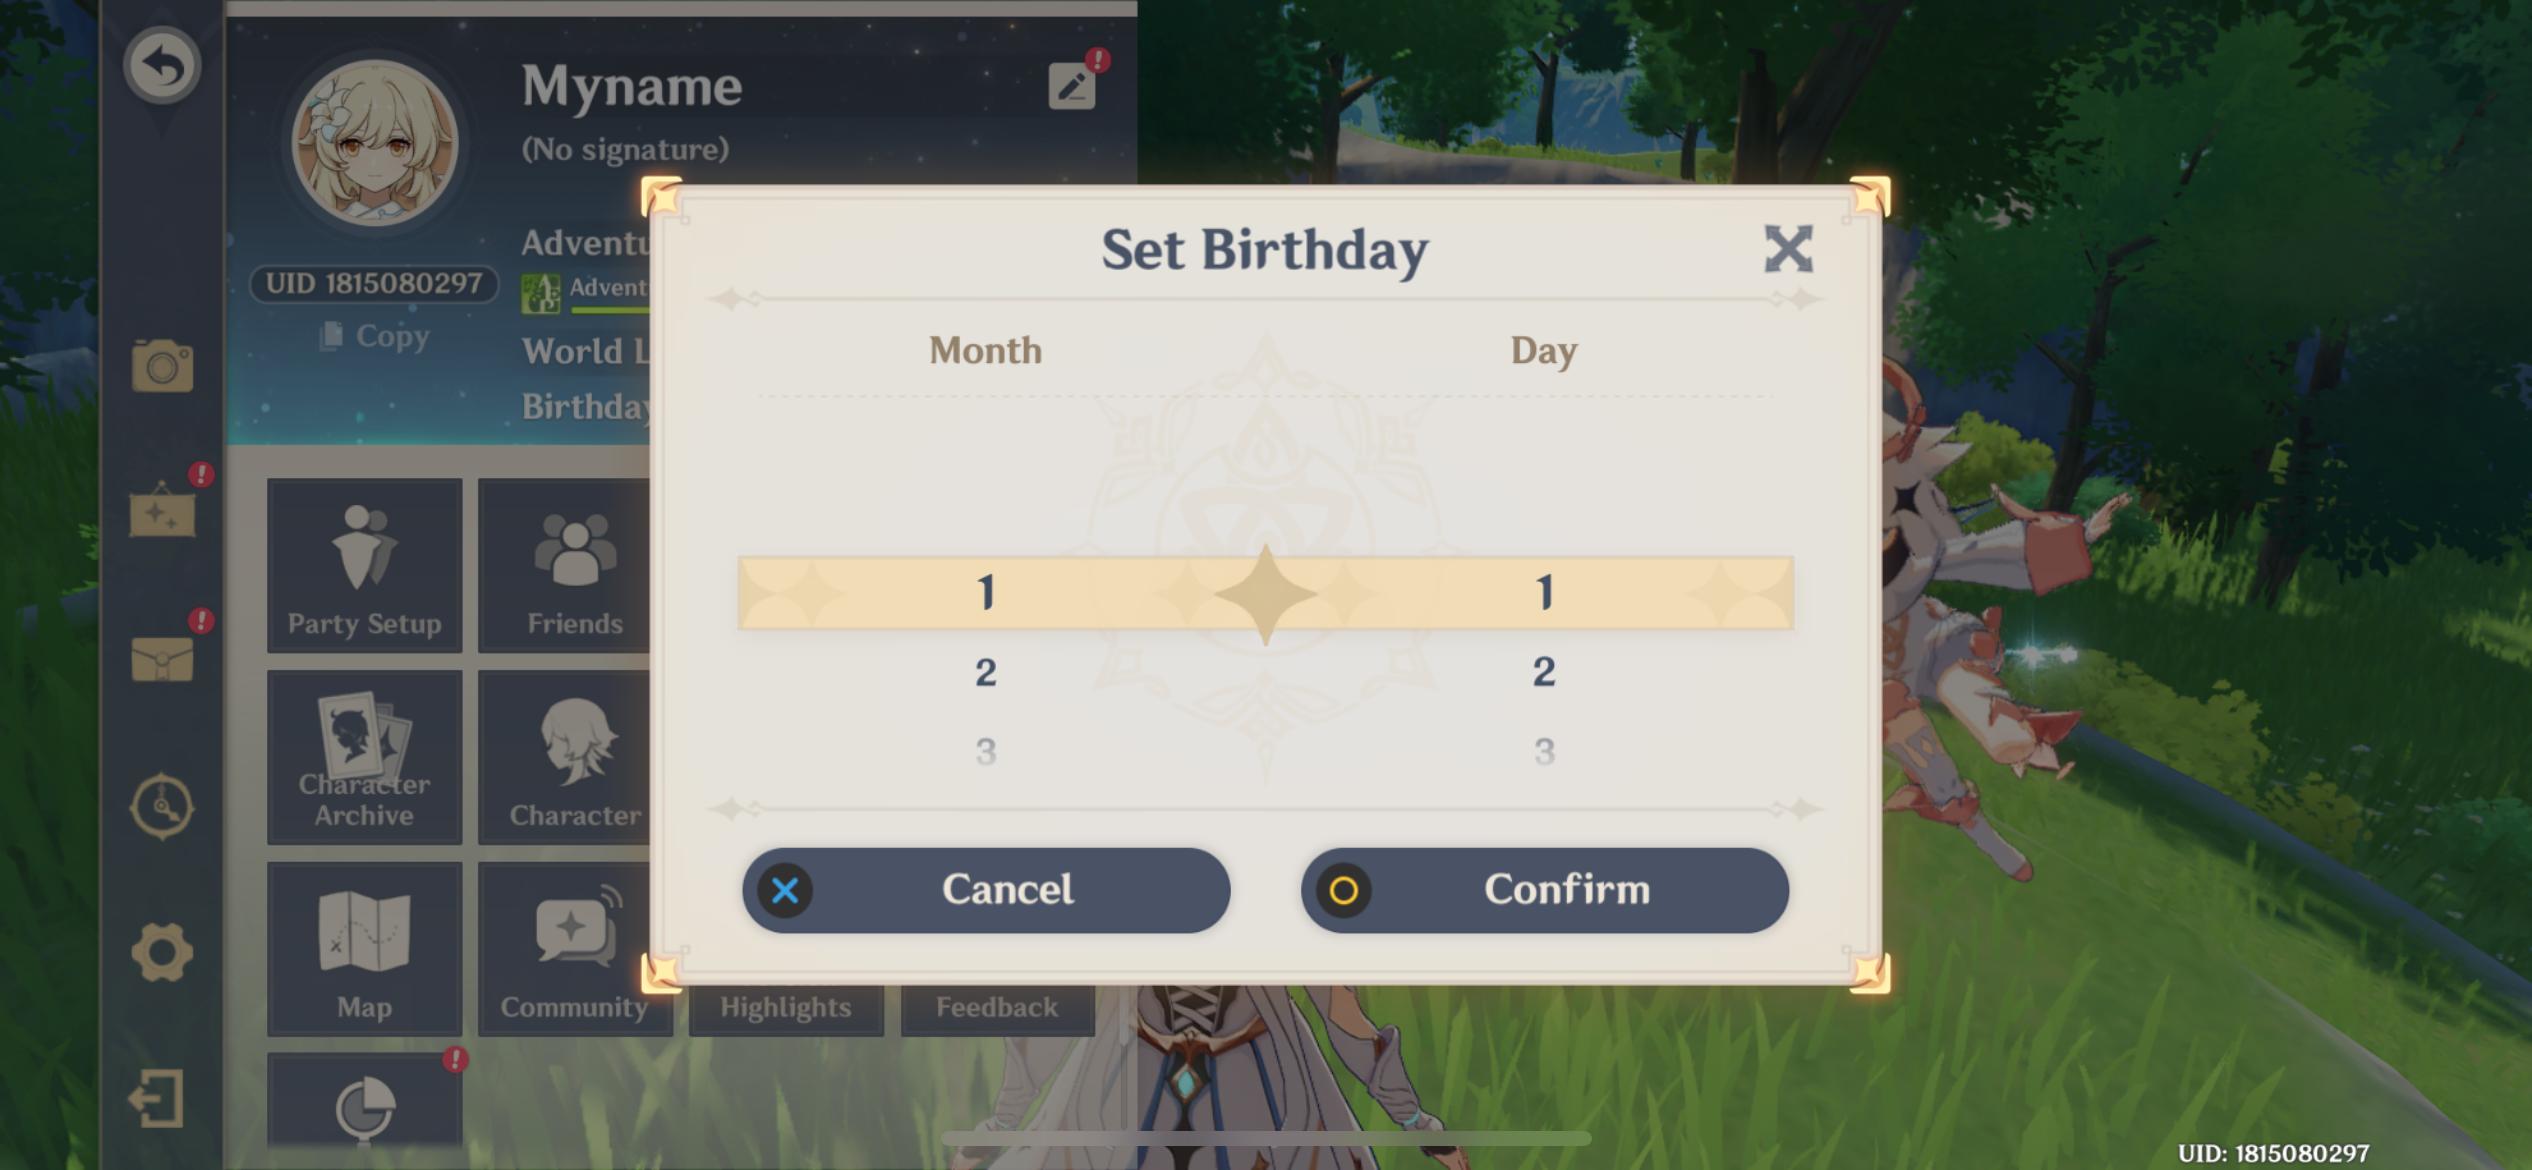
You can also set your birth date within this tab. Setting up your birth date will reward you with a special bonus on that day. This action can be performed only once through a single game. The option is thereafter removed once the date is set.
6) Set Nickname
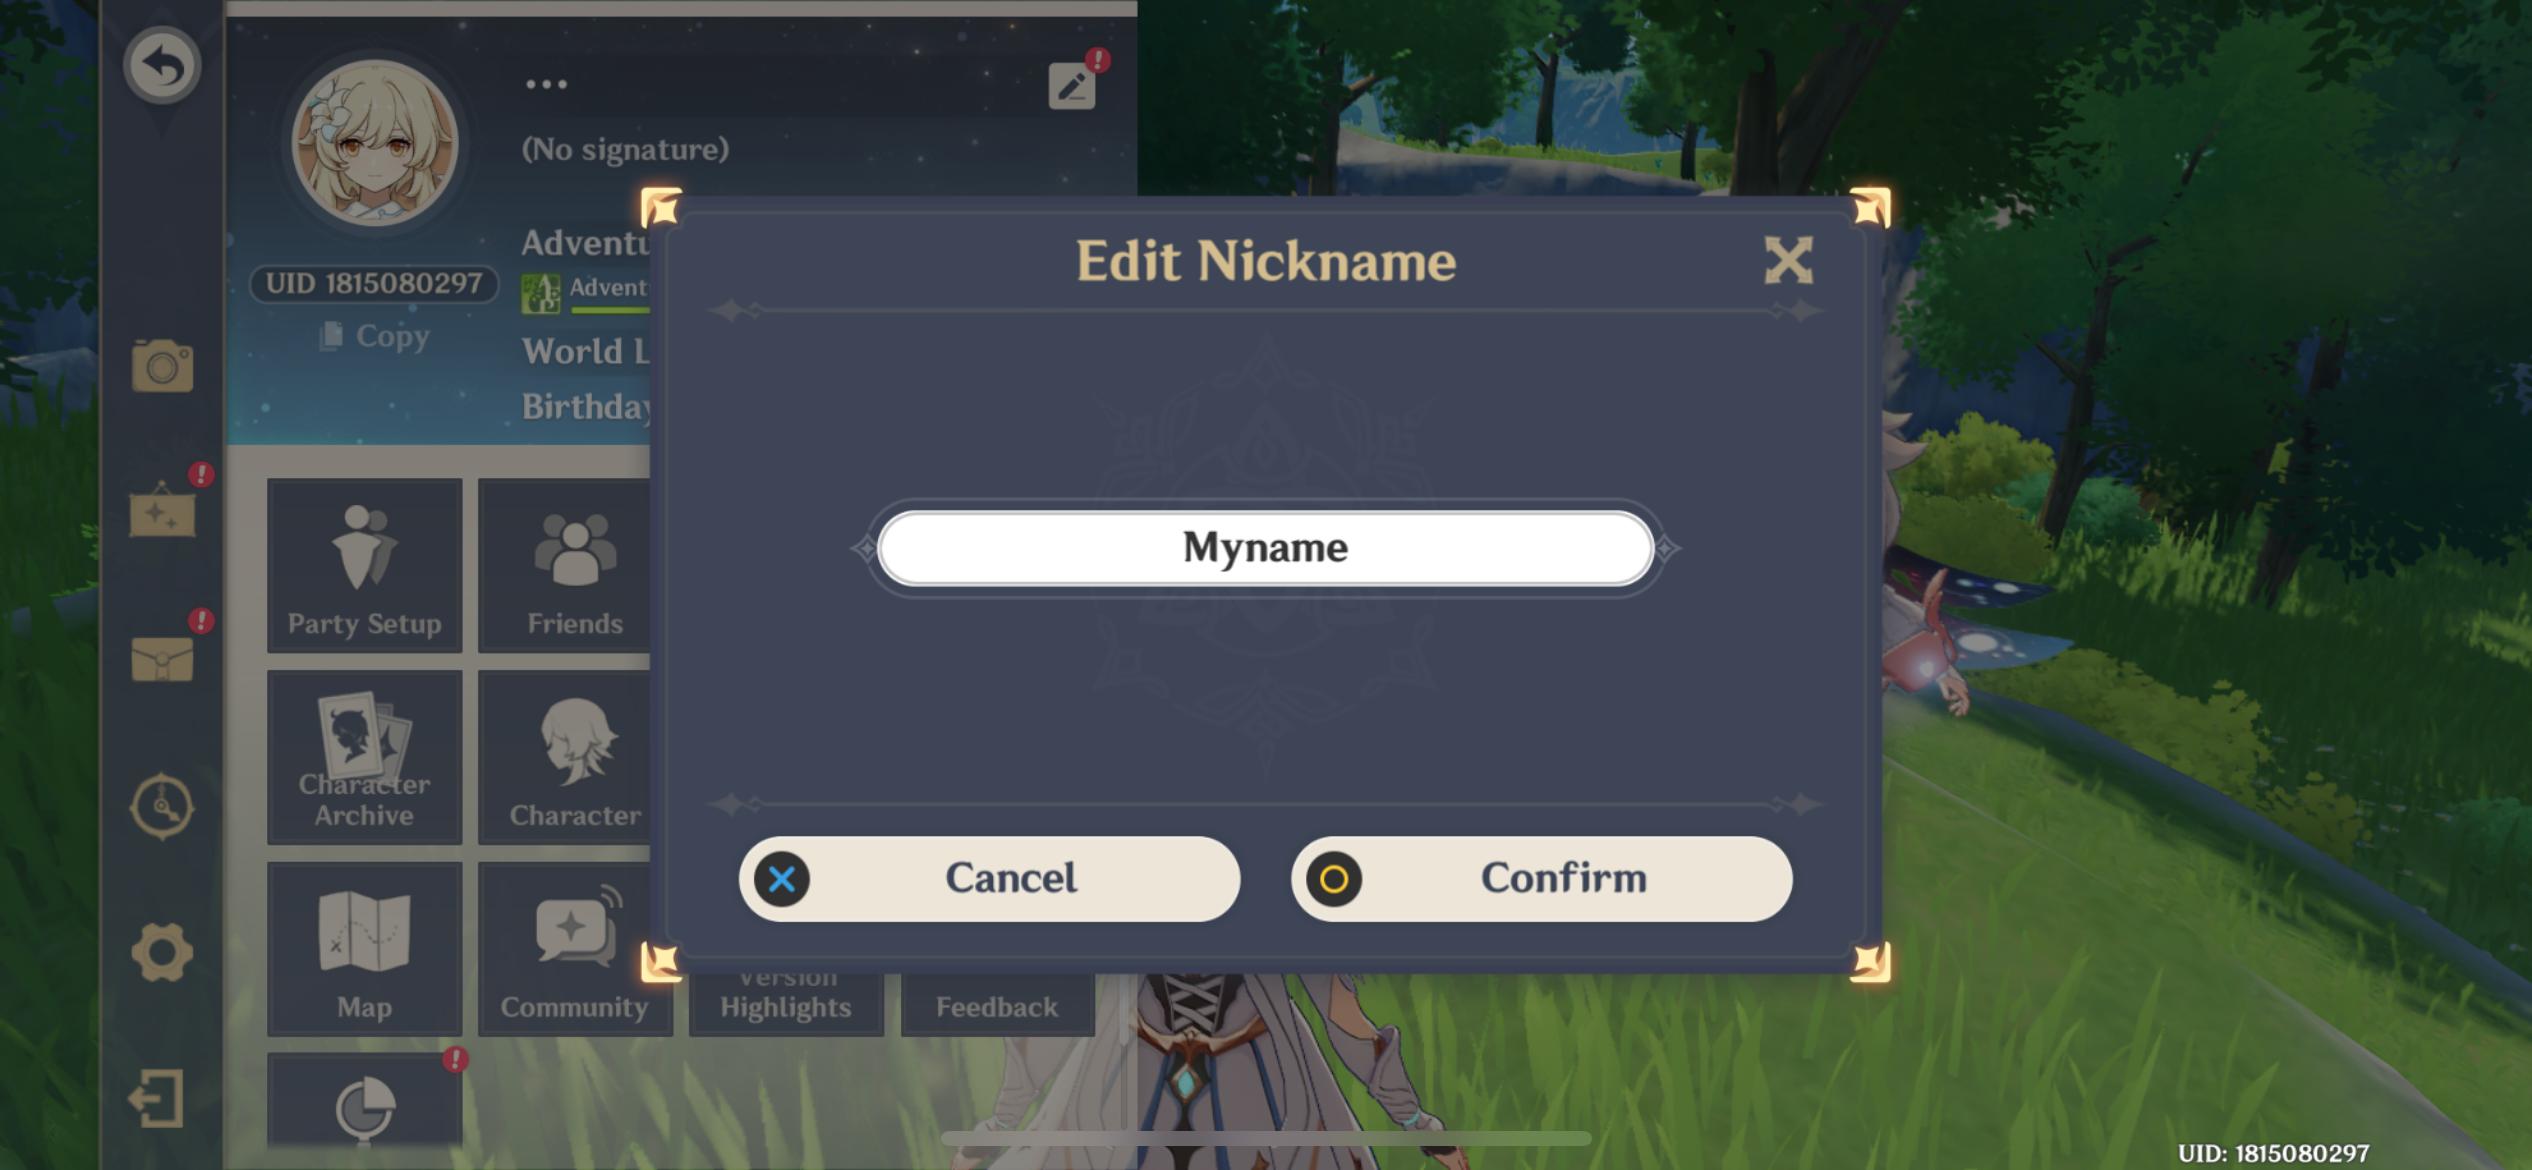
The nickname is how other online players will address you. Unlike the Set Birthday section, you can edit as many times as you want here. The nickname will only be used by NPCs during particular dialogues, specifically in the subtitles. Otherwise, all NPCs will address you as the Traveler.
7) Set Signature
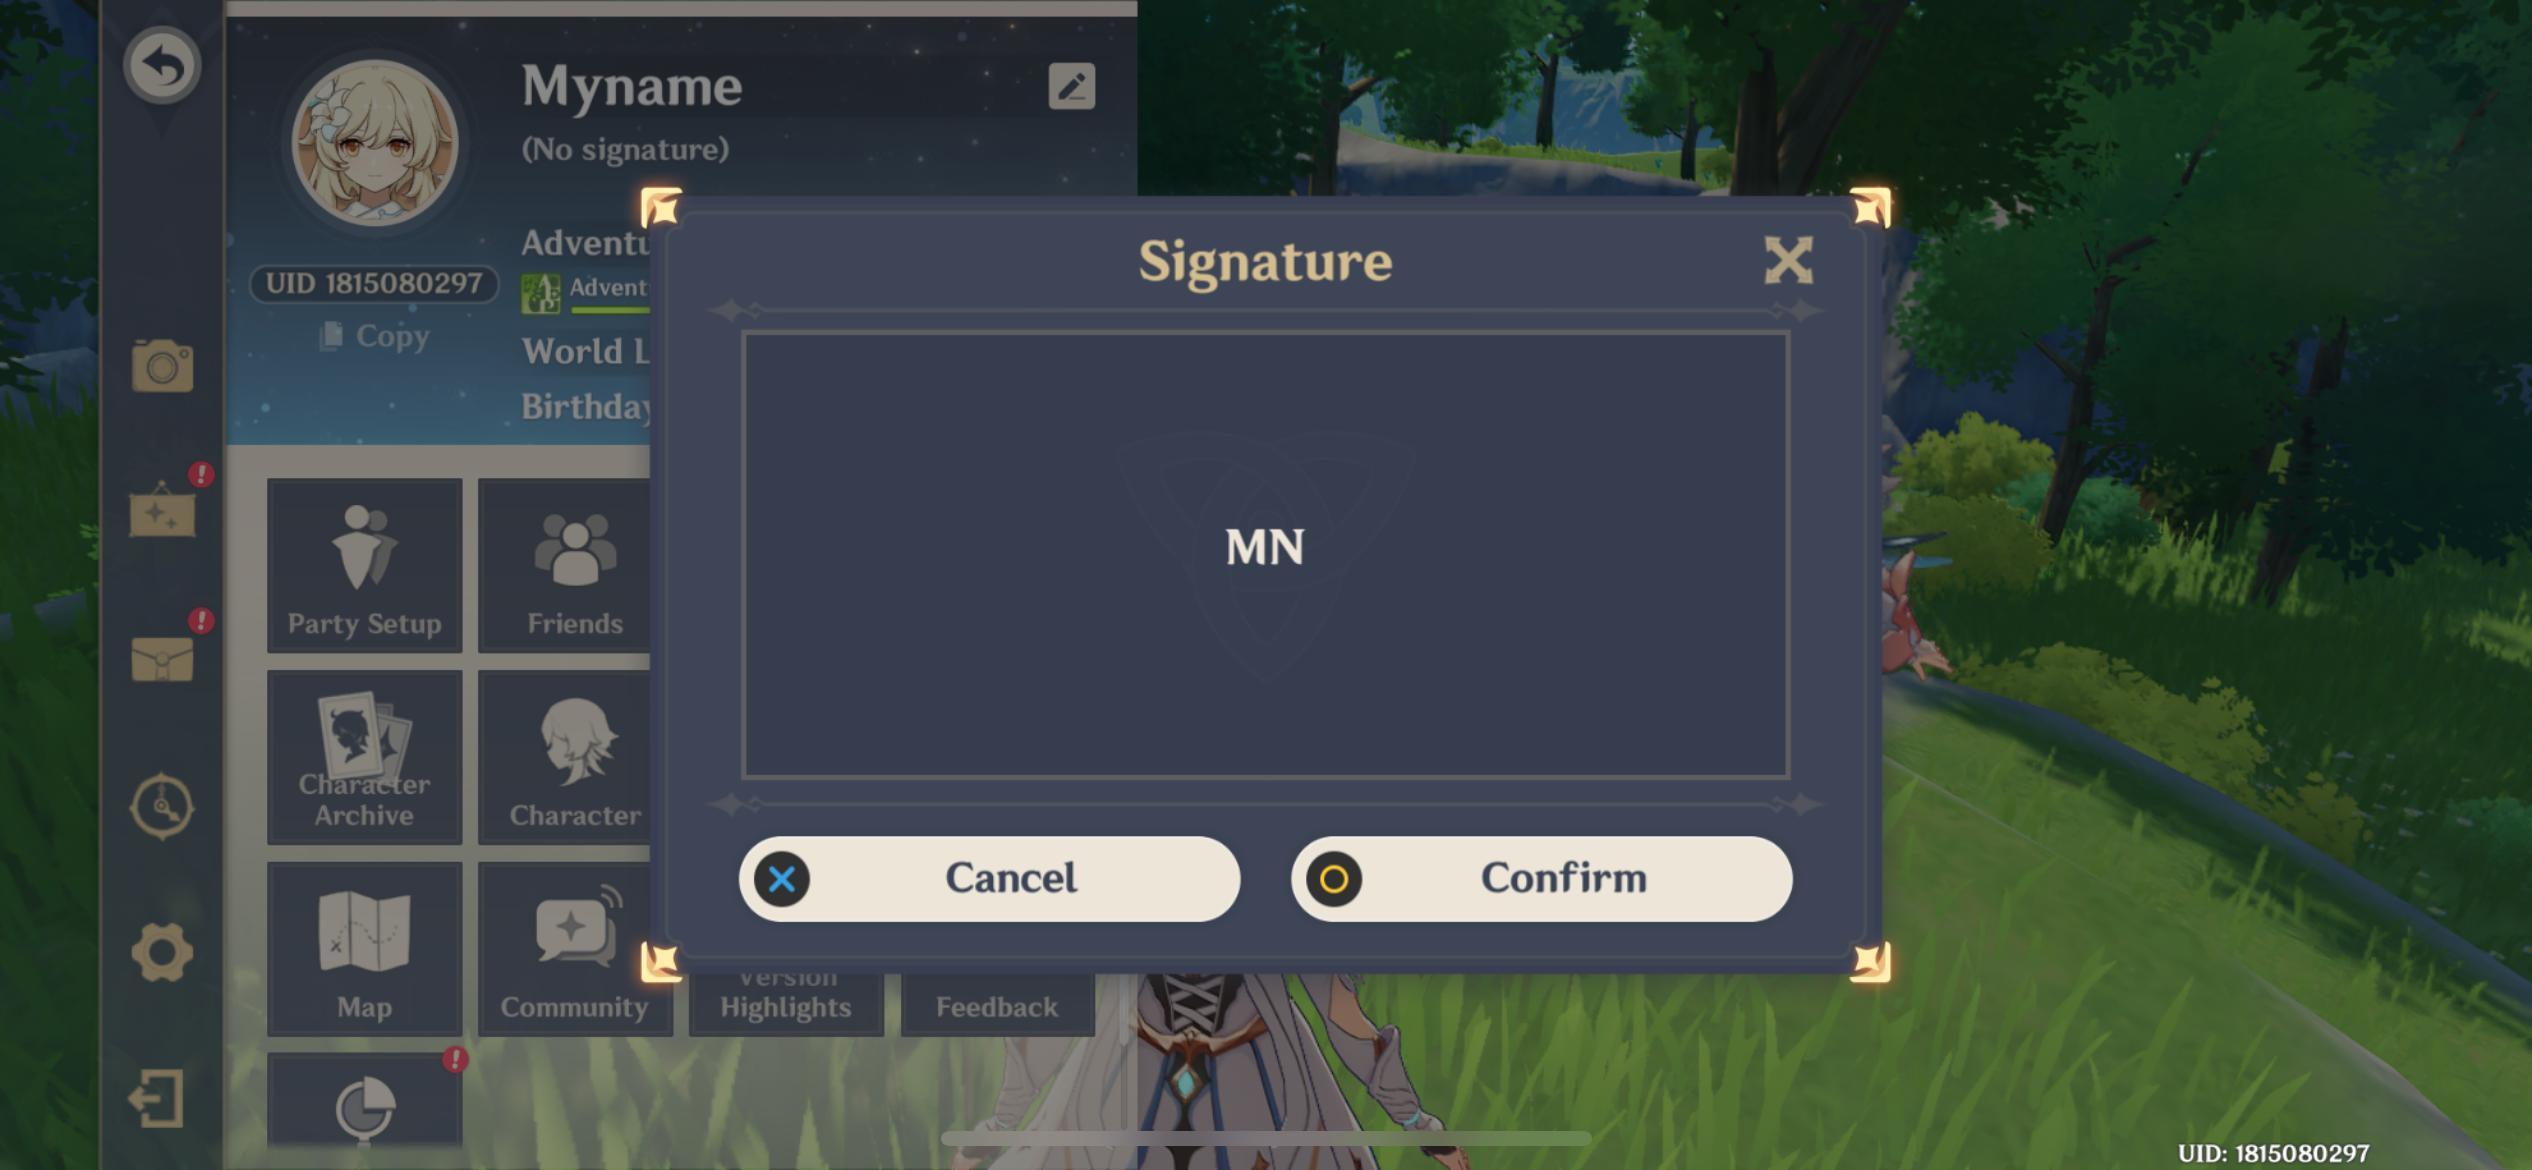
The signature is located right below the nickname. It acts as an abbreviation or a shorter form of your nickname, seen in your profile.
8) Select Weapon
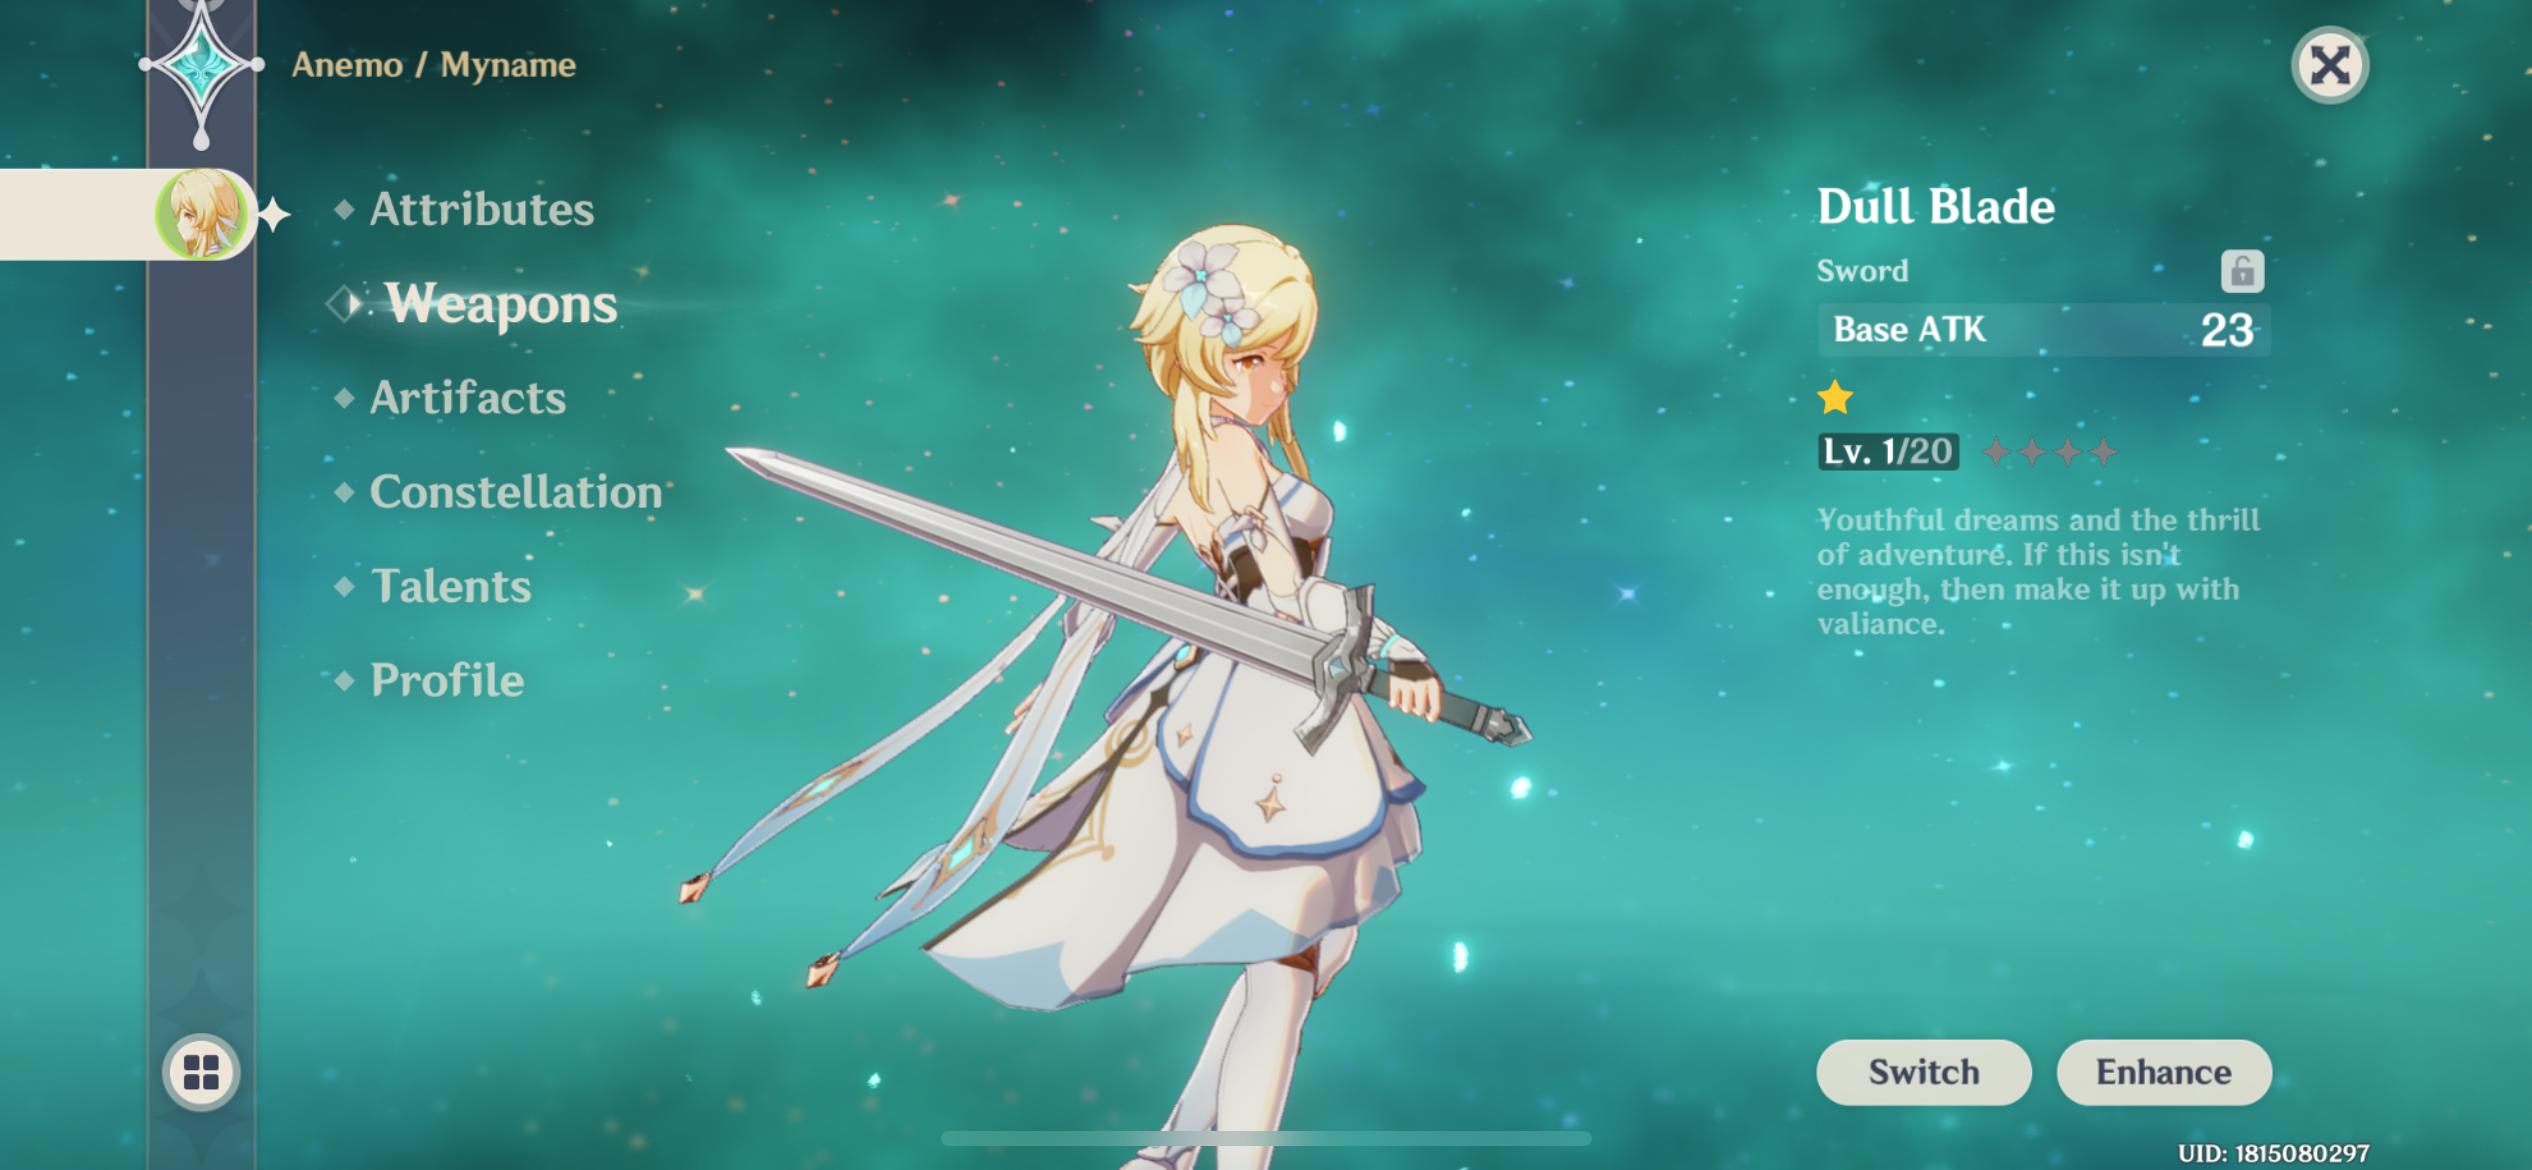
As you progress through the game, more weapons will unlock. These can either be swapped with or enhanced with further refinements and ascensions, increasing the damage induced and effectiveness against certain enemies.
9) Equip Gliders
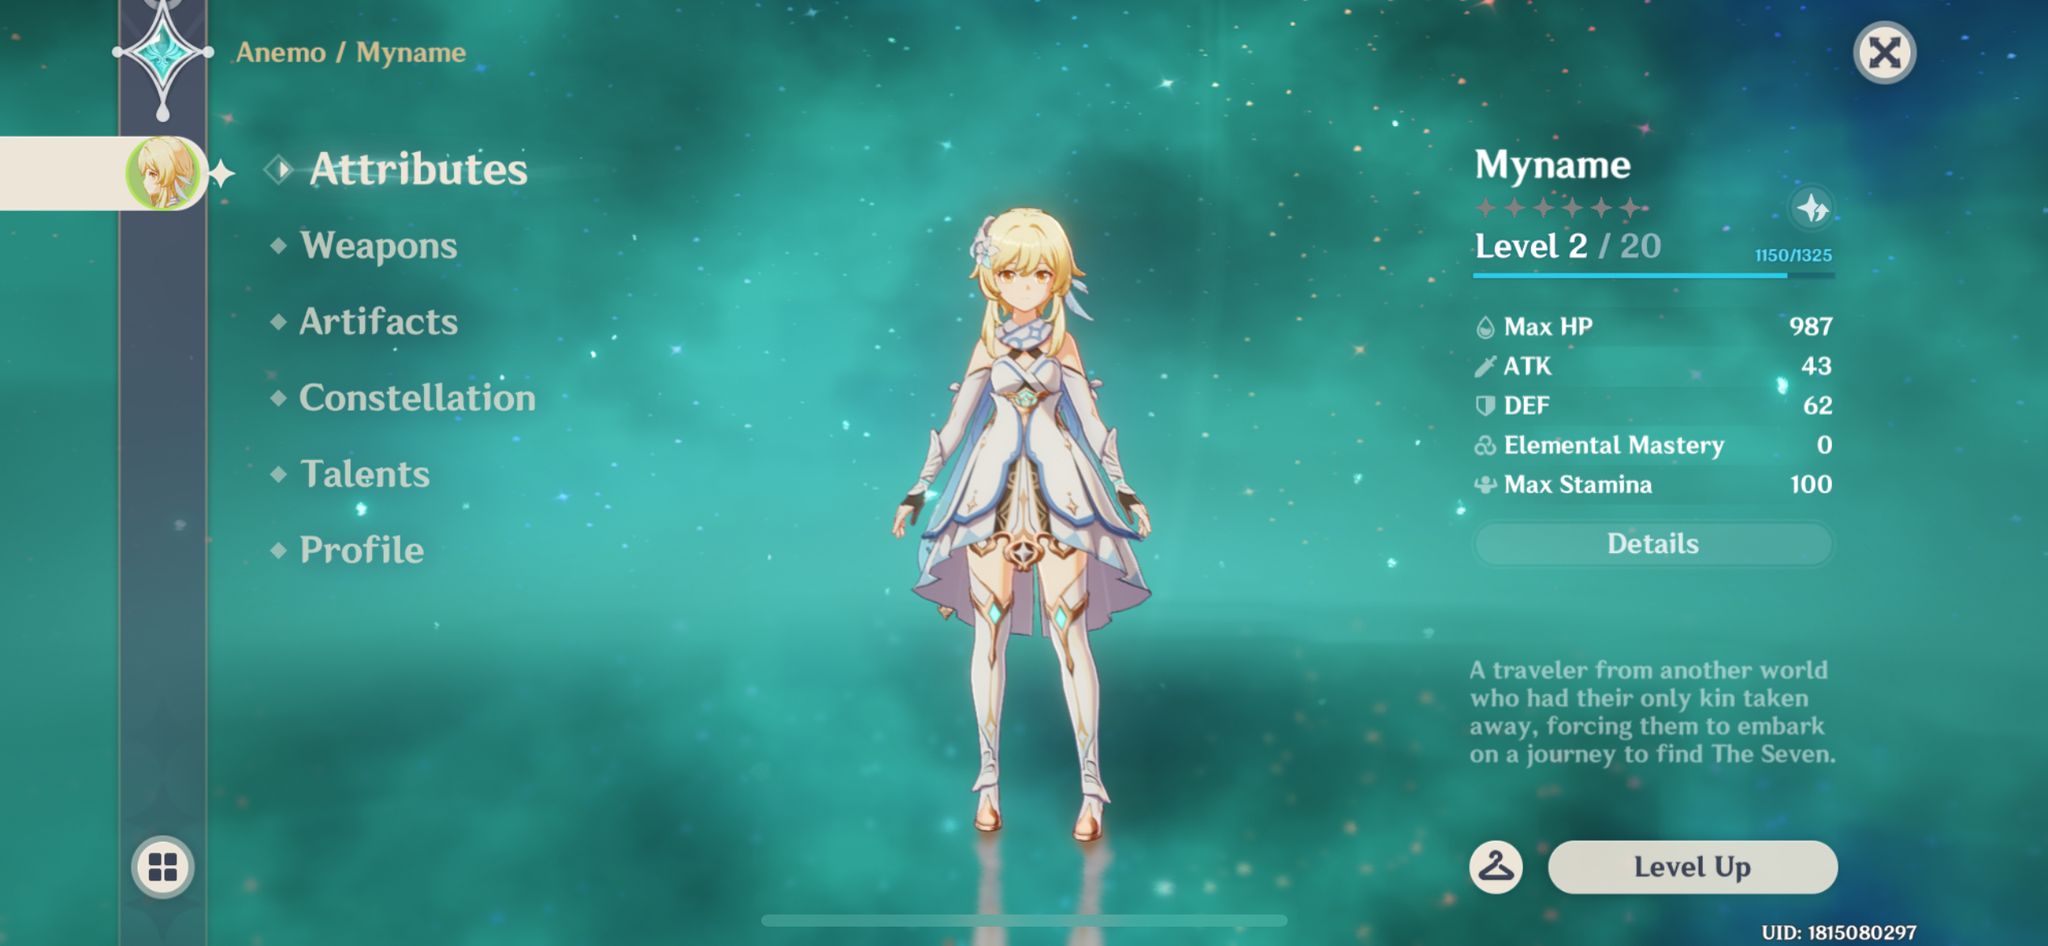
You have the option to choose different gliders within the game, which can be equipped from the Attributes tab. Clicking on the hanger icon on the bottom-right side of the screen will direct you to the set of changeable gliders. This feature unlocks once you complete the ‘Dragon Storm’ quest.
All these options are applicable to each character you unlock through the length of the game. A few characters have the option to change outfits as well. These outfits can be purchased from the in-game store.
Looking For More?
Thank you for reading the article. We provide the latest news and create guides for Baldur’s Gate 3, Starfield, ARK Survival Ascended, and more. Also, watch Deltia play games on Twitch or visit his YouTube channel!