Facebook
 Reddit
 Email
Email
In this guide, we will provide players with a walkthrough of the Kitsune quest in Ghost of Yotei, the sequel to Ghost of Tsushima.
In Ghost of Yotei, after you complete the fourth main tale Saito, you get the chance to take on the Kitsune quest. After interrogating enemies in the fifth main tale, The Yotei Six, you get the option to take on this quest. So, in this guide we will walk your through the Kitsune quest.
The Kitsune Quest in Ghost of Yotei
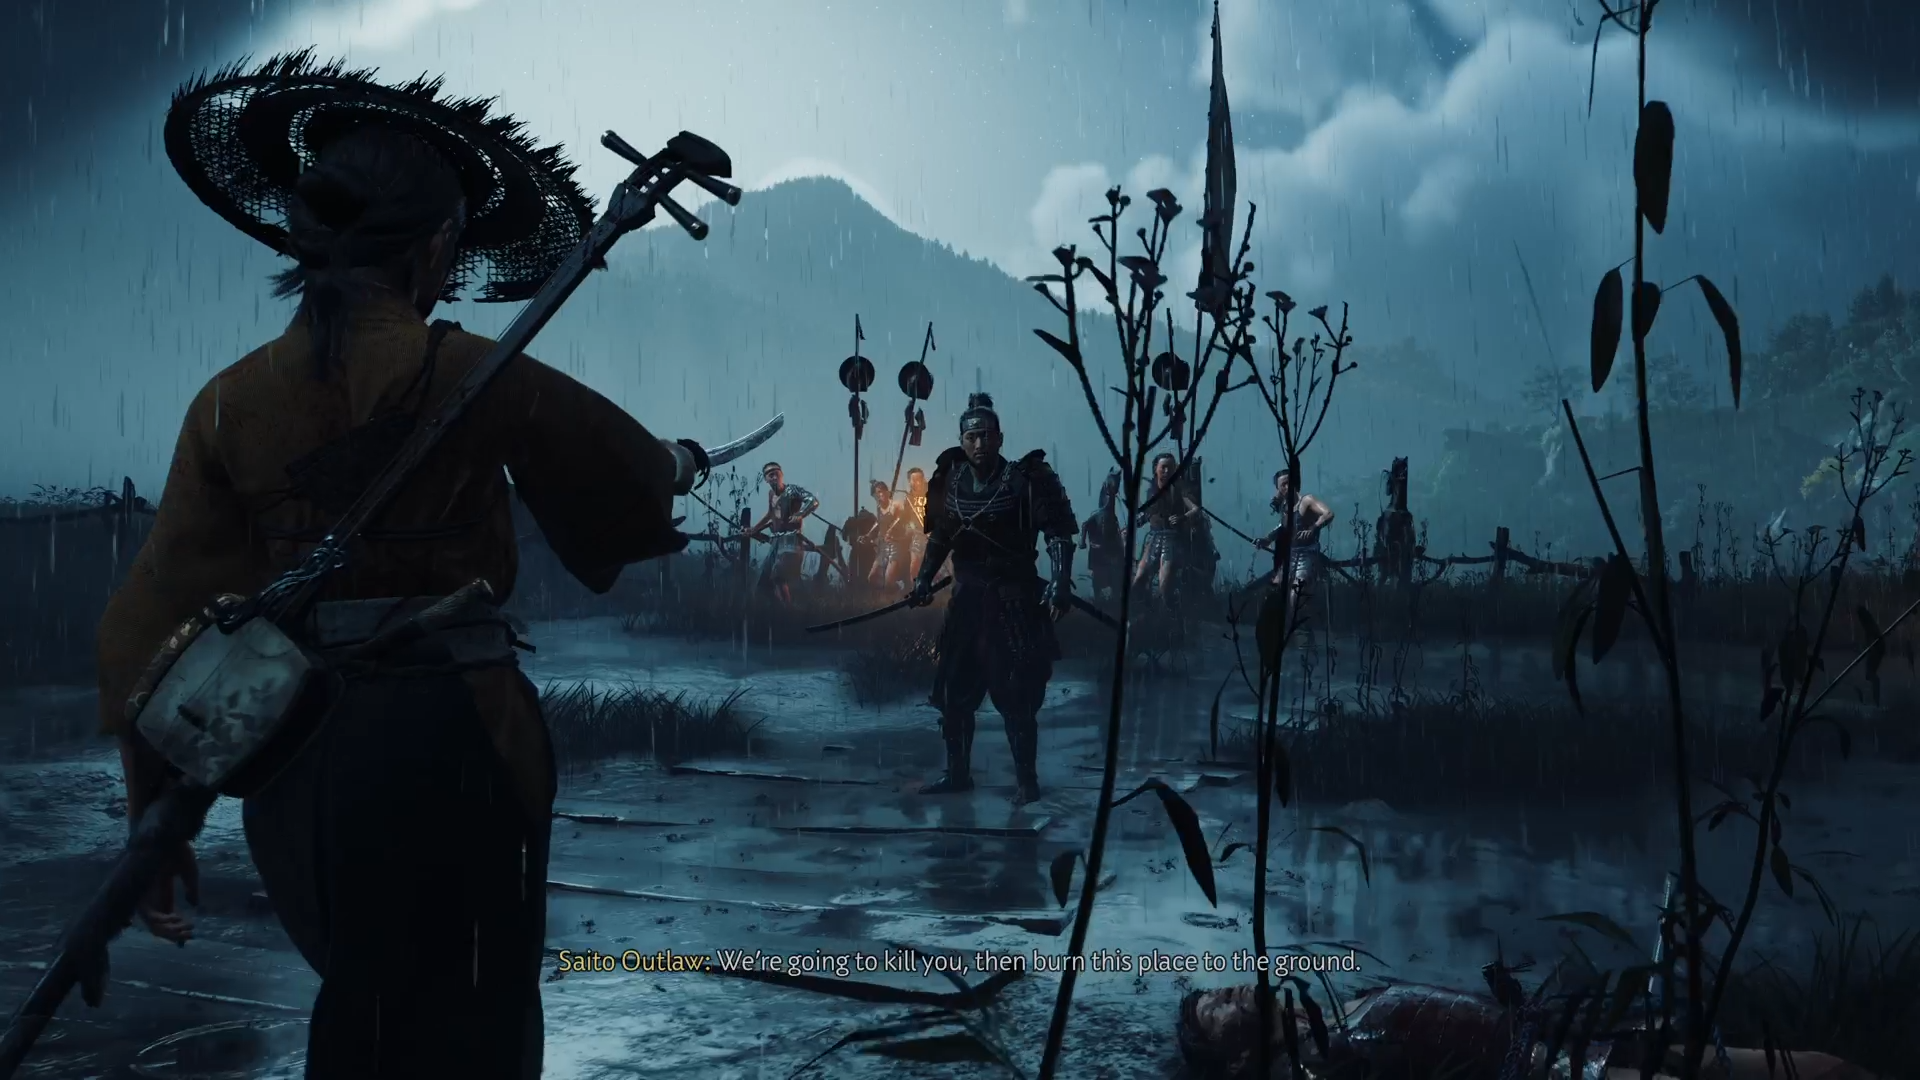
To get the Kitsune quest, ride around the Yotei Grasslands until you deal with a group of enemies that provide you one of three branching paths. Select the Kitsune. If you can want you can attempt this later and select one of the other paths, but for this guide we are sticking to the Kitsune.
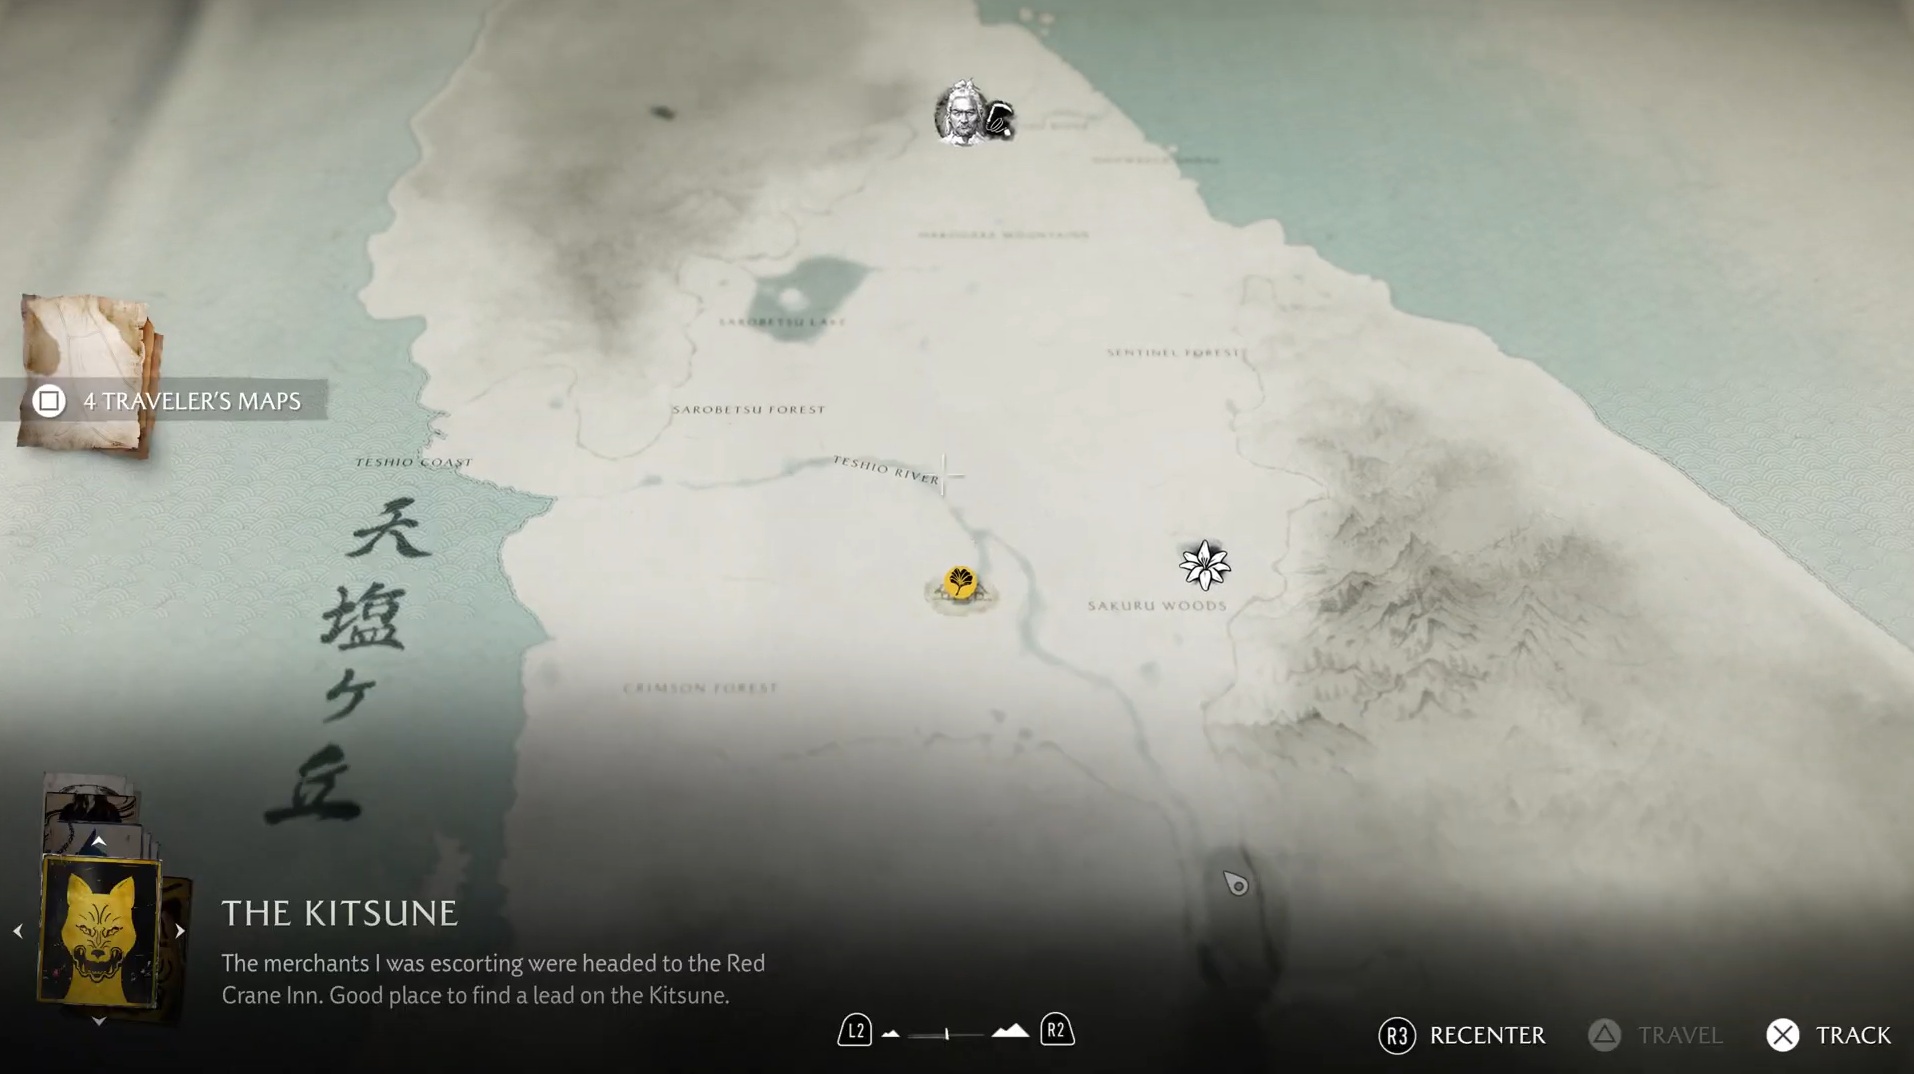
The map will then display a yellow objective marker in the north of the Tokachi region. Follow the river and head north-east to that location.
Teshio Ridge
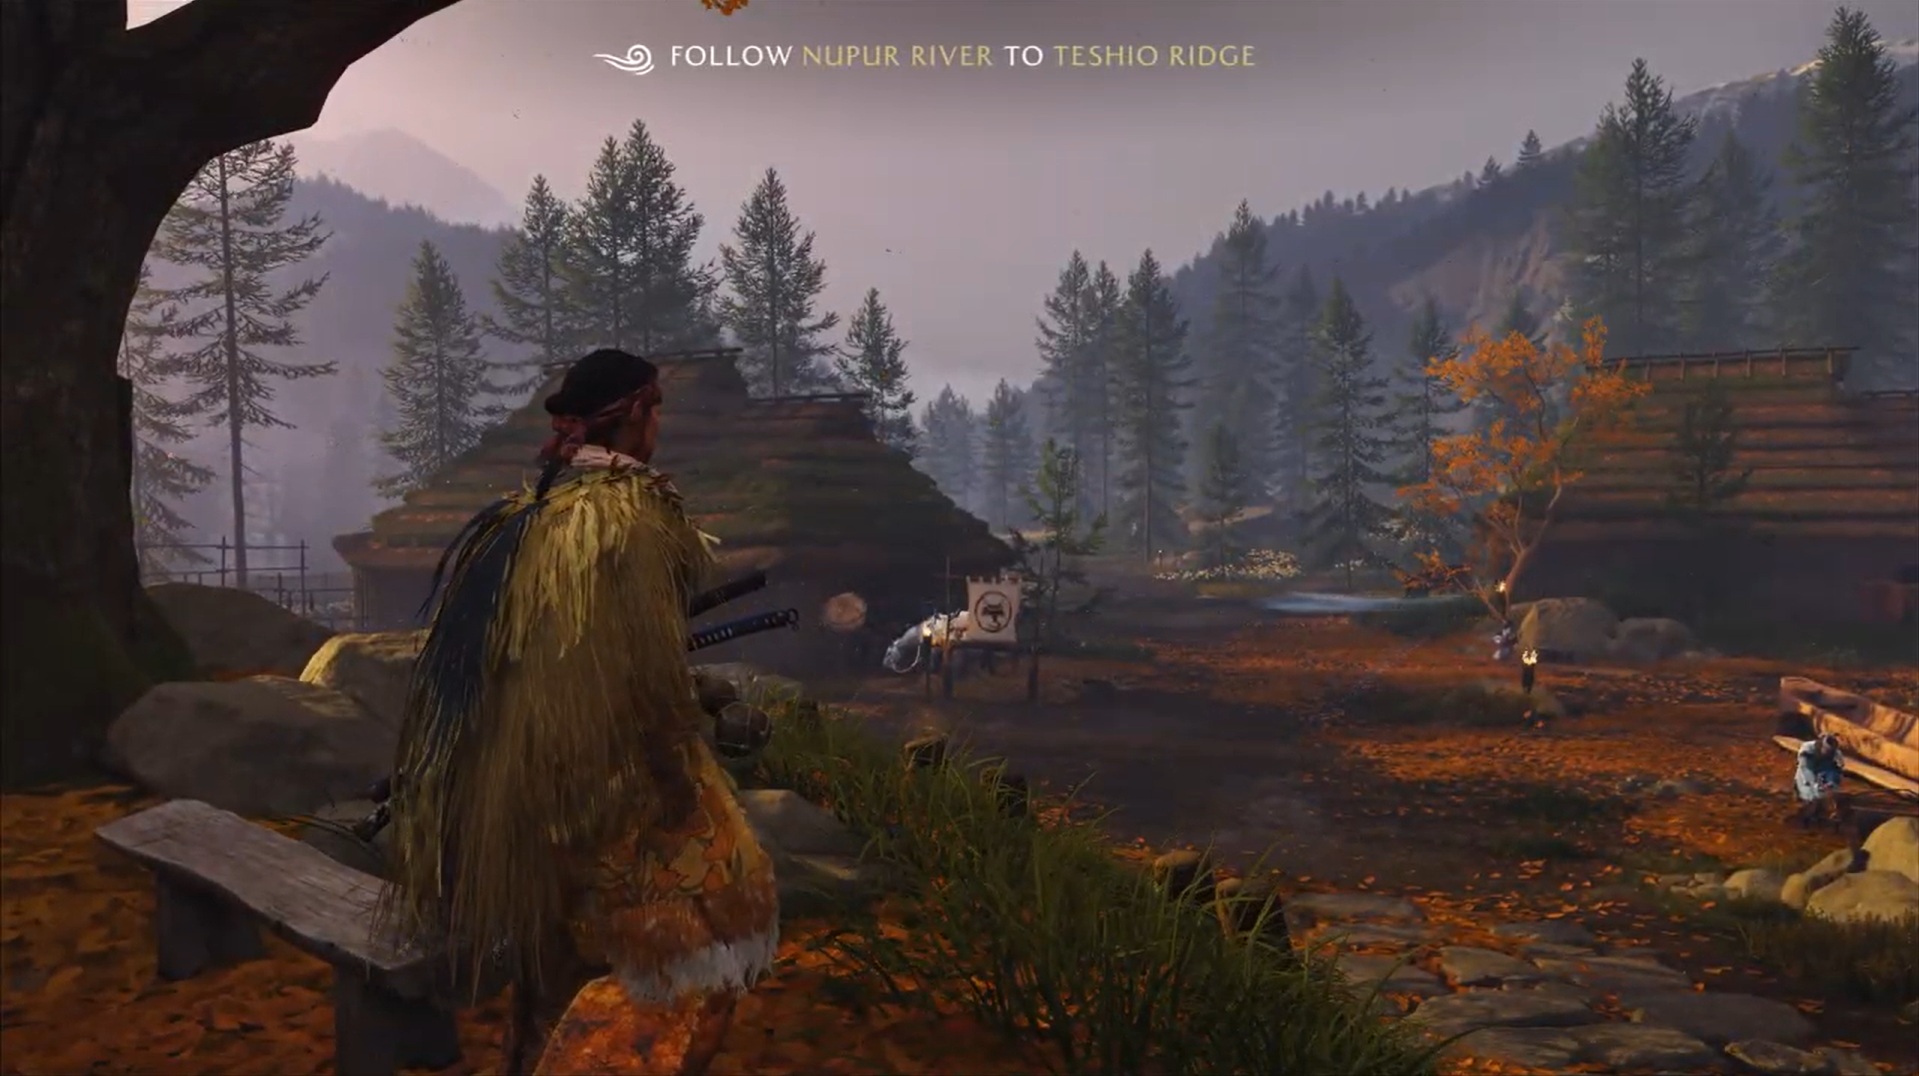
Keep going until you see some merchants having trouble with their horses. Help them out by escorting them through the snowstorm and killing any enemies attempting to ambush you. Unfortunately, one cutscene later, they are all dead. Follow your horse to a cave and seek shelter there. Start a fire to stay warm (Left Stick + Swipe up on Touchpad + R2).
Red Crane Inn
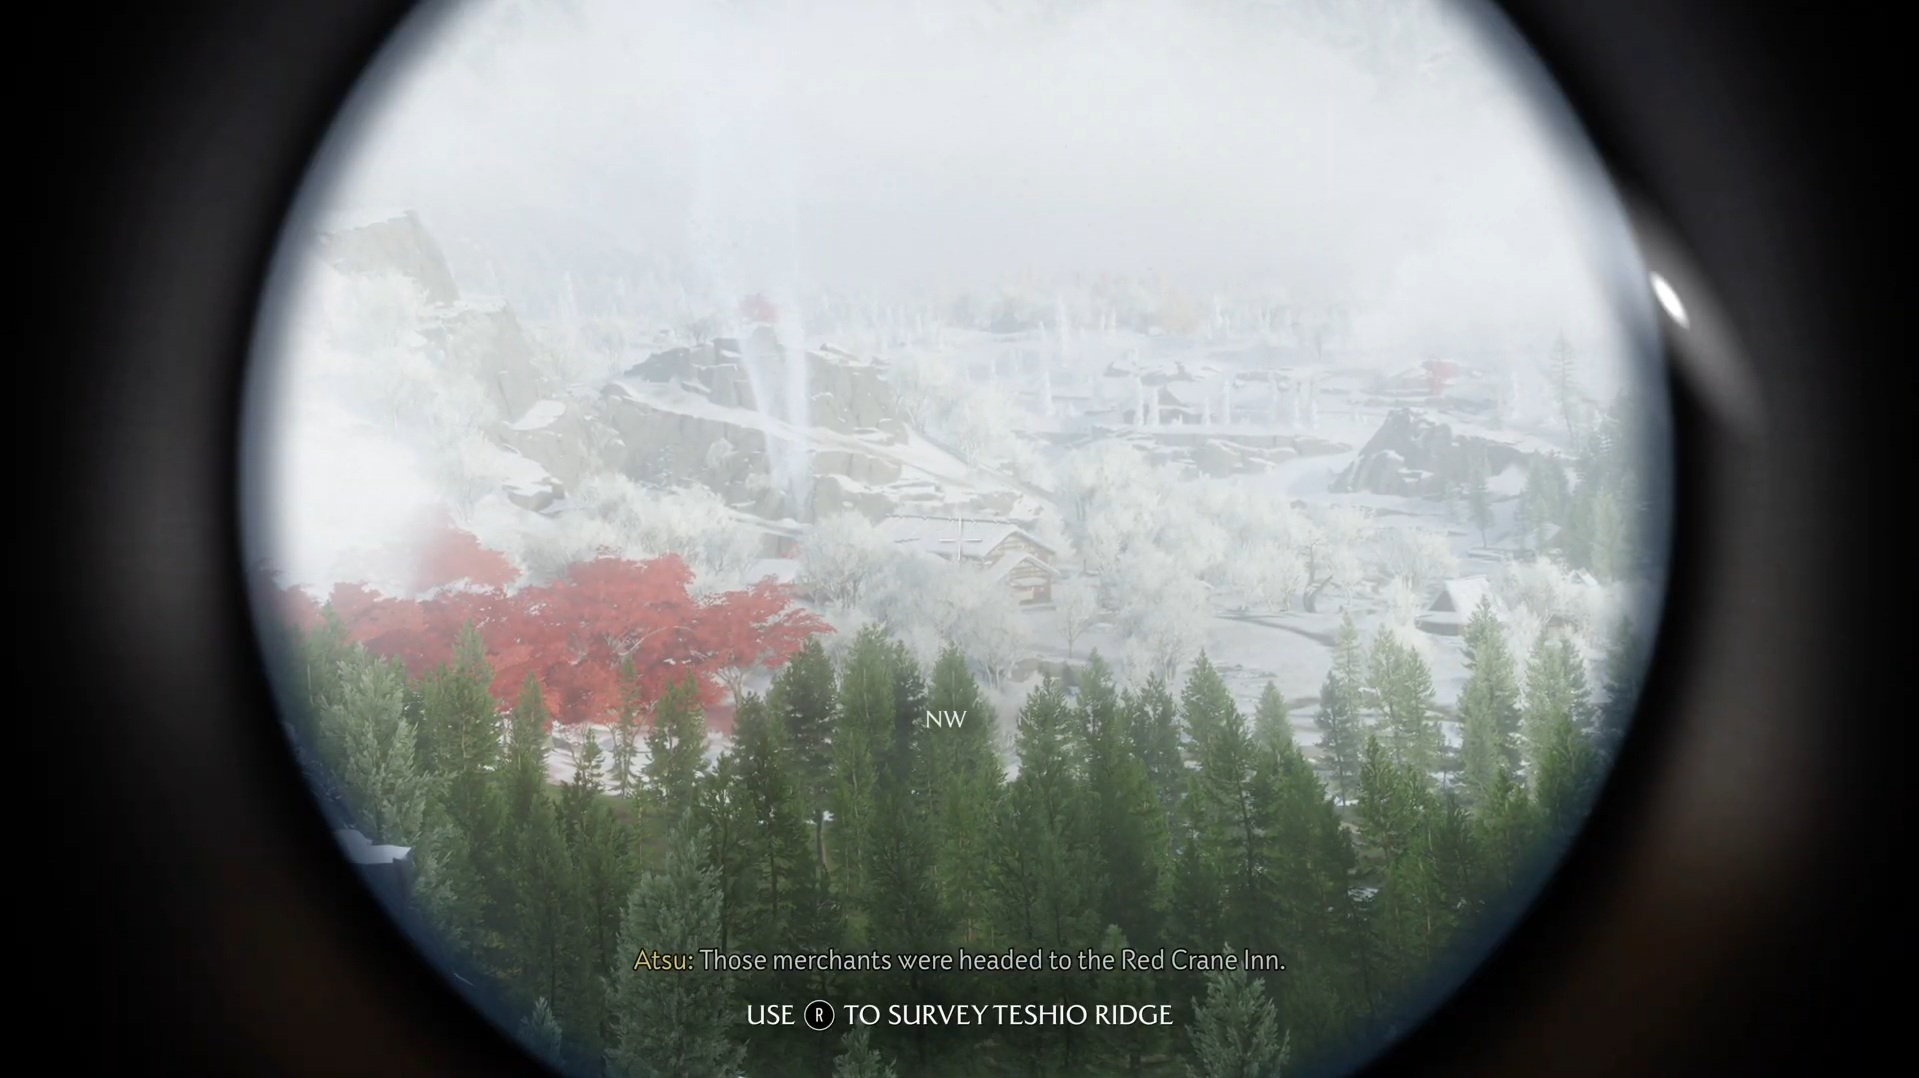
Make way to the Red Crane Inn. Eavesdrop on the conversation between the samurai and then play Zen Hajiki with them (you will learn to play via flashback tutorial). Win the game to progress.
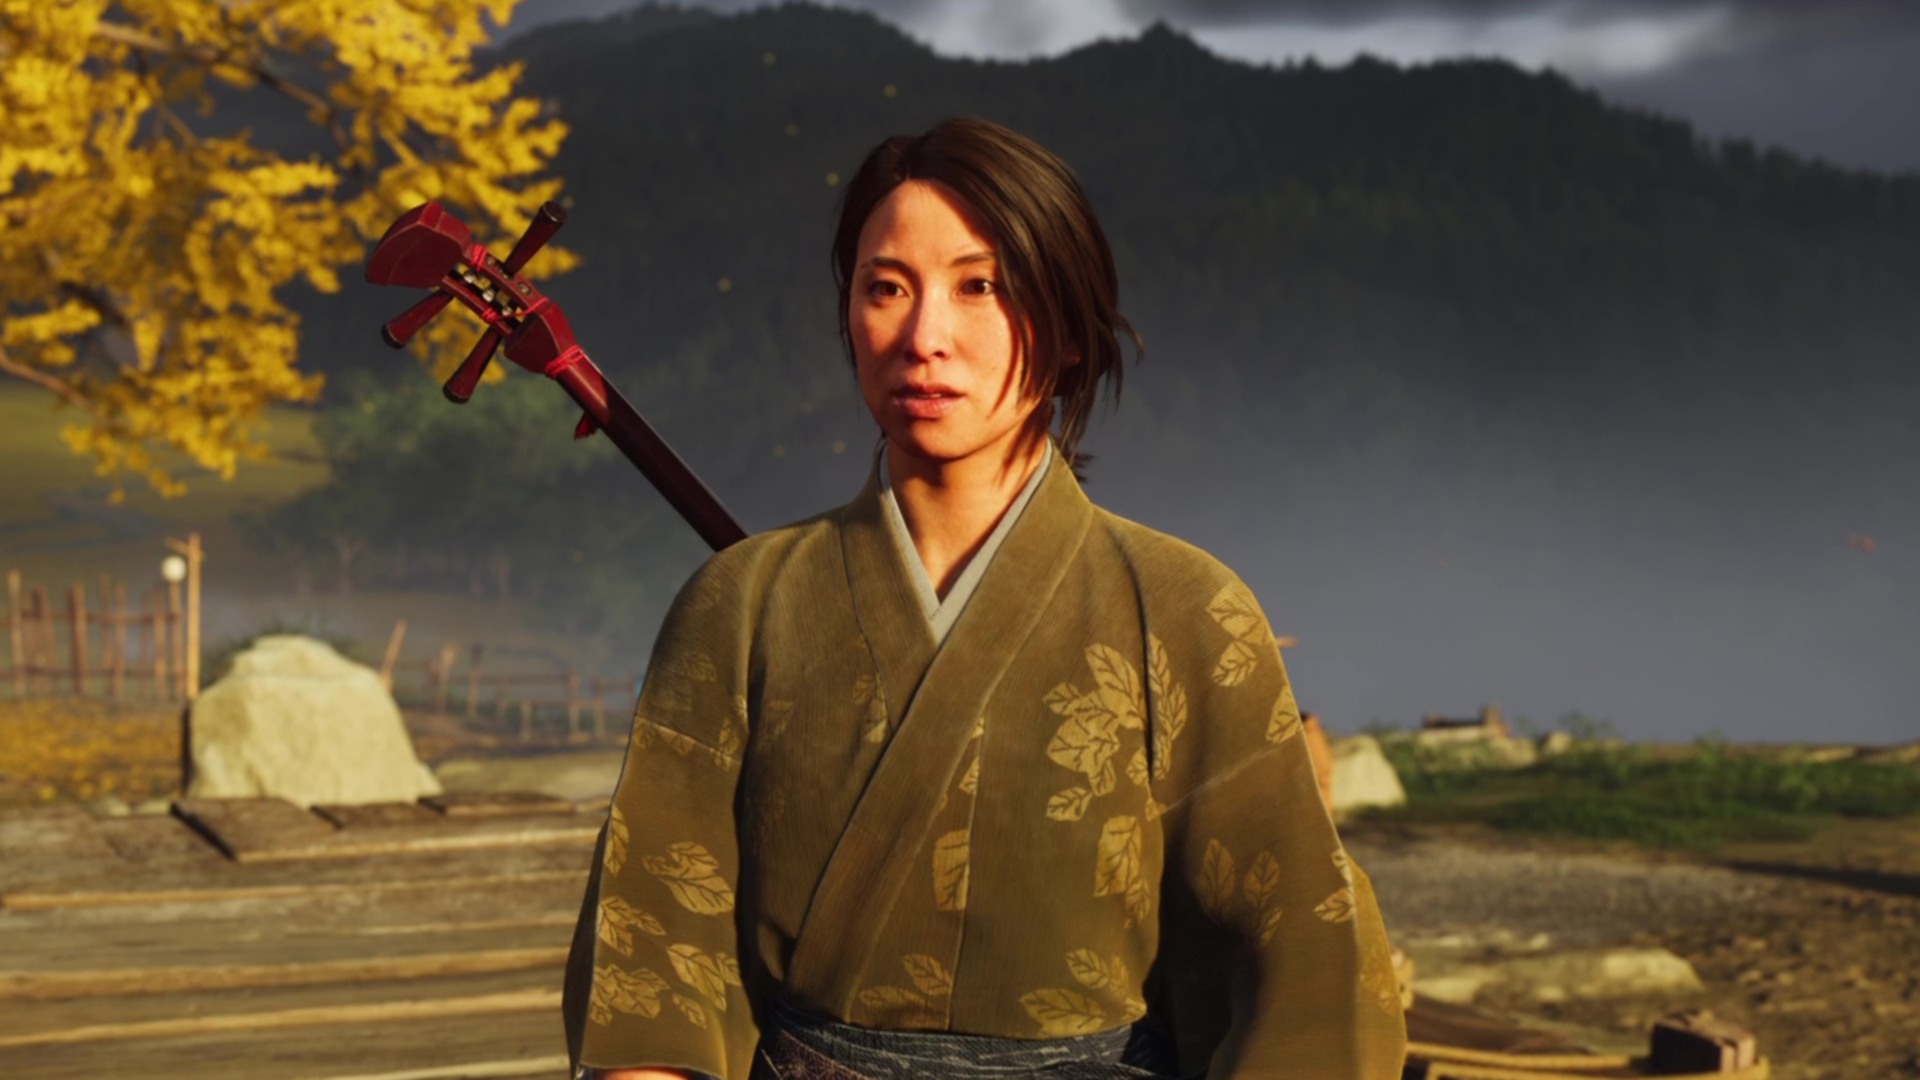
After winning, the soldiers ask you to speak to their commander for intel on the Kitsune. He can be found upstairs at the last door to the right. Unfortunately, he isn’t in the mood to talk and kicks you out. This leads into a cutscene where Oyuki, the songstress starts playing. When some of the samurai get rowdy, knock them out.
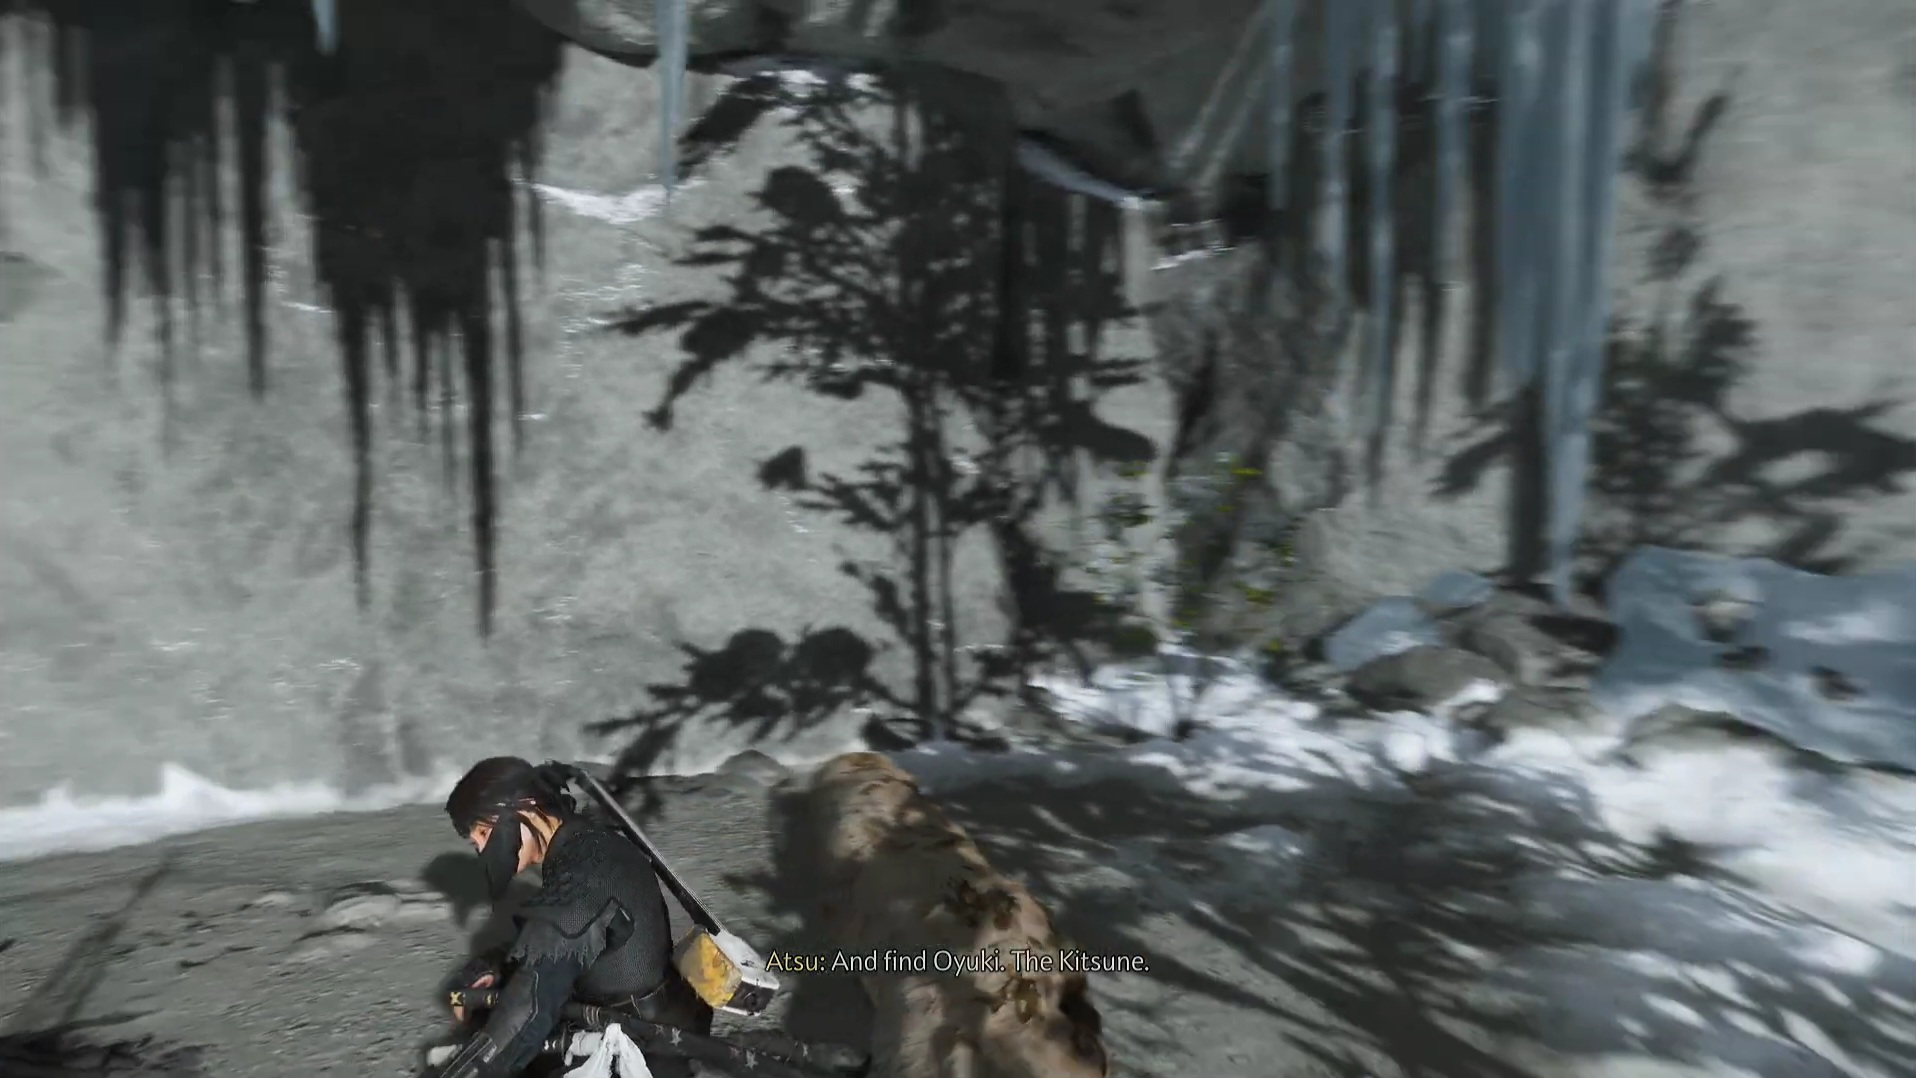
Oyuki
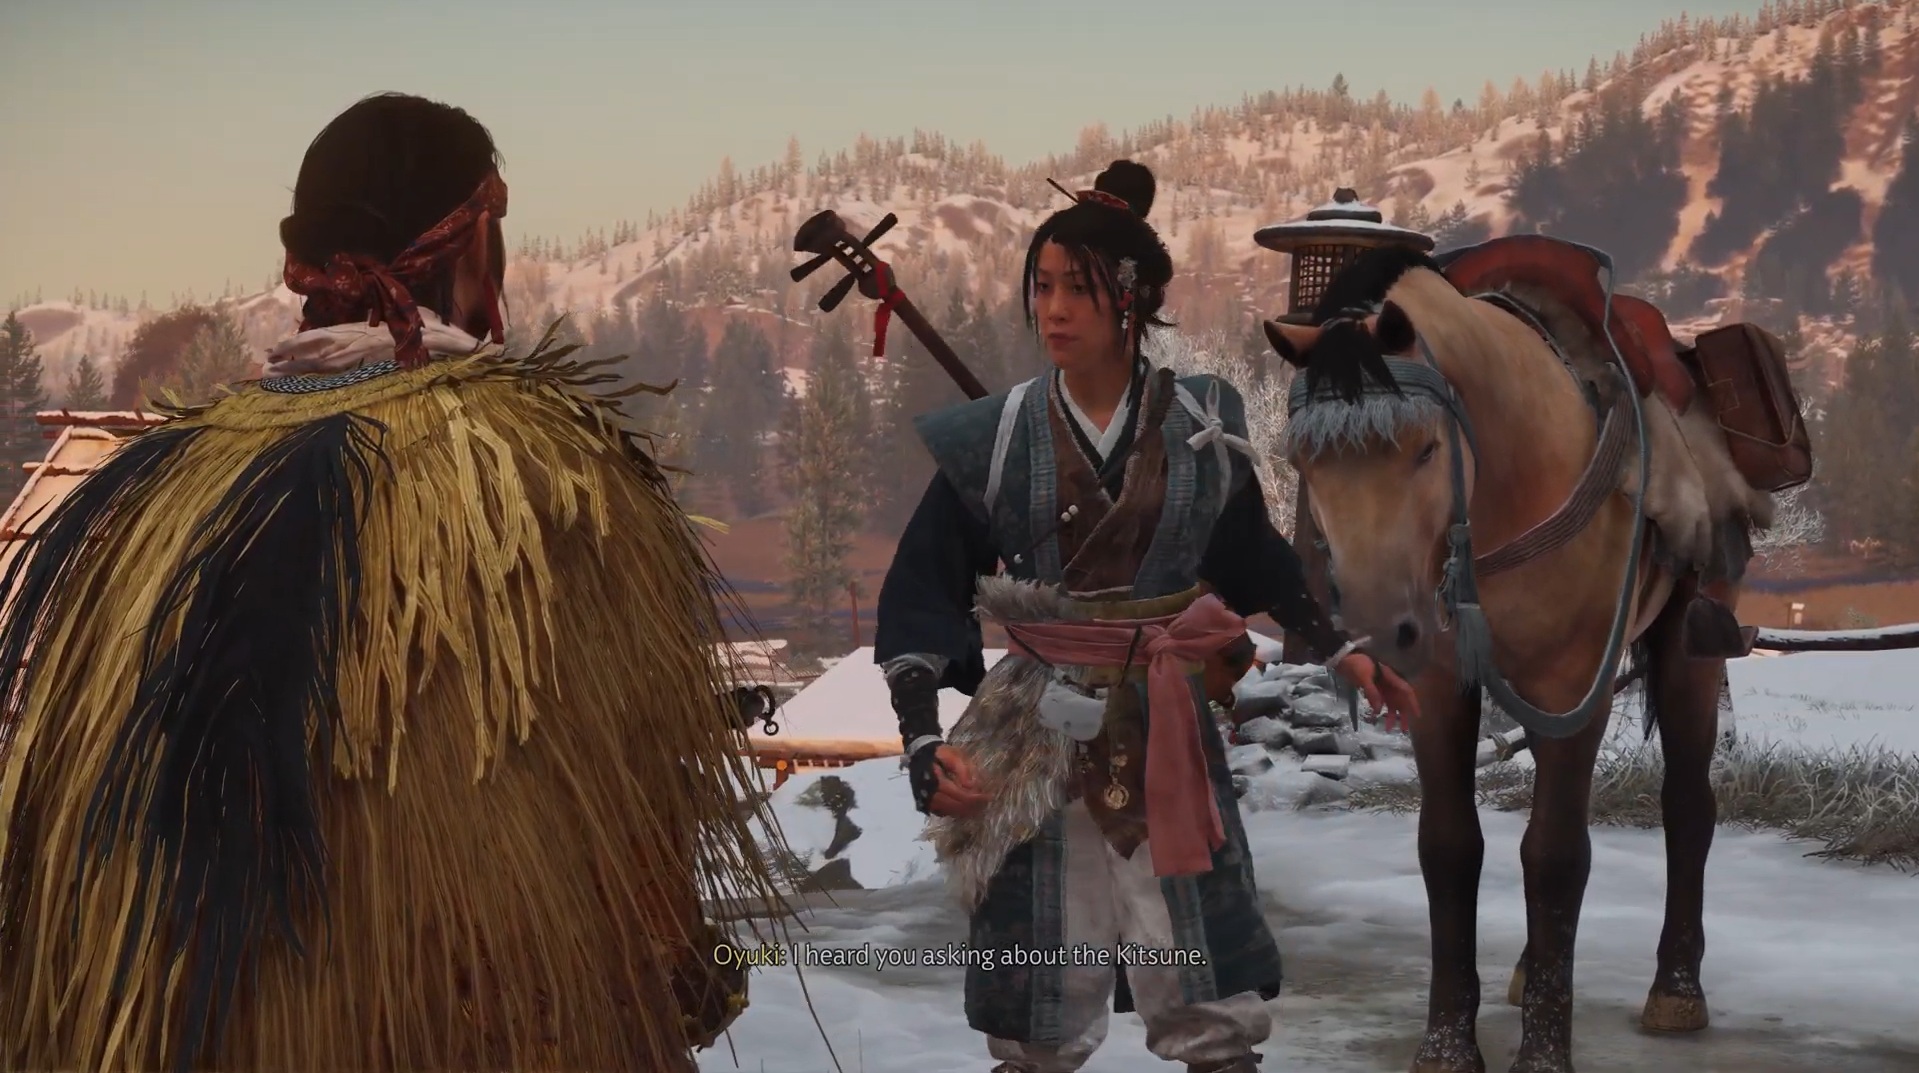
Oyuki takes you to a shrine where settlers often leave offerings. Do the same and wait until the Nine Tails shinobi show up to collect them. Follow them in hopes of finding the Kitsune’s hideout. You will end up following an actual fox into an ambush laid by the Nine Tails. Defeat them and get a map from them.
Follow the map to reach the marked location.
Fox Lantern Puzzle
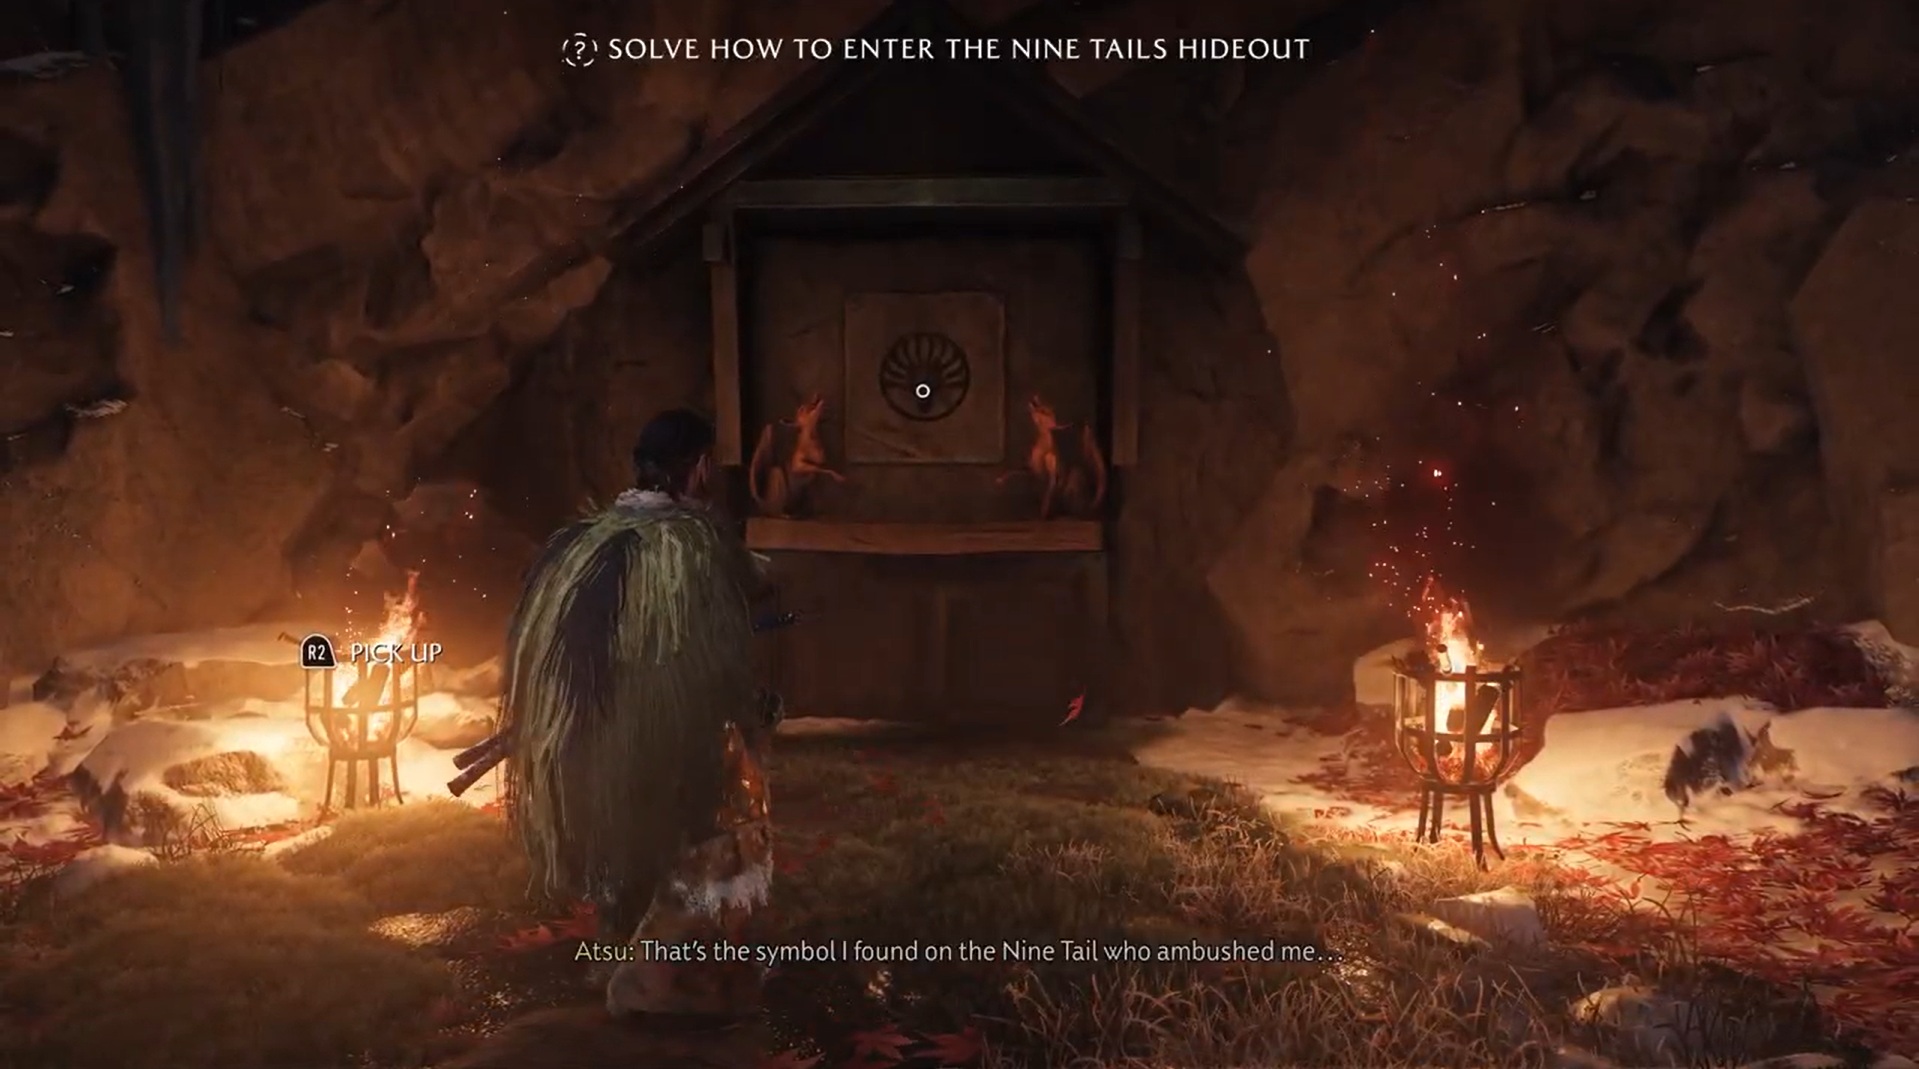
To move forward, you have to solve the puzzle. It’s fairly simple as you just have to light the two Fox Lanterns. A small passage opens up underneath the shrine for you to crawl through. Defeat the Nine Tails that emerge.
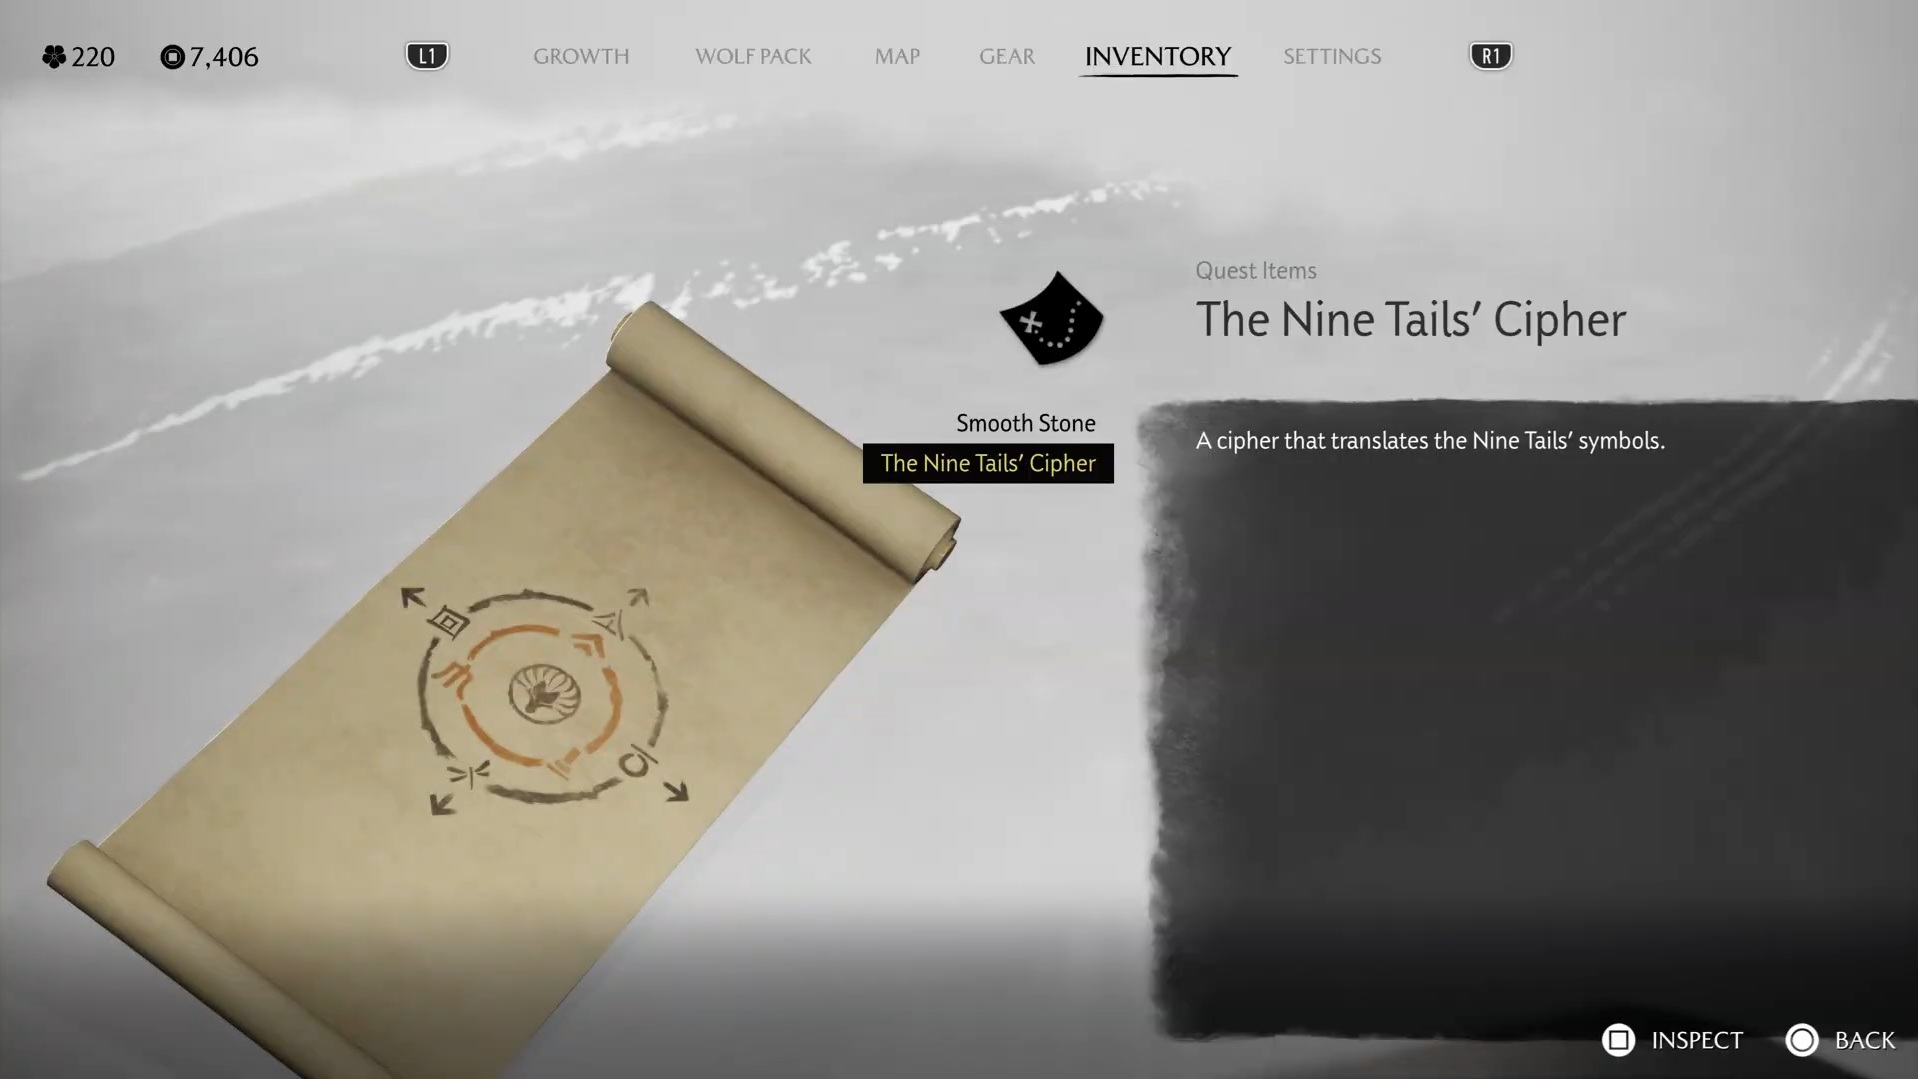
The next puzzle needs you to find and place the two missing fox statues on the pedestals near the door. The one with its left paw raised goes on the left and the one with the right paw goes on the right. After that, make your way through the Nine Tails Training Grounds. Enter their dojo and pick up the scroll. Defeat the Nine Tails who sneak attack you. Once you have done so, copy the scroll on your touchpad to use as a reference for the symbols they use.
Upper Building
Use the cipher to progress. Move toward the door with the forward symbol and engage with the left fox statue. Defeat the shinobi that emerge and move forward.
In the courtyard, you can see five fox statues. The central one has hints that you will need to follow. The solution is to move the statues in certain ways:
- Rotate the furthest left one to the right.
- Rotate the one next to it forward by moving it down.
- Rotate the one next to the central statue to face away by moving it up.
- Rotate the one furthest to the right to face left.
A ladder will fall and you can progress.
Nine-Tails Armor
Acquire the Nine Tails Armor and then leave the hideout. Meet up with Oyuki again at the Red Crane Inn.
Chosuke
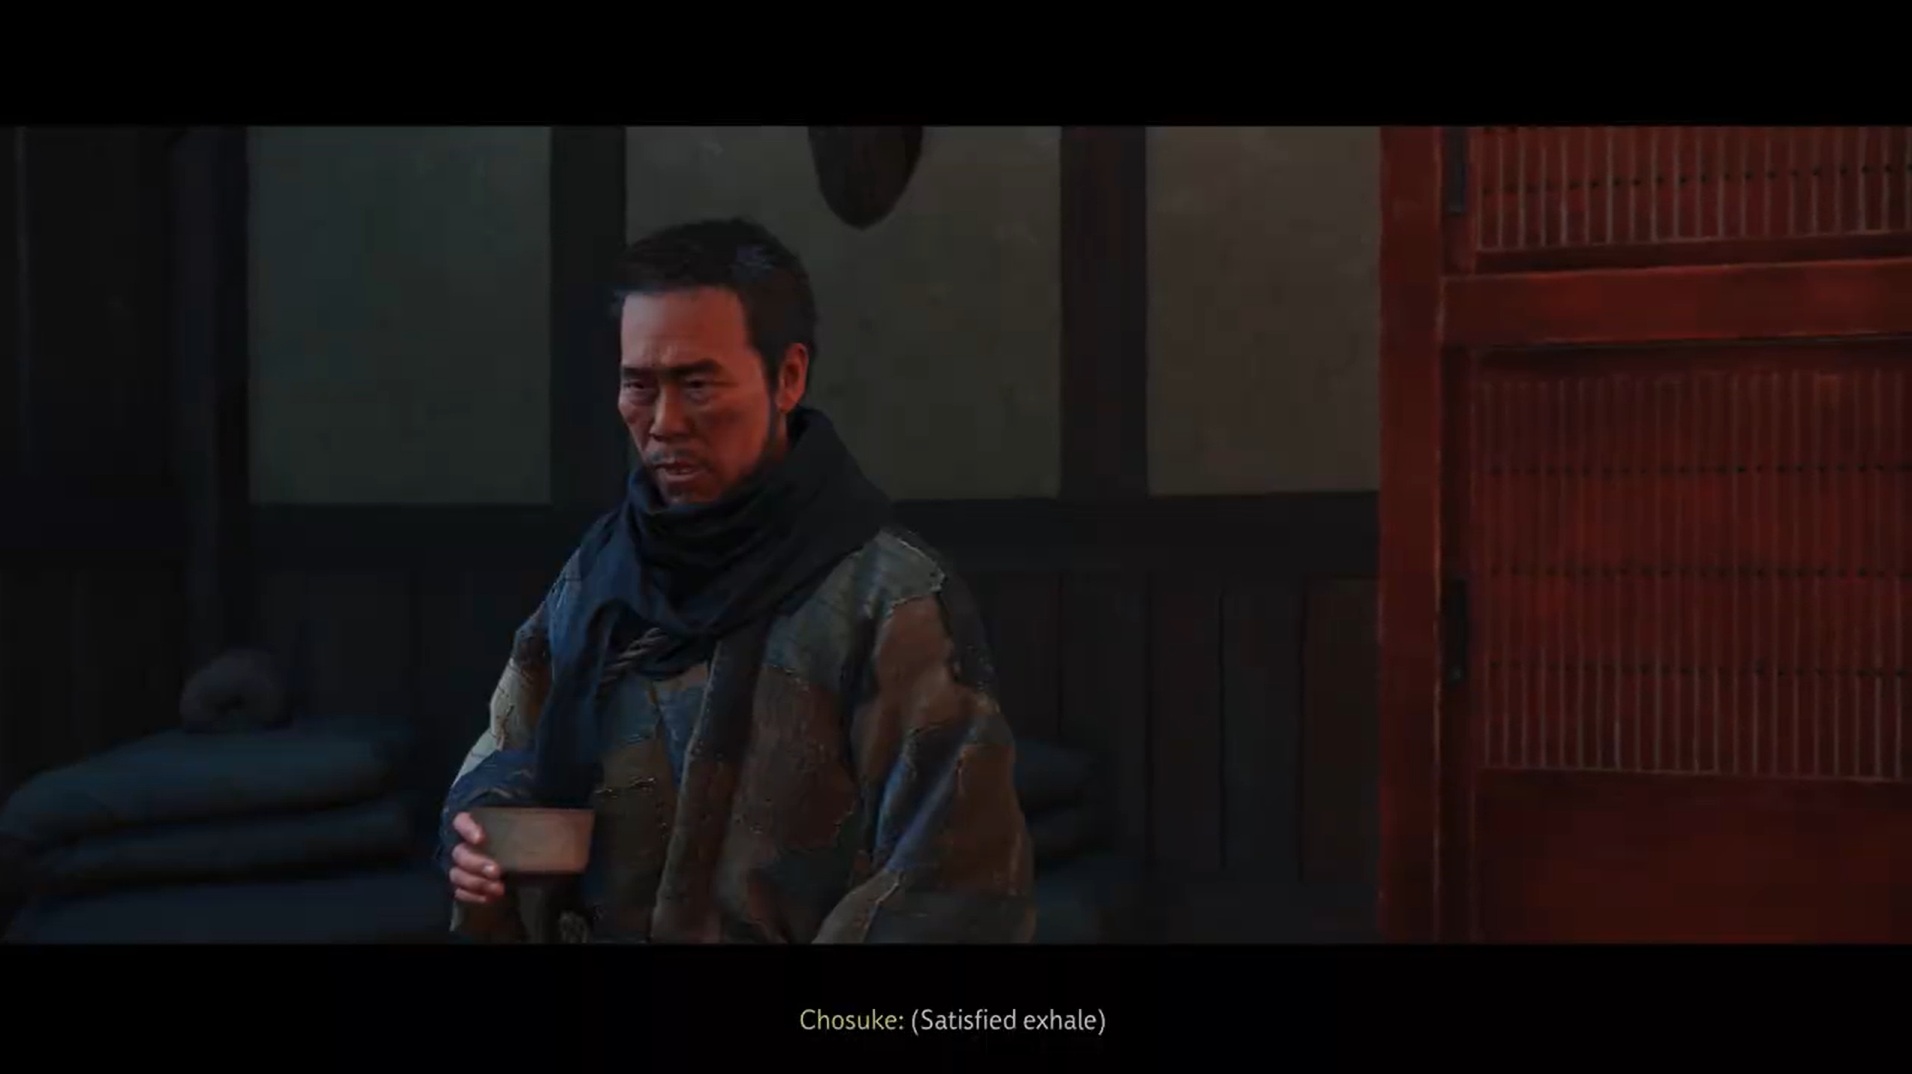
With the help of Oyuki, learn about Chosuke the samurai’s inside man in the Nine tails. Travel with Oyuki to Nakajima Sake House, where you pretend to be a waitress. After giving Chosuke a drink that makes him vomit, he spills his guts about a dye house that has been closed for some time.
Go to the dye house with Oyuki and discover signs of a struggle in the main building. In the dye storage room, discover familiar symbols left by the Nine Tails. Use the Cipher to solve the puzzle.
- Place the fox statues on the pedestals, with the one facing left on the left pedestal and the one facing right on the right pedestal.
- Rotate the left lid on the ground to face left, and the right lid to face right. This should open the middle lid.
Follow the hidden passage.
Dye-Master
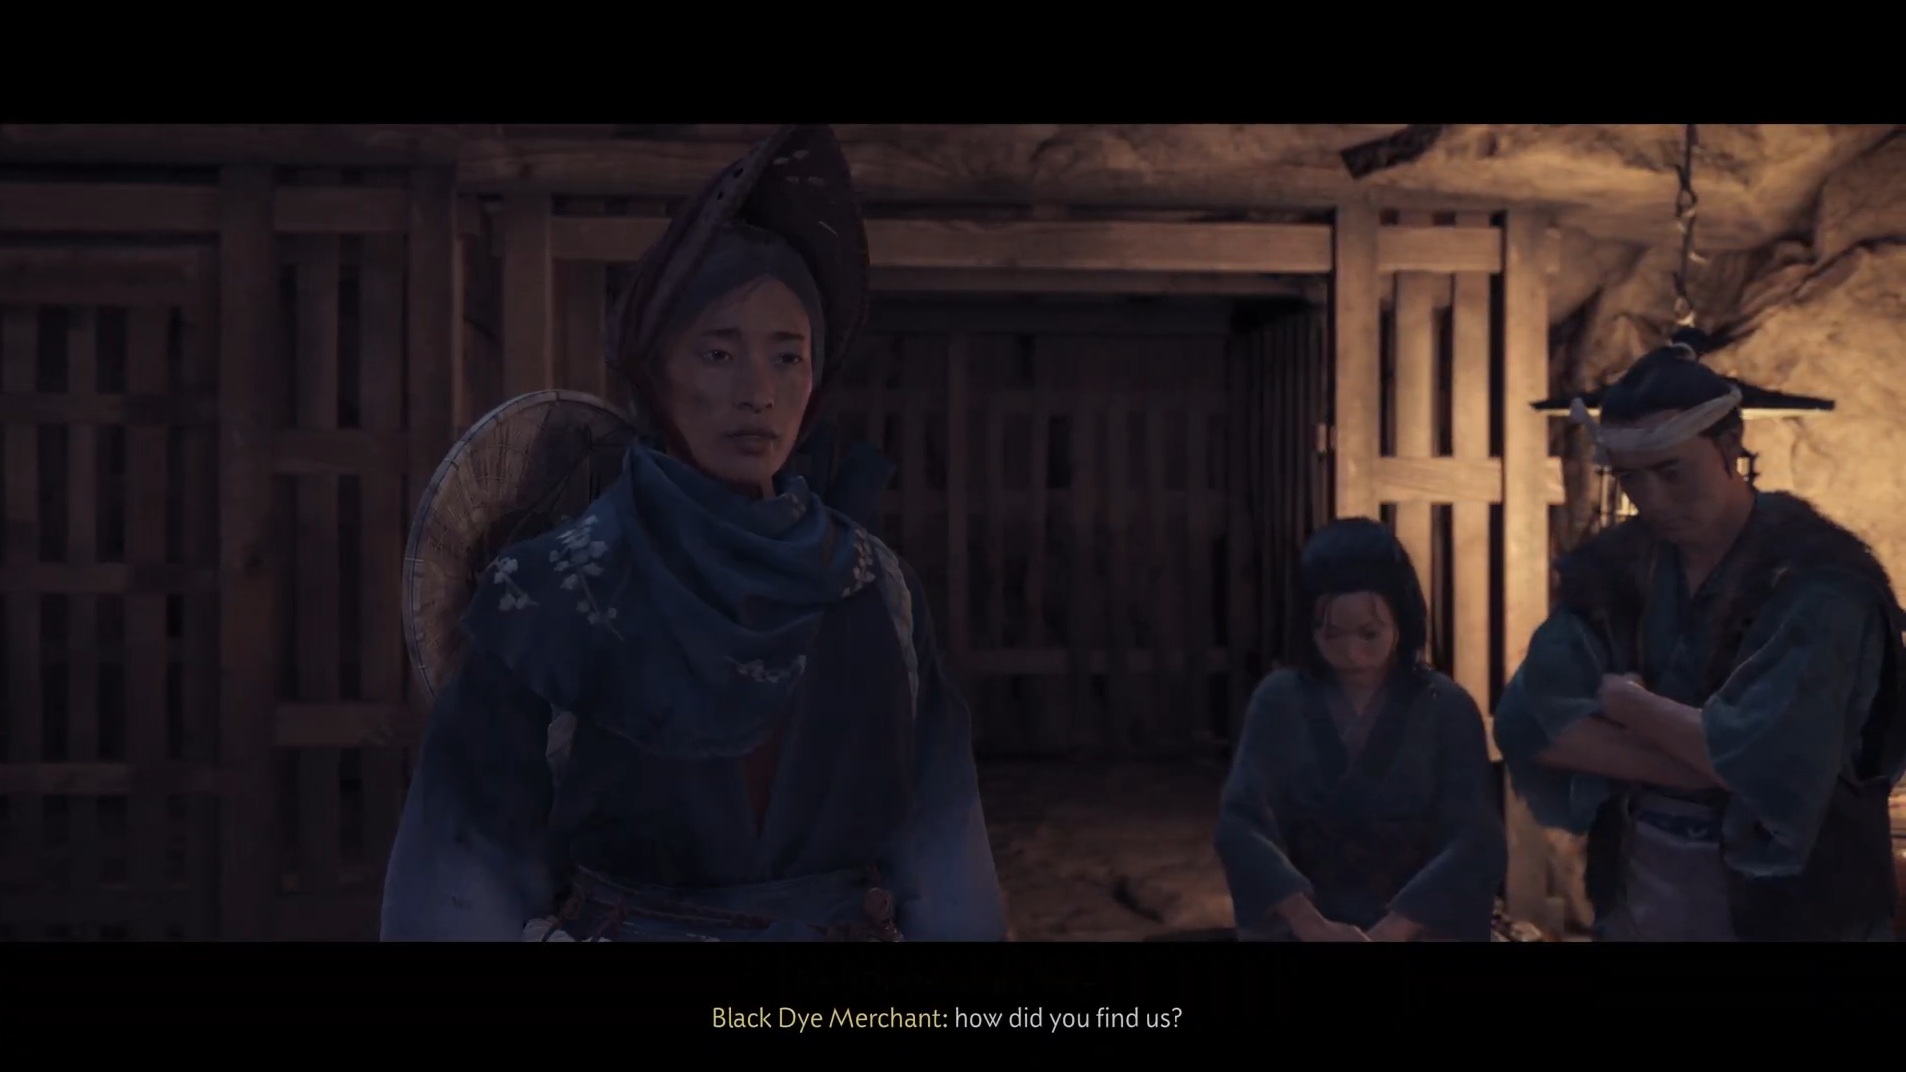
Going down the passage you will see the Nine Tails have started taking hostages. Defeat the shinobi and save them, with the Black Dye Merchant among them. She asks you to go deeper and save the others.
Venture deeper into the passage by moving a fox statue to release a slackline. Cross the chasm and keep going. You will eventually find an area with a bunch of Nine-Tails Shinobi and more hostages in cages. Sadly, the hostages are already dead. However, there’s another puzzle for you to solve with the cipher.
Each of these fox statues represents a different emotion. The solution is to turn the joyful and angry statues to the right, and the scared statue to the left. Collect the Kitsune Puzzle Box and leave. Oyuki solves it, revealing a list of ingredients for poison.
Poison and Lies
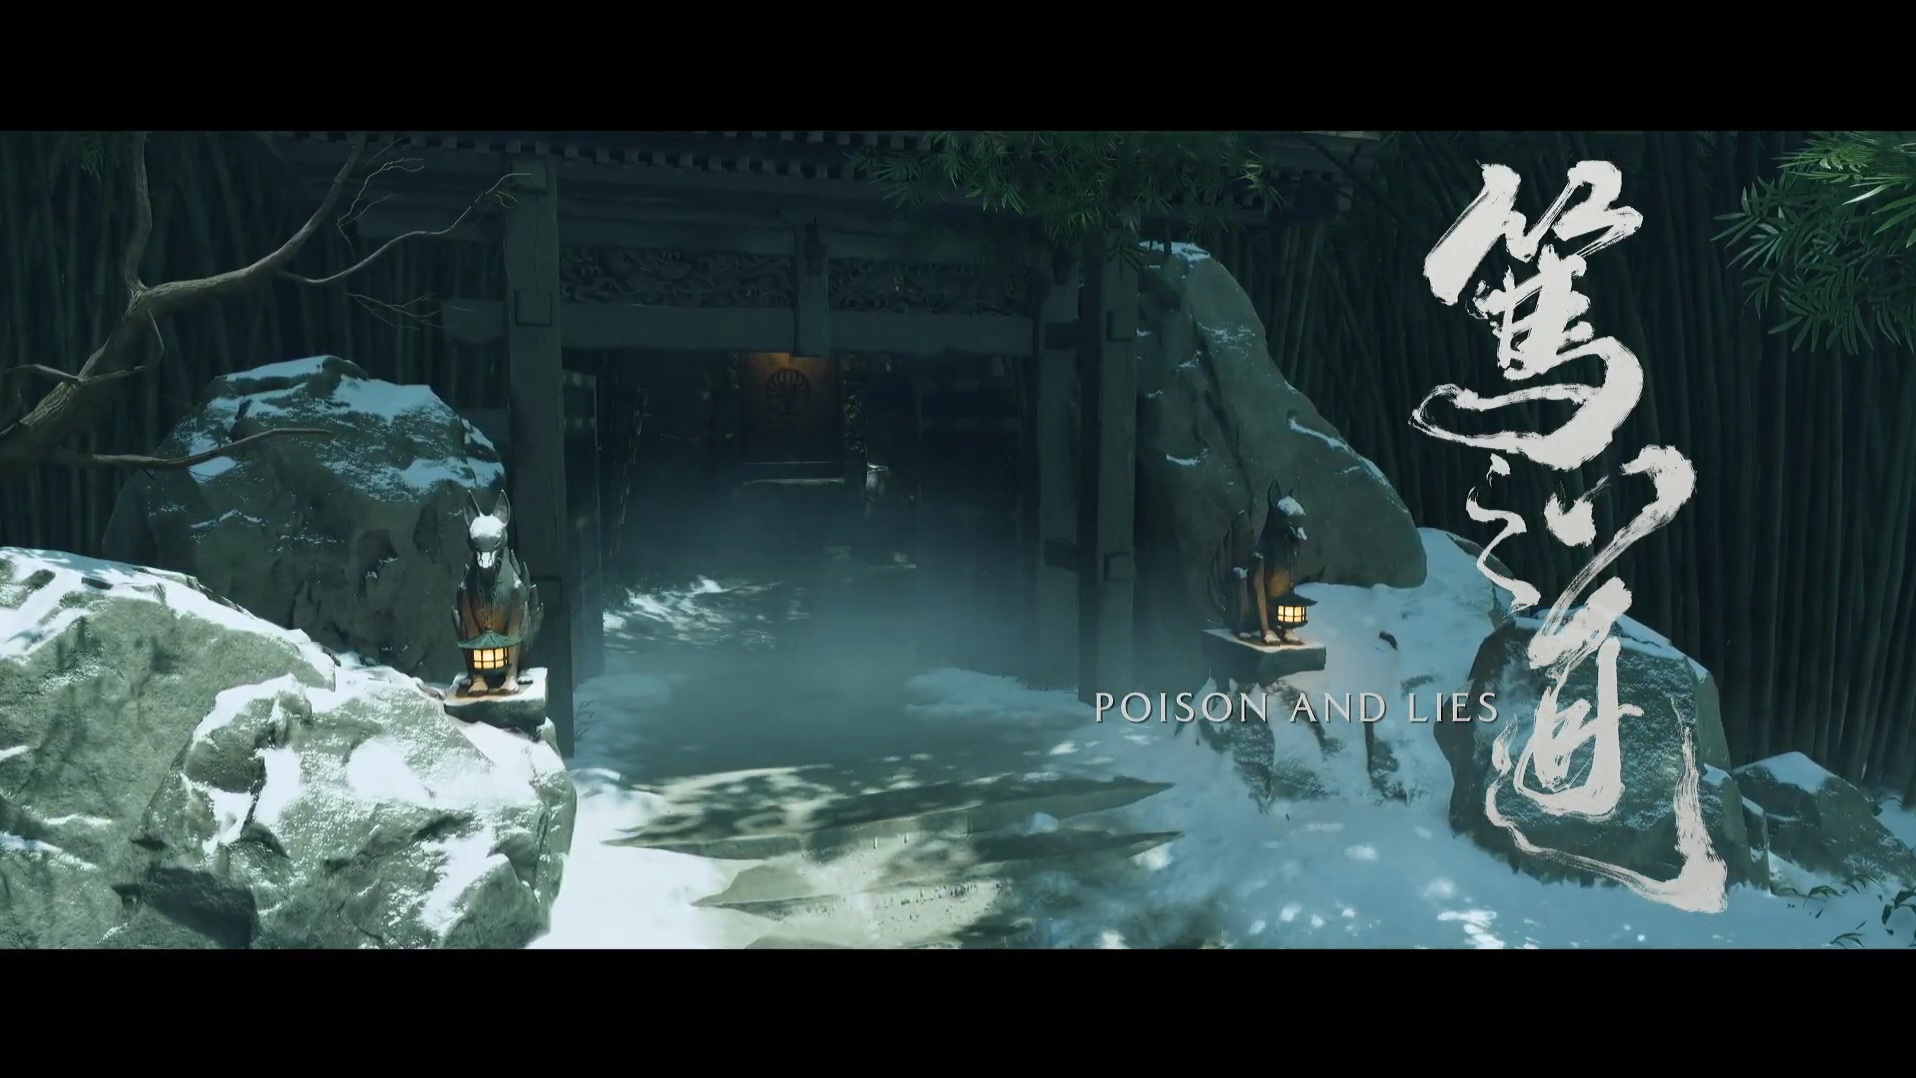
Observe the different points of entry in the sentinel camp. Enter via the harvest site alongside Oyuki. You will be faced with another puzzle.
- Use a torch to light the lanterns with the same foxes as those under the tree.
- Light the lantern next to the tree and then the two to the right of the locked door.
- Place the puzzle box on the pedestal.
Deal with another Nine Tails ambush. Rotate the interactable fox statues using the cipher and move forward. You will see rocks marked with the death symbol and a certain direction, indicating not to go that way. Follow the correct path, squeeze under the small space, and be faced with another puzzle.
Switch the place of the second and third fox statues to solve the puzzle. Keep pressing forward, dealing with shinobi and traps until you reach the end. Spot the Kitsune with the Spyglass but the samurai have launched an assault.
The Kitsune
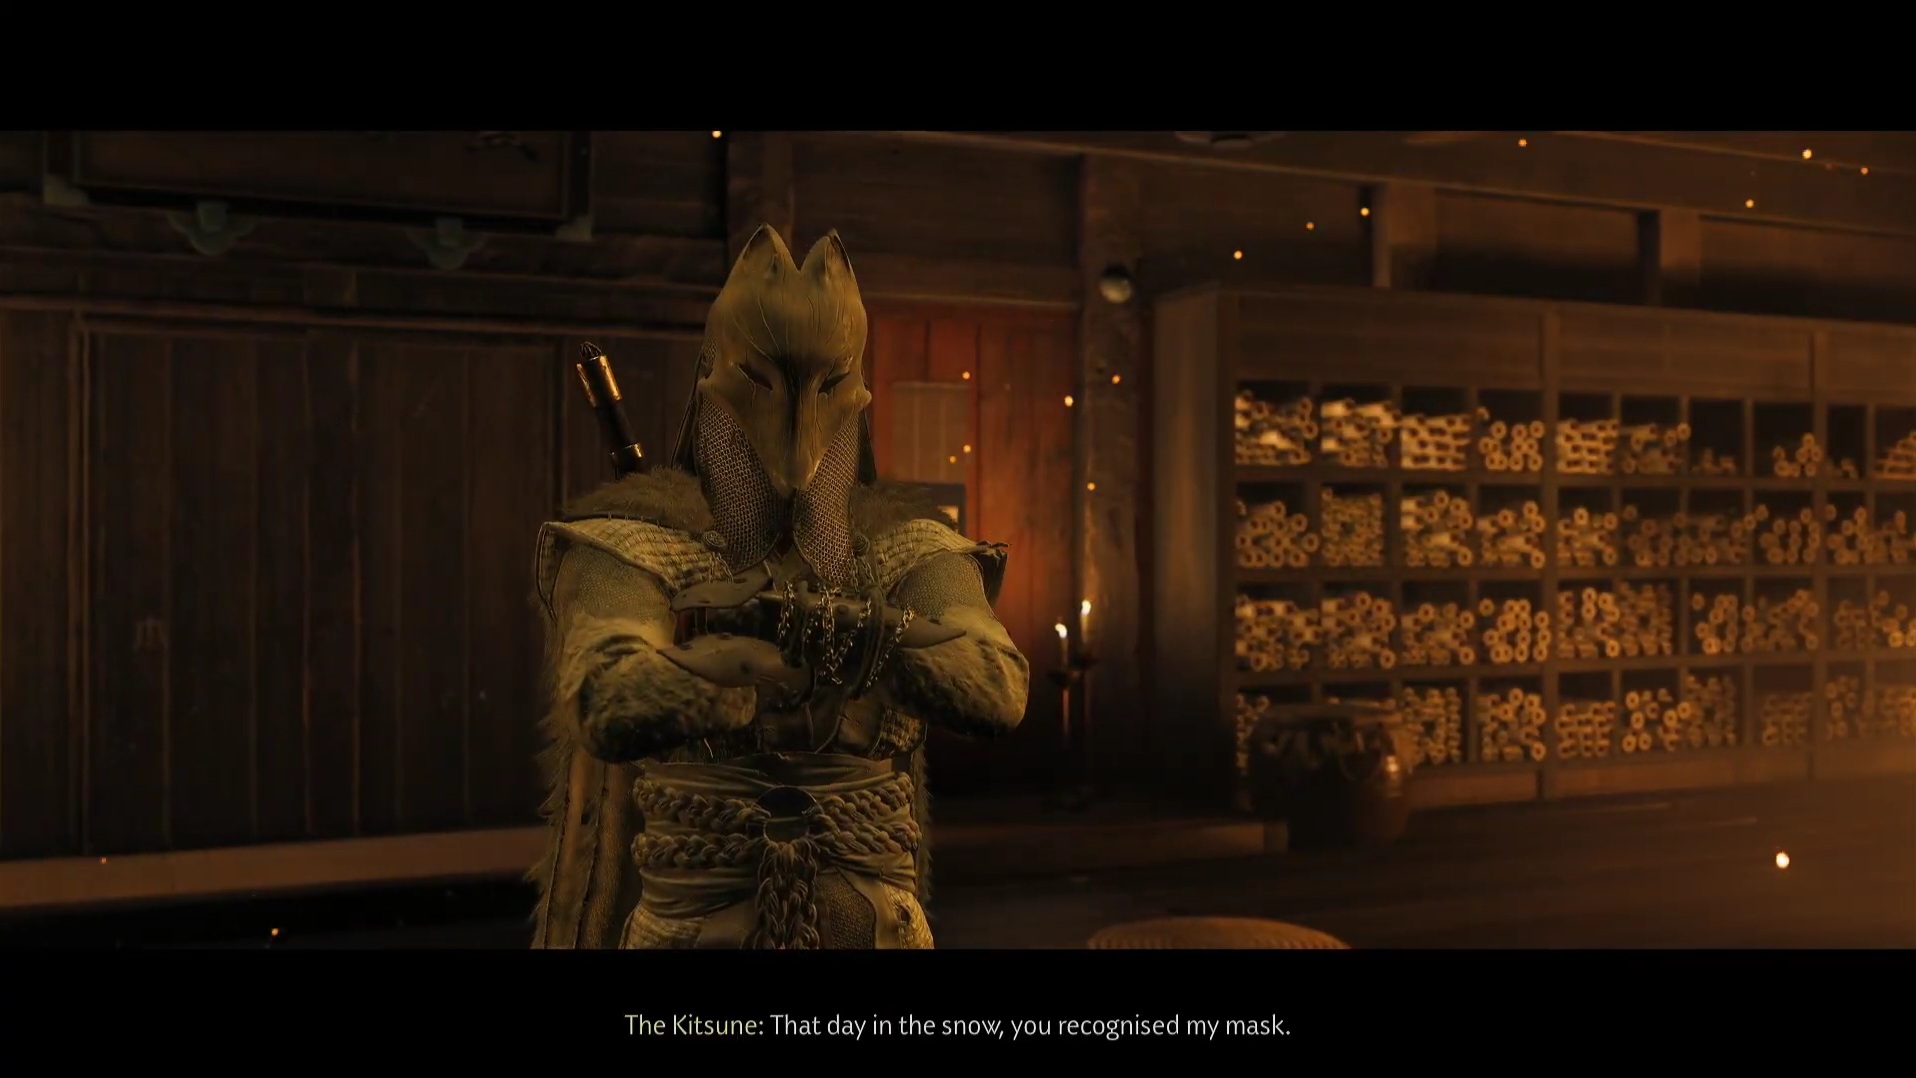
Face off against the Kitsune before he escapes. Unfortunately, he infects you with Wolfsbane. Escape with the help of Oyuki, who is revealed to be the Kitsune who was present during her mother’s murder.
Old Graveyard
Fight Oyuki in the Old Graveyard. Reduce her to 50% health to end the fight. Oyuki will then teach you the Listen ability and how to use Smoke Bombs.
Go to the Abandoned Village and use your new skill and weapon to clear it of Nine Tails shinobi. Return to the Old Graveyard and fight Oyuki as she teaches you how to resist Wolfsbane. Once that’s done it’s time to face the new Kitsune and end things.
The Kitsune’s Fate
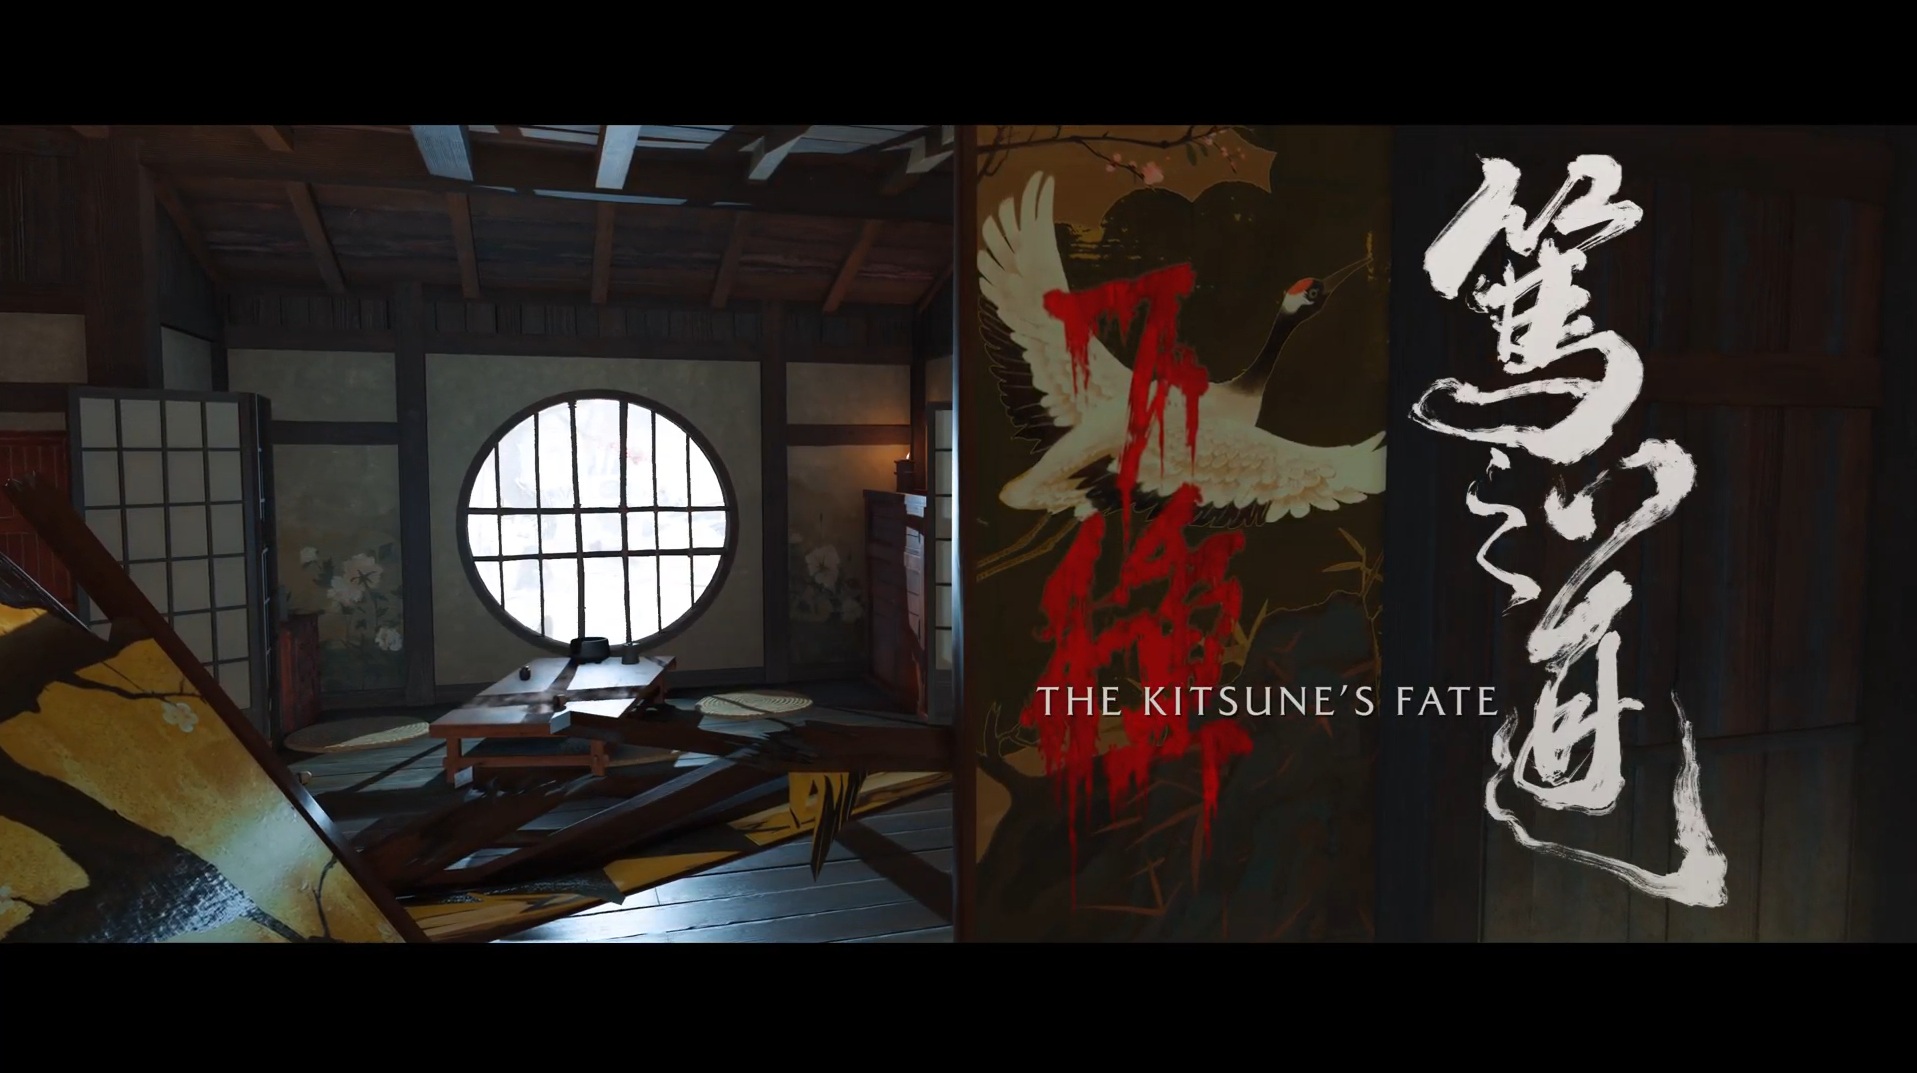
Return to the Red Crane Inn to find it destroyed. Use the Listen ability to find a child called Shunpei, who gives you a hint about camellias. Follow Oyuki to where you need to go.
Head to a frozen waterfall in Teshio Ridge. You will find a locked gate with another puzzle for you to solve.
- Light the braziers and look underneath for symbols.
- Turn the right statue right and the left statue left.
Deal with all the Nine Tails shinobi either through stealth or by facing them head-on. As you move forward, you will have to deal with a lot of shinobi but Oyuki provides ample assistance.
Fight Dojun in two phases. In the first, he pulls out a bunch of tricks, while the second begins when he throws a smoke bomb. Use the Listen ability to locate his attacks. Beat him and he flees.
The final fight is a bit more direct. Once you defeat him, you have completed the Kitsune quest.

We provide the latest news and create guides for Ghost of Yotei. Meanwhile, you can check out the following articles or catch us on YouTube: