Facebook
 Reddit
 Email
Email
In this guide, we shall go over how to build a shelter in RuneScape Dragonwild so you have a roof above your head.
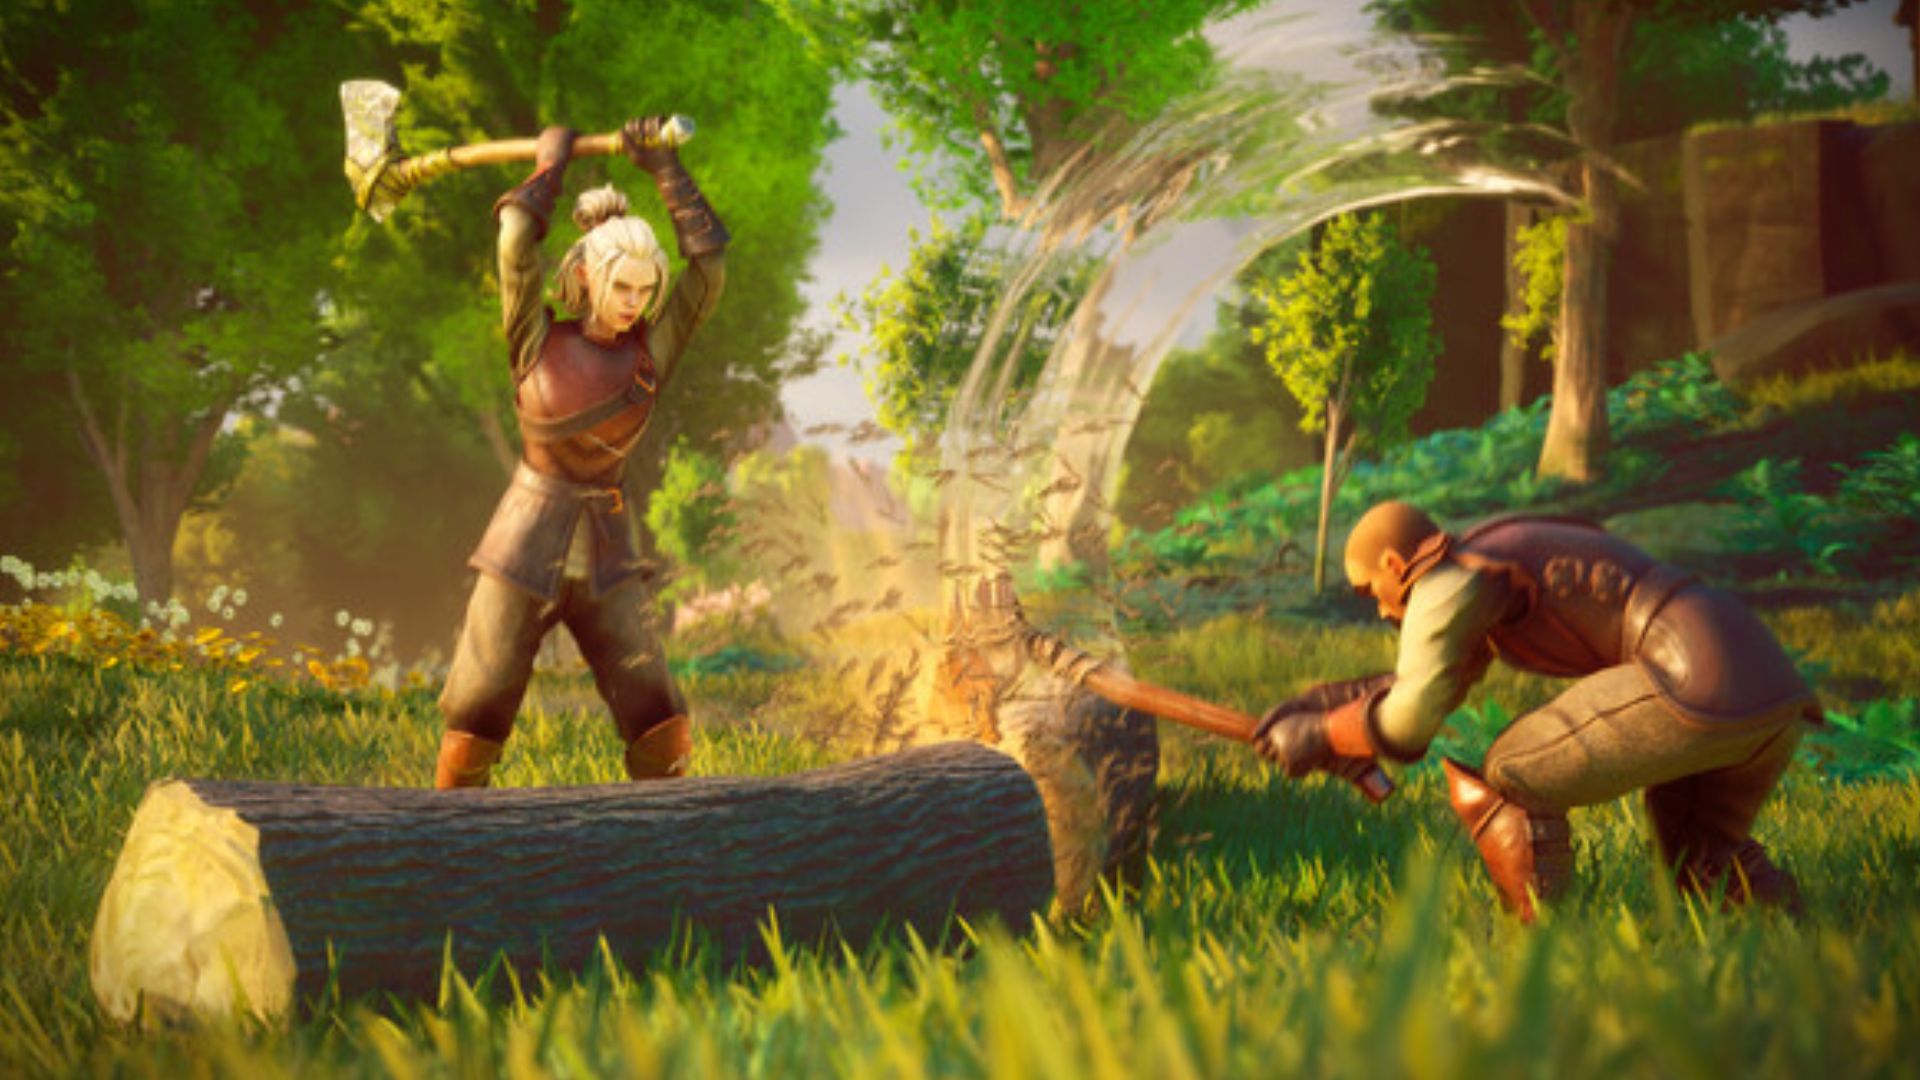
Being a survival craft game, RuneScape Dragonwilds presents you with tons of structures and settlements that you can build. Whatever you choose to build is only limited by your creativity, but this comes at a much later stage. The first thing you should be able to comfortably build in the game is a shelter.
A shelter is one of the first sets of buildings you can build in the game and holds immense importance. The shelter acts as your refuge, a place where you can come and rest on a bed, ensuring you are ready for the challenges that come in the day ahead.
As important as a shelter may be, building it is a different matter altogether. It is a complex structure that requires you to lay a foundation, assemble walls around the foundation, and then top it all off with a ceiling. The process is fairly difficult if you’re a newcomer and forces you to tap into the civil engineer that resides within.
If you’re someone looking to build a shelter but are repelled by the complex process, we’re here to help. In this guide, we shall go over how to build a shelter in RuneScape Dragonwilds.
Related: RuneScape Dragonwilds: How To Craft Hard Leather
How To Build a Shelter in RuneScape Dragonwilds
Also Read: RuneScape Dragonwilds: How To Parry
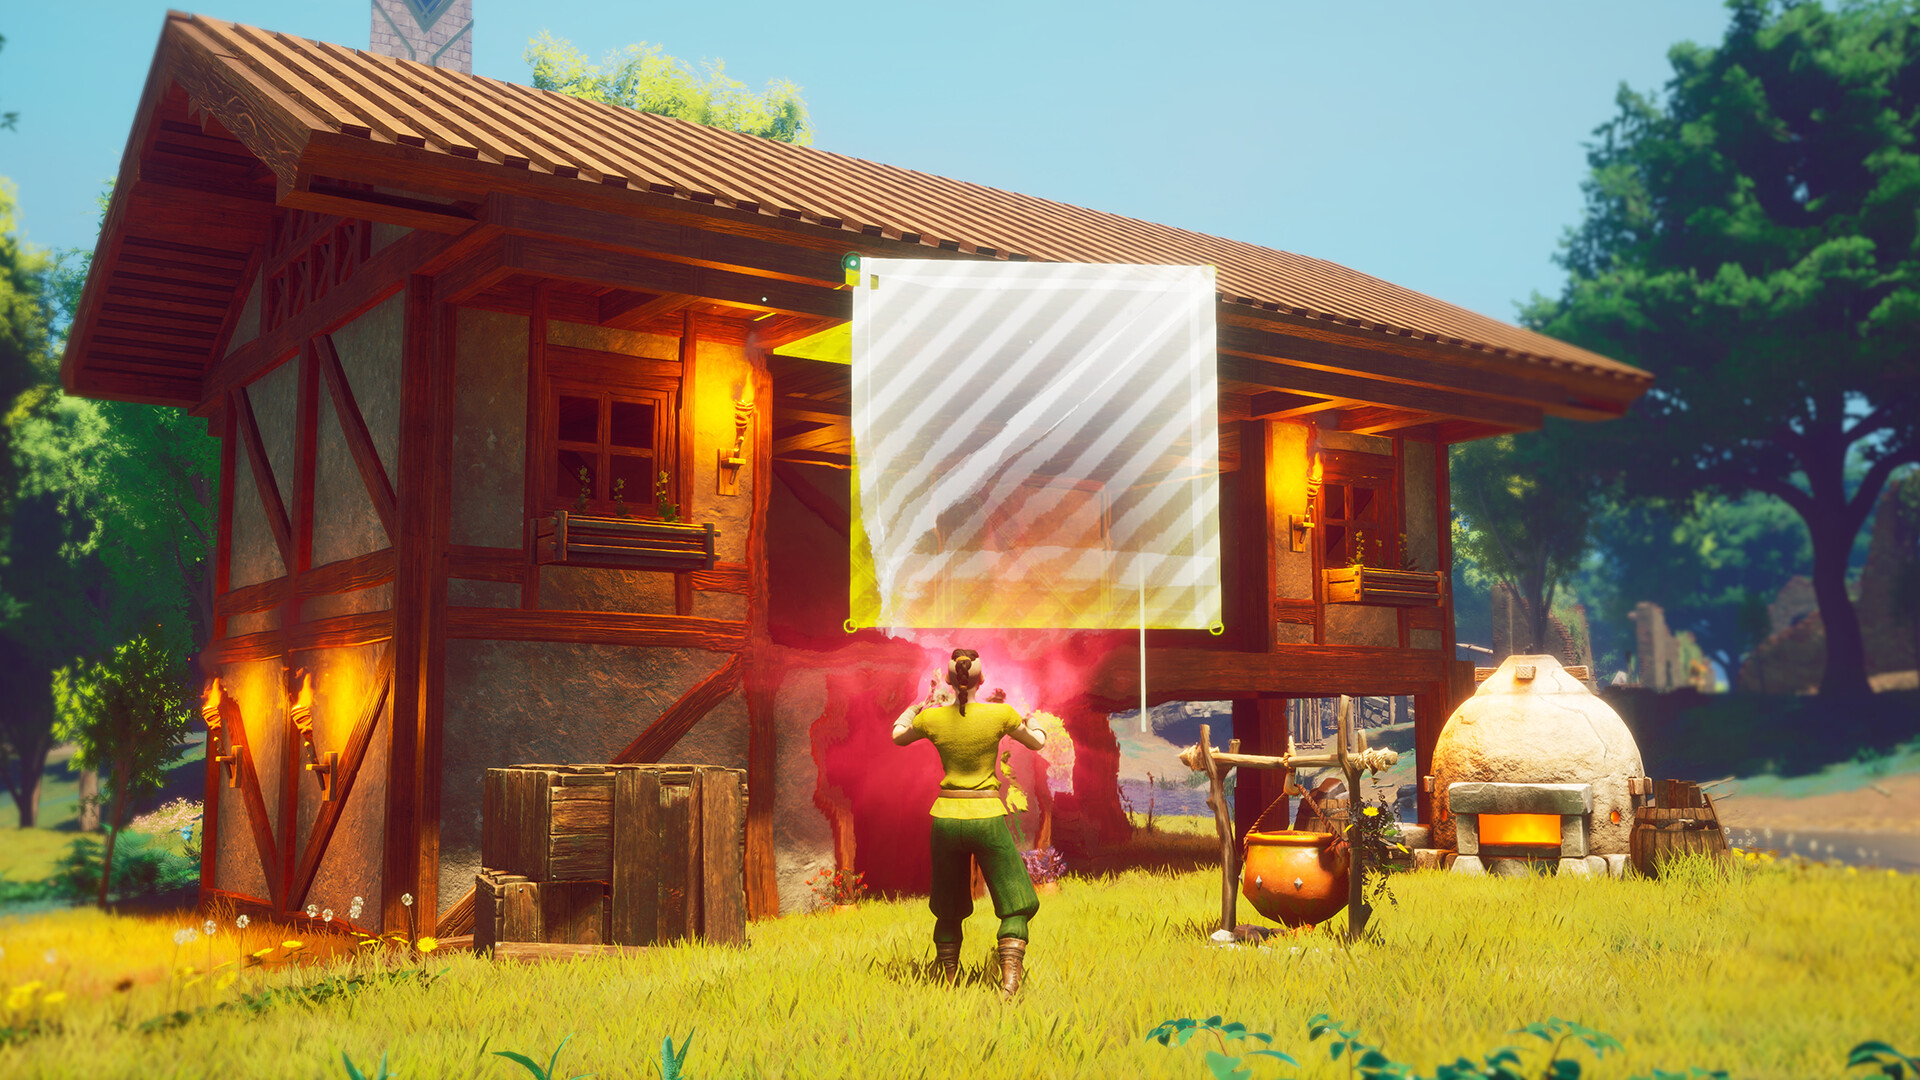
The main construct of any shelter in RuneScape Dragonwilds are its walls and ceilings. You pick an area, build a wall around it, and then cap it off with a ceiling. Anything that meets this criteria falls under the category of shelter. As you become more ambitious with the shelters you build, you have to build a foundation first. This foundation ensures and grants the building some much-needed stability, allowing you to live under the roof without the fear of it caving in.
If you’re looking to build a shelter, follow the steps below:
- Enter the Build Mode by pressing the ‘B’ key.
- Cycle through the tabs on this menu and head over to the ‘Walls’ tab. This is the sixth tab from the left.
- Select a simple wall and click on it. This will bring up a silhouette of the wall before you, allowing you to place the wall where you see fit. Once you’ve confirmed the spot, press LMB to place the wall. Place the walls of your structure and ensure that they are connected. You’ll need Ash Logs to build these.
- Go to the ‘Flooring’ tab and select a Square Tile. Place these tiles atop the wall to build your ceiling and complete the shelter.
Looking For More?
Thank you for reading the article. We provide the latest news and create guides for Baldur’s Gate 3, Starfield, ARK Survival Ascended, and more. Also, watch Deltia play games on Twitch or visit his YouTube channel!