 Facebook
 Reddit
 Email
Email
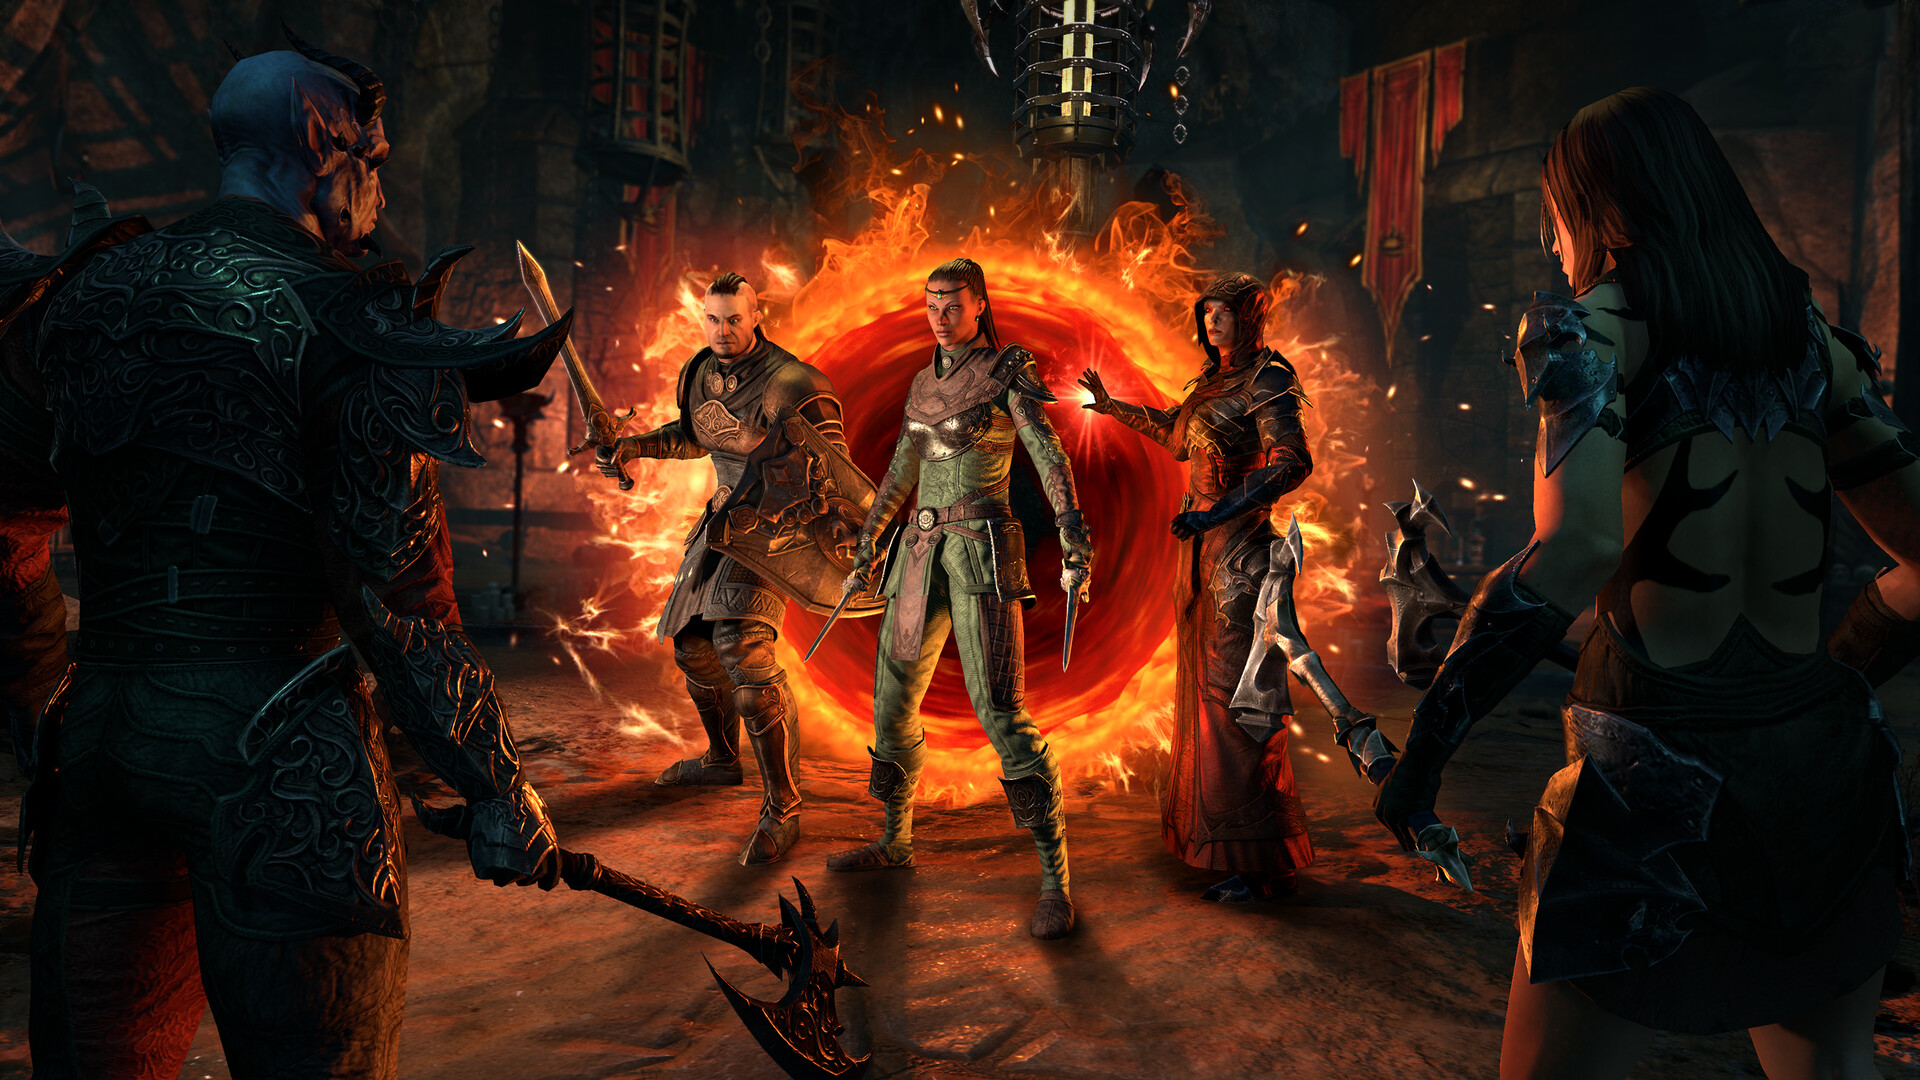
Ready to tackle Stage One in DSA? Here’s my guide on how to beat normal and Veteran with. SO let’s get started with the Dragonstar Arena Stage One Fighters Guild Guide.
Stage One Video here
Table of Contents
Enemies and Mechanics
Upon entering the arena, you’ll notice the ground has a series of spikes on them. This gives you the idea that you don’t want to touch them, while kiting the enemy or pulling them in might be a good idea. In this Stage of DSA, there will be a variety of enemies each with their own set of mechanics. Below is the list on Veteran mode and normal just sacrifices health or HP and one mechanic, a healing circle which I’ll cover below. Otherwise, both normal and vet mode are pretty simple, red is bad and kill stuff.
- Fighters Guild Sorcerer – 7,299 HP
- The Sorc Fighters Guild member doesn’t pose too much of a threat. You can handle these a number of ways, but make sure to either pull them in via the Dragonknight’s Fiery Grip or keep ranged interrupts on them via Crushing Shock (Destruction Staff) or Venom Arrow (Bow). They can teleport to you and do a nasty area damage ability, so make sure to interrupt them if at all possible.
- Fights Guild Berserker 9,732 HP
- Another cannon fodder enemy is the Berserker which isn’t much more than a melee brawler. This isn’t a top DPS priority as he/she posses little threat. Make sure the tank range taunts them and continue to focus on casters at a distance.
- Fighters Guild Templar – 7,299 HP
- A Healer that needs to be dealt with right away. Treat this like the Sorc, interrupts, pulls, stuns, whatever to stop them from casting. Do big damage right away or your entire fight can be a pain.
- Fighters Guild Thundermaul – 9,732 HP
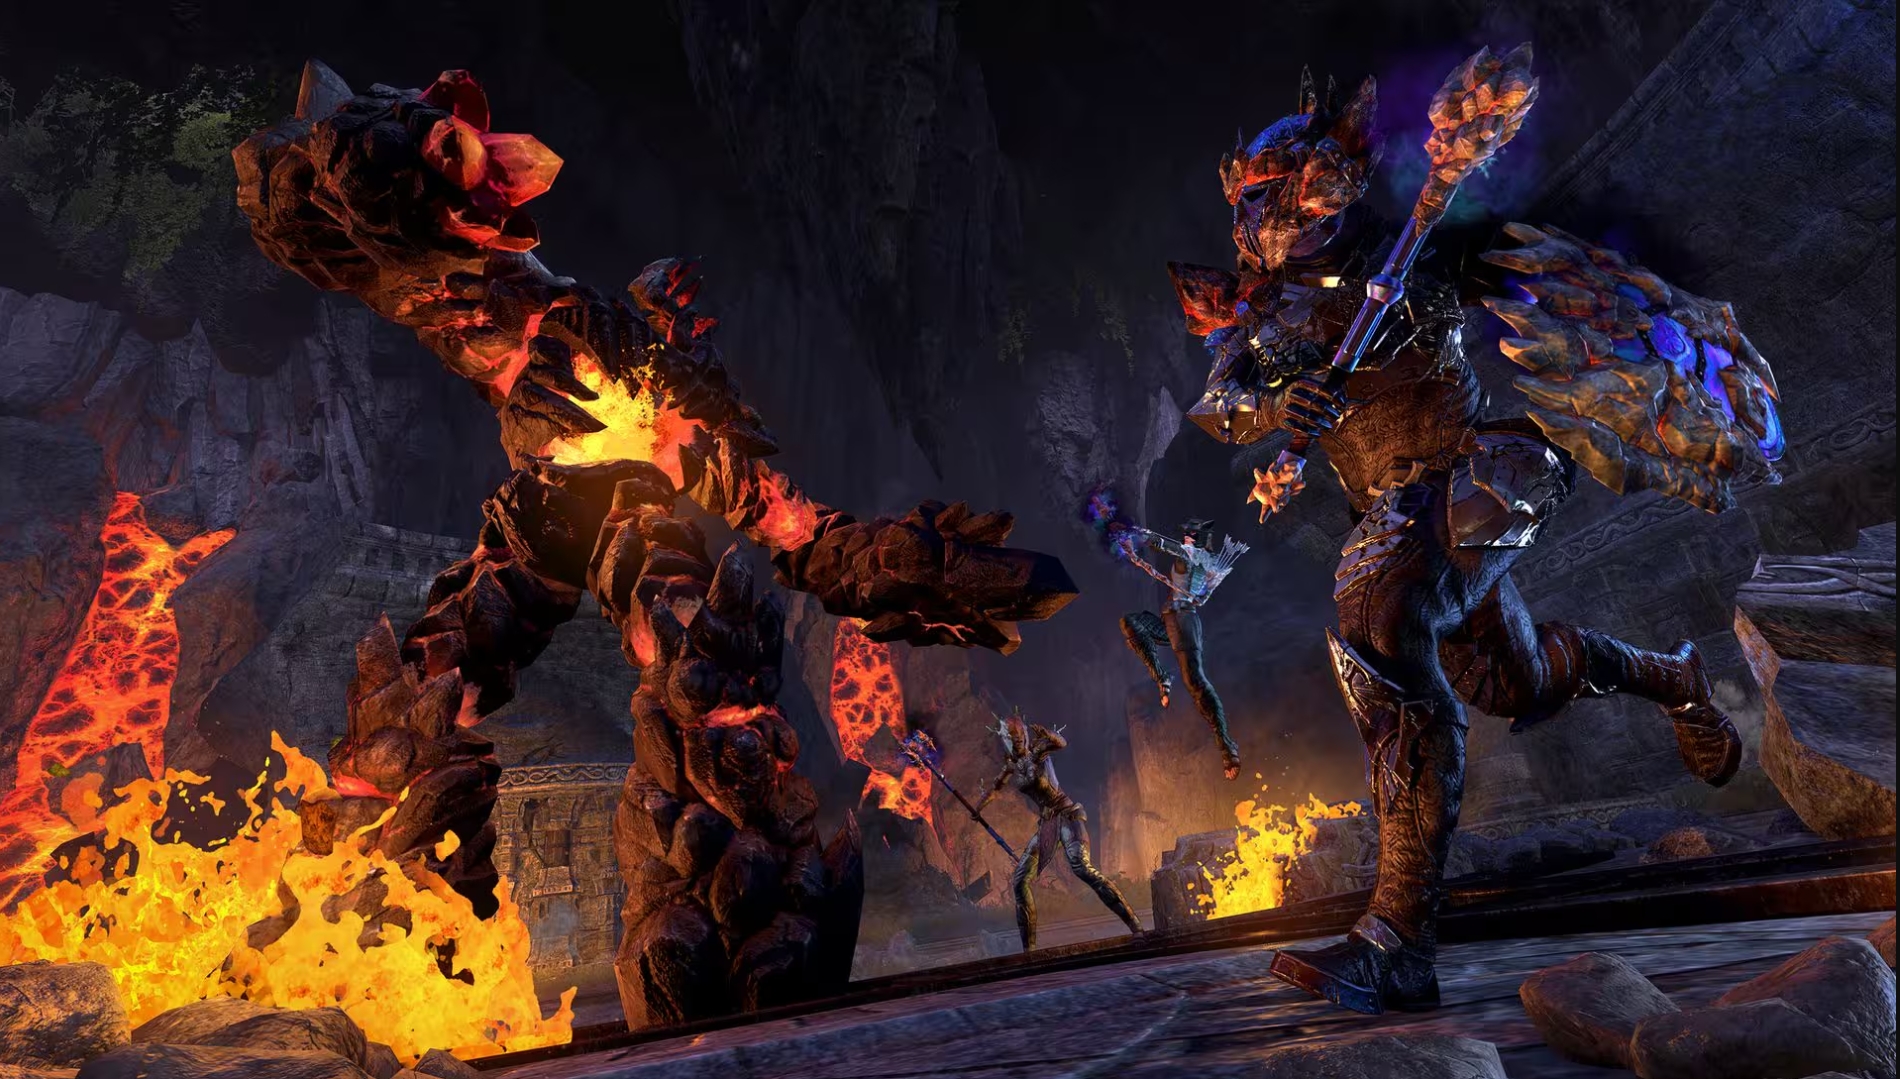
- The Thundermaul starts to poses a problem for groups. He has two major attack abilities which are a AoE cleave, or a big red cone in front of him. Also he cast a red circle that can be interrupted. It’s the tanks responsibility to range taunt or pull these guys in and face them AWAY from the group. That way if the cleave conal effect happens, it’s easy to side step and no one else takes damage. If you’re tanking this guy, bash a lot to prevent that AoE red circle of death.
- Fighters Guild Swordmaster (Banner-man) – 19,465
- The first type of mini boss will appear in later rounds and can hit very hard. Since these enemies are Fighters Guild, they have similar skills. One of which most Vampires will know, Silver Shards. If hit by this (as a Vamp or in Werewolf form) you’re looking at an un-preventable kill. It’s imperative that the tank range taunt and stun lock these guys.
- Fighters Guild Gladiator (Banner-man) – 27,251 HP
- The harder of the two Banner-man this one comes equipped with more HP and more abilities from the Dragonknight skill line. So you’ll be seeing Lava Whip (I love that ability) Silver Shards, and a new mechanic; AoE Healing Circle [Veteran Only]. Treat these guys with more caution then Swordmasters. Range taunt, point away from group and bash to death as a tank. Once they spawn the red circle at their feet, immediately pull back, taunt or pull them (and any enemies) out of it. It’s nearly impossible to DPS them through that so don’t get cocky, just peel back and get them out of it.
- Boss Champion Marcauld 80,296 HP
- Now add a lot of health to the Gladiator and you got the Boss or Champion Marcauld. He’s HEAVY on the Fighters Guild abilities now rocking the Dawnbreaker ultimate. This is the only mob in the entire Stage that cannot be stunned. You must not be facing him as a DPS or healer. The tank needs to position bosses face away from group otherwise that Dawnbreaker could nuke the entire team. And if you’re a Vampire, plan on taking 80,000 damage instantly so stay away.
General Strategies
So general strategies that work is the ol’ stack-and-whack routine. If you have a Dragonknight (DK) in your group, have them equip chains (Ardent Flame first ability) and pull those pesky range enemies to your group. Meanwhile the tank taunts the melee characters and works on facing them away from the group. Once everyone is pulled in, massive AoE and ultimates to nuke down many enemies at a time.
If you don’t have any DKs, you can still get this done by focus targeting. Meaning, have both DPS players on the exact same target at all times. One works on interrupts and the other works on damage. It’s harder but still rewarding nuking down healers one by one.
Rounds
- Round One – A basic introducing to the enemies and arena with a couple of waves of mobs. During the last wave, you’ll see a Swordmaster Banner-man so expect to pick him up right away and get in position.
- Round Two – Pretty similar to round one with the exception that you get a Gladiator at the end of the round instead of Swordmaster.
- Round Three – Now things get interesting with a couple of spawns and two Banner-Man at the beginning. It wouldn’t hurt to drop a defensive ultimate at the start of this battle until the tank gets these two in position. Continue to focus on range casters until you can concentrate on Banner-man.
- Round Four – Maybe the hardest round in the Stage as you’ll have a bunch of casters and Banner-Man to start. There’s about three spawns of adds so focus up for a long battle. Key here is to rotate defensive ultimates to prevent damage (DK Standard of Might, Nightblade Veil of Blades, Templar Nova, Sorcerer Negate). Everything up to this point in the fight can be stunned so take advantage of it.
- Boss Round – The start of this round can be hard as the boss and all of his buddies show up to the party. The best thing you can do is be prepared for action. Charge up ultimates in between rounds and get ready for the initial incoming damage. Once everything has been chains in or casters have been dealt with, tank points the boss away and nuke down the group with AoE. Expect some pressure as the tank might not be able to taunt every target. You’re going to have to block a lot and expect to take spike damage.
Roles and Responsibilities
Damage – I love doing damage in the Stage on my Dragonknight. I can pull everything in and AoE them down. For my other classes I really have to focus target on range casters. I leave the melee enemies alone until I’ve dealt with high burst damage casters or healers. Another tip is to stay close enough to your team and or healer to get healing. Don’t be the guy running off on his/her own ramboing. General rule of thumb, look in the top left of your screen on the group frame. If you’re healers name is bright red (meaning with 28 meters) you’re close enough to get healing. If everyone but you is red, you’re off being a hero.
Healer – This isn’t too bad of a dungeon to heal in. If you have a well coordinated team in the right positions, you can literally run Rapid Regeneration and Healing Springs only and do just fine. If you’re using a Templar, save Breath of Life for “oh crap” moments. If not, I suggest Healing Ward when someone gets low on health. This is also a good round to get some DPS in as it doesn’t require a full time healer. When I was healing on my Templar, I’d put Destruction Staff on my back bar with Impulse and Remembrance Ultimate. I could spam away at Impulse and quickly heal via ultimate if someone got in trouble and I couldn’t swap bars fast enough. Either way, keep people healed, but DON’T heal if everyone is sitting at 100%.
Tank – Range taunt or Inner Beast is your friend here. Don’t worry about taunting every mob in the Stage, just highest priority and melee. So for round four when many mobs spawn, pick up the melee and Banner-man. You’re priority is to get these mobs away from your DPS yet close enough for their AoE. Additionally, your position as in where they are facing is key. If they are looking at your DPS, it’s bad, get them facing you without a friendly at your back (explained in video). Don’t try to be the DPS tank king, or a healing hybrid. Just do your job and pick up the adds and bosses and this should be pud.
On to the next round, Stage Two – Frozen Ring
Comments are closed.