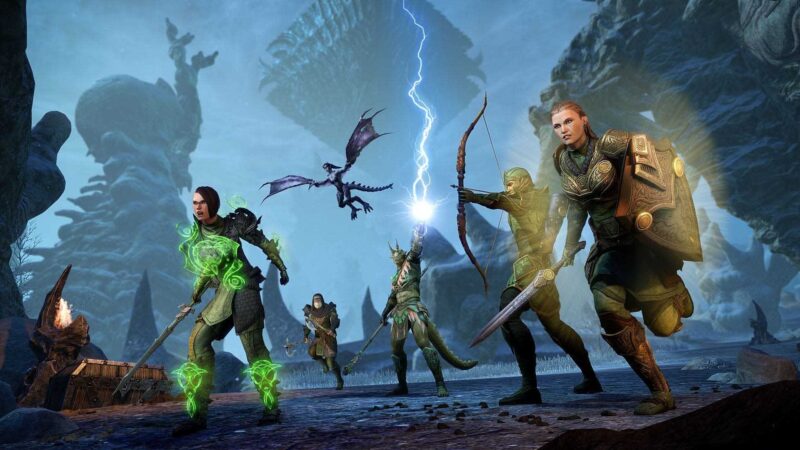
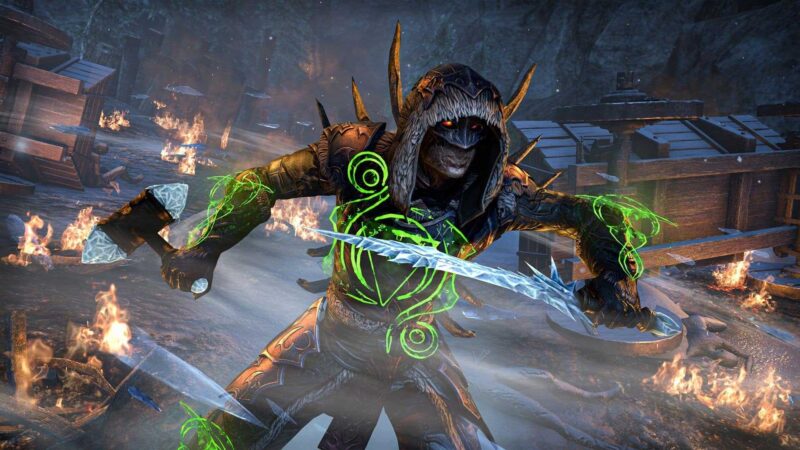
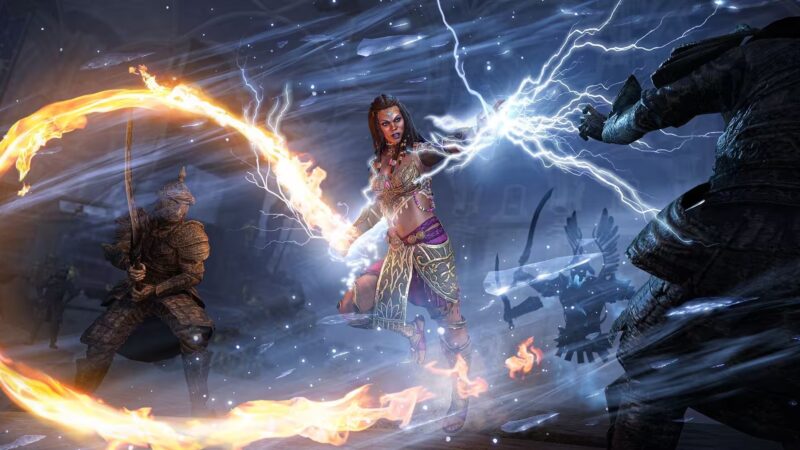
Welcome to the T3 Reborn Dragonknight Tank Build for The Elder Scrolls Online.
UPDATED BUILD FOR THIEVES GUILD HERE
Objective

The T3 build has manifested into a self-sustaining oasis of tanking awesomeness. I wanted to create a tank that could not only hold enemies attention, control the environment, but one that is self reliant as well. You’re not going to replace the healer anytime soon, though when one goes down you can stay alive for a very long time giving yourself an advantage over other builds.
The character I’m using for this build is Deltia. He’s a mean looking Nord with the defensive passives to boot. I decided to go back to Werewolf (WW) with the new changes in patch 1.5. More passive stamina and ultimate generation equals better tanking. Ideally, you can morph and change this build as you see fit, but that racial combination with WW seems best for a front line tank.
Like all builds, you strengthen one thing only to sacrifice another. The main thing you want is a sturdy tank, but one that can do more than hold block and swing once every 30 seconds. The down side is, you’re not going to top the charts in DPS and you can’t provide secondary healing. Your role is to survive and keep pressure away from your team and T3 excels at that.
+ Tough as a nails
+ Self sufficient
+ Resource management
– Range
– Lacking damage
Skills
 DELTIA STORY TIME: The night prior to this update, we had a Veteran Dragonstar Arena run that wasn’t going well. It was late, we were tired, and we had some new players in Stage 10. Finally we got our act together and had the boss down to 4% life when everyone but me decided to die. I could hear the sighs, moans and grunts of frustration and rage. But T3 wasn’t done, I had a ultimate (Corrosive Armor). I popped it, ran over with three Fire Atronachs and the main boss beating on me and standing in an enemy Negate and resurrected our primary DPS. We beat it, an impossible comeback happens and with this build, you’ll be able to do the same sorts of things.
Bar One | Sword and Shield
“Lock and block!” Bar one is where we spend most of our time tanking. Generally, you’ll be blocking, keep up buffs and taunts while maintaining aggro on mobs. You can also self heal and control the crowd (CC) so if worst comes to worst, you can almost do everything within this bar alone.
- Volatile Armor (morph Spiked Armor | Draconic Power skill line) – I like the Volatile Armor morph for the obvious reasons and one subtle one. It buffs our armor, returns physical damage AND does and AoE damage on cast. While that AoE doesn’t hit very hard and look spectacular, it does generate a decent amount of ultimate throughout the fight. So when in a group or even opening a fight, try to pop this to get a ultimate boost.
- Pierce Armor (morph of Puncture | One Hand and Shield skill line) – The standard taunt with the spell resistance debuff. I’m honestly not a huge fan of massive armor but I am a fan of killing things quickly. This does the latter and helps the DPS burn down bosses quickly. Key to this is to taunt the highest priority target on you and to not use this as a replacement DPS tool. Taunt and debuff, but don’t spam.
- Choking Talons (morph of Dark Talons | Draconic Power skill line) – Did you know that the 15% mitigation damage this provides works with bosses? I didn’t until Parfax told which I immediately switched morphs. This ability is still our main source crowd control The trick to using this properly as saving enough magicka for emergency self-heals. Don’t spam this constantly though a case could be made for all light armor DK tank.
- Defensive Stance (morph of Defensive Posture | One Hand and Shield skill line) – I’ve went back and forth between both morphs and really like Defensive Stance now. Reason is, yes Absorb gives you heals, but who needs healing if you can reflect on the damage? The stun Defensive Stance provides is the trick, stunning annoying caster for three seconds is better than a self-heal. Plus the added block mitigation and reduces block cost makes it a must have main bar ability.
- Green Dragon Blood (morph of Dragon Blood | Draconic Power skill line) – What can you say about the blood of titans? Well, it’s amazing. Keep the buff up for massive health and stamina regeneration and an emergency heal. I typically only use this under 30% since it scales off the amount of health LOST and the amount that you have. You should be the tanky beating heart DK so when you stop seeing that, make sure you cast it ASAP.
- [Ultimate] Pack Leader (morph of Werewolf Transformation | World Werewolf skill line) – I’m back to howling and loving it! They slightly buffed the ultimate generation of the WW via Blood Rage. Now for merely having this on my bar I generate six ultimate every three seconds while taking damage. I consider this a must for serious tanks because our ultimate generation is lacking. I rarely use this to morph into a WW since it’s hard to hold aggro as a rabbited beast (though it does look sweet). The only time I’d suggest using it is for a massive resource boost via the a Earthen Heart passive Battle Roar. Hit the ability, get resources back then hit your ultimate again to morph bank into your normal tank form.
- Standard of Might (morph of Dragonknight Standard | Ardent Flame skill line) – While the ultimate generation of Werewolf is huge, sometimes having flexibility is just as important in a fight with a lot of mobs. For instance, wave five of Veteran Dragonstar Arena I have both ultimates slotted. Standard is dropped on Shadow Casters and I save Corrosive Armor for the boss round where I have to tank a lot of mobs.
Bar Two | Sword and Shield
I changed to sword and board from the destruction staff after getting killed while swapping. The extra damage doesn’t seem worth it and especially in Trials, you need to block and make sure the boss doesn’t chase down a DPS.
- Extended Chains (morph of Fiery Grip | Ardent Flame skill line) – The ONLY class with a decent pull, “chain them and bang’em.” I consider this a must for trash pulls or Dragonstar Arena. Watch your magicka as you can blow through it fast. Also, do your best not to pull a wondering rabbit 🙂 I’ve also stopped swapping this ability out as it seems to work as an aggro tool (even on bosses). This is my emergency range aggro when I’ve over taunted the enemy.
- Inner Beast (morph of Inner Fire | Undaunted skill line) – Our range taunt that should be saved for an opener or red circle crazy death time. There WILL be a time where you can’t reach the target for a Pierce Armor. Switch to bar two, BLOCK and cast. And tell your allies STOP using that dang synergy. It’s a DPS and HPS loss so when you see “Radiate” don’t click it. Try not to cast this on every single enemy if possible. One, ESO doesn’t want you to tank EVERYTHING and two, you hate to see someone die to a synergy Radiant because they couldn’t block. Sometimes the best opener is a Extended Chains, bar swap, and Pierce Armor.
- Cinder Storm (morph of Ash Cloud | Earthen Heart skill line) – I love me some Storm. Miss chance, damage and snare. Consider this marking our spot as a tank. Keep the boss in this area along with Hist Bark passive and you’ll be saving massive stamina and you’re healer precious magicka. And every cast with this restores 4% stamina. So if you can’t block but have magicka, dump it here to survive.
- Crippling Slash (morph of Low Slash | One Hand and Shield skill line) – 1.5 changed this ability into a ultimate generation tool with some strong damage. I can generate five ultimate each time I use this ability plus reduce the enemies damage. I use this as a DPS and stamina dump tool. With this skill and the new Gargoyle two-piece set, you’ll be an ultimate machine. And 15% damage reduction to the target isn’t bad either.
- Igneous Weapons (morph of Molten Weapons | Earthen Heart skill line) – I consider this a mandatory Dragonknight group ability. If you bring in a DK as healer, tank, red circle lover, anything they need to keep this up. Plus it builds ultimate out of combat via the Earthen Heart passive Mountain’s Blessing. So while listening to your raid leaders 15 minute monolog on boss tactics that you’ll forget within five seconds of fighting (Atropos I love you), keep casting this until you have enough for a big dog ultimate.
- Corrosive Armor (morph of Magma Armor | Earthen Heart skill line) – No Dragonknight Standard and for good reason. “If you’re going to tank, tank.” Some piece of advice that I’ve handed out and need to listen too, making the swap for Corrosive Armor an insane survival tool. Not only does this make your DK god mode for 10 seconds, but it reduces weapon damage. Ironically, the hardest boss in the game uses poison or weapon damage. Meaning, this ability is just as powerful as Templar’s Nova and it’ll be hard for you to die.
But what would a Deltia build be without phat loots? Let’s check out what keep this monster rolling.
Gear
GOAL = 3,200 health > Armor hard cap 3,300 > stamina regeneration soft cap 135
The idea here is to be tough but not totally dependent on the healer. For that we need a lot of health and resource generation. Some of these sets, gear, glyphs, etc take a long time to get so be patient.
Armor Weight – 5/2 split (5 heavy and 2 light) After tanking Serpent Trials, you’ll really need at least five pieces of heavy armor. Being near or at 3300 armor is important to avoid one shot at the very hardest boss. That being said, you can still do 5 light and 2 heavy if you’re just doing dungeons or Dragonstar. I may have been wrong about heavy armor, it seems legit now and has good resource return when multiple mobs are attacking.
Set Bonuses (five Hist Bark, five Footman’s, and two Blood Spawn)
- Blood Spawn Set – This is a brand new set in patch 1.5 that drops in Spindleclutch. It’s an absolute game changer considering the ultimate generation. This with Werewolf makes your tank a machine especially with Magma Armor.
- In Veteran DSA, it’s more about resource management than ultimate generation (as the tank) so I swap in the Engine Guardian set.
- Hist Bark – This crafted set provides some great bonuses, but the five piece dodge chance really helps out our stamina. Since enemies have a high miss chance with this and Cinder Storm, yet another way to avoid medium armor or five pieces of heavy.
- Footman’s – I had some leftover jewelry from Dragonstar Arena and I put it good use providing a decent stat boost for three pieces.
Traits – You want the most out of your stats via infused on large pieces plus the divines for the Mundus Stone. We can’t change the drop sets, but they are generally okay not amazing.
Mundus Stone – I rock the Atronach on this build for big time magicka regeneration. With all of these passives, abilities, and gear I can hold nearly all resources at soft cap. I can block, cast, dodge, heal where other tanks can’t. T3 FTW.
Fighting
 I could make a spreadsheet saying at this very second use X, Y, or Z, but that never works. You need to focus on priories rather than a stagnate ineffective series of skills. This is what I focus on.
- Neutralizing the most deadly enemy – ESO doesn’t allow for a one-button mashing tank that pulls all the mobs. So we’re going to have to find the most deadly one. This is typically obvious with the giant spider boss or a towering troll. Only taunt what you can handle. If that’s a boss and two adds, great. If not, you’ll run out of stamina, get knocked down and die. You can’t take everything but you can lock down slow, stun, and irritate those little NPCs.
- Interrupts – I’ve noticed that most tanks don’t interrupt. You know, the big circle telegraphed icon above the enemies head. Sometimes it’s three seconds, sometimes it’s a split second. Either way, our responsibility is to stop that deadly cast that can make our break our boss run.
- Buffs – Another responsibility is to keep our buffs and debuffs up for mitigation and added DPS. Bar one has most of our buffs, but wait for a time when your healer is ready so you can swap bars and use bar two’s buffs quickly. Adding a Cinder Storm or Igneous Weapons here and there can have a major impact on the overall groups performance over time.
- Damage – “Wannnn I’m a tank I don’t need to DPS.” BS, everyone needs to do some type of damage. I’ve changed my build for single target damage via Crippling Slash. My problem is I try to do too much DPS and forget priorities one, two, and three. If the boss is at one percent, everyone’s dead, you can’t block the boss to death.
For those that love scripted actions, here’s what I normally do.
- Bar two – buff Igneous Weapons throw down Cinder Storm and bar Swap
- Bar one – Buff Volatile Armor, Green Dragon Blood, and Defensive Posture, now move in
- Yes another bar swap to Extended Chains as I close the distance and than Pierce armor back on one
- Now it’s priority mode watching, waiting, and surviving
While Leveling
I ‘ve been getting a lot of questions about early on leveling, builds in so forth. I know it’s hard to play T3 at level 17, but you just have to do what works until you can.
From levels 1-15, I almost always go with a Restoration Staff. I can do damage via my class abilities so I don’t have to rely on non-class skill lines. With Healing Springs alone, I can take on nearly anything until I get my second bar.
15-Green Dragon Blood, I pretty much Resto/Destro until I get Green Dragon Blood. You can do a million different things, but you need to be able to have some healing while soloing around and Healing Springs is a simple cost effective heal. Destro fire staff on a Dk is just two powerful not to wield and light up enemies left and right. Everything about this class changes once you get Green Dragon Blood (GDB).
Post GDB, now we have two bars unlocked plus the mac daddy of self-heals. No more staff and a skirt. Time to rock some light and heavy combo and go sword and shield. At this point, you’ll really start to feel powerful and defensive. Until then, it’s very hard since you can’t heal yourself.
Now go grind Craglon and get that lowbie to VR 14 and join me questing for the Queen. Thanks for reading and I look forward to your feedback.
 Reddit
 Email
Email


Comments are closed.