Find out some of the steps you can take in the early hours of STALKER 2: Heart of Chornobyl to put yourself at an advantage.

Stalker 2: Heart of Chornobyl takes players on a journey through a harsh and unforgiving world where every decision can mean the difference between life and death. While the game provides challenging gameplay and complex environments, it is important to set yourself up with the right steps and equipment. This is especially true if you want any success when navigating the varying dangers of the Zone.
In the article, we will break down a few things that you can do in the early hours of Stalker 2 to get yourself on a path of success through the Heart of Chornobyl.
6 Things To Set Yourselves Up in Stalker 2
1. Keep Your Gear from the Intro

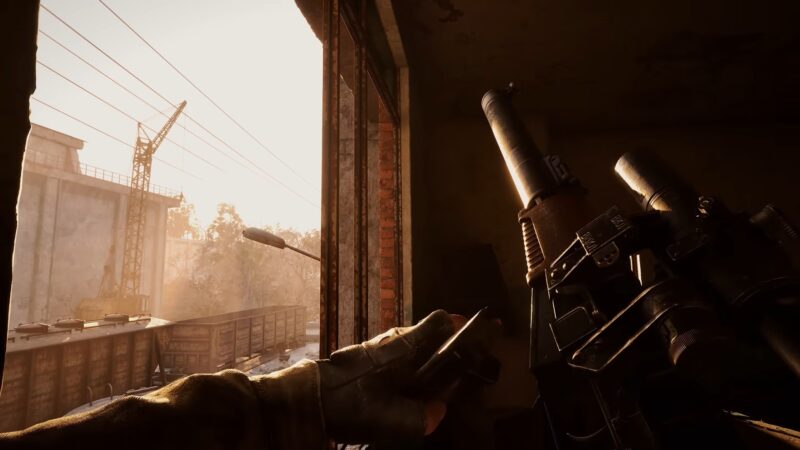
At the end of the linear prologue chapter, you place three scanners at specific locations. Following this, a cutscene will play. When you regain control of your character, your inventory will be completely empty. However, there is a way you can keep your gear. Before you approach the third scanner’s objective marker, you can check around the side of the building for an open window with a safe. Instead of cleaning the safe out, you can choose to store all the gear you want to keep inside it. This way, when you regain control, you’ll be able to return to the safe and retrieve your stored gear.
2. Get Your First Mission

On your way toward the Stalker settlement in the Lesser Zone, Zalissya, you’ll encounter a group of bandits engaged in a firefight at the post office. You need to help Zhorik, the person inside, by eliminating the bandits. Afterwards, you can talk to Zhorik to start a side quest to rescue his friend Gloomy. Gloomy is held at the Boiler House to the east. Before heading there, remember to stop by the downed airship slightly northeast of the post office to collect Zhorik’s stash. You can find the stash guarded by a few blind dogs and radiation. However, you should be able to make your way through it without much of a problem.
3. Snag a Bunch of Medkits

Before you make your way to the Boiler House, detour southeast of the post office to find an empty bus. Inside the bus, you will find various boxes that you can break with your knife to get bandages, five medkits, a grenade, and some vodka. You can use these items if you take damage during your next combat encounter and to deal damage to enemies as well.
4. Rescue Gloomy

Now, you can continue northeast to the Boiler House. Here, you need to eliminate the enemies inside. Once you’ve managed to clear the area, you can head to the second floor to find Gloomy. As a reward, he will give you another Echo Detector. Even if you already have an Echo Detector from the tutorial, it’s worth taking to sell later. Asking for something else will point you to the location of Gloomy’s stash, which is the next destination in your journey.
5. Go to the Magnetic Cove

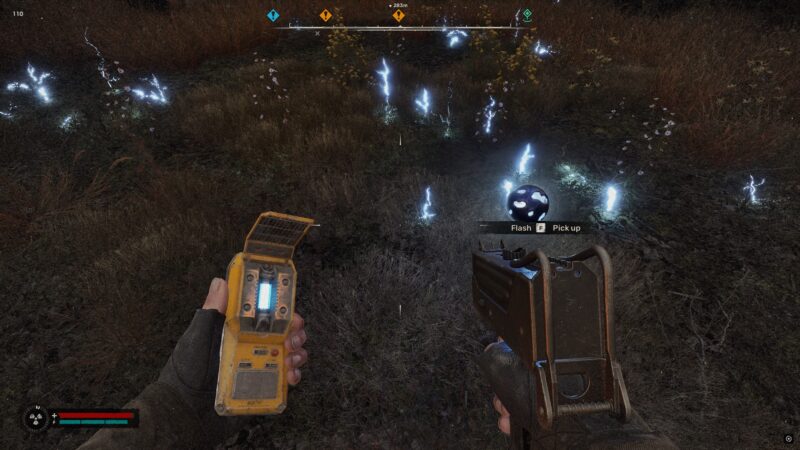
Just east of the Boiler House is a magnetic cave. You need to shoot the red barrel to blow up the crates blocking the entrance. This reveals an area with fire anomalies in Stalker 2. You can use your Echo Detector to navigate around the anomalies and move closer to the fastest beeping. Eventually, an artifact will appear, which you can collect. The artifact’s rewards are random, but even if the buffs aren’t useful, they can still be sold for a good price.
6. Travel to Zalissya

Now, you can make your way to Zalissya, the first major settlement, guided by your compass as part of the main mission. This also allows you to access various valuable resources, including Zalissya Journalist’s Stash. You can head to Warlock’s bar to trigger a cutscene and progress the main mission. Here, talk to Warlock twice to receive the side quest “Warlock’s Debtor.” You need to speak with the NPC Kolya Plaster for a quick side mission involving Hamster and Lens.
To the North of Warlock’s Bar, you can find Hamster the Trade. His shop is essential for trading, resting, and storing excess gear. You can sell the spare Echo Detector and any artifacts here. Additionally, you can purchase ammo and medkits to prepare for future encounters in Stalker 2.
Located in the building to the left of Hamster’s shop, you can also find Lens, who handles repairs and upgrades for your gear. Even if you don’t have items to upgrade yet, repair any worn equipment.
Thank you for reading the article. We provide the latest news and create guides for new and old titles, including Death Stranding 2, Baldur’s Gate 3, Roblox, Destiny 2, and more.
 Reddit
 Email
Email


