Facebook
 Reddit
 Email
Email
Discover everything you need to know about the Kullervo guide in Warframe and how to craft it while progressing.

Kullervo is one of those proto-Warframes, and he chose to remain loyal to the Orokin while the other protoframes were killed. To obtain Kullervo you’ll need to face off against him in Duviri. This can be done in both the Duviri Experience and Lone Story so long as the mood spiral is either Anger, Fear, or Sorrow. The Lone Story only has a chance of Kullervo’s fight being one of the stages, mind you. If you wish to guarantee a fight against him, then you’ll need to do the Duviri Experience. Kullervo is a very strong new Warframe. You can use him for enhanced gunplay through Collective Curse, turning every single weapon in the game into a powerful AoE. But his main strength is in being a ridiculously powerful and efficient melee user. In this guide, we’ll discuss Kullervo’s abilities in Warframe and its builds along with alternate equipment.
Kullervo in Warframe – Overview
Kullervo is a Warframe who uses daggers and melee to deal high damage. He can also use a shotgun and a storm of daggers. Kullervo can teleport in any direction, charge a heavy attack, or teleport to a marked location. He surrounds himself with daggers that bind enemies. The Void sends a storm of daggers that rain down on enemies. Crafting the Kullervo is hard to craft as you need to get valuable materials. It can be a good choice for new players, and its chaining ability also works for snipers and other single-target weapons. You need to learn its abilities, and it can make your progress smooth. It has a signature shotgun that increases his melee combo count. Follow our Kullervo guide for Warframe to get Overpowered with recommended builds.
How To Craft Kullervo in Warframe

To get Kullervo, you’ll need to unlock Duviri. Complete the quest Vor’s Prize and then complete the introductory story mission for Duviri.To farm Kullervo we’ll need to do The Duviri Experience Game Mode during Sorrow, Fear, or Anger Spirals. Kullervo’s hold, the location of the Kullervo Quest is only accessible during the Sorrow Fear and Anger Spirals. Before heading directly to Kullervo’s hold, it’s a good idea to stack some decrees to make the fight easier. I prefer to hit the Kullervo fight around the 5 out of 6 quest mark.
To start the Kullervo fight, you’ll first need to speak to the Warden. He’s located on a platform overlooking the coliseum in Kullervo’s Hold. The Kullervo Fight is fairly straightforward. Each time you deplete a health bar, he will respawn at the entrance and gain a new ability to use, and will also spawn Adds. The Transference ability from Drifter intrinsics can make this fight significantly easier. Defeating Kullervo, unfortunately, does not immediately award Kullervo’s Bane.
To finish receiving Kullervo’s Bane, we’ll need to defeat the Orowyrm to finish out the Spiral. Here’s a fast recap on Orowyrm, get the Orvius from the quest marker, get on your mount, and fly toward the Prowyrm. Hit the projectiles with Orvius to get a burst of movement speed. Latch onto the round object on the Orowyrm’s side. Jump and relatch heading towards the Orowyrms Head. Avoid the projectile by jumping and relatching. Complete Transference to take control.
Knock out the tether objectives and head to the portal within the time limit. In the next part, target the red rings around the Orowyrm and then kill all of the Adds. Rinse Repeat until Orowyrm is defeated. And finally, opening the chest here will give you between 4 and 6 Kullervo’s bane.
Kullervo Blueprint
To purchase Kullervo blueprints, head to the Dormizone in the Duviri main menu. Speak to the NPC on your immediate right, and select Kullervo’s Archive. You’ll need a total of 42 Kullervo’s Bane to purchase every blueprint necessary to unlock Kullervo at the Foundry. This will take between 7 to 11 full runs of the Duviri Experience to complete.
Drifter Intrinsics

It’s recommended to pick up a few drifter intrinsic upgrades to farm Kullervo more easily, pick up Fast Travel from the Riding Category for teleporting to Kullervo’s Hold and farming resources, Smooth path from the riding category will show resource locations on the minimap for easier resource farming, Transference from the Combat Category allows you to activate your Warframe while playing as the drifter, and pretty much everything in the opportunity category makes Duviri easier in general.
Blue Resource Farm
Here’s where to find the blueprint materials. Farming Ueymags is easier during the sorrow, fear, and anger spiral. You’ll find these around Kullervo’s hold and also The Chamber of Muses. Nacreous Pebbles and Ariette Scales come from completing the Feeding Maw minigame. The entry point for this minigame spawns around bodies of water in Duviri. Farming Eevani plants can be done during the envy and joy spirals, head to either Archabor or the Ampitheatre to find these.
Connla Sprouts can be found around the ponds located in Lunaro Court. Tasoma Extracts can be found inside caves anywhere in Duviri. All the other resources are located everywhere and are farmed just by playing Duviri. If you’ve already finished farming Kullervo’s Bane and just need to farm the blueprint resources, set your game to solo and enter the Duviri experience. After you’ve finished collecting all the resources and you’re ready to reset, make sure to complete a mission first. This is because the materials you’ve farmed up to this point are only saved after earning a decree.
Rune Marrow Farm
Here’s an easy way to farm Rune Marrow. Open the Duviri menu and check the Warframes available in the top right. If you own one of these Warframes, head over to your arsenal and equip a thief’s wit on this Warframe. Head back to Duviri and start a normal Circuit, make sure to select the Warframe that you equipped Thief’s Wit on. While running the Circuit, you’ll be able to see Rune Marrow destructibles called Runic Compact Deposits on your minimap, taking out all of the guesswork for finding these.
Kullervo Blueprint- Acrithis Vendor (15 Kullervo’s Bane)
- 30,000 Credits
- 1 Kullervo Neuroptics
- 1 Kullervo Chassis
- 1 Kullervo Systems
- 10 Pathos Clamps
Kullervo Neuroptics- Acrithis Vendor (9 Kullervo’s Bane)
- 15,000 Credits
- 50 Lamentus
- 50 Tasoma Extract
- 100 Saggen Pearl
- 100 Connla Sprout
Kullervo Chassis- Acrithis Vendor (9 Kullervo’s Bane)
- 15,000 Credits
- 125 Nacreous Pebble
- 100 Kovnik
- 75 Rune Marrow
- 100 Ueymag
Kullervo Systems- Acrithis Vendor (9 Kullervo’s Bane)
- 100 Ueymag
- 15,000 Credits
- 100 Aggristone
- 100 Eevani
- 360 Ariette Scale
Kullervo Abilities in Warframe

Kullervo boasts +75% heavy attack efficiency and +100% heavy attack wind-up speed on all melee weapons. Kullervo comes with heavy attacks that can deal devastating damage. His melee weapon can gain +75% Heavy Attack Efficiency and +100% Heavy Attack Wind Up Speed. Enhance the effectiveness of this mod with specific melee mods. However, you cannot exceed 90% heavy attack efficiency. He cannot build a melee combo if he lacks a melee weapon. His melee weapon attacks and dagger hits increase by the Collective Curse that combines one melee combo per hit.
Wrathful Advance

Kullervo charges a Heavy Attack, then teleports to his target and strikes. His rage-filled focus temporarily increases his Melee Critical Chance.
Wrathful Advance Stats
- Dain: 25 Energy
- Buff Duration: 10 Seconds
- Range: 25 Meters
- Strength: 200% melee final critical chance
Applicable Mods
- Duration: Affects critical buff duration
- Range: Affects targeting range
- Efficiency: Affects the cast Energy cost
- Strength: Affects critical buff magnitude
If you look at an enemy and tap the ability, Kullervo will charge up a heavy melee attack and then teleport to the enemy when making the attack. This is where Kullervo’s passive comes in handy to speed up the ability and reduce the cost to your combo. Not only that, the teleport also increases Kullervo’s critical chance. At base value on a max level Kullervo this is a +200% absolute critical chance. It is applied after all other bonuses are calculated, and scaling with his Strength. Mods like Sacrificial Steel offer +220% critical chance on its own or +440% on a heavy attack. This might lead you to misunderstand Kullervo’s bonus.
This 200% bonus is regardless of your weapon and mod stats, just directly adding to your final critical chance value. If after all mods you have a 50% critical chance, Wrathful Advance makes that 250%. If you boost Kullervo to 200% strength, doubling the effect of the ability, then you’ll have a total of 450% critical chance here. Kullervo completely eclipses the critical chance you can achieve on all melee weaponry with a single ability cast. The buff also lasts 10 seconds after the teleport, allowing you to continue delivering devastating blows.
If you’re new to Warframe, over 100% critical chance might sound meaningless. Simply put, the critical bonus of your weapon can be applied multiple times over if you get above 100% critical chance. For each 100% critical chance you are guaranteed to have the bonus applied one more time, and the remainder is a chance for yet another critical bonus on top. So, 450% means a guarantee of four times the critical bonus, with a 50% chance of a fifth critical bonus again. Your critical bonus is one less than the critical multiplier. For example, a 2x critical multiplier means a bonus of 1x your damage.
450% critical chance would be a guarantee to increase your damage by 1x four times over, and a 50% chance to increase it a further 1x. This gives you either 5x or 6x damage on hit. You can easily get 20x or even 30x damage bonuses for higher critical multipliers here. The previous strongest Warframe for giving essential bonuses of chance in this fashion was Harrow, who’d give you a max of 50% critical chance to all weapons.
While Kullervo is limited to only buffing melee weapons, and specifically only himself, it takes no charging up. One-quarter the energy to cast, and the base value is better than the maximum value Harrow can offer yet without the headshot requirement. Wrathful Advance also comes with the option to hold down the ability cast, allowing you to teleport without having to target an enemy. This skips the heavy attack if not pointed at an enemy but still gives you the critical bonus for the normal duration.
As a usability tip, you can go into your options, select Invert Tap/Hold Abilities, and change Kullervo to Inverted. This makes the tap cast an instant teleport to whatever you’re pointing at. This makes teleporting untargeted faster. It has the downside of always teleporting on tap cast rather than only when you successfully aim at an enemy in range. Use standard settings if you mostly use his 1 to kill and don’t want wasted teleports. Switch to Inverted when using Kullervo’s ability to quickly blink around the map. Lastly on this, Wrathful Advance is available via the Helminth system to other Warframes, at the cost of half the base critical bonus and range.
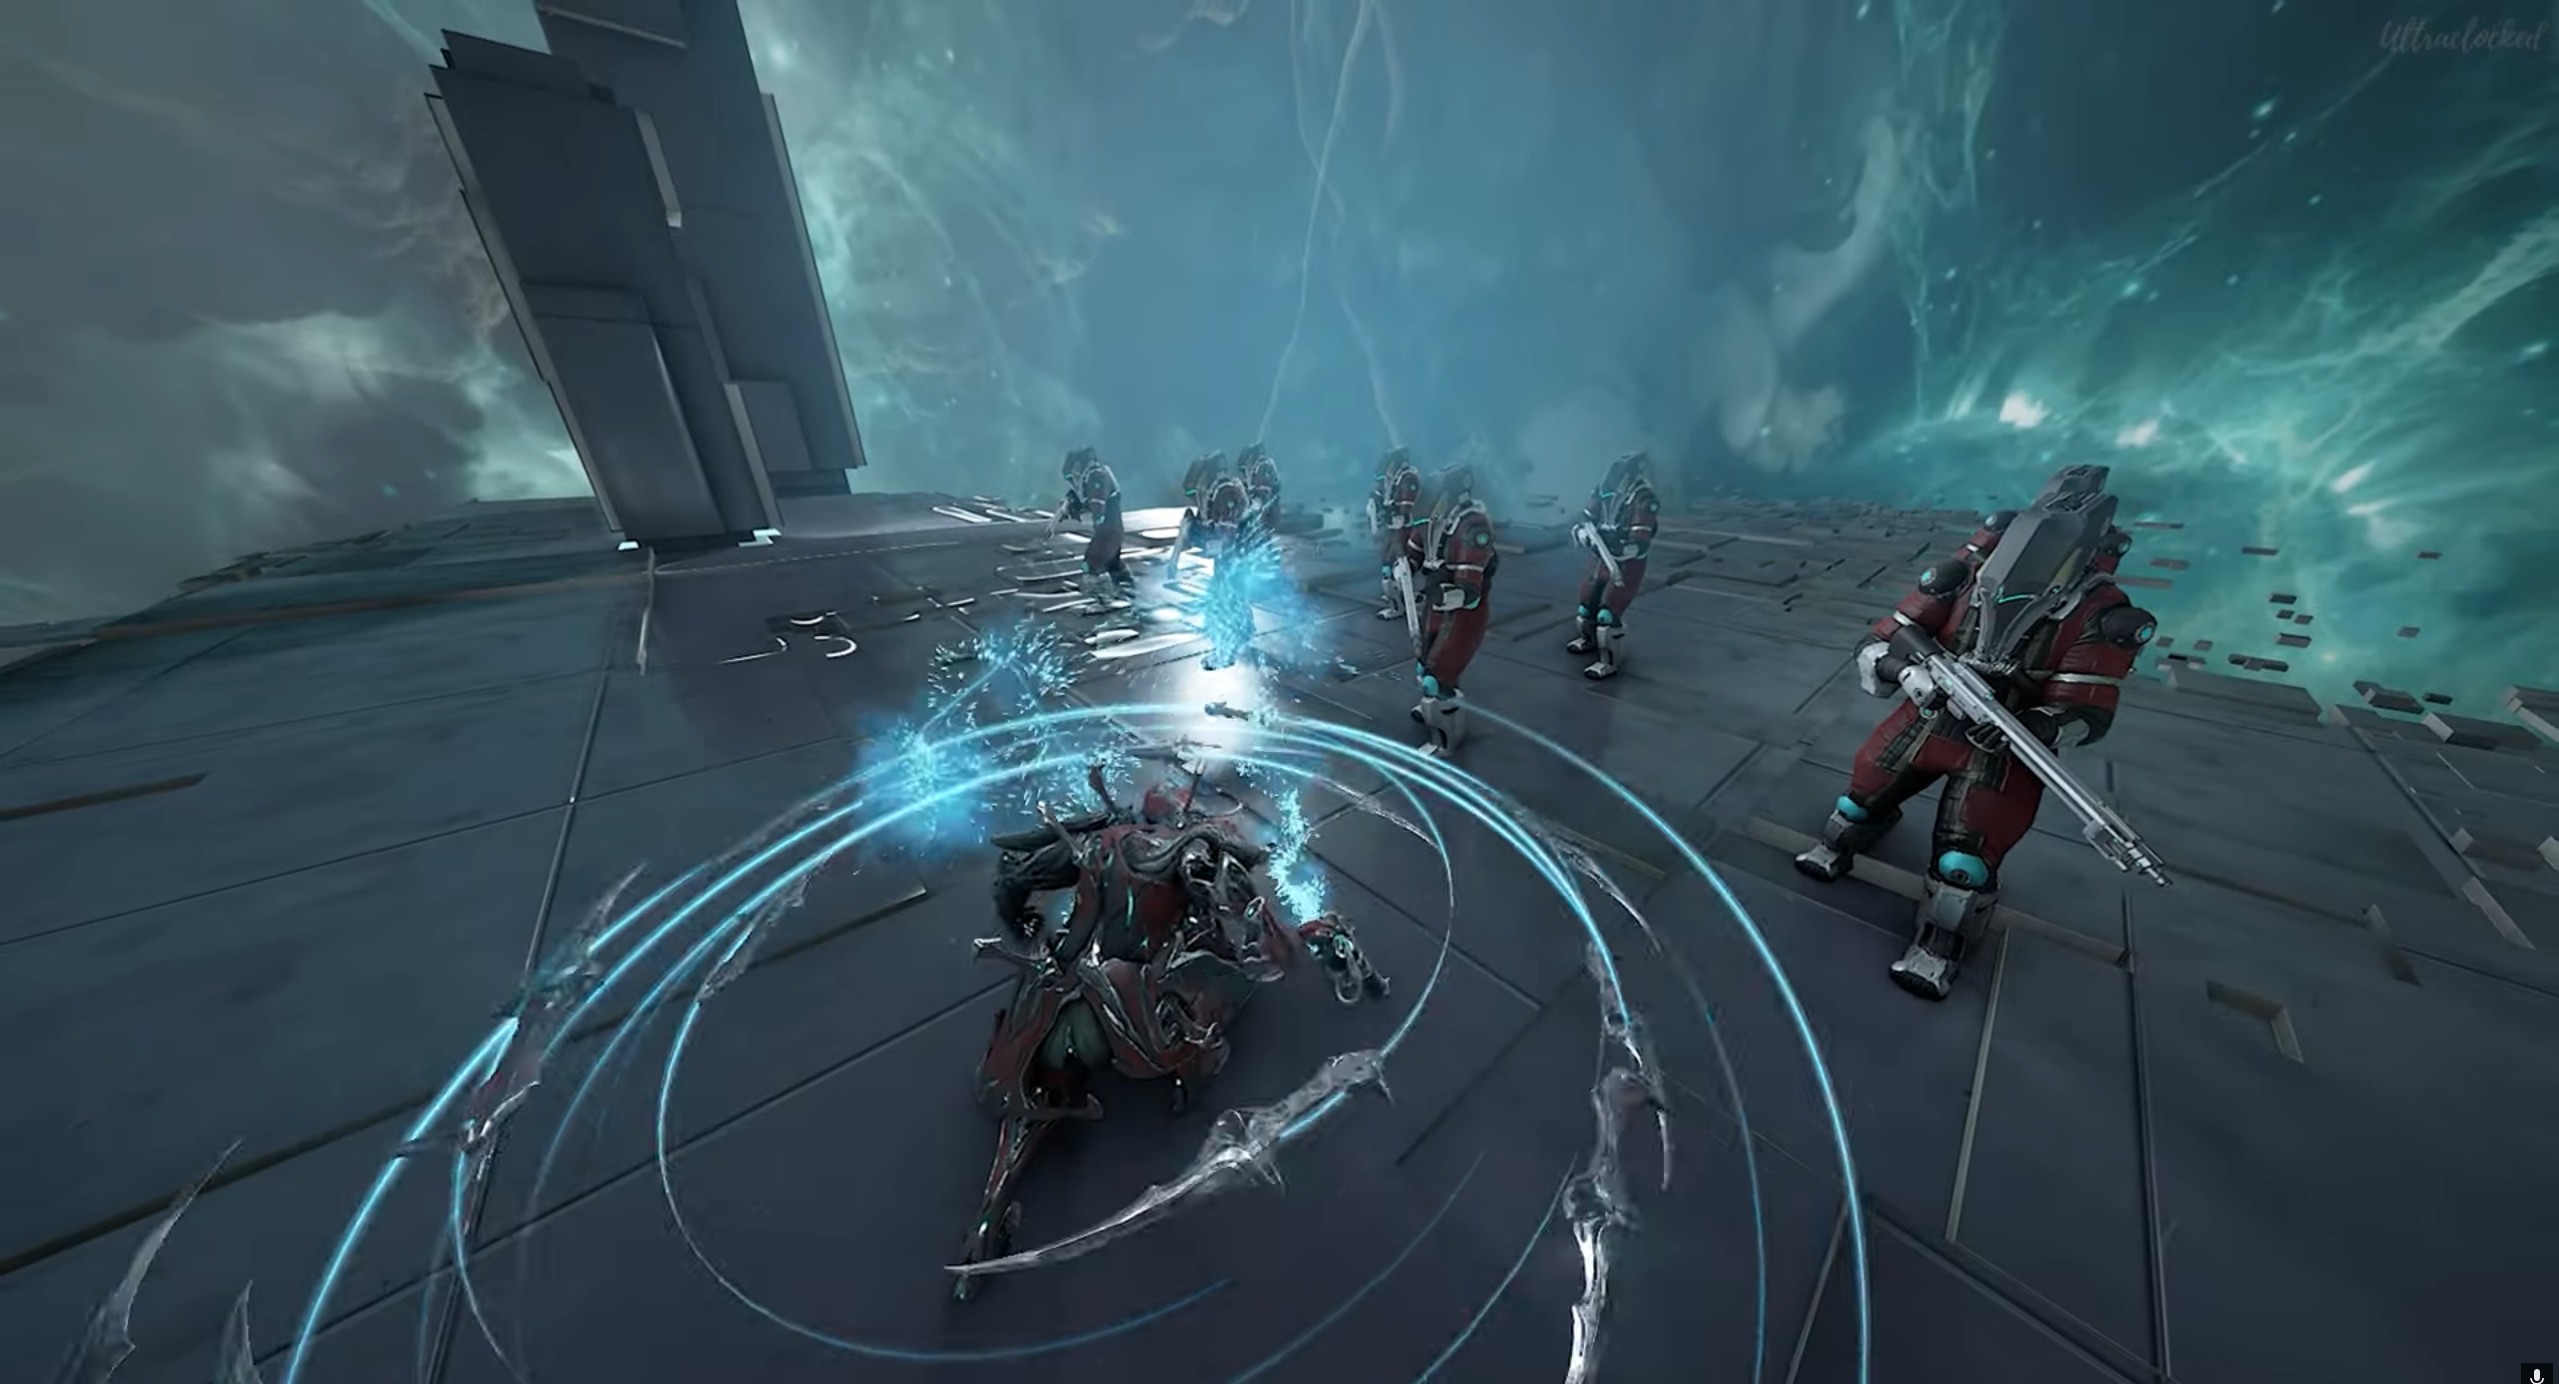
Recompense

Kullervo surrounds himself with daggers. Each dagger that strikes an enemy restores his health, but each dagger that misses an enemy strikes Kullervo, dealing a bit of damage. When Kullervo has max Health, he receives Overguard from struck enemies.
Recompense Stats
- Drain: 50 Energy
- Dagger Count: 10 Daggers
- Radius: 8 Meters
- Damage: 500 Slash damage per dagger hit
Applicable Mods
- Duration: N/A
- Range: Affects targeting radius
- Efficiency: Affects the cast Energy cost
- Strength: Affects damage, healing effects, and Overguard generation
It summons 10 daggers around Kullervo. Each dagger will home in on a nearby enemy, with a base seek range of 8 meters. If it hits an enemy, you deal 500 damage to them. Kullervo will heal 200 health, or 200 overguard if his health is full. If after 5 seconds there are any daggers that have yet to find an enemy, they’ll instead turn back in and hit Kullervo for 35 damage. The damage and healing stats are all affected by strength, and the seek range is affected by range.
While only three daggers can hit any one enemy, requiring four enemies within range to use up all the daggers. Kullervo will always have a net gain of health so long as at least two daggers can land, requiring just a single enemy. Do be aware that the self-damage from this ability ignores damage resistance. This means that losing overguard to extra daggers is effectively cheaper than losing health. The dagger damage is good for early games, but it falls off over time, even with the guaranteed slash proc. The ability also grants 1 combo to your melee combo meter for each dagger that hits.
This ability is most important for the healing and the overguard it provides. With all daggers landing at base strength, Kullervo can heal 2000 health. It is an incredible amount for a quick healing ability. The overguard feature has been a bit controversial, with various parts of the community. It is capped at a max of 5000 overguard from this ability. Overguard acts as an extension of your health pool, but gains no benefit from armor or mods like Adaptation.
It is incompatible with mods like Rage. This makes the hitpoints it offers much less effective at higher levels. The higher armor and the Adaptation mod can be expected to be used on a healthy tanking Warframe. Kullervo, however, is available very early game, albeit with quite a grind. This Overguard feature provides a high amount of hitpoints for lower-tier play. It doubles his EHP when built with just a max rank Vitality for defense.
In addition, Overguard also provides knockdown immunity. It’s not total status immunity but is more akin to a newbie alternative to Primed Sure Footed. For higher-tier play, the Overguard becomes increasingly less valuable and durable. This put higher demands on supporting Kullervo’s health pool instead. Incidentally, higher-level players also have access to means to improve the effectiveness of health tanking massively.
Collective Curse

Kullervo sends forth a curse that binds enemies. When a cursed enemy takes damage from him, every other cursed enemy also suffers a portion of that damage.
Collective Curse Stats
- Drain: 75 Energy
- Duration: 25 Seconds
- Range: 25 m wave distance
- Damage Redirection: 50%
Applicable Mods
- Duration: Affects Curse duration
- Range: Affects the curse’s travel distance
- Efficiency: Affects the cast Energy cost
- Strength: Affects the damage redirection magnitude
Kullervo sends out a wave of energy to 25 meters in a forward 65-degree cone. It connects all enemies it hits with an intangible tether. This curse can penetrate all-terrain, chaining even unseen enemies. While the curse is in effect, at base 25 seconds, any damage Kullervo deals to a chained enemy is also applied to all other enemies in the chain. This chain has a variety of curious properties:
- The base damage chaining is 50%, meaning if you deal 1000 damage to one enemy, all the others will take 500.
- You can increase the chain to a maximum of 100% with 200% strength.
- Any damage shared is after all modifiers on the initial target.
For example, if you hit an enemy weak to corrosive damage with corrosive, the shared damage to other enemies will account for the bonus applied. If they aren’t also weak to corrosive,
Potentially dealing more damage to the chained enemies than if you shot them directly. Status effects are not spread through the curse. However, the damage of those effects does get spread. The damage carried over is based on the damage pop-up you see, not just the enemy’s remaining.
This means if you hit an enemy with 100 hitpoints for 1 million damage, the shared damage will be based on the 1 million, not the 100.
All of Kullervo’s attacks, including guns, melee, and abilities, will chain through the curse. However, damage dealt by his companions or allies can’t be chained. If you cast the curse twice and chain two groups of enemies, dealing damage to one group will also affect the second group. So, as long as there’s at least one link between the groups.
However, damaging one will not hurt the other if the two groups are completely disconnected. Strangely enough, the type of hitpoints you are hitting has a huge effect on how it chains. If you shoot an overguarded enemy, the chain damage will only hurt the overguard of other enemies, or otherwise do nothing. If you shoot the shields of an enemy, the chain damage will hurt the shields and overguard connected enemies. But it deals zero damage to health.
If you damage an enemy’s health, the chain damage will hurt the health and overguard the connected enemies. It bypasses the shields entirely. Lastly, the chained damage counts as ability damage. It won’t trigger the bonuses on your guns such as Primary Merciless. However, if your melee weapon delivered the damage that triggered the chain, then the chained hits will also generate melee combo.
The main takeaway is that you can curse a whole group of enemies, strike one of them down, and the others will fall over too. For maximum value, hit the enemy in the chain that will give you the highest damage number on health. Avoid targeting small damage on shields or overguards if possible. On Kullervo your Wrathful Advance and Collective Curse will probably be your bread and butter. Link up all the enemies, and then smack one of them with the mother of all heavy attacks. This sheer damage output is what makes Kullervo’s relatively limited defense in higher-level play less of a concern. It’s hard for enemies to hurt you when you level a whole room without even being able to see some of the targeted enemies.
Storm Of Ukko
The Void answers Kullervo’s invocation with a storm of daggers that rain down upon his enemies.
Storm Of Ukko Stats
- Drain: 100 Energy
- Duration: 15 Seconds
- Radius: 10 Meters
- Strength: 2,500 Slash damage per second
Applicable Mods
- Duration: Affects storm duration
- Range: Affects storm radius
- Efficiency: Affects the cast Energy cost
- Strength: Affects the storm’s damage over time
This ability creates a damaging zone surrounding the spot Kullervo is at when he casts it. The ability seems to rain down daggers randomly. The actual damage hits all enemies in the area every half a second for the ability damage and applying a stagger and slash status effect. A base damage per second of 2500 and 15 seconds. This is a lot of damage output able to tear through enemies, mainly if Collective Curse afflicts them to multiply each hit out.
This comes with a 10-meter radius and 100 energy cost. Enemies in the zone may regret waking up that day. Every enemy outside this small area couldn’t care less. Storm of Ukko is effective but lacks the application to stand out against the rest of Kullervo’s abilities and justify the cost. As a utility positive, Storm of Ukko also generates a combo with every hit.
It allows you to get to maximum combo if cast directly onto a group of strong enemies. If you have access to the Helminth system, this will usually be the ability you should replace. On Railjack, Storm of Ukko is the ability Kullervo provides to the Tactical Menu, for those of you who remember that that exists. In essence, Kullervo has a damage ability with teleport. It is a damage ability with heal, area damage ability through chaining, and area damage ultimate.
Kullervo Builds
Here are the builds for Kullervo guide in Warframe.
Super New Build
This build can be used with no Forma, no Orokin Reactor, and mods which are not too hard to get hold of in the earlier stages of the game. With relatively balanced casting stats you can use Kullervo’s kit quite effectively. You’ve got additional tank and energy generation with the combo of Vitality and Rage. The choice of aura is entirely optional, just use what fits.
But you don’t want to be sticking around on a newbie build forever. As you navigate the star chart, you can invest more thoroughly towards this build here.
Mid Tier Build
We’ve dropped down the duration stat from the newbie build as the only ability. It matters whether his 1, which is cheap to cast and his 4, which isn’t that important to use. Instead, we’ve got more range, strength, and energy max to better use the potential energy income. The 200% strength here is a breakpoint of sorts, a soft cap. While you can take Kullervo beyond 200% strength and gain benefits for doing so. The cap on his third ability means it’s not as valuable to keep going. Still, fully modding like this to get to 200% strength is worth it for the 100% damage replication on all cursed enemies. As the build title suggests, this is only a mid-tier approach.
Main Build
Once you’ve cleared the Star Chart and get into the higher tiers of upgrade options, we can shift towards affording the new build. This is only a two-form build here giving a soft goal for a build that handles all factions at all non-endurance levels. Once again, we’re focused on that high range high strength approach. However, now we’re also bringing in Arcanes. Arcane Steadfast is an efficiency style arcane allowing for free ability casts from time to time. This reduces the demand for efficiency on the build. It can even allow you to throw down Storms of Ukko in chokepoints without having to think about the energy drain.
For defence we’ve upgraded to Umbral Vitality, enhanced by Umbral Intensify, as well as using both Adaptation and Arcane Guardian. Kullervo comes with a decent amount of base armor, increased further by leveling him to 30. Guardian takes that yet further. If you’ve not run a health tanking Warframe in Steel Path before, we can assure you it does work for all typical non-endurance missions. You just need to remember you’re not immortal, so dodging or killing things like Blitz Eximus is a requirement. Still, treating adaptation as around two-thirds damage reduction. On top of the 83.8% damage reduction from armor, Kullervo is rocking.
As it offers 95% damage reduction on health, sporting over 30,000 effective hitpoints. Given we can fully heal nearly instantly with Kullervo’s 2, he’s quite sustainable. Theoretically, you could swap Arcane Guardian for Arcane Reaper. There are, however, two issues with this. One is that Reaper provides a lower armor bonus in exchange for a healing over-time effect. Kullervo’s got healing down just fine when he needs it, so it’s more just the loss of armor to consider. Guardian is pretty reliable as is if you’re in the kinds of missions where you can health tank.
If you can’t live long enough to proc Guardian, the armor from Reaper probably wouldn’t save you either. The second and much more pressing issue, however, is that Arcane Reaper is both very new and in rather limited supply. This will change with time, but for now it’s not going to be the cheapest. It’s quickest arcane to obtain for bonuses that look nice but are probably not worth that much of an investment. This is why we’ve gone for Guardian instead. Now this build is assuming you don’t want to over-invest in Kullervo. With access to Archon Shards, you can take this even further.
One or two Azure shards will be able to grant you some energy max to replace Primed Flow. With that out of the way, you can instead introduce Carnis Carapace. This will further raise your health and armor by a little bit. The far more important stat is the set effect granting evasion and status immunity on heavy attack kill. This is Kullervo we’re talking about, literally made for heavy attacks. This will further enhance your durability especially against status effects. Consider using the other Carnis mods on your secondary and melee weapons to get the maximum duration from the effect.
Alternate Equipment for Kullervo in Warframe
Use melee weapons with high heavy attack damage and good combo potential. It must have high AoE capabilities when looking for alternate equipment for Kullervo in Warframe. This is because his playstyle revolves around maximizing combo counters with his abilities. Here are some alternate equipment for Kullervo.
- Praedos (Incarnon Tonfa)
- Hespar (Warfan)
- Syam (Heavy Blade)
- Sancti Magistar (Sword)
- Dual Ichor (Dual Daggers)
- Keratinos (Dagger)
- Stropha (Warfan)
Weapons with high slash proc chance can further amplify Kullervo’s damage output. Use Incarnon weapon variants to further customize your weapon’s stats and add unique abilities. A good primary weapon for Kullervo could be a high fire rate weapon with a good status chance to apply procs.
FAQs about Warframe: Kullervo Guide
What is Kullervo in Warframe?
Kullervo is one of those proto-Warframes, and he chose to remain loyal to the Orokin while the other protoframes were killed.
How to get Kullervo Blueprint in Warframe?
Head to the Dormizone in the Duviri main menu. Speak to the NPC on your immediate right, and select Kullervo’s Archive. You’ll need a total of 42 Kullervo’s Bane to purchase every blueprint necessary to unlock Kullervo at the Foundry.
What is Kullervo’s Collective Curse ability in Warframe?
Kullervo sends forth a curse that binds enemies. When a cursed enemy takes damage from him, every other cursed enemy also suffers a portion of that damage.
Looking For More?
Thank you for reading the Warframe: Kullervo Guide. We provide the latest news and create guides for Baldur’s Gate 3, Starfield, ARK Survival Ascended, and more. Also, watch Deltia play games on Twitch or visit his YouTube channel!