Facebook
 Reddit
 Email
Email
Integrate Google’s AI Mode to deliver instant, intelligent answers in your app. Learn how to add this powerful AI search to your app.
AI-assisted web search is becoming extremely popular, with LLMs getting smarter and easier to run. This trend has truly taken off. Google’s take on this approach is AI mode, which has more advantages than generic AI-powered searches. Google’s Gemini 2.5 model is directly implemented into the search experience, and the responses are even better than before. Here’s how you can leverage Google’s AI capabilities to create a superior search experience.
Note: This guide is for tech-savvy individuals who want to integrate Google AI search experiences into their web or app workflows.
Understanding Google’s AI Mode

As mentioned, Google’s AI model incorporates the latest GEMINI 2.5 model and helps perform complex searches for the end users. Google does this with its new “query-fan-out technique,” which automatically breaks down complex questions into subtopics and simultaneously performs multiple short-term searches for the best accuracy. This approach allows the AI model to explore the web in depth and offer results that traditional single web searches cannot provide.
Key Capabilities You Can Implement
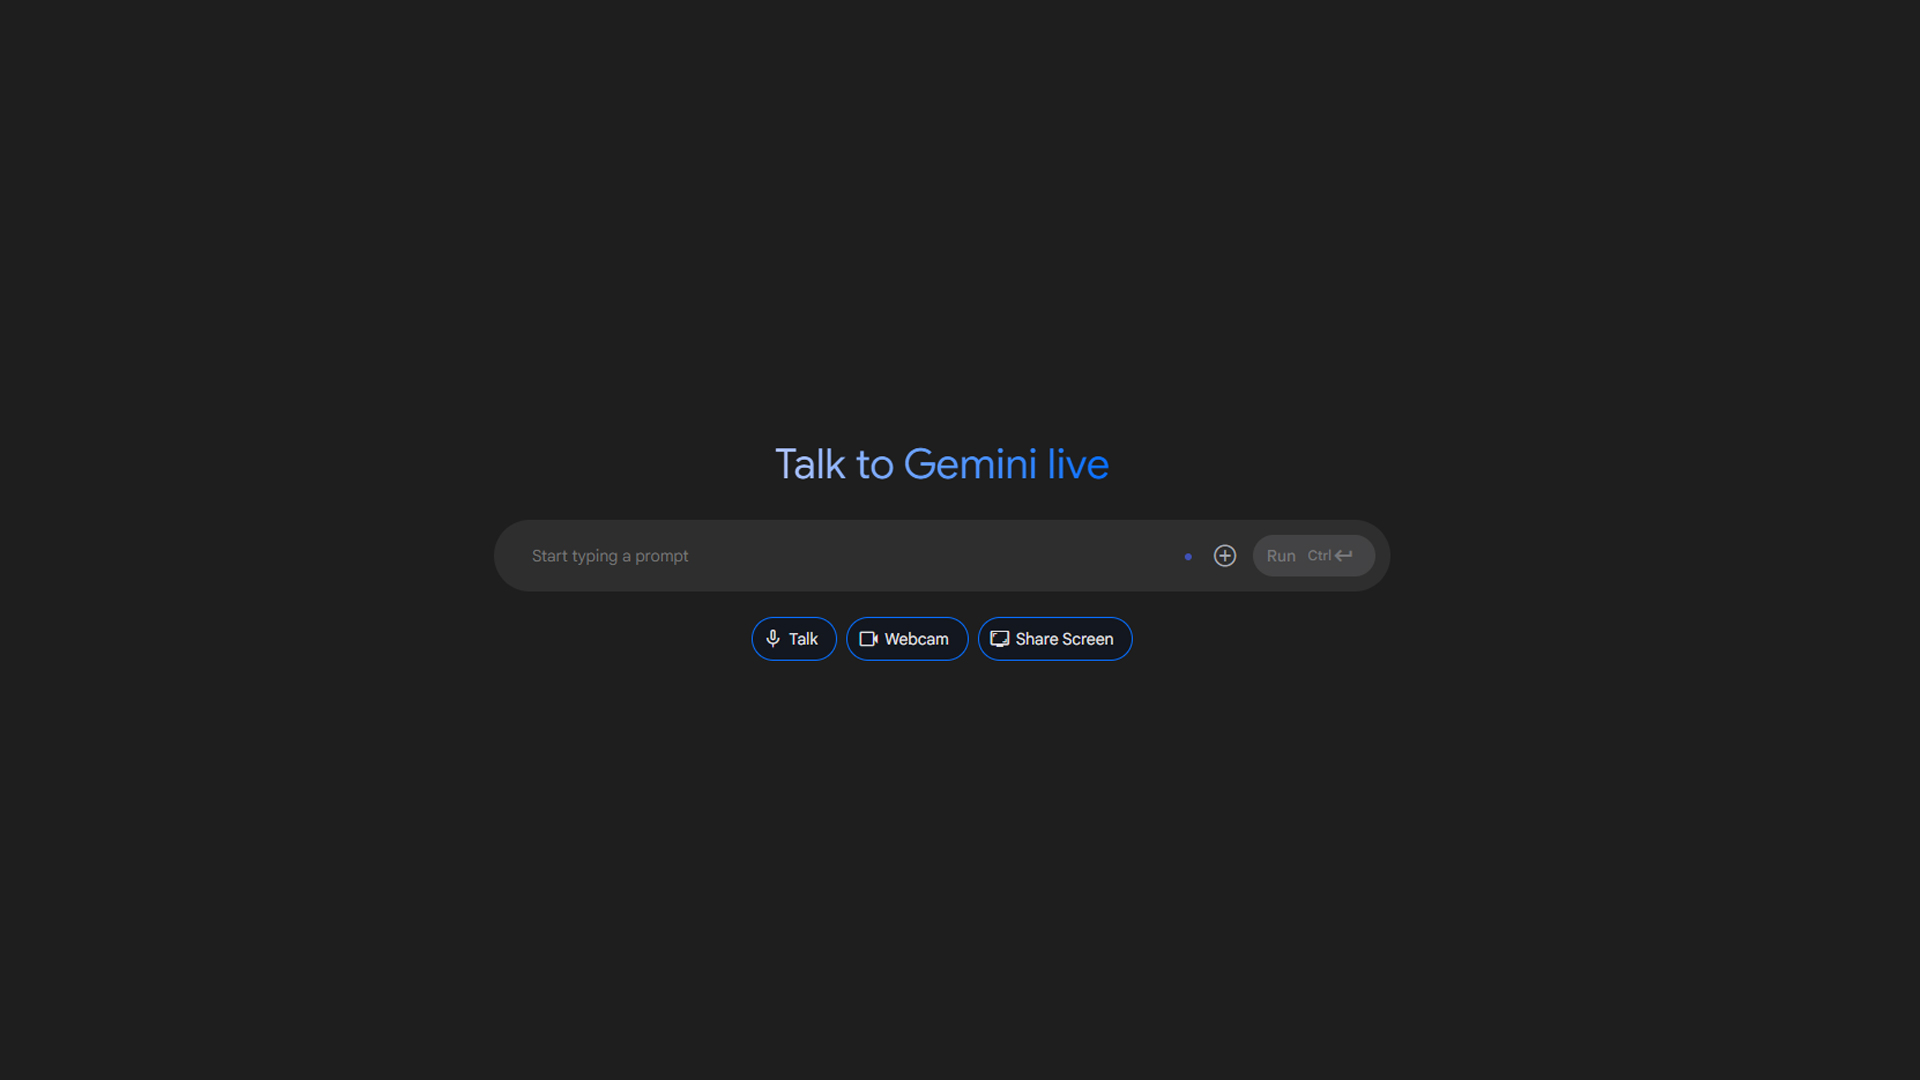
Although the paid model requires a subscription, it allows you to do many things, such as offer voice inputs, upload photos, speak queries, chat, etc. In a few moments, a free demonstration will be shown, just the basics and limited to the free tier, so you get the general idea of the system’s capability. That said, the pro model does everything the free one does but goes the next level regarding conversational flow and advanced reasoning.
Step-by-Step Integration Guide (Node.js Example)
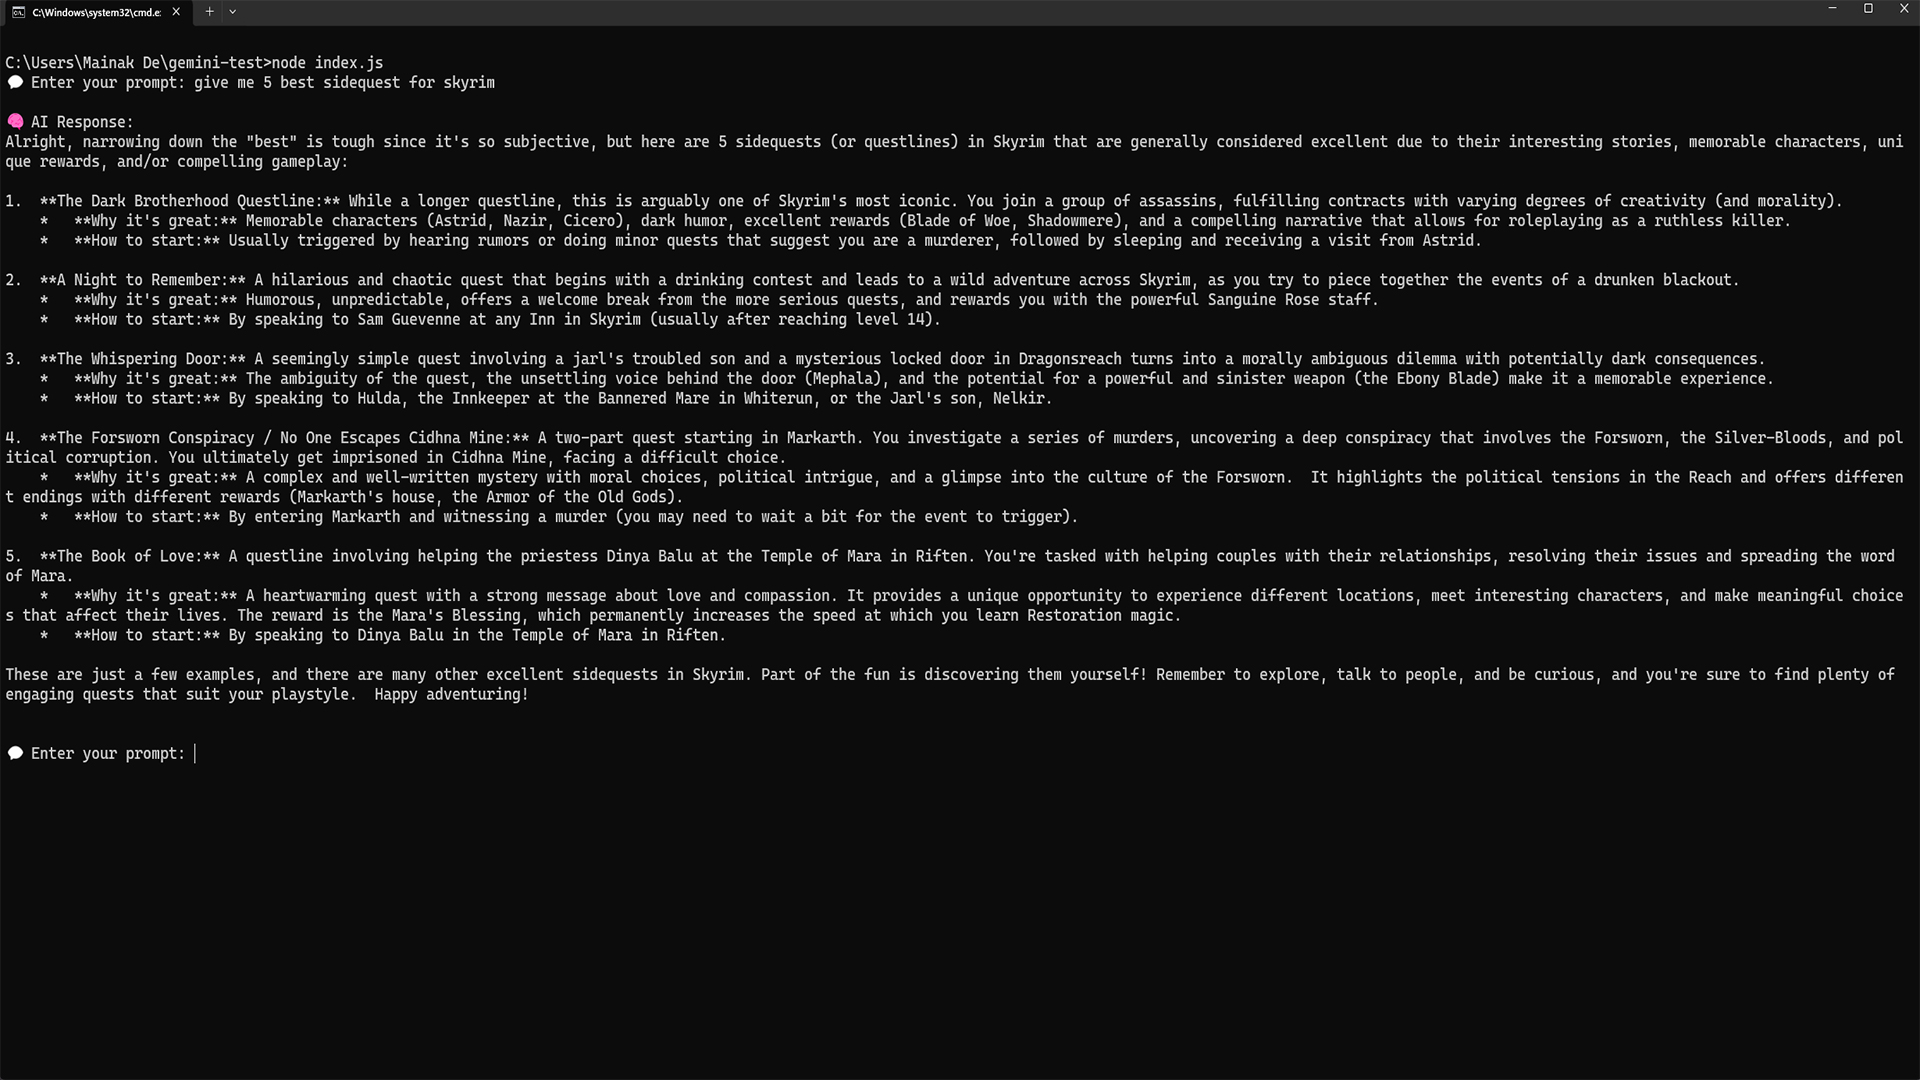
Initially, download Node.js LTS from Nodejs.org and install it. Once you have done this, follow the steps below. The image above is the result of the code mentioned shortly.
Step 1: Create Your Project Folder
Open your terminal (Command Prompt, PowerShell, or Terminal).
Run the following command:
mkdir gemini-test
cd gemini-test
npm init -y
This sets up a new Node.js project, which you will use going forward.
Step 2: Install Gemini SDK and dotenv
Run the following command to install the following packages:
npm install @google/generative-ai dotenv
The SDK gives you access to Gemini’s AI functions. Dotenv helps you manage your API keys securely.
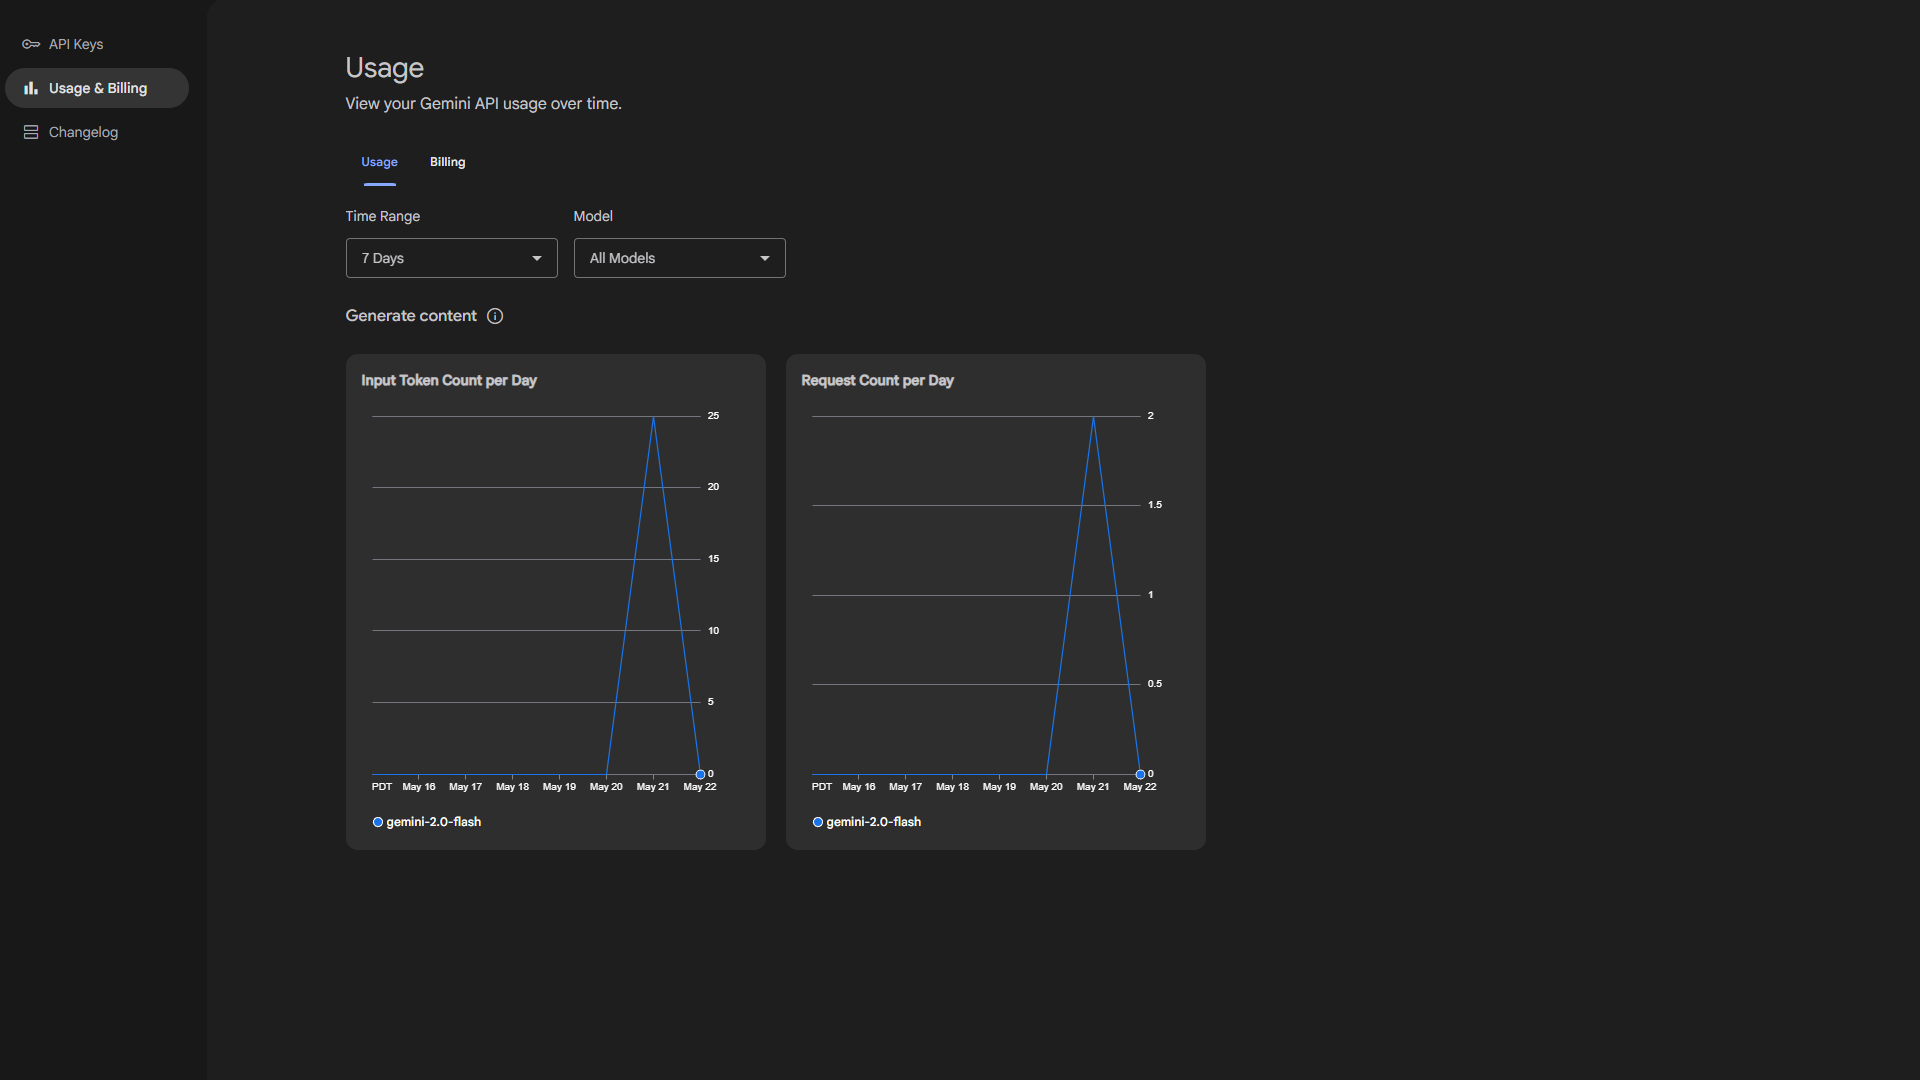
Step 3: Get Your Gemini API Key
- Go to [Google AI Studio] or visit here https://makersuite.google.com/app/apikey
- Click “Create API Key.”
- Copy your new API key.
Step 4: Set Up Your .env File
- In your root project folder, create a file named .env.
- You can create a new text document, rename the .txt to .env, and save the file.
- Add your API key, which you copied, in the following format:
API_KEY=your_real_gemini_api_key_here
Keep this file secure and never share it publicly.
Step 5: Create Your JavaScript Script
- Create a new file (e.g., node.js) in the same way as you did .env in the root folder
- Paste the following code:
### Code Starts Here #####
require(‘dotenv’).config();
const readline = require(‘readline’);
const { GoogleGenerativeAI } = require(‘@google/generative-ai’);
const genAI = new GoogleGenerativeAI(process.env.API_KEY);
const model = genAI.getGenerativeModel({ model: ‘models/gemini-2.0-flash’ });
const rl = readline.createInterface({
input: process.stdin,
output: process.stdout
});
function askUser() {
rl.question(‘💬 Enter your prompt: ‘, async (userInput) => {
if (!userInput.trim()) {
console.log(‘⚠️ Prompt cannot be empty. Try again.’);
return askUser();
}
try {
const result = await model.generateContent(userInput);
const response = await result.response;
const text = await response.text();
console.log(‘\n🧠 AI Response:\n’ + text + ‘\n’);
} catch (err) {
console.error(‘❌ Error:’, err.message);
}
askUser(); // keep the loop going
});
}
askUser(); // start the prompt loop, so that you can ask another question.
### Code Ends Here #####
This script lets you chat with Gemini in your terminal. Enter prompts and receive AI-powered answers instantly. If the emojis do not work, they are there to make the interface look good; you can remove them if any error is thrown. If you have the pro model, add the respective model where the Gemini 2.0 flash is written.
How to Use:
In the same terminal or Command Prompt window, type ‘node filename.js’ and then hit Enter. Follow the prompts that appear. If you need to re-run the file, navigate to the location, which will be in this case C:\Users\Your-User ID\ Gemini-test. Once you are there, on the taskbar where the file path is displayed, erase everything and type ‘cmd’. It will open a command prompt window there, then retype ‘node filename.js’ and you are good to go.
Conclusion
This guide provides a free basic working demo using Gemini 2.0 Flash. With the Pro model, you can perform multimodal inputs, audio outputs, URL content, enterprise searches, and more. Whether you’re building a chatbot, smart search bar, or AI assistant, Gemini gives you a strong foundation.
Looking For More Related to Tech?
We provide the latest news and “How To’s” for Tech content. Meanwhile, you can check out the following articles related to PC GPUs, CPU and GPU comparisons, mobile phones, and more:
- 5 Best Air Coolers for CPUs in 2025
- ASUS TUF Gaming F16 Release Date, Specifications, Price, and More
- iPhone 16e vs iPhone SE (3rd Gen): Which One To Buy in 2025?
- Powerbeats Pro 2 vs AirPods Pro 2: Which One To Get in 2025
- RTX 5070 Ti vs. RTX 4070 Super: Specs, Price and More Compared
- Windows 11: How To Disable Lock Screen Widgets