Facebook
 Reddit
 Email
Email
Learn how to use the Boltzap in REPO effectively, including when it’s useful and when to avoid it entirely.
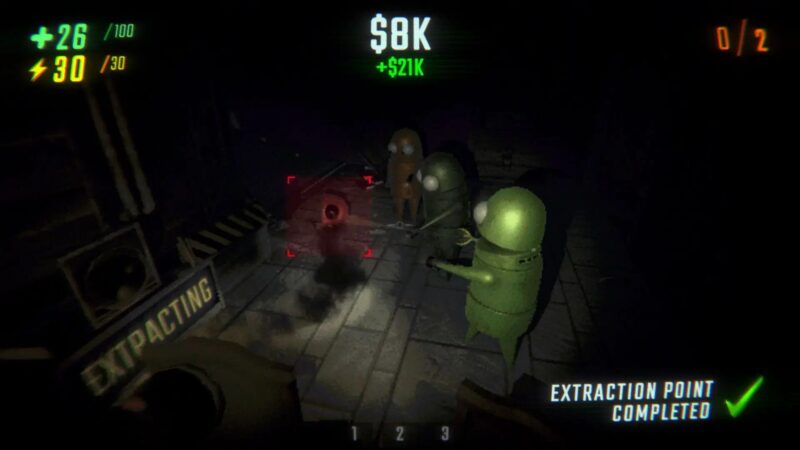
In the latest update of REPO, three new weapons were introduced. Among them, the Boltzap stands out for its low cost and unusual function. This isn’t your go-to for raw firepower; it’s a utility tool, meant to immobilise enemies rather than eliminate them. Built around control and timing, the Boltzap offers a different style of combat, especially useful in maps filled with environmental hazards.
This guide walks you through how Boltzap functions and when it actually adds value to your playstyle.
Understand the Basics of Boltzap in REPO
The Boltzap offers 12 shots per full charge and runs on a budget-friendly ammo system: one crystal gives you four bullets. The damage per shot is 2, which is negligible against anything with real defence. What sets it apart is its stun ability. It doesn’t aim to destroy, it exists to freeze enemies temporarily.
When Is the Right Time To Use Boltzap in REPO?
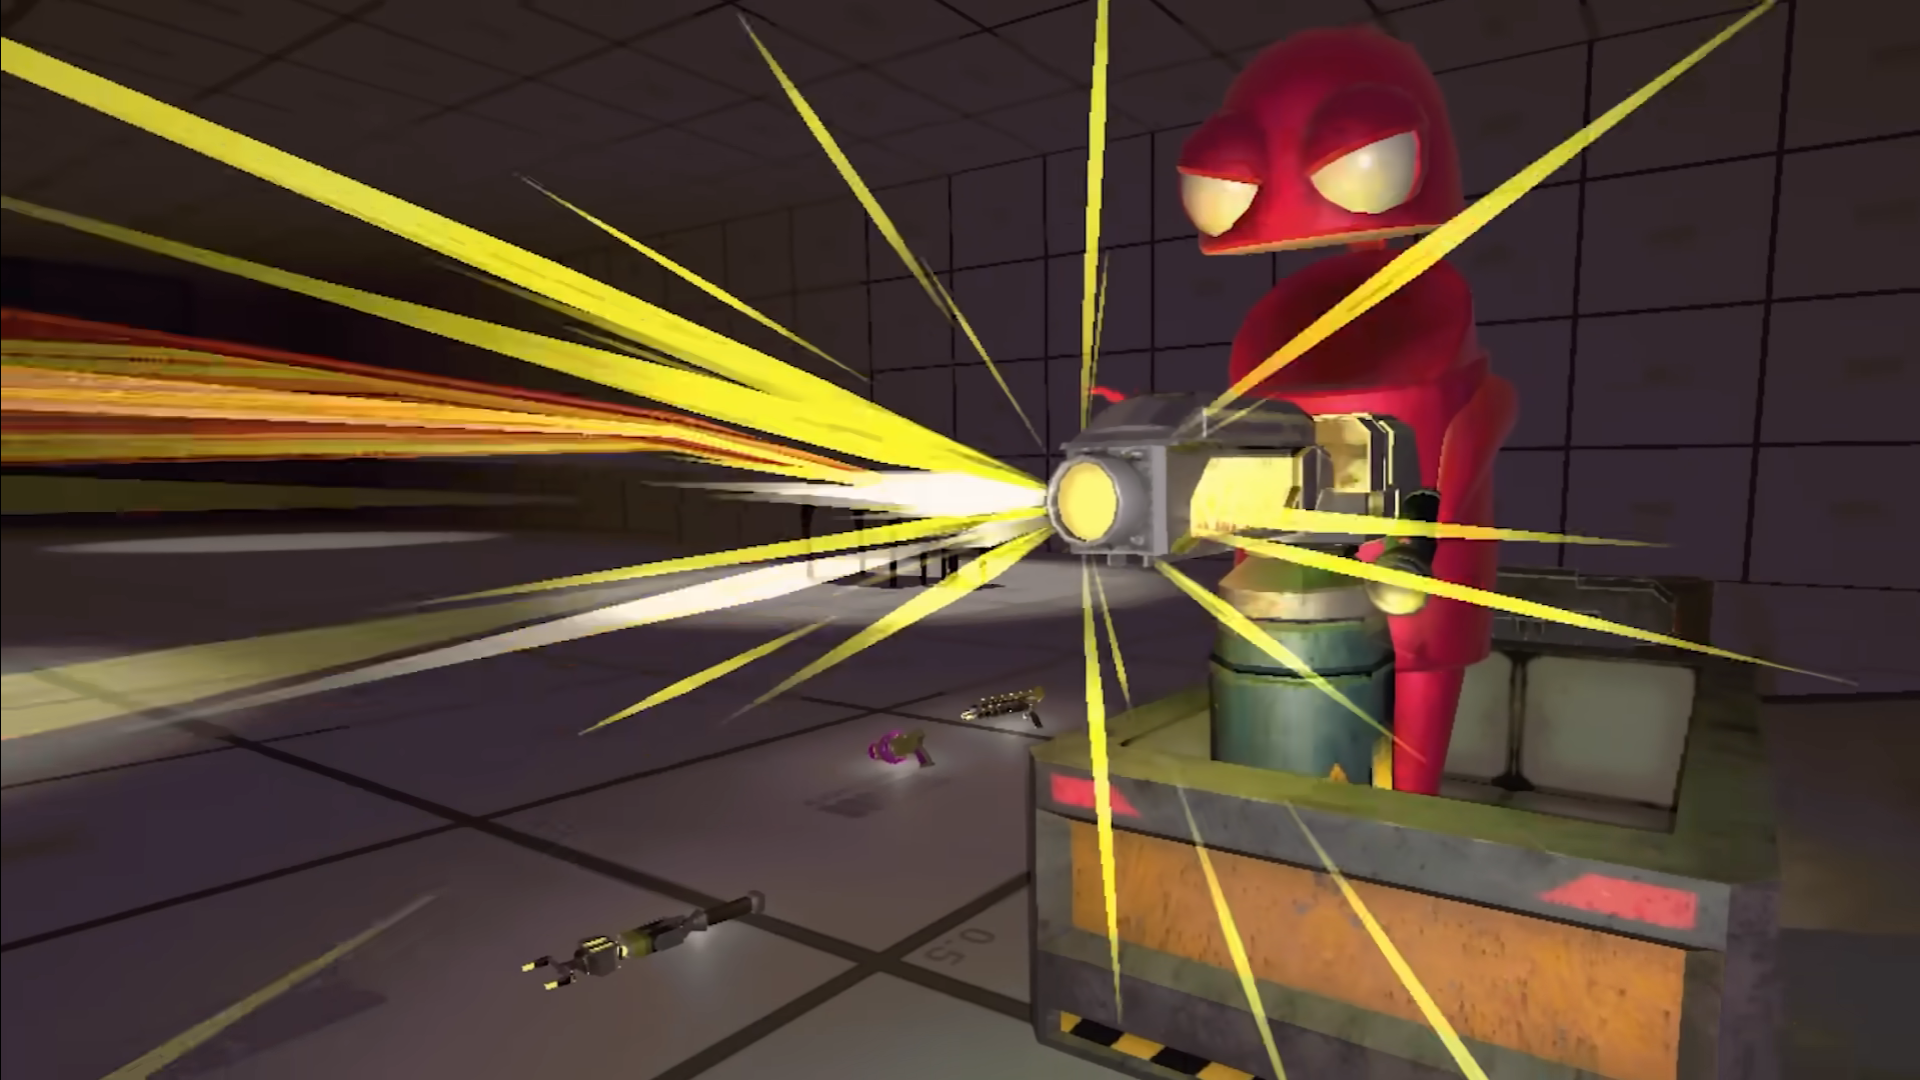
Picture this: enemies are near a pit, and you are trying to control the flow of combat. That’s when Boltzap proves useful. It works best against smaller targets or those that can’t resist being thrown. If the environment supports pit-based tactics, it adds decent utility at a low cost.
The weapon sits in the 14,000 to 18,000 credit range. This makes it one of the more accessible options. But price alone shouldn’t tempt you. Ask yourself: Is the environment going to let you take advantage of stuns?
When You Are Better Off Skipping Boltzap
Tips To Remember About Boltzap
Avoid Boltzap if you are facing enemies like Trudges. They’re too bulky for a pit toss strategy to work. Same goes for those that can fly or cling; they’re either immune to pits or simply shrug off your stun. Without pits around, its 2 damage output becomes almost meaningless. In those cases, you are spending ammo for effects you won’t benefit from.
Using the Boltzap involves a risk of overcharging. If you hold a stunned enemy for too long, you’ll take 20 damage. To prevent this, keep a steady rhythm. Avoid dragging out the stun, as the overcharge builds fast and punishes hesitation.
![REPO Logo [Source: semiwork]](https://static.deltiasgaming.com/2025/03/header.jpg)
We provide the latest news and create guides for REPO. Meanwhile, you can check out the following REPO articles or catch us playing games on Twitch and YouTube: