Learn how to play Android Games on your PC using Bluestacks, NoxPlayer, and Natively using Google Play Games on PC and more.
Gaming on smartphones has become increasingly popular in the past couple of years. This is particularly due to mobile computing slowly catching up to desktop levels. Technically, mobile graphics in Android are rendered using either OpenGL ES or Vulkan, which are cross-platform solutions to an extent. That is, Vulkan is available seamlessly, but OpenGL ES needs to be ported.
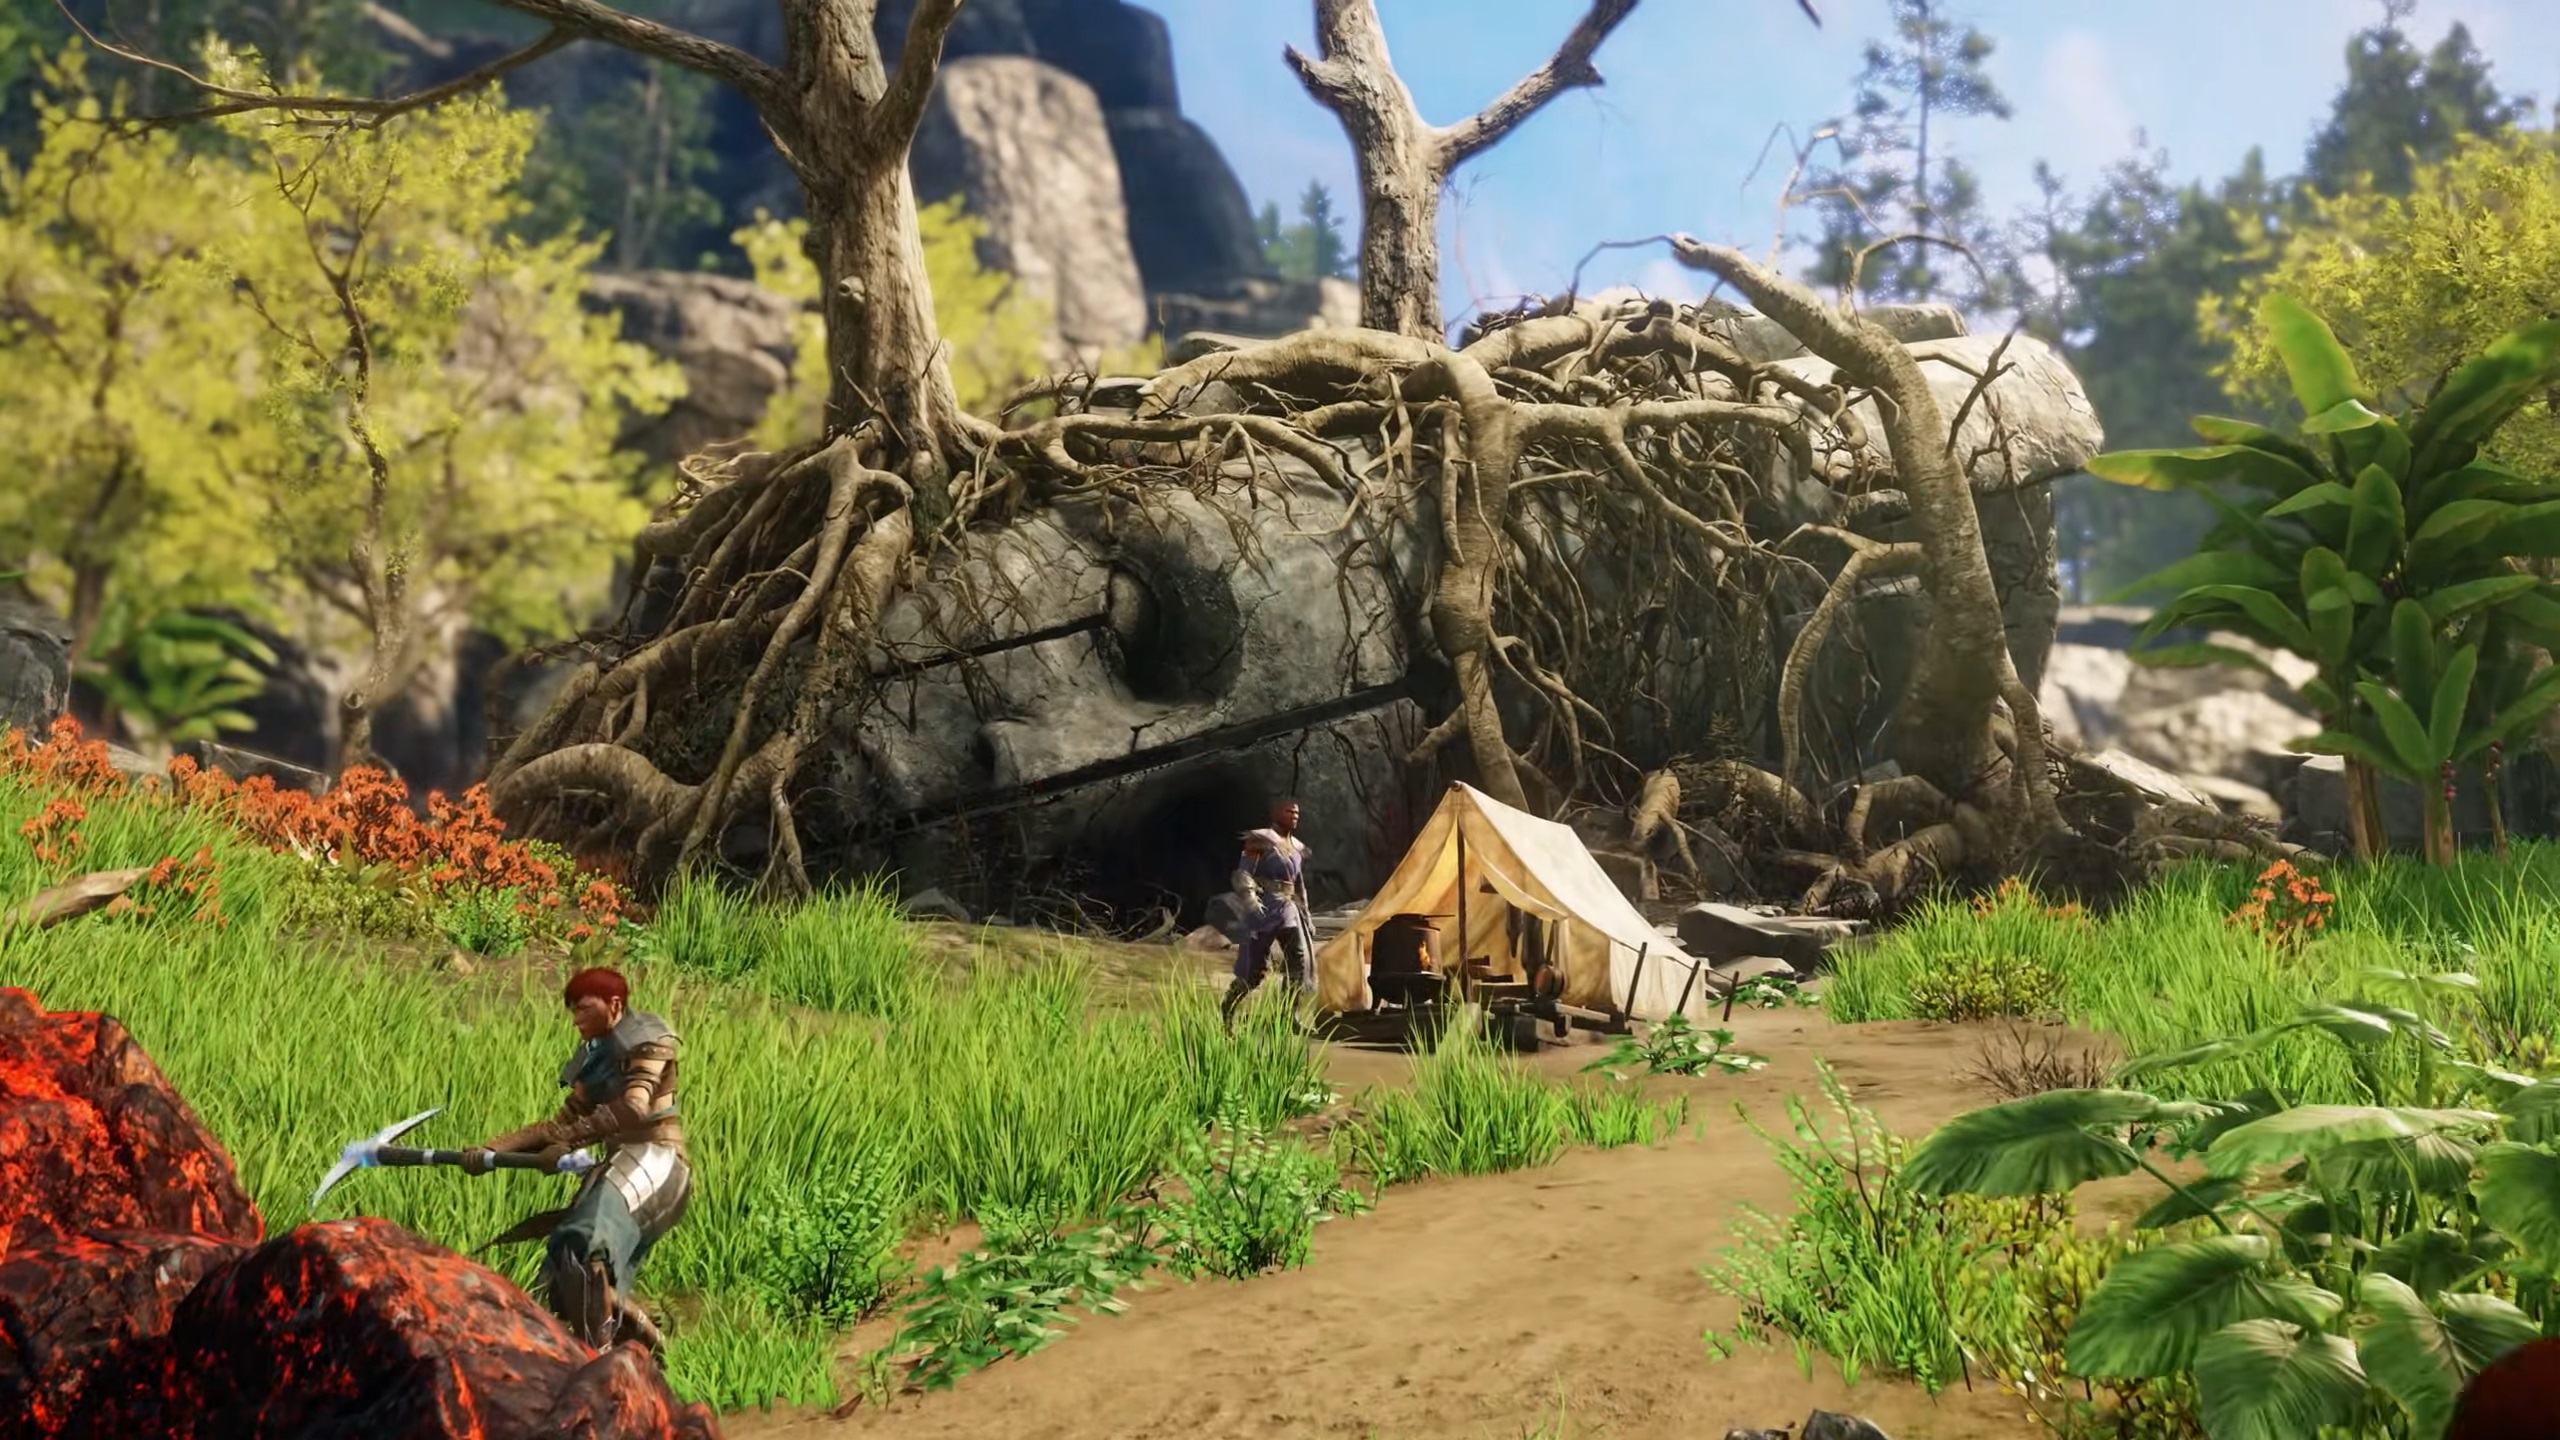
That said, gamers who enjoy mobile games such as Genshin Impact, PUBG, Call of Duty, Need for Speed, and Ark: Survival Evolved Mobile often seek more performance, a larger screen, and flexible controls, such as keyboard and mouse support. All of this is made possible only with Emulators.
If you already know what an emulator is or what it does, or are unaware. In brief, these operate in a virtualized environment and translate x86 (the standard computing approach on PCs) into RISC (the architecture used by smartphones for computing). Nowadays, the computational power advantage in PC hardware minimizes the performance penalties associated with this conversion.
Additionally, numerous well-optimized emulators are available, and native Android gaming support is also accessible on Windows. That said, let’s uncover how you can play Android Games on your PC using emulators or natively.
Play Android Games Using Emulators
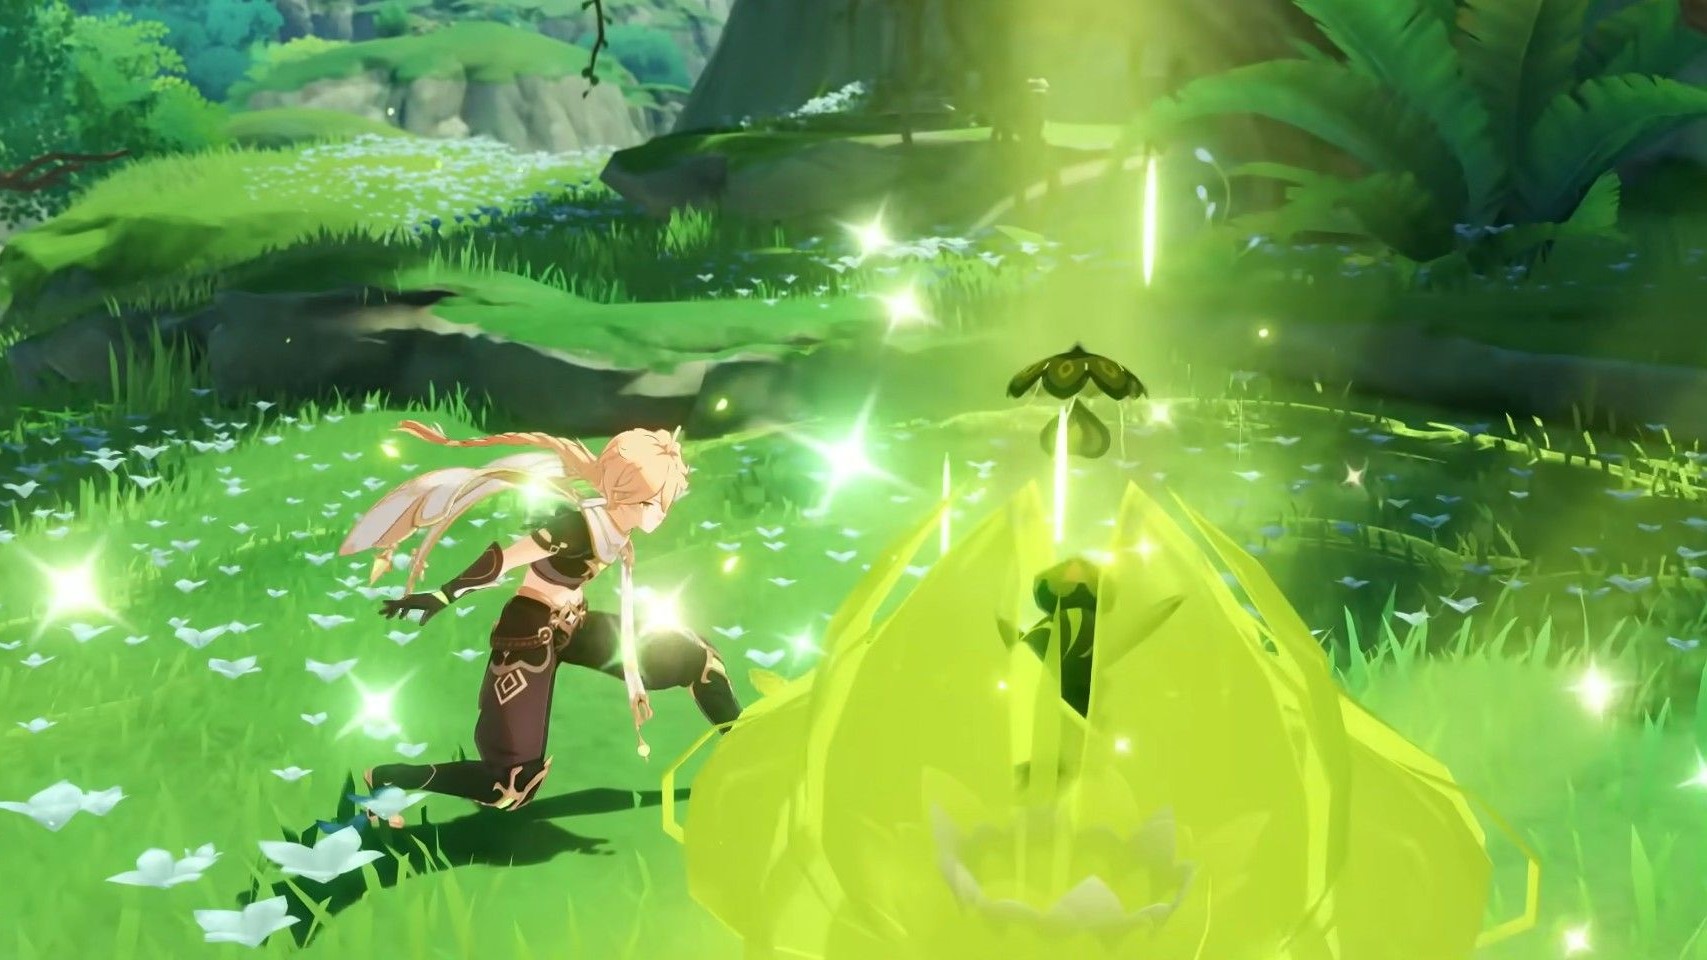
Downloading an emulator for your PC or Mac is the easiest and most beginner-friendly option to consider. Doing so will give you full access to the Google Play Store, as if it were an independent device; you can sign in, even make purchases, download supported games and apps, and more.
Below are a few popular emulators, followed by steps on how you can install them on your Windows or Mac device.
BlueStacks
- Download the Windows installer from bluestacks.com. (Clicking the download button begins the process.)
- Run the .exe and click Install.
- Launch BlueStacks and sign in with your Google account.
- Open the Google Play Store, search for your game, and click Install.
- Use the sidebar settings to map keys and optimize graphics to your liking.
NoxPlayer
- Go to bignox.com and download the offline installer. (Clicking the download button begins the offline installer download process.)
- Run the setup, choose a custom path (optional), and click Install.
- After installation, launch NoxPlayer from your desktop.
- Sign in to Google Play, pick your game, and then install it.
- Use the multi-instance manager to run multiple games or accounts simultaneously.
GameLoop (Tencent – PUBG Mobile)
- Download the 64-bit installer from the official GameLoop page. (You will see it on the top right section of your screen, and Gameloop offers a 32-bit installer for legacy systems.)
- Run it, follow the on-screen instructions, and wait for the installation to complete.
- Open GameLoop, browse the Game Center, and click Download next to your preferred game.
- Remember to adjust smart-key mappings and performance settings before playing.
Play Android Games Natively on PC
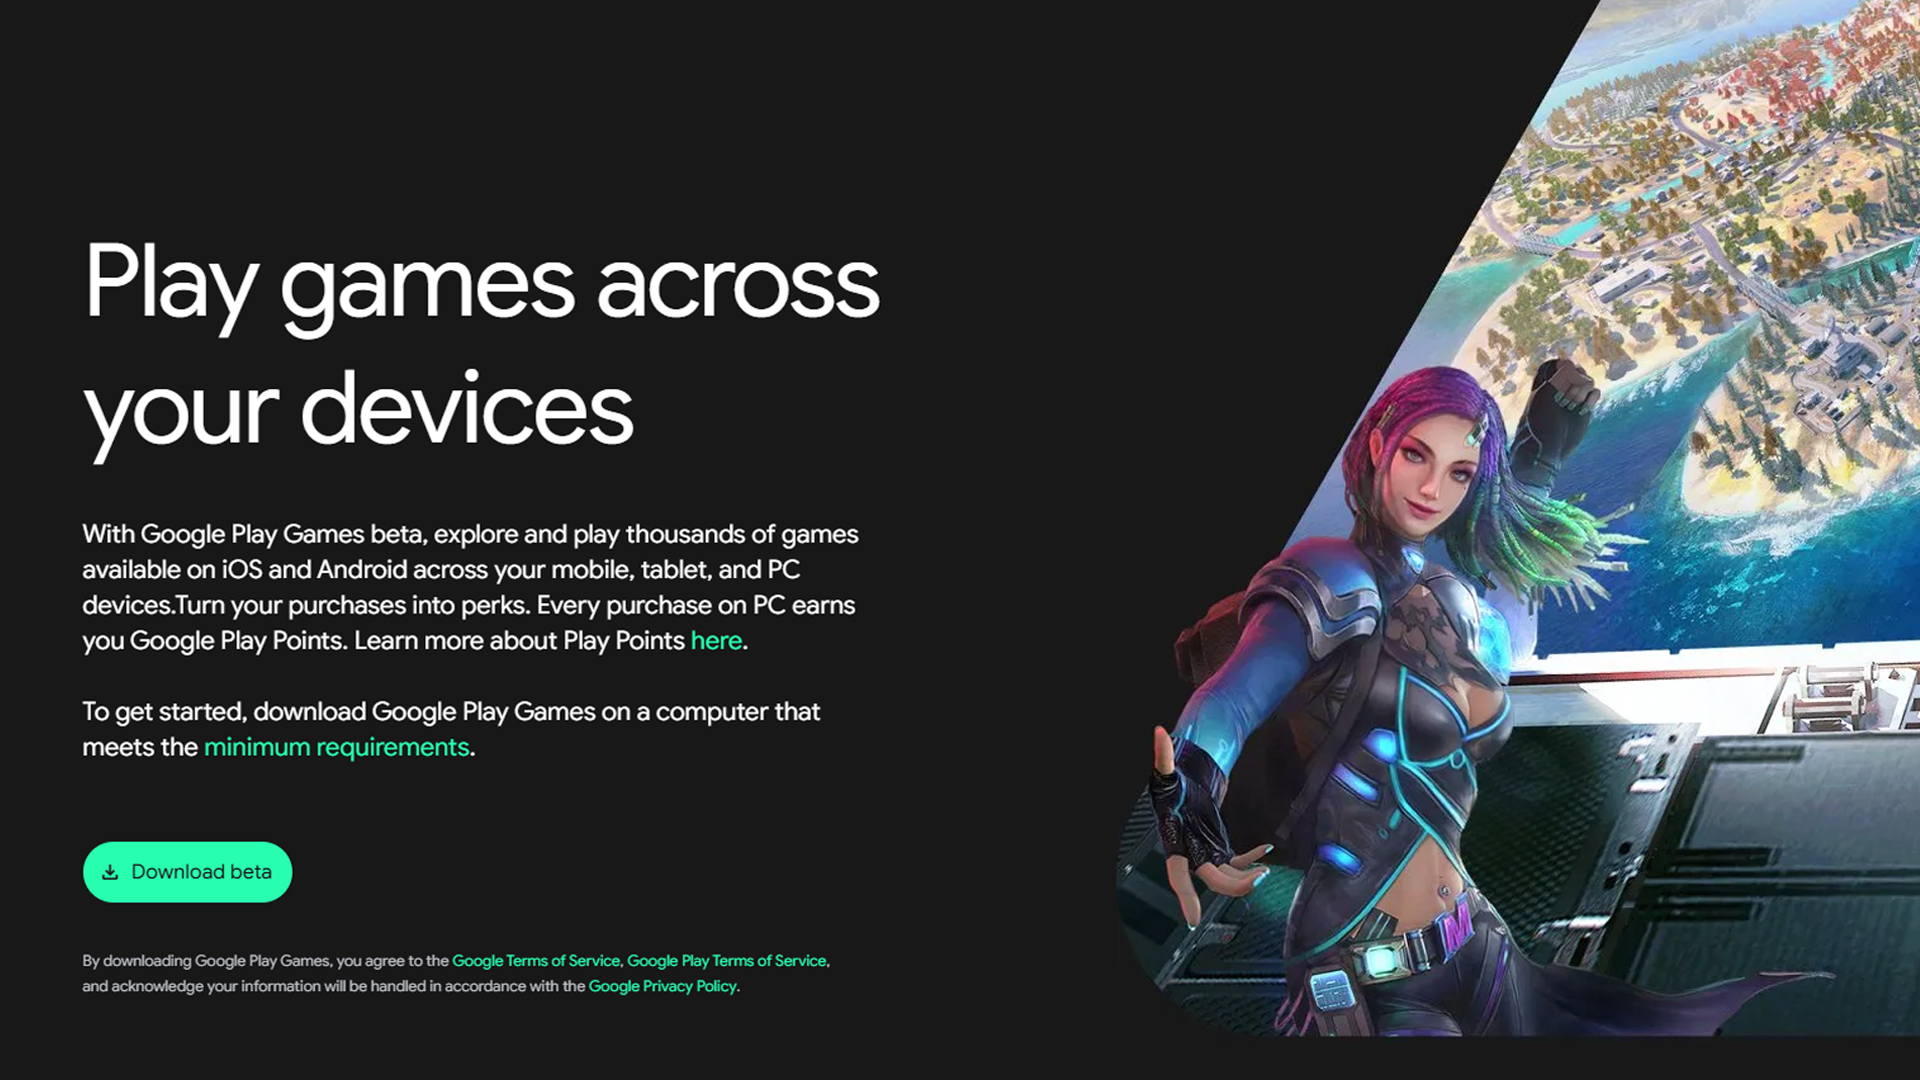
With the emulator approach covered, here is a more effective way to play the game. Although this utilizes the same virtualization concept, the access here is even more direct, specifically in how the API and hardware communicate with each other. In short, it translates to improved performance. Sadly, this approach is only limited to PC users, as the options below do not support Mac OS as of now.
1. Google Play Games on PC
Before you proceed, ensure that virtualization is enabled in the BIOS. If you are running Windows but on the enterprise version for some reason, you must disable Hyper-V altogether; otherwise, this process won’t work, regardless of your efforts.
- Visit play.google.com/googleplaygames and click Download.
- Open the downloaded installer and follow the on-screen prompts to complete the installation.
- Enable Windows Hypervisor Platform and BIOS virtualization if prompted.
- Launch Google Play Games, sign in with your Google account, and enjoy 40+ optimized titles.
Note: The Windows Hypervisor Platform must be enabled, but Hyper-V itself must be disabled just to avoid conflicts. For starters, Hyper-V is a full-fledged virtualization solution used for running virtual machines within Windows, which may interfere with how Google Play Games operates. WHP is entirely different; it’s a lightweight API that doesn’t have the operational overhead of Hyper-V. This helps Google Play Games operate efficiently.
2. Windows Subsystem for Android (WSA)
If you are going this route, then Hyper-V needs to be enabled, as mentioned earlier, regarding the differences between WHP and Hyper-V. Windows Subsystem for Android runs Android games through Hyper-V.
- Install WSA via the Microsoft Store or sideload the Uptodown App Store.
- Enable virtualization in BIOS and Windows features (Virtual Machine Platform).
- Open WSA Settings, enable the Developer mode, and note the IP address.
- Use adb (from Android SDK Platform-Tools) to install any APK:
adb connect <WSA_IP>; adb install <app.apk> - Launch installed apps from the Start menu like native Windows apps
Conclusion
In the case of emulators, you can have multiple installed at the same time, and see which one performs the best for you. However, in the case of the native approach, you must choose between WSA (Windows Subsystem for Android) or Google Games. Running both of the native approaches simultaneously is not possible due to the differences in how they communicate with your hardware.
We provide the latest news and “How To’s” for Tech content. Meanwhile, you can check out the following articles related to PC GPUs, CPU and GPU comparisons, mobile phones, and more:
- 5 Best Air Coolers for CPUs in 2025
- ASUS TUF Gaming F16 Release Date, Specifications, Price, and More
- iPhone 16e vs iPhone SE (3rd Gen): Which One To Buy in 2025?
- Powerbeats Pro 2 vs AirPods Pro 2: Which One To Get in 2025
- RTX 5070 Ti vs. RTX 4070 Super: Specs, Price and More Compared
- Windows 11: How To Disable Lock Screen Widgets
 Reddit
 Email
Email
