Facebook
 Reddit
 Email
Email
You no longer need to install multiple apps from different hardware manufacturers to set up and control RGB devices on your PC. Here’s how.
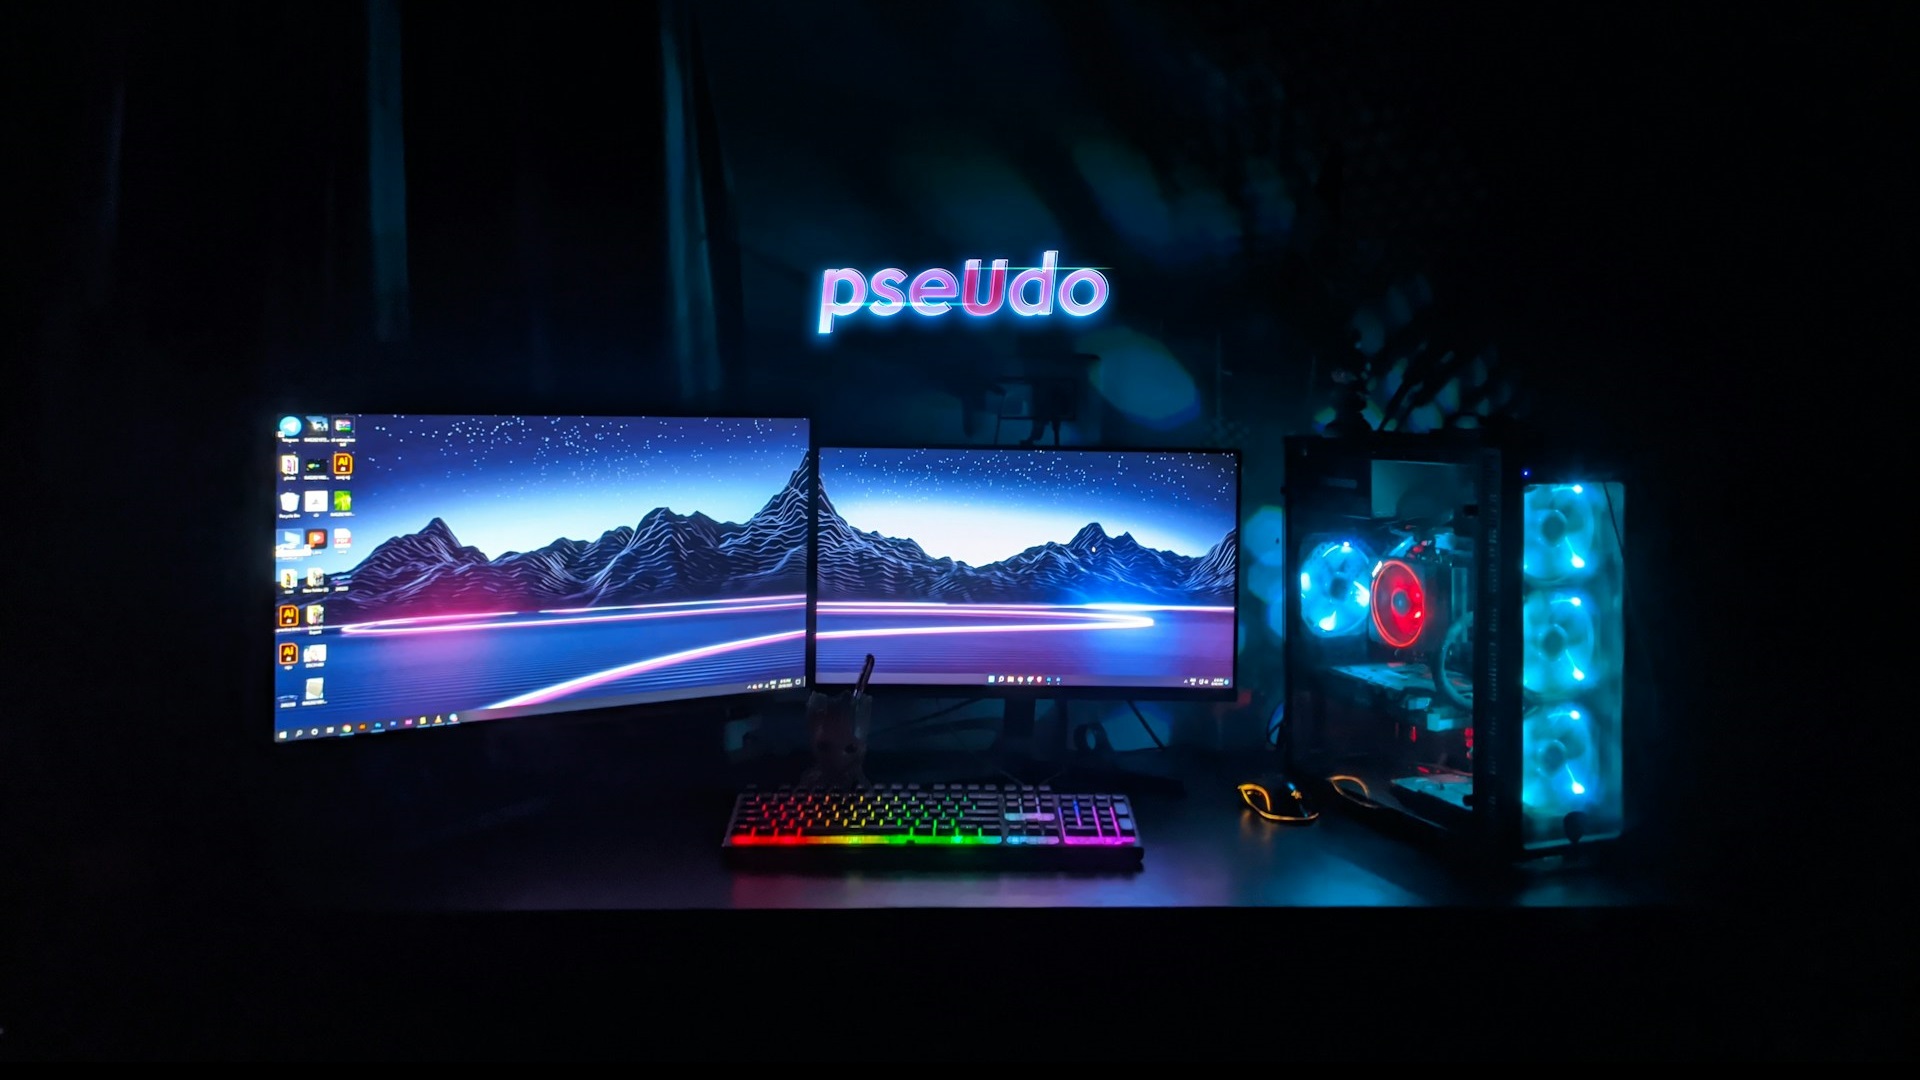
If you are building a new PC, chances are your PC will have fans from one manufacturer, a motherboard from another, and RAM from another manufacturer. Buying every PC component from the same manufacturer is next to impossible. Users are then forced to install multiple RGB programs to control their RGB setup, which can be quite annoying.
However, there’s a remedy to our little problem. There exists an open-source app that can control multiple RGB devices from different manufacturers. Its compatibility is growing steadily, and it already supports a majority of RGB devices. In this article, we will show you how to set up and control RGB devices on your PC from a single app.
Note: This article is subjective and reflects the writer’s opinions.
Prerequisites for Setting Up and Controlling RGB
The RGB software we will use to solve our issue is called OpenRGB. It is open-source RGB software that works across devices from multiple manufacturers and operating systems. Here’s how to download and install OpenRGB on your PC:
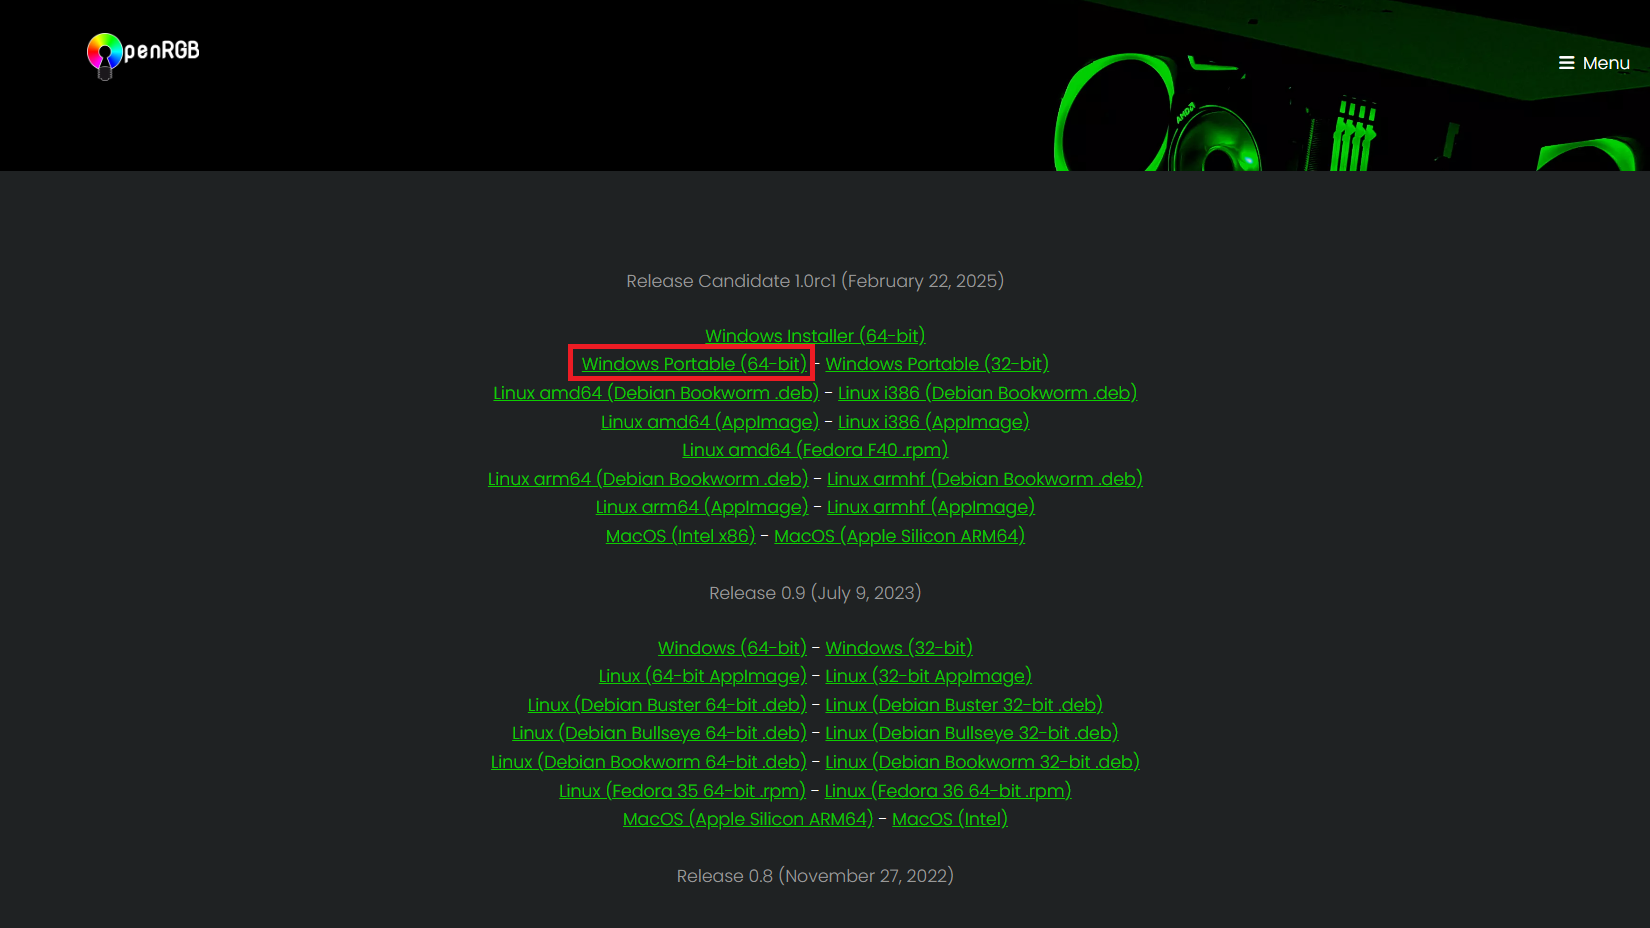
- Visit the OpenRGB website and click on the Windows Portable (64-bit) option under the latest version to begin downloading.
- Extract the folder to C:\\OpenRGB and wait for the extraction to finish.
- Once you are inside the folder, right-click on the OpenRGB.exe and select “Run as administrator.”
- Give it the admin permission requested, and OpenRGB will launch without any issues.
That’s it. OpenRGB is all installed and ready for setup.
Guide To Set Up and Control RGB Profiles Using a Single App

Here’s how to set up, sync, and control all the RGB devices in your PC using the OpenRGB app:
- Launch Open RGB as an admin if it’s not launched already.
- Select any RGB device from the left pane.
- Click on Mode and select any mode of your choice. If you choose static, select a color from the right panel.
- You can also select a different mode for individual LEDs, but only ARGB v2 devices support it.
- Once you are done, click on the “Apply Colors To Selection” or “Apply All Devices” button. The former only applies the RGB mode to the current device, while the latter applies to all RGB devices.
- Repeat the above steps for other devices if you want different RGB modes and colors for individual devices.
- Next, click on the Save Profile button and give it a number. Click the Arrow button near the Save Profile button to save multiple profiles.
- Next, click on the Settings tab. Tick the checkboxes next to “Minimize on Close,” “Start at Login,” and “Start Minimized.”
- Next, tick the checkbox of “Load Profile” and select the profile you created earlier.
- The above settings will ensure that the app runs in the background when you boot your PC and applies your selected RGB color profile automatically.
This concludes the list of steps to set up, sync, and control your RGB devices. Please note that OpenRGB doesn’t support all devices. For example, the OpenRGB app cannot fully control the LEDs in AMD Radeon 6000 series GPUs. The same is also true for some other motherboard LEDs. However, it can detect and control a majority of RGB components on your PC.
We provide the latest news and “How To’s” for Tech content. Meanwhile, you can check out the following articles related to PC GPUs, CPU and GPU comparisons, mobile phones, and more:
- 5 Best Air Coolers for CPUs in 2025
- ASUS TUF Gaming F16 Release Date, Specifications, Price, and More
- iPhone 16e vs iPhone SE (3rd Gen): Which One To Buy in 2025?
- Powerbeats Pro 2 vs AirPods Pro 2: Which One To Get in 2025
- RTX 5070 Ti vs. RTX 4070 Super: Specs, Price and More Compared
- Windows 11: How To Disable Lock Screen Widgets