Facebook
 Reddit
 Email
Email
Dive into this Drunk Boar Side Quest Guide for Black Myth Wukong to easily complete it and earn the Legendary Wind Tamer.
How to start the Drunk Boar Side Quest
To start the Drunk Boar Side Quest in Black Myth Wukong, you need to talk to the Drunk Boar in Chapter 2. Being a Side Quest, this is entirely optional and can be considered to be a secret boss akin to Elder Jinchi in Chapter 1. You will have to know exactly where to encounter him for the first time to trigger the entire quest line.
Keep reading this Black Myth Wukong Guide to find out how to complete the Drunk Boar Side Quest. We strongly suggest completing this quest because it drops an item that is extremely beneficial in Black Myth Wukong Chapter 2 final boss fight against Yellow Sand Sage.
Where to find the Drunk Boar in Black Myth Wukong
The Drunk Boar can be found in Fright Cliff in Chapter 2, and the Rockrest Flat is the Fast Travel Shrine that is closest. This shrine is found on the right side of the Stone Vanguard boss fight. Once you are at this Shrine, face the big gate that leads to the area of the Stone Vanguard boss, and take the path that goes to your right. There are some enemies here, but none of them are bosses. You can kill them or skip them, it does not affect the Side Quest.
Keep heading straight and you will find the Drunk Boar sitting on a raised rocky platform. Conversing with this character will trigger the entire quest line, and your main tasks now begin.
Steps to complete the Drunk Boar Side Quest in Black Myth Wukong
Follow this stepwise guide to easily complete the Drunk Boar Side Quest in Black Myth Wukong:
- Sober up the Drunk Boar
- Head to the Crouching Tiger Temple
- Bring Jade Lotus to the Boar
- Go back and talk to the Boar again
- Defeat the First Prince of the Flowing Sands
- Defeat the Drunk Boar (Yellow-Robed Squire)
- Enter the Kingdom of Sahali
- Defeat the Tiger Vanguard
- Talk to the Rat King and defeat the Bettle Guai: Fuban
Step 1: Sober up the Drunk Boar
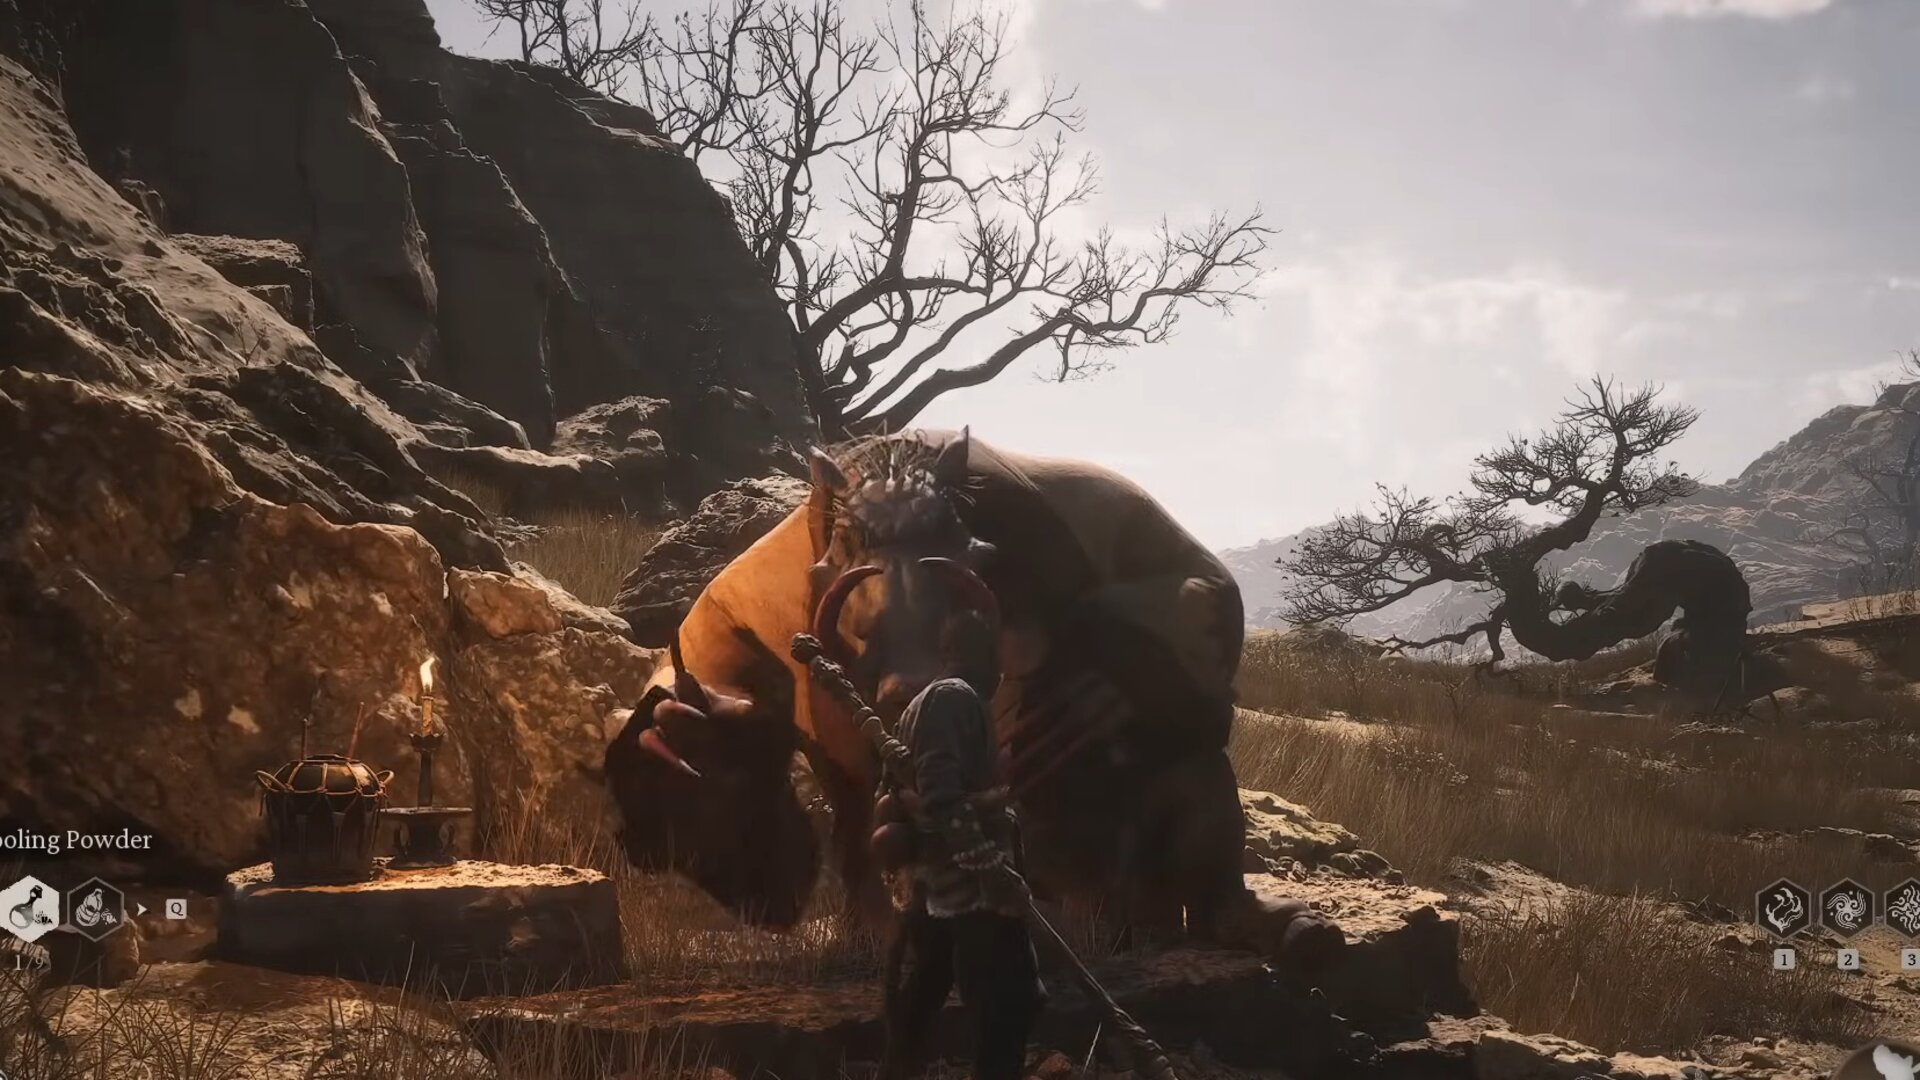
Your first task is to sober up the Drunk Boar and you will need a Sobering Stone to do this. You can acquire a Sobering Stone in the following ways:
- Purchase from the Man-in-Stone: If you have completed the Man-in-Stone side quest, you will be able to purchase a Sobering Stone from him for 6480 Will.
- Yellow Wind Formation: You can also find one Sobering Stone in a village at the Yellow Wind Formation. To acquire this, head to the Windrest Bridge Shrine in the Yellow Wind Formation region. Cross the bridge and stick to the left side. This area has many mob enemies that you need to fight, so be prepared. Head to the set of buildings in the back-left corner of this area. You will find a Sobering Stone inside a container at the extreme left corner under a hut.
Once you have a Sobering Stone, head back to the Drunk Boar in the same location where you initially found him. Give him the Sobering Stone and he will want to satisfy his hunger by eating meat at the Temple of the Crouching Tiger.
Step 2: Head to the Crouching Tiger Temple
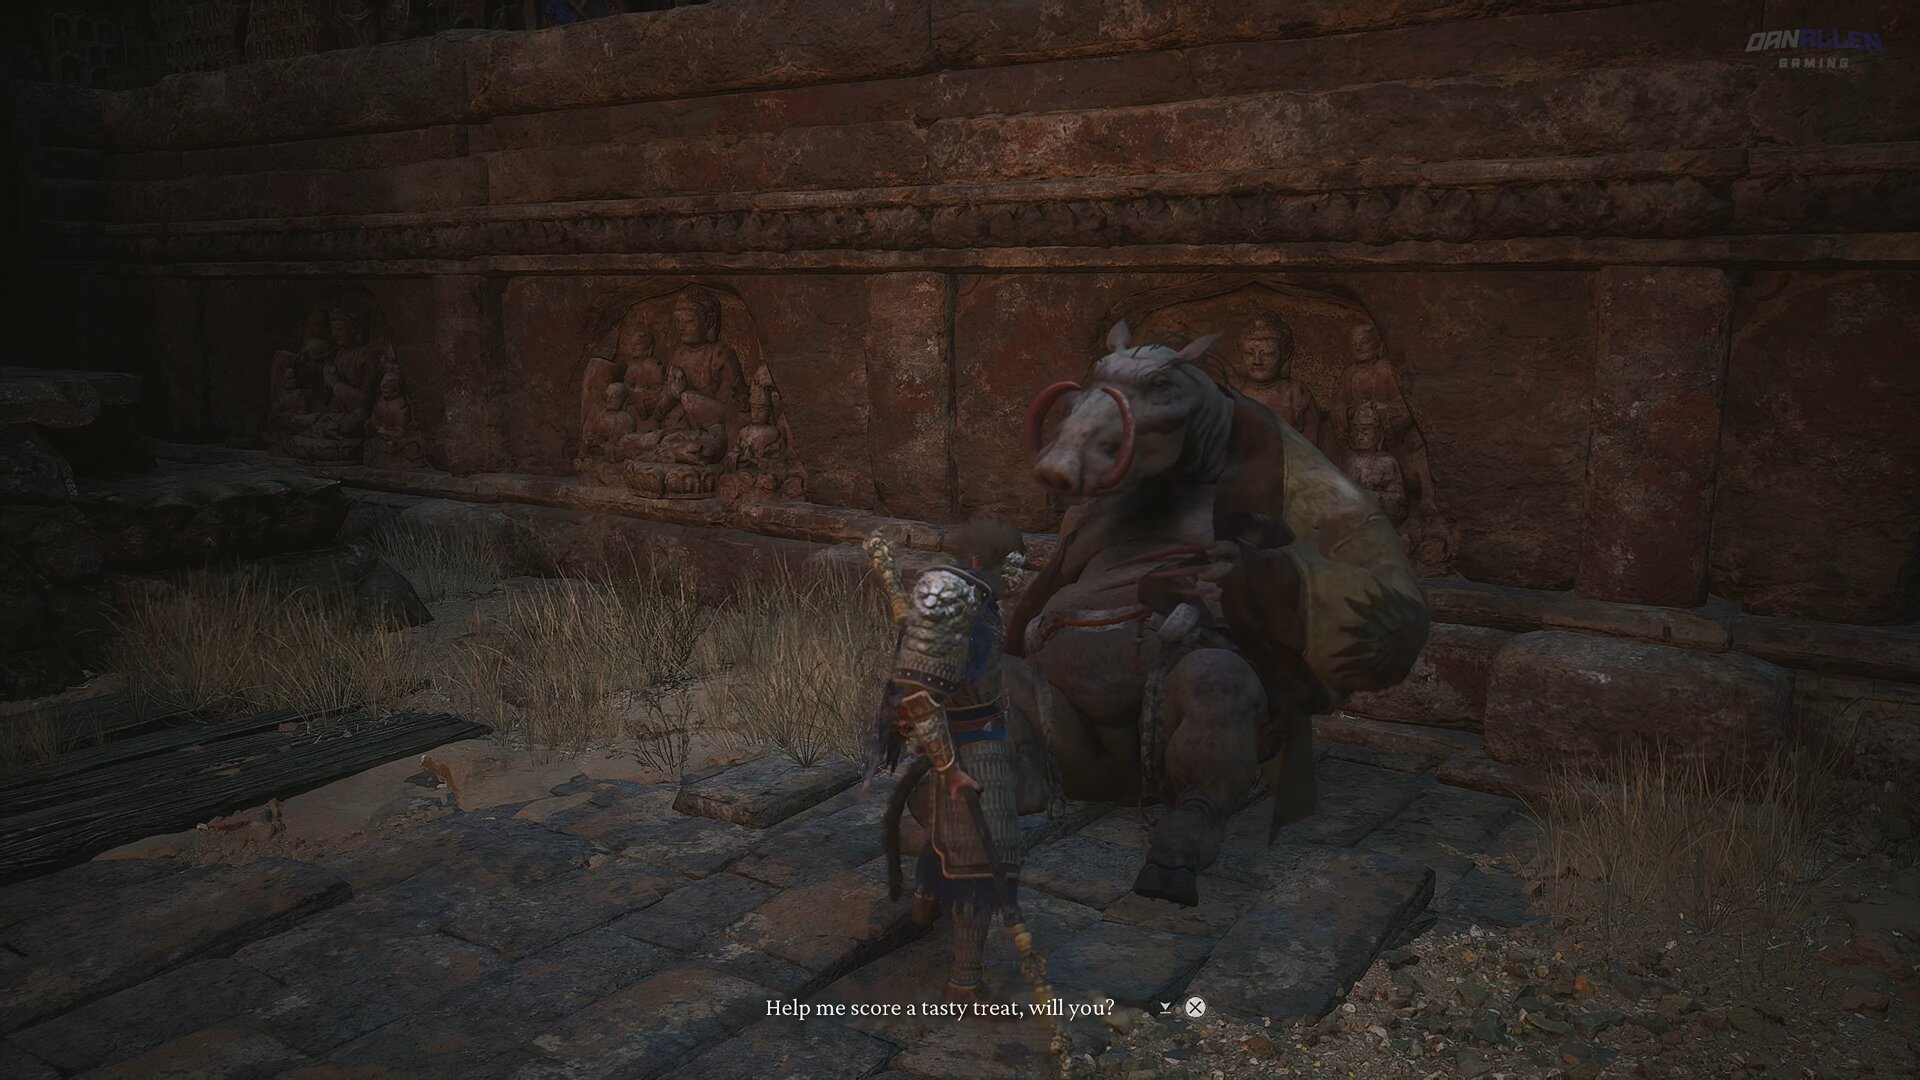
Head to the Crouching Tiger Temple, at the Temple Entrance Shrine. There are several sets of stairs here leading to the Tiger Vanguard Boss Fight. However, you do not need to go up fully. Take right after the third set of stairs and you will find the Boar sitting there.
The Boar will be very unhappy with the “putrid meat” from the rats and will ask you to bring him some Jade Lotus to freshen up.
Step 3: Bring Jade Lotus to the Boar
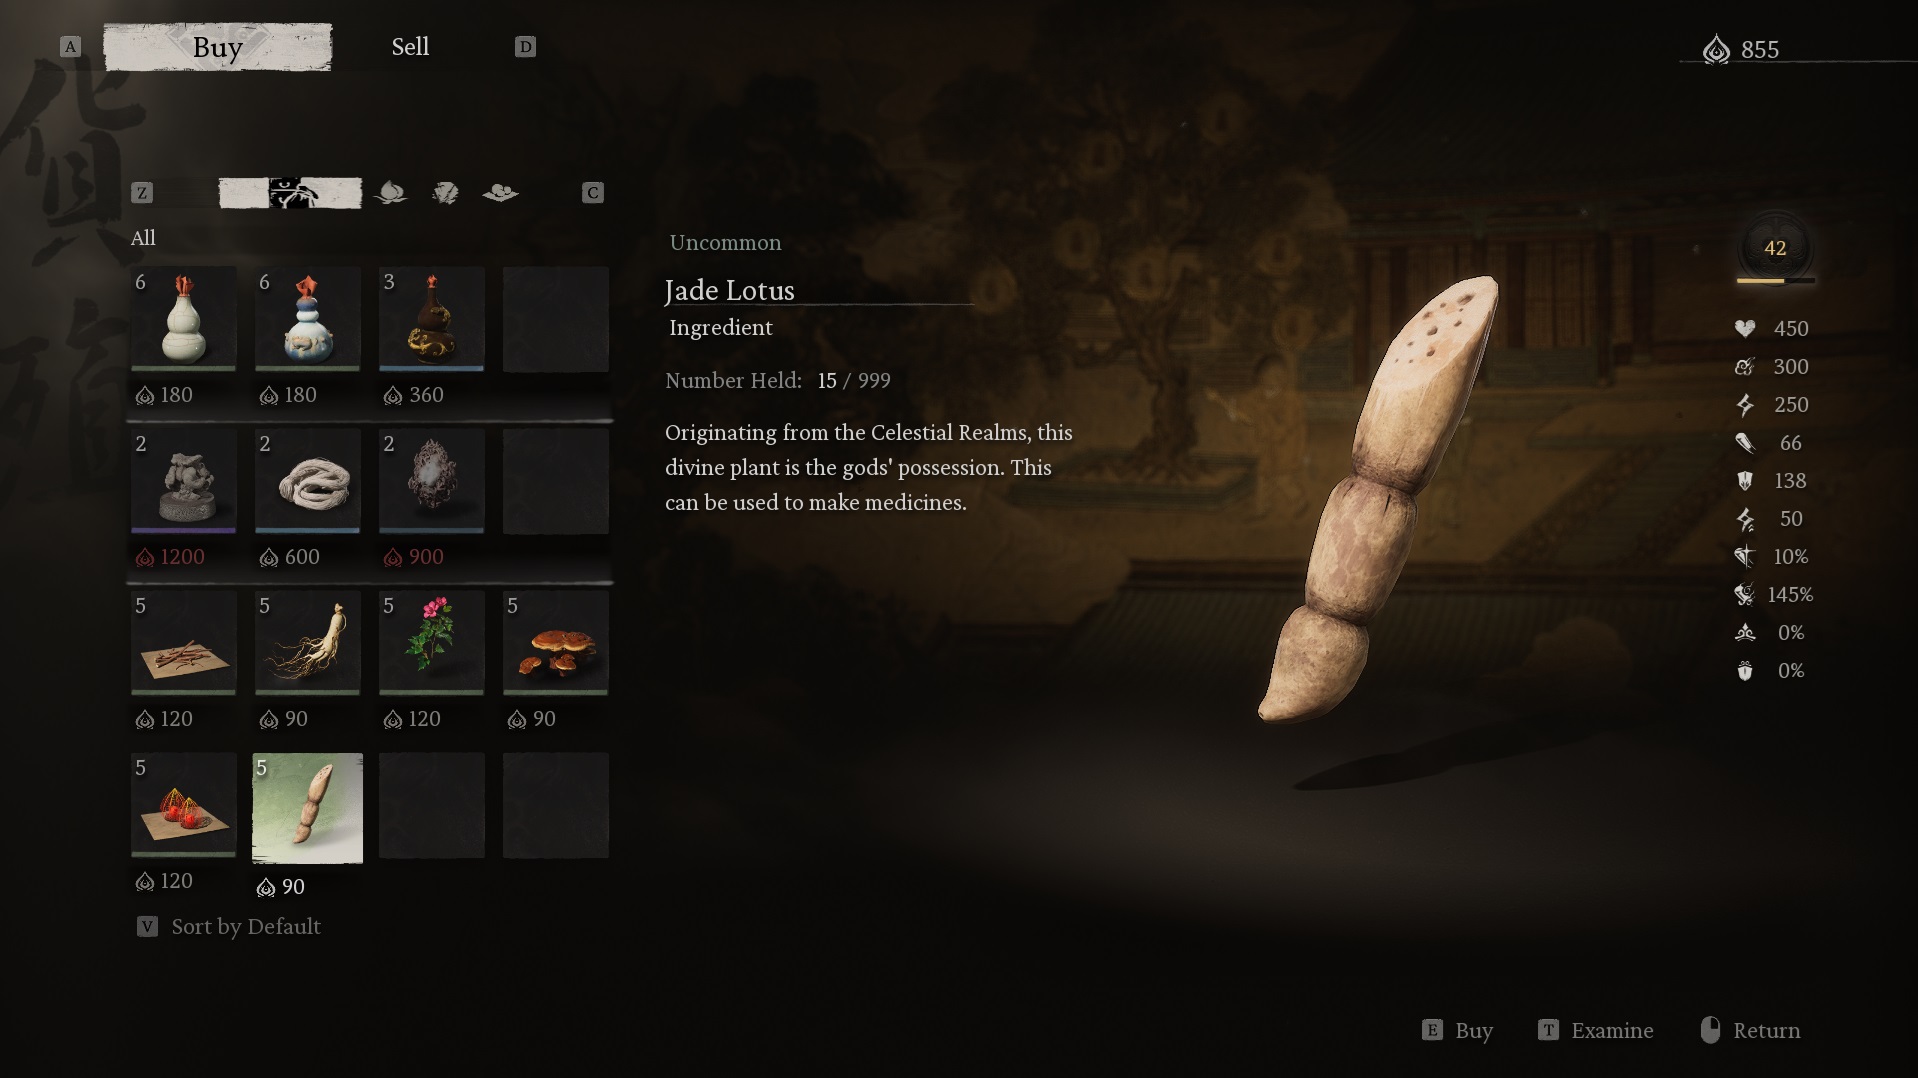
You should have plenty of Jade Lotus available from Chapter 1 as these are easily found in water bodies. Particularly, you can find Jade Lotus in almost every water body in the Forest Area of Chapter 1.
However, if you do not have any, you will be able to purchase it from the Shrine as well. Simply head to the Temple Entrance Shrine and purchase the item for 90 Will, and then hand it over to the Boar.
This will have progressed the Drunk Boar Side Quest, and he will now tell you a significant amount of lore about a Realm of Gold that is somehow related to the current sandy lands.
Step 4: Go back and talk to the Boar again
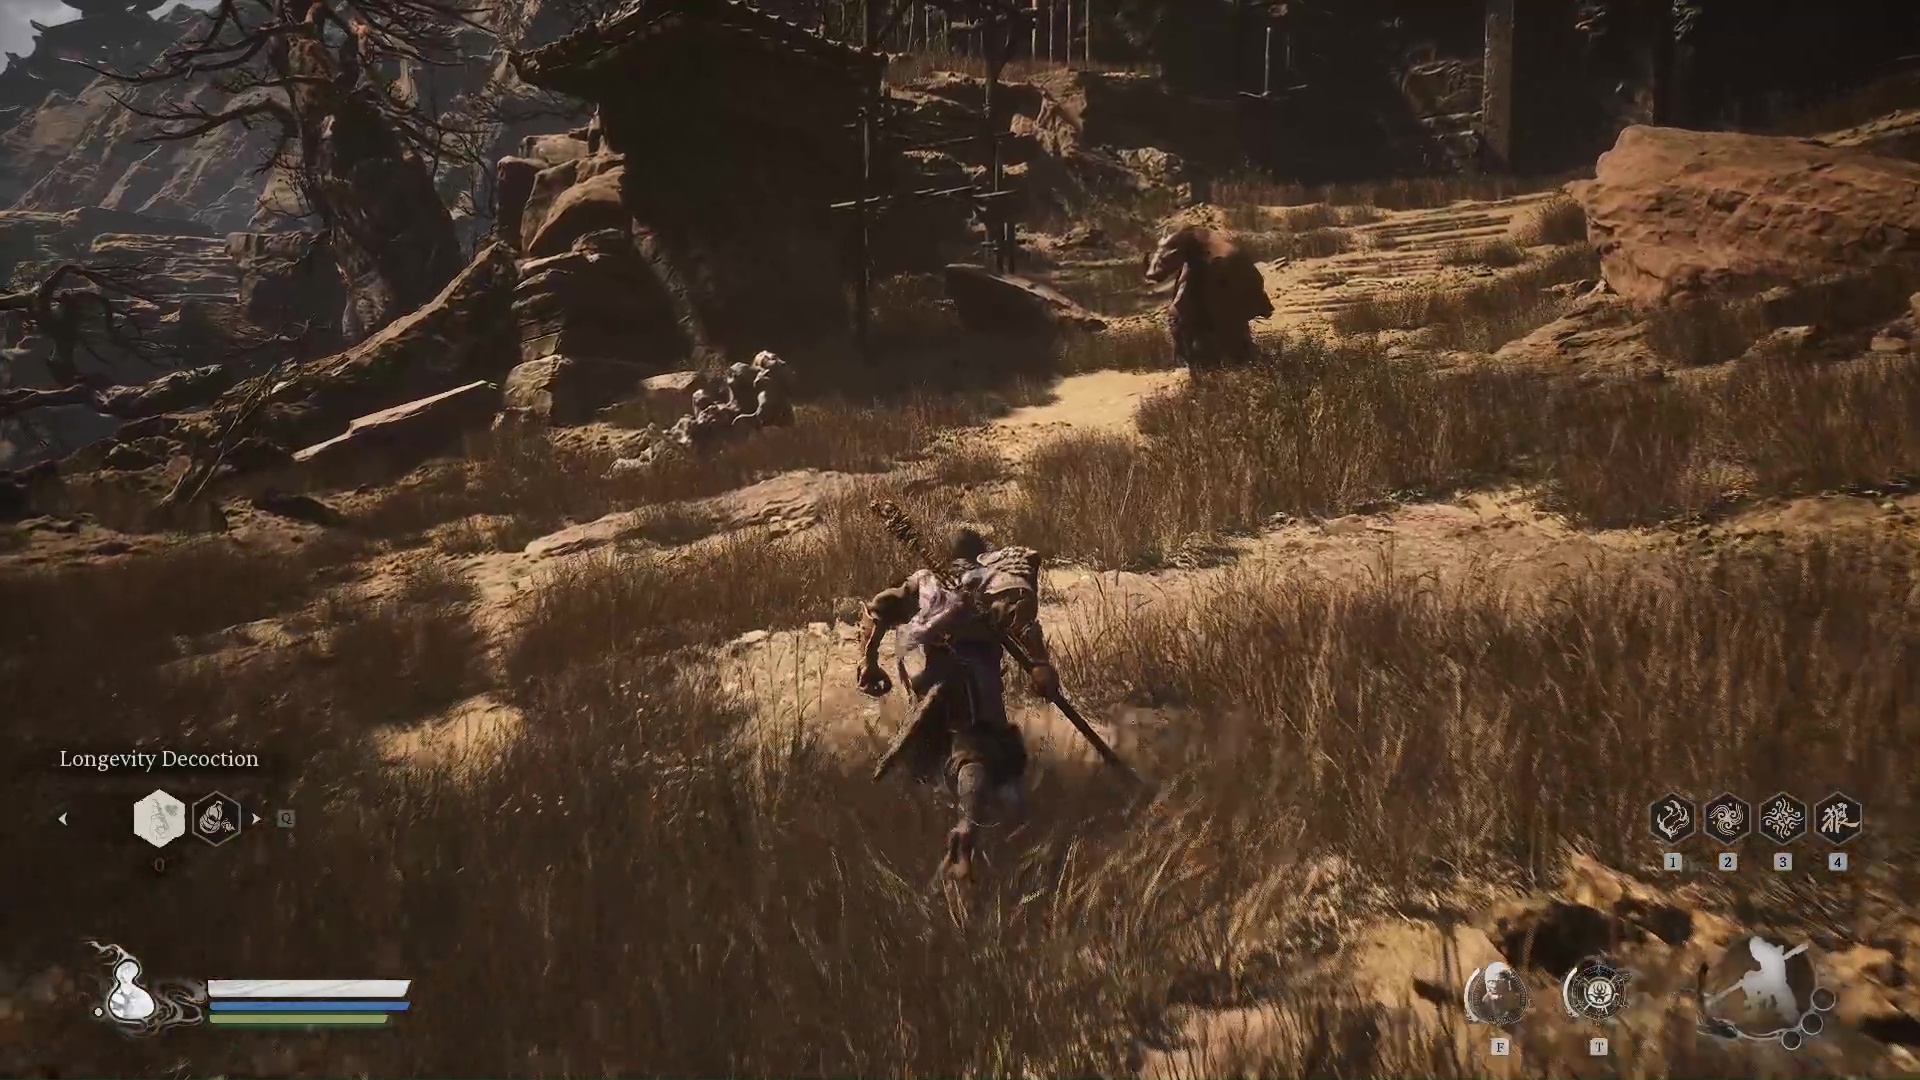
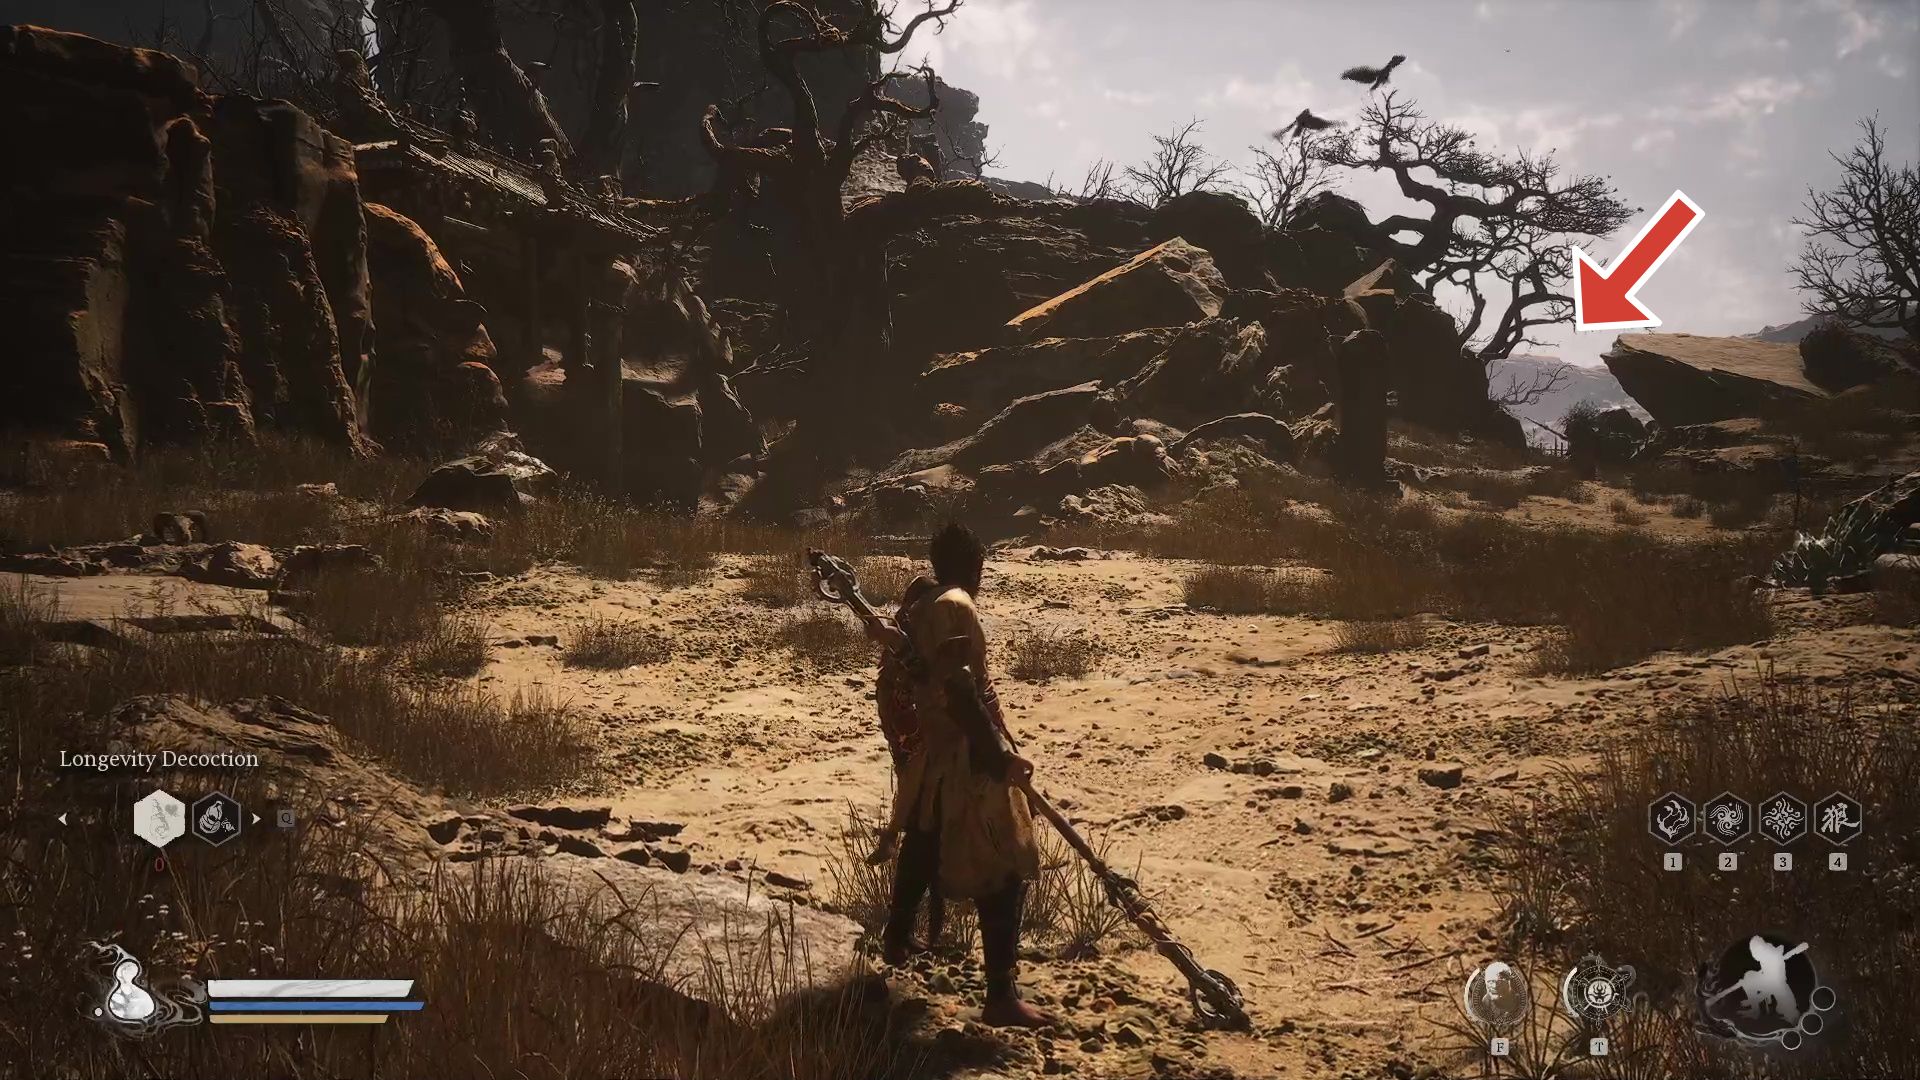
You must now return to the area where you had met the Drunk Boar for the first time to begin the side quest. Head to the Rockrest Flat Shrine and trace the path that you had taken and reach the platform where you initially found him. The NPC will not be here, but if you turn around and look at the opposite side, you can see him toiling. You need to talk to the Drunk Boar here to continue the side quest.
Conversing with the Drunk Boar (who is not drunk anymore) will tell you that he has lost his brother’s key. This brother is none other than the First Rat Prince, or, The First Prince of the Flowing Sands. You will need to defeat him and obtain a key item.
Step 5: Defeat the First Prince of the Flowing Sands
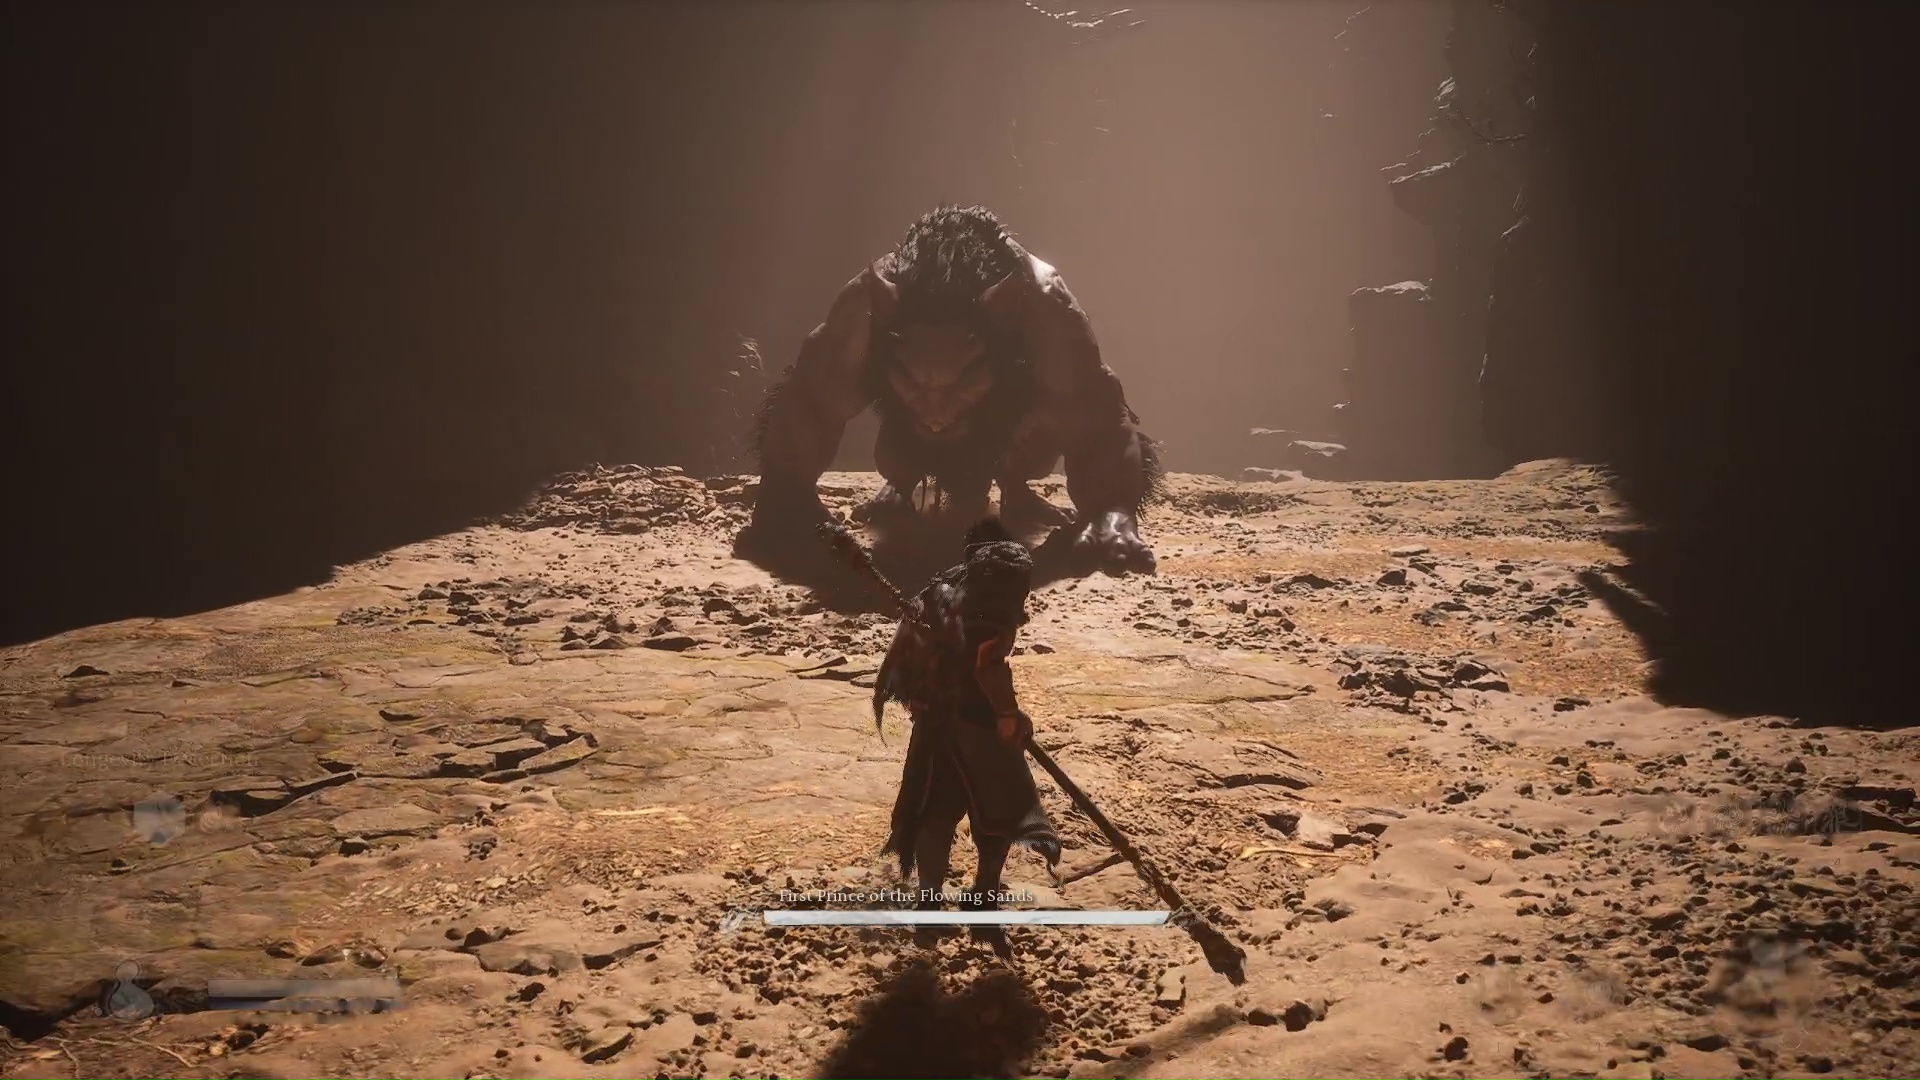
Head to the Valley of Despair Shrine at the Sandgate Village. From here, go towards the cavern that appears straight in front of you. The First Rat Prince Boss will be available at this place. This is the same location where you can obtain the Loong Scales to beat the Red Loong and proceed with the Loong questline as well. This is the first of the four boss fights in this side quest.
Defeat the First Prince of the Flowing Sands to obtain the Arhat Gold Piece. With this item, you need to go back to the Drunk Boar and continue the side quest.
Step 6: Defeat the Drunk Boar (Yellow-Robed Squire)
You need to defeat the Drunk Boar after you bring him the Arhat Gold Piece to continue this side quest. The Boar can be found in the same place once again, so head to Rockrest Flat Shrine and take the same route once again. The moment you approach the Boar, he will start attacking you. Now known to be the Yellow-Robed Squire, this is the second boss in the Drunk Boar Side Quest.
Once you defeat the Yellow-Robed Squire, he will tell you to explore the hidden realm together with him. Having said that, he will become sand and move to the giant door directly behind him, and enter it. This door is your entrance to the secret area: the Hidden Kingdom of Sahali. You have now unlocked this area and must enter this door to continue with the Drunk Boar Side Quest.
Step 7: Enter the Kingdom of Sahali
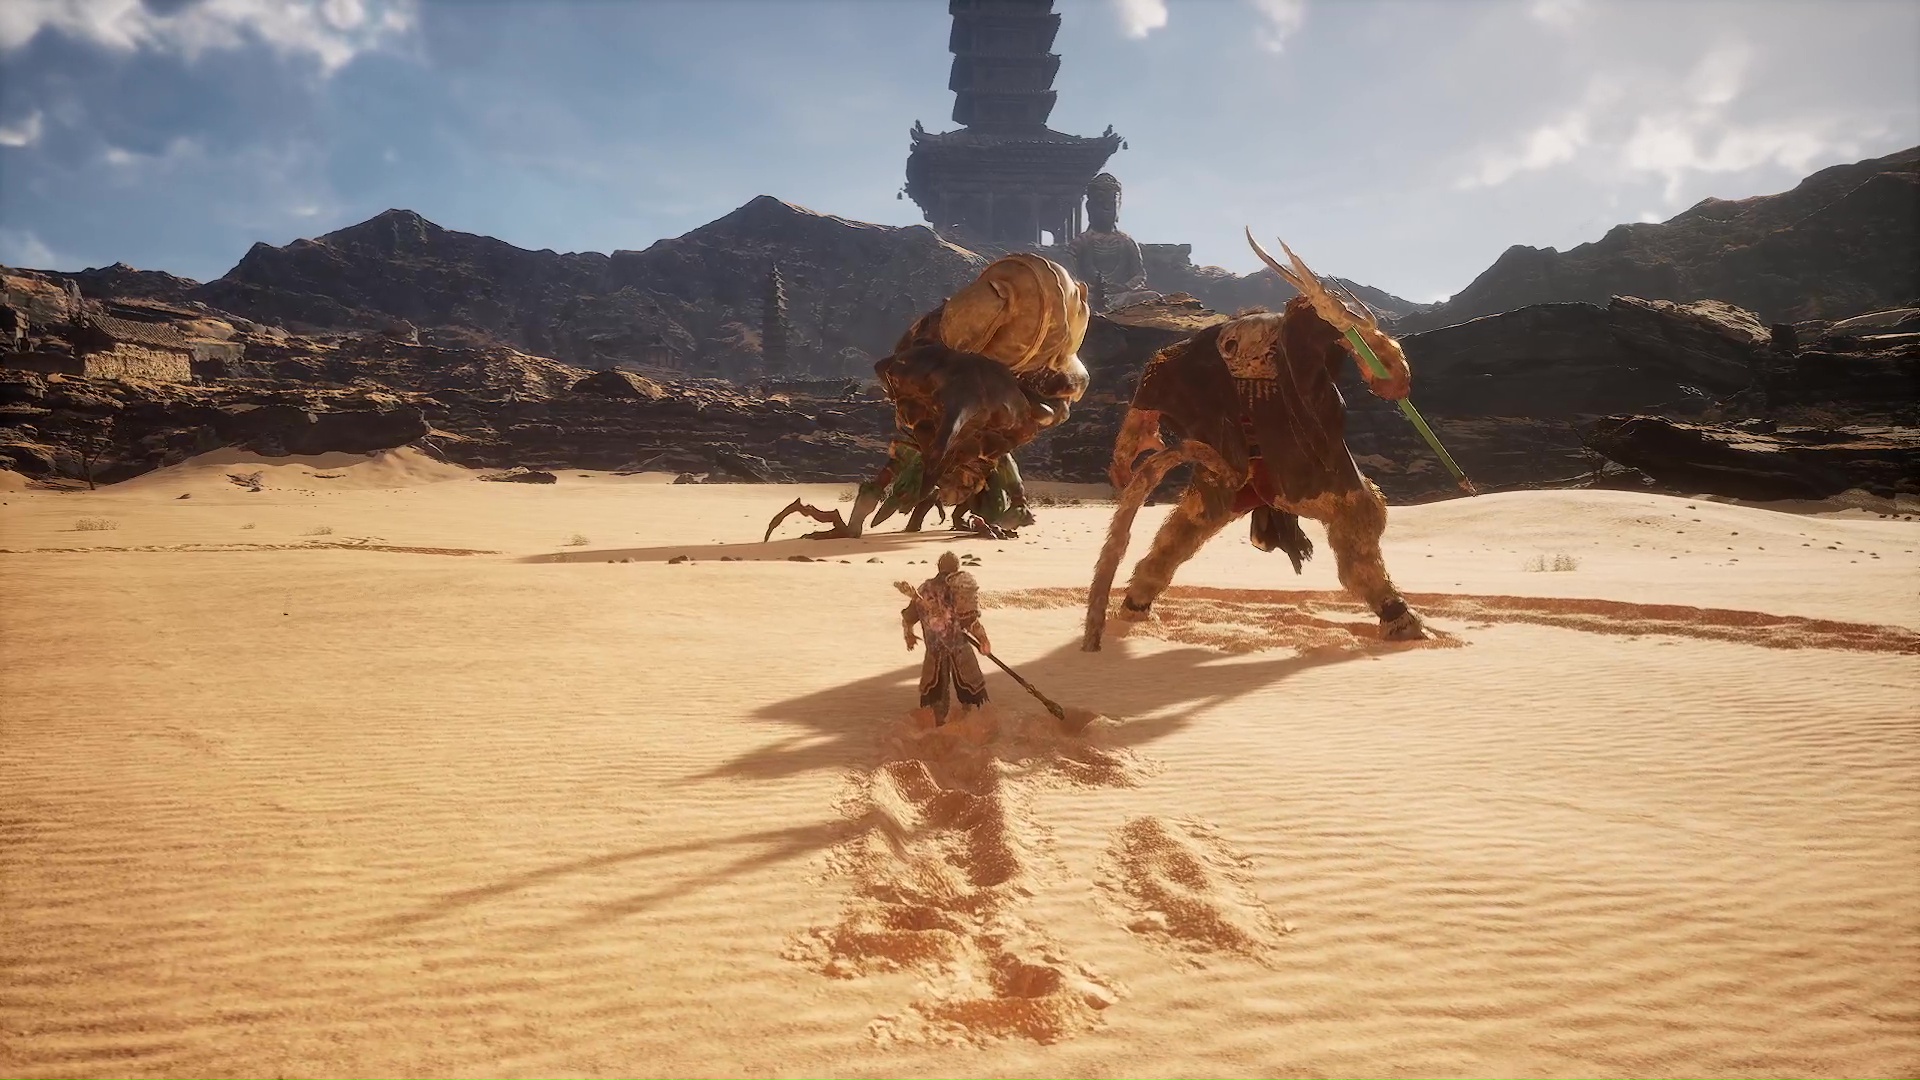
Once you enter the door that the Drunk Boar entered, you will reach the Kingdom of Sahali. The boar will tell you a story of the land, and explain that this realm is an echo of the past where the Yellow Rat battled Sun Wukong after harnessing the power of the Beetle guai.
After the boar is done with his story, you are left in a new sandy area devoid of the stormy winds. Simply head forward to battle the Tiger Vanguard, although this boss is different from the one you encounter in the Crouching Tiger Temple.
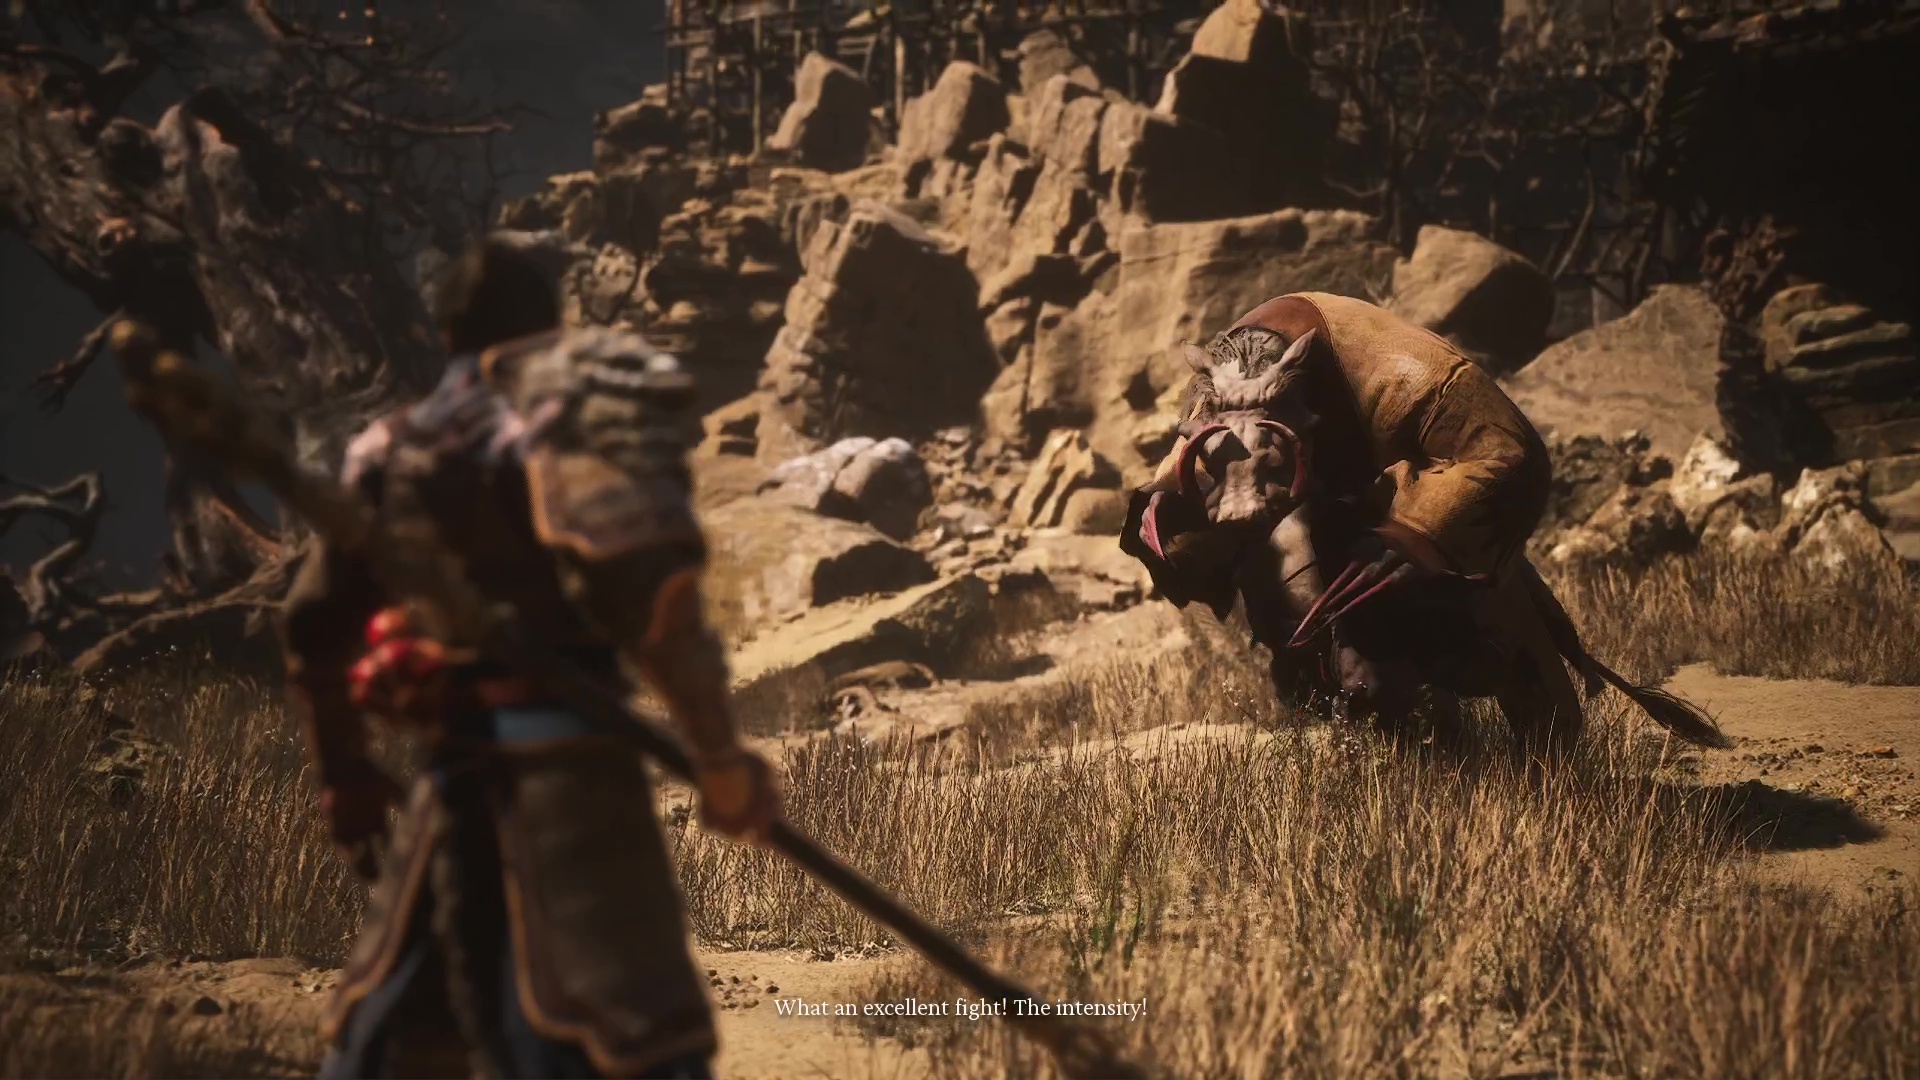
Step 8: Defeat the Tiger Vanguard
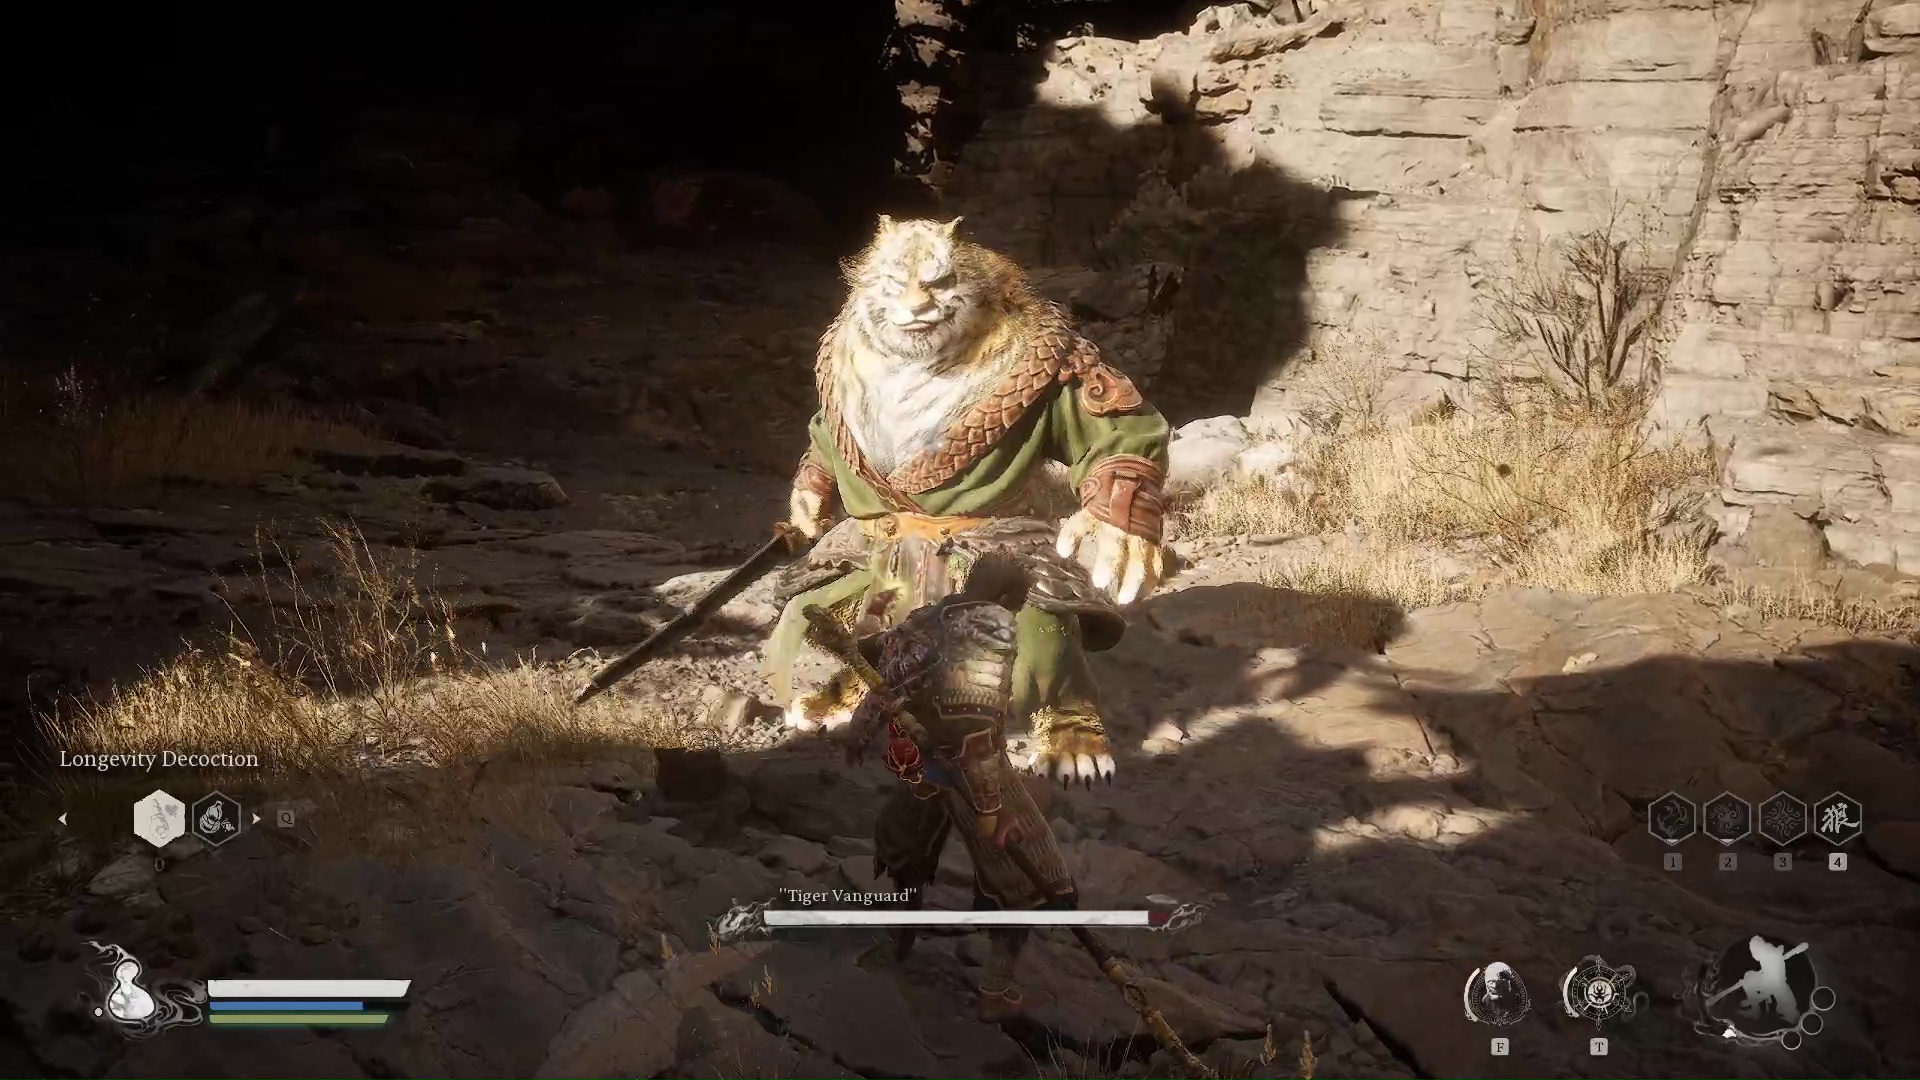
The Tiger Vanguard is the third boss fight in the Drunk Boar Side Quest. This fight is much easier than the Tiger Vanguard boss fight in the main story, and rightly so because this is actually a past version of the same boss.
Once you defeat the Tiger Vanguard, the boss will yield to you and request you to help the Rat King subdue the beetle guai instead.
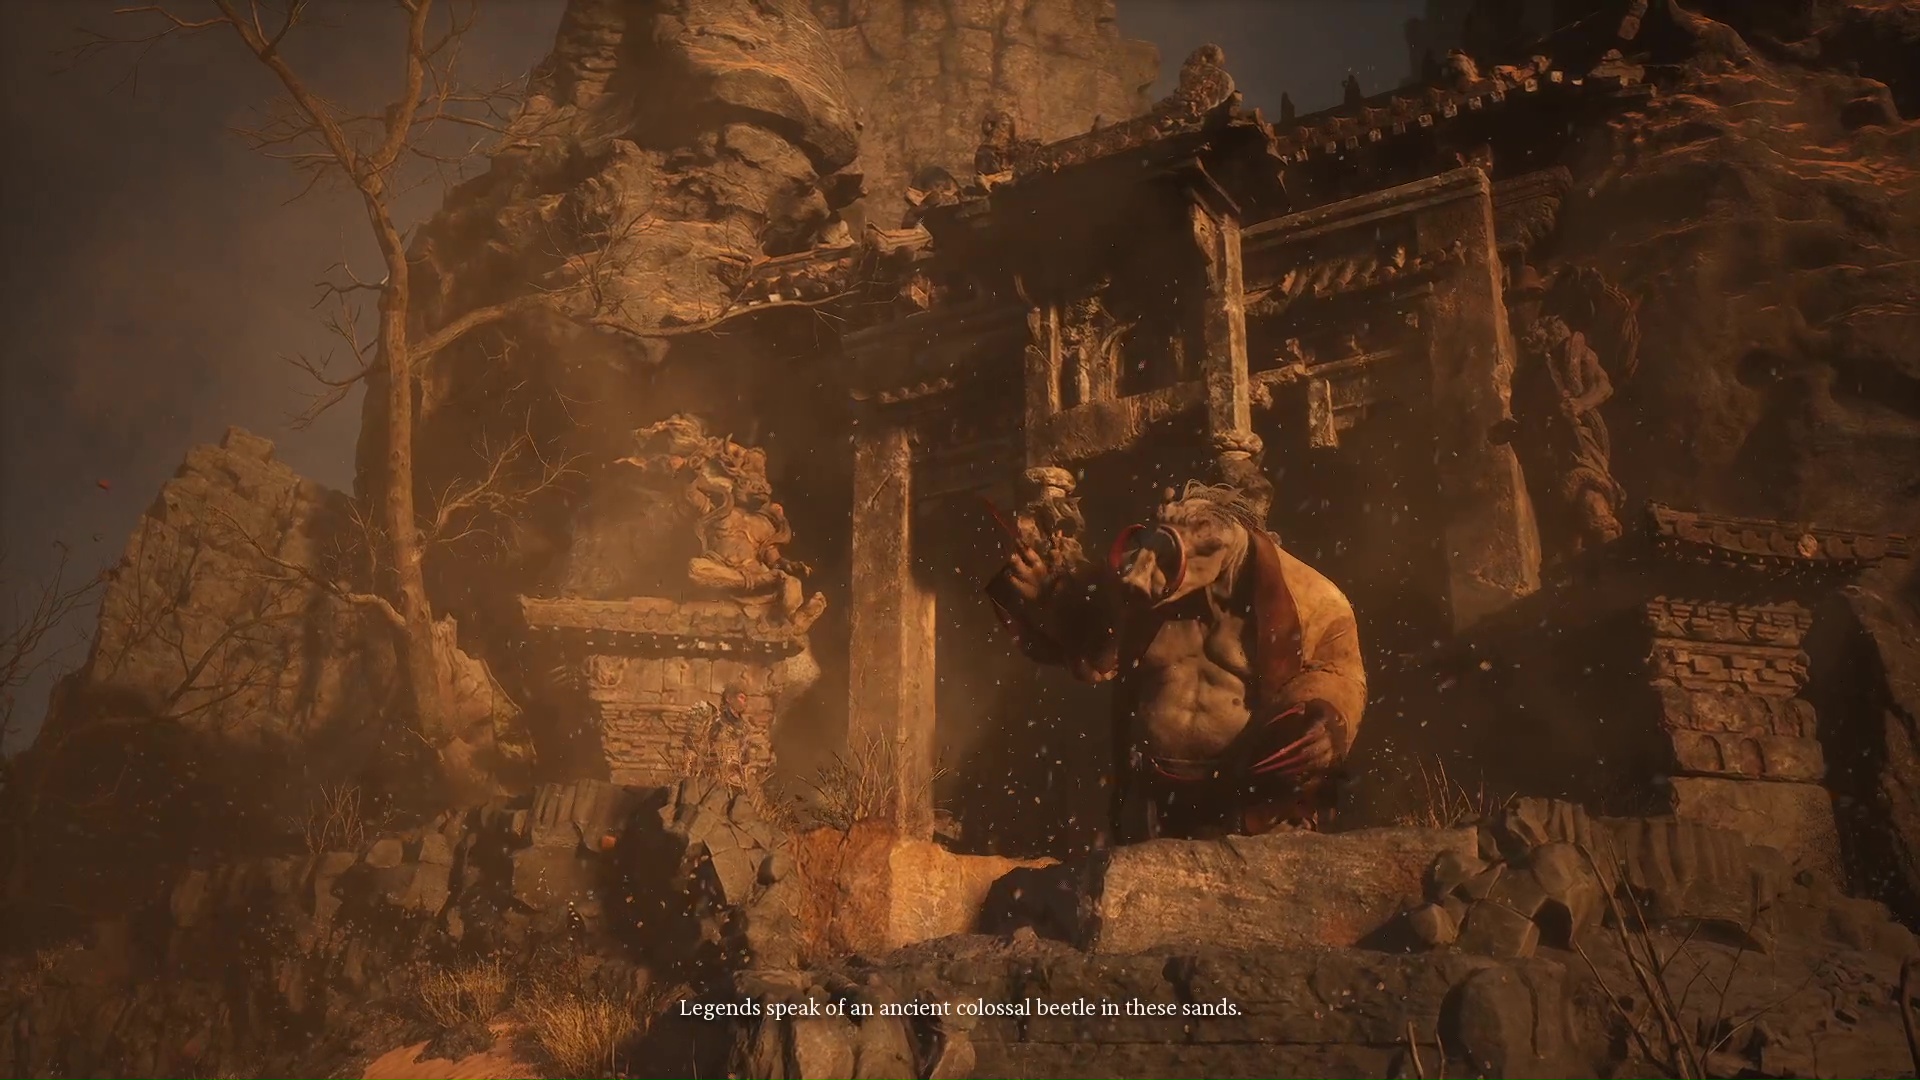
Step 9: Talk to the Rat King and defeat the Bettle Guai: Fuban
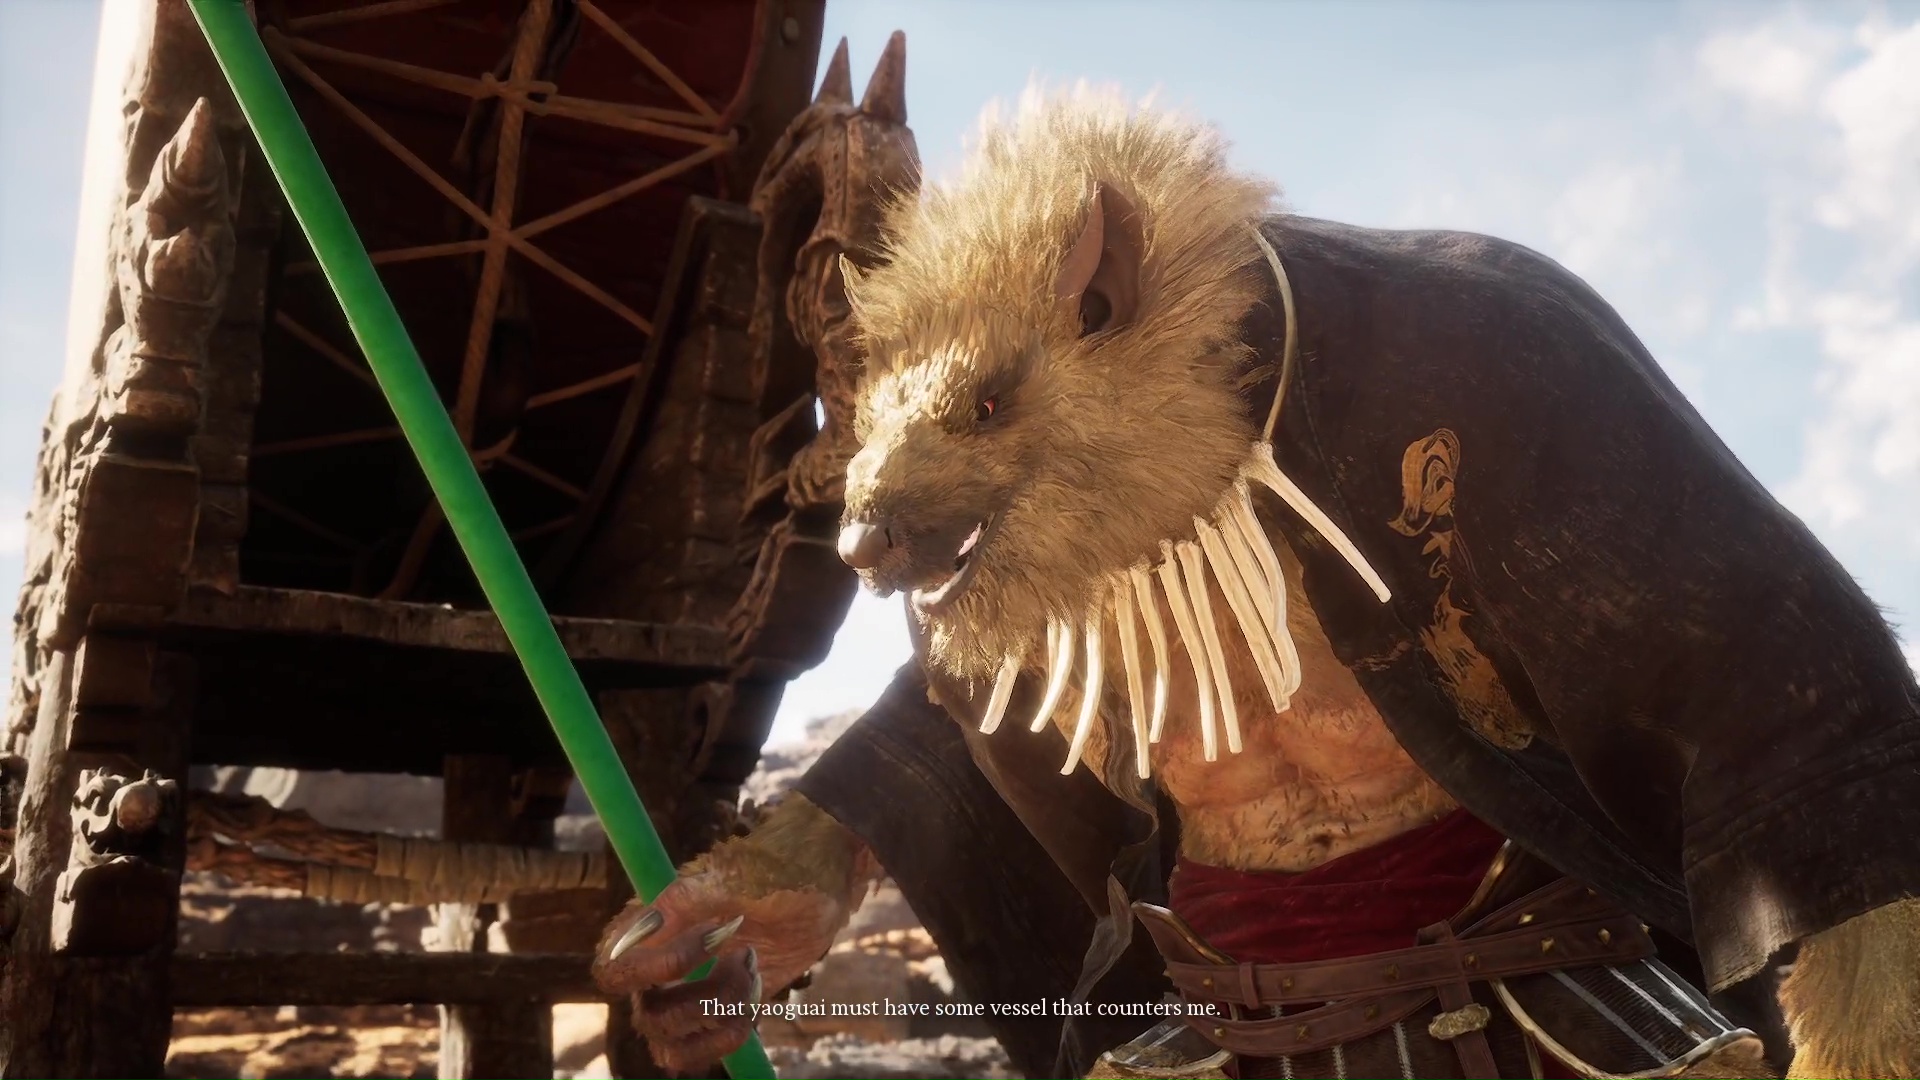
After you talk to the Rat King, he will request your aid to defeat Fuban, the Beetle Guai. The King will start beating on a large drum, and the shockwaves will summon the beetle from the sands. This is the final boss fight in the Drunk Boar Side Quest in Black Myth Wukong.
Luckily, you will not be alone in this fight against Fuban. After the first stage of the fight, the Rat King will join you and help to defeat it. After the two of you have beaten Fuban the Beetle Guai, the Rat King will thank you and you will automatically be transported outside the gate that you used to enter the Kingdom of Sahali. With that, you have finally completed the Drunk Boar Side Quest in Black Myth Wukong.
Rewards for completing the Drunk Boar Side Quest in Black Myth Wukong
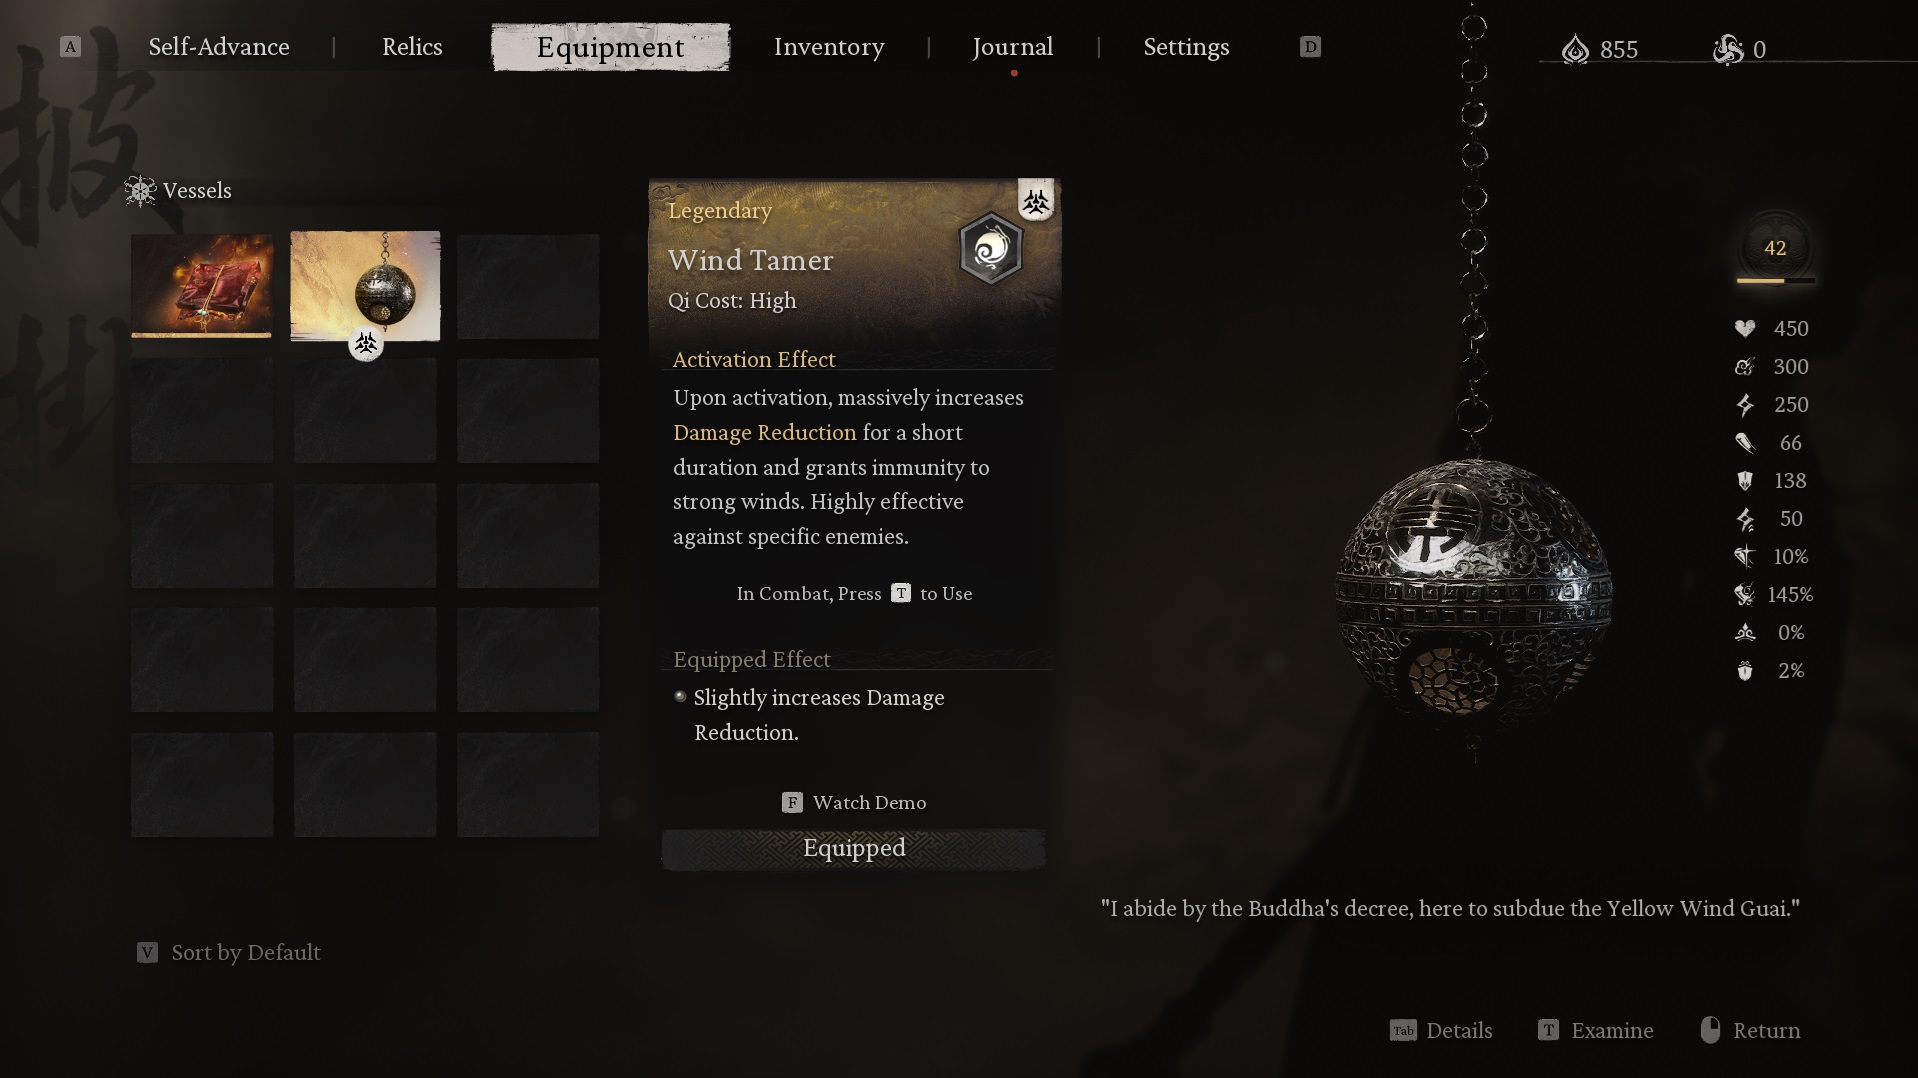
The most important reward for completing the Drunk Boar Side Quest in Black Myth Wukong is the Wind Tamer Vessel. This key item will be of great help during the Yellow Wind Sage as it can nullify his sand attacks for a short duration. Here is a list of all the rewards that you get for completing the Drunk Boar Side Quest:
- Wind Tamer Vessel
- Sky Piercing Horn
- Fuban Strength Gear
- Monastic Insect Hat
- Insect Spike Bracers
- Insect Spike Gaiters
Other than these, you will also get the following rewards for defeating specific bosses in this quest:
- Snout Mask: Headgear received after defeating Yellow-Robed Squire.
- Tiger Tally: Curio received after defeating Tiger Vanguard.
All bosses in the Drunk Boar Side Quest and how to beat them
There are four boss fights in the Drunk Boar Side Quest with the First Rat Prince, Yellow-Robed Squire (Drunk Boar), Tiger Vanguard, and Fuban. The fight with Fuban is the most difficult one, although it is still easy in comparison with the other bosses that you encounter in the main game. The boss fights become easier because all of them have the same style and the same strategy will work for each of them. You will not need to respec your Sparks for each of the bosses individually. The only major difference is their attack patterns, which is also pretty easy.
First Prince of the Flowing Sands (First Rat Prince)

First Prince of the Flowing Sands Boss Mechanics
The First Prince of the Flowing Sands has an entirely melee-based moveset. He will mostly run towards you, hit you with a two-shot melee combo, and then throw the weight of his entire body on you. This entire combo does a significant amount of damage but can be avoided pretty easily.
The Rat Price has a tail, which he can also use to attack you. The tail whip is another attack that is mostly used if you are positioned at the back of the price and targeting his hind side instead. For the final attack, the boss can throw up sand to make a screen of dust, which can completely blind you for a very brief moment.
The Prince of Flowing Sands’ attacks are all linear and do not offer much of a challenge. You should have no problem defeating him at the very first try.
Yellow-Robed Squire (Drunk Boar)
Yellow-Robed Squire Boss Mechanics
For the second fight, you need to defeat the Yellow-Robed Squire or the Drunk Boar himself. This fight is very simple as well, but keep in mind that the Boar will throw up sand with almost every combo that he has. The Drunk Boar is more mobile and is also a pure-melee fighter. His most common attack is a spinning melee attack that deals a moderate amount of damage.
The Boar can also jump up and body-slam you, and on rare occasions will bash you with his two tusks on his face. This boss can potentially throw sand with every combo, although it does not have much of an effect overall.
Tiger Vanguard

Tiger Vanguard Boss Mechanics
The Tiger Vanguard considerably raises the bar in terms of difficulty, but it is still on the easier side. This boss is a melee attacker who wields a single-handed blade but has high mobility. He uses a wide variety of attacks with melee combos, both with and without his blade. These do a significant amount of damage as compared to the two earlier bosses.
Apart from his melee combos, the Tiger Vanguard will also use sweeping and slam attacks, and will sometimes dash at you from a distance and end with a blade or melee combo. This attack can easily take away more than half of your health if you are hit by all the strikes.
For his final and most devastating attack, this boss has a roar that will stop you in your tracks and also deal a significant amount of damage per second that you are caught in its range. Logically, you should only take damage from this attack if the Tiger Vanguard is facing you with his roar. However, even if you are behind the boss during this roar, you will take some amount of damage per second.
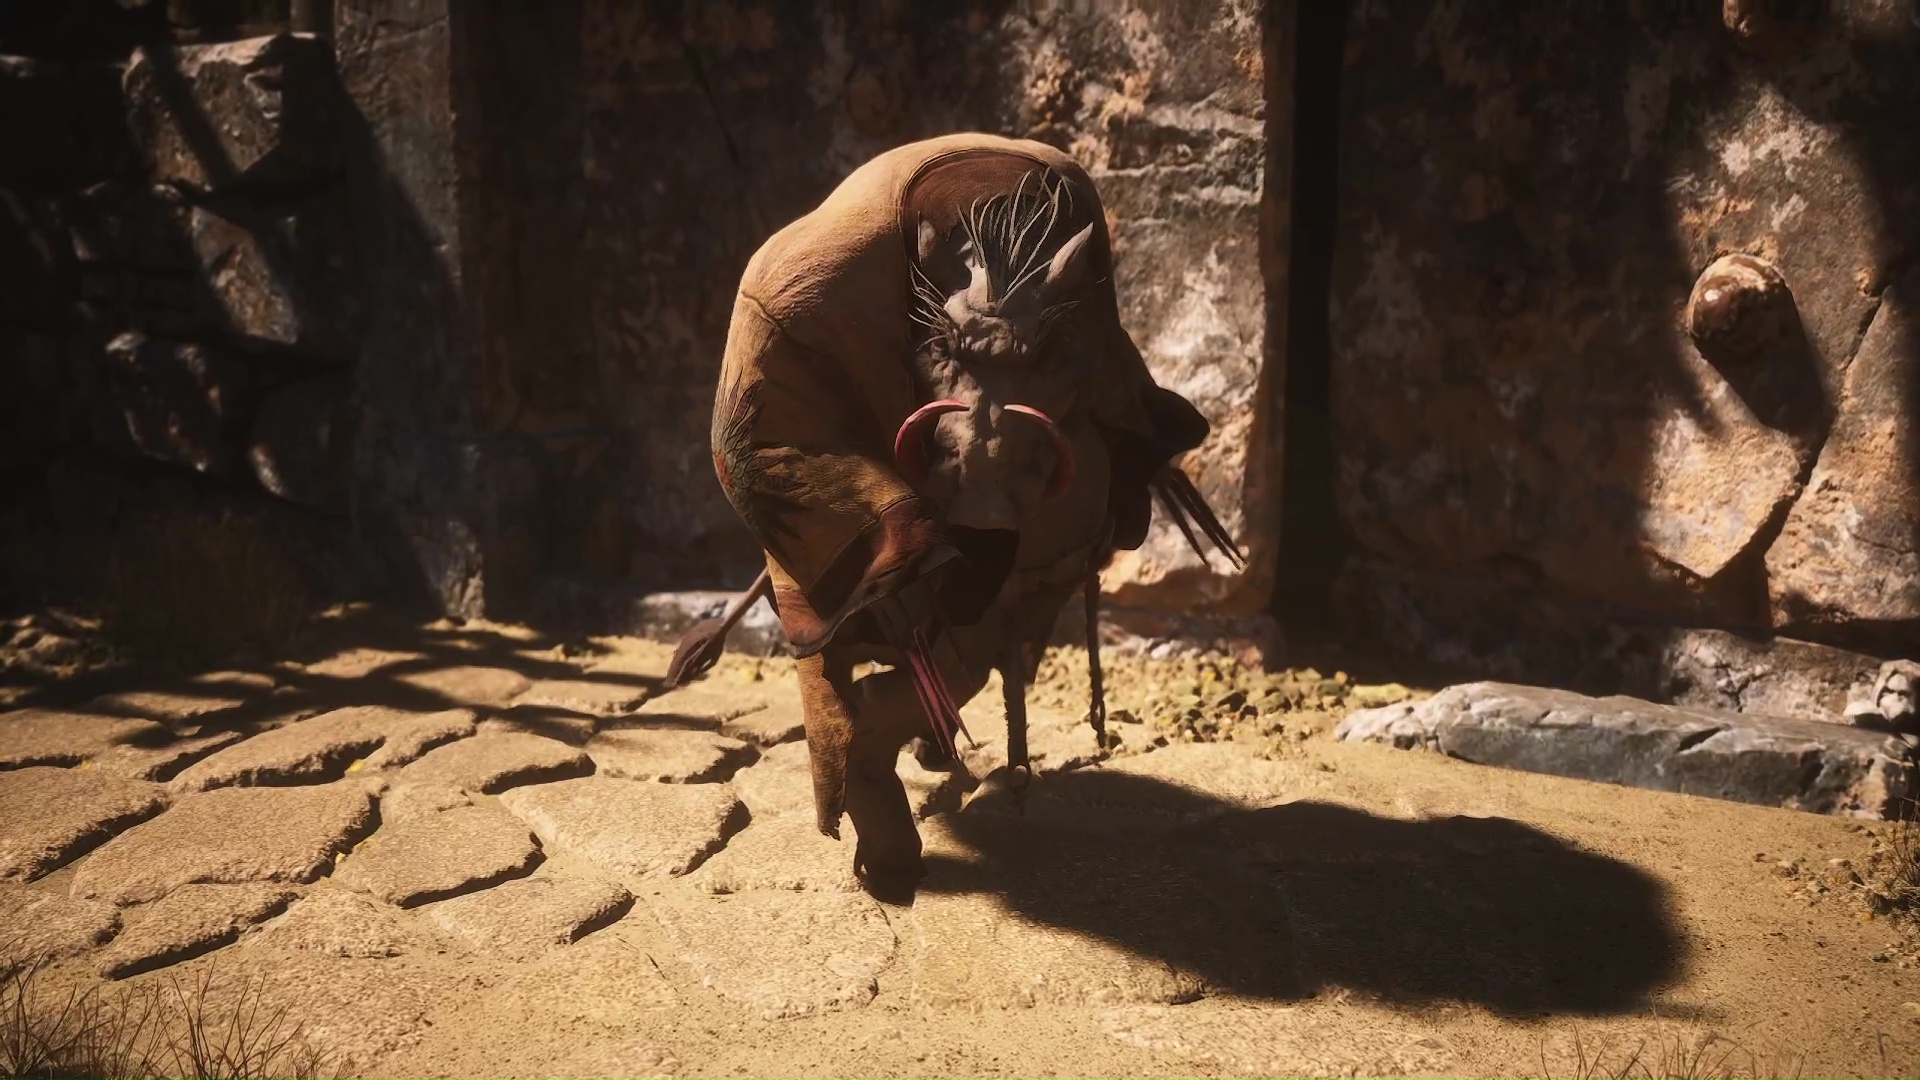
Fuban, the Beetle Guai
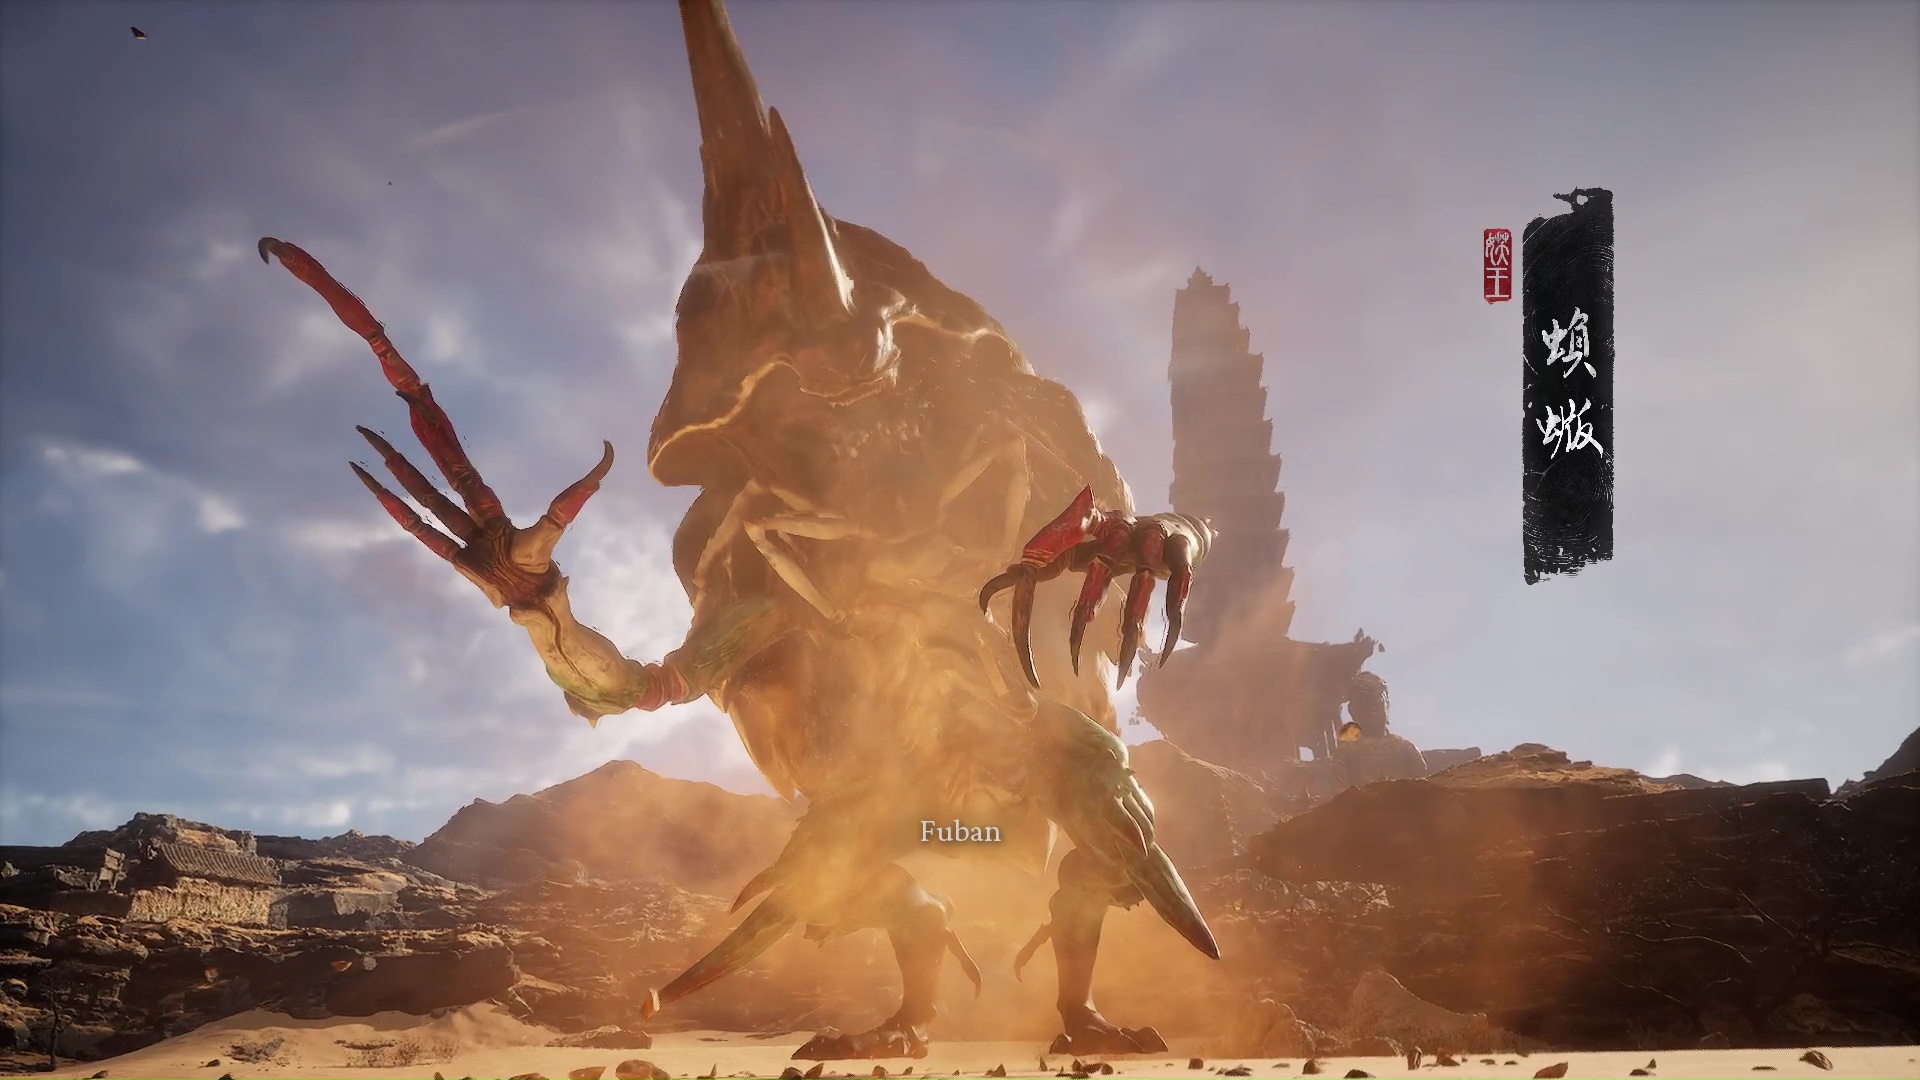
Fuban Boss Mechanics
The final and most difficult boss in the Black Myth Wukong Drunk Boar Side Quest is Fuban. This boss is a colossal beetle and his great size comes with a major hit to his mobility. During the first phase, the beetle guai will mostly be stationary and hit you with his hand, sweep you with his hands while also stirring up sand, and sometimes poke at you with his horn, like a pincer. He can also use all of these attacks in a combo, and they can sometimes be difficult to dodge owing to his huge size.
At around half health, Fuban will burrow underground, and attack you while remaining under the sand. In this mode, the beetle will charge at you and poke you with his horn, making it look like a spike emerging from the sand. For his other really devastating attacks, Fuban will jump out of the sand like a dolphin and slam you with his full body, or with his head. Both of these attacks deal a significant amount of damage and need precise timing to dodge.
By now, the Rat King will call Fuban a coward and hit the drums again to force him out of the sand. When Fuban emerges, he will be in an unconscious state. You can use his horns to climb on his back, and take the Wind Tamer from the Buddha eyes on Fuban’s back. The beetle will once again wake up after this, and the Rat King will now join you in the fight.
Fuban’s attacks remain the same, with the addition of one new head-slam combo where he keeps bashing his head on the ground to hit you. Finally, after hitting him for a while, a cutscene will take place where the Rat King will defeat Fuban and thank you.
Best Strategies for Defeating All Bosses in the Drunk Boar Side Quest
All the bosses in the Drunk Boar Side Quest can be defeated by using Perfect Dodges and spells like Immobilize and A Pluck of Many. All of the bosses are melee attackers and slow, except for the Tiger Vanguard. As such, dodging at the opportune moment and countering them with your own Varied Combos is the best way to go. Smash Stance is generally the best to use here since you do not require ranged fights.
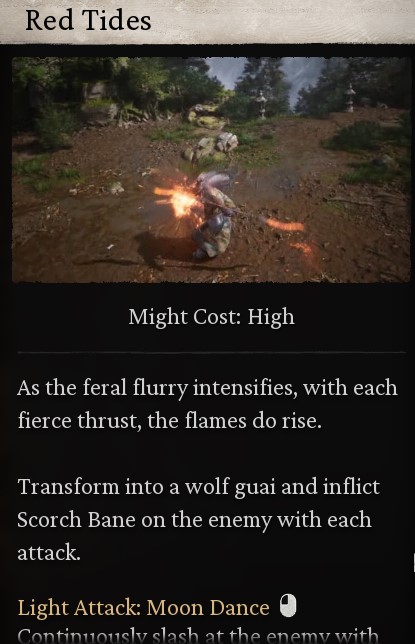
All of the bosses take a significant amount of damage from Red Tides transformation and its burn effect. You should look to build up the Might Meter and use the special attacks of the transformation to deal a massive amount of damage to all of the four bosses in the Black Myth Wukong Drunk Boar Side Quest.
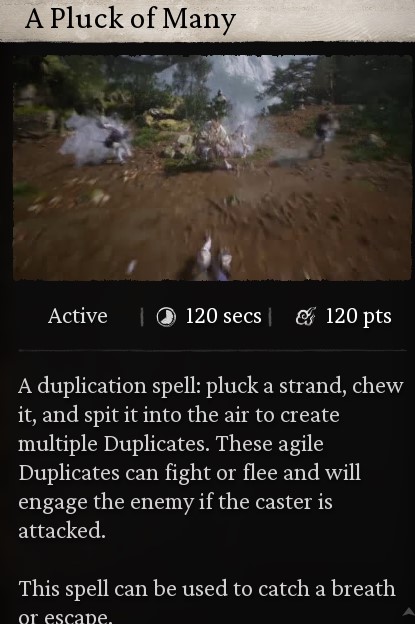
A Pluck of Many is another hugely advantageous spell in these fights. Since most of the bosses are fairly easy, this spell can greatly reduce the time taken in each fight. Pair that with Immobilize and you can bring every boss (apart from Fuban) down to less than half of its HP with a single rotation of all spells. Using this strategy, heal management becomes less of a strategy since your aim should be to deal maximum damage in a short amount of time.
On the other hand, Mana management becomes extremely important. You should have Spirit Shards unlocked for Immobilize, which returns some of the Mana when you crash the opponent’s Immobilize. Next, we exam how to setup a build for the Black Myth Wukong Drunk Boar Side Quest Guide
Best Build Loadout to defeat Drunk Boar Side Quest Bosses
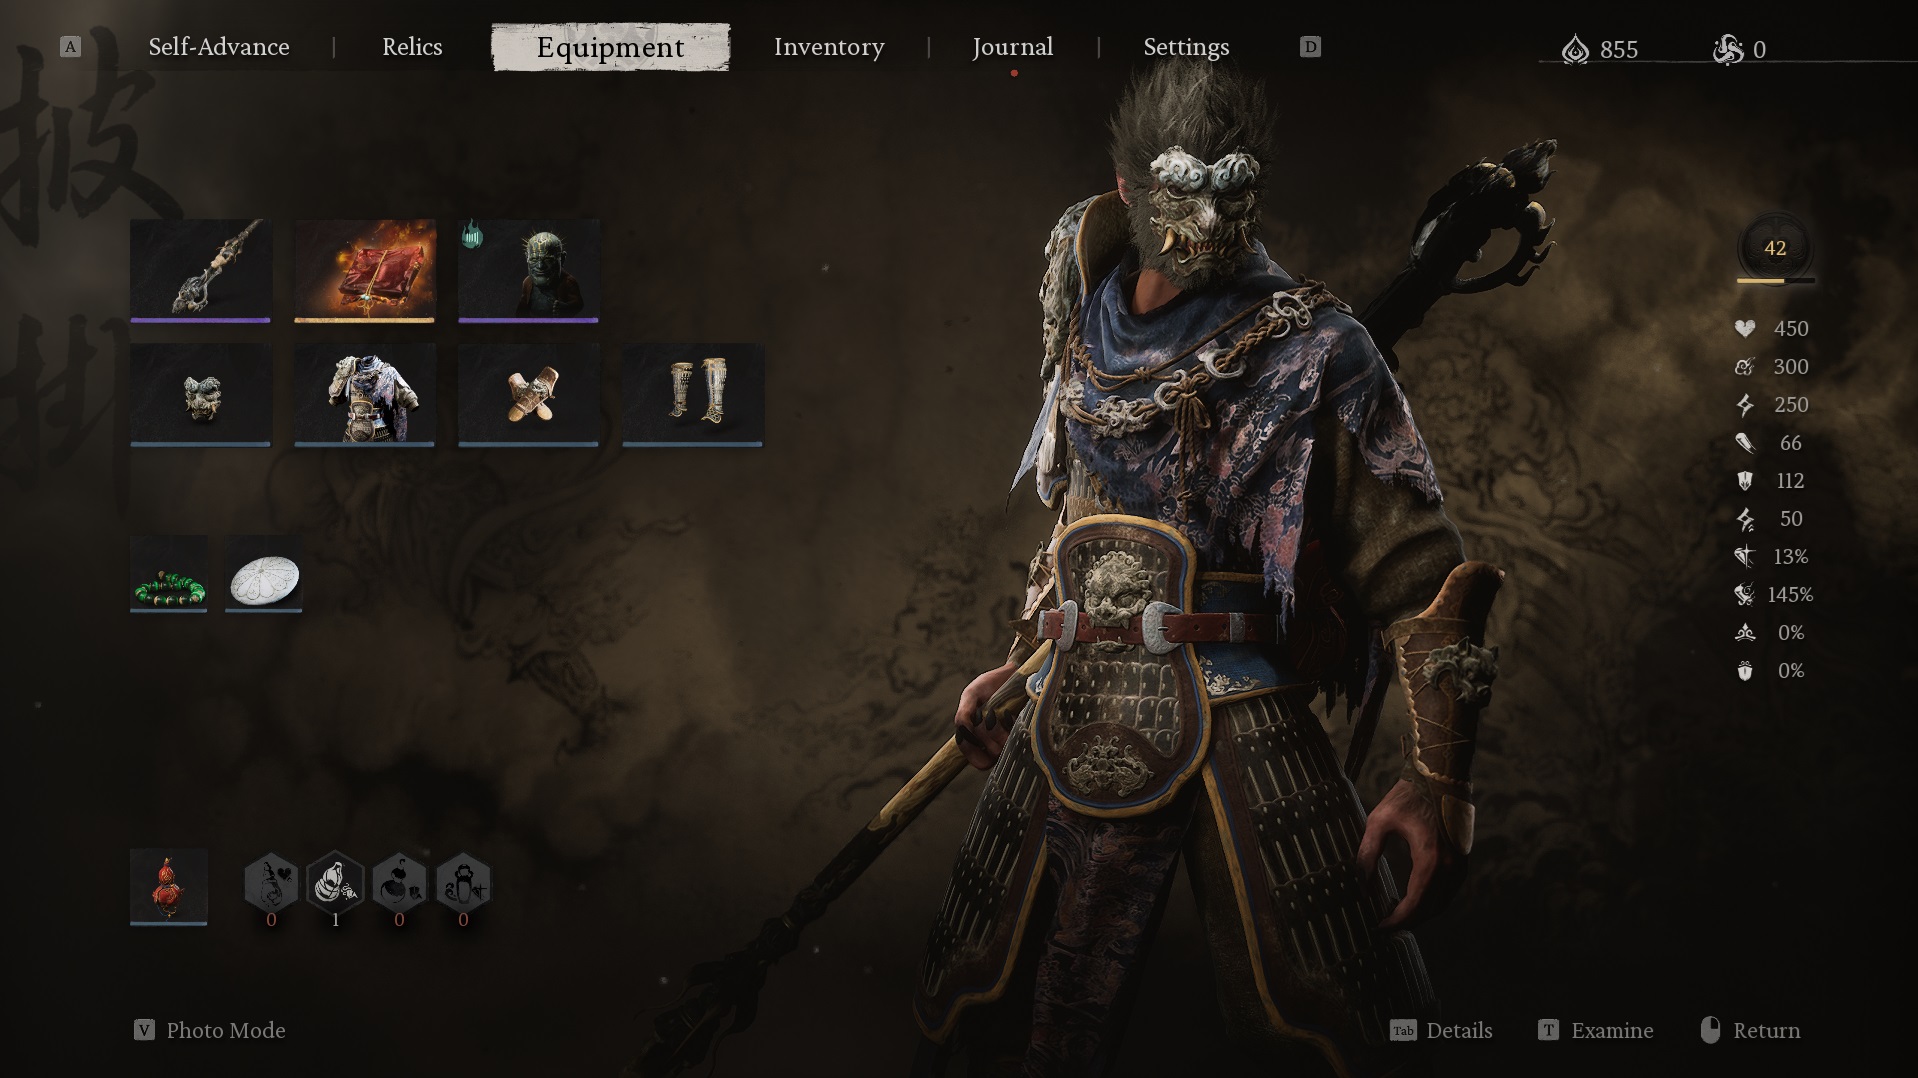
The following list presents all the essential Drunken Boar Boss Build Guide Mechanics and Features in Black Myth: Wukong:
Spells:
- Immobilize, with Spirit Shards unlocked
- Cloud Step
- A Pluck of Many
Transformation:
- Red Tides
- Spirit: Wandering Wight
Weapon:
- Wind Bear Staff
Armor: Galeguard Beast Set which contains the following items:
- Galeguard Beast Mask
- Galeguard Beastmaw Armor
- Galeguard Bracers
- Galeguard Greaves
Best Stance:
- Smash Stance, with the following:
- Resolute Counterflow
- Winding Wind
- Skyfall Strike
- Invigoration
- Vantage Point
Other Gear:
- Relic:
- Craving Eyes – Keen Insight: Increases Crit Rate.
- Curios:
- Cat Eye Beads: Slightly increases Crit Rate
- Tridacna Pendant: Slightly reduces the cooldown of Spells.
- Gourd:
- Trailblazer’s Scarlet Gourd
Tips and tricks to complete the Drunk Boar Side Quest in Black Myth Wukong
Although the side quest is fairly easy, here are some tips and trips that will allow you to easily complete the Drunk Boar Side Quest in Black Myth Wukong:
- Rest at a Shrine before and after every boss fight. This will ensure your progress is saved at every major checkpoint of the quest.
- When you travel to Rockrest Flat to get to the Drunk Boar, you don’t need to fight the enemies in your path. Simply dodge and run past them to save time.
- Conserve Mana during the Boss Fights, and rotate your spells.
- Pay special focus to use Red Tides properly since all bosses take massive burn damage.
- Explore the area in the Hidden Kingdom of Sahali. It can be quite rewarding.
Looking for more?
Thank you for reading the Black Myth Wukong Drunk Boar Side Quest Guide. We also provide the latest news and create guides for Baldur’s Gate 3, The First Descendant, Starfield, and more. Also, watch Deltia play games on Twitch or visit his YouTube channel!