 Facebook
 Reddit
 Email
Email
Discover why the 4-3-2-1 formation is a game-changer in EAFC 25. Learn custom tactics, and key roles, and boost your gameplay.
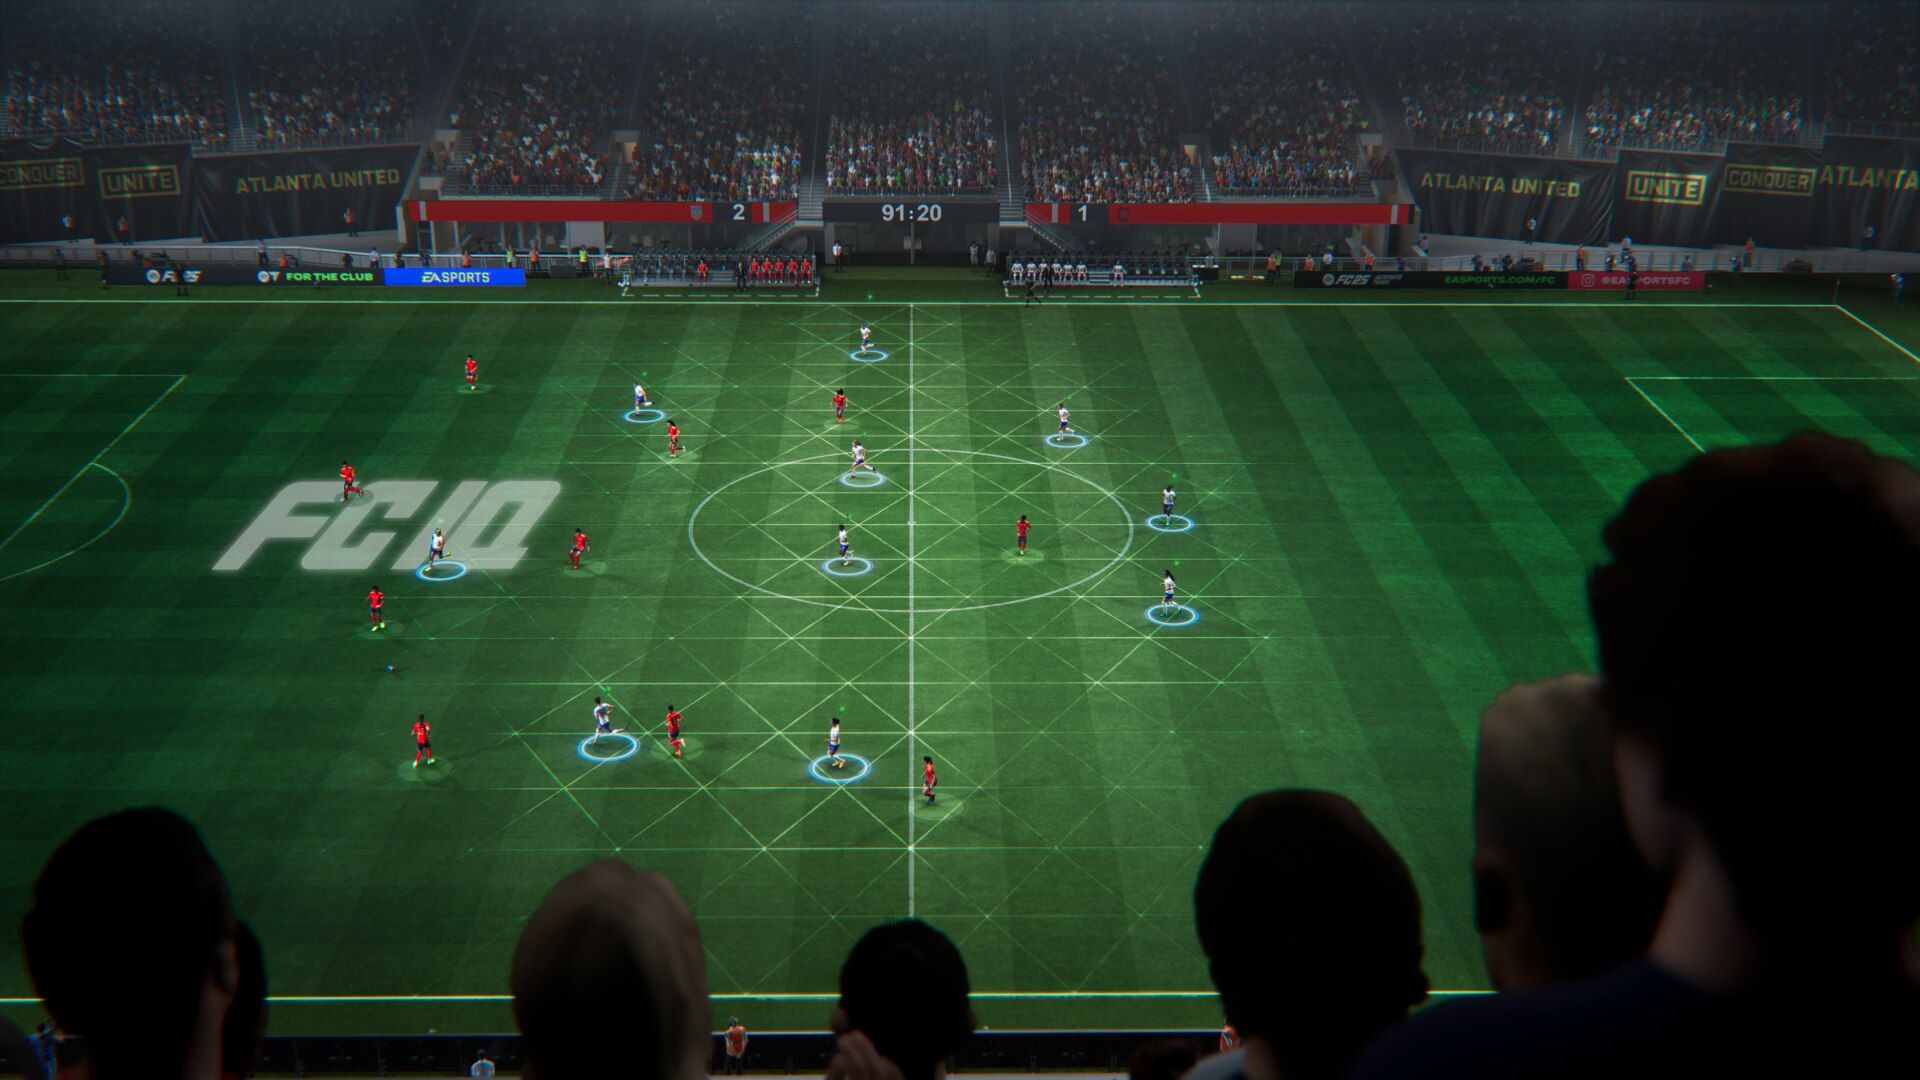
if you’re someone looking to dominate in EAFC 25, then recognizing the best formation plays a major role in outsmarting your opponents. Enter the 4-3-2-1 formation. It’s versatile, powerful, and fits perfectly with almost any playstyle. Whether you’re playing Ultimate Team or Pro Clubs, this setup gives you a tactical edge.
Want to counter-attack with flair? You got it. Prefer holding possession and controlling the game? No problem! The 4-3-2-1 can do it all. And with a few tweaks using custom tactics, it becomes unstoppable.
NOTE: Parts of this article are subjective and reflect the writer’s opinion.
Best Formation in EAFC 25
Let’s get straight into why the 4-3-2-1 formation is so effective and how you can set it up in EAFC 25. This formation is loved for its balance. It allows you to dominate both ends of the pitch while giving flexibility to tweak your tactics depending on how the match is going.
To start, you can recreate the 4-3-2-1 formation using the 4-5-1 Flat setup. Don’t worry—it’s a simple switch. Just use the custom tactic code E#d4vJsK%io, and your team will automatically adapt to the 4-3-2-1 shape. Alternatively, if you’re playing Pro Clubs or Ultimate Team, you can directly use the code yTKGM2C58vC to load the 4-3-2-1 formation. Both methods work, so it’s all about your preference.
Custom Tactics
Now, let’s talk custom tactics. For Build-Up Play, go with Balanced. It gives you the best of both worlds, allowing your team to adapt without sticking to just one style. For the Defensive Approach, keep it Balanced with a line height of around 50-70. This ensures that you’re neither too defensive nor leaving too much space at the back.
As for player roles, here’s the breakdown:
- Goalkeeper: Sweeper Keeper or Balanced
- Left Back (LB) & Right Back (RB): Fullback (Defend)
- Center Backs (CB): Central Defenders (Defend)
- Left Center Mid (LCM): Deep Lying Playmaker (Defend)
- Center Mid (CM): Holding Midfielder (Defend)
- Right Center Mid (RCM): Box-to-Box (Balanced)
- Left Attacking Mid (LAM): Playmaker (Roaming)
- Right Attacking Mid (RAM): Shadow Striker (Attack)
- Striker (ST): Target Forward (Balanced)
With this setup, you’re giving your team a solid defensive base while allowing creativity in attack. The key is the balance between your midfielders and forwards, with the LAM and RAM creating plenty of chances for the striker. Whether you’re facing a high-press team or one that sits deep, this formation adapts beautifully.
Looking For More?
Thank you for reading the article. We provide the latest news and create guides for Baldur’s Gate 3, Starfield, ARK Survival Ascended, and more. Also, watch Deltia play games on Twitch or visit his YouTube channel!