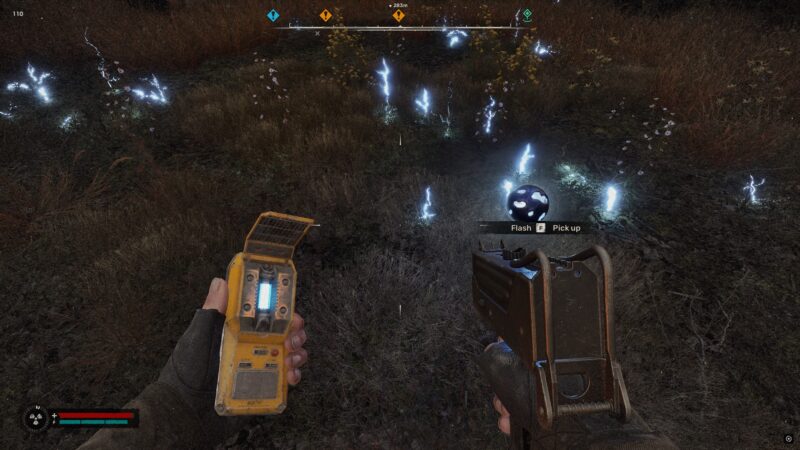
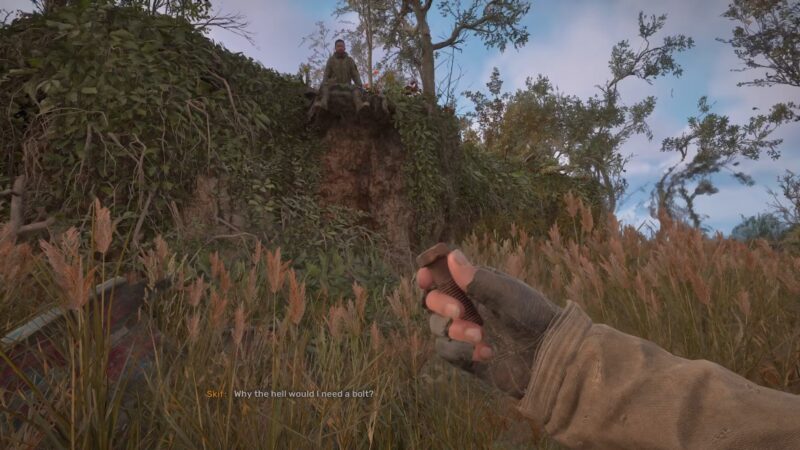
Diode’s Workshop is hidden in plain sight when you get to the location. Check out this guide to complete the objective of this main quest.
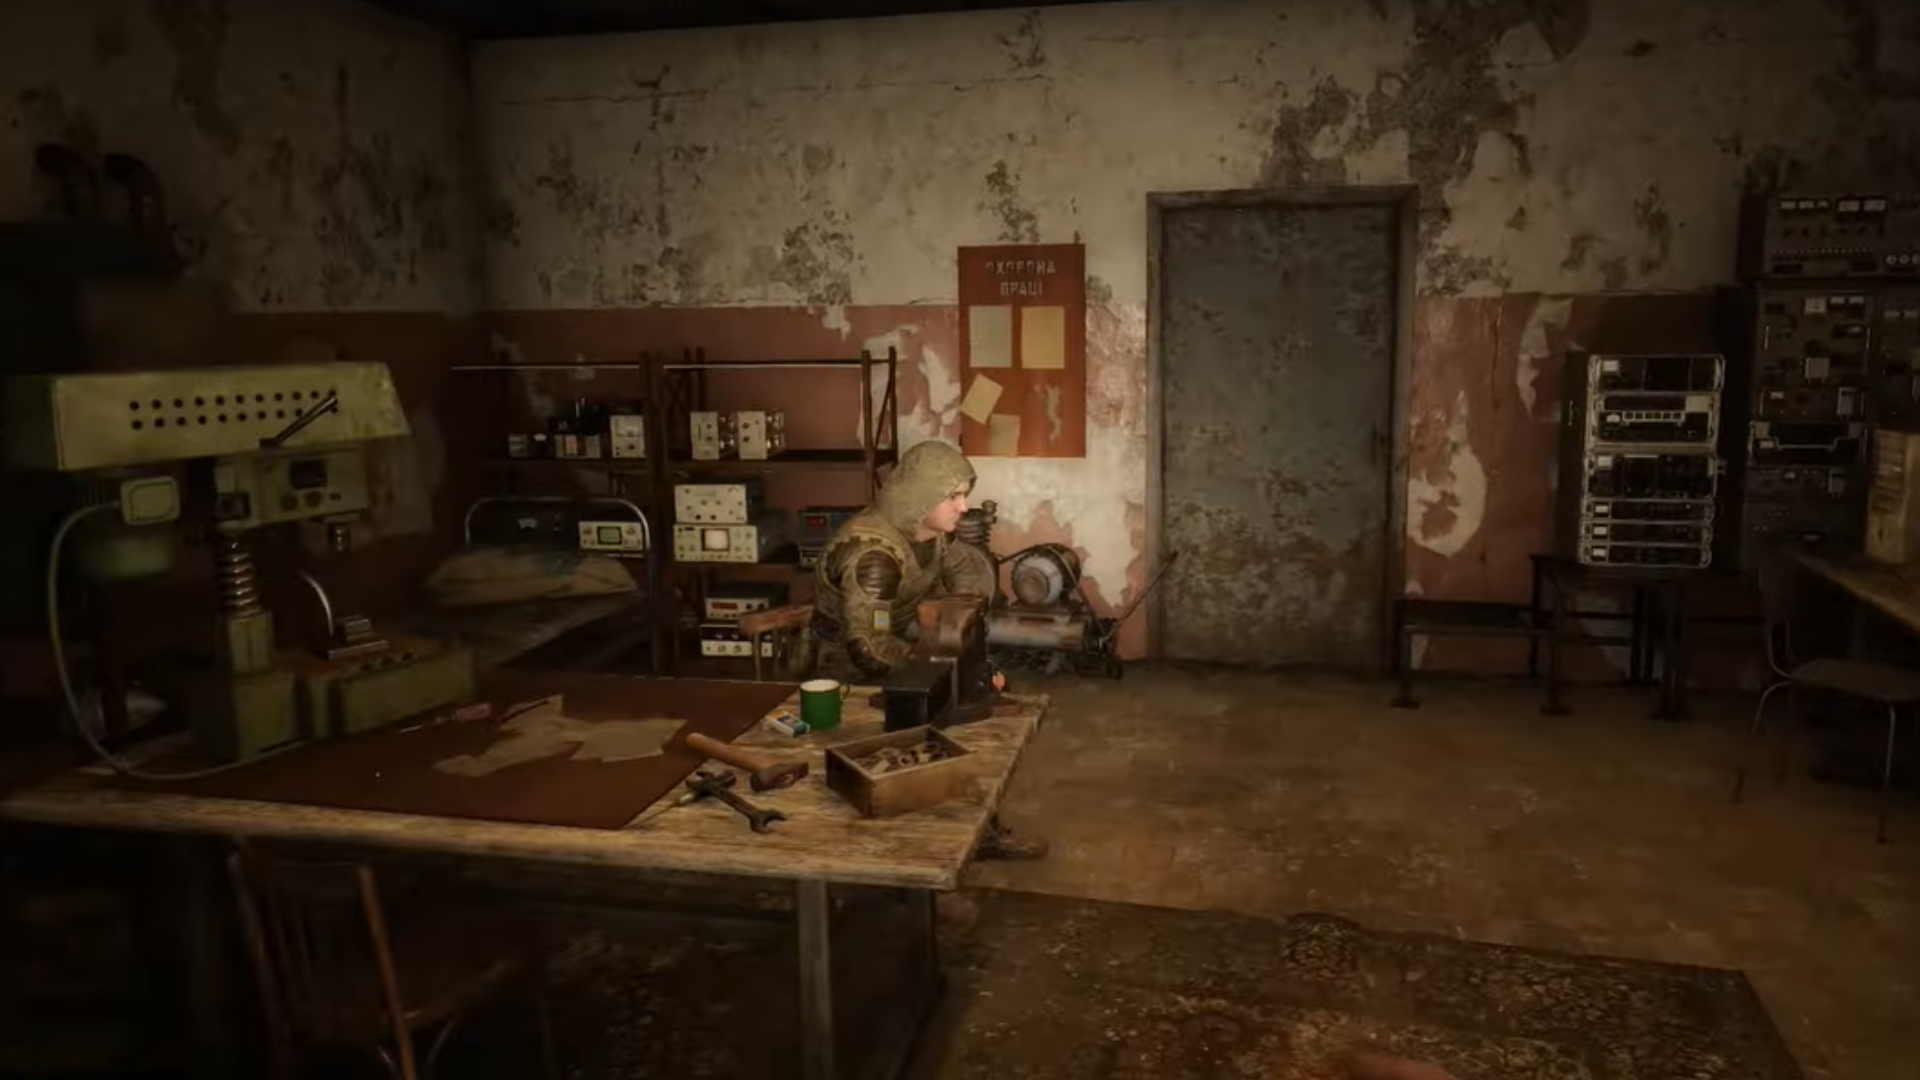
When Skif finds Diode in Stalker 2, he has already been separated from his workshop. He is not just any random NPC that asks you to investigate his workshop. Rather, Diode is a Technician in the Slag Heap settlement in the Stalker 2 world.
You will work for him for the quest The Price Goes Up. There is no way to skip it because it is a main mission. For starters, you would want to head to the Slag Heap bar and begin the quest by talking to Diode.
Face the bar first, head left from here. When you enter through the doorway, turn right and continue straight up. Follow the black wire on the ground to the next room, and you will find Diode sitting there. Converse with him and tell him that you are here to take away his problems.
Use the Keycard To Enter Diode’s Workshop

Once he gives you the coordinates to this workshop, you must visit the location. Your compass and PDA will take you to the Hydroelectric Station, a little southwest of Slag Heap.
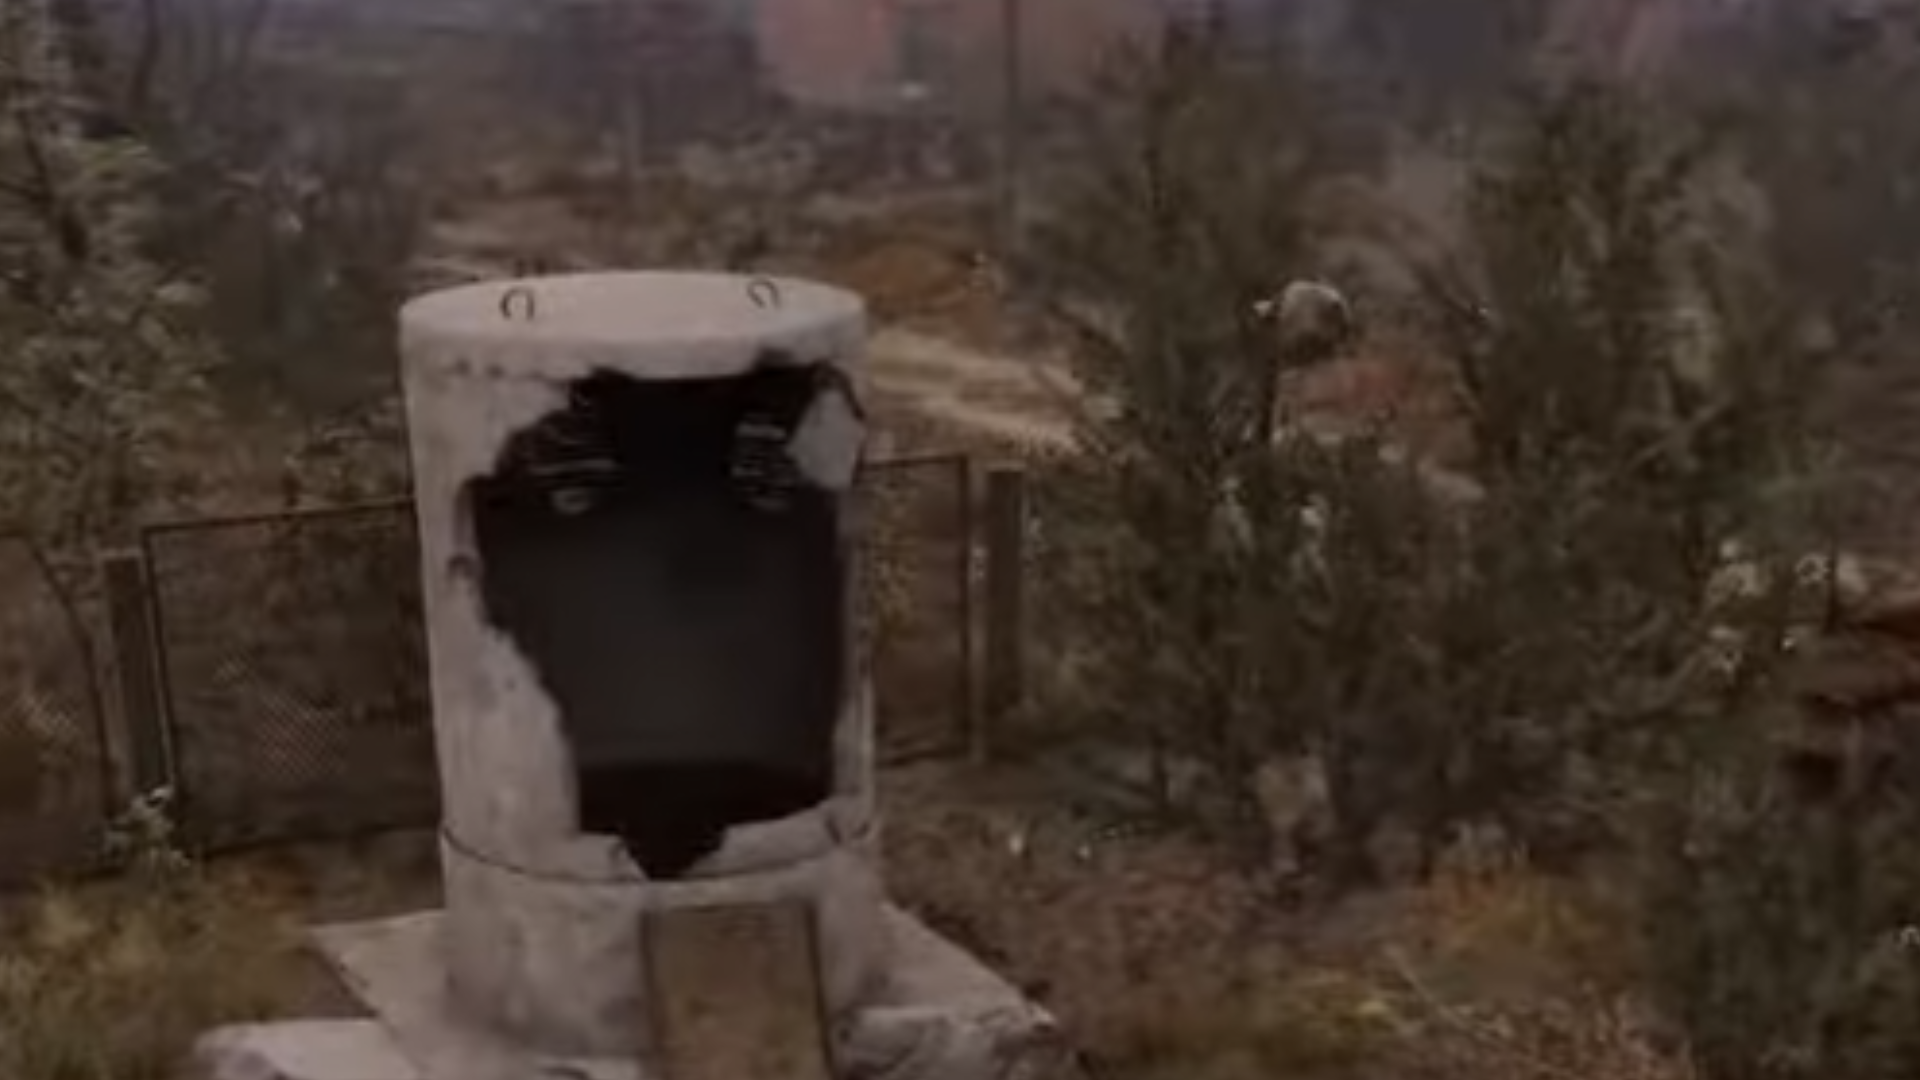
There is an anomaly outside which will keep flashing at you, so be careful. There is only one building in the vicinity, and the workshop door is in there. However, the plot twist is that you can’t enter without a keycard. Exactly opposite the building is a white concrete tube, with a big hole in the side, standing upright.
Jump down the tube, and use the knife to destroy the two wooden planks below until you are completely in the workshop. There are three bodies here that you can loot. Although the only one that matters is lying across the room. Mind the electrical anomaly here. Use your bolts freely to safely get to Phill Stiff’s body. Loot it to grab the keycard.
Go back to the spot where you jumped in from. Use the ladder to climb to the next level. You can now use the keycard to exit the workshop.
Things To Keep in Mind When Accessing Diode’s Workshop
This is not the last step in the mission. In fact, you are not even halfway done. But don’t worry, there is no timer. So, you can spend as much time in between these objectives as you want. We suggest that you stay for a while and loot all the bodies thoroughly.
We say this because the mission is pretty early on in the game, and you should take any weapons that you can get within a healthy carrying capacity. The first dead body is on the platform where you jumped down, near the ladder. The second one is near the scanner in the center of the room that gave birth to the anomalies here. The last is the one containing the keycard.
Once you are done looting all of them, head back as we have guided you above. Be mindful of the anomaly you encounter on the surface though. We are hoping you are stocked up on healing items because you are bound to get hit at least once.
As soon as you are out of the location, you can head back to Slag Heap and report to Diode to progress further in the quest.
Looking For More?
Thank you for reading the article. We provide the latest news and create guides for Baldur’s Gate 3, Starfield, ARK Survival Ascended, and more. Also, watch Deltia play games on Twitch or visit his YouTube channel!
 Reddit
 Email
Email
