Discover everything you need to know about all Tactics in Dynasty Warriors: Origins and how you can use them to help in battles.
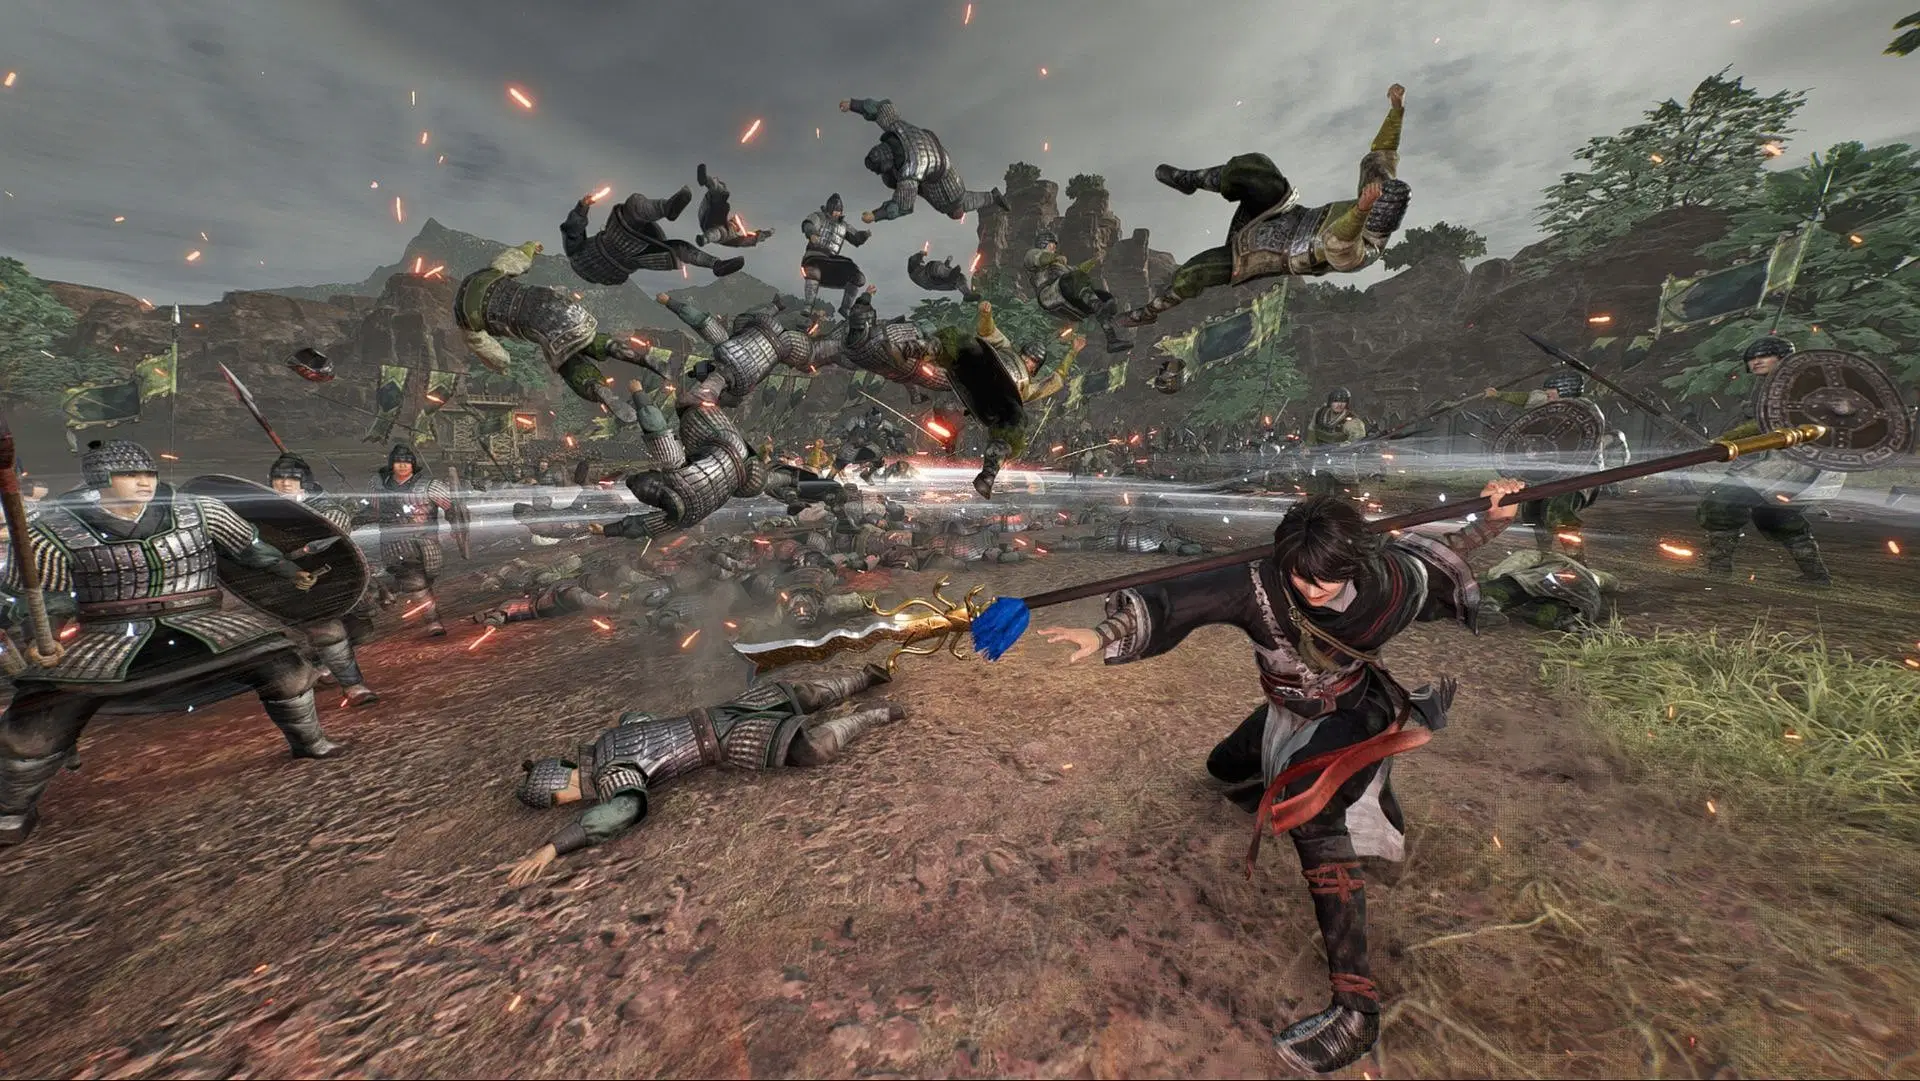
Tactics in Dynasty Warriors: Origins are strategic commands that allow you to direct your allies during battles to perform specific actions. These actions include advancing or executing a cavalry charge. Some specific tactics can achieve “Dramatic Success,” significantly influencing the battle’s result. The game also introduces the concept of “Grand Tactics,” which are large-scale maneuvers involving big troops known as a “Large Force.” Shift the battle with intense group assaults by activating the Grand Tactics. It is important to execute your side’s Grand Tactics while preventing the enemy from taking effect. In this guide, we’ll discuss all the tactics in Dynasty Warriors: Origins how they function, and how to use them.
Tactics in Dynasty Warriors: Origins
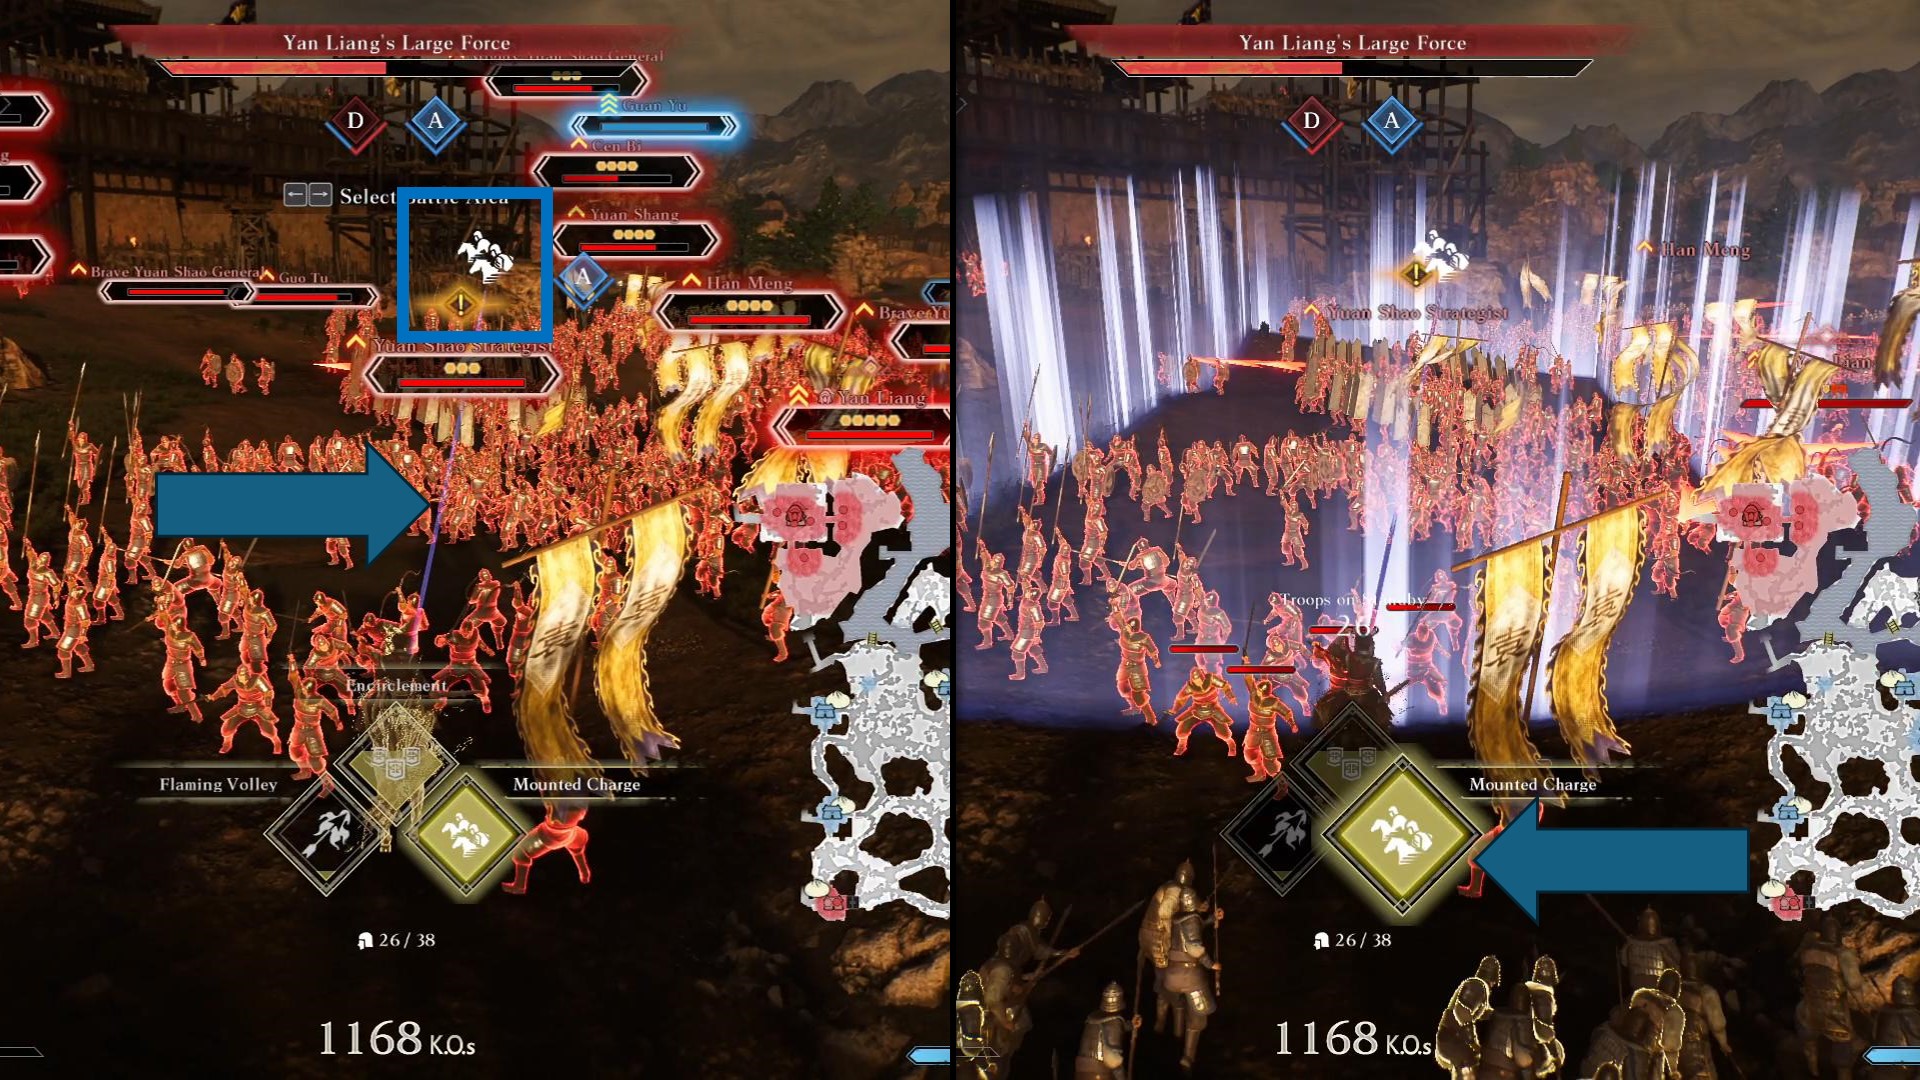
Tactics in DWO become available in Chapter 2 – Battle of Sishui Gate. Once you unlock the tactics, the Volley is the only tactic available to you. Battle Preparation under the Squad tab is the only method to equip weapons. You can equip a maximum of three tactics in the game. Press the designated key to the action to bring up the wheel. After that, choose from the three Tactics you’ve chosen to use tactics. Depending on the console, the tactics action has a default button.
You can manually assign it in the Controls menu under the System tab in the settings. Keep in mind that mastering the use of tactics and grand tactics is essential for commanding your forces effectively. It allows you to achieve victory in the large-scale battle characteristic of Dynasty Warriors: Origins. They allow you to command your allies, execute special maneuvers, achieve dramatic success, and counter enemy strategies. Tactics increase our ability to control the battlefield, make strategic decisions, and lead our forces to victory.
The Flaming Volley, Charge, and Battle Roar are the best tactics to use in combat. Battle Roar is the strongest one because no matter where you are it will always have a Dramatic Success. So, as long as you have someone around you and see a little blue line that’s connecting you to that person, you will always hit them with Dramatic Success. You can take their morale down a peg for 20~30 seconds which will give you plenty of time to do tons of damage to those string characters who just seem impossible to take down.
All Tactics in Dynasty Warriors: Origins
Commanding troops is an important part of the Dynasty Warriors: Origins loop and Origins is fleshing that part out in interesting ways. Players will be managing the morale of their troops which in turn will let you unleash a variety of different tactics or abilities. From attacking enemies with volleys of arrows to contingents flanking enemies. Managing morale and unleashing the right tactics at the right moments will be key. Here are all the tactics in Dynasty Warriors: Origin one must know before playing.
Encouragement
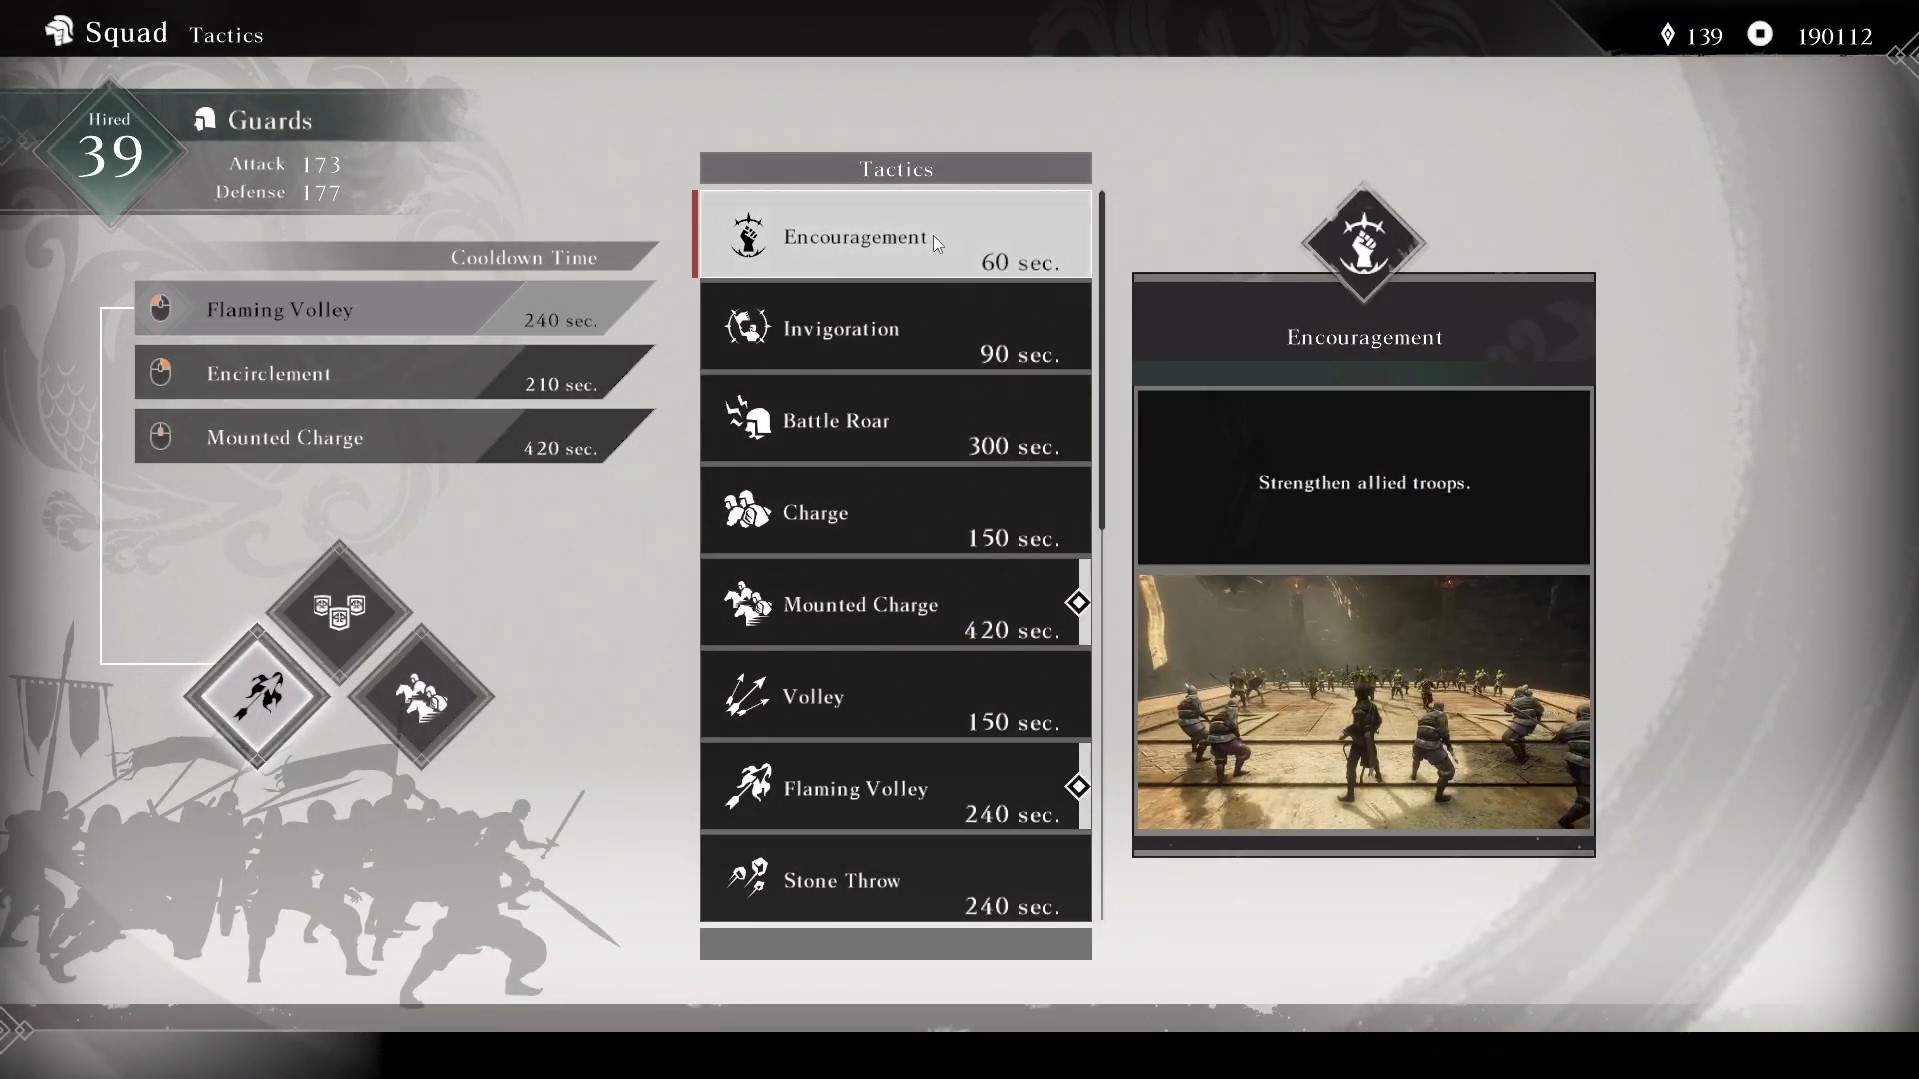
Strengthen allied troops. (Cooldown 60s). You can use this tactic to help your troop’s morale. Battles between forces are heavily influenced by “Morale”. The higher your army’s morale, the more advantageous your force will be in battle. Morale enhances after you defeat enemy officers or capture bases. Boost your morale and lead your army to victory.
Invigoration
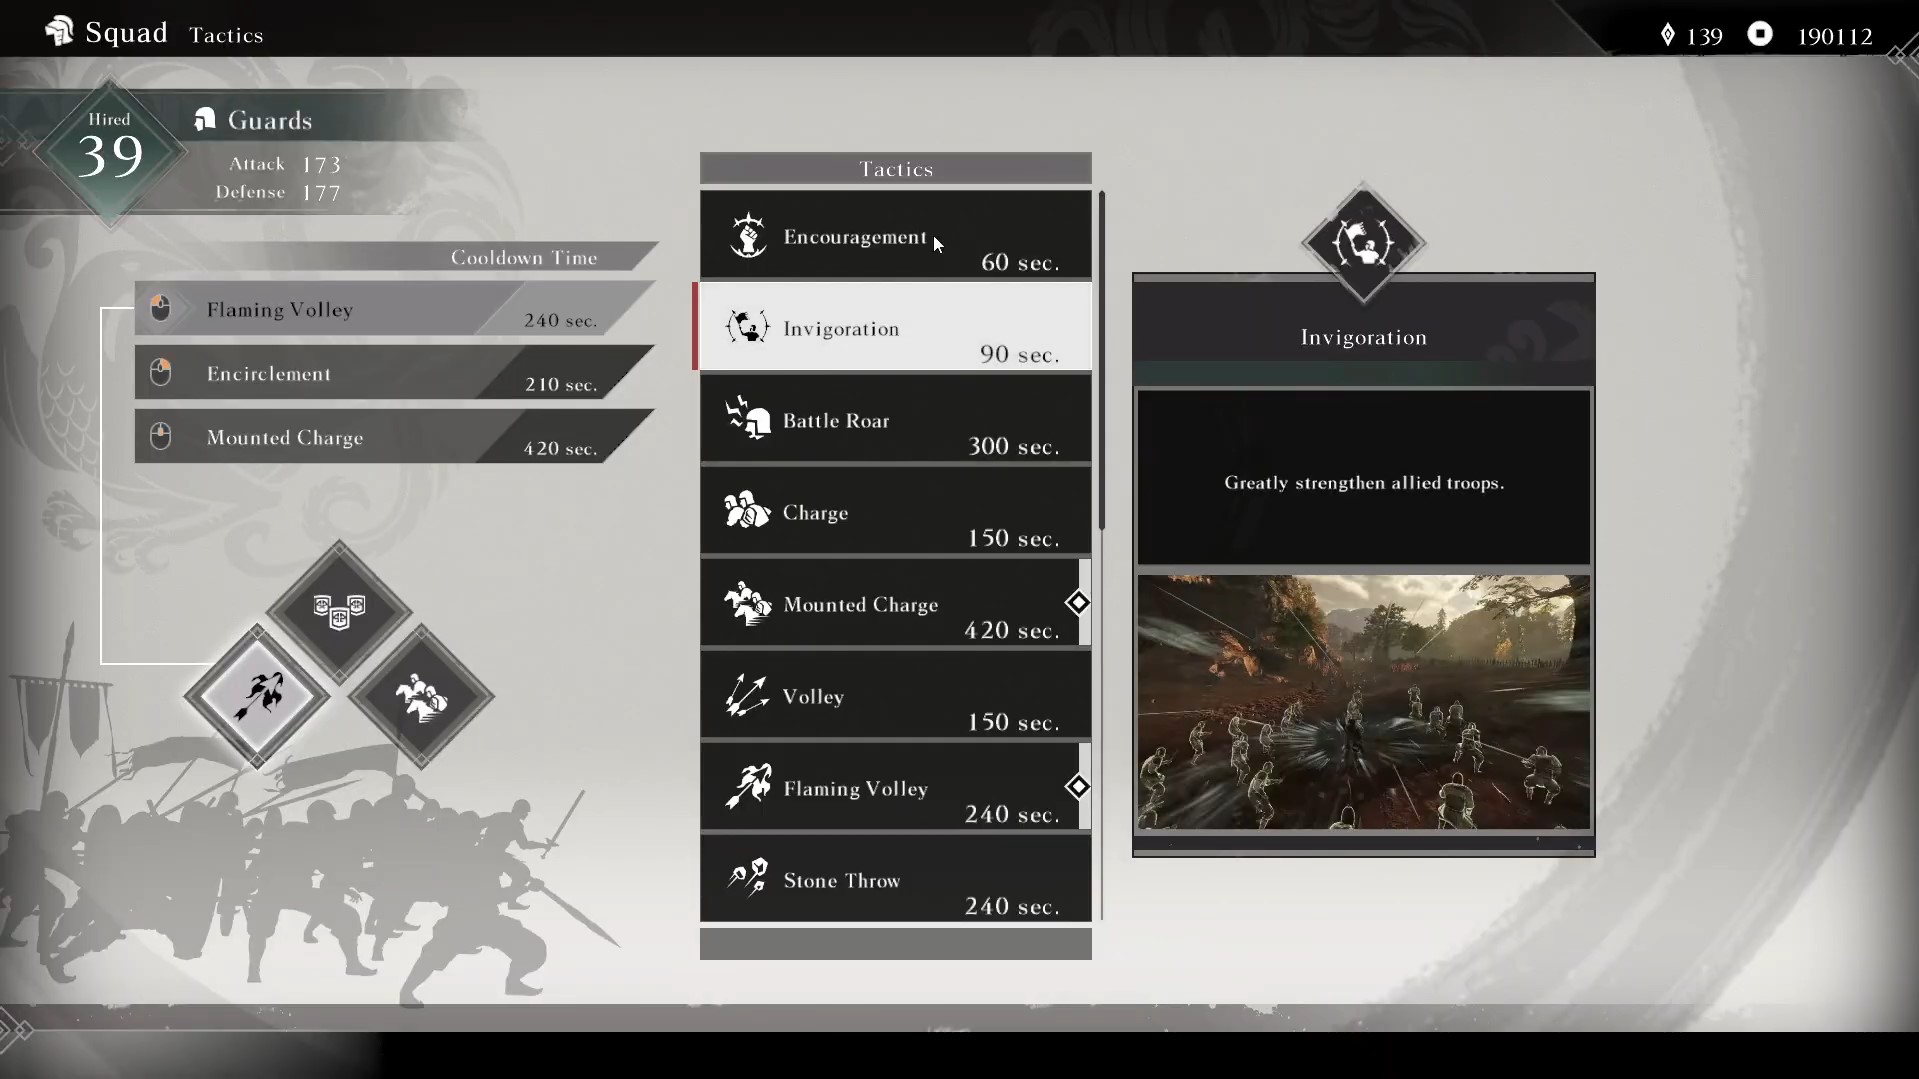
Greatly strengthen allies troops (Cooldown 90s) This allows your troops to get stronger to dominate enemies coming in the path. It has a cooldown of 90 seconds, so use it when you need to most. You can use this tactic when you feel the enemy is overtaking you, making the enemies vulnerable when they least expect it. This tactic enhances your ally’s capabilities much stronger.
Battle Roar
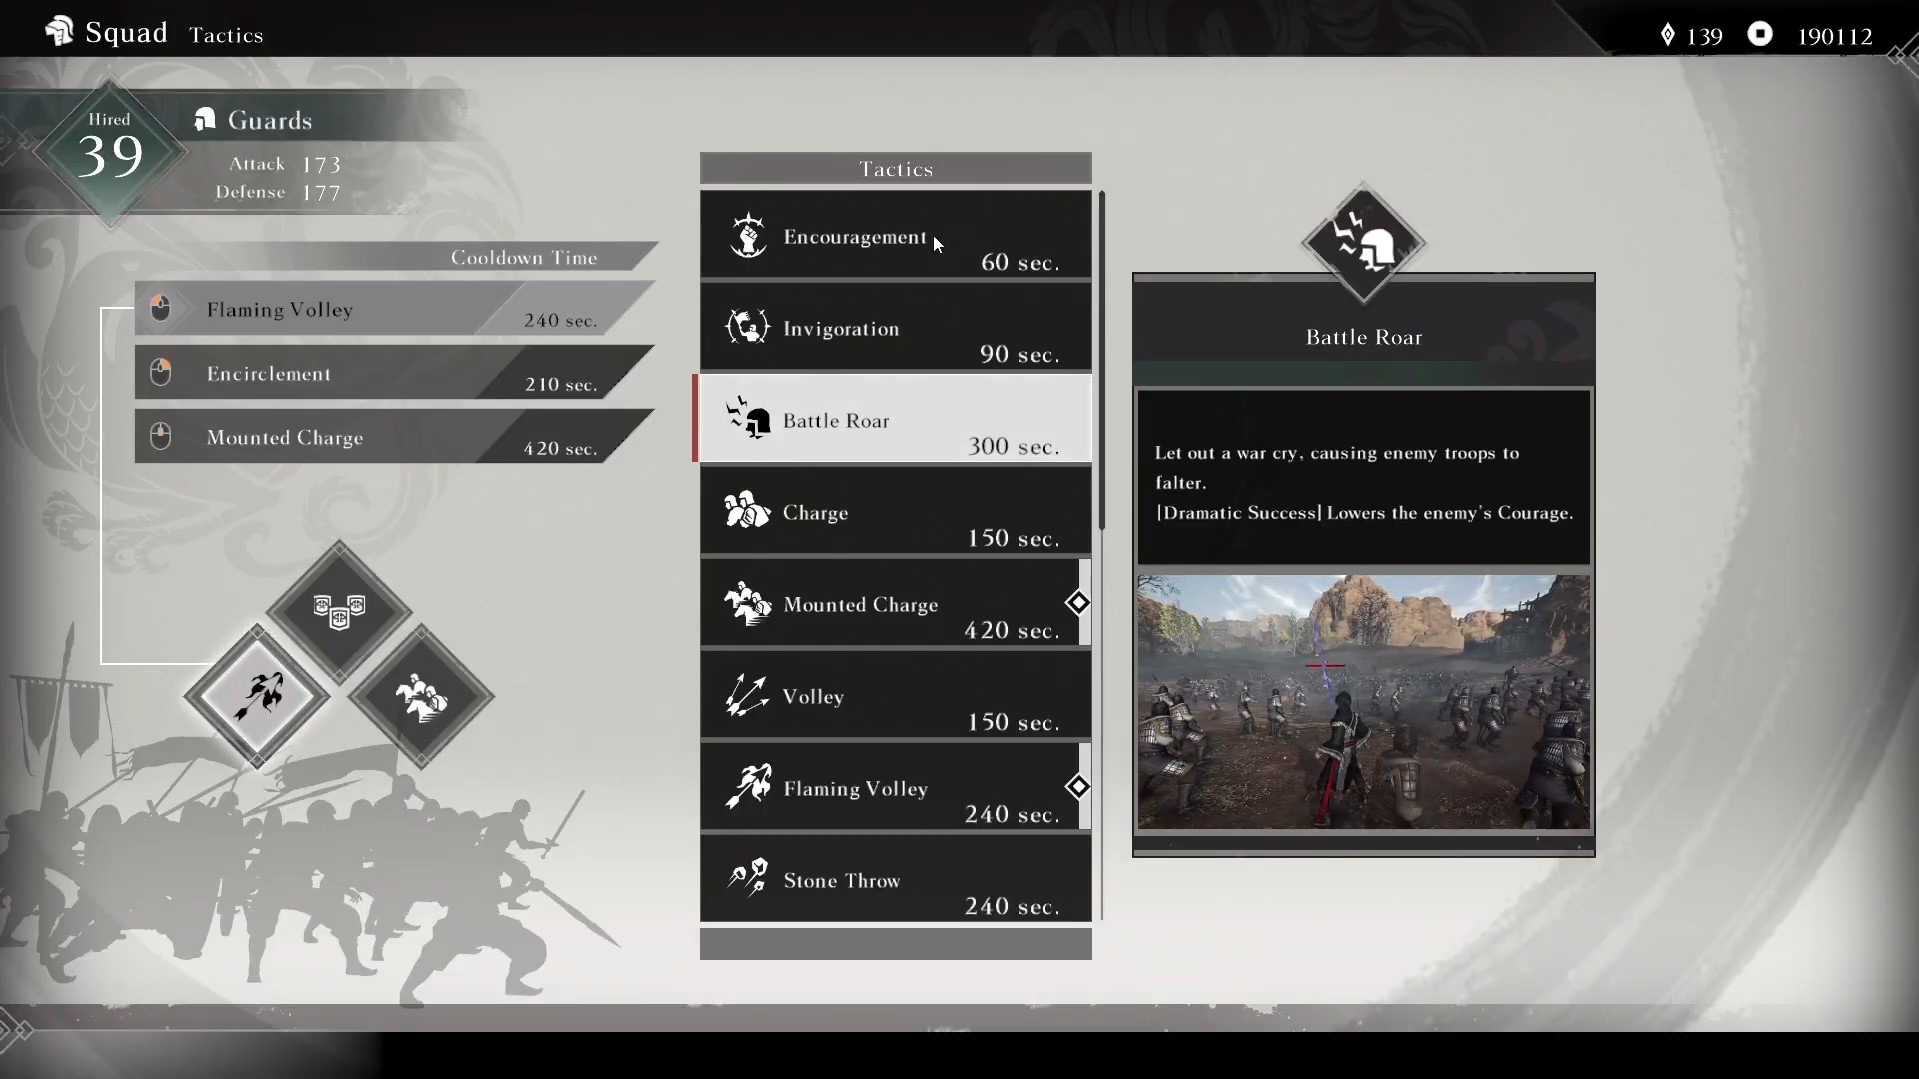
Let out a war cry, causing enemy troops to falter. [Dramatic Success] Lowers the enemy’s Courage. (Cooldown 300s). Battle Roar is a Battle Art associated with the Twin Pikes weapon. This ability enhances your character’s damage output, making the Twin Pikes particularly effective in solo encounters. By utilizing Battle Roar, you can further amplify the Twin Pikes’ damage potential, allowing for more efficient elimination of adversaries on the battlefield.
Charge

Charge with infantry. (Cooldown 150s) This new mechanic completely demoralizes the enemy by catching them by surprise. Make sure to use it when enemies are much stronger. It allows you to attack with powerful force, depleting the enemy’s health bar quickly. The cooldown is bigger, so make sure to use it when you have no choice left.
Mounted Charge
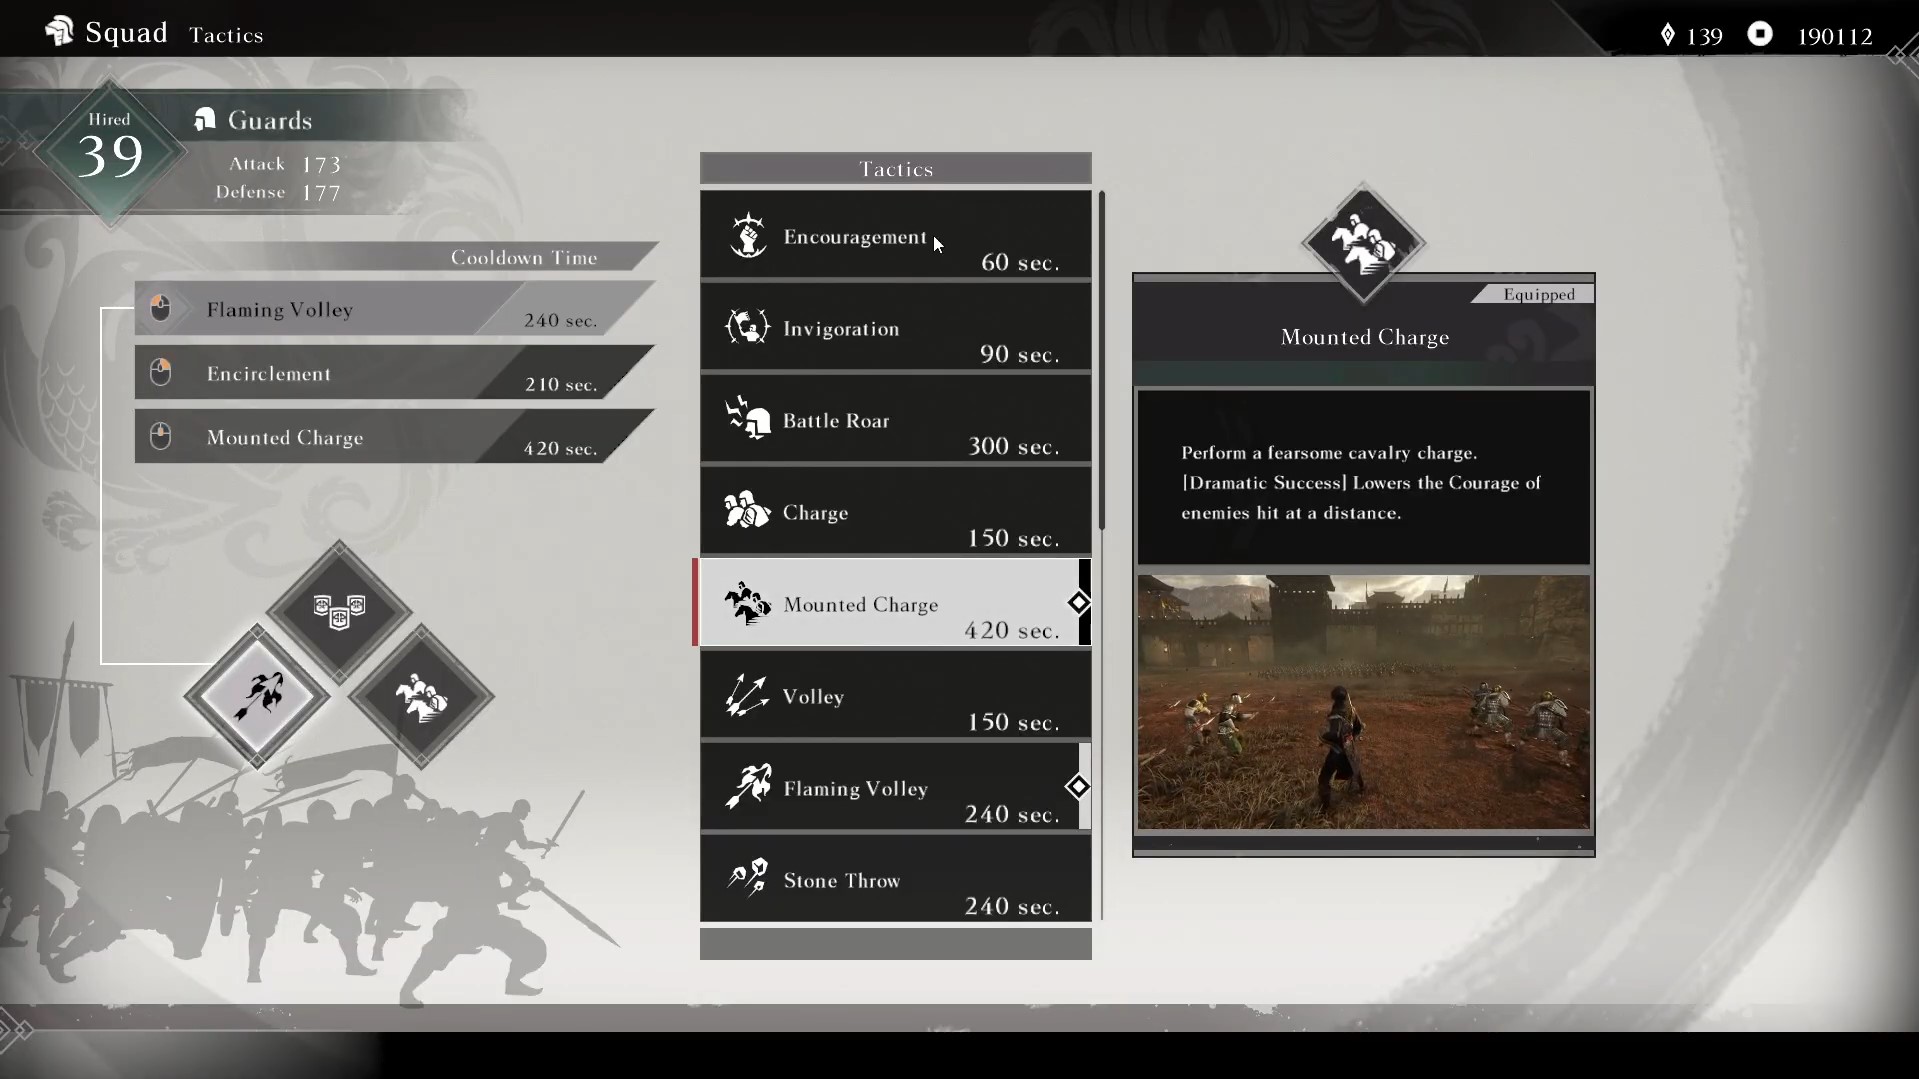
Perform a fearsome cavalry charge. [Dramatic Success] Lower the Courage of enemies hit at a distance. (Cooldown 420s) The Mounted Charge is effective for dispersing groups of enemies, creating openings in dense formations. It allows for rapid movement across the battlefield, facilitating quick repositioning or retreats. Charging through enemies inflicts significant damage, especially when combined with other mounted attacks. Executing a Mounted Charge consumes your mount’s endurance.
Volley
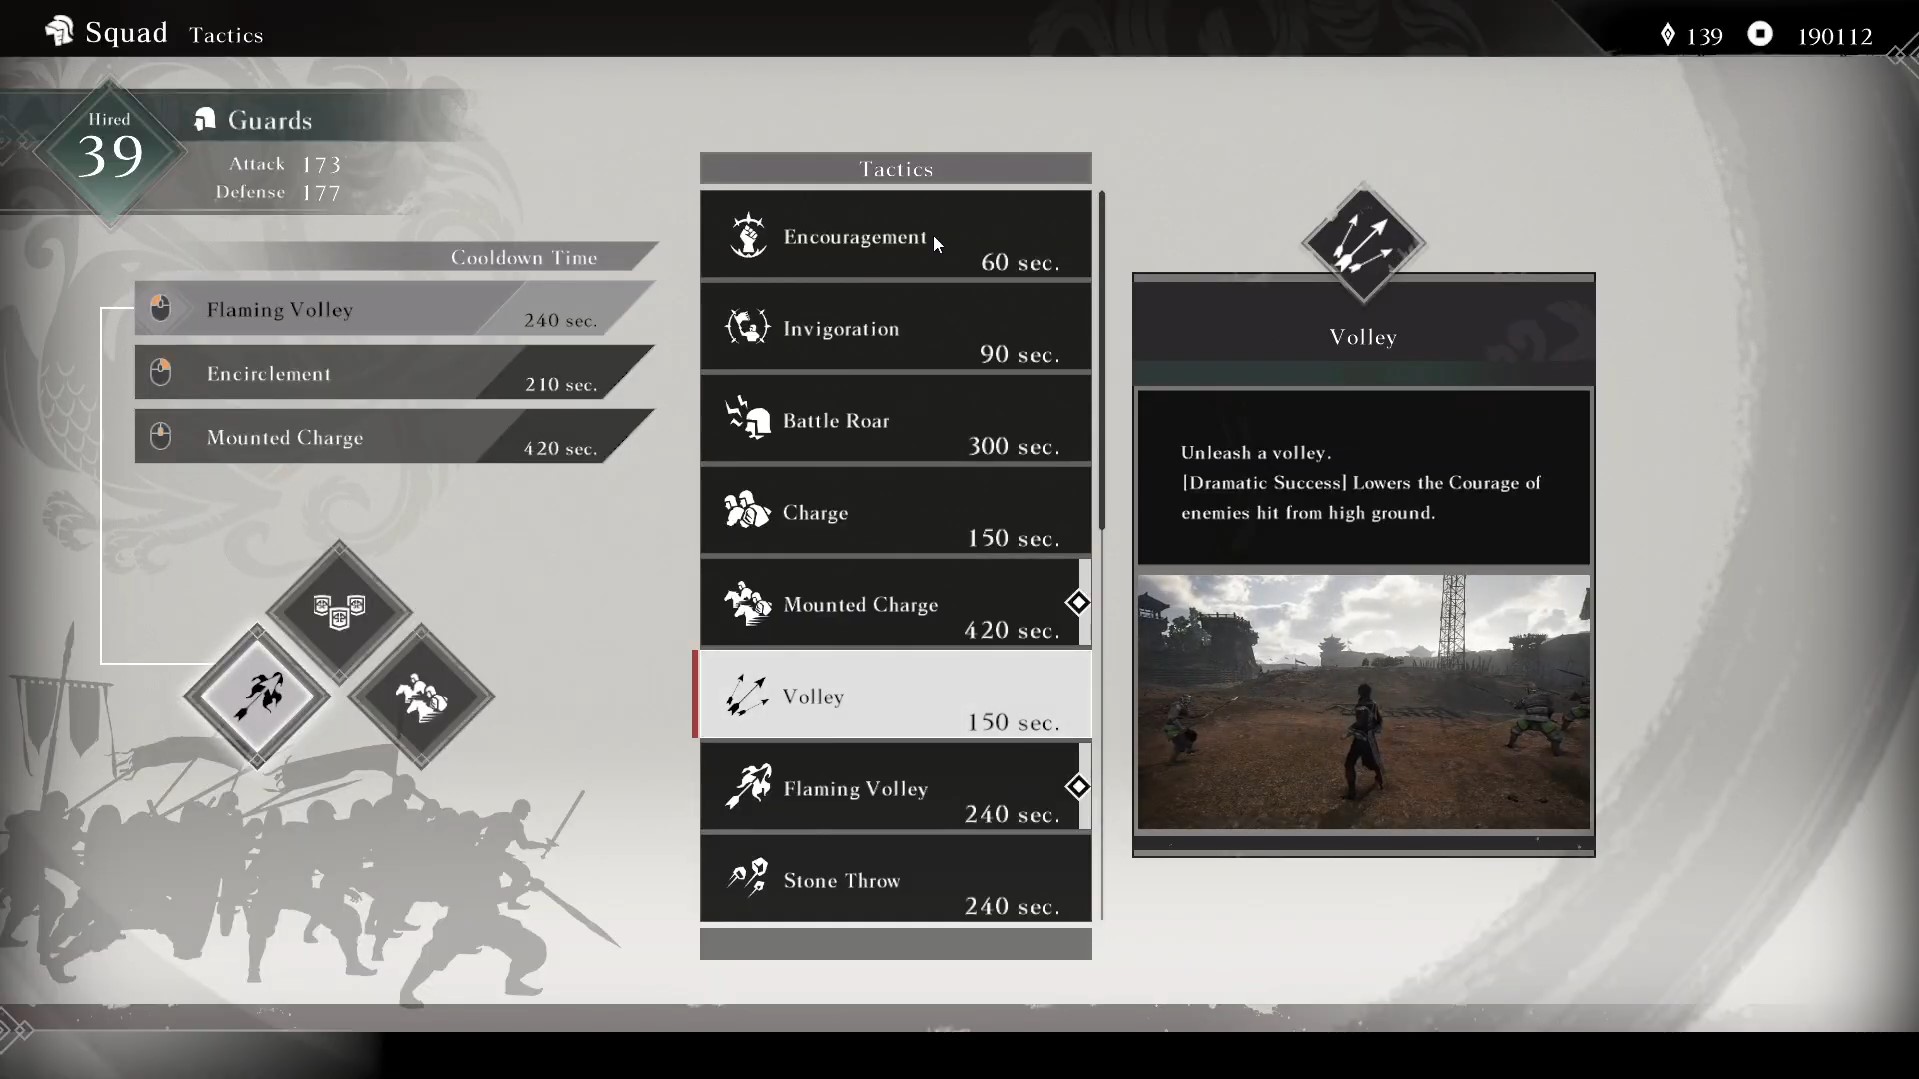
Unleash a volley, [Dramatic Success] Lowers the Courage of enemies hit from high ground. (Cooldown 150) This tactic allows you to command your allies to launch a concentrated barrage of arrows at a designated area. It’s particularly effective when used from elevated positions. The Volley tactic can hit multiple enemies within its range, making it effective for clearing out enemies. It can significantly lower enemy morale, potentially leading to their retreat.
Flaming Volley
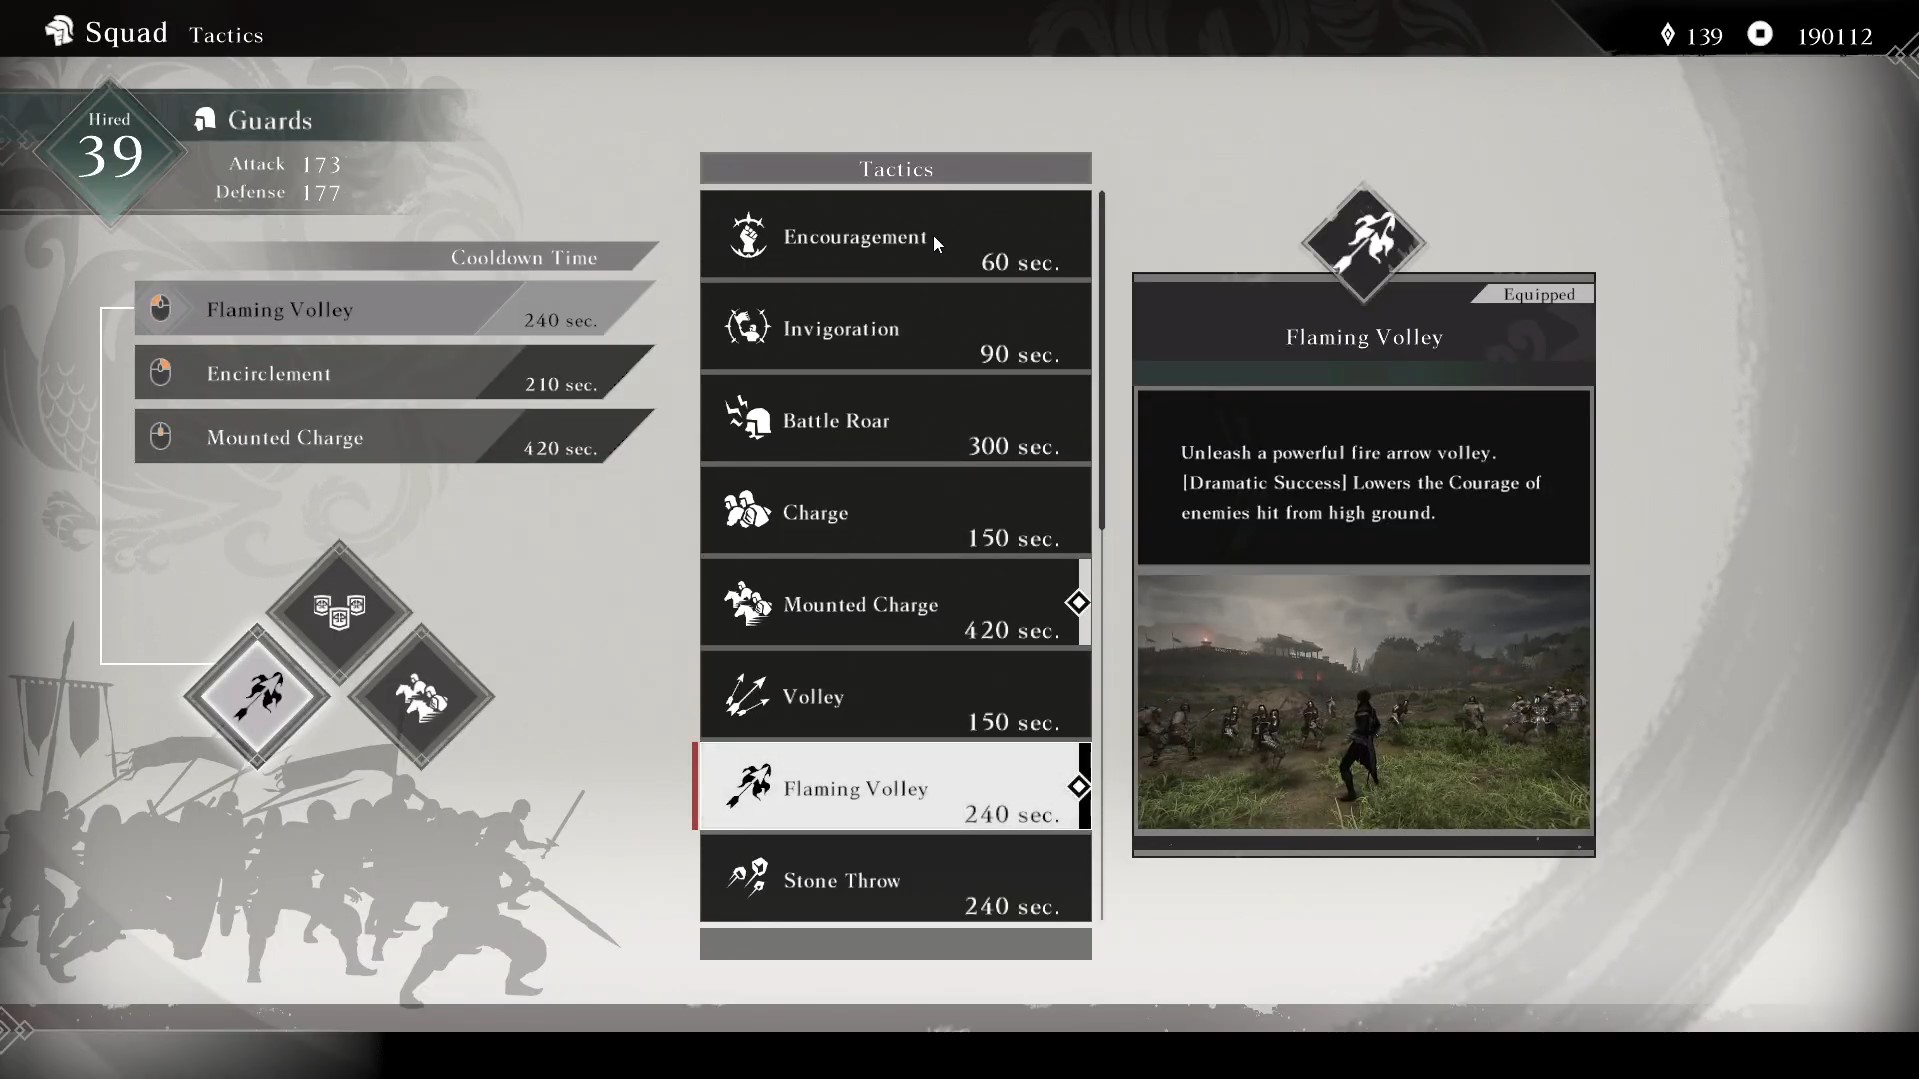
Unleash a powerful fire arrow volley. [Dramatic Success] Lowers the Courage of enemies hit from high ground. (Cooldown 240s) The Volley is particularly useful in open fields where enemy troops are densely packed. Positioning your forces on higher ground can enhance the effectiveness of the Volley. It allows you to command your archers to unleash a concentrated barrage of arrows.
Stone Throw
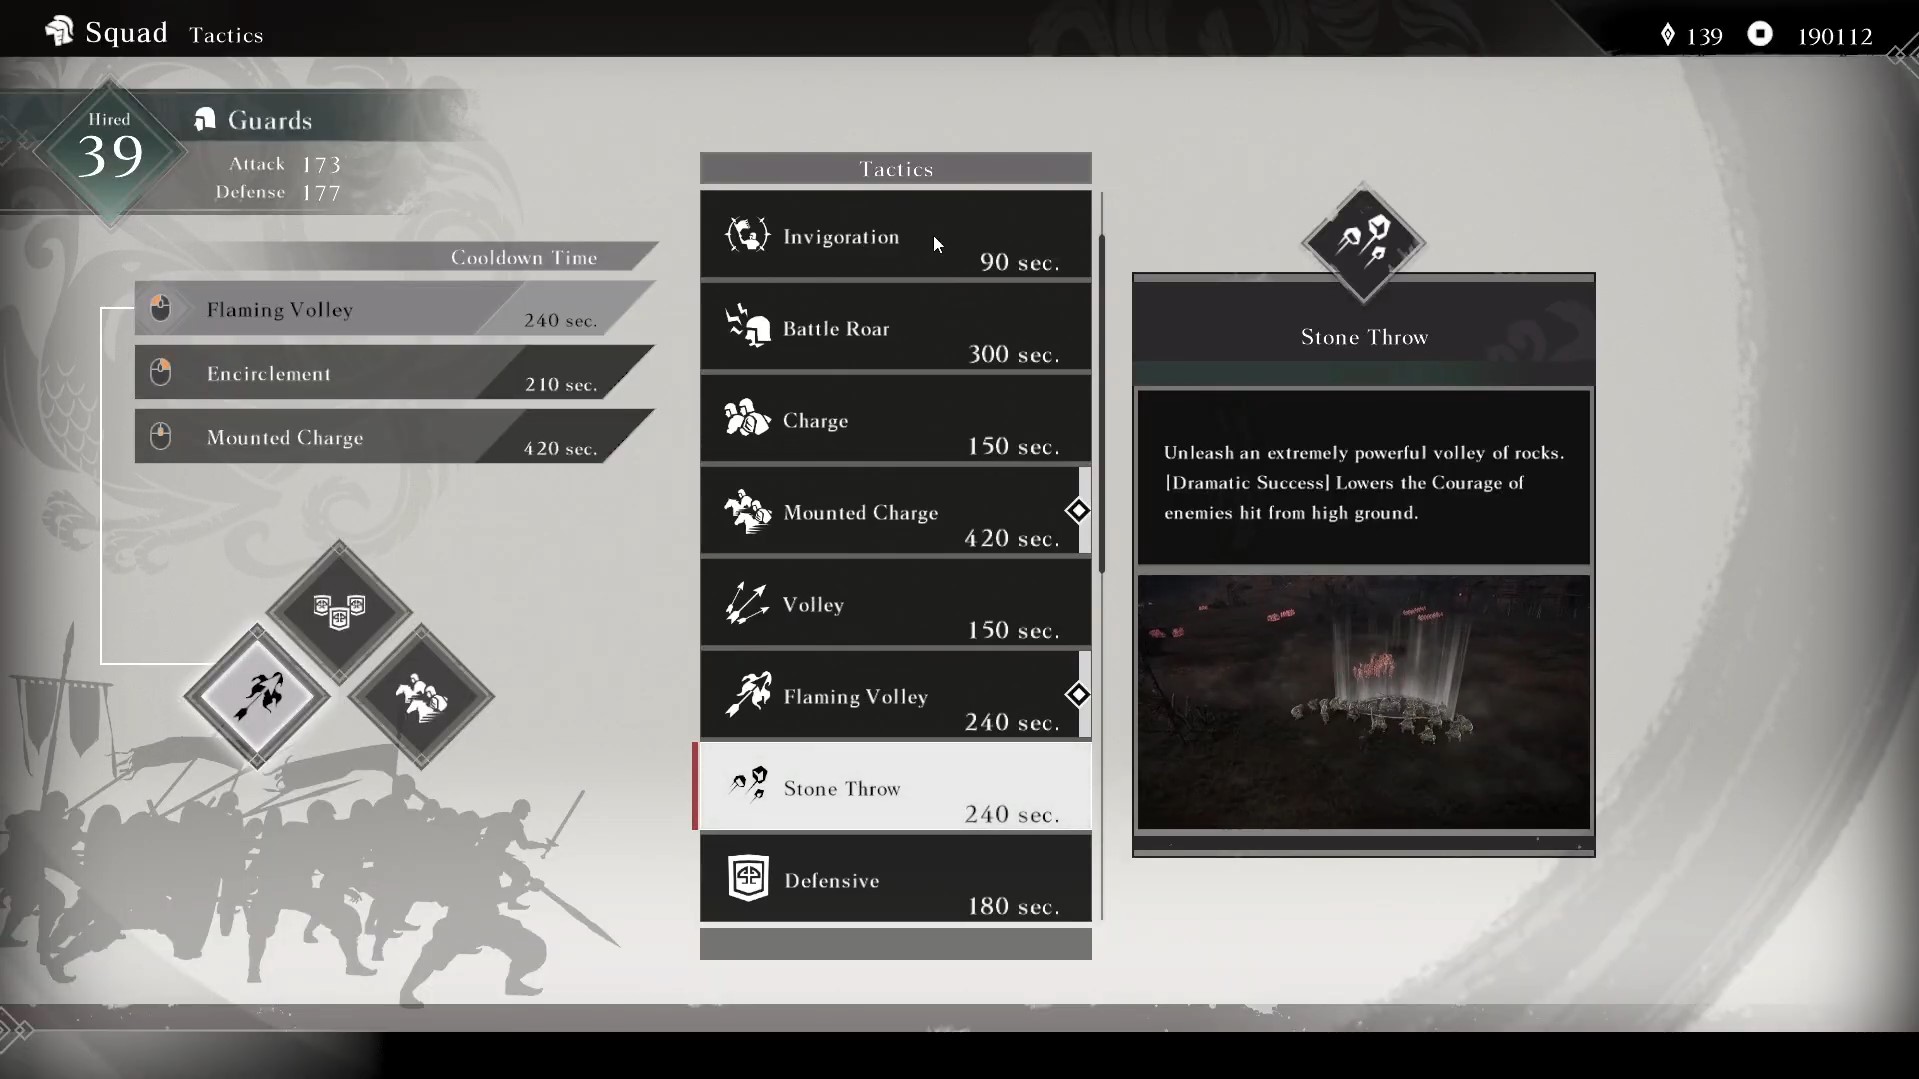
Unleash an extremely powerful volley of rocks. [Dramatic Success] Lowers the Courage of enemies hit from high ground. (Cooldown 240s). This releases a strong attack of rocks, allowing your enemies to retreat. Enemies can also use this tactic, so maintain a distance for more reaction time to dodge incoming stones.
Defensive
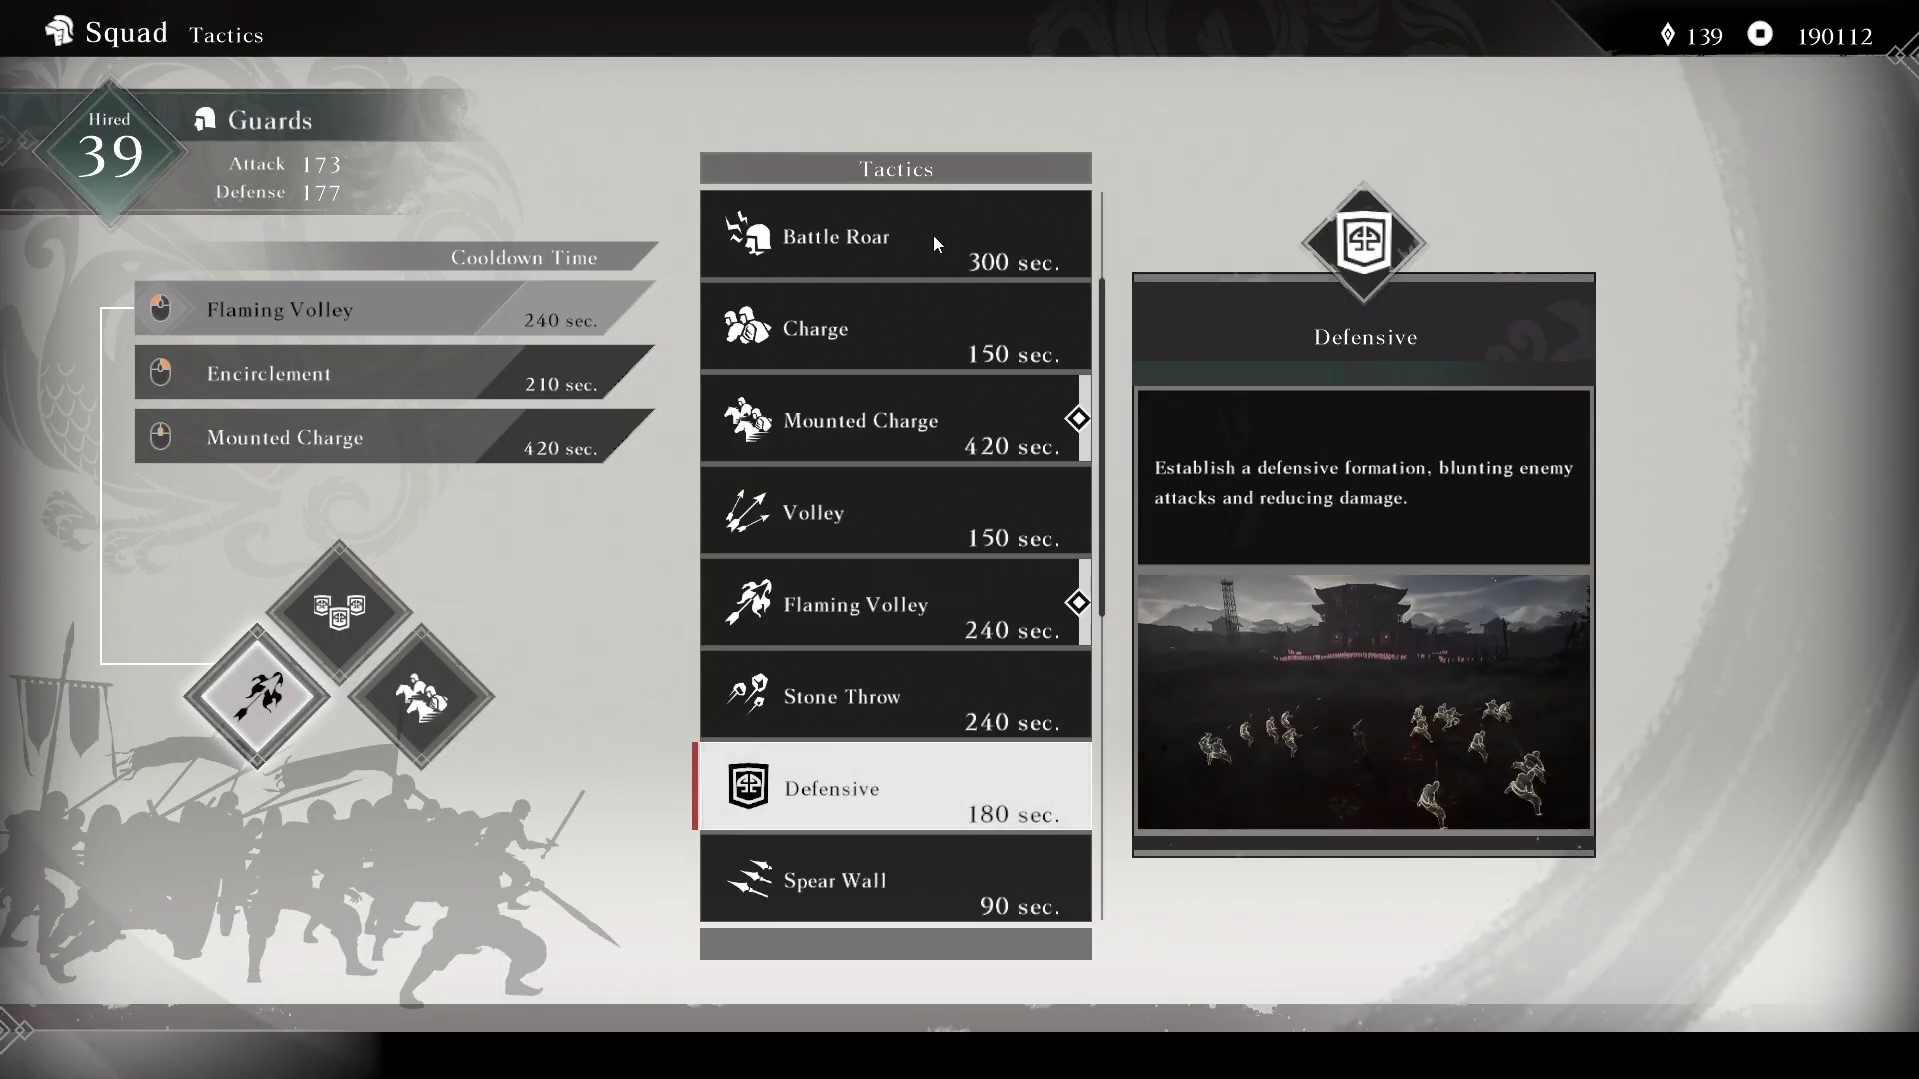
Establish defensive formation, blunting enemy attacks and reducing damage. (Cooldown 180s) This is crucial for maintaining your forces’ integrity and achieving victory on the battlefield. It increases your strategic capabilities enabling you to protect your forces. This is particularly effective against smaller enemy groups.
Spear Wall
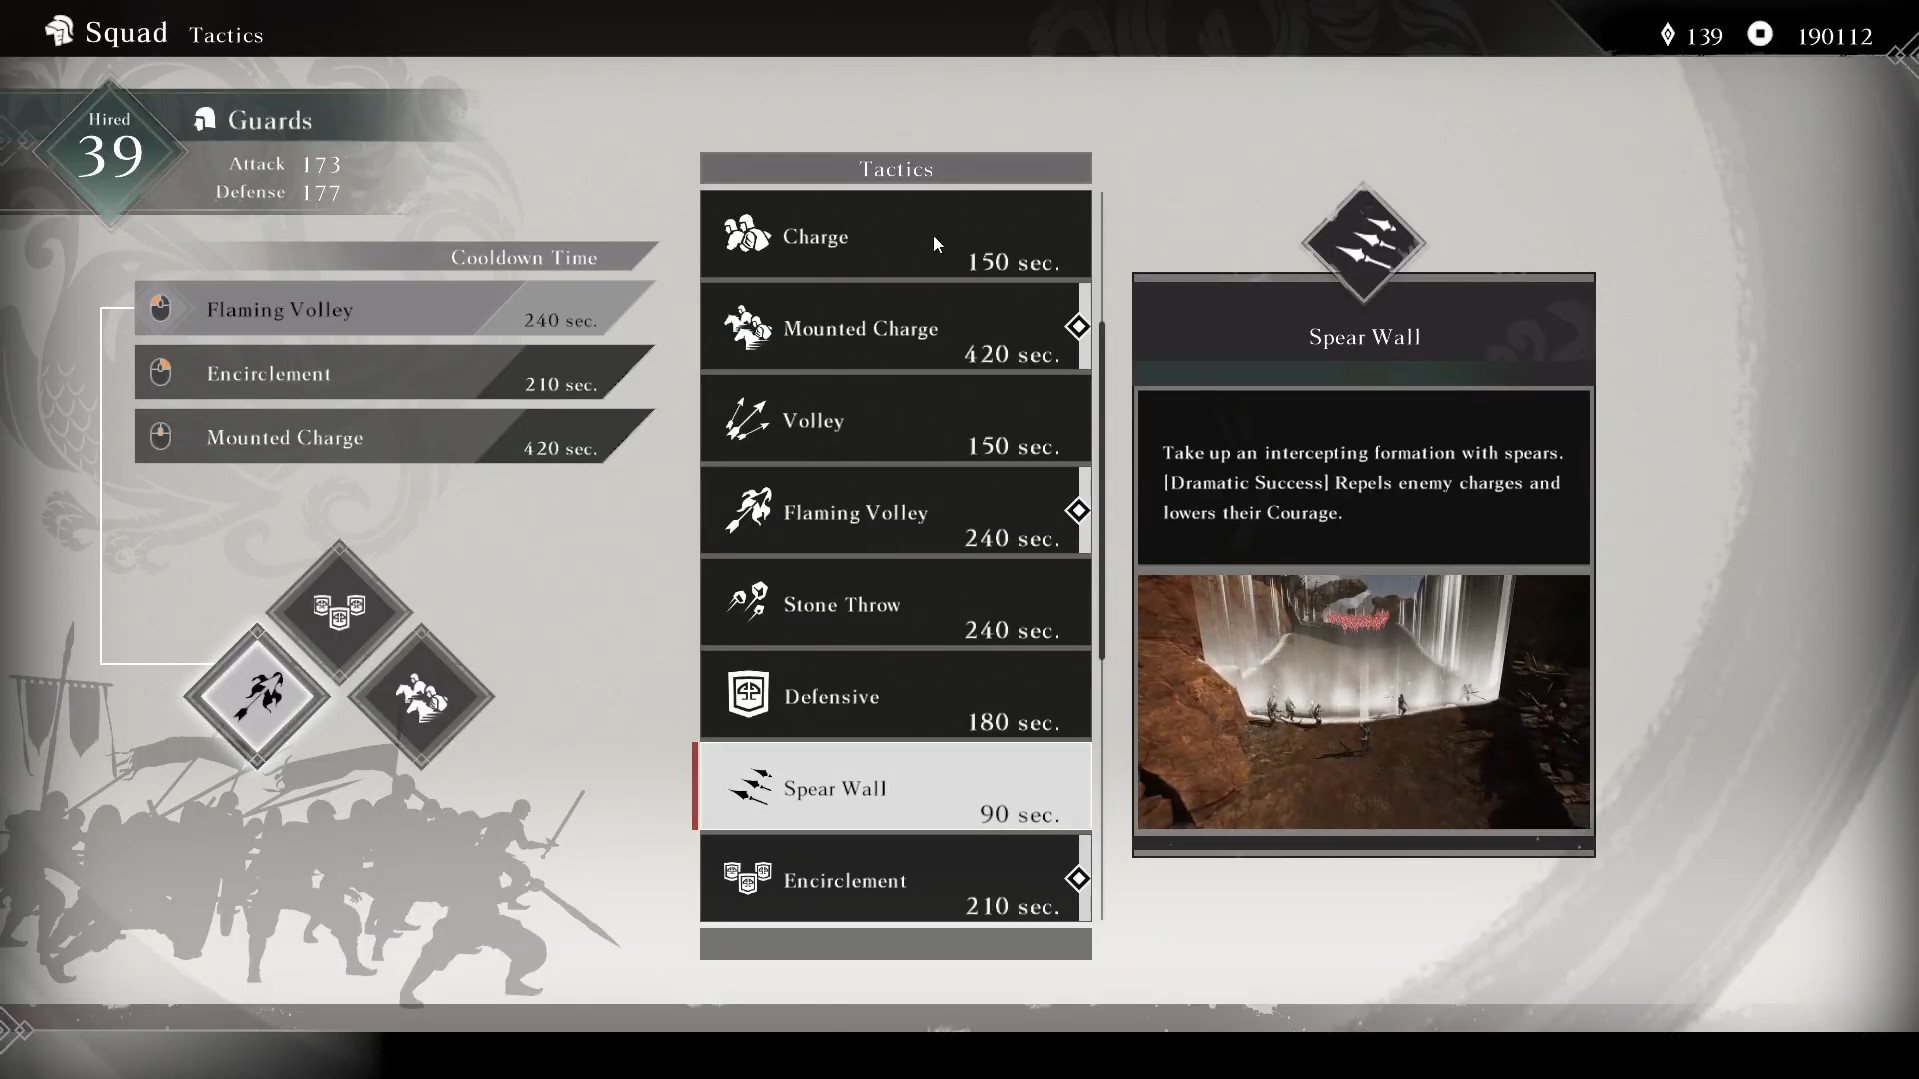
Take up an intercepting formation with spears. [Dramatic Success] Repels enemy charges and lowers their Courage. (Cooldown 90s) This tactic is part of the game’s enhanced strategic elements. It includes various formations and maneuvers to control the battlefield. You can deploy the Spear Wall in chokepoints where the enemies are likely to advance.
Encirclement
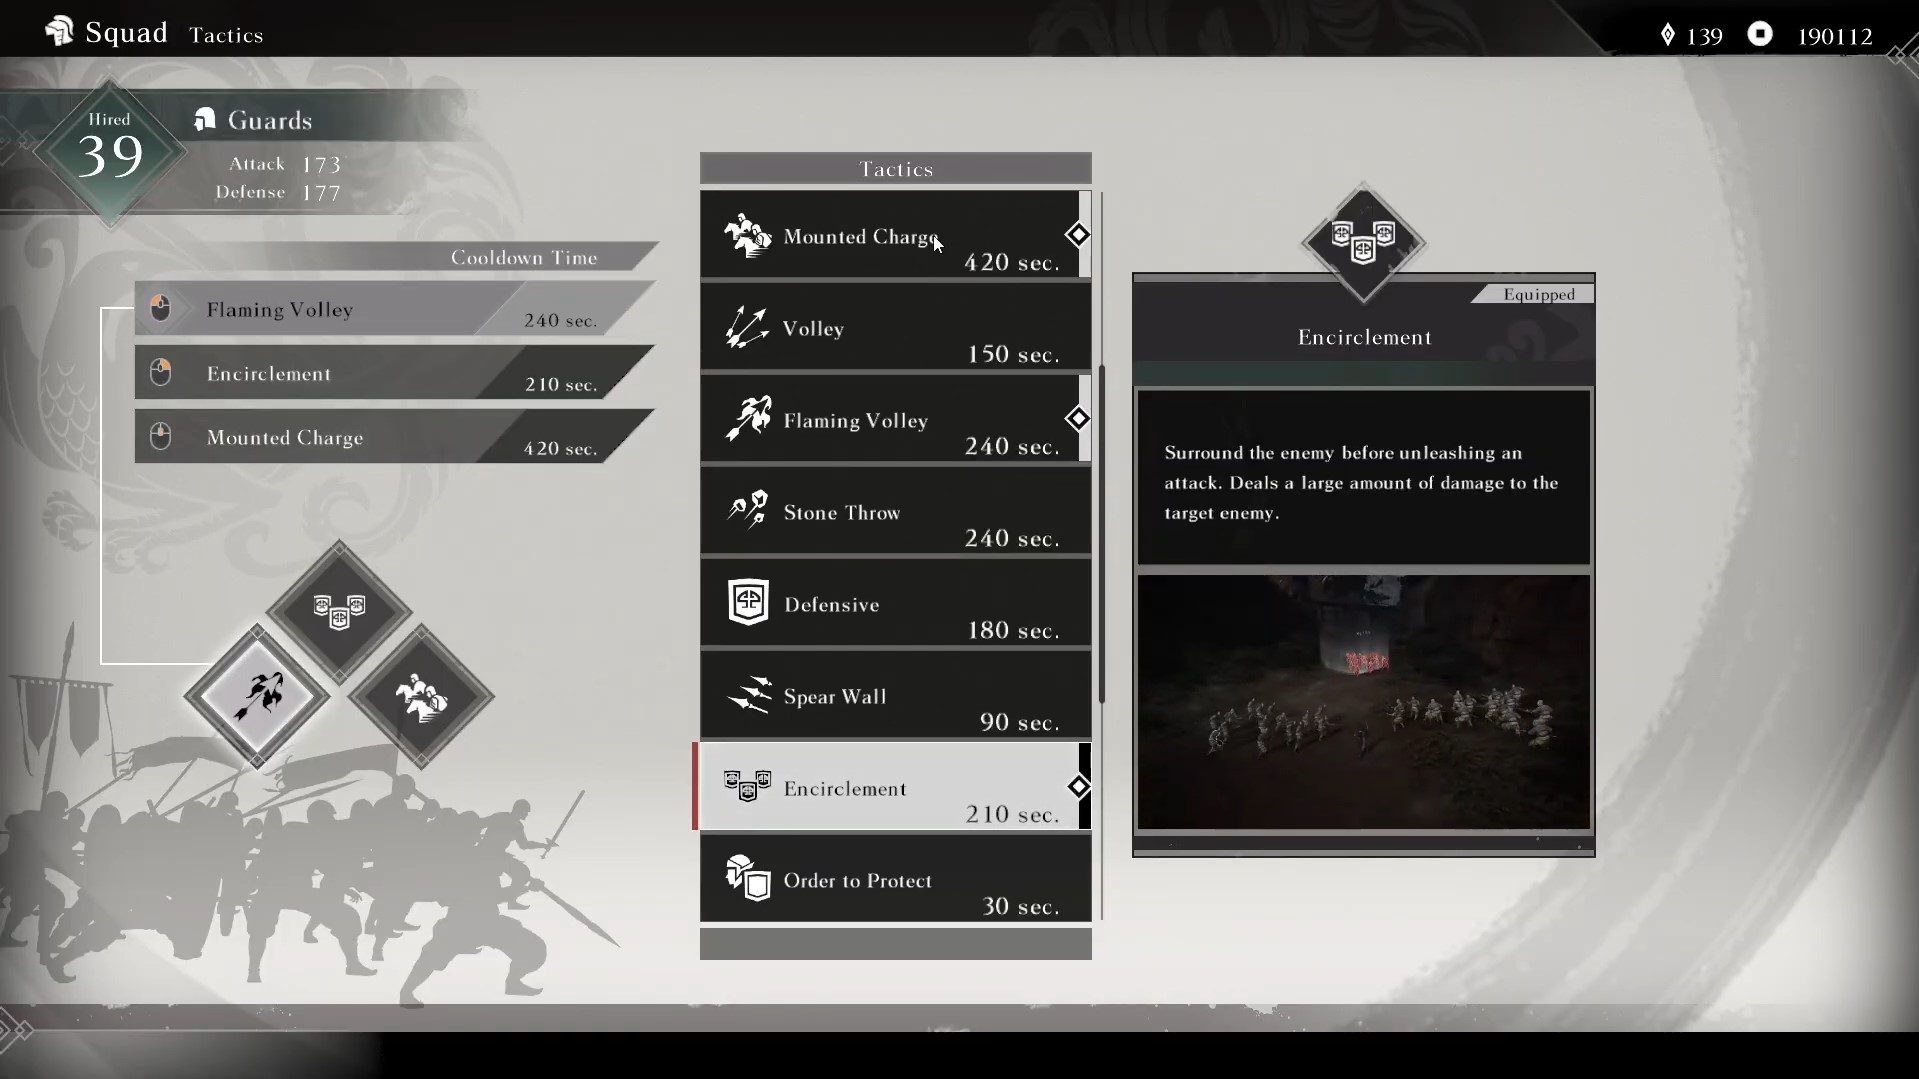
Surround the enemy before unleashing an attack. Deals a large amount of damage to the target enemy. (Cooldown 210s) This enables your forces to surround a targeted enemy to inflict substantial damage. Before launching a coordinated attack, your classes then maneuver to surround the enemy. Surrounding the enemy is effective against formidable opponents. It can significantly lower enemy morale and increase the overall damage dealt.
Order to protect
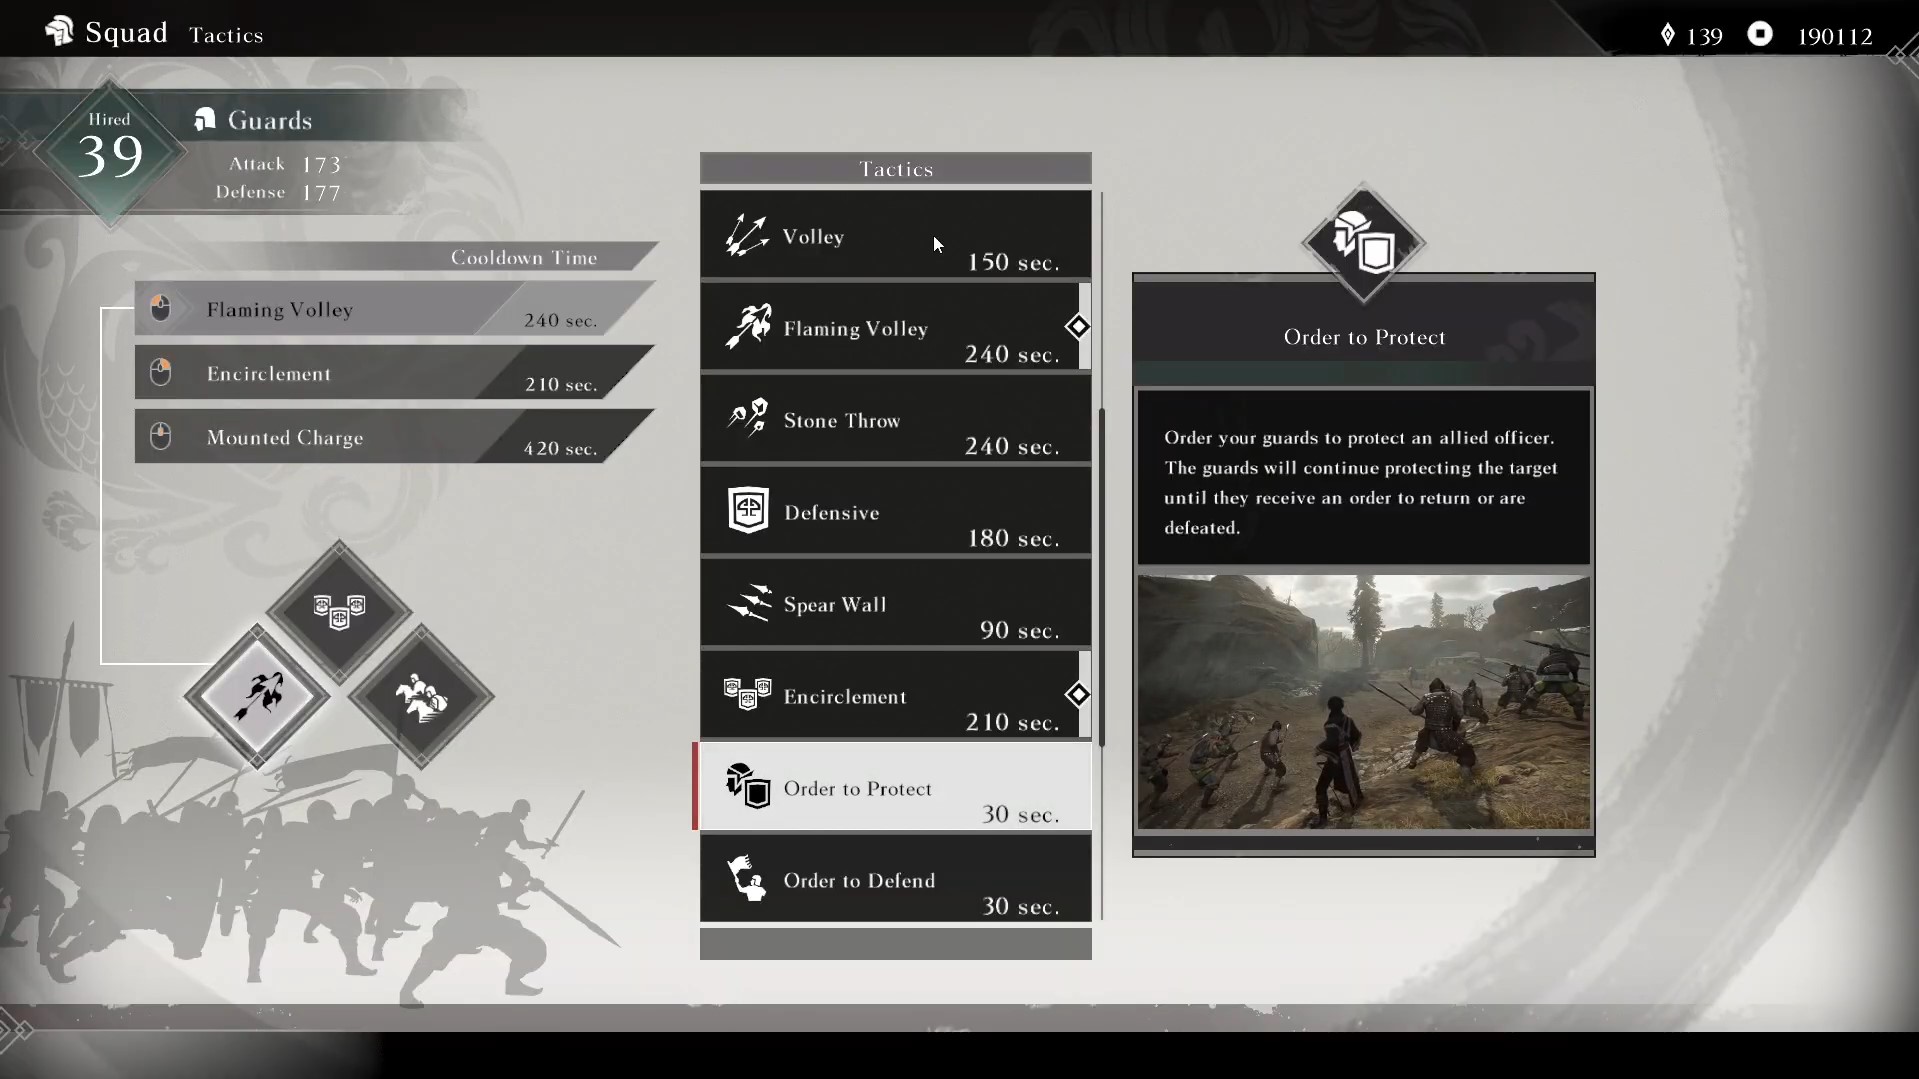
Order your guards to protect an allied officer. The guards will continue protecting the target until they receive an order to return or are defeated (Cooldown 30s) Command your guards to adopt a defensive stance. Use this command when you need to defend yourself. This tactic ensures the safety of mission-critical objectives and allows you to allocate resources effectively.
Order to Defend
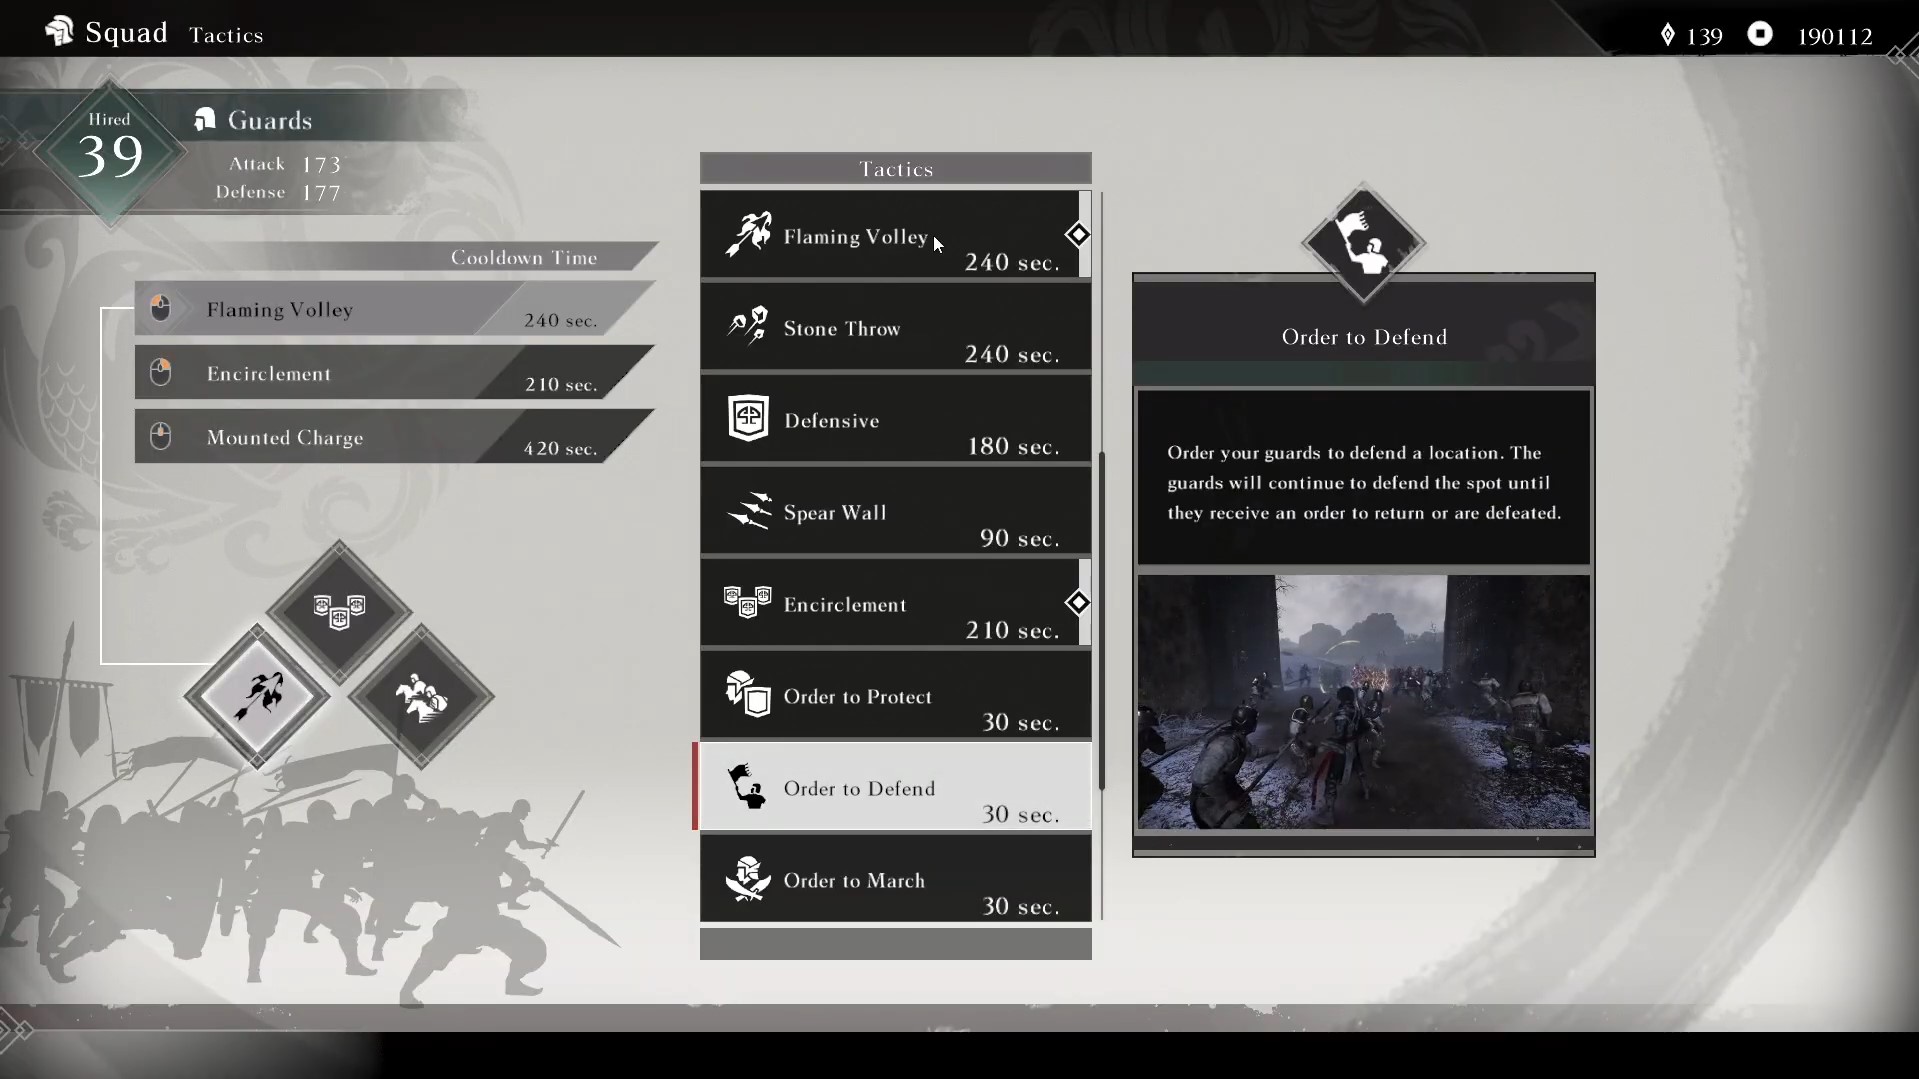
Order your guards to defend a location. The guards will continue to defend the spot until they receive an order to return or are defeated. (Cooldown 30s) Command your guards to defend a location. Use this command when you need to defend critical points, such as bases. You can combine the Order to Defend with offensive maneuvers to create a balanced approach.
Order to March
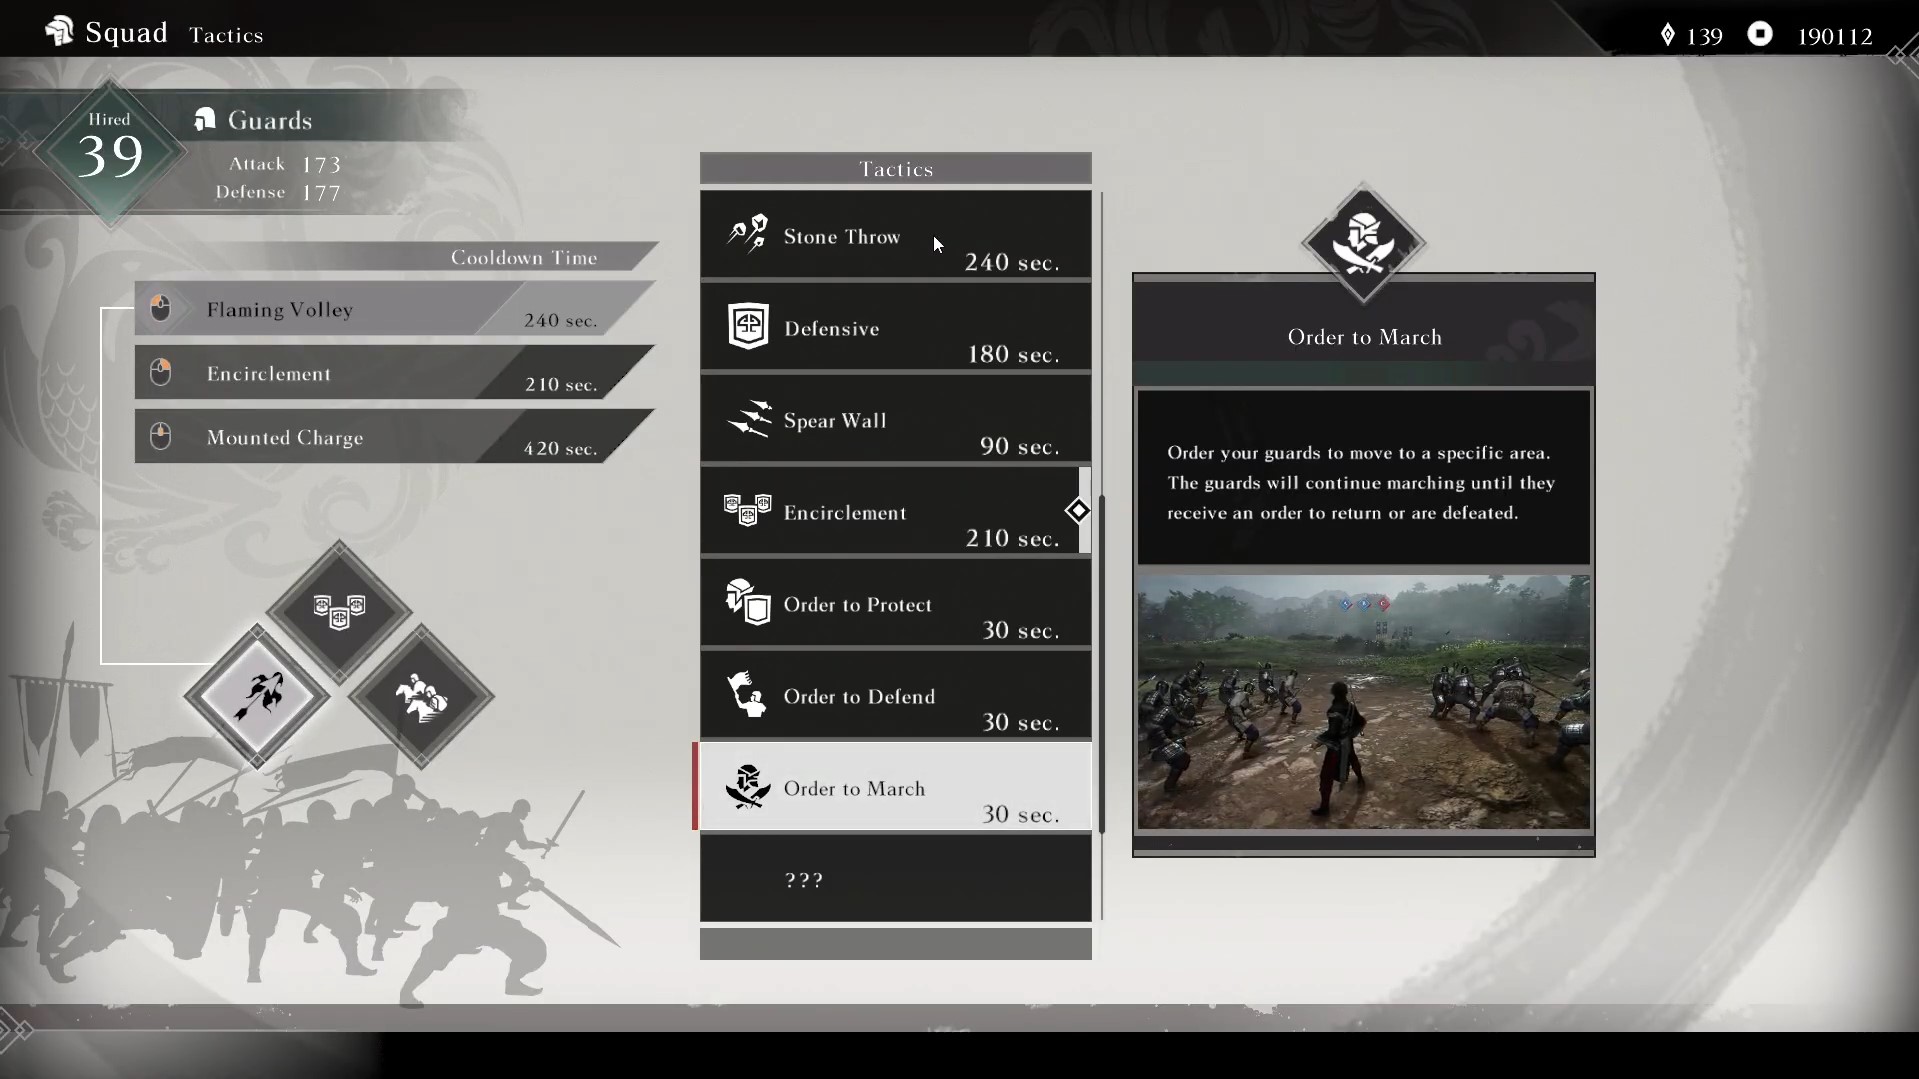
Order your guards to move to a specific area. The guards will continue marching until they receive an order to return or are defeated. (Cooldown 30s) This tactic allows your allies to guard any crucial specific area. This increase enhanced support and morale boost. You can combine Order to March and Charge for a balanced approach. Once you feel that the specific area is protected and enemies retreat, command them to attack the enemies before they get ready.
Enemy Tactics in Dynasty Warriors: Origins
Enemy tactics serve as a critical challenge that players must contend with during battles. These tactics represent strategic maneuvers and actions taken by opposing forces to outmaneuver. Enemy forces will employ tactics such as flanking maneuvers, and ambushes, and inflict significant damage. Enemies can amass large forces to execute powerful coordinated attacks just like your own side’s Grand Tactics. They can even react to your tactics by using countermeasures like defending key positions. Enemies also use unique tactics or skills that can tip the scales of a battle. Identifying these threats early is essential for maintaining control.
FAQs About Tactics in Dynasty Warriors: Origins
What are Tactics in Dynasty Warriors: Origins?
Tactics in Dynasty Warriors: Origins are strategic commands that allow you to direct your allies during battles to perform specific actions. These actions include advancing or executing a cavalry charge.
How to use Tactics in Dynasty Warriors: Origins?
Press the designated key to the action to bring up the wheel. After that, choose from the three Tactics you’ve chosen to use tactics. Depending on the console, the tactics action has a default button.
Looking For More?
Thank you for reading the Dynasty Warriors: Origins Beginner Guide. We provide the latest news and create guides for Baldur’s Gate 3, Starfield, ARK Survival Ascended, and more. Also, watch Deltia play games on Twitch or visit his YouTube channel!
 Reddit
 Email
Email
