Facebook
 Reddit
 Email
Email
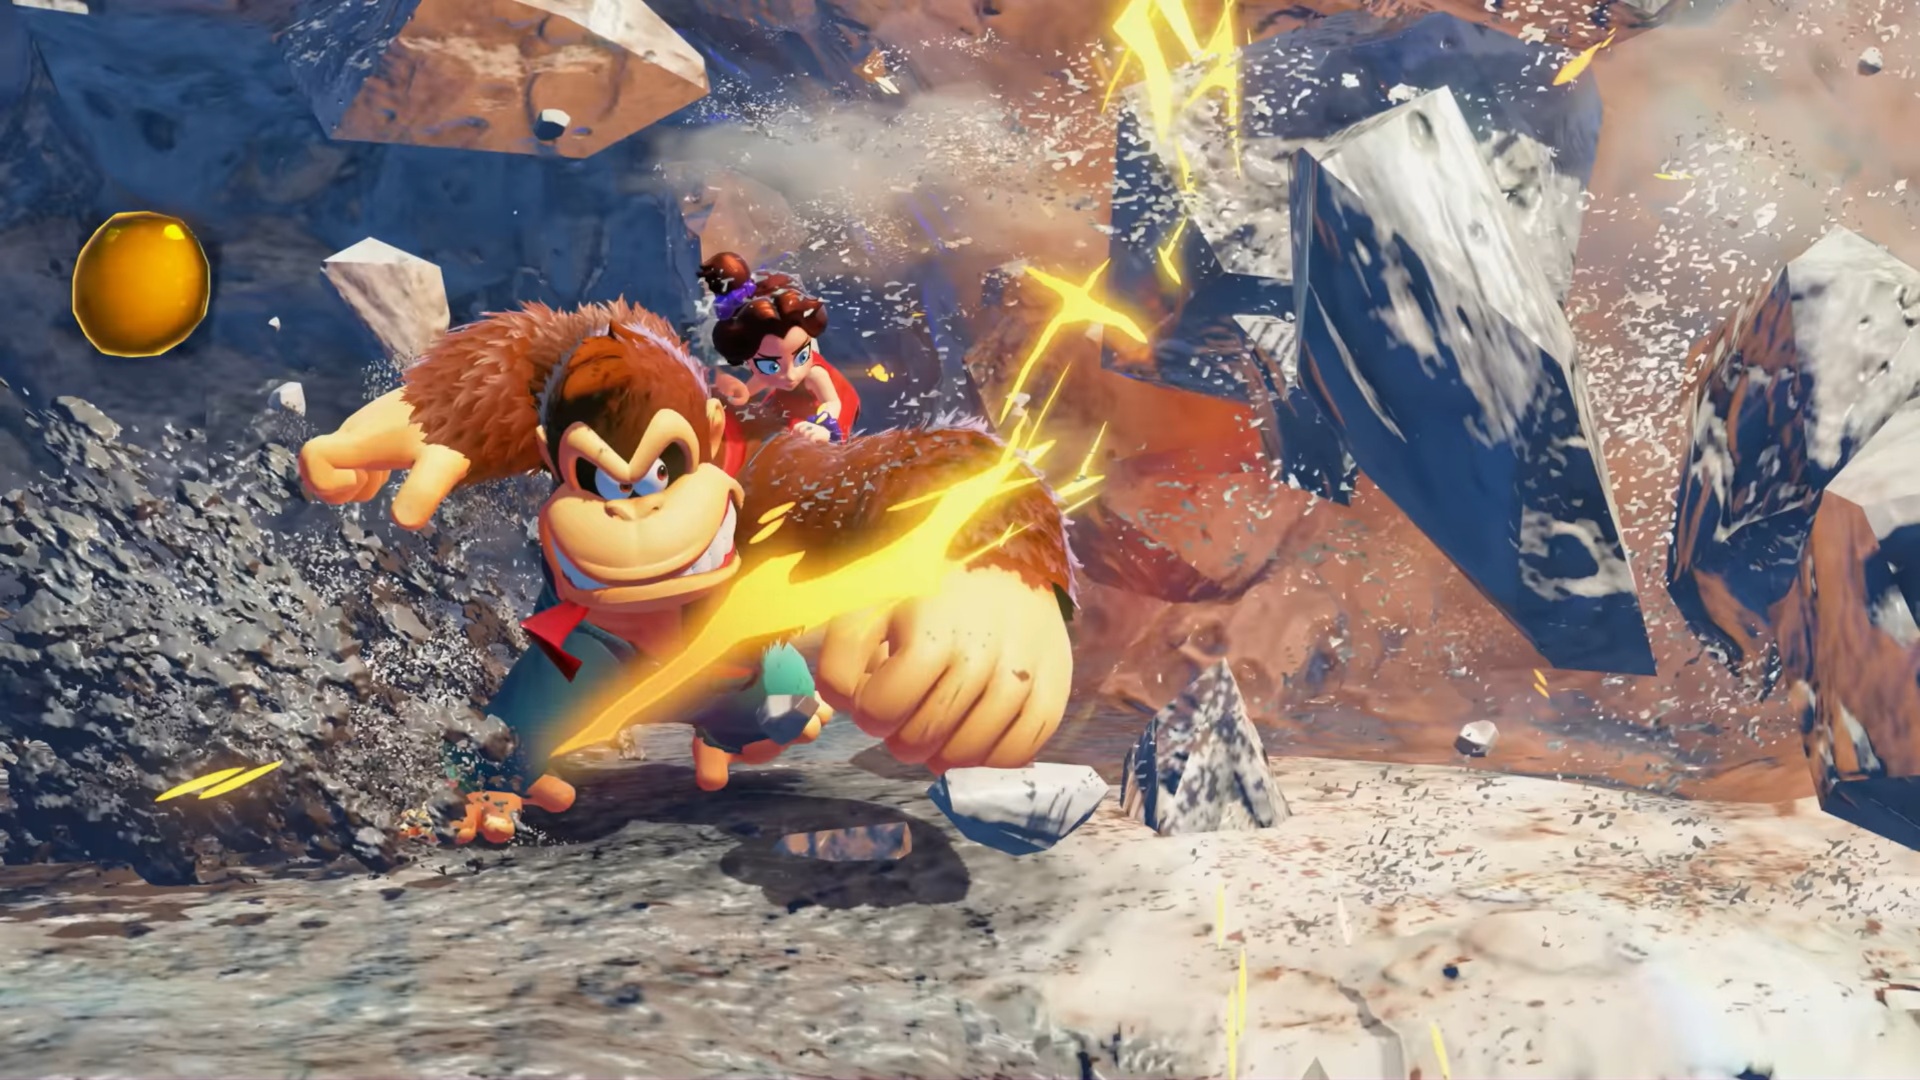
Face off against the enhanced version of the final boss, K. Rool, in Donkey Kong Bananza, at the core of the planet.
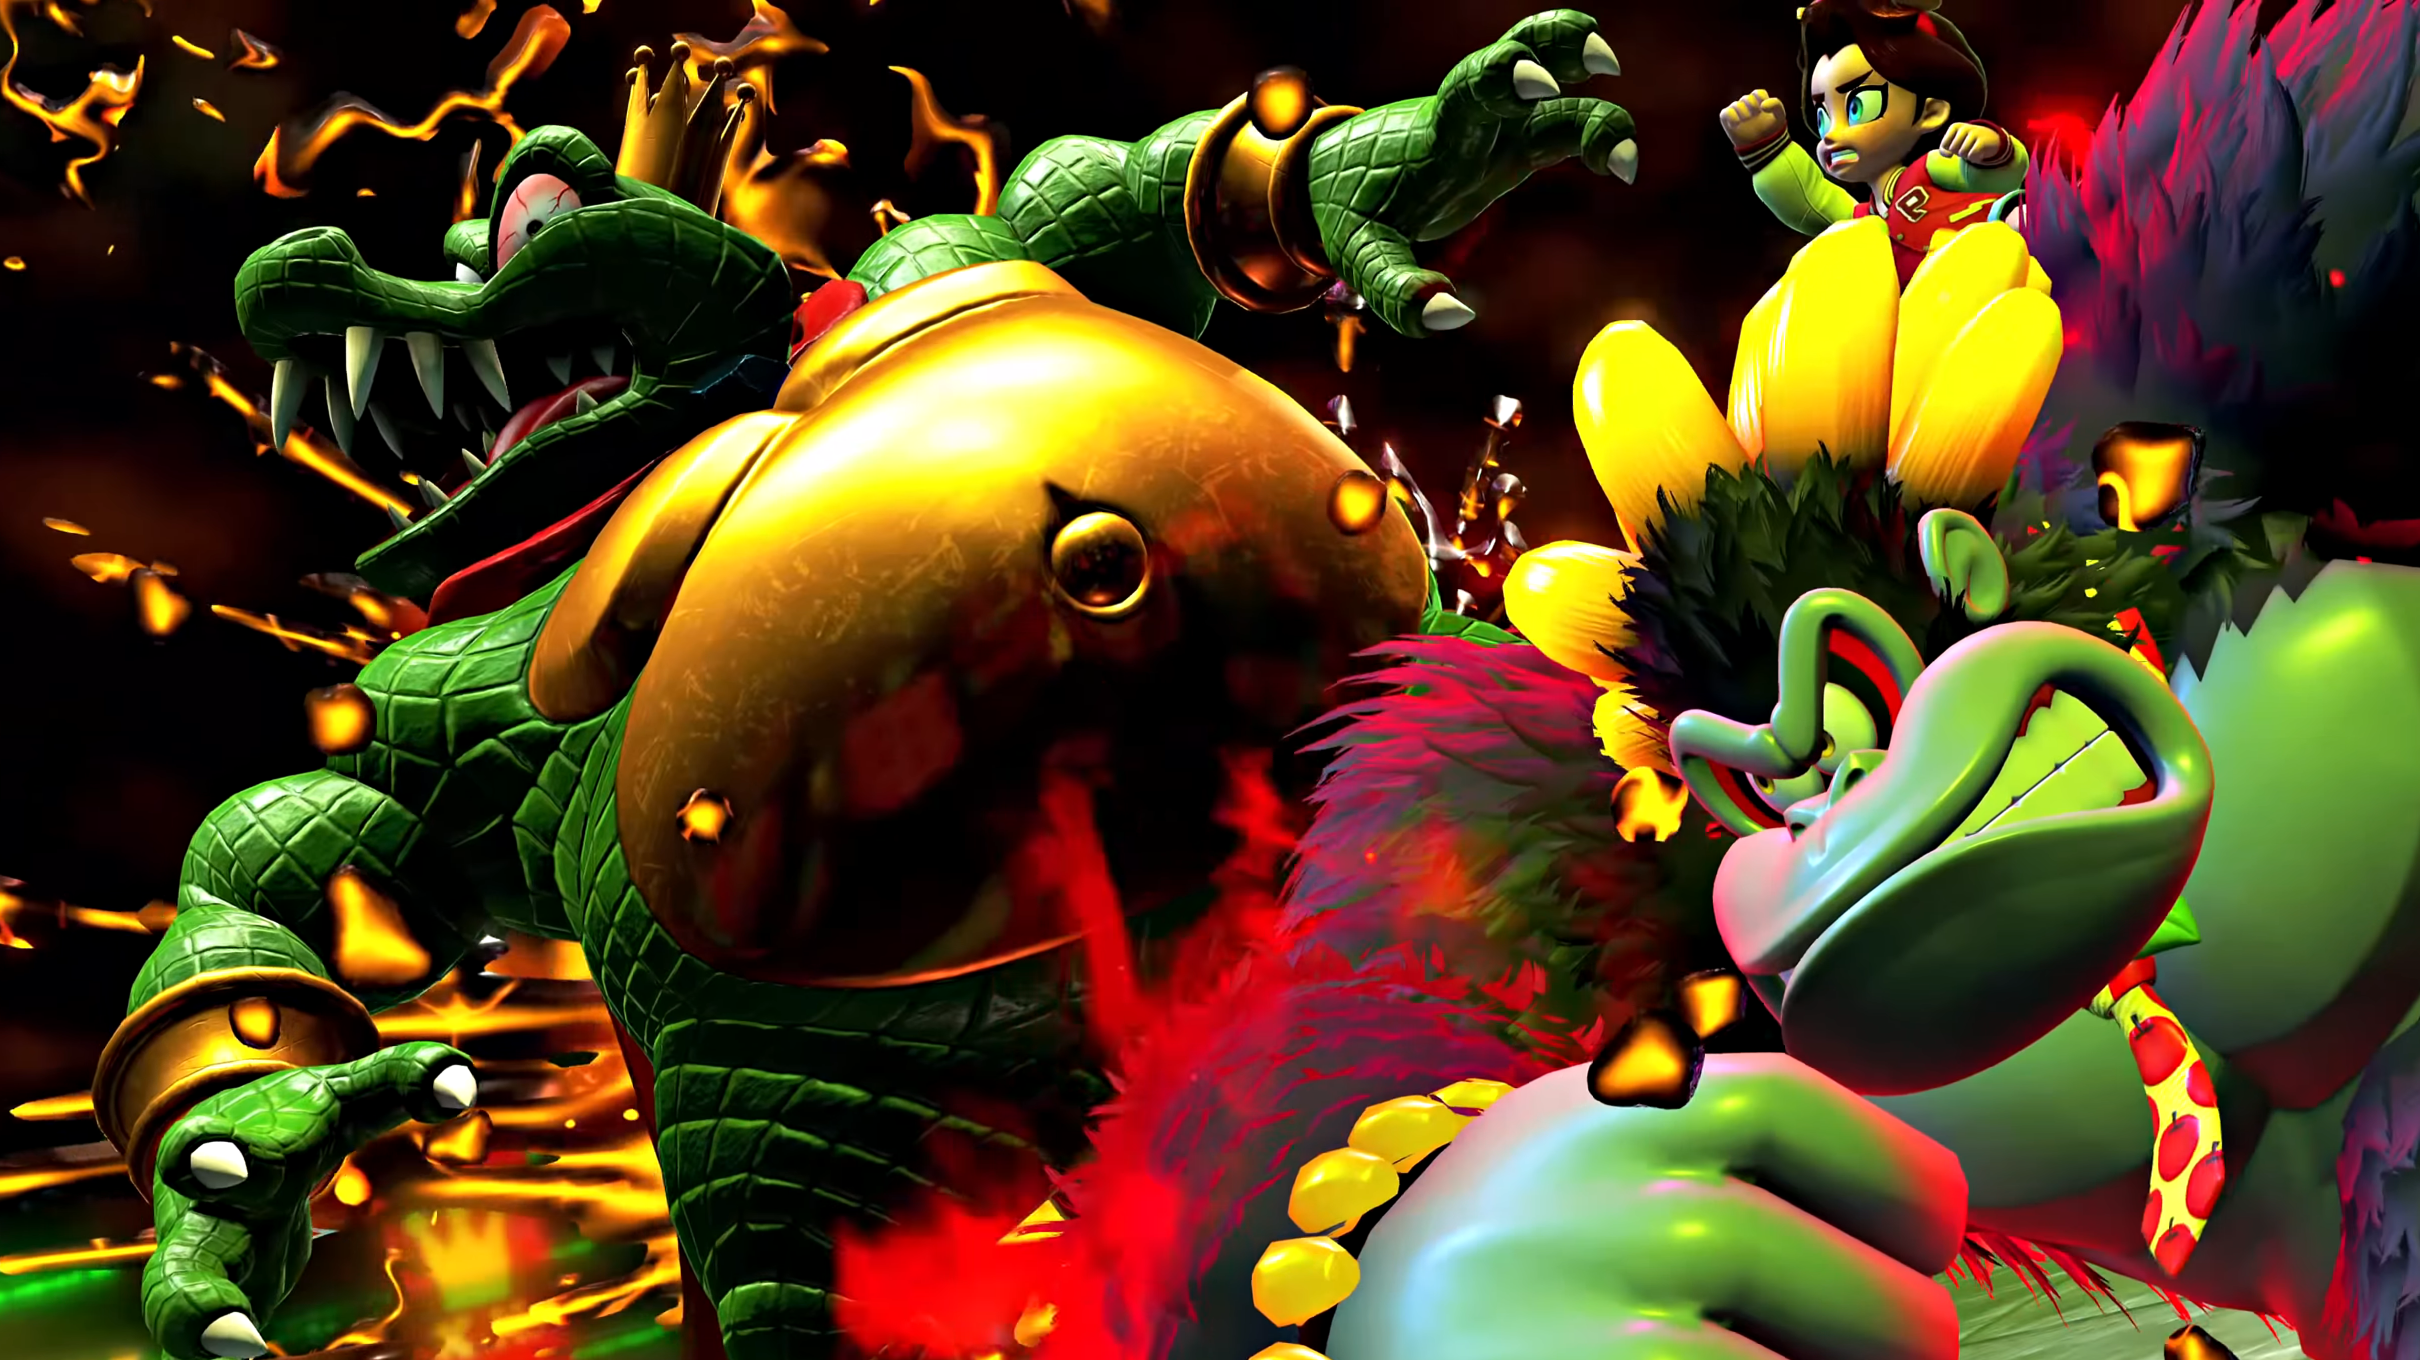
After finally enduring the first stages of King K. Rool’s boss battle at the core of the planet, a surprising turn takes place. He wakes up from his unconscious state and follows us back up to the surface of the Earth. For the second time, he gains the power of the Banandium root, but this time, he is stronger and more dangerous.
In this article, we will look at how to beat K. Rool in Donkey Kong Bananza.
Beat K. Rool in Donkey Kong Bananza
K. Rool, King of Rot, uses a similar attack pattern from the previous battle. He will take hold of a cannon gun and shoot at us with it, having a greater effect on us in a long-range battle. There are two phases you will face before you finally bring an end to the boss’s evil reign.
Phase 1
Similar to the previous stage, there are two different approaches you can consider for taking him down.
Elephant and Kong Combination
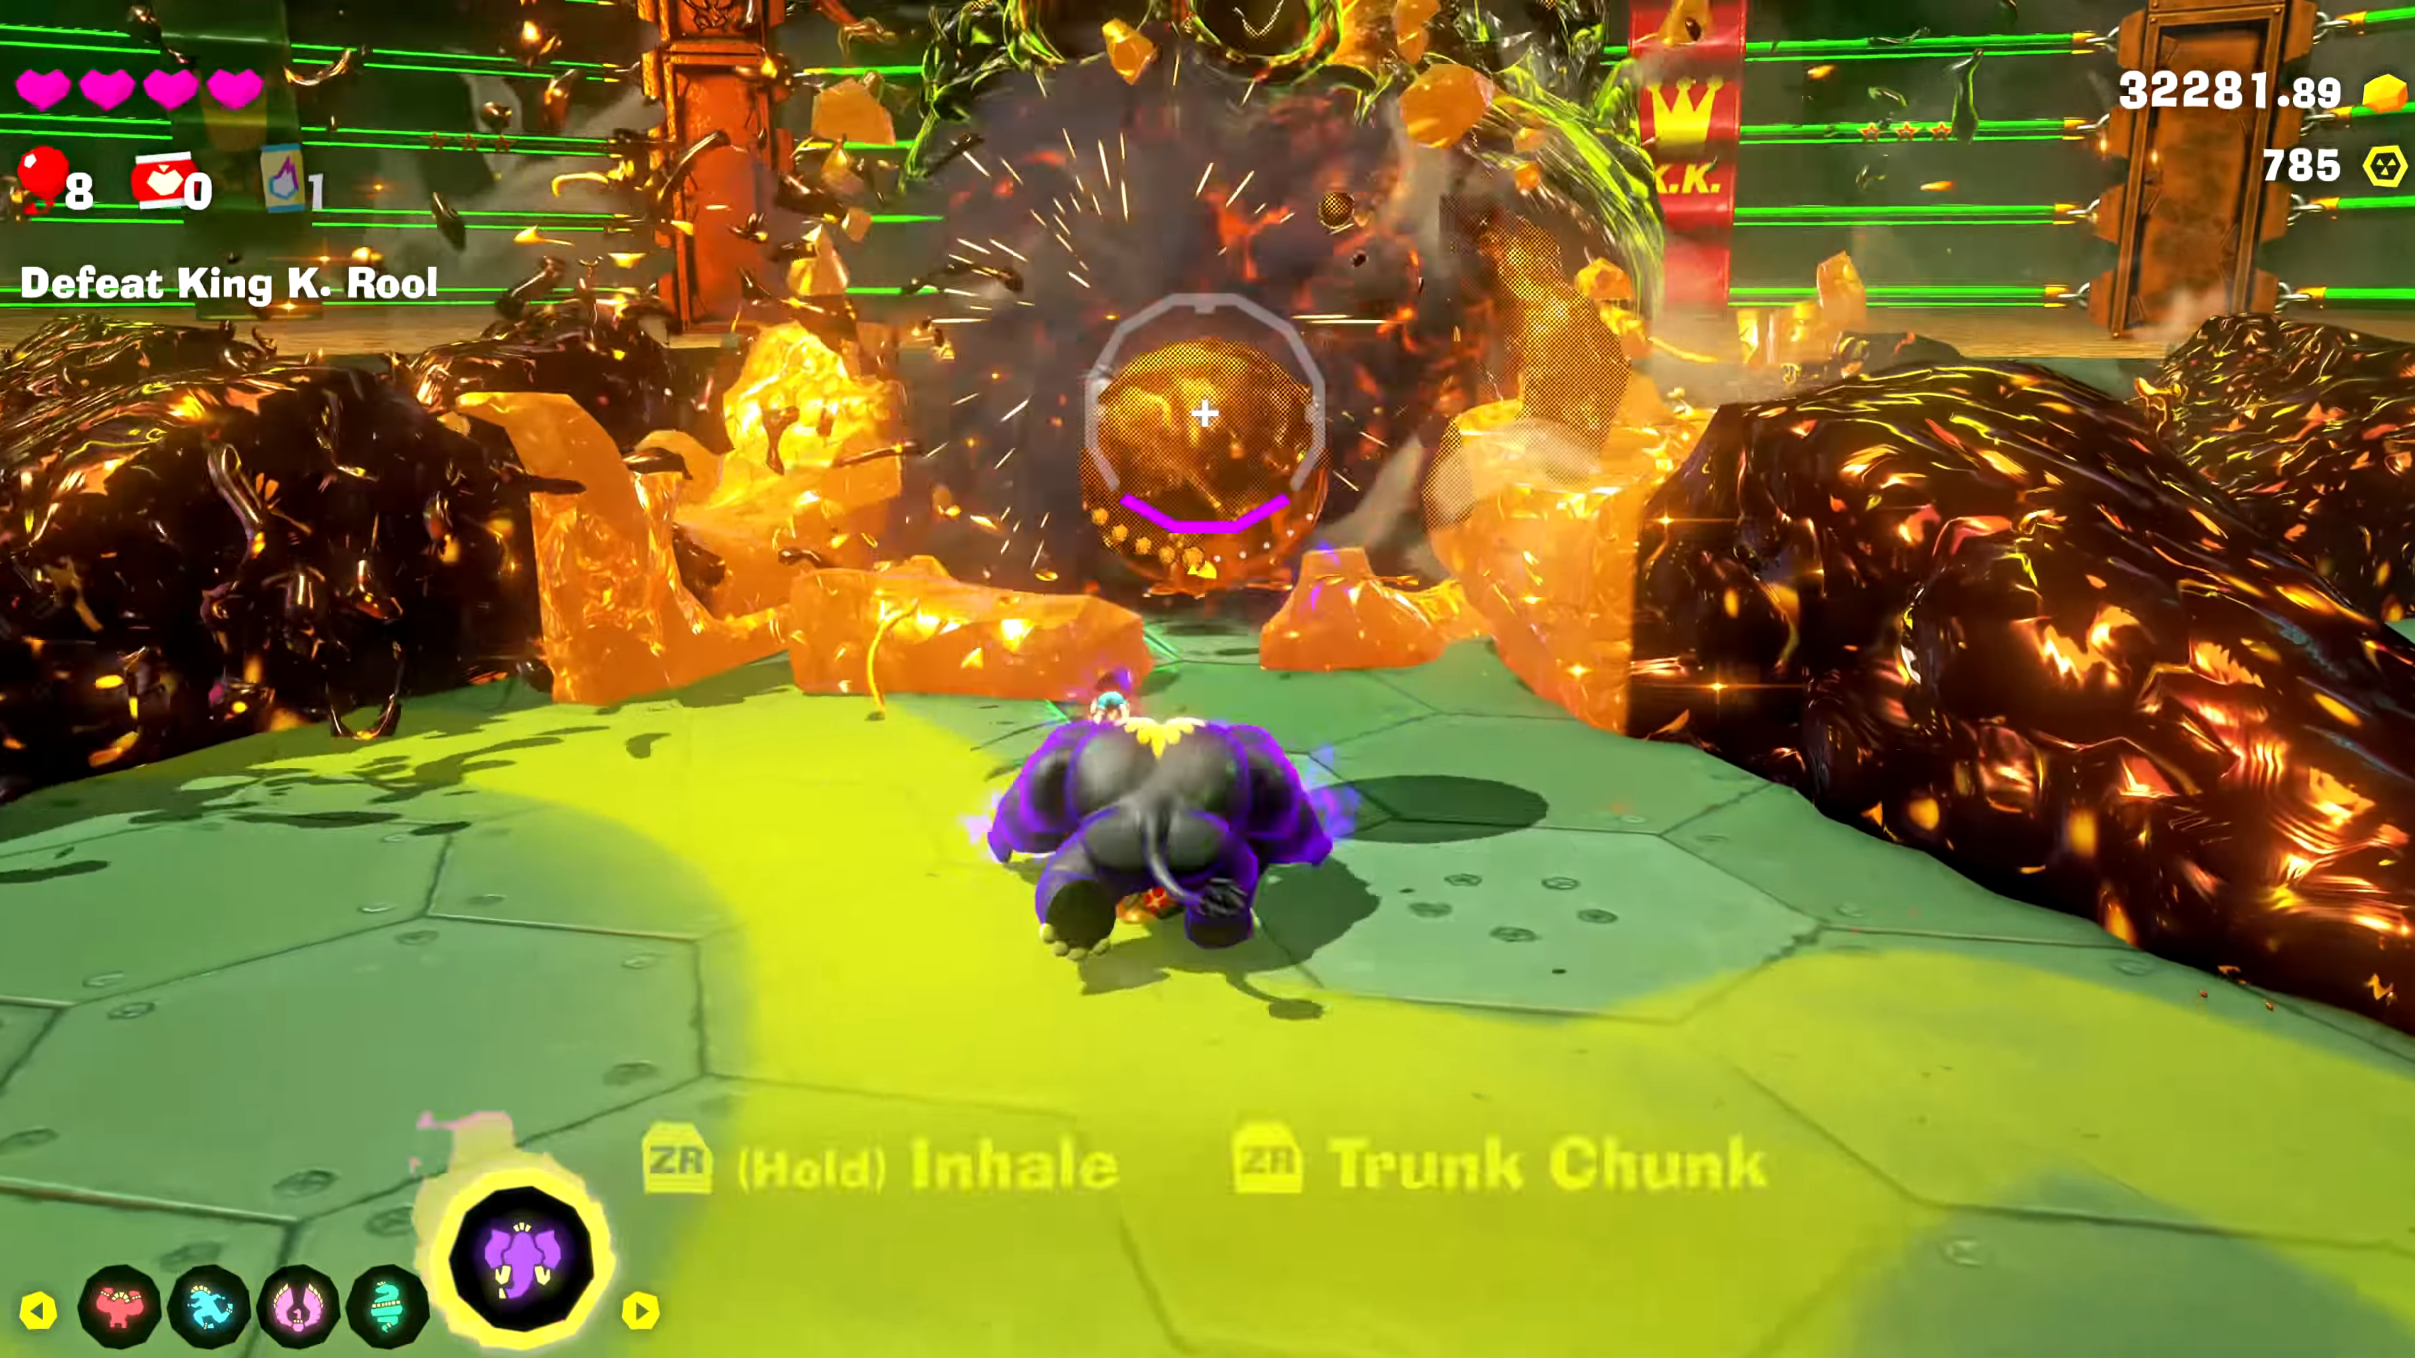
For this strategy, you can choose to combat him from afar. Transform into the Kong Bananza form and wait for the king to shoot a projectile toward you. Once it gets close enough, smash the item, rebounding the projectile back toward the boss and stunning him. This will cause a lot of debris to spread. Use the Elephant Bananza now to inhale some of the debris in your vicinity and throw the used chunks straight at the boss. Repeat this process.
Zebra and Kong Combination
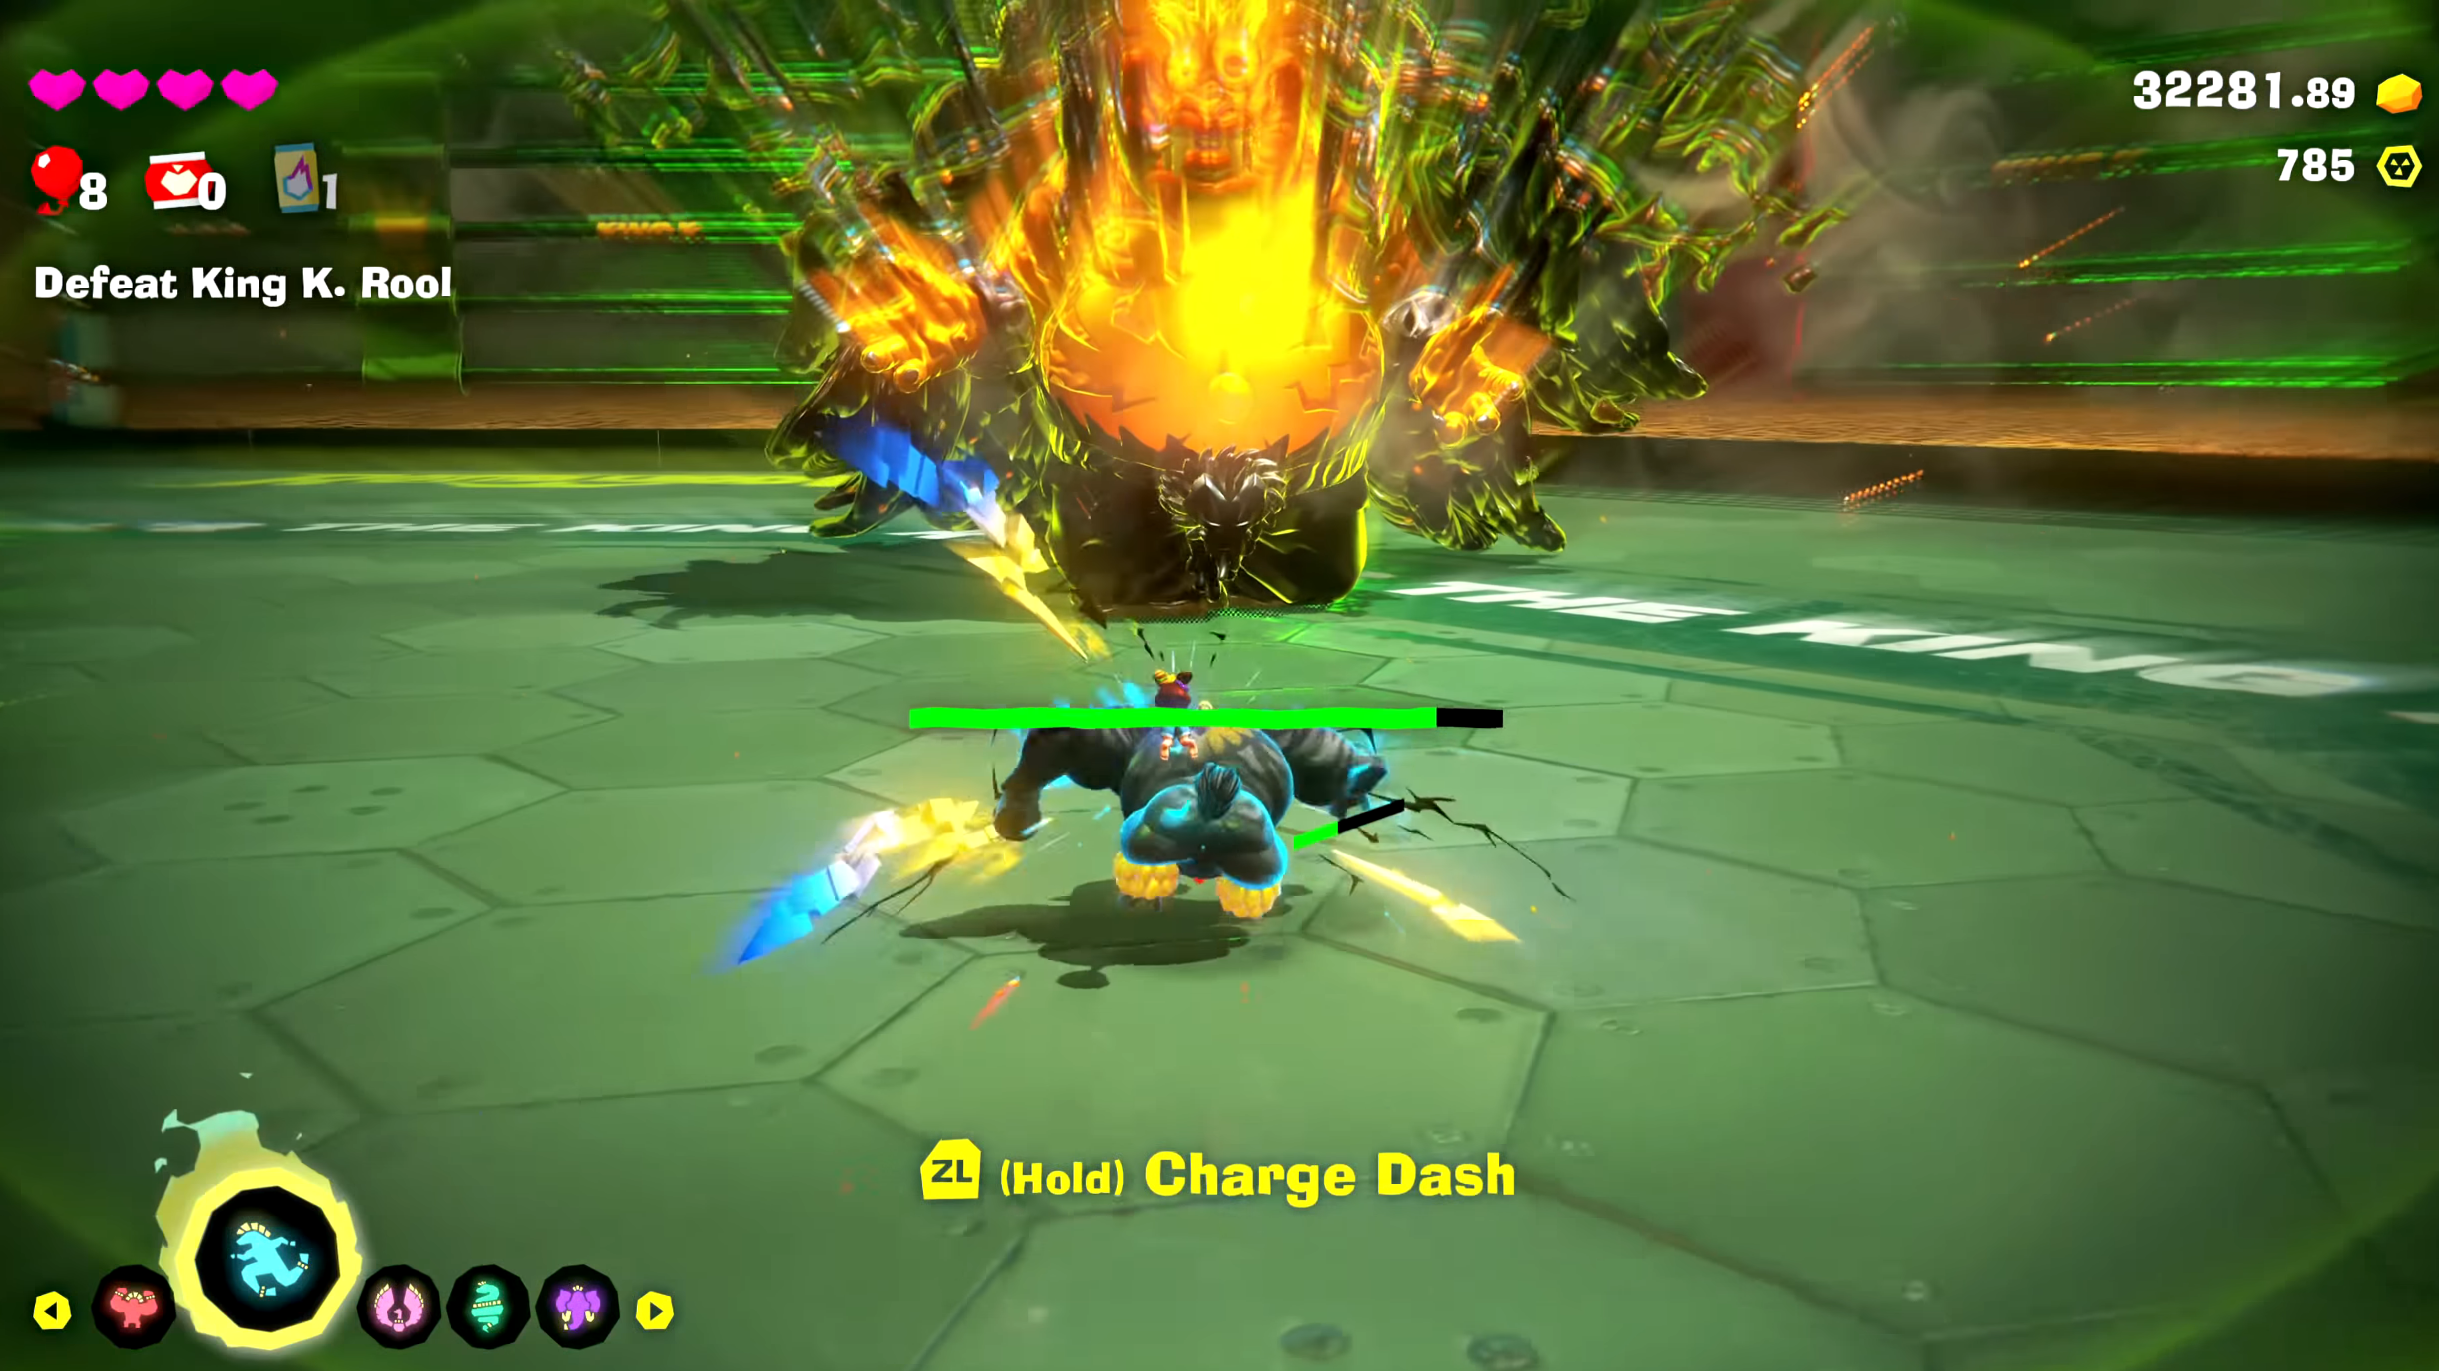
For this strategy, you will first need to transform into the Zebra Bananza form. Using this, charge toward the boss as quickly as you can and lurk under him. Now, change to the Kong form and lay out a quick series of heavy attacks. When this is close to the boss, there are fewer chances of him being able to shoot you with his cannon gun.
In case the boss manages to jump and create some distance, you can turn back into the Zebra form and charge close to him again. Then, turn into the Kong form and continue your onslaught of attacks until you reduce his health to half.
Phase 2
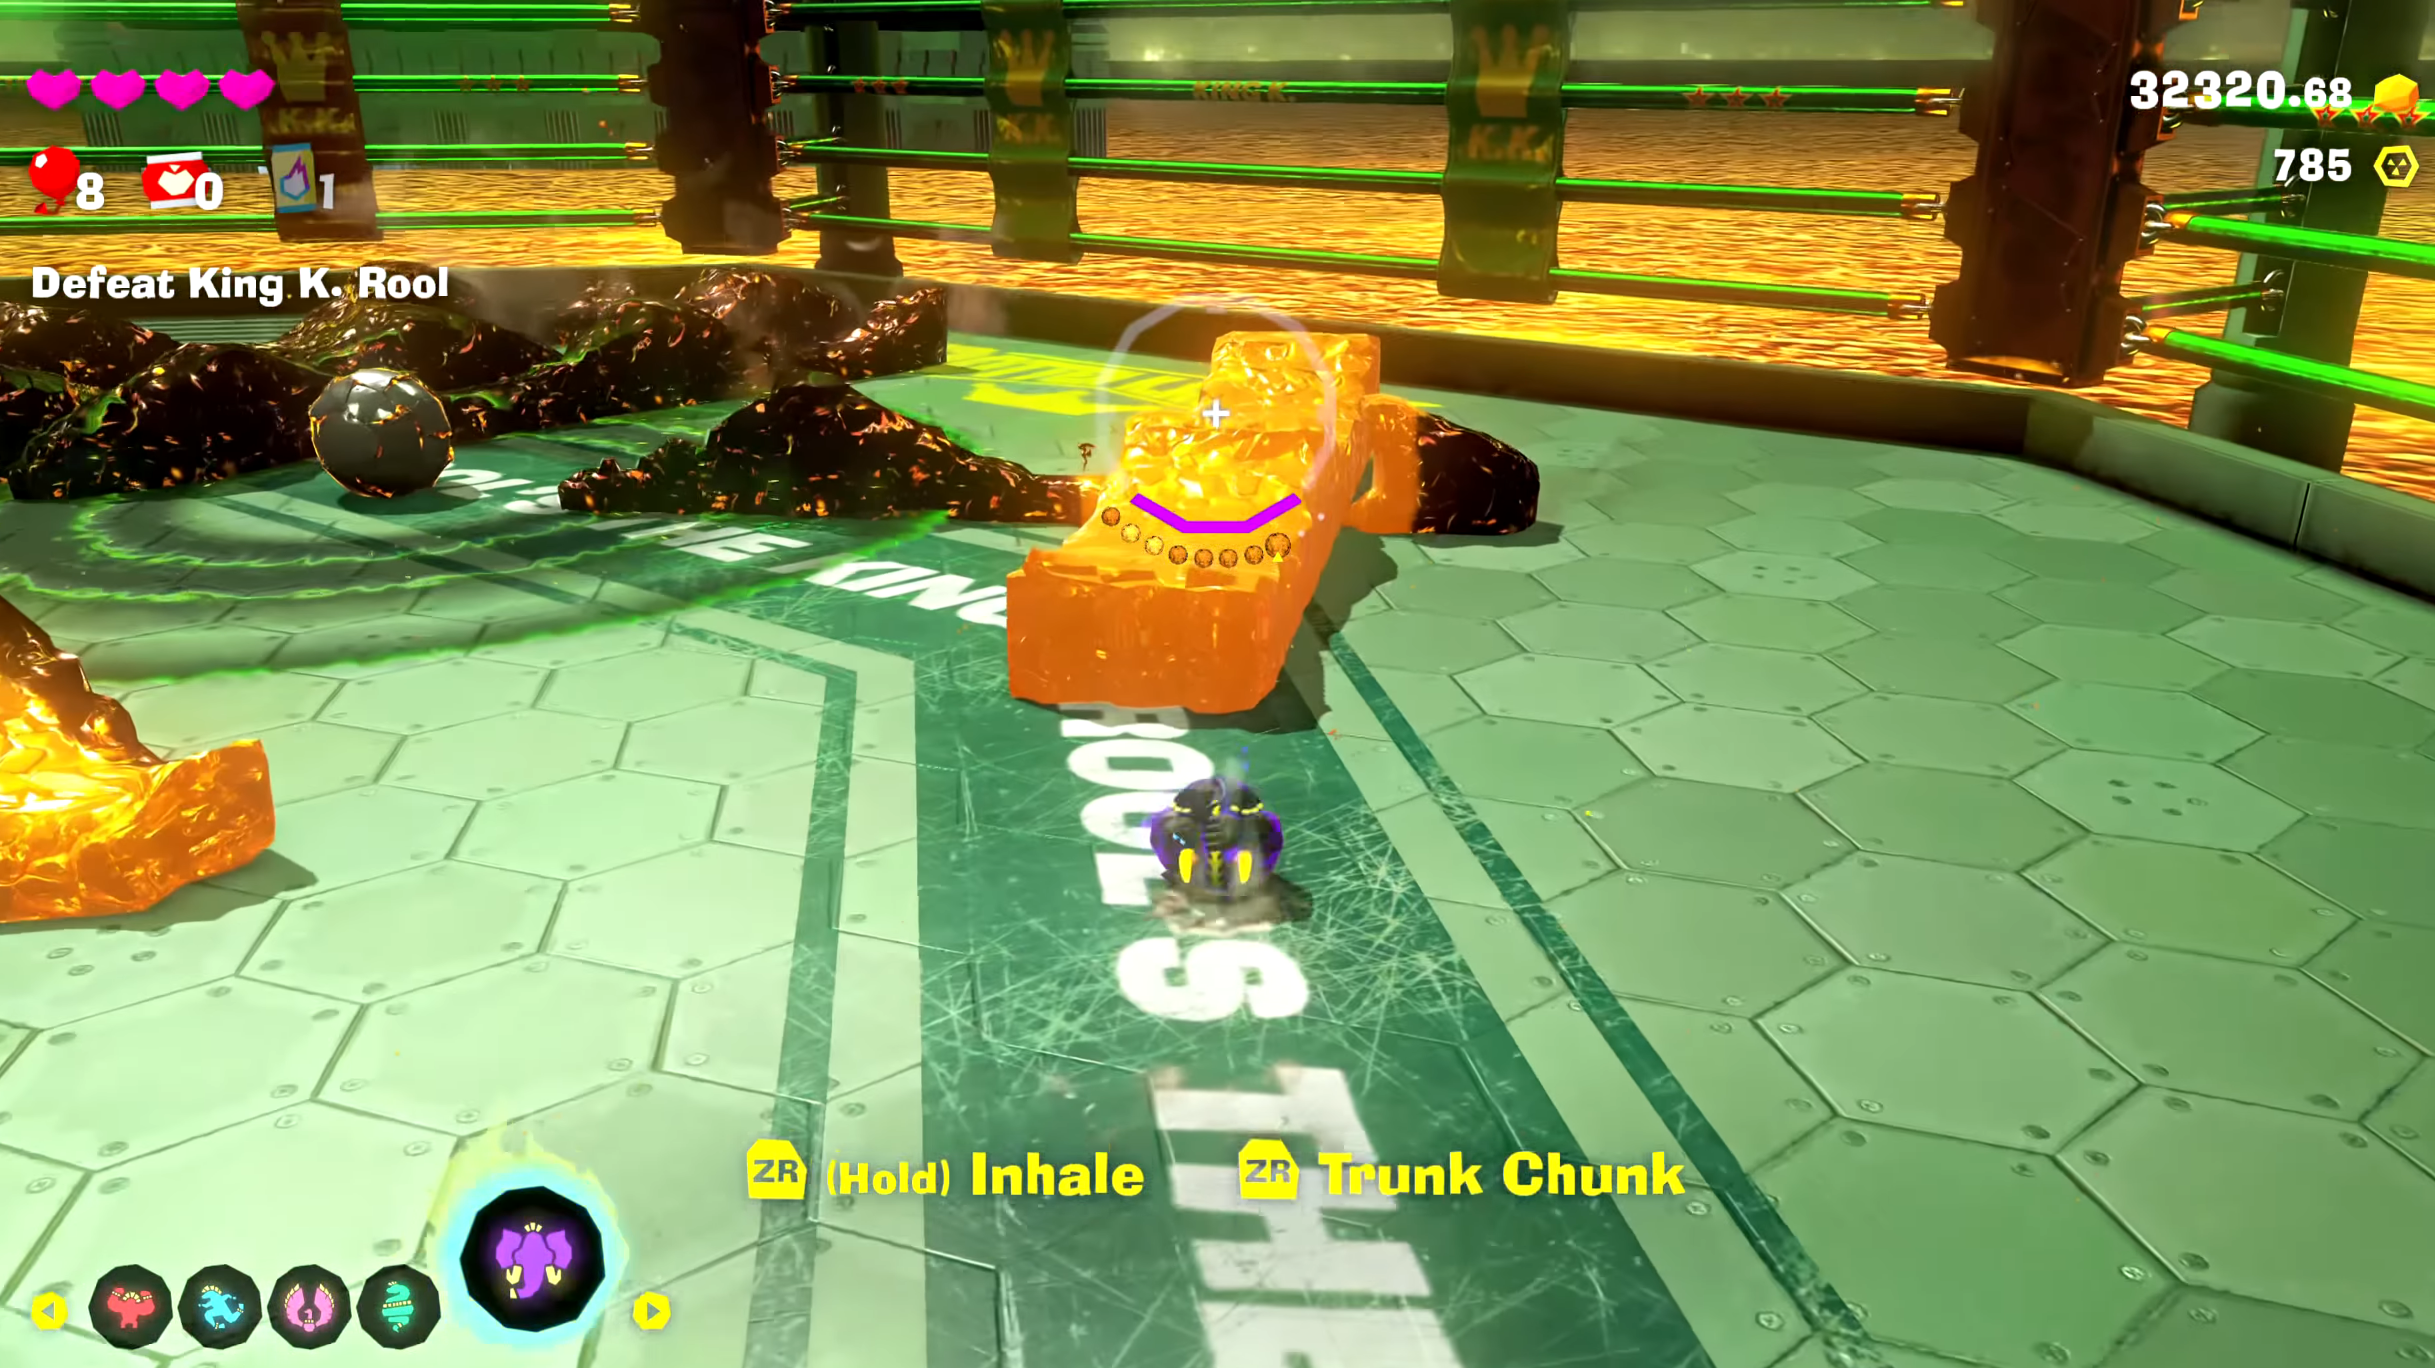
This phase will see the boss using the same weapon but with a new strategy. He will now shoot projectiles up in the air toward your direction. Once these projectiles hit the ground, they will emit some debris, which, if stepped on, will drain your health. For this phase, it is best to resort to using the Elephant form.
With the Elephant, you can inhale all the poisonous debris and create your own projectiles to shoot back at the boss. His attack pattern will keep switching between flying projectiles and grounded ones. So keep a distance to better understand how he will attack and make your move accordingly.
Final: Phase 3
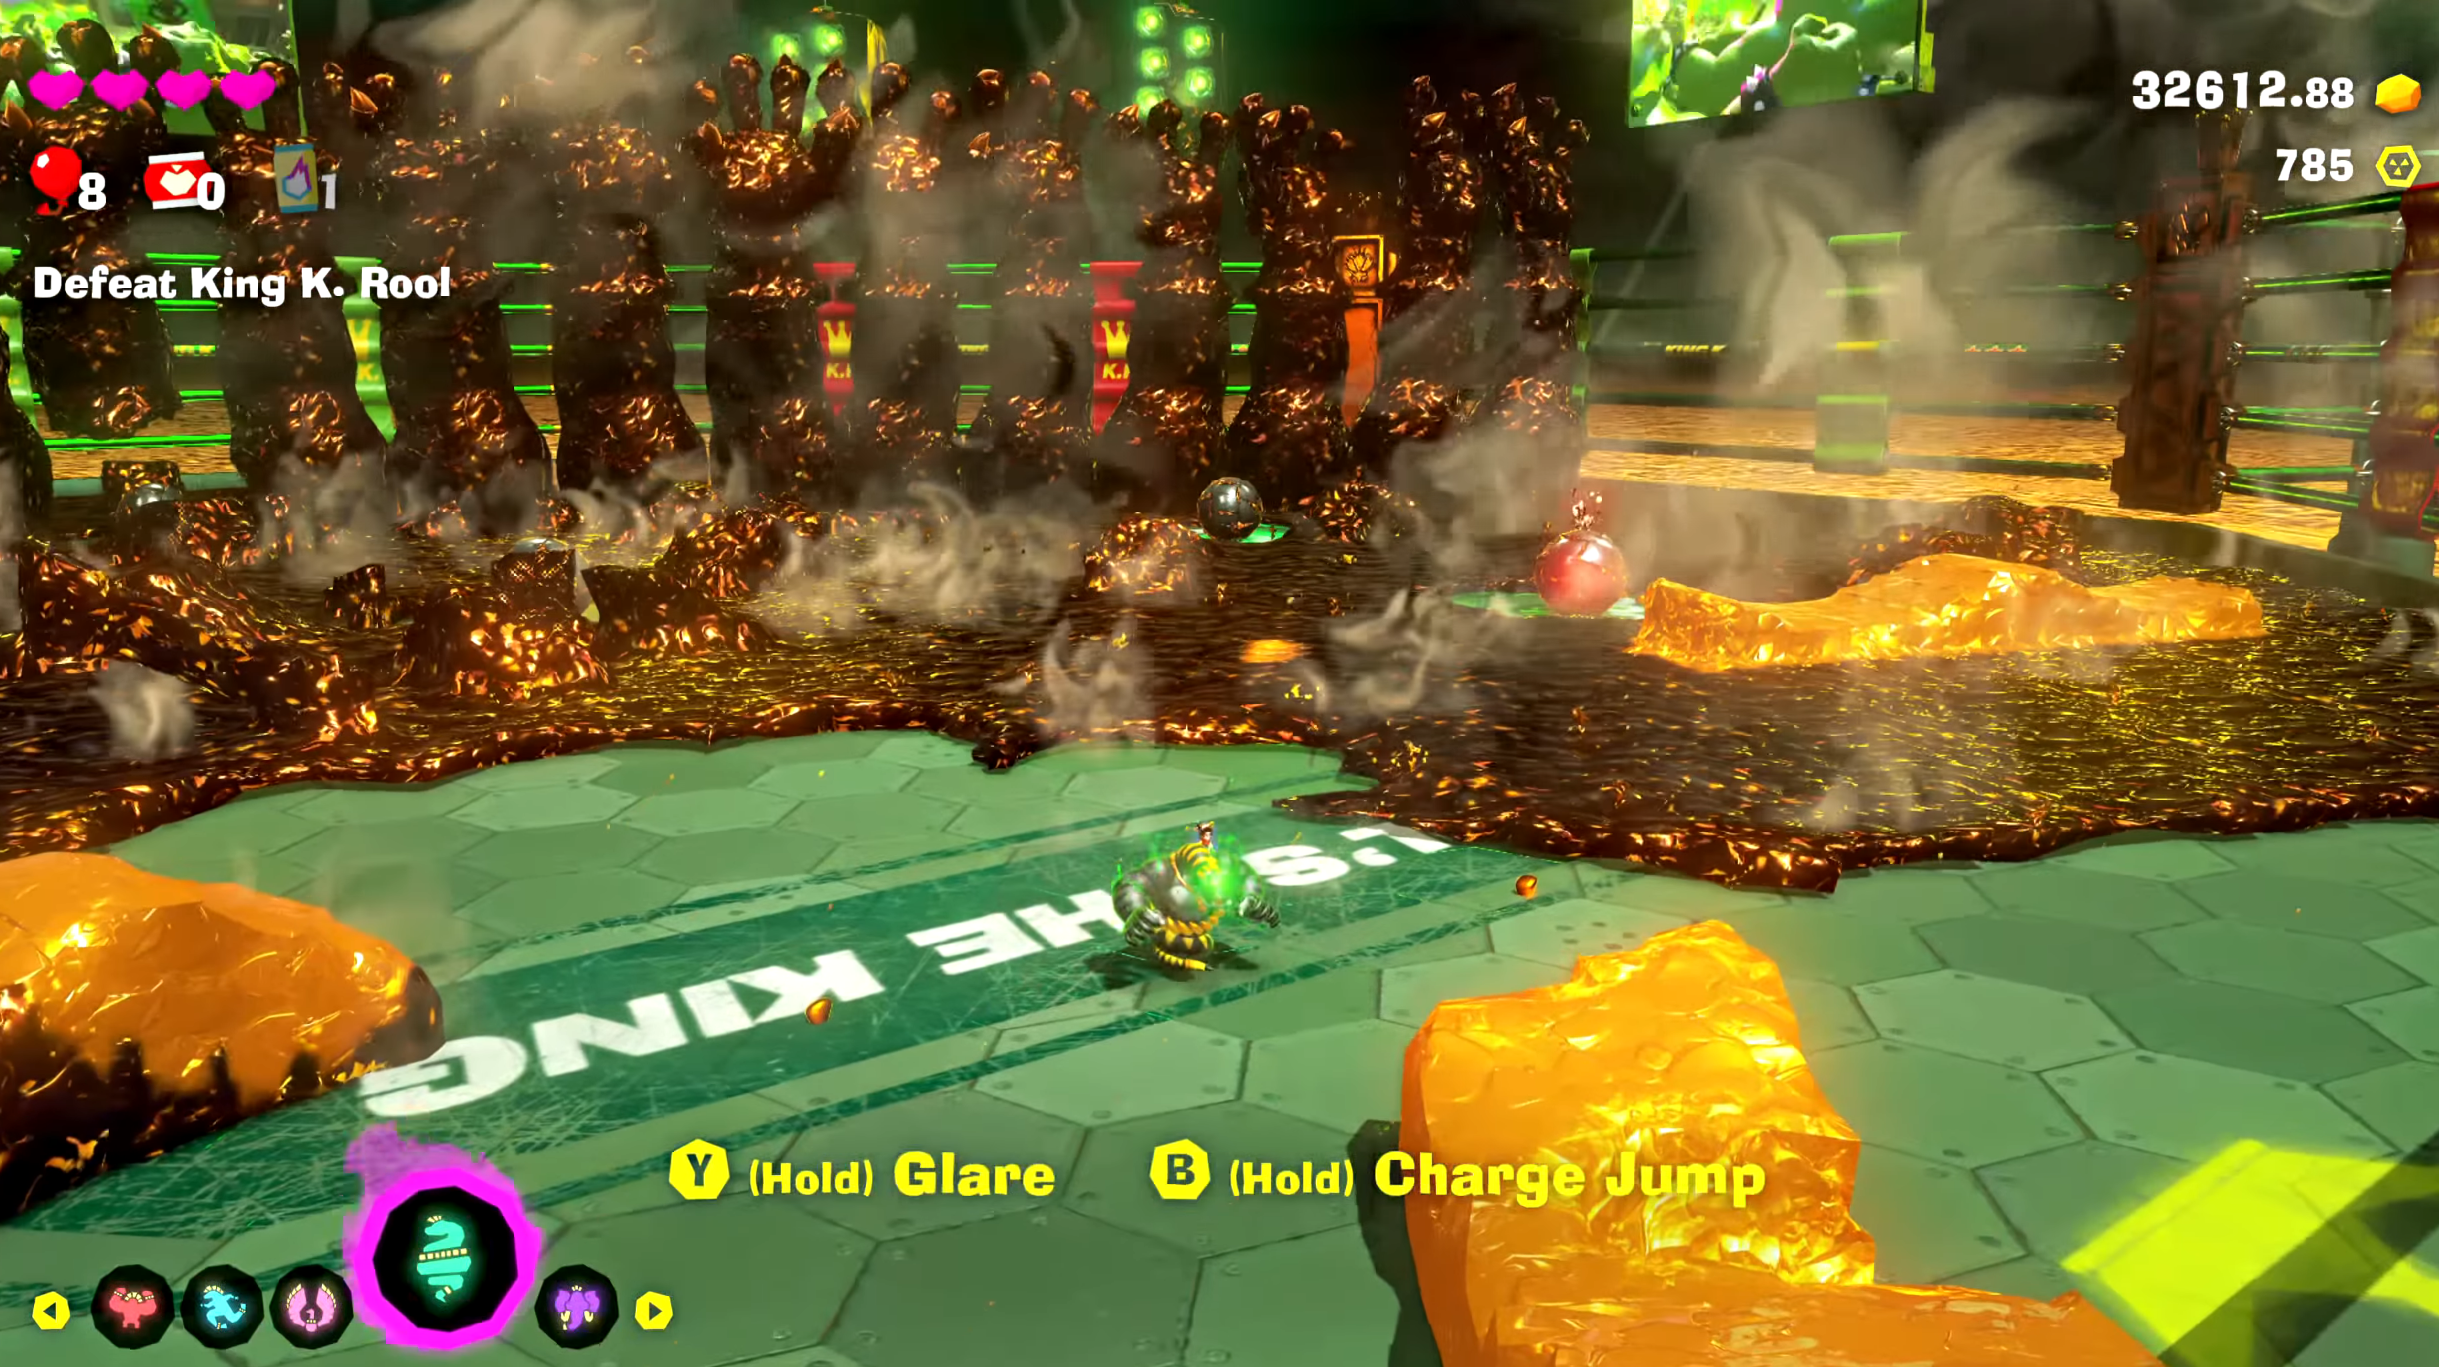
The last phase of this battle will see him spawn a row of giant hands. This will cover the entire area in a line, and he will have this row charge toward you. Using the Elephant, inhale as much debris as you can, which at this point will be in abundance. Shoot at the hand right in front of you and destroy it, creating a safe path through which you can pass.
Look for the boss and lay out your final attacks to finally put an end to the battle. This will trigger a cutscene showing the end of the boss fight.
Also read: Donkey Kong Bananza: Best Skills To Upgrade First

We provide the latest news and create guides for Donkey Kong Bananza. Meanwhile, you can check out the following Donkey Kong Bananza articles or catch us playing games on YouTube: