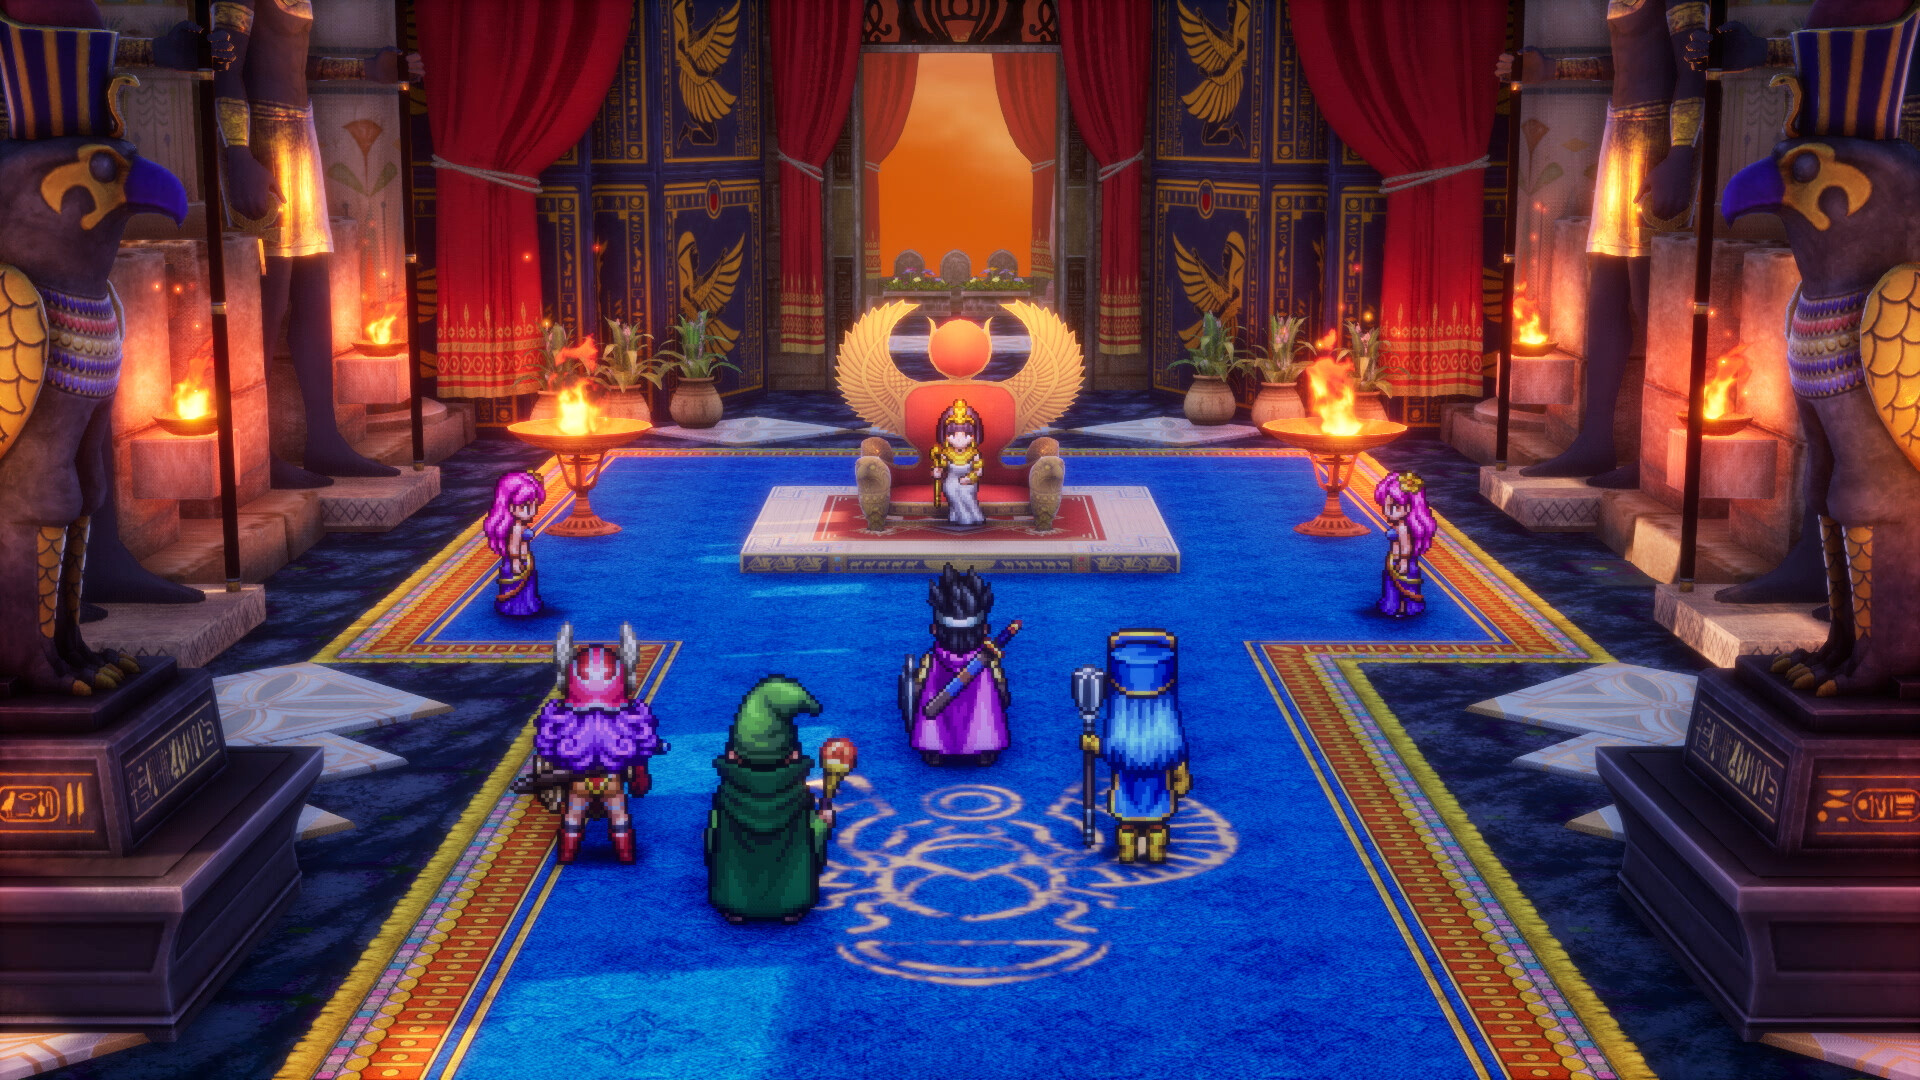
Exploring Gaia’s Navel in Dragon Quest 3 Remake can prove a little challenging. Check out this helpful guide and go in prepared.

Dragon Quest 3 Remake doesn’t let you enter Gaia’s Navel with other party members. This is exactly what makes this dungeon so challenging. Players can only complete it when they enter alone. If you have invested in “team effort,” it’s not going to work for you.
So, we recommend you work a lot on individual characters before visiting here because there will also be a boss fight waiting for you. Besides this, the map of the area is not all that confusing.
However, there are a few things that you may miss out on at first. Don’t worry, though. We are going to light the path ahead of you.
First and foremost, you need to visit the Sunken Shrine. This is unlocked when the Bottomless Pot is unveiled. You will find the Ultimate Key here. Once you gain possession of it, make your way to Lanson, an isolated island located south of Baharata. Once you have the key, you can access Gaia’s Navel.
The entrance is at the north end of Lanson. Just interact with the NPC inside and say “Yes” to access the dungeon right away. Whichever character is the first one in your party line-up will be selected to go in. So, if you have faith in a character other than your Hero for this job, go ahead and send them in.
Exploring Gaia’s Navel in Dragon Quest 3 Remake

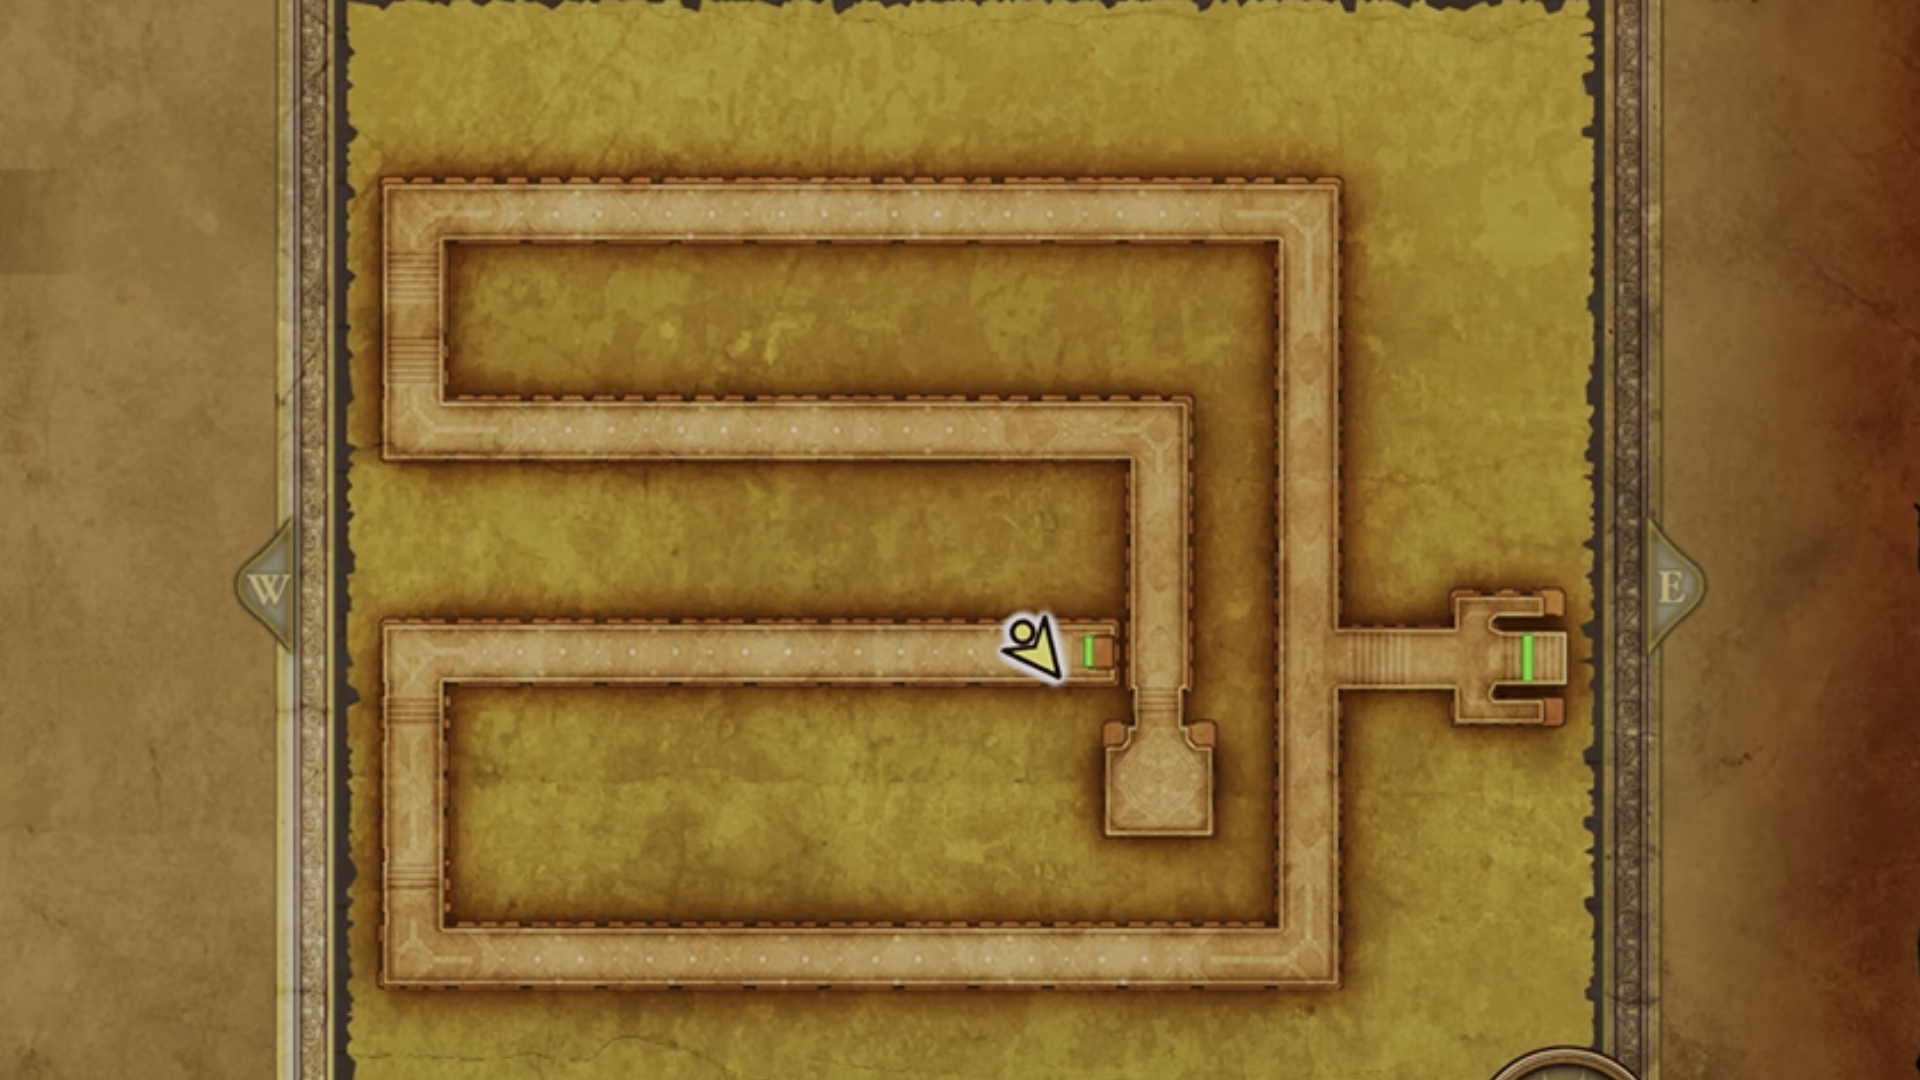
Gaia’s Navel is not that big when it comes to exploring. So, when you enter, you’ll be presented with three choices: go right, go left, or go straight. Going either left or right doesn’t have much in store for you and just puts you on a repetitive path. So, open your map and go south instead.
You will now enter floor B2 (the level was B1). There are four stairs here. However, it is only the staircase in the top-right corner of the B2 floor map that will take you further, deeper to level B3.
When you reach this level, there are two options in front of you as you open the map. You can either go north or go south. Heading south is of no use because it takes you to level B4. Take this path only if you are following our guide to the Auroral Helm. Otherwise, go north.
The stone faces in your way will continuously warn you to turn back and leave, but don’t pay them much attention. Keep walking your path. In the end, you will have to fight the boss, Chiromancer. Defeat him and claim the Blue Orb for yourself.
You can now trace your path back to the entrance or use the Evac spell to leave immediately.
Don’t Miss Out on These Items
We have traced the main path for you above. However, if you wish to plunder the entire dungeon, suit yourself. Feel free to explore every nook and corner that we had previously asked you to ignore and find the following items while exploring:
- Knight (Monster) on B1: Find this item using the looping hallway at the start of the dungeon (choose to go either left or right rather than south).
- Seed of Life on B1: Visit the upper-right room and open the chest.
- Prayer Ring on B1: Open the chest in the upper-left room.
- Seed of Wisdom on B1: Open the chest in the lower-right room.
- Earthenwear on B1: Reach the C-shaped room using the bottom-right stairs on level B2.
- 3,640 Coins on B1: Take the top left stairs on B2 and reach the end of the straight path corridor.
- Banishing Bell on B2: Reach the bottom-right area on the level and you will find this on the ground by a collapsed pillar.
- Mini Medal on B3: Access the left chest beside the final Blue Orb.
- Spirit Bracer on B3: Access the right chest beside the final Blue Orb.
Looking For More?
Thank you for reading the article. We provide the latest news and create guides for Baldur’s Gate 3, Starfield, ARK Survival Ascended, and more. Also, watch Deltia play games on Twitch or visit his YouTube channel!
 Reddit
 Email
Email


