Facebook
 Reddit
 Email
Email
Cloud and our heroes are heading to the Cosmo Canyon. So in this guide, we will go over the entire Final Fantasy 7 Rebirth Chapter 10.
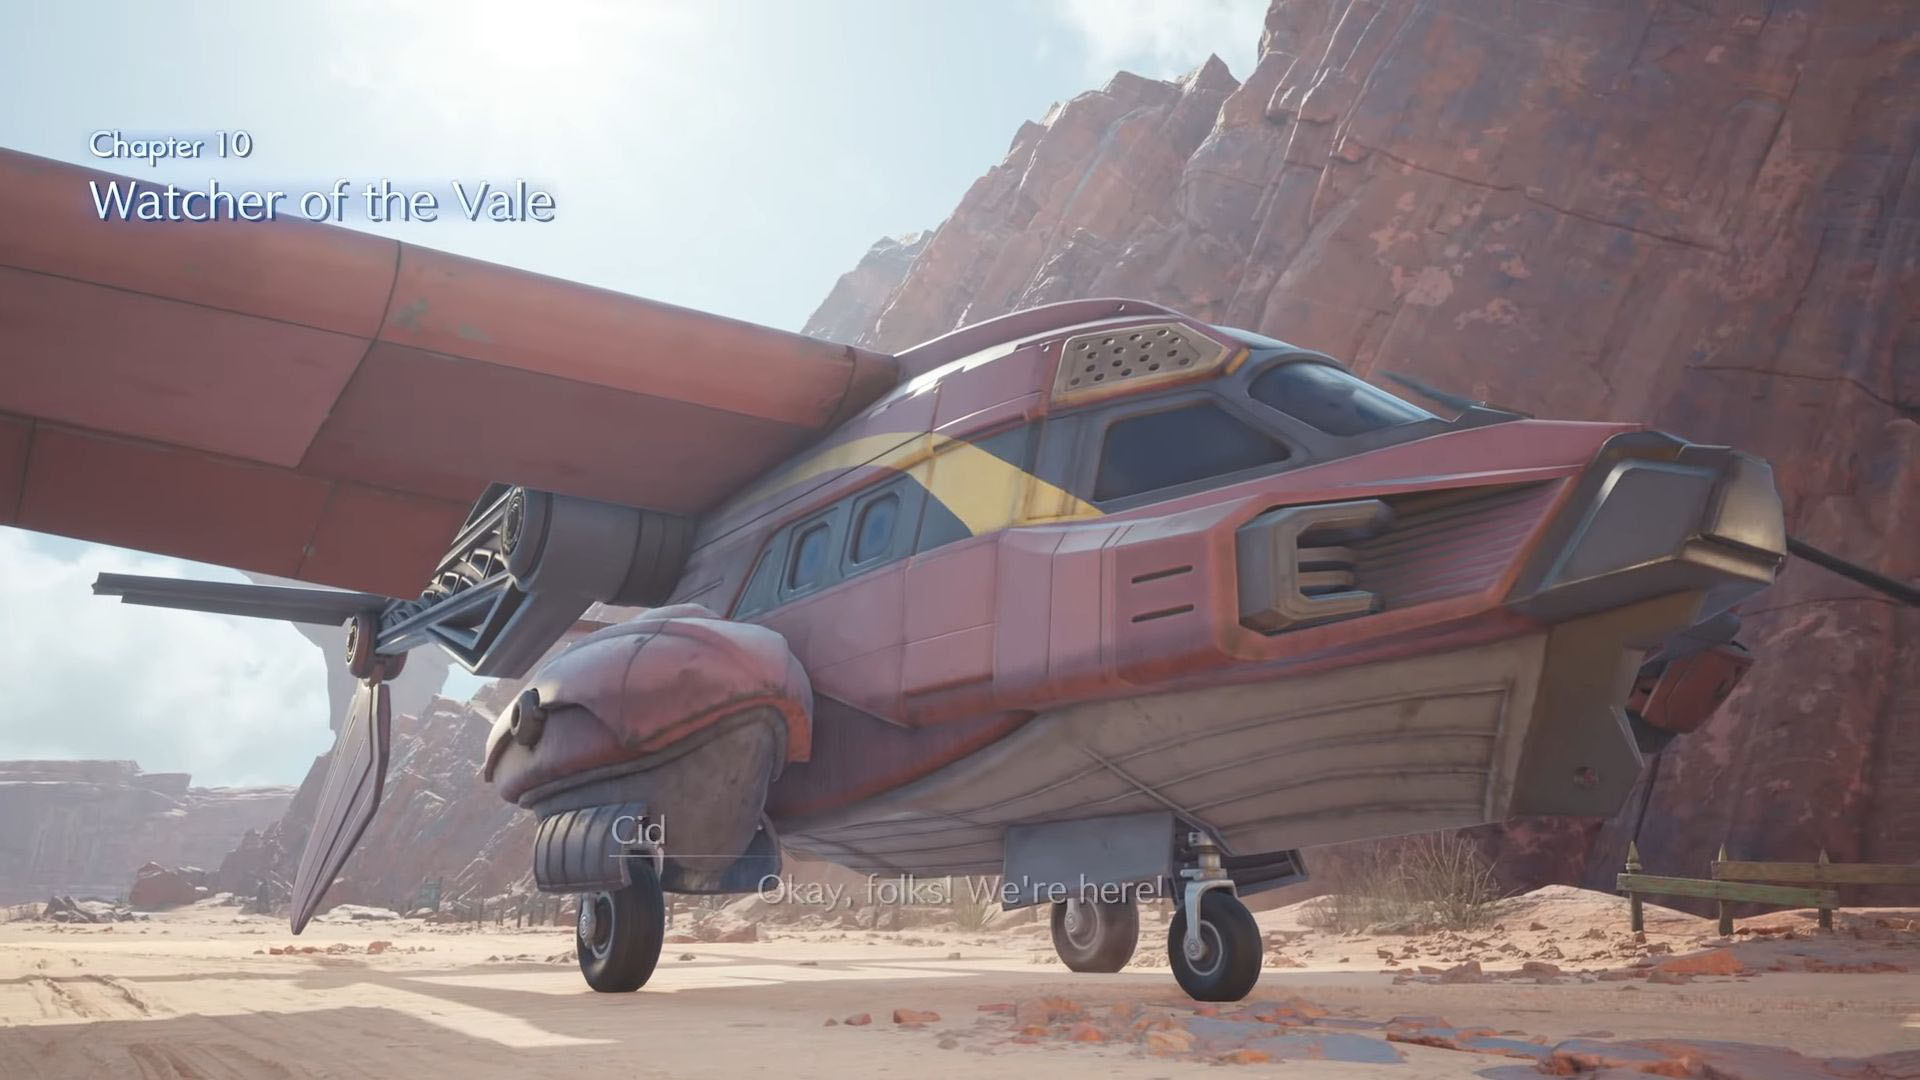
Every area and region in Final Fantasy 7 Rebirth is aesthetically unique and distinguishable from one another; not only do they look different, but they offer a different objective and experience to the players as well. In this article, we are going to take a look at the Watcher of the Vale mission, which is in chapter 10 of Final Fantasy 7 Rebirth.
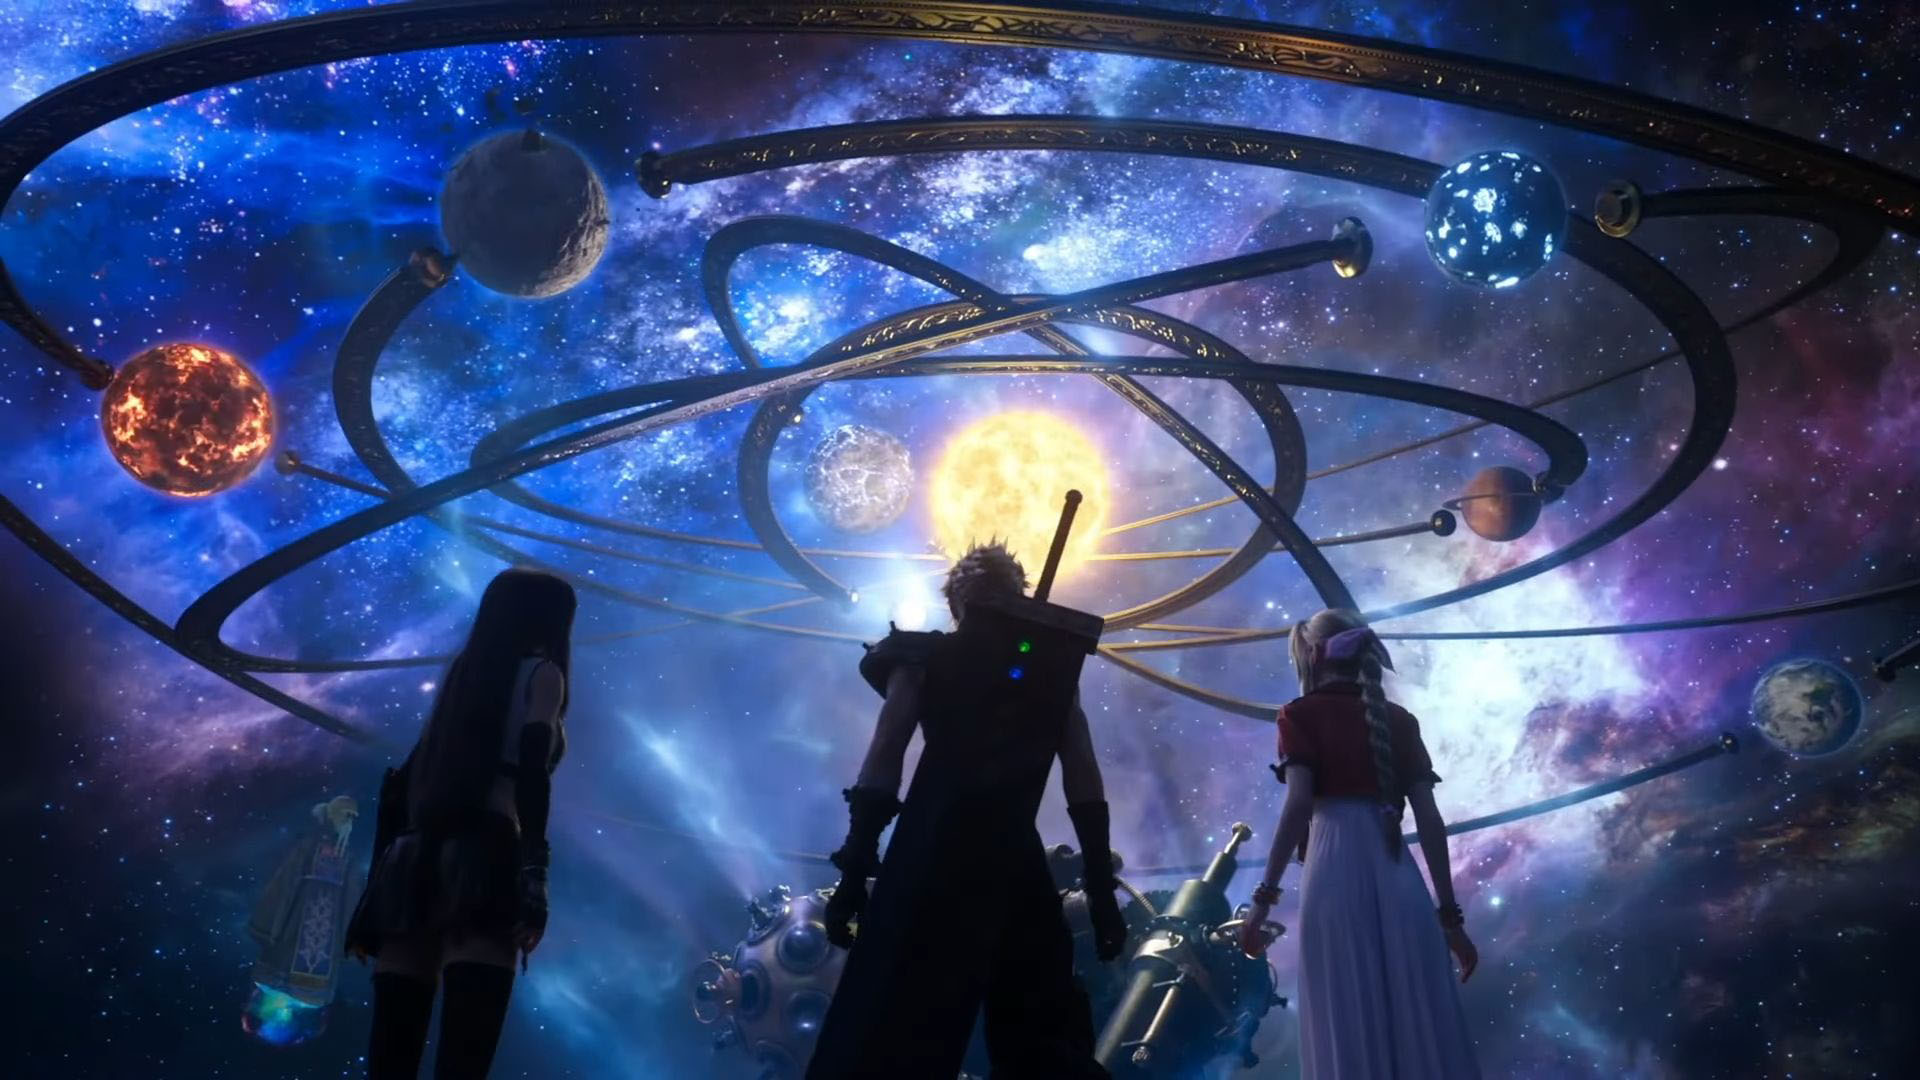
After the events of the previous mission, we see Cloud, Aerith, Barret, Red XIII, and Tifa arrive on the Grand Canyon airstrip with a plane. The Grand Canyon is a special place in the game; it is the sanctum of planetology and also the home of Red XIII.
Final Fantasy 7 Rebirth: Chapter 10
The Watcher of the Vale is a very interesting mission in itself; it takes us to a beautiful region in the game and also shows us a different side of Red XIII. And since it is not one of the shortest missions in the game, players will have plenty of time to explore the carefully crafted areas of the region.
Cosmo Canyon is the home of the iconic planetarium, which you will be able to explore through the main story, alongside the place where Red XIII grew up. There are a lot of side quests to do in the area as well; however, most of them will open after you complete Final Fantasy 7 Rebirth chapter 10. All of these can feel a little too much for some players, so we are going to break the mission down into more manageable parts for you in this guide.
Welcome to the Sanctum of Planetology

Chapter 10 begins with your pilot, Cid, leaving you on the grounds of the Cosmo Canyon Airstrip. The first thing you should do is head north to the tower there, since it will fall on the way to Cosmo Canyon anyway; it does not hurt to activate it. Once activated, it will show you all of the things that you can do in that region, including catching the Cosmo Canyon chocobo. However, to reach Cosmo Canyon, you will need to follow the signs on the road; they will take you directly to the place you want to go.
You will catch a view of Cosmo Canyon with its windmills soon enough. Follow Red XIII, and you will come across a bridge; cross it, and you will trigger a cutscene. After the end of the cutscene, Red XIII will leave your party for a bit, and fast travel will also become unavailable.
Go straight into the village; you will find a lot of different shops there. So if you require anything, you can easily buy it. Once you are done, keep going and eventually, another cutscene will occur. When it ends, your new objective will be to reach the Planetarium. Keep going straight, and you will find the observatory elevator. Use it to go up and then keep walking until you find Red XIII.
The Planetarium
After a cutscene, Red XIII and Bugehagen will take you to the Planetarium. Head inside and interact with as many objects as you can find; don’t forget the other three floors as well. There is a double door on the second floor that does not open until you have explored every object in the planetarium. After you have explored everything, go down to the second floor. You will hear a device making some noise. Locate and examine the device; once you have done it, you will be able to unlock the double door we mentioned.
When the cutscene ends, you can leave the planetarium and talk to the attendant to get the storeroom key. There is a lot of valuable stuff for you in the storeroom. Once you are done, go back to the elevator and go down. When you leave the elevator and start walking, soon an attendant will come and take you to a place where a group of people are sitting in a circle, and a cutscene will begin. When it ends, go back to the plaza and talk to Aerith to continue the story. After a cutscene, Bugehagen will ask you to follow him.
The Sealed Door
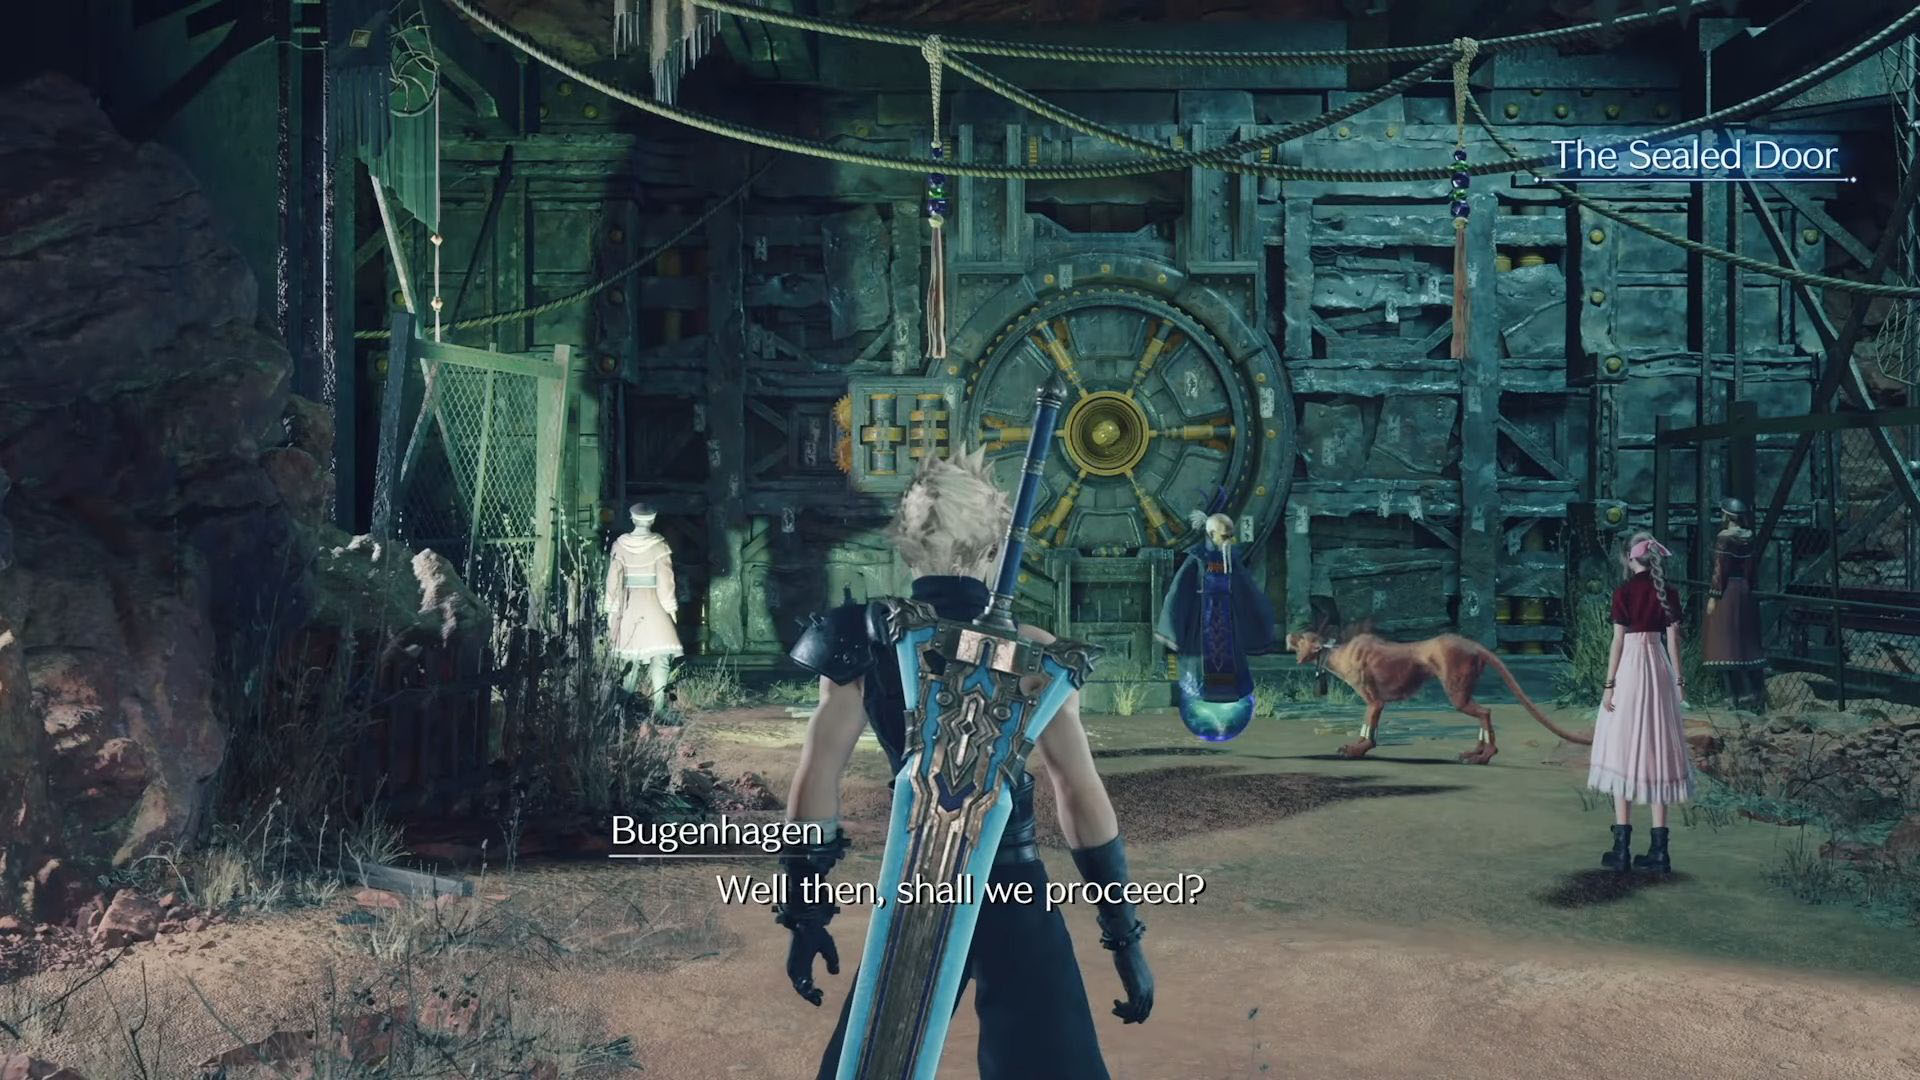
Follow Bugenhagen to a sealed door in a closed area of the village. He will ask you if you want to proceed or not; say yes, and then he will open the door. Then walk after him and get to the elevator. Then after the cutscene that will occur, Bugenhagen will tell you that only two people can take part in the trials.
After this point, Barret and Red XIII will be the only available party members for a bit. You will encounter a vending machine and a resting place as you head forward. Use them before you go deeper into the cave. Soon you will have to fight a bunch of enemies, but nothing too difficult. Once you have defeated all of the enemies, the game will teach you how to climb the glowing walls as Red XIII.
In order to proceed further into the story, you will have to climb the west wall and then go deeper into the cave. Keep going forward and fight the enemies along the way. Shortly after, you will come across a stone door. You will have to climb the nearest pillars and cut the ropes holding the door in place to open it. Then keep going until you come across a statue.
Let the Trials Begin
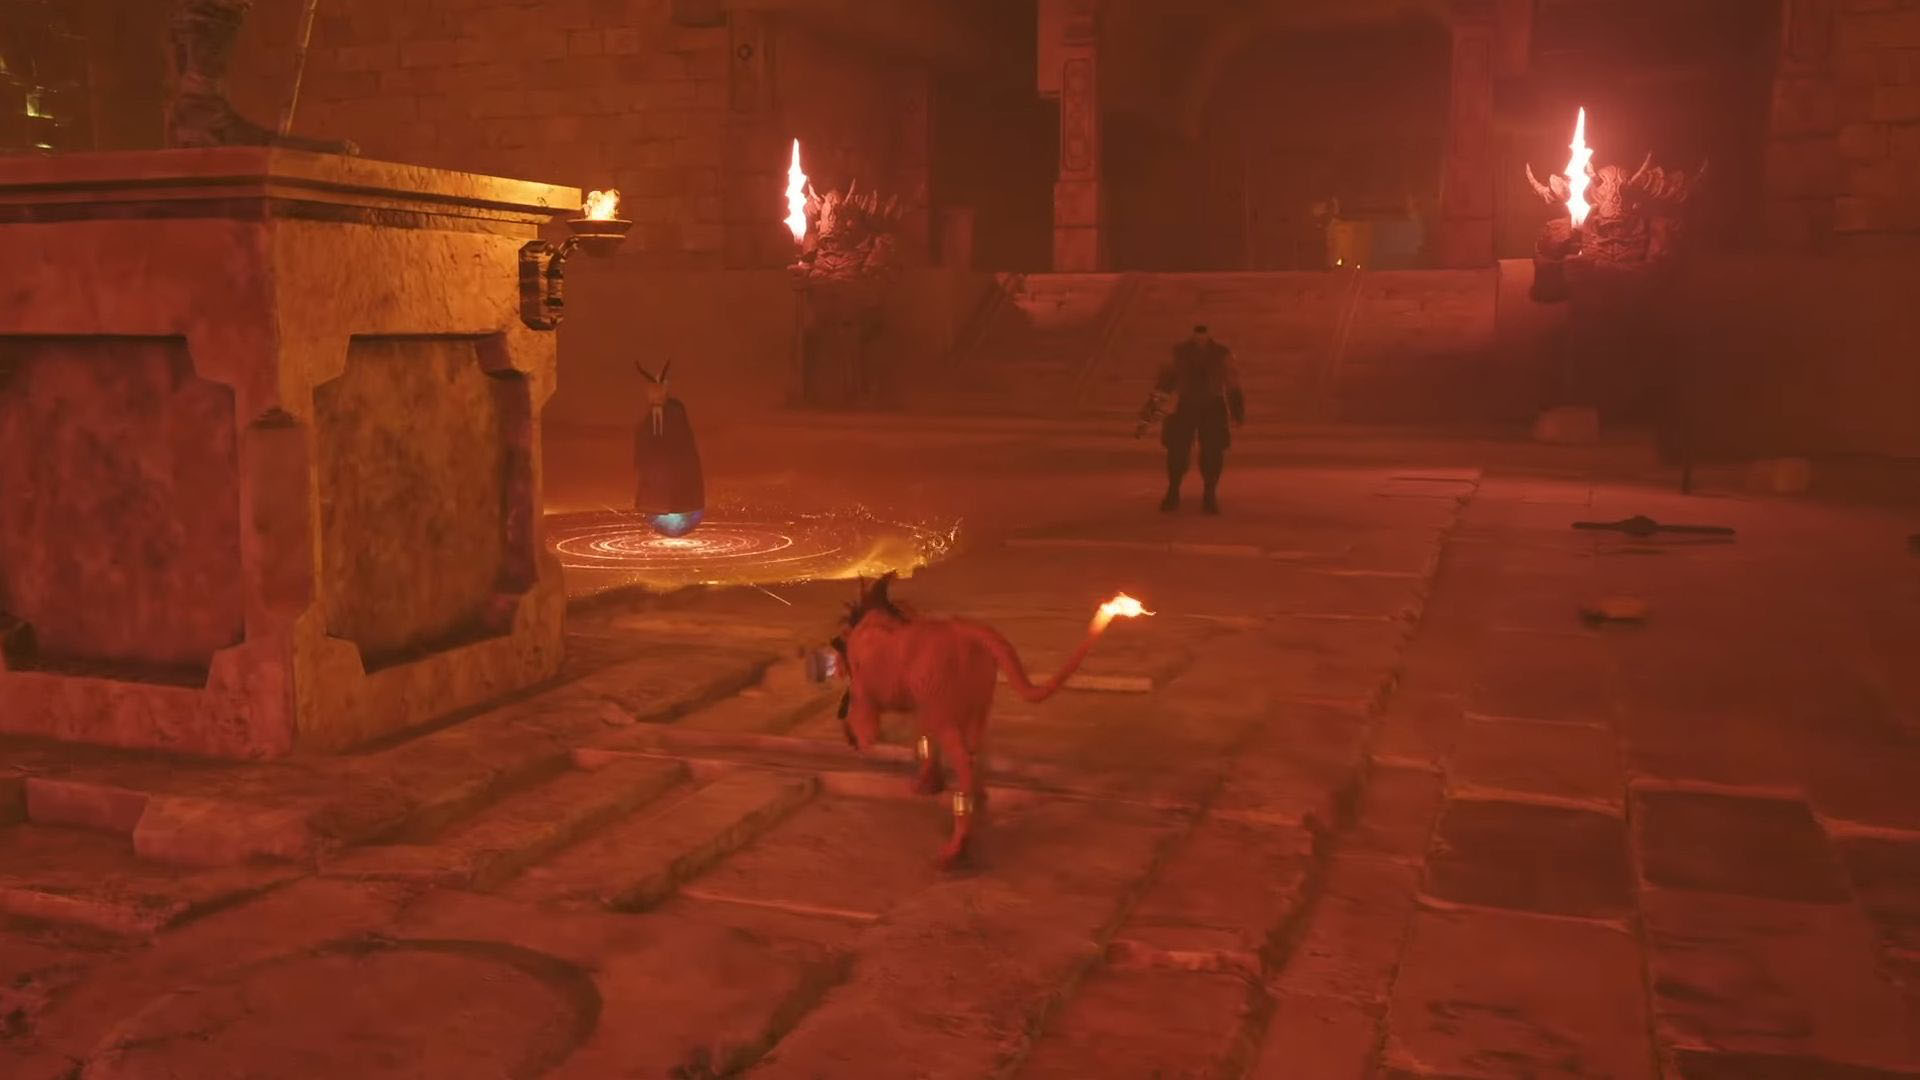
When you get close to the statue, a cutscene will be triggered. Bugenhagen will begin a ritual, and your primary task will be to look for artefacts and bring them back to him. When you find an artifact, bring it back and drop it into the circle; if it’s not the right one, then keep looking.
You will be able to find a healing materia on the right wall. However, the real artifact will be on the wall behind the statue. When you take the right artifact to Bugenhaden, a cutscene will trigger and the statue will come alive. You will have to fight it off, pick up its remains, and take it with you to the chamber of observance. You will have to fight many monsters to get there.
Place the statue on the left podium; it should fit perfectly with a ruby-colored glow. Now go to the northeast of the platform, and you will find the yellow statue; simply put it in the yellow podium. However, the next statue won’t be easy to find. Go to the right path, then climb the glowing rock wall there to get to another passage. You will see another altar there with the green statue; pick it up, come back, and place it in the green podium to complete the puzzle. Then the door to the next path should open.
The Iron Gates
Once you have entered the new area, take the stairs and go down. Keep in mind that you will encounter multiple enemies as you move forward, but don’t stop. You will come across an iron gate eventually. Go to the right, and you will find the chains of the gate there. Press L2 to grab the chain and then move backward to open the gate.
Once the gate is fully opened, it will stay that way so you can continue forward. But you will have to fight more Gi Lancers and Archers on your way to the next gate. When you are in the next area, take a left, and you will come across another set of chains. However, these are connected to a bridge instead of a gate. Press L2 to grab it just like before and pull it backward to activate the bridge. After that, keep moving forward, and you will find the second iron gate.
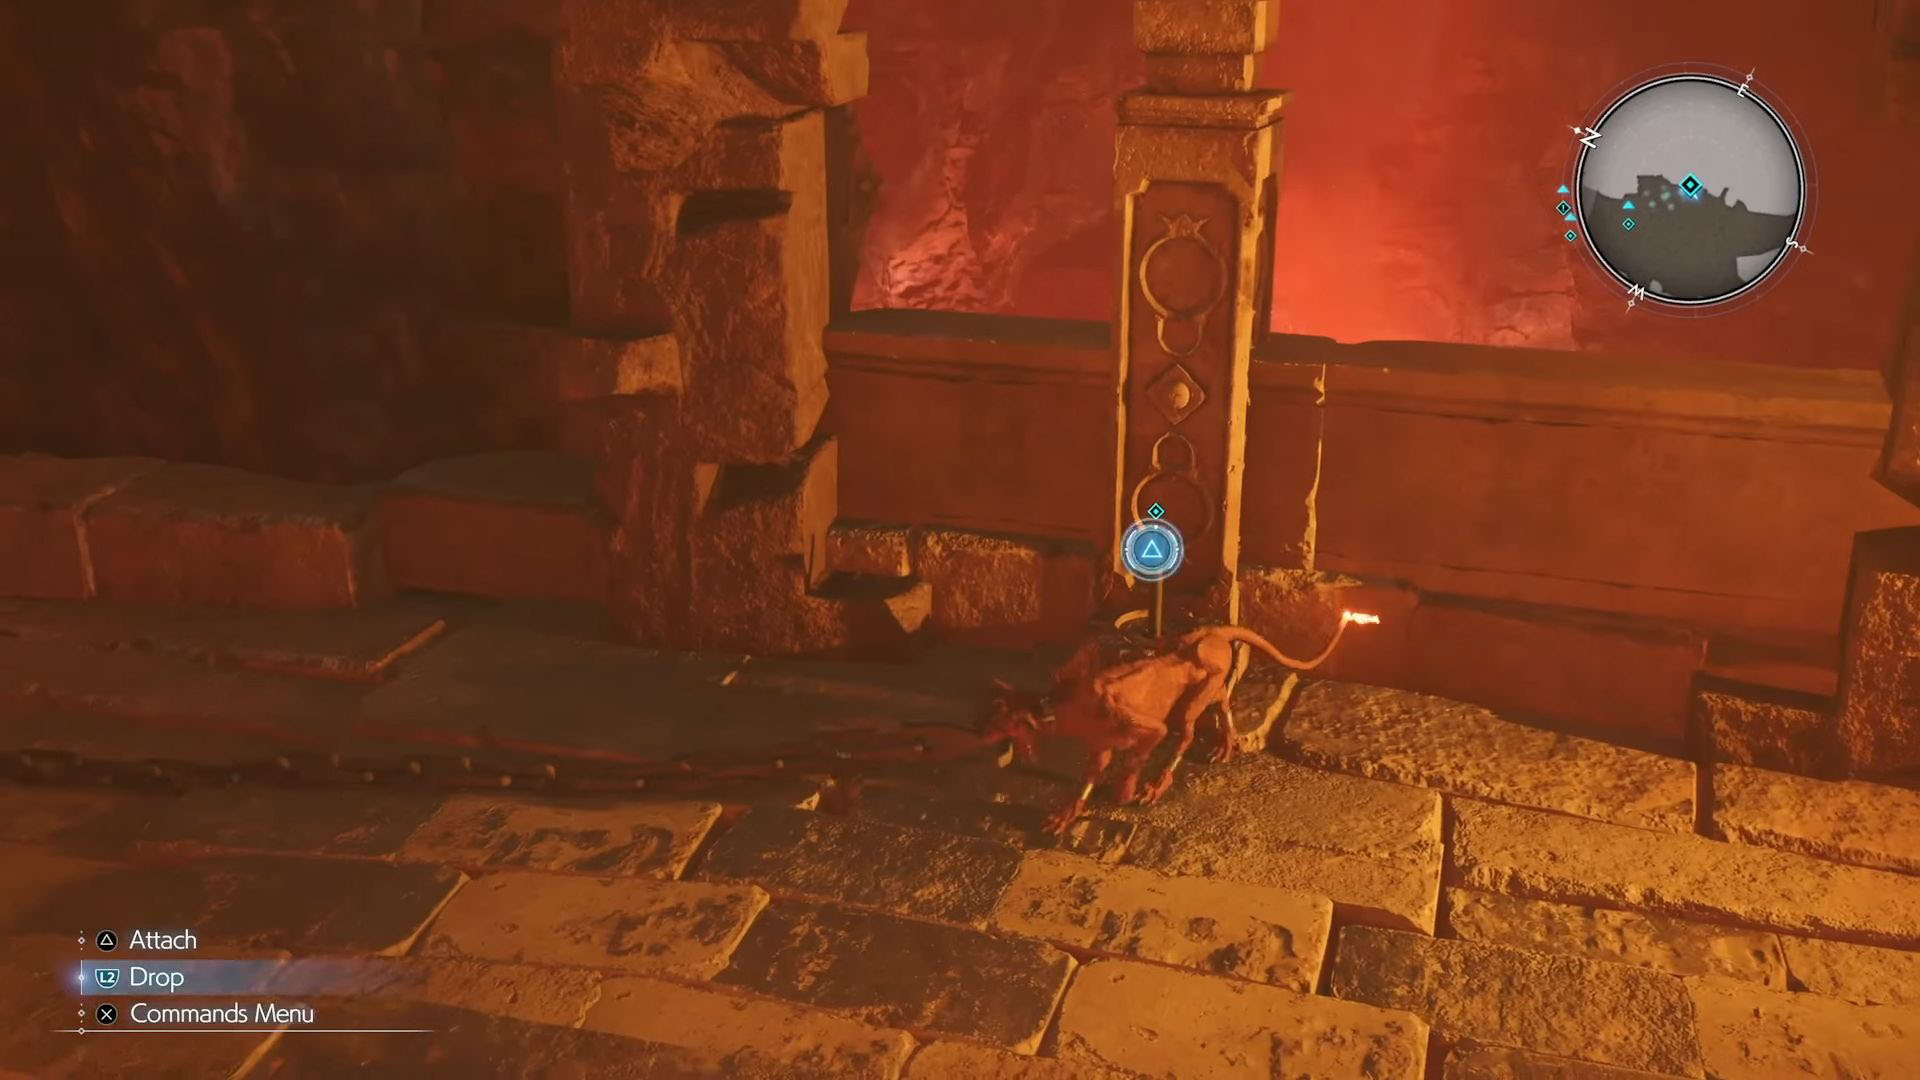
However, this time there is a twist. The parts that hold the gate in place are broken, but there is a simple solution. Grab the chain using L2, and then attach it to a metal pole by pressing the triangle button. Now proceed further; you will meet more enemies there; simply take them out. Then activate another bridge using the same method, and you will come to a glowing wall. Climb it up to reach the third iron gate, which will trigger a cutscene.
Pull the chain and a bridge will appear. At this point, you will have to do a little bit of platforming. Jump on the bridge and go left to climb a glowing wall; you will have another chain there. Pull it to activate another bridge, and then come back down. Once you are down back onto the first bridge, simply jump to the next and then to the other side. You will now see that the metal pole is missing. Look for the hook on the left side, insert it, and then attach the chain to the hook. You will find a resting area and a vending machine next. Prepare yourself here for the main boss battle of Final Fantasy 7 Rebirth Chapter 10.
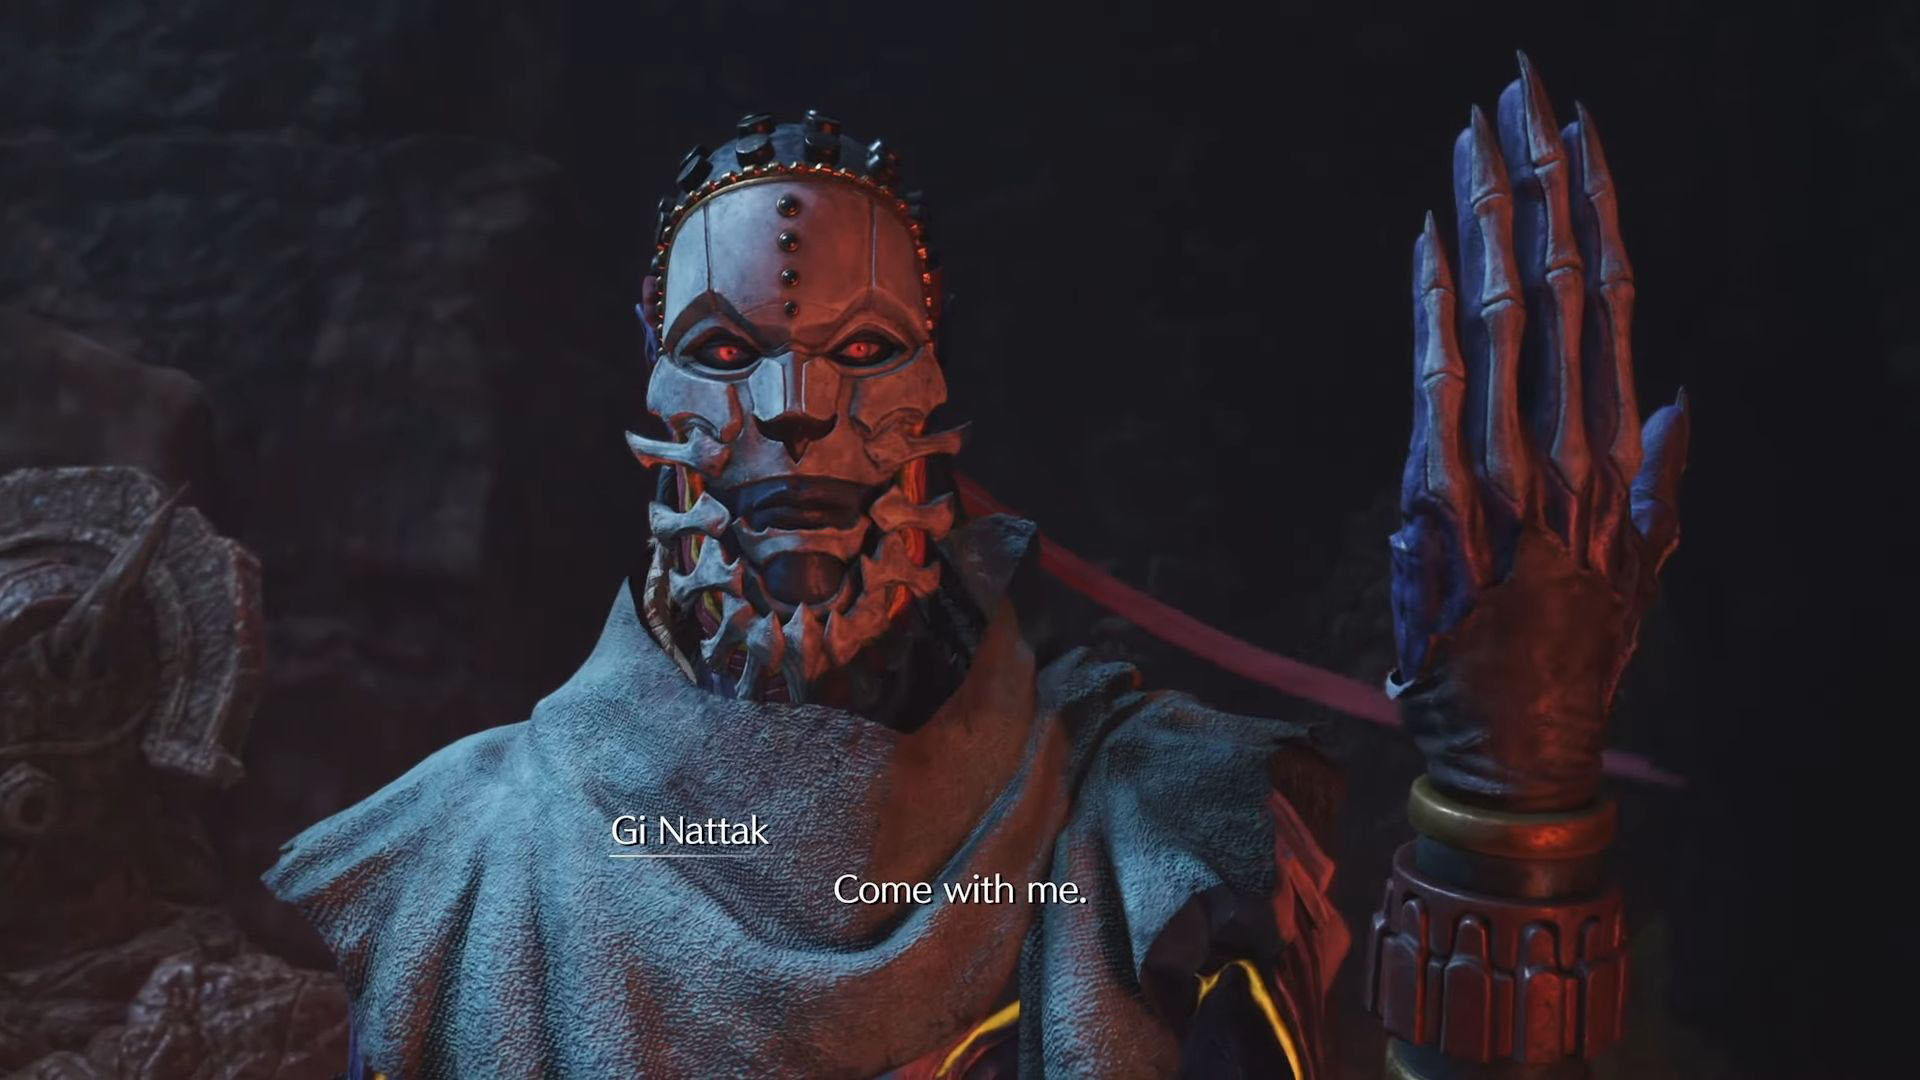
The Gi Nattak
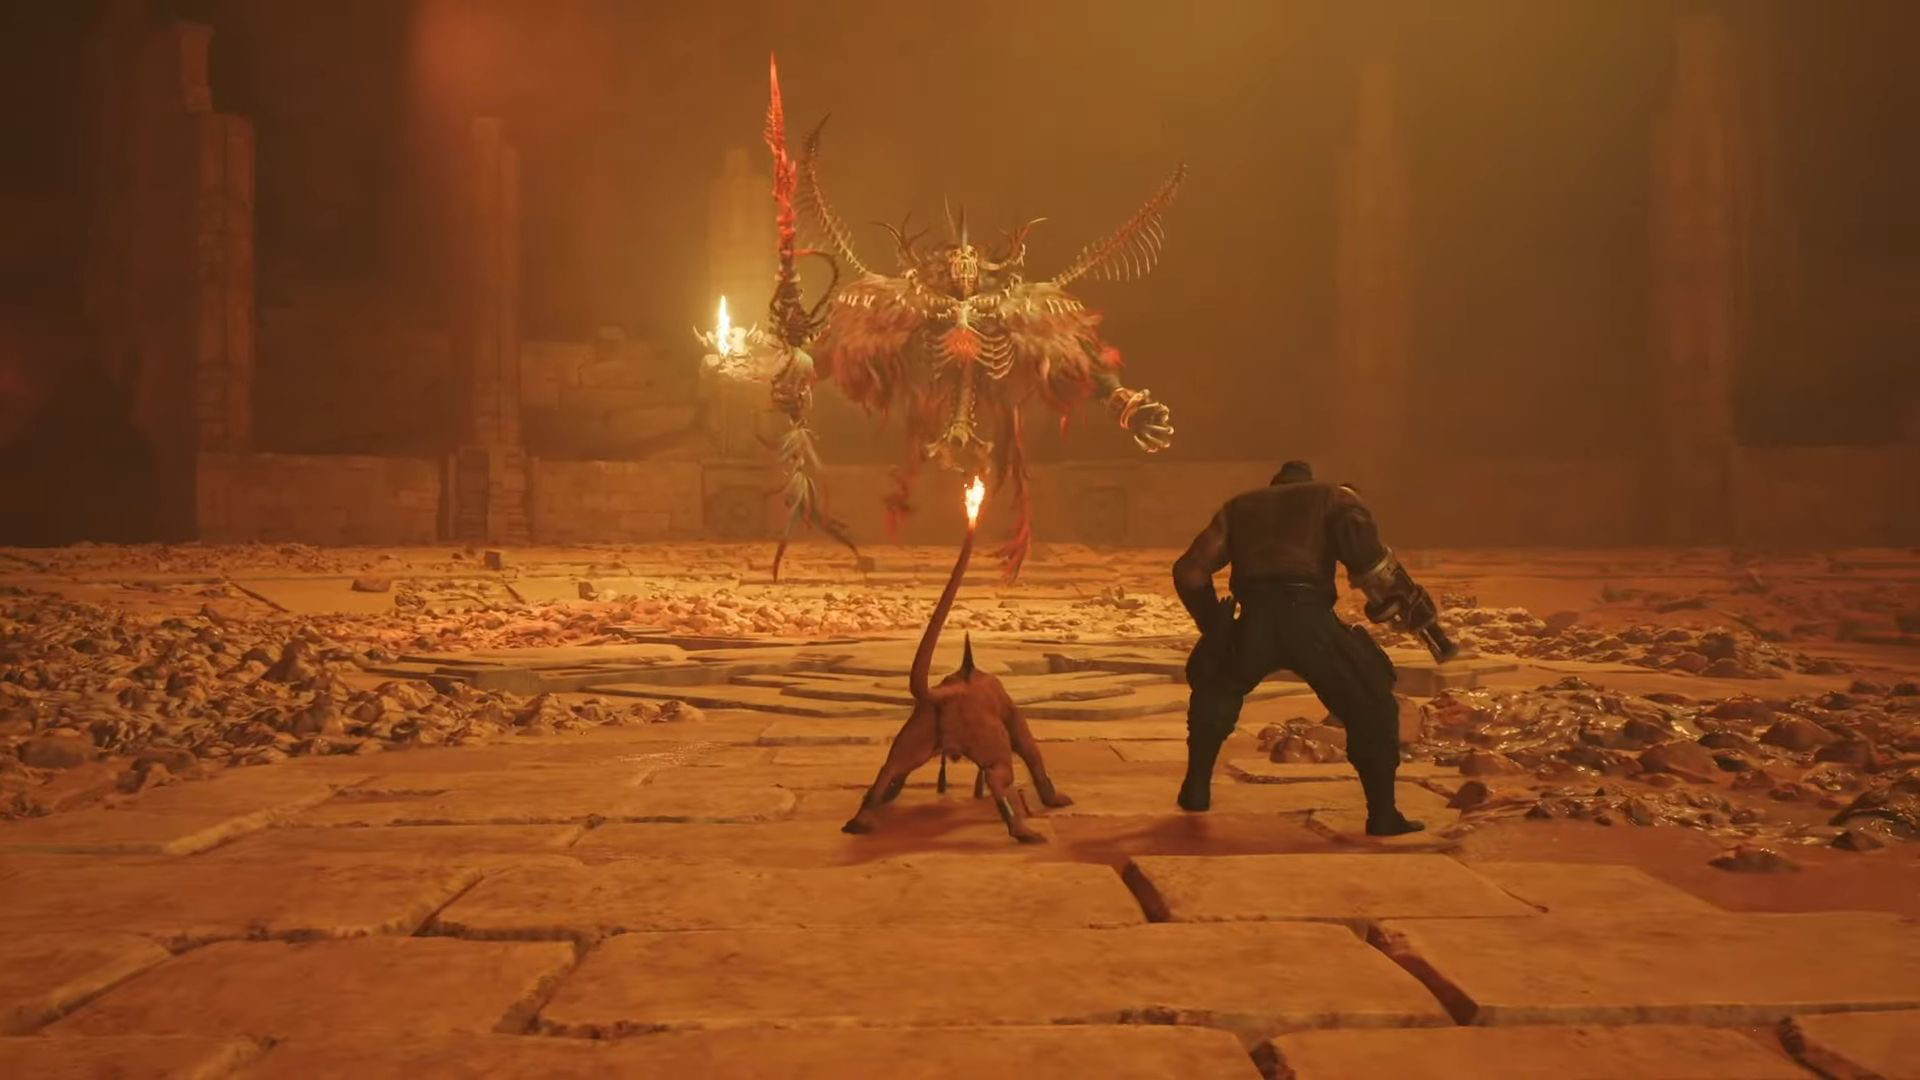
The Gi Nattak boss fight will be tricky since you only have two party members. The boss will make himself a difficult target to hit by teleporting around the arena. It also does not possess any weaknesses you can exploit, so it will be a lengthy fight.
We recommend using Barret most of the time for this boss fight since you can use his gun to hit Gi Nattak from a distance. Gi Nattak will then proceed to shoot a bunch of energy bolts that will track you, so try to dodge them instead of blocking them. Shortly after, the Gi Nattak will spawn a bunch of Soul Flames; these can cast the Fira spell. So to avoid the damage, kill them as soon as you can.
The boss can and will also possess one of the Soul Flames and cast one of the four curses on either Red XIII or Barret. These curses include shrinking the battlefield, Half HP, Lower ATB, and Half MP. When the Gi Nattak reaches 20 percent health, it will cast doom on Barret and Red XIII. Which means you will die as soon as the number on your head reaches zero.
You will have to defeat Gi Nattak before you die, so throw everything you have in your arsenal at the boss to kill it before it kills you. When you have finally defeated the Gi Nattak, go through the door to trigger a cutscene.
It Isn’t Over Yet
You will be reunited with the rest of your party after the cutscene. Go straight ahead through the tunnel in front of you, and you will reach a dock. The Gi Nattak will be waiting for you there. You will see the party boarding the boat with Gi Nattak, and then it will cut to Zack and Biggs talking.
There isn’t much to do in this part of the chapter, so just follow Biggs until he goes off on his way. Once he is gone, follow the alley in front of you to reach Aerith’s house. After a few more moments with Zack, the game will take you back to Cloud and the rest of the gang as they enter the village of the Gi.
After you have rested near one of the vending machines there, follow Yuffie. Some Gi’s will attack you along your way; simply defeat them and keep following Yuffie. Soon, you will come across some more Gi, but this time they will have two sorcerers with them. Killing the sorcerers should be your top priority because they will keep reviving their fallen Gi comrades. When you find Gi Nattak again, a cutscene will occur, and you will be transported back to the entrance of the cave.
Conclusion
This marks the end of Final Fantasy 7 Rebirth Chapter 10. Find the elevator and then use it to go up and talk to Bugenhagen. After the cutscene ends, you can talk to a nearby guard to go back to the entrance of the village.
You will get to know that one of the black-robed figures was found near the bridge of the village; approach it to trigger another cutscene. Head back to the airstrips and call Cid. Then travel to Nibelheim to proceed to the next chapter. You can also check out our other FF7 Rebirth mission guides if you want.
Looking For More?
Thank you for reading the article. We provide the latest news and create guides for Baldur’s Gate 3, Starfield, ARK Survival Ascended, and more. Also, watch Deltia play games on Twitch or visit his YouTube channel!