dWelcome to our guide for Hogwarts Legacy – Percival Rackham’s Trial Quest! Hogwarts Legacy is a highly anticipated single player, action RPG with an endless amount of places to explore and magical spells to learn! Read on below to follow this Hogwarts Legacy quest!
Last updated February 22, 2023 – Clarified/simplified text instructions, added image
Percival Rackham’s Trial Quest
Meet Professor Fig at the tower
-
- This will be a long walk from Hogwarts. Try to fast travel as close as you can, then follow the quest marker
- Speak to Professor Fig
- Investigate the goblin presence
- Use the Disillusionment Charm to stay hidden
- While hidden, you can sneak up on enemies and a trigger for casting Petrificus Totalus.
- Once you’re past the first guard at the entrance, there will be several more goblins to incapacitate
- If there are two guards standing together, you can petrify one, but you’ll have to fight the other
- Get past the goblins
- Once the guards are gone, more goblins will appear, leading to direct combat
- Search the tower
- Before you go inside the tower, search around the area outside for chests
- There is a chest and a couple of interactables in the bottom floor of the tower, as well
- Head up the stairs
- At the top will be a portrait of Percival Rackham to speak to
- Find the Entrance to the first trial
- Head back down to the bottom floor
- As you reach the bottom you’ll see blue splatter at your feet. Walk head, past the entryway towards and empty space on the tower wall and a well of ancient magic will swell up in front of you. Interact with it and a new door will appear
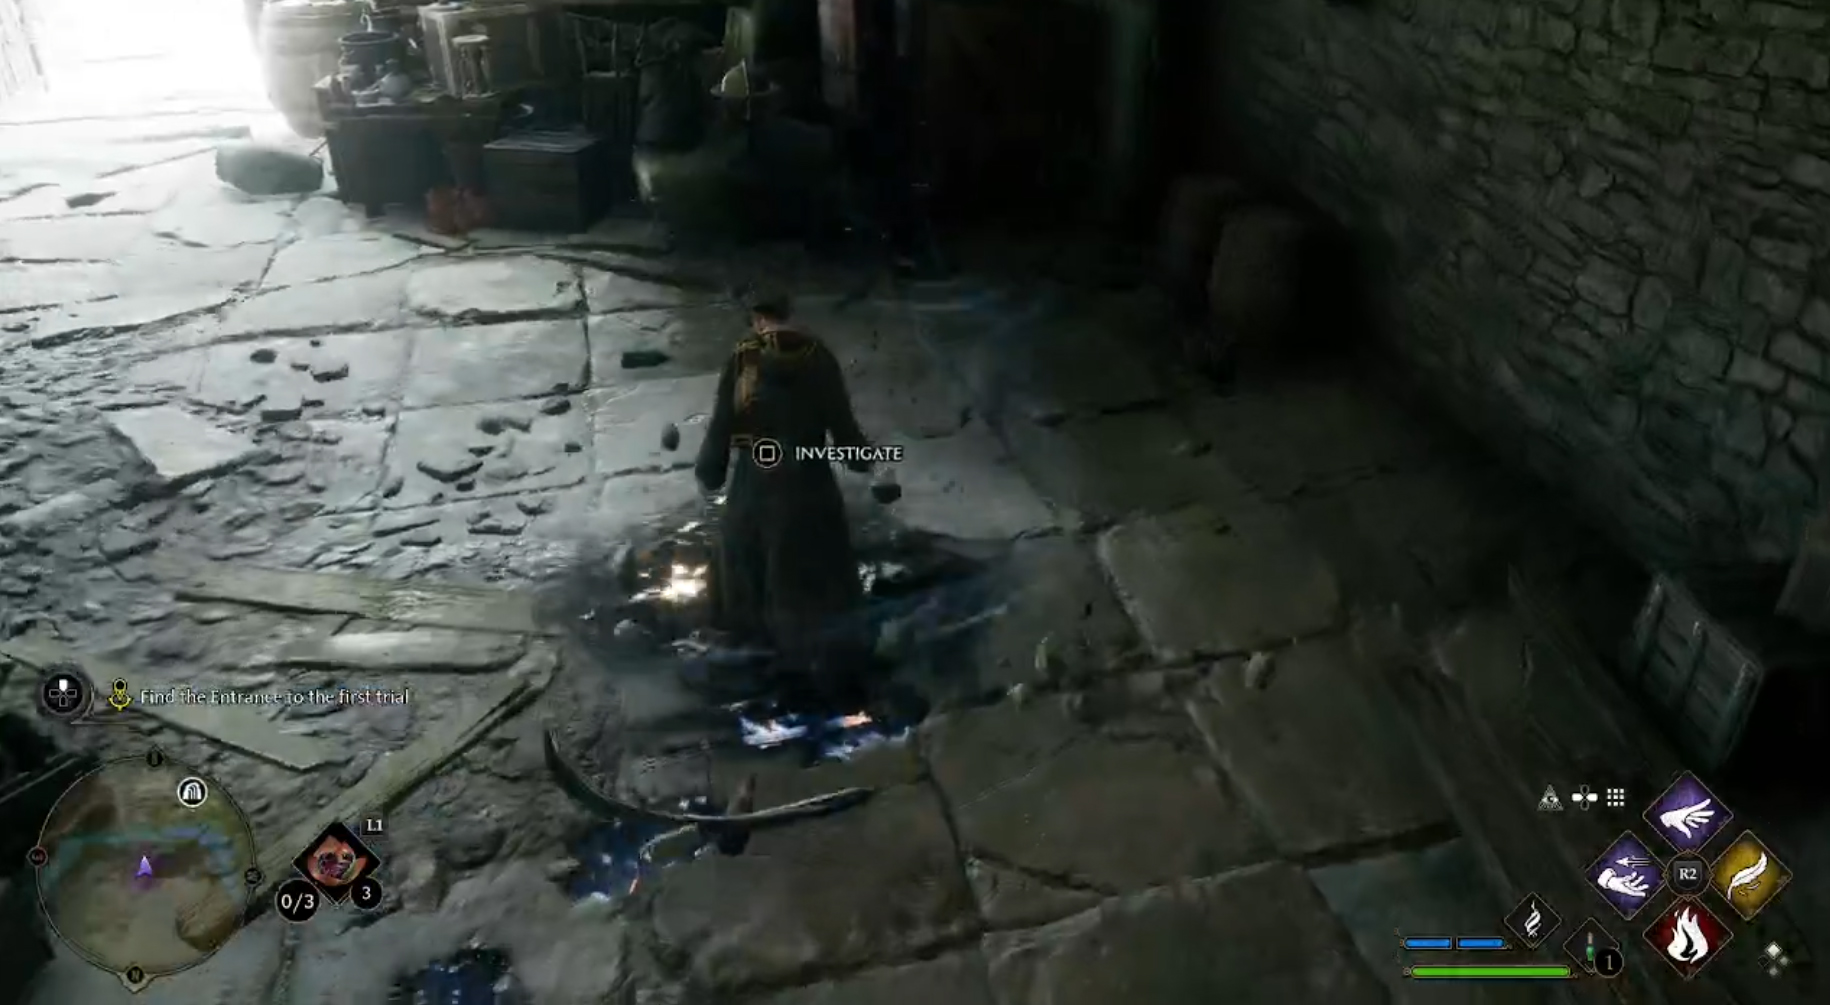
- Enter Percival Rackham’s trial
- Follow the passageway and you’ll come to a set of double doors. Ente
Complete Percival Rackham’s trial
-
- Head forward down the path and out to a platform area. A quest marker will lead you down the stairs on the outside edge to another well of ancient magic you can trigger to create a bridge above
- Walk forward through the portal and notice how the wisps of magic around the outside edge of your screen change from red to blue. In the middle of the bridge, head down the right and left paths for chests
- Then run forward down the path into the next room
- On the opposite side of this room with the arches a well of ancient magic will swirl up. Trigger it and a portal will appear between the arches
- Walk through the portal from the side of the well and into a new passageway
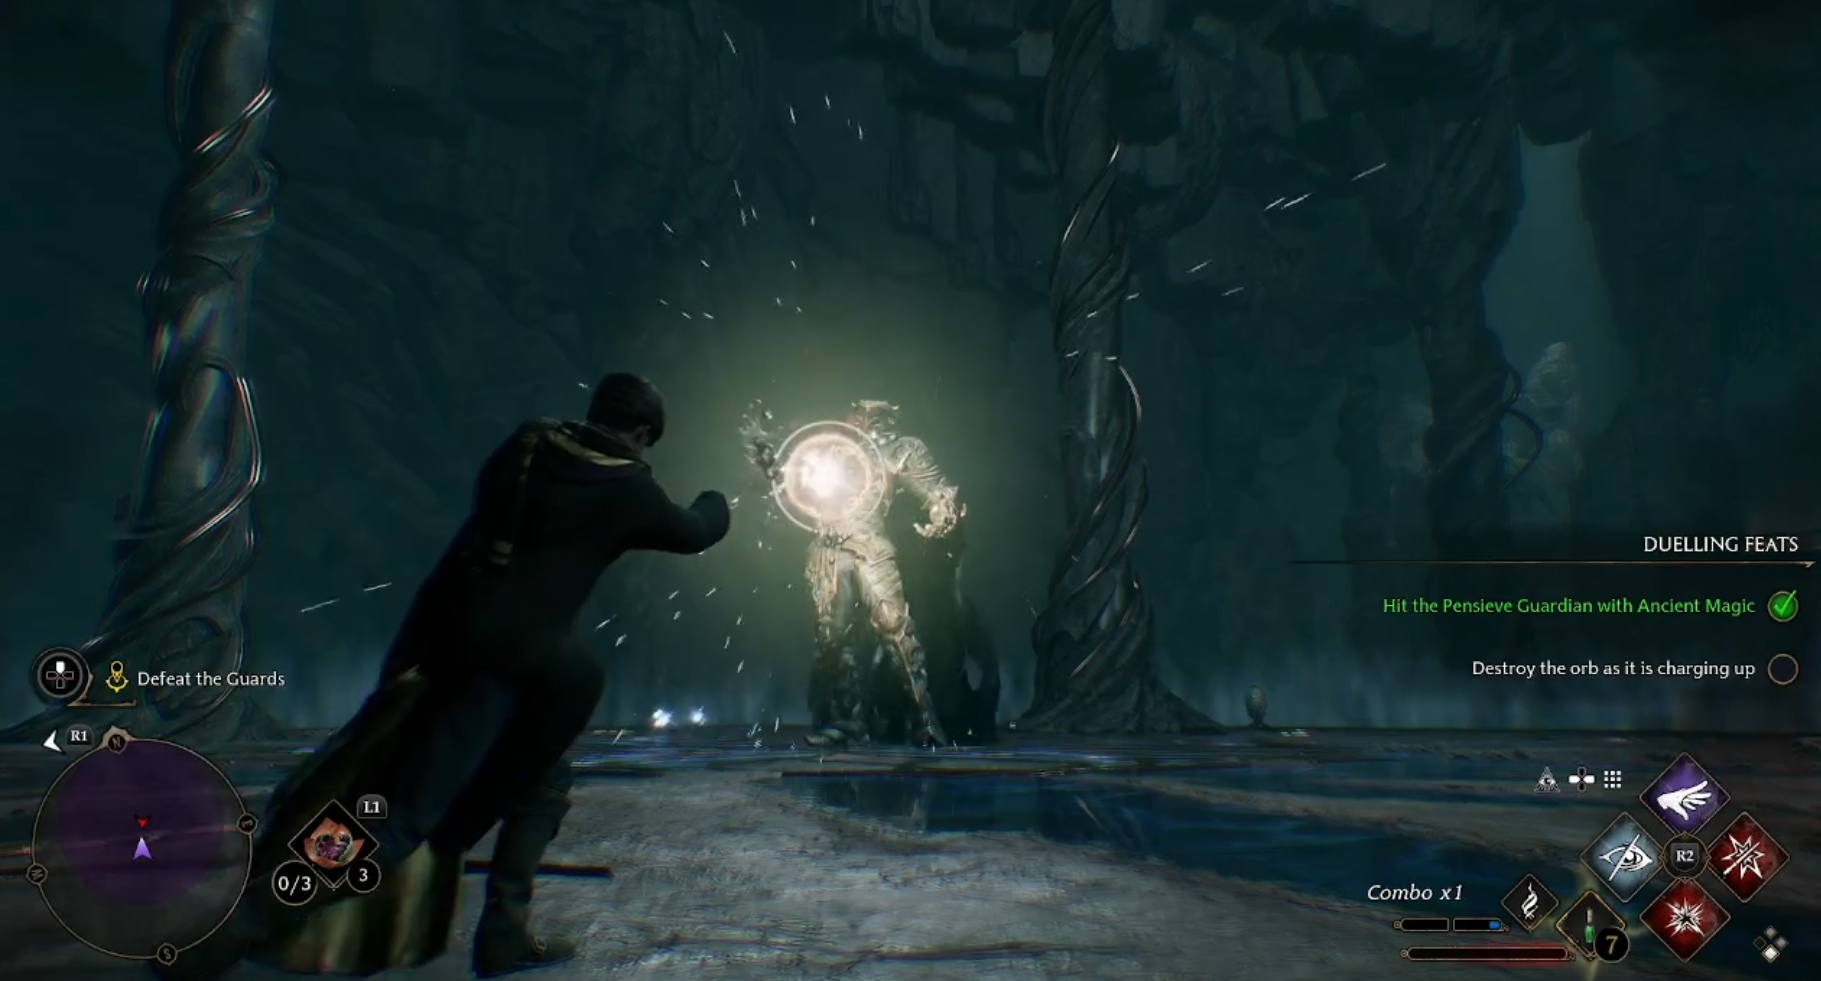
- You come to a long room with statues lining the path. Keep walking forward to wake a large statue and two others at the far end.
- At the end of the fight, walk around behind the platform
-
Platform Puzzle #1
- Pull the first platform forward with Accio. Disengage the spell (click Accio again) so that you can get on the platform.
- Then pull yourself straight ahead with the pull chain right in front of you.
- Look to the right and you’ll see another pull chain in the far fall. Use it to pull yourself to the next ledge. Immediately as you step off another ancient well of magic will swell up. Interact with it and a portal as well as another pull chain will appear
- Before walking through the door, get back on the floating platform and pull yourself forward once and then again to the left for a chest. You can use the high pull chain on the far right wall to get back over to the portal
- Enter the portal and collect a single chest.
- Go back out of the portal, get back on the platform, and use the pull chain behind the portal to go around it. Continue forward
- Statues again
- You’ll have to fight two large statues in this room
-
Platform Puzzle #2
- Past the statues is another hovering platform. Drop down into the lower room and then take the stairs up onto the higher ledge in the back of the room.
- You’ll start to see some light of ancient magic swirl, indicating that a well is near. Stand at the edge of the ledge and pull the platform over to you with Accio
- Step on the platform and activate the well that appears. The wall along the ledge behind you has now disappeared and a portal has opened up between the rock pillars in the room below.
- Drop down into the lower floor of the room.
- Walk through the portal from the ‘back side’ (the bridge blocking the platform should be at your back). Walk back around the portal and you’ll see that the bridge is now gone!
-
- Go back up up the stairs, pull the platform over to you and jump on
- Across to the left on the far side is a pull chain – Accio over to it and get the chest
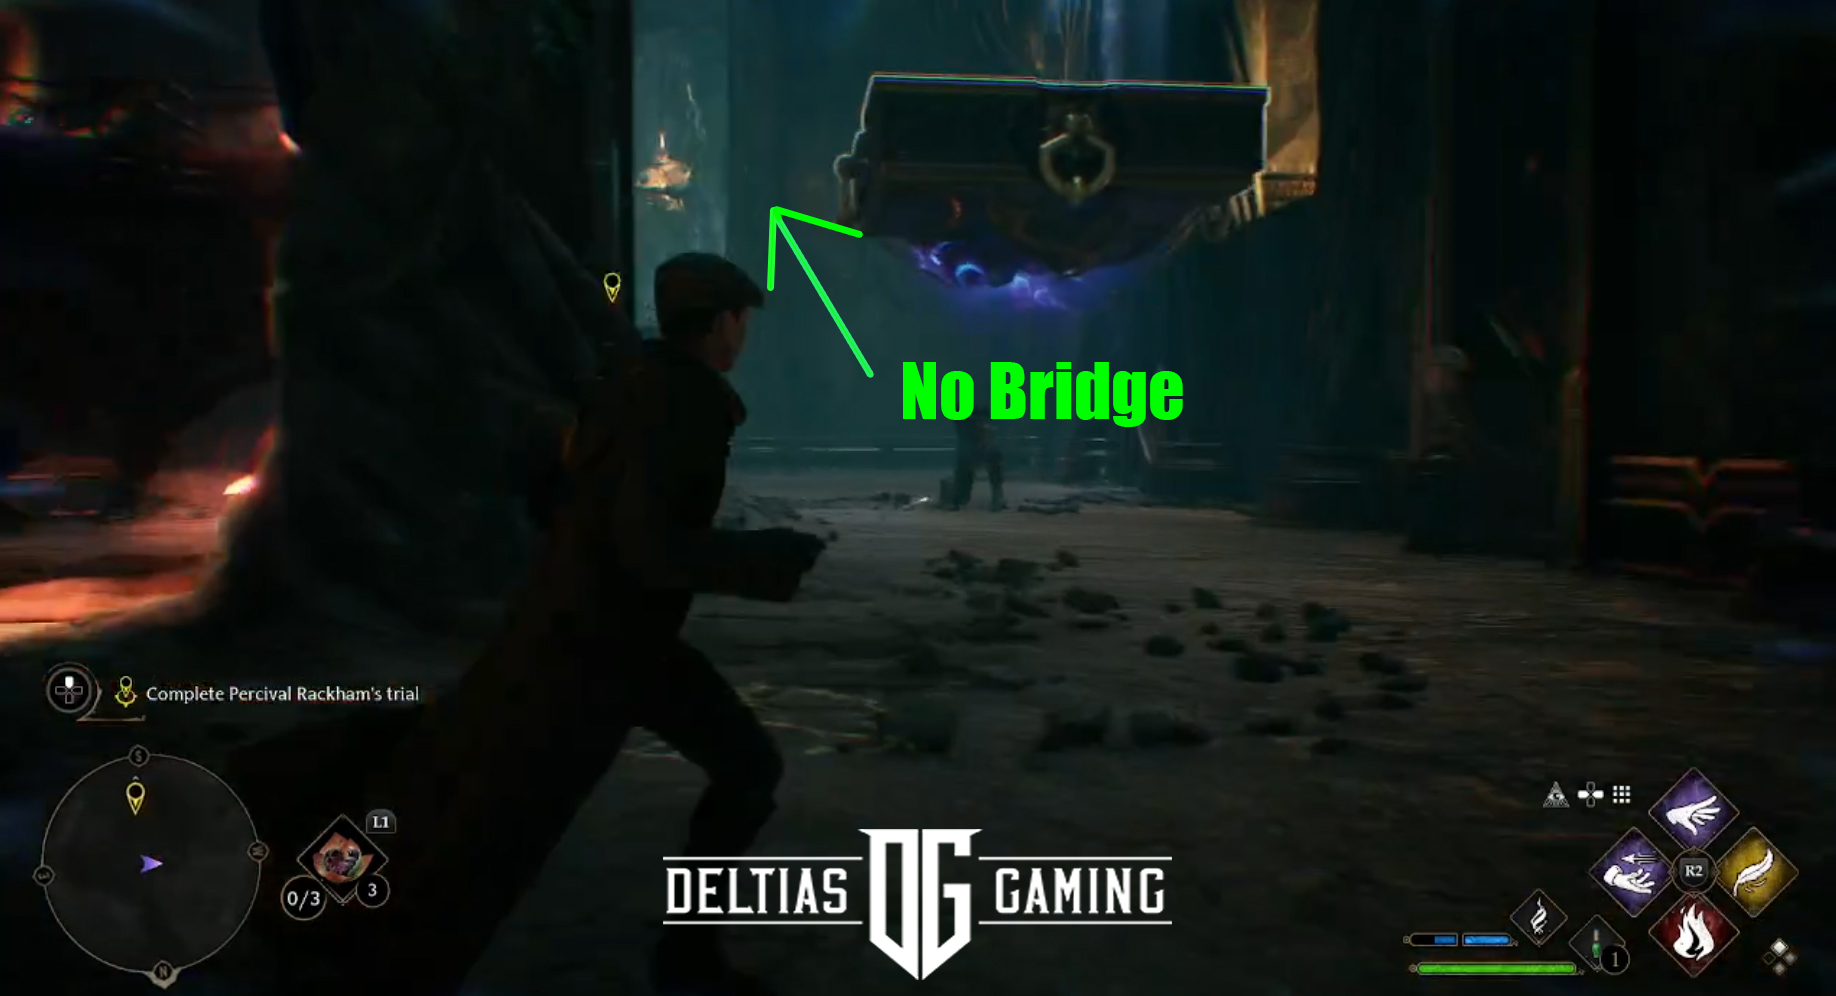
- You’ll see that the pull chain which was on the ledge you need to go is no longer there. So, jump down to the floor and go walk back through the portal – this time from the other side in order to make the bridge and the pull chain reappear!
- Go back up the stairs, and the platform is now on the other side of the bridge. Pull the platform over to you and then pull yourself finally over to the marked ledge.
- Go down the stairs – to the right is a chest before you go left and down more stairs
- Statues
- As you reach the center structure, statues behind it will come alive and attack
- Remember to dodge out of the blue circle when the statues leap
- After you defeat them, follow the path down into a more care live area
-
Platform Puzzle #3
- At the bottom of the steps you’ll need to trigger an ancient magic well and open a portal between stone pillars in the middle of the gigantic open space
- Pull the floating platform towards you with Accio and step on
- Look to the right and use the pull chain you see all the way across the gap. Then look over at the stair structure in the middle of the space. Use Accio on the pull chain that you see at the side of the platform.
- Once you’ve pulled yourself over, look ahead a gain and you can see another pull chain at the other end of the platform with a chest. Pull your platform over there and jump down for the chest.
- Run through the portal and around the side so you can see your platform again. Pull it over with Accio and you can jump back on top.
- Look to the west side of the room and you will see a pull chain on that wall. Pull yourself to it.
- Look back to the north at the pull chain where you first started. Pull yourself to it, but stop halfway (click on Accio again to disengage the spell)
- Now look to the wall to the east. There is another pull chain you want to use, but not very far. Stop the spell when you are hovering in front of the portal.
- Now look ahead through the portal and you will see another platform you couldn’t before. Use Accio to pull your platform towards the gate. When you’re close enough, jump through the gate and onto the other platform.
- Then use the other pull chain near the quest marker to pull yourself to that ledge and step off.
- Walk forward, up the stairs and through the door. The following room will have a chest to the left as you head towards the second set of doors.
-
Final Boss
- After you cross the passageway to the middle platform you’ll encounter more statues to combat
- When you defeat these regular enemies then a boss Pensieve Guardian will spawn in the center
- The boss uses mostly the same attacks throughout the fight, but occasionally he will spawn a yellow orb and you’ll want to cast Levioso. He will also spawn a purple orb and in that case you’ll want to use Accio. Expelliarmus and Confringo are good regular damage spells to round out your spell diamond slots.
- Learn the trial’s secret
- Follow the quest marker into the final room
- Look to the right of the pensieve to open another chest first thing
- Approach the pensieve and interact to start a cut scene
- Return to the Map Chamber
- A quest marker will point the way
- Speak to Professor Fig and Percival Rackham
- Speak with Charles Rookwood
Next Quest – Beasts Class
Previous Quest – The Map Chamber
Thanks for following our guide for Hogwarts Legacy – Percival Rackham’s Trial Quest! We’ll be posting walkthroughs, guides, combat builds and more for Hogwarts Legacy, so keep your eyes out for more! Deltia will also be streaming the game at launch – you can watch him at https://www.twitch.tv/deltiasgaming