Facebook
 Reddit
 Email
Email
Want to get more FPS? Read this post to find out how to enable DLSS in Final Fantasy 7 Rebirth to improve performance.
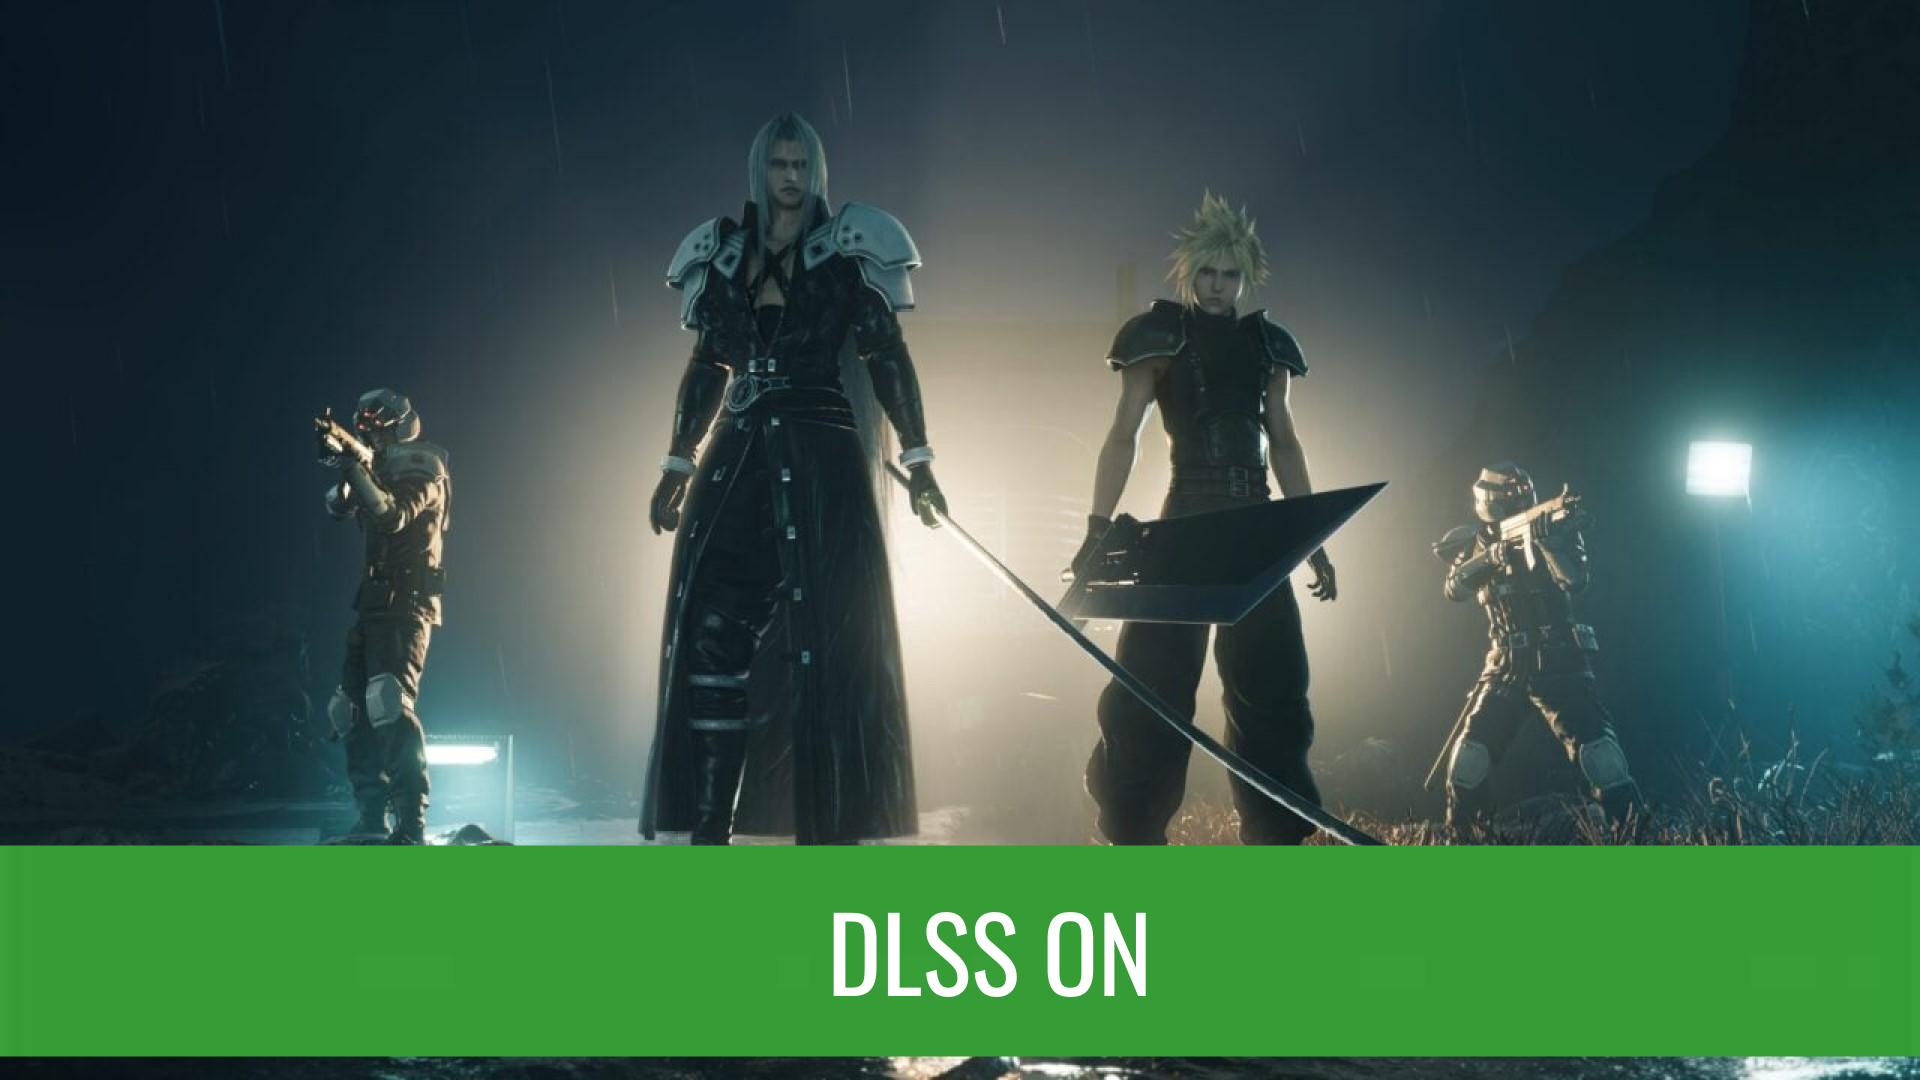
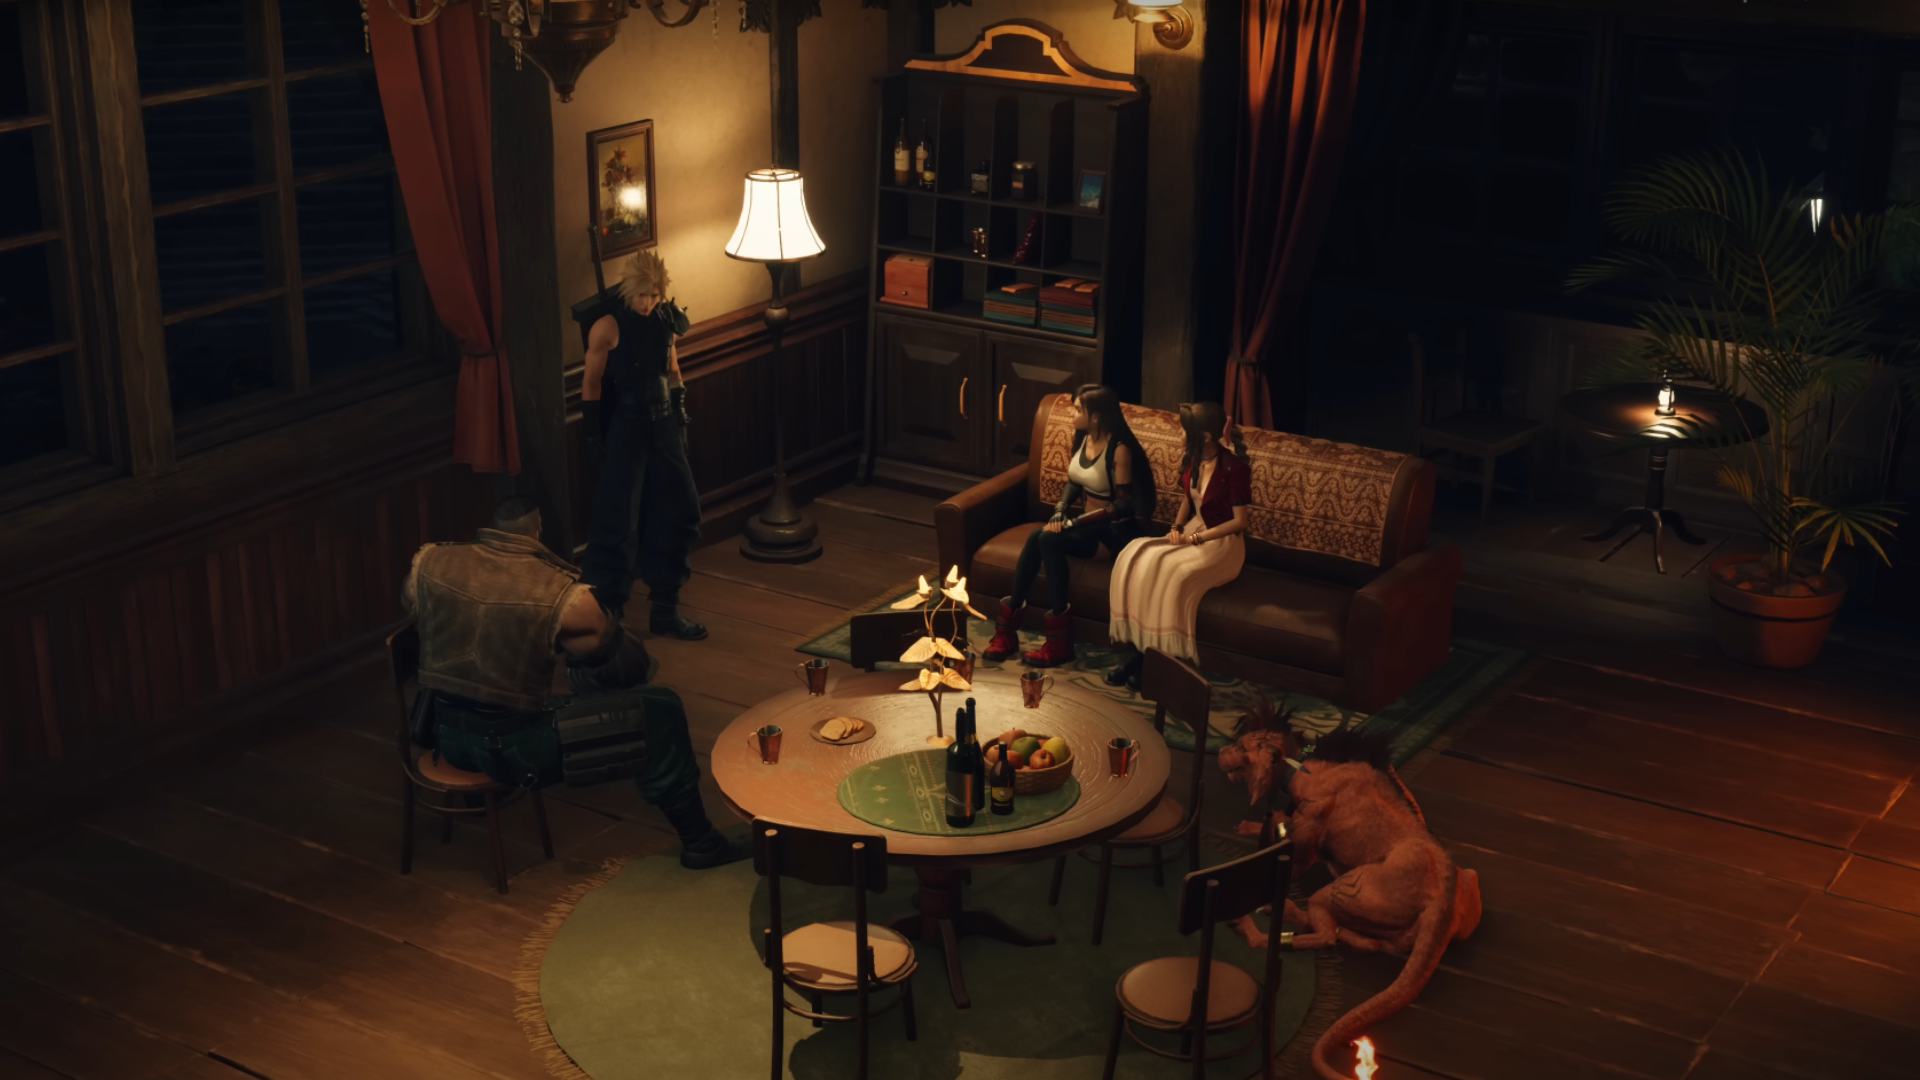
With Final Fantasy 7 Rebirth now accessible on PC, players can take on the role of Cloud Strife in this thrilling action RPG. This platform introduces new possibilities for what is already an impressive graphical feat.
With AI improving day by day, GPUs rely on features like DLSS and Frame Generation to provide a smoother gameplay experience. The smooth gameplay comes at the cost of minimal to no loss to graphic quality. In fact, many users prefer the quality of the DLSS. Especially with the upcoming RTX 50 Series, developers are quickly adopting DLSS to games to improve player experience. Final Fantasy 7 is no exception. It features DLSS, which can be turned on by the game’s settings. In this post, we will go over how to enable DLSS in Final Fantasy 7 Rebirth.
Enabling DLSS in Final Fantasy 7 Rebirth
Here are the steps you need to follow to enable DLSS in FF7 Rebirth:
- Open the game’s settings.
- Go to Graphics tab.
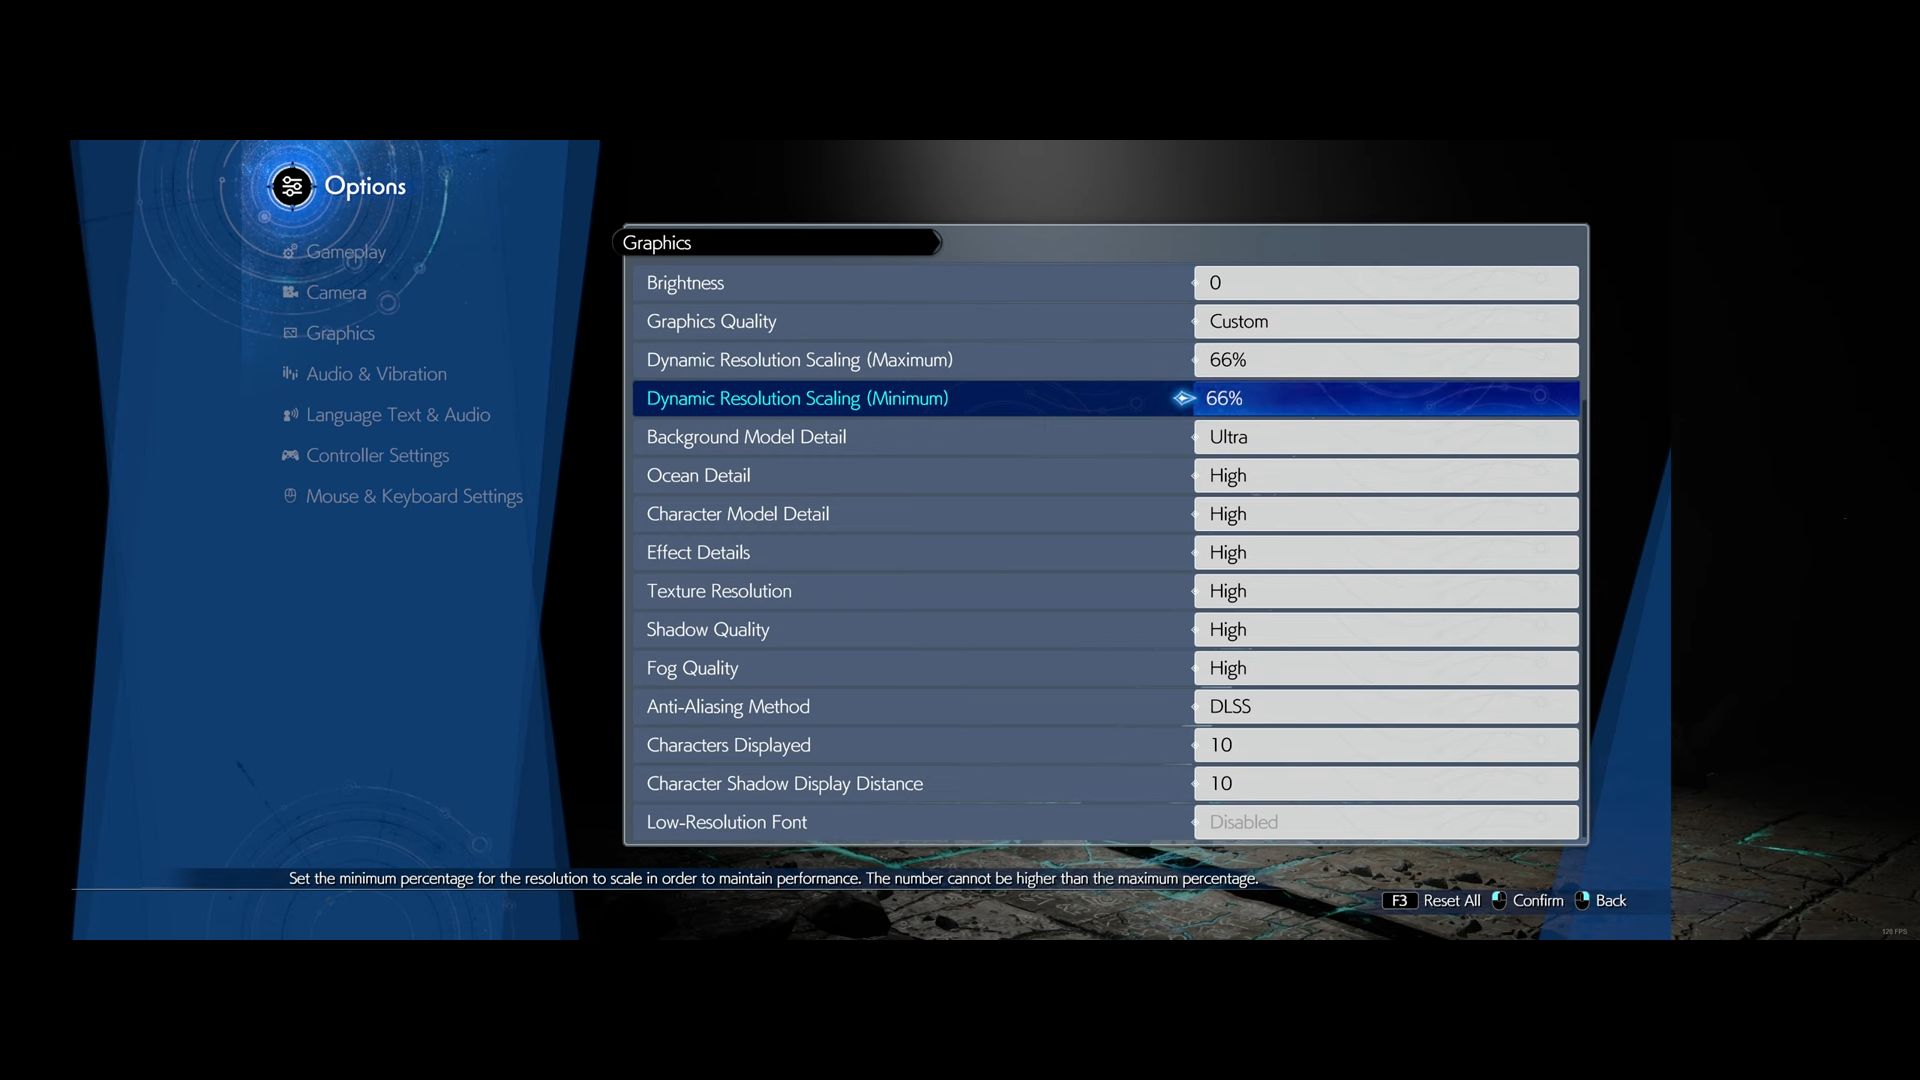
- Locate Anti-Aliasing Method and set it to DLSS.
DLSS Settings in Final Fantasy 7 Rebirth
After that, players can select between Maximum and Minimum Dynamic Resolution Scaling options, which display their settings as percentages. The gameplay performance benefits greatly from these adjustment tools that control resolution quality. Every percentage represents a distinct quality standard. For simplicity, here are what the percentages represent:
- Ultra Performance (33%): Players using Ultra Performance will experience the lowest possible graphical quality alongside peak performance frame rates.
- Performance (50%): Offers balanced visual quality improvements together with better frame rates.
- Quality (66%): Delivers improved visuals at the expense of reduced frame rates.
- Native AA (100%): Results in peak image quality at the expense of extreme performance requirements for your system hardware.
At the Maximum setting, the game reaches its highest resolution point, which enables full hardware utilization during low-demand gameplay. Through the Minimum setting, you define the resolution level at which the game will reduce during performance peaks to preserve smooth gameplay.
The Explanation
Using a full HD monitor with 1920 x 1080 resolution as our example demonstrates how game options affect video output. By setting the Maximum value to 100% and the Minimum value to 33% your game will mostly run at the native resolution of 1920 x 1080 when your system can support it. Under normal gameplay conditions, the game runs smoothly, but its performance falls when players encounter heavy combat or complicated visual effects moments.
The game defeats this issue by lowering its rendering resolution to 33% below native resolution, which equates to 640 x 360 pixels. The game deploys advanced upscaling, which enhances frames with reduced resolution so they match original quality with optimal gameplay speed.
When you set Maximum to less than 100%, here is how it effects the game’s performance. The game engine displays scenes at a lower resolution before upscaling all images to match the Settings menu resolution regardless of present scene requirements. The game performance remains consistent through this method at the expense of reduced visual quality.
Looking For More?
Thank you for reading the article. We provide the latest news and create guides for Baldur’s Gate 3, Starfield, ARK Survival Ascended, and more. Also, watch Deltia play games on Twitch or visit his YouTube channel!