Stalker 2 officially supports mods, allowing you to tweak your gameplay experience navigating the infamous Zone as you see fit.
Stalker 2 is about player expression and freedom in the vast post-apocalyptic wasteland known as the Zone. The game lets you explore these vast lands and forge your own story through narrative decisions. Now, you can do much more than that through the use of mods, as officially confirmed by GSC Game World, the developer of Stalker 2. Using mods will let you mold your experience as you see fit, creating your own unique adventure (or nightmare) in the Zone.
However, installing mods may seem like a daunting task. If you’re interested in installing mods and want to get over that complex hurdle, we’ve got you covered. In this guide, we shall go over how to install mods in Stalker 2.
Installing the Mods
To install mods in Stalker 2, you have to place ‘.pak’ files in the game folder or meddle with ‘.ini’ files. The former is for standard mods, while the latter is for graphical and performance tweaks. You can access the game folder by following the steps we’ve shared below.
Access the Game Folder
If you’re playing Stalker 2 on Steam, you can head to the game folder by opening the Steam application and heading to your game Library. Here, go to Stalker 2 and right-click on the game. Select Manage and click on ‘Browse local files.’ This will take you to the game folder.
If you’re playing the game through Xbox Game Pass, you can access the game folder by heading to your Library on the Xbox App and finding Stalker 2. Right-click on the game, select Manage, and then select ‘Browse.’ This will take you to the game folder.
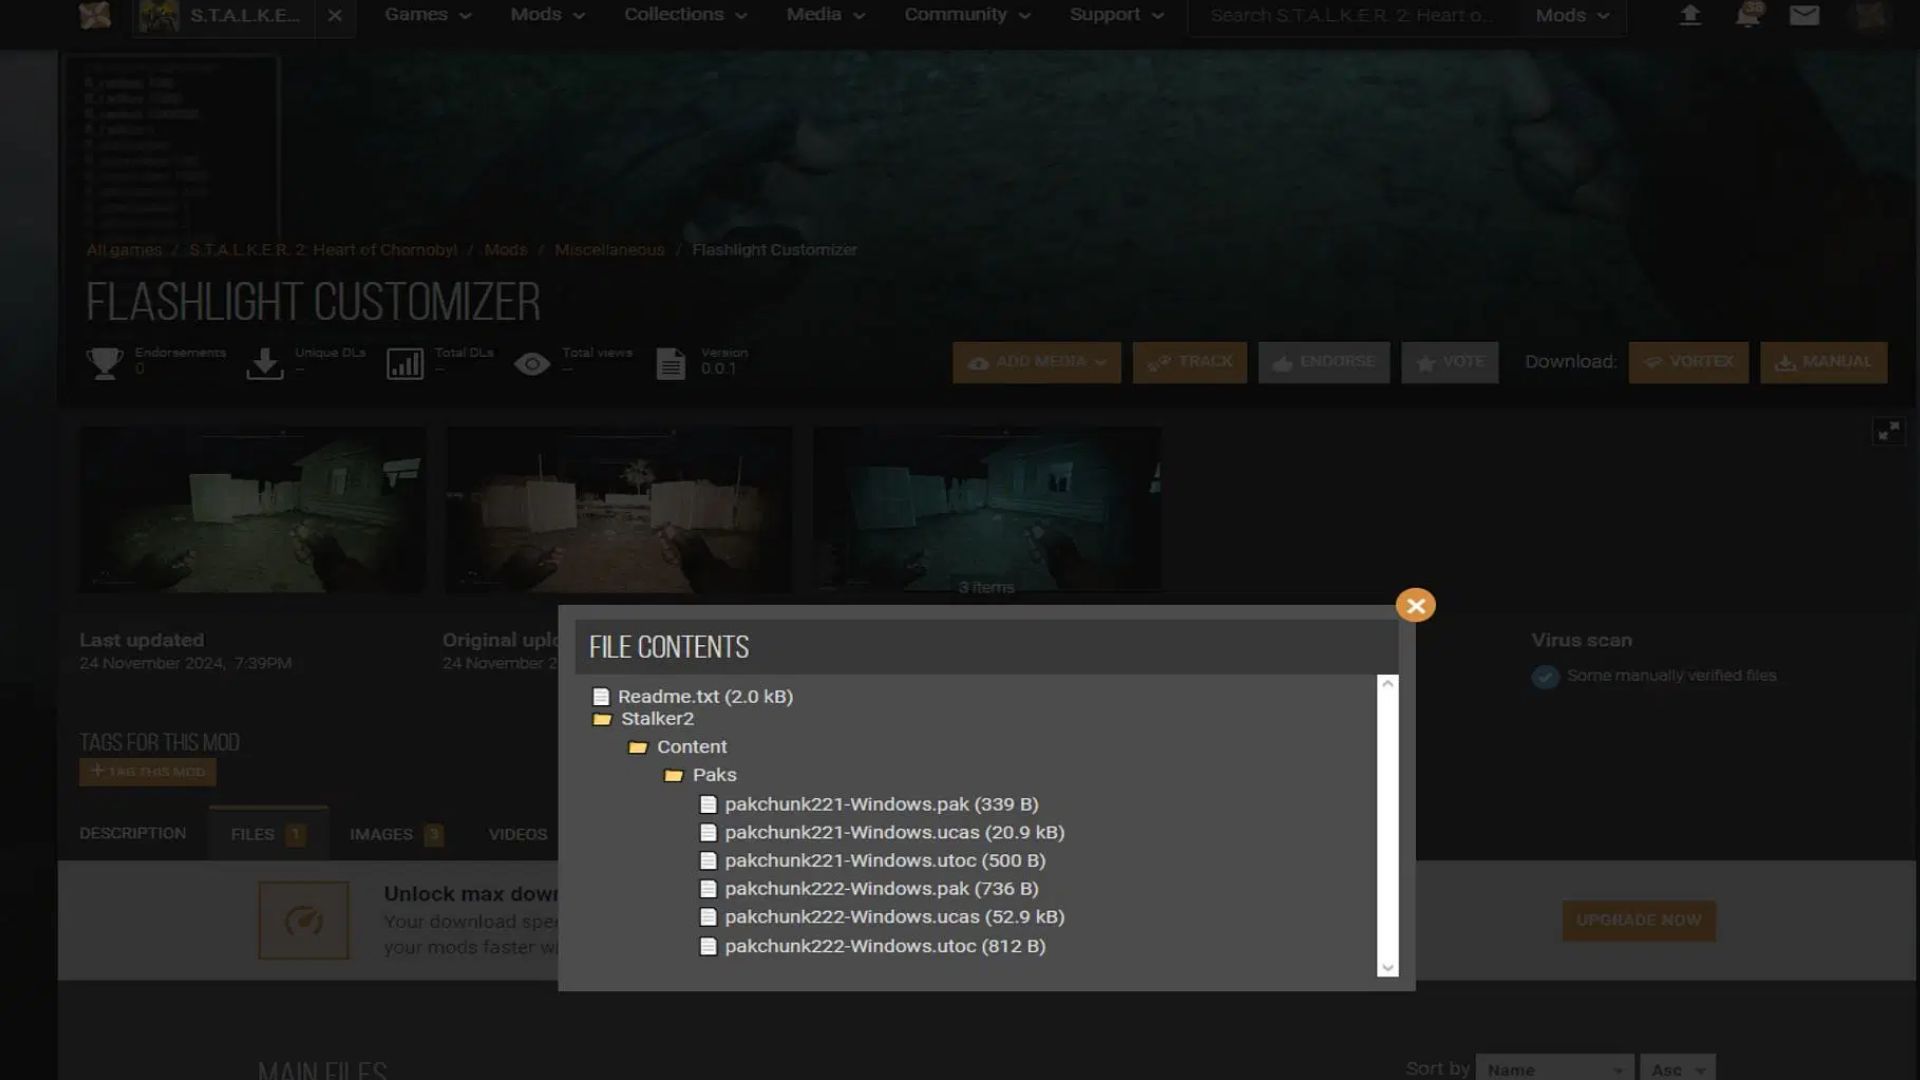
Placing the ‘.pak’ Files
Once you’ve accessed your game folder, you can place your ‘.pak’ file in the game folder. Installing ‘.pak’ files is a simple affair:
- Head to your local game folder and extract the mod file in the following directory inside the folder: ‘Stalker2\Content\Paks\~mods’. If the ‘~mods’ folder is absent, worry not, as you can just make it yourself.
- Extract the mod file in the ‘~mods’ folder, and your modded version of Stalker 2 is good to go.
Editing ‘.ini’ Files
You can open the ‘.ini’ files on Notepad or any text app and meddle with them as you see fit. If you wish to edit the game’s ‘.ini’ file or replace it with another, stick to the steps below:
- Press the Windows Button + R to open the Run prompt.
- Enter %localappdata% in the text box.
- Head to Local\Stalker2\Saved\Config\Windows.
- Backup the file to be replaced or modified.
Looking For More?
Thank you for reading the article. We provide the latest news and create guides for Baldur’s Gate 3, Starfield, ARK Survival Ascended, and more. Also, watch Deltia play games on Twitch or visit his YouTube channel!
 Reddit
 Email
Email
