Facebook
 Reddit
 Email
Email
Customize and optimize your HyperX devices on PC with HyperX NGENUITY software using our step-by-step installation guide.
In the world of PC gaming, especially esports and competitive play, being faster is everything. Being even a millisecond faster can be the difference between winning and losing. But you don’t necessarily need to be a competitive gamer to streamline your setup and optimize your gaming peripherals. Even a tech enthusiast desires to do so.
HyperX fans must have already heard of HyperX NGENUITY. It’s the software you need to customize your HyperX peripherals conveniently. However, if you are new to operating such software, you might feel a bit lost and overwhelmed.
To make things easier for you, we will guide you on how to use HyperX NGENUITY software on PC to reap all its benefits. Let’s dive into it.
What is HyperX NGENUITY?
HyperX NGENUITY is HyperX’s free software tool for people who own and use their products. This tool is designed to allow the user to customize HyperX gaming devices. Basically, it acts as a control center with various functions. These functions include adjusting settings like RGB lighting, macro programming, DPI sensitivity, and audio configurations.
One thing to keep in mind is that using this software is not going to necessarily improve your gaming performance dramatically. You won’t become TenZ overnight. Instead, you can use it to configure your HyperX peripherals so that they provide a personalized experience suited for your needs.
Getting Started with HyperX NGENUITY on PC
Before we go into the customization process, let us make sure that your PC meets the minimum requirements. For details, refer to the table below.
| Component | Minimum Requirement |
|---|---|
| Operating System | Windows 10 (64-bit) or Windows 11 (64-bit) |
| Processor | Intel Core i5 or AMD equivalent |
| Memory | 4GB RAM |
| Storage | 2GB available hard drive space |
| Internet Connection | Required for software updates and firmware downloads |
Once you have confirmed that your PC is compatible with HyperX NGENUITY, you can get started with setting it up. Follow these steps:
- Head over to HyperX’s official website and download the latest version of NGENUITY.
- You can also download it via the Microsoft Store.
- Once downloaded, run the installer and follow the on-screen instructions.
- After the installation is completed, launch HyperX NGENUITY.
- The software will automatically scan and detect any HyperX peripherals connected to your PC
- You can even check out the brief tutorial to get yourself familiar with the software’s interface.
Navigating the Interface
NGENUITY’s interface is pretty straightforward to understand. You can view all the compatible devices that are connected to your PC via the dashboard. There are also separate tabs for each device, which you can use to configure them. Here are the settings that you will find in these tabs:
- RGB Lighting settings: Here, you can customize the RGB effects.
- Button settings: From here, you can remap keybinds, assign macros, and change the DPI of your mouse.
- Audio settings: You can adjust the equalizer and microphone levels here.
- Profiles: You can create and save individual profiles for different use cases. It is also really simple to switch between them.
Key Functions
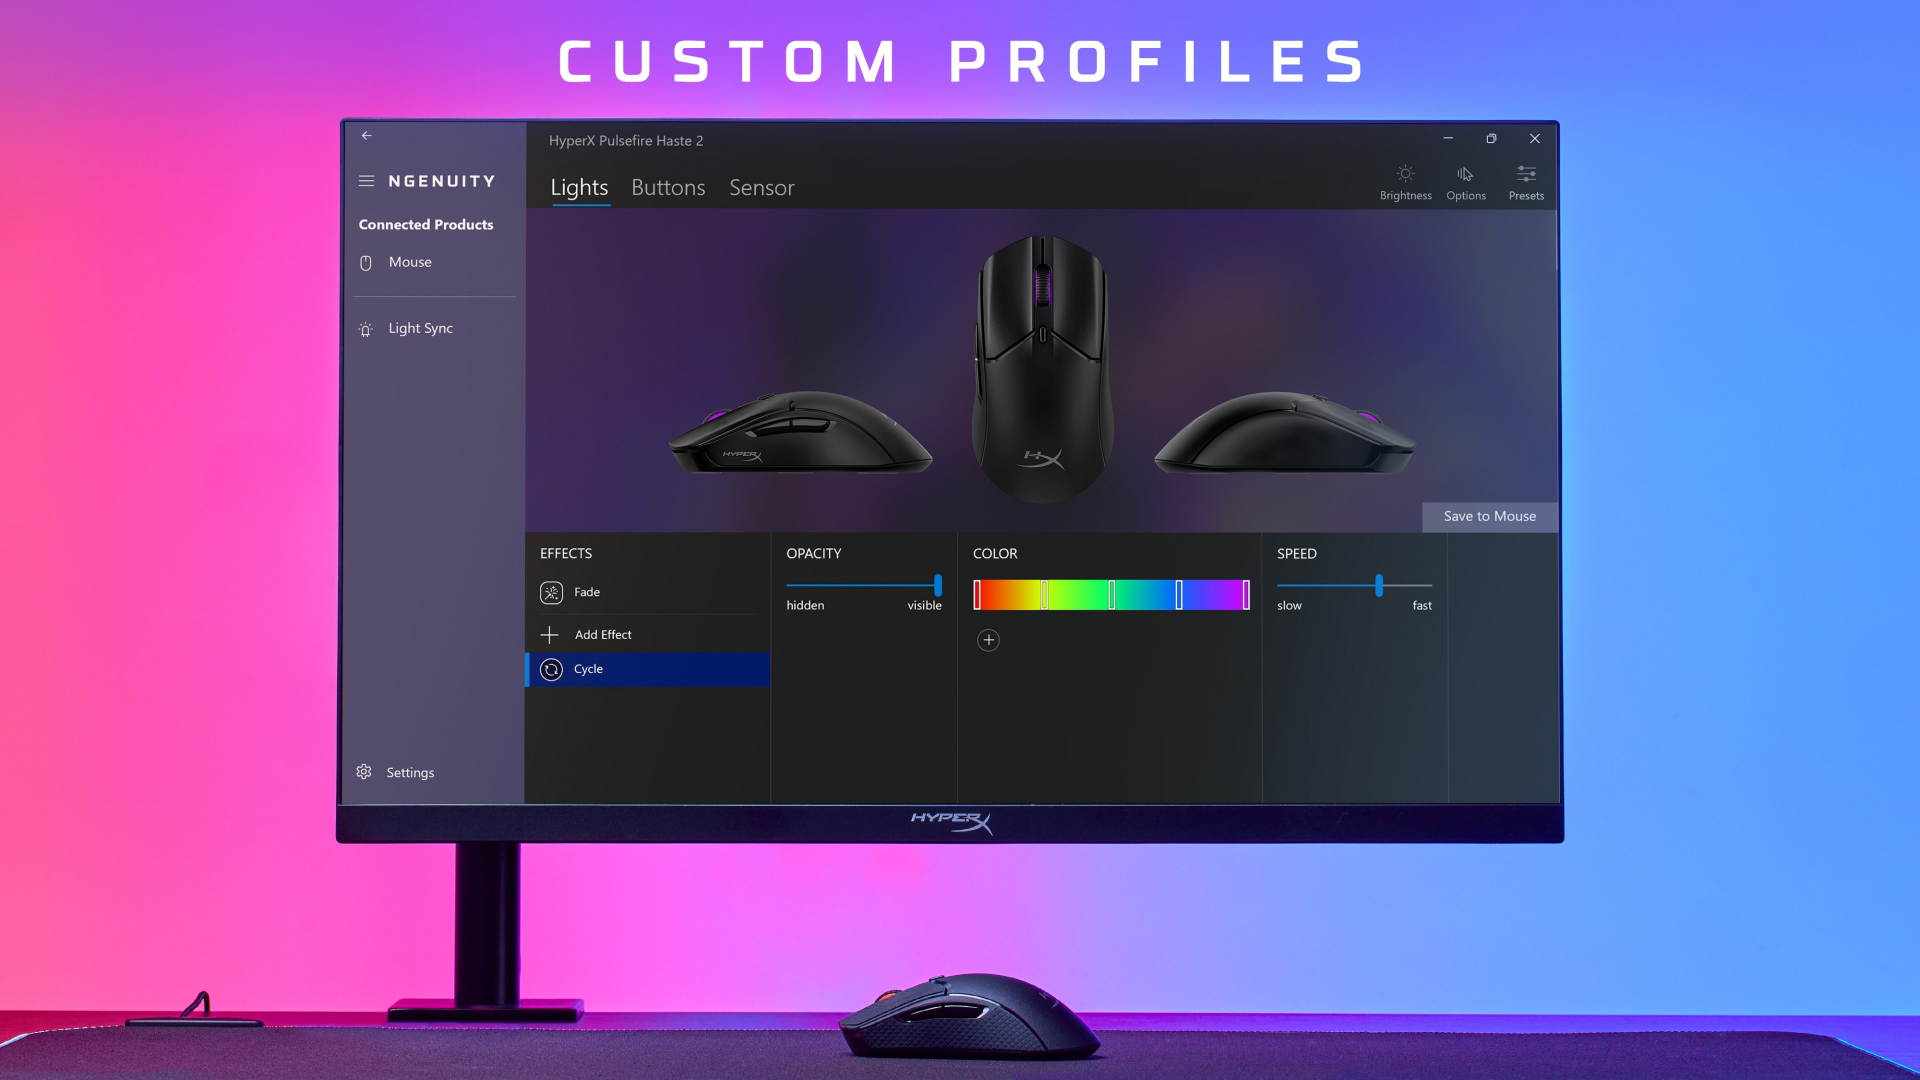
Profile Management
NGENUITY is well-known for offering a fast and reliable profile management feature. You can use it to create separate profiles. For example, if you are playing Valorant, you might prefer 1600 DPI, certain macros, and some specific keybinds. But then, you have to close the game suddenly and work on a tech post.
With HyperX NGENUITY, you can switch to a different profile easily, avoiding the hassle of manually changing each configuration.
Customization
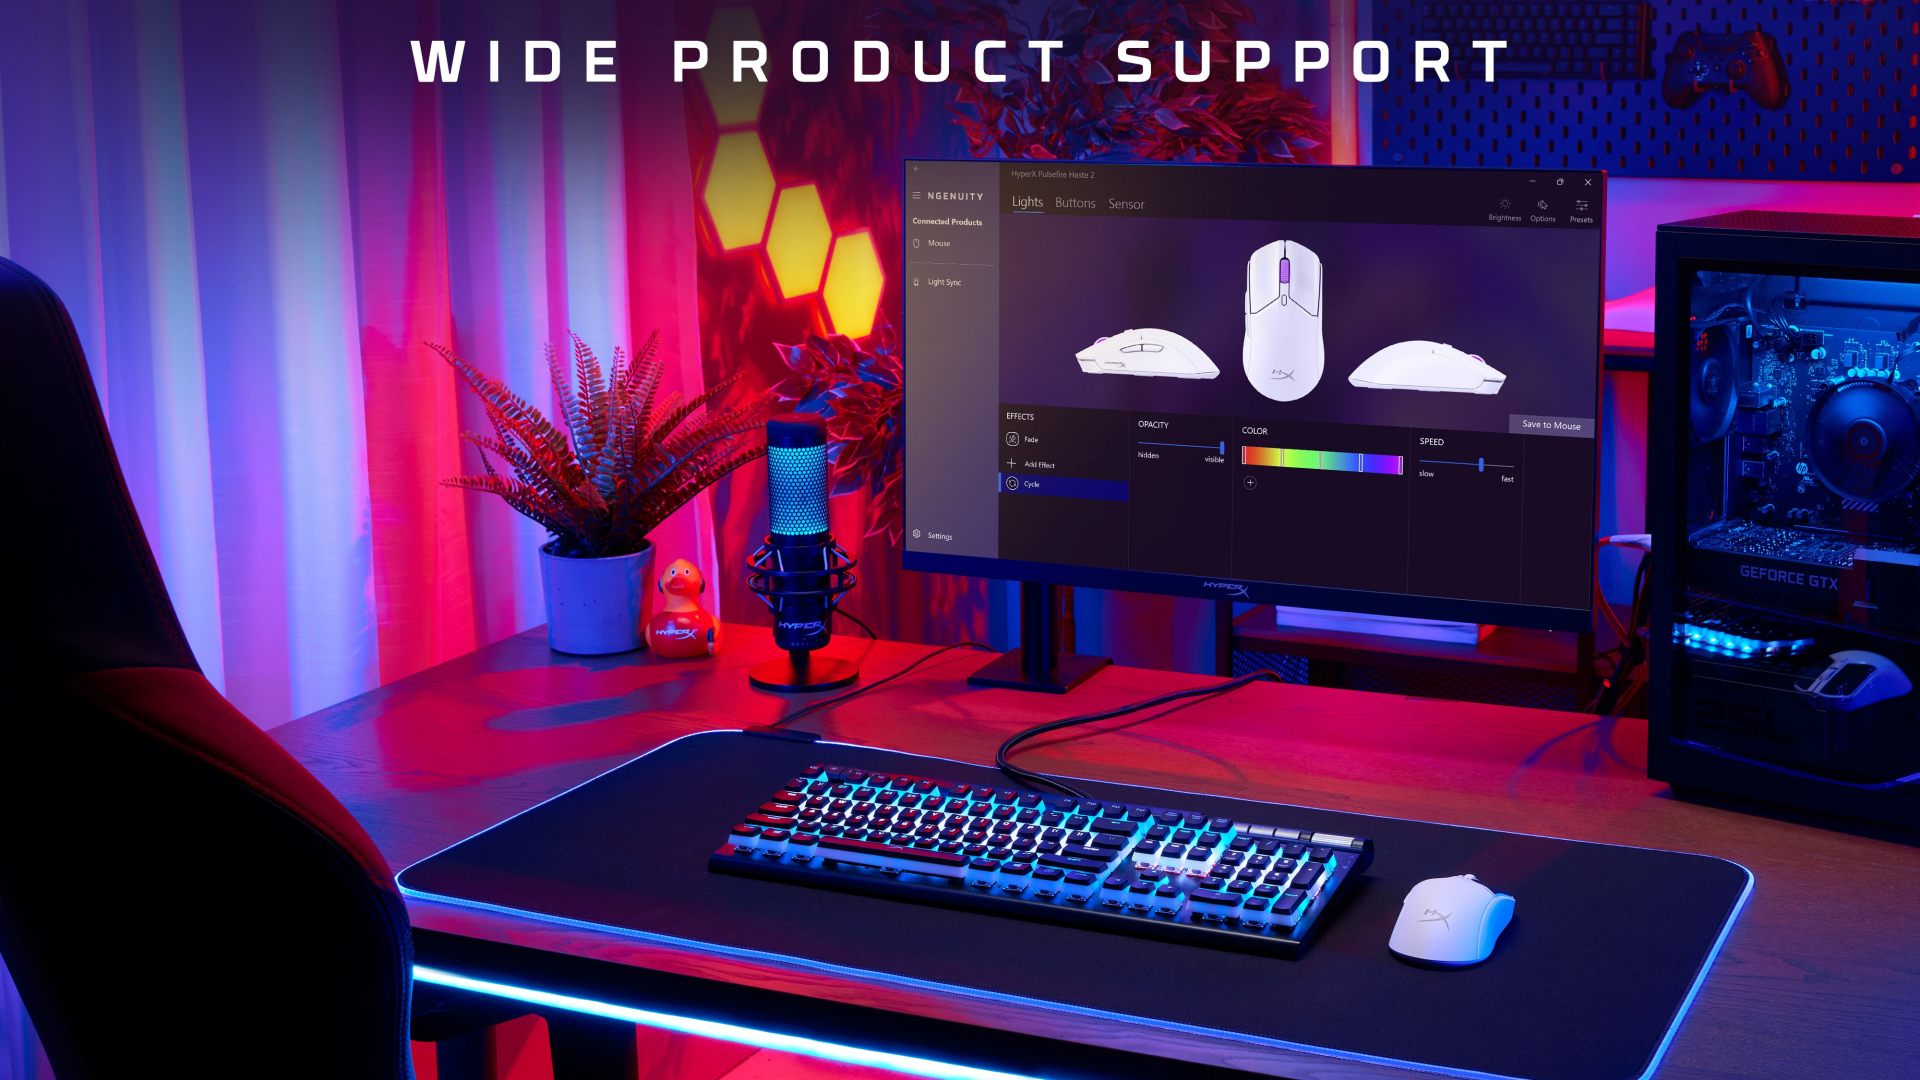
RGB Lighting
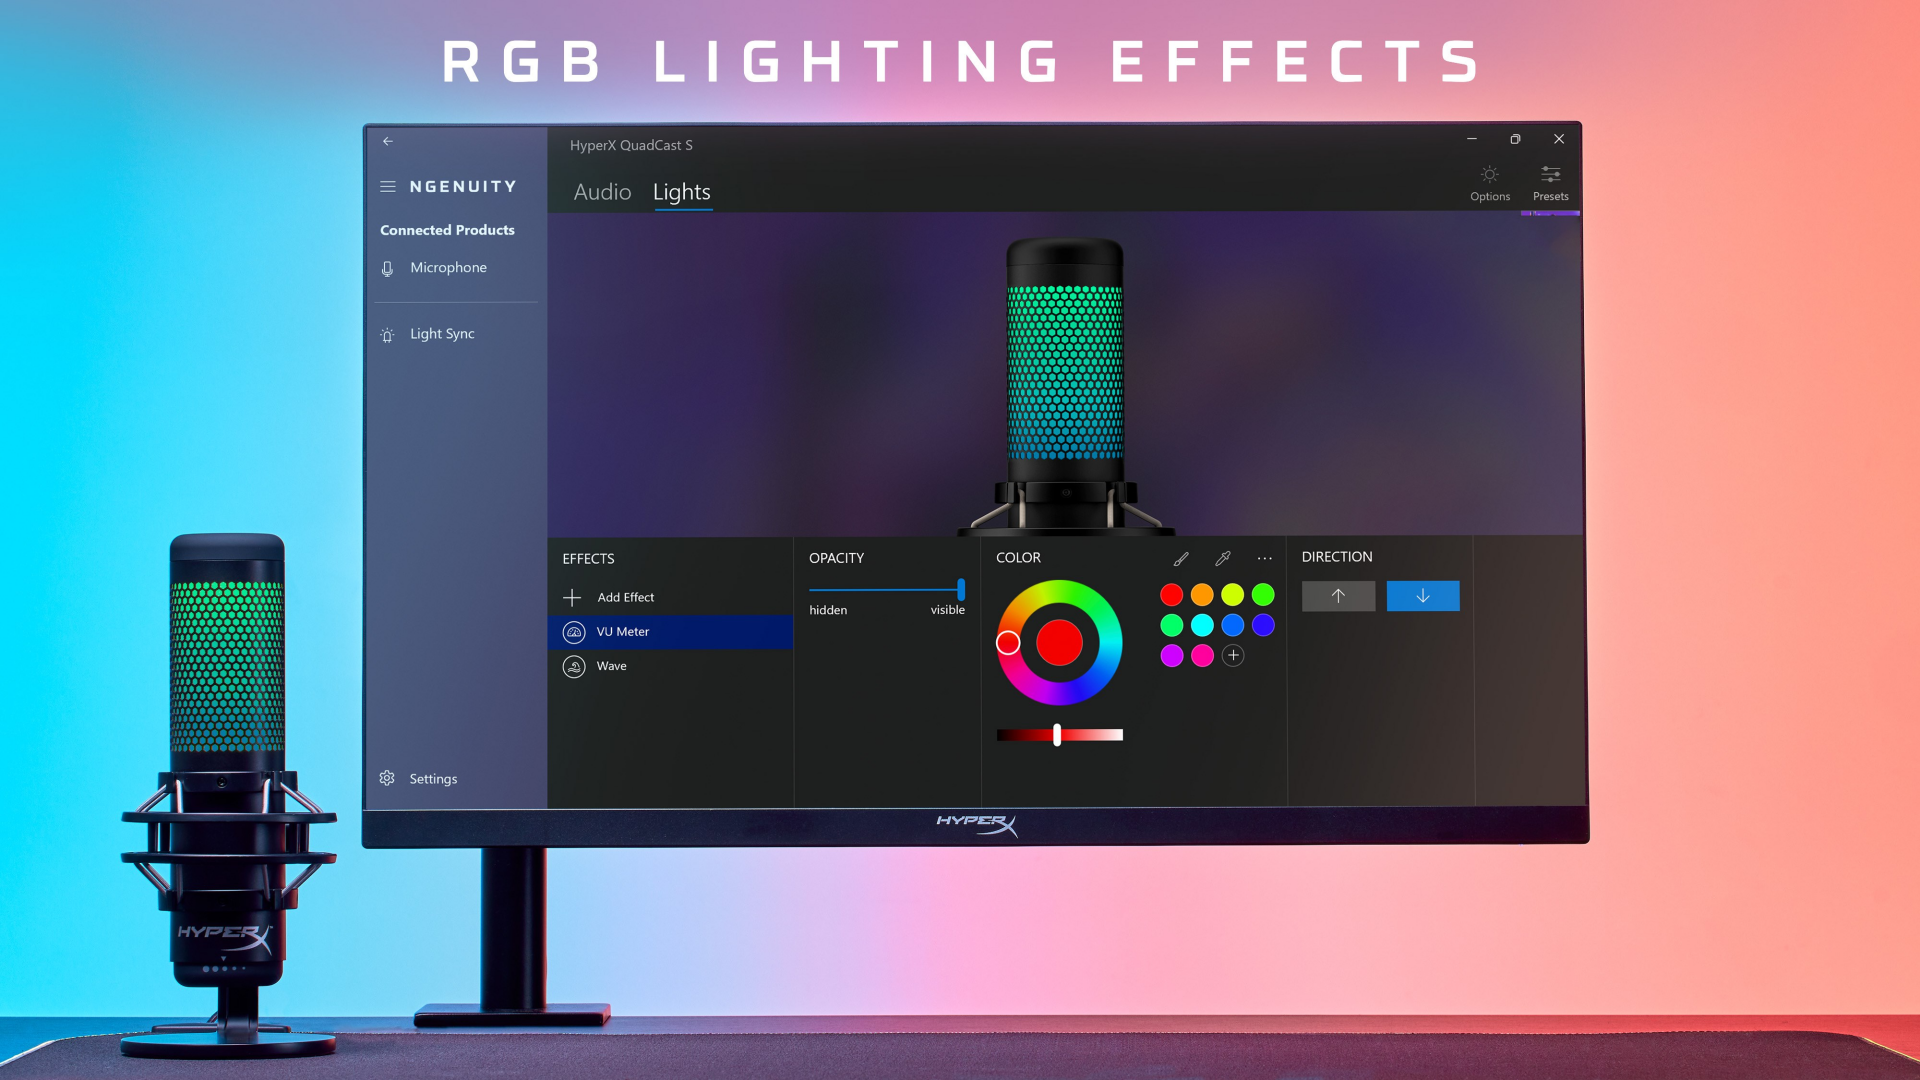
When you use HyperX peripherals with RGB lighting, NGENUITY offers you control over every aspect. As usual, you can choose from a wide range of colors and alter the brightness, speed, and animations, as well as various effects like breathing, wave, and cycle. You can also use it to synchronize the RGB lighting across other HyperX peripherals.
Follow the steps below to customize the RGB lighting:
- First, select the device whose RGB lighting settings you want to change.
- Go to the ‘Lighting’ tab.
- Select the lighting mode, speed, brightness, and animations that you prefer.
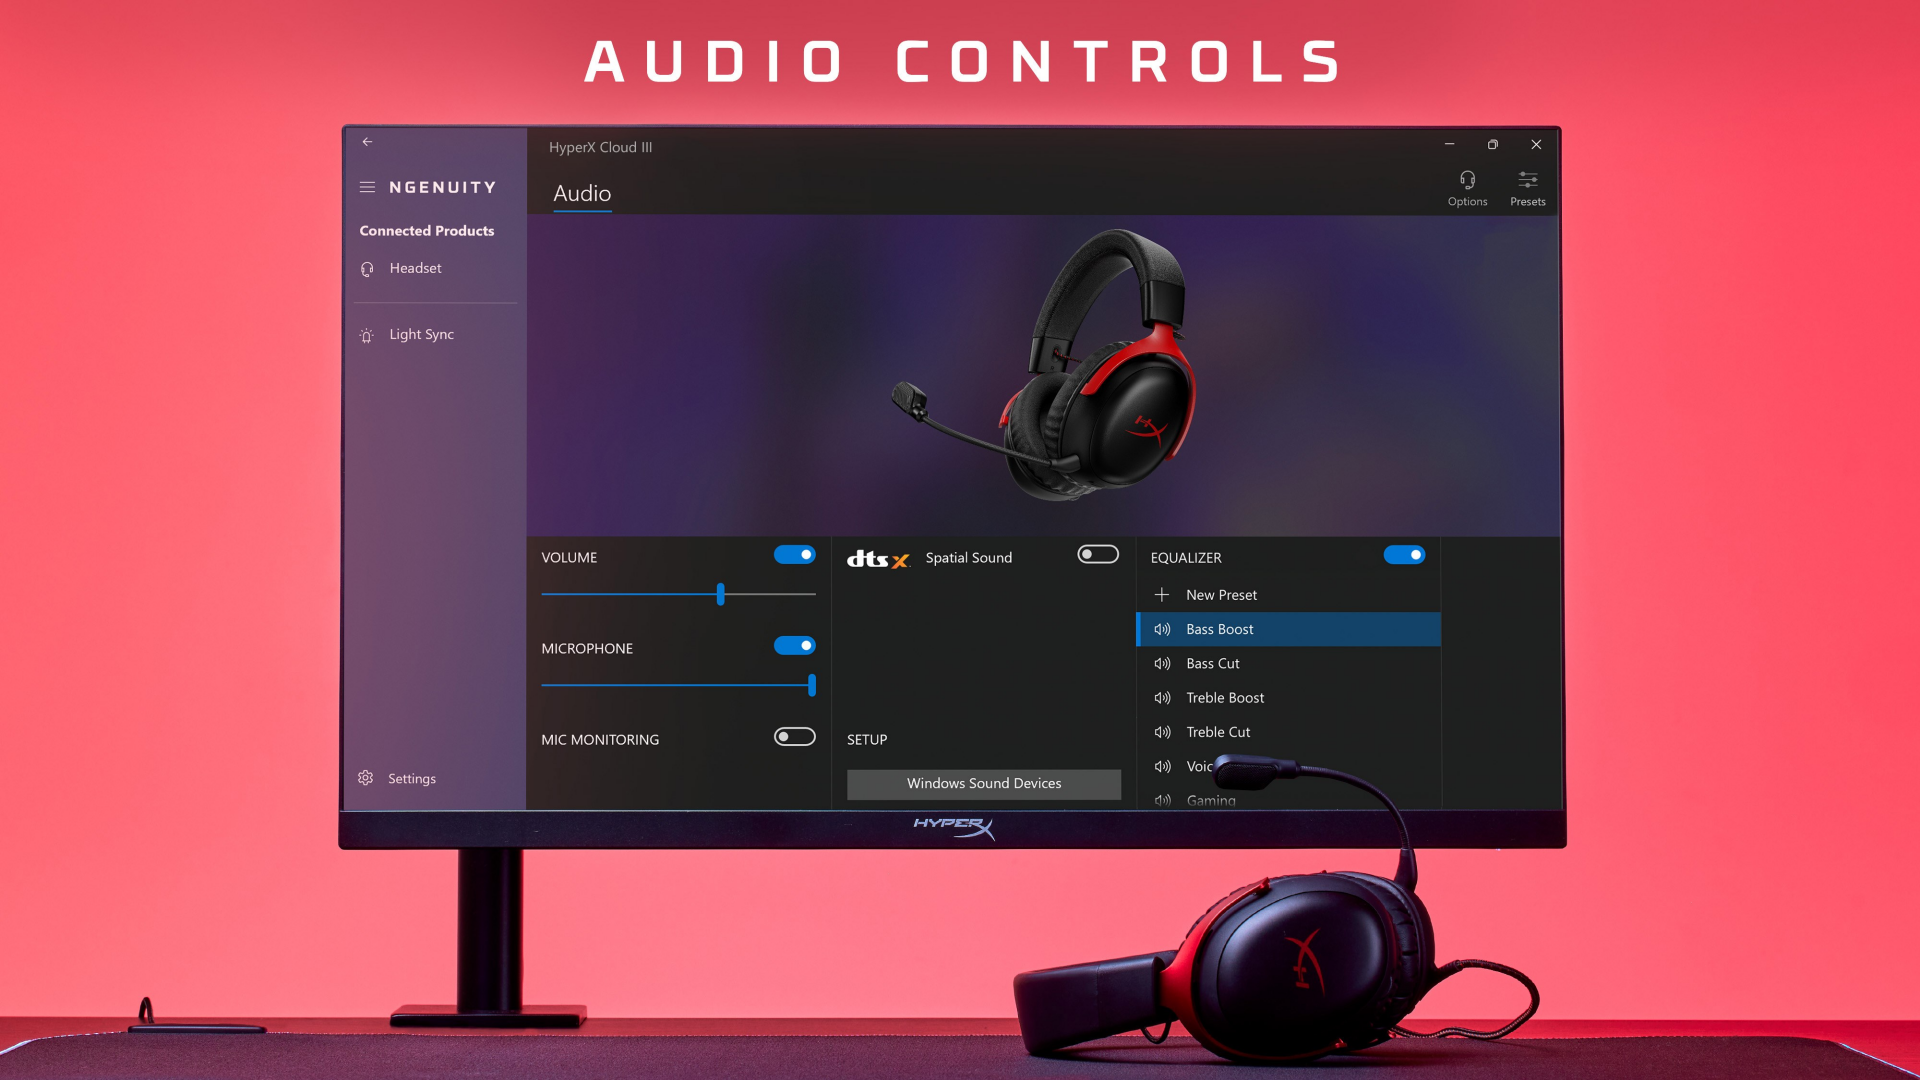
Audio Configuration

Here is what you need to do to customize your sound experience with NGENUITY:
- Select the headset or microphone from the dashboard.
- Head over to the ‘Audio’ tab.
- From here, you can create custom profiles and adjust equalizer presets, noise cancellation settings, and microphone levels.
Macro
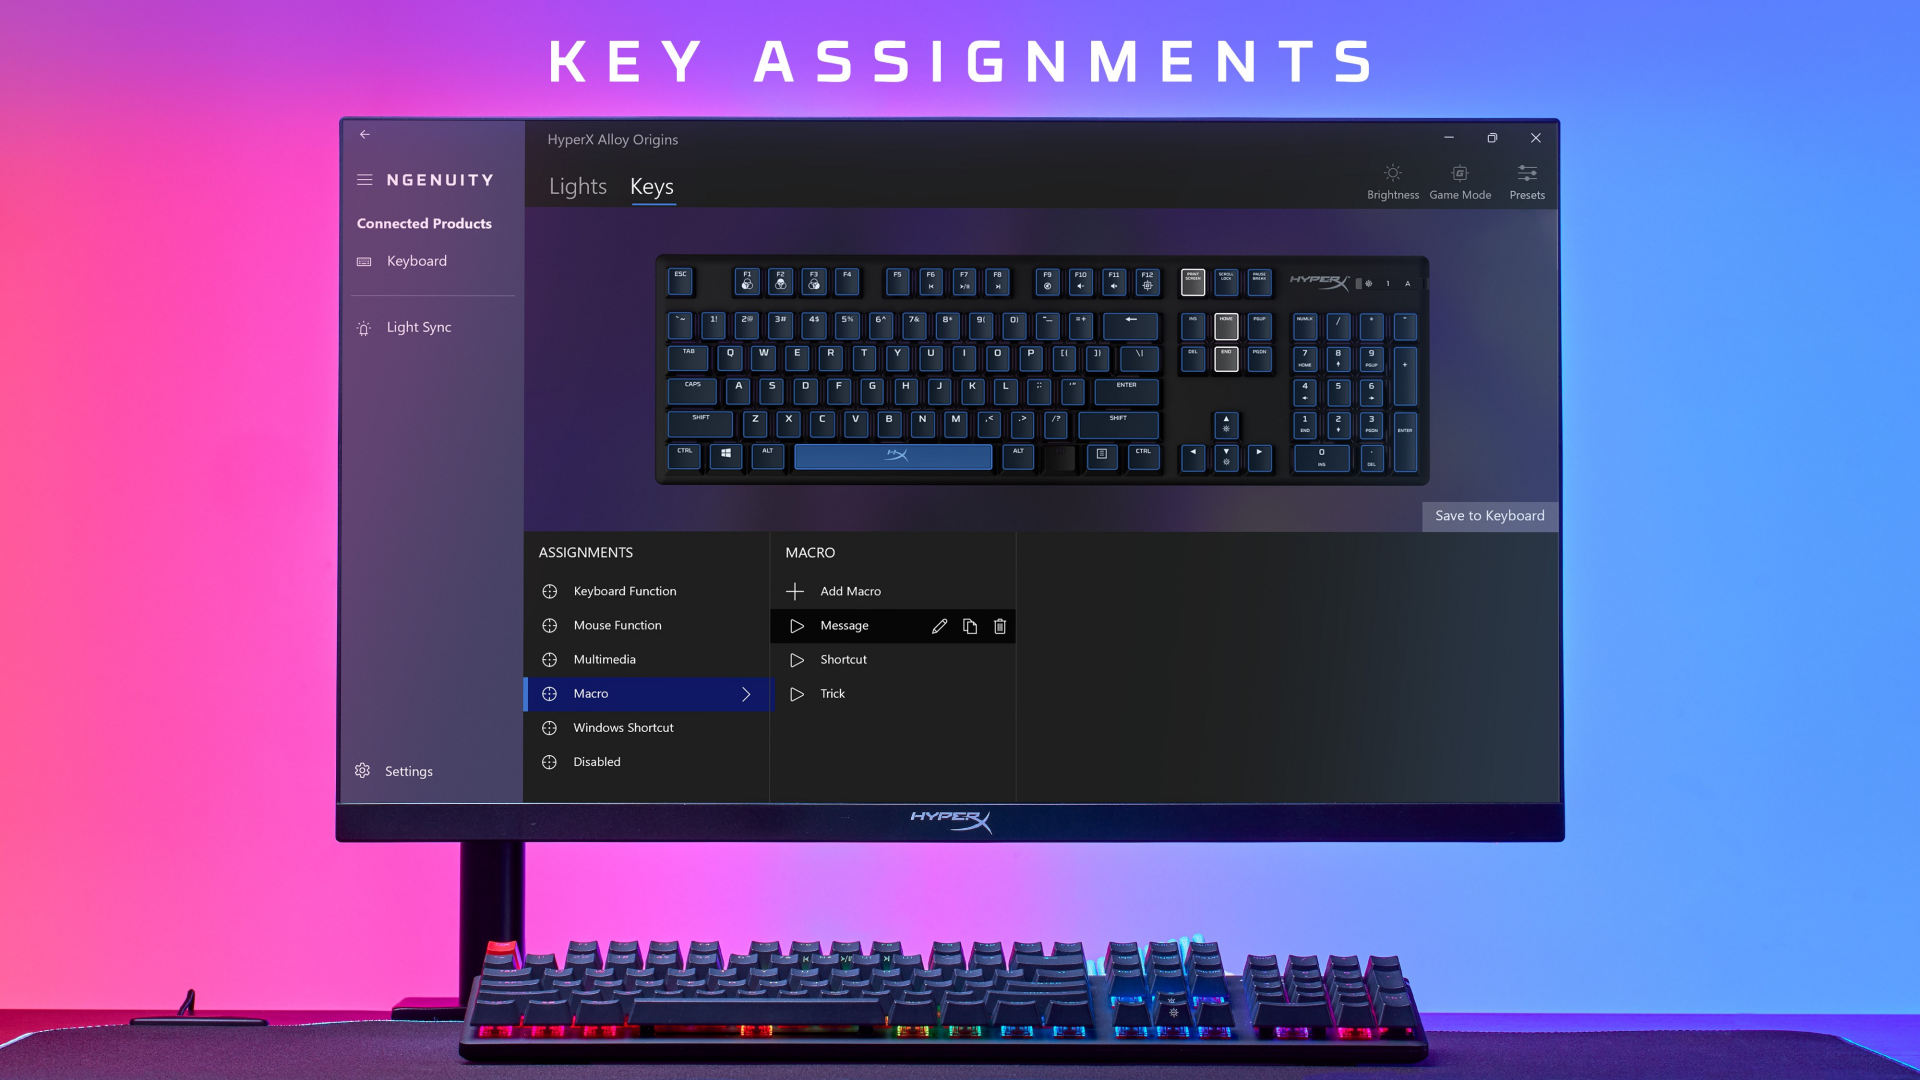
The following steps explain how you can assign macros:
- Pick the HyperX peripheral.
- Go to the ‘Buttons’ tab.
- Assign the macro to a specific keybind.
- Select the ‘Create Macro’ option and save it to finish the process.
DPI
To fine-tune your mouse sensitivity, follow these instructions:
- Click on your mouse on the dashboard.
- Navigate to the ‘Buttons’ or ‘Sensor’ tab.
- Here, you can change the DPI levels according to your preference.
- You can also choose the DPI stages to cycle using the DPI cycling button.
And with that, you are good to go. We hope this guide helped you get familiar with HyperX NGENUITY.
Looking For More Related to Tech?
We provide the latest news and “How To’s” for Tech content. Meanwhile, you can check out the following articles related to PC GPUs, CPU and GPU comparisons, mobile phones, and more:
- 5 Best Air Coolers for CPUs in 2025
- ASUS TUF Gaming F16 Release Date, Specifications, Price, and More
- iPhone 16e vs iPhone SE (3rd Gen): Which One To Buy in 2025?
- Powerbeats Pro 2 vs AirPods Pro 2: Which One To Get in 2025
- RTX 5070 Ti vs. RTX 4070 Super: Specs, Price and More Compared
- Windows 11: How To Disable Lock Screen Widgets