Facebook
 Reddit
 Email
Email
Here are all the shrine trials of the Interstellar Enigma quest and how to complete them in Revenge of the Savage Planet.
The Interstellar Enigma is one of the most elaborate quests in Revenge of the Savage Planet. This quest also gives you the opportunity to visit a secret 5th planet in the game. Additionally, it is also a quest that leads to one of the game’s many endings. For this conclusion, you get to fight Mecha Slappi and stop his mischievous deeds once and for all.
However, to get to the climax of the quest, you must first complete five different trials and acquire each piece of the Pentaforce. As the name suggests, there are five pieces you must collect from different planets. With that said, here is a guide on each shrine trial in the Interstellar Enigma quest in Revenge of the Savage Planet.
Interstellar Enigma Guide in Revenge of the Savage Planet
To start the quest, you simply have to play the game normally. As you continue to make progress, you will eventually see a new journal entry about the Interstellar Enigma quest. Once it’s available, you get in touch with a mysterious contact talking about strange frequencies in the area.
The tricky part is that these locations are not shown on the map until you find them while exploring. Once you find them, a shrine will be nearby that tasks you with completing trials to get a piece of the Pentaforce. Here is a quick rundown of each trial shrine’s locations and challenges:
Shrine of Timing

- Planet: Stellaris Prime
- Region: Nu Florida
- Location: Just west of the Nu Florida hub. Find a crack on the ground or a fragile floor and use your Stomp Booster to break through. There should be a hidden section below where you can find a teleporter.
Shrine of Timing: Time’s Up Trial Guide
The goal of this Interstellar Enigma trial in Revenge of the Savage Planet is to shoot terminals in each room before the timer runs out.
Room 1: Shoot the terminals in order.
- Far-right Terminal
- Second Terminal From the Right
- Second Terminal From the Left
- Middle Terminal
- Far-left Terminal
Room 2: Use your grapple to ascend to the top of the area. As you climb, shoot each terminal you encounter along the way to progress.
Room 3:
- Use your Stomp Booster to break the floors on both elevated platforms.
- Stand on the ramp and shoot the terminal on the left.
- Sprint to the right platform and shoot the second terminal to continue the sequence.
- Drop down through the newly opened floor and hit the third terminal at the bottom.
Shrine of Pressure
- Planet: Stellaris Prime
- Region: Cliffs of Abaddon
- Location: You’ll find the next shrine in the area where you previously fought Hognork. Use your Magnetic Fork to grab the nearby metallic pillar. Try and launch it at the blue wall to destroy it. Afterward, use Eko to activate the terminal inside using a Remote Controller.
Shrine of Pressure: Under Pressure Trial Guide
You need to activate some pressure plates by putting blocks on top of them for this Interstellar Enigma shrine trial in Revenge of the Savage Planet.
Room 1: Destroy the blue goo blocking your path and grab the nearby block. Place the block on the platform. This should open the door leading to the next room.
Room 2: Pick up a Bombergranate from the plant and toss it at the cracked ground to break through. Once inside, load up your Goo Ingestor with lava. Use the lava to burn away the cobwebs and free two blocks.
Place both on the pedestal to proceed.
Room 3:
- As you enter, turn right and destroy the goo wall to access a small room.
- Stand on the pressure plate inside, then switch to Eko and fly the drone to the corridor directly across from your position.
- Use Eko to interact with the terminal. This should spawn the first block. Then, place the block on the pressure plate where you were previously standing.
- Now, head to the opposite corridor and go down. Use the Proton Whip to clear more goo. Afterward, use your Magnetic Fork on the nearby metallic pillar.
- Heading back to the main room, toss the pillar at the ceiling. This should bring the second block down so you can grab it.
- With two blocks in hand, carry them to the pressure plate. This should unlock the final chamber of the Interstellar Enigma shrine trial in Revenge of the Savage Planet.
Shrine of Grind
- Planet: Xephyr
- Region: Cactus Valley
- Location: From your fast travel point, head south. Use your Proton Whip to navigate the rail and squeeze through the other side of the gap. Once across, equip your Magnetic Fork, lift the nearby metallic projectile, and hurl it at the wall to break through the barrier.
Shrine of Grind: Balancing Act Trial Guide
Once again, you need to use your whip to move around. While you’re at it, shoot the terminals that you encounter. It’s pretty straightforward, so you won’t have to worry about complicated puzzles in this trial.
Shrine of Combat
![Revenge Of The Savage Planet Achievements and Trophies Guide [Source: Raccoon Logic Studios Inc.]](https://static.deltiasgaming.com/2025/05/ss_a301a8412f132b4bb8db3c485a30de098383da77.1920x1080.jpg)
- Planet: Zenithian Rifts
- Region: Bilodeau’s Floating Isles
- Location: You first need to reach the teleporter. To do that, load up some Ferro Goo on your Goo Ingestor. Afterward, spray it on the ground and electrify the three Bulbous plants in the area.
Shrine of Combat: Battle Royale Trial Guide
For this Interstellar Enigma shrine trial in Revenge of the Savage Planet, you need to survive the onslaught of enemies that spawn in this shrine trial. Make sure you are well-equipped for this fight, as the enemies can be a bit hard to defeat. The enemies are mechanized versions of creatures like the Beetle, Raccocco, Crusher, and Brainard.
Shrine of Challenge
- Planet: Quasadron IX
- Region: Summit
- Location: You must complete progress through the main story until you reach the Dine, I’ll Do It quest. In here, Eko needs to activate three terminals before gaining access to a teleporter, which leads to the Summit.
Shrine of Challenge: Unnatural Selection Trial Guide
This Interstellar Enigma shrine trial in Revenge of the Savage Planet is more focused on combat as it prepares you for a boss battle against the Cyber Wardrill.
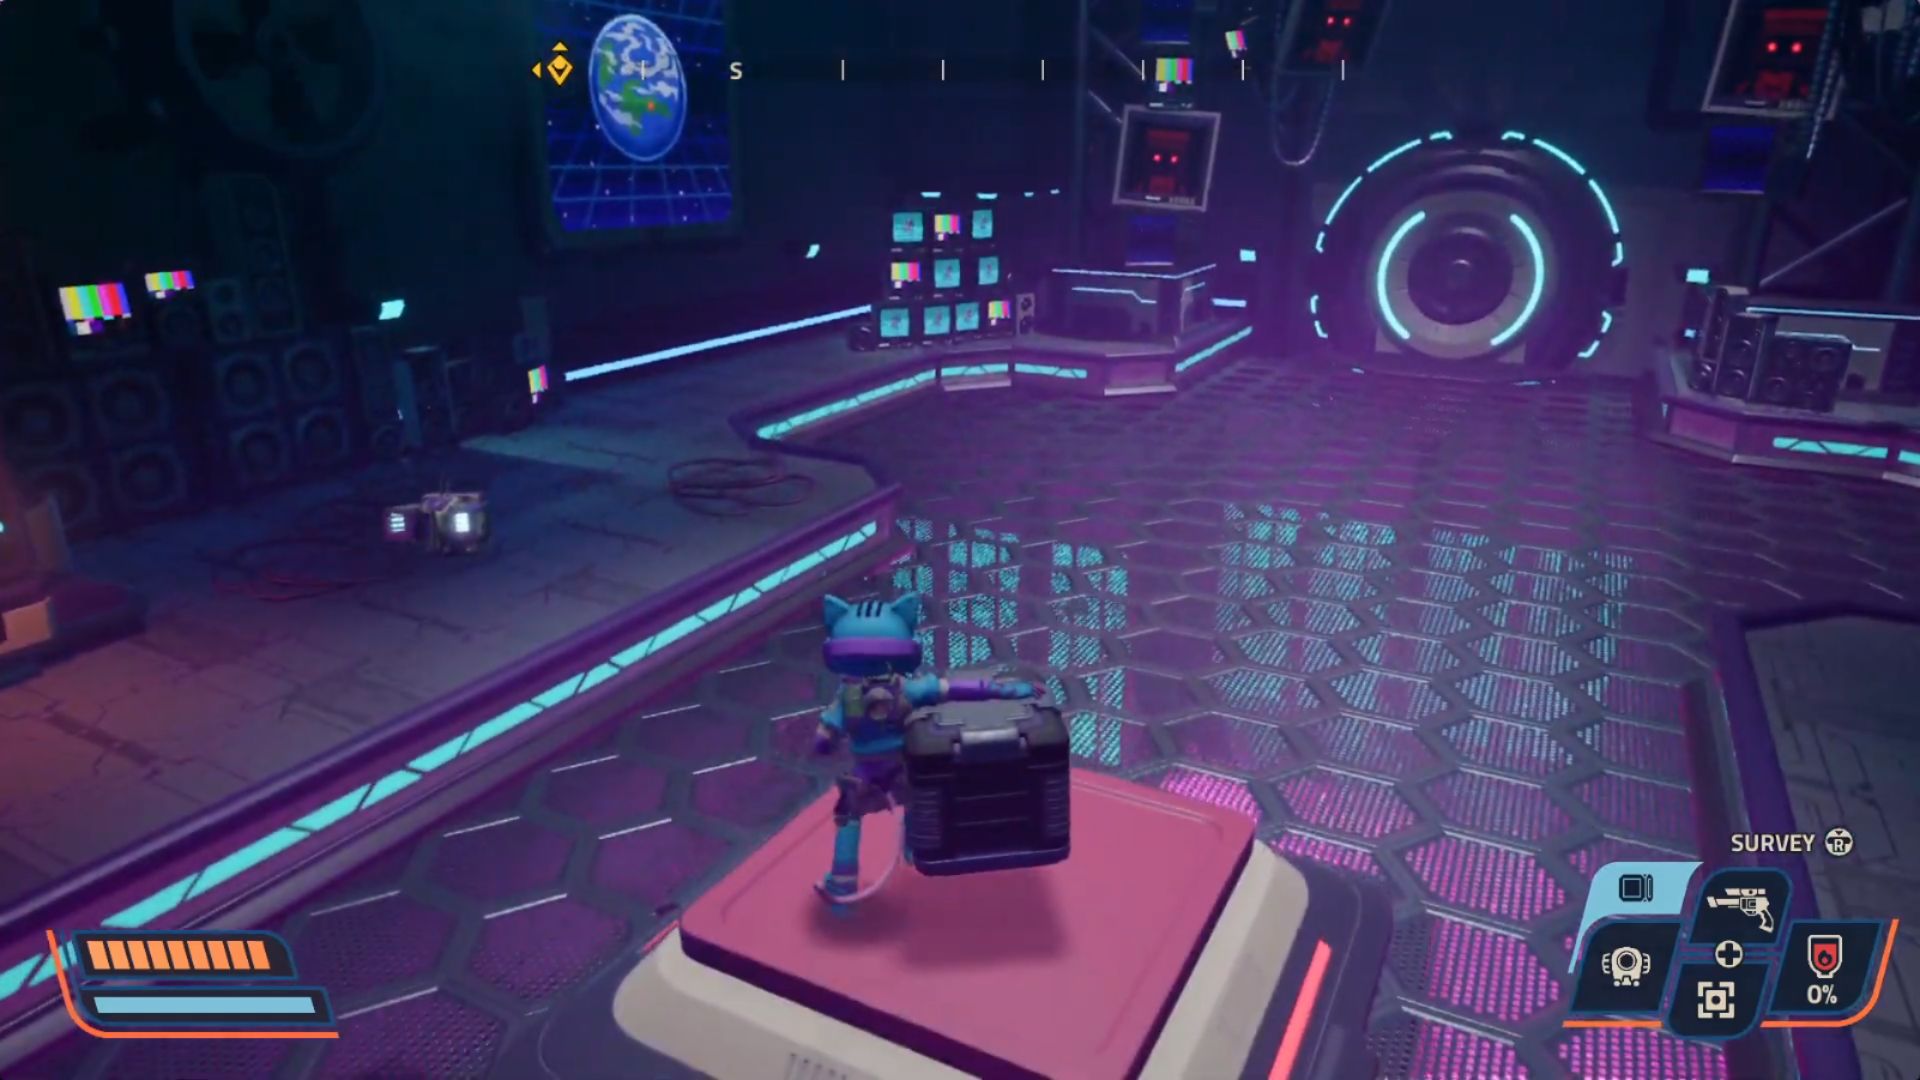
Room 1: Start by throwing a Blight Bomb at the screen, then shoot it to proceed. This simple task acts as a tutorial for the mechanics you’ll need in the next rooms.
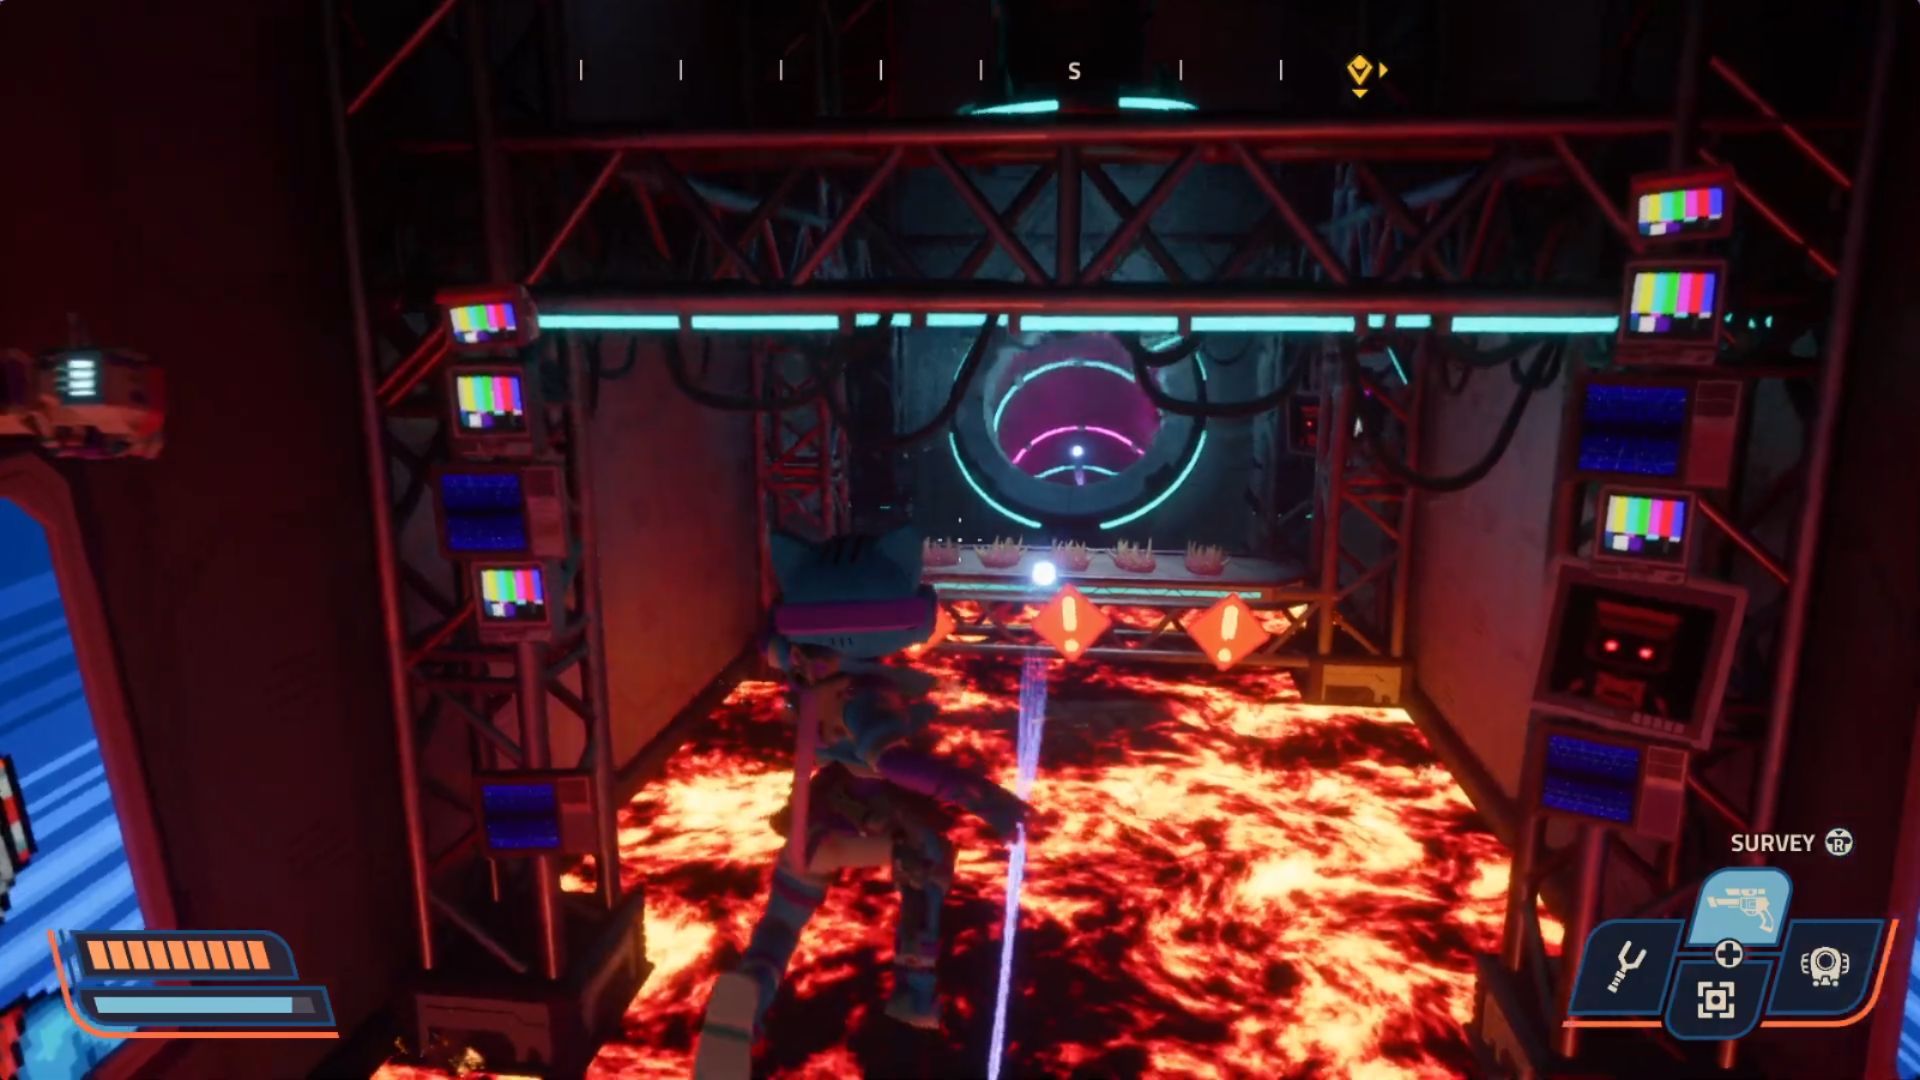
Room 2: Prepare to fight waves of cybernetic hybrid creatures, including Beetles and Babutts. These enemies are protected by green energy shields, which can only be destroyed with Blight Bomb explosions.
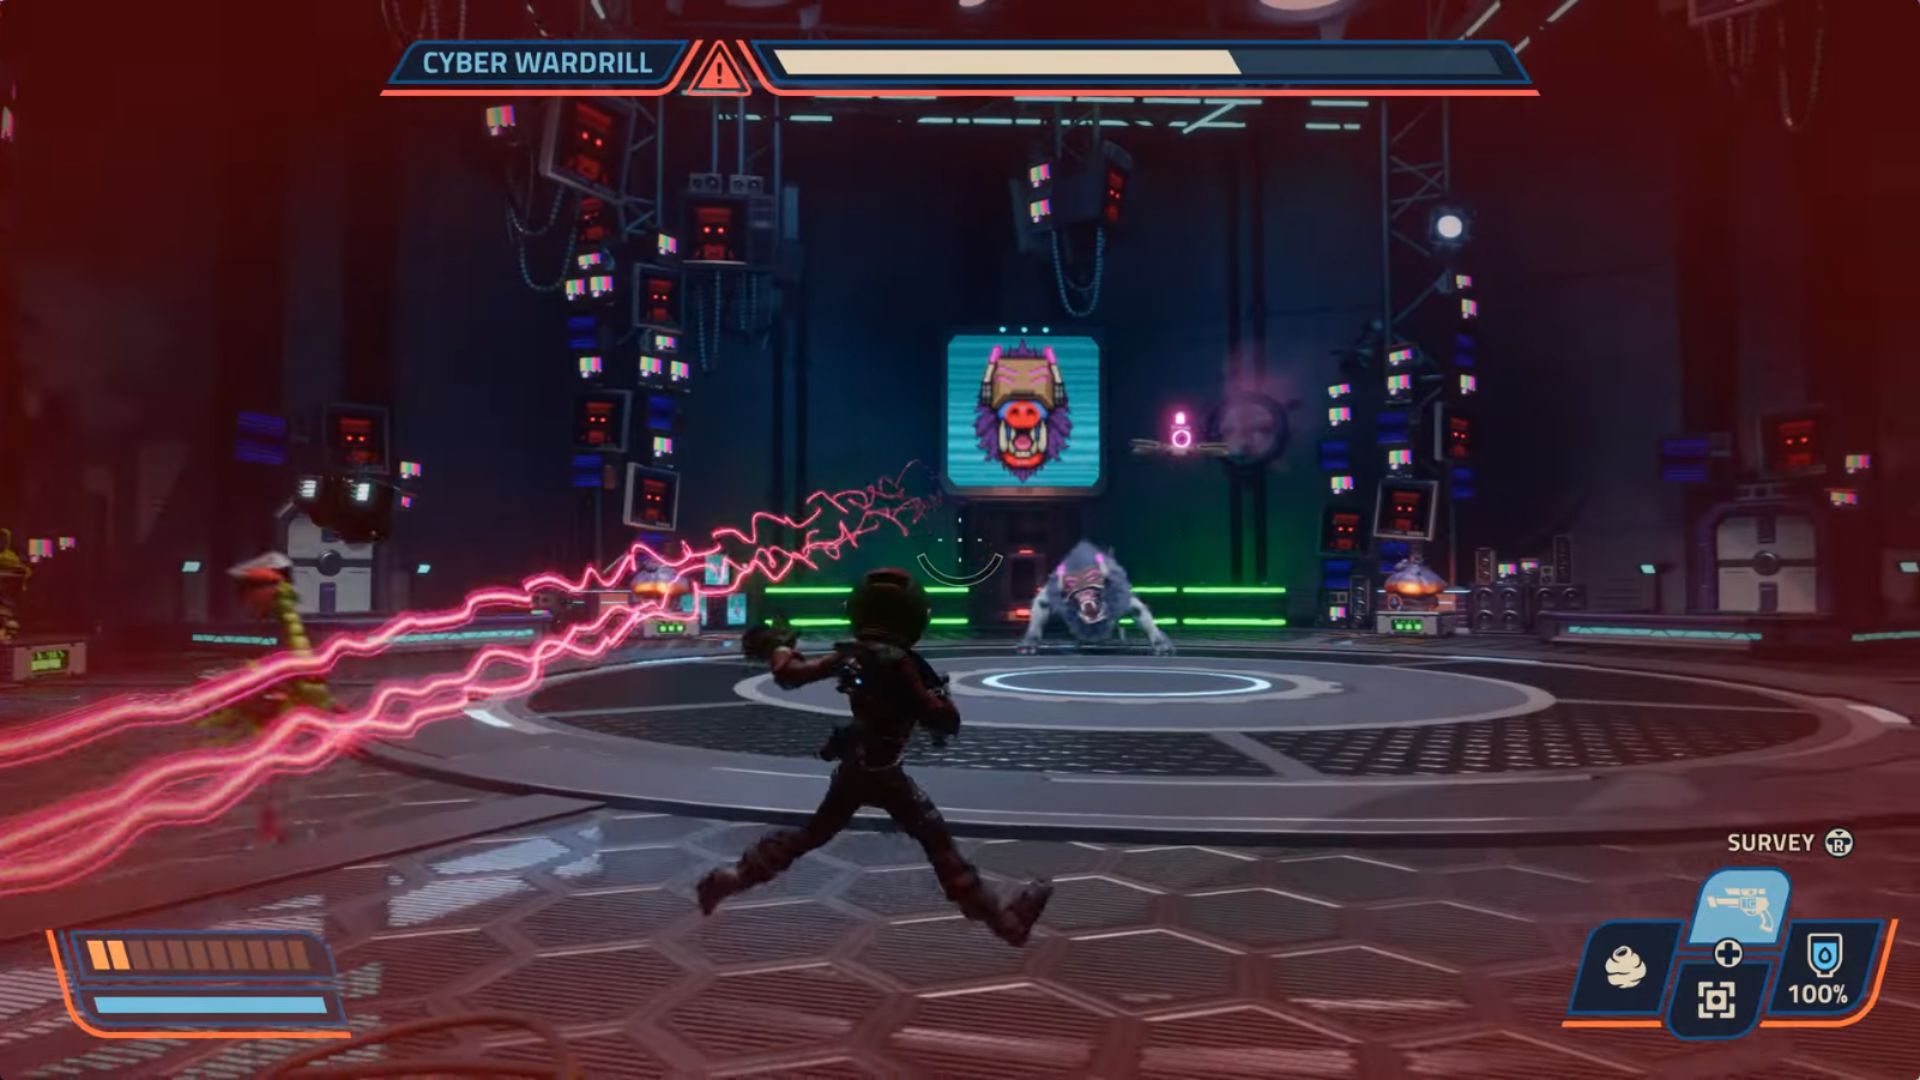
Room 3: The boss fight with Cyber Wardrill starts here.
- The boss uses heavy-hitting attacks, including bull rushes and aerial stomps.
- When it glows green, hit it with a Blight Bomb.
- When it glows orange, use a Bombegranate to deal damage.
- As its health drops, additional alien creatures will spawn to make things even more chaotic.
Looking For More?
Thank you for reading the article. We provide the latest news and create guides for Baldur’s Gate 3, Starfield, ARK Survival Ascended, and more. Also, watch Deltia play games on Twitch or visit his YouTube channel!