Facebook
 Reddit
 Email
Email
Let’s take you through a simple walkthrough on how to complete the Laser Wall and Nodes Puzzle in Chapter 4: Final Dawn.
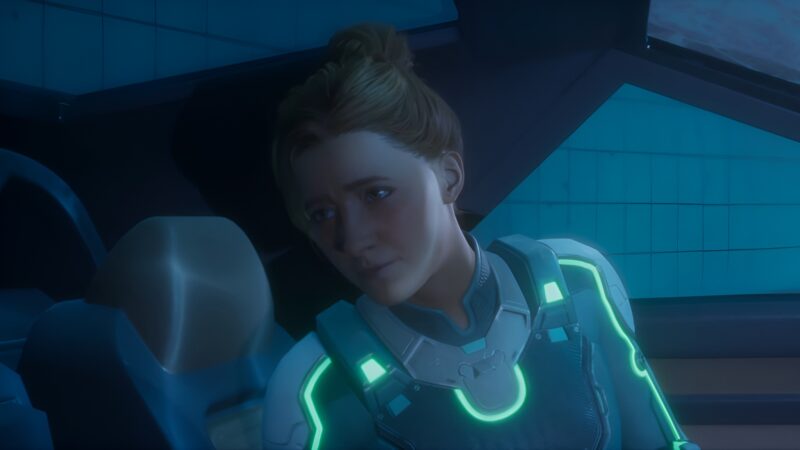
Chapter 4, Final Dawn, is the rendition of Mio’s perception of a Science Fiction story. Both of you will be dropped from an aircraft, tasked with the mission of infiltrating the facility and putting an end to the operations.
The task at hand for this puzzle is for Mio and Zoe to solve the Laser Wall and Nodes Puzzle to help them reunite. Let’s dive straight in and help these two writers make their way back to each other.
Step 1 – Spinning Crates

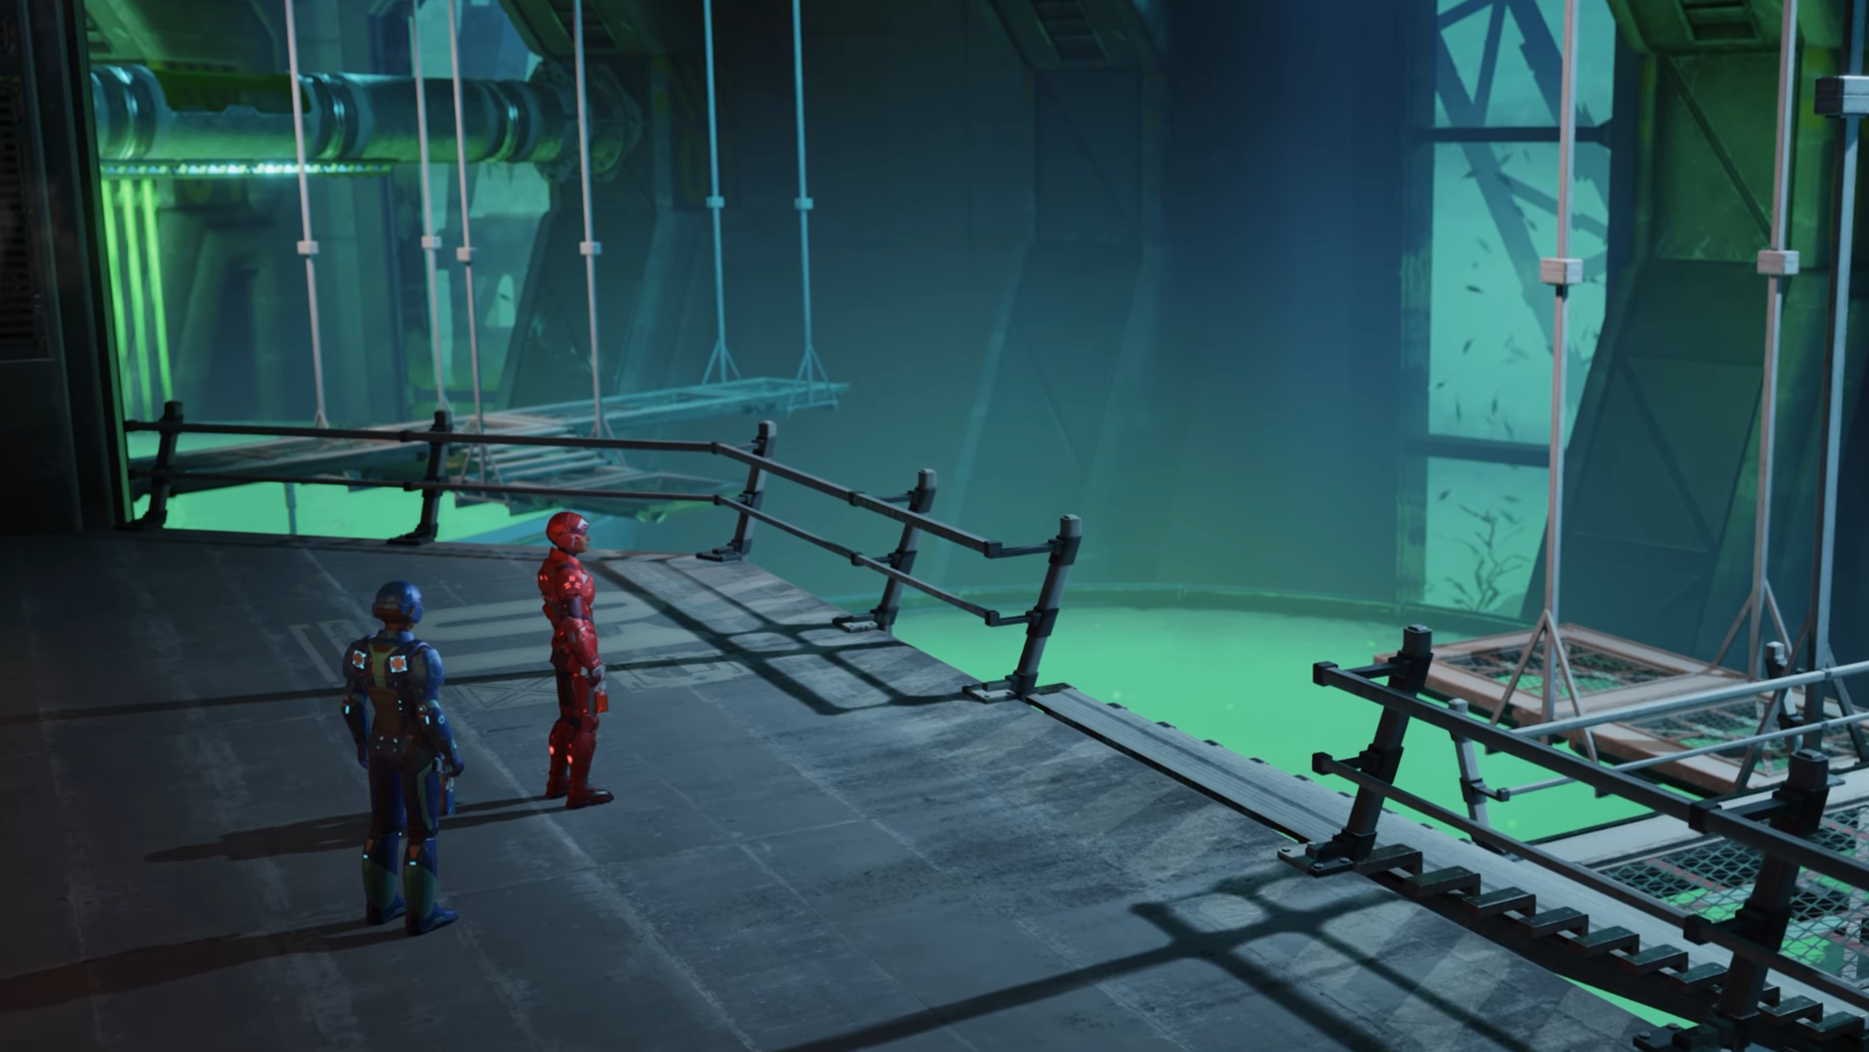
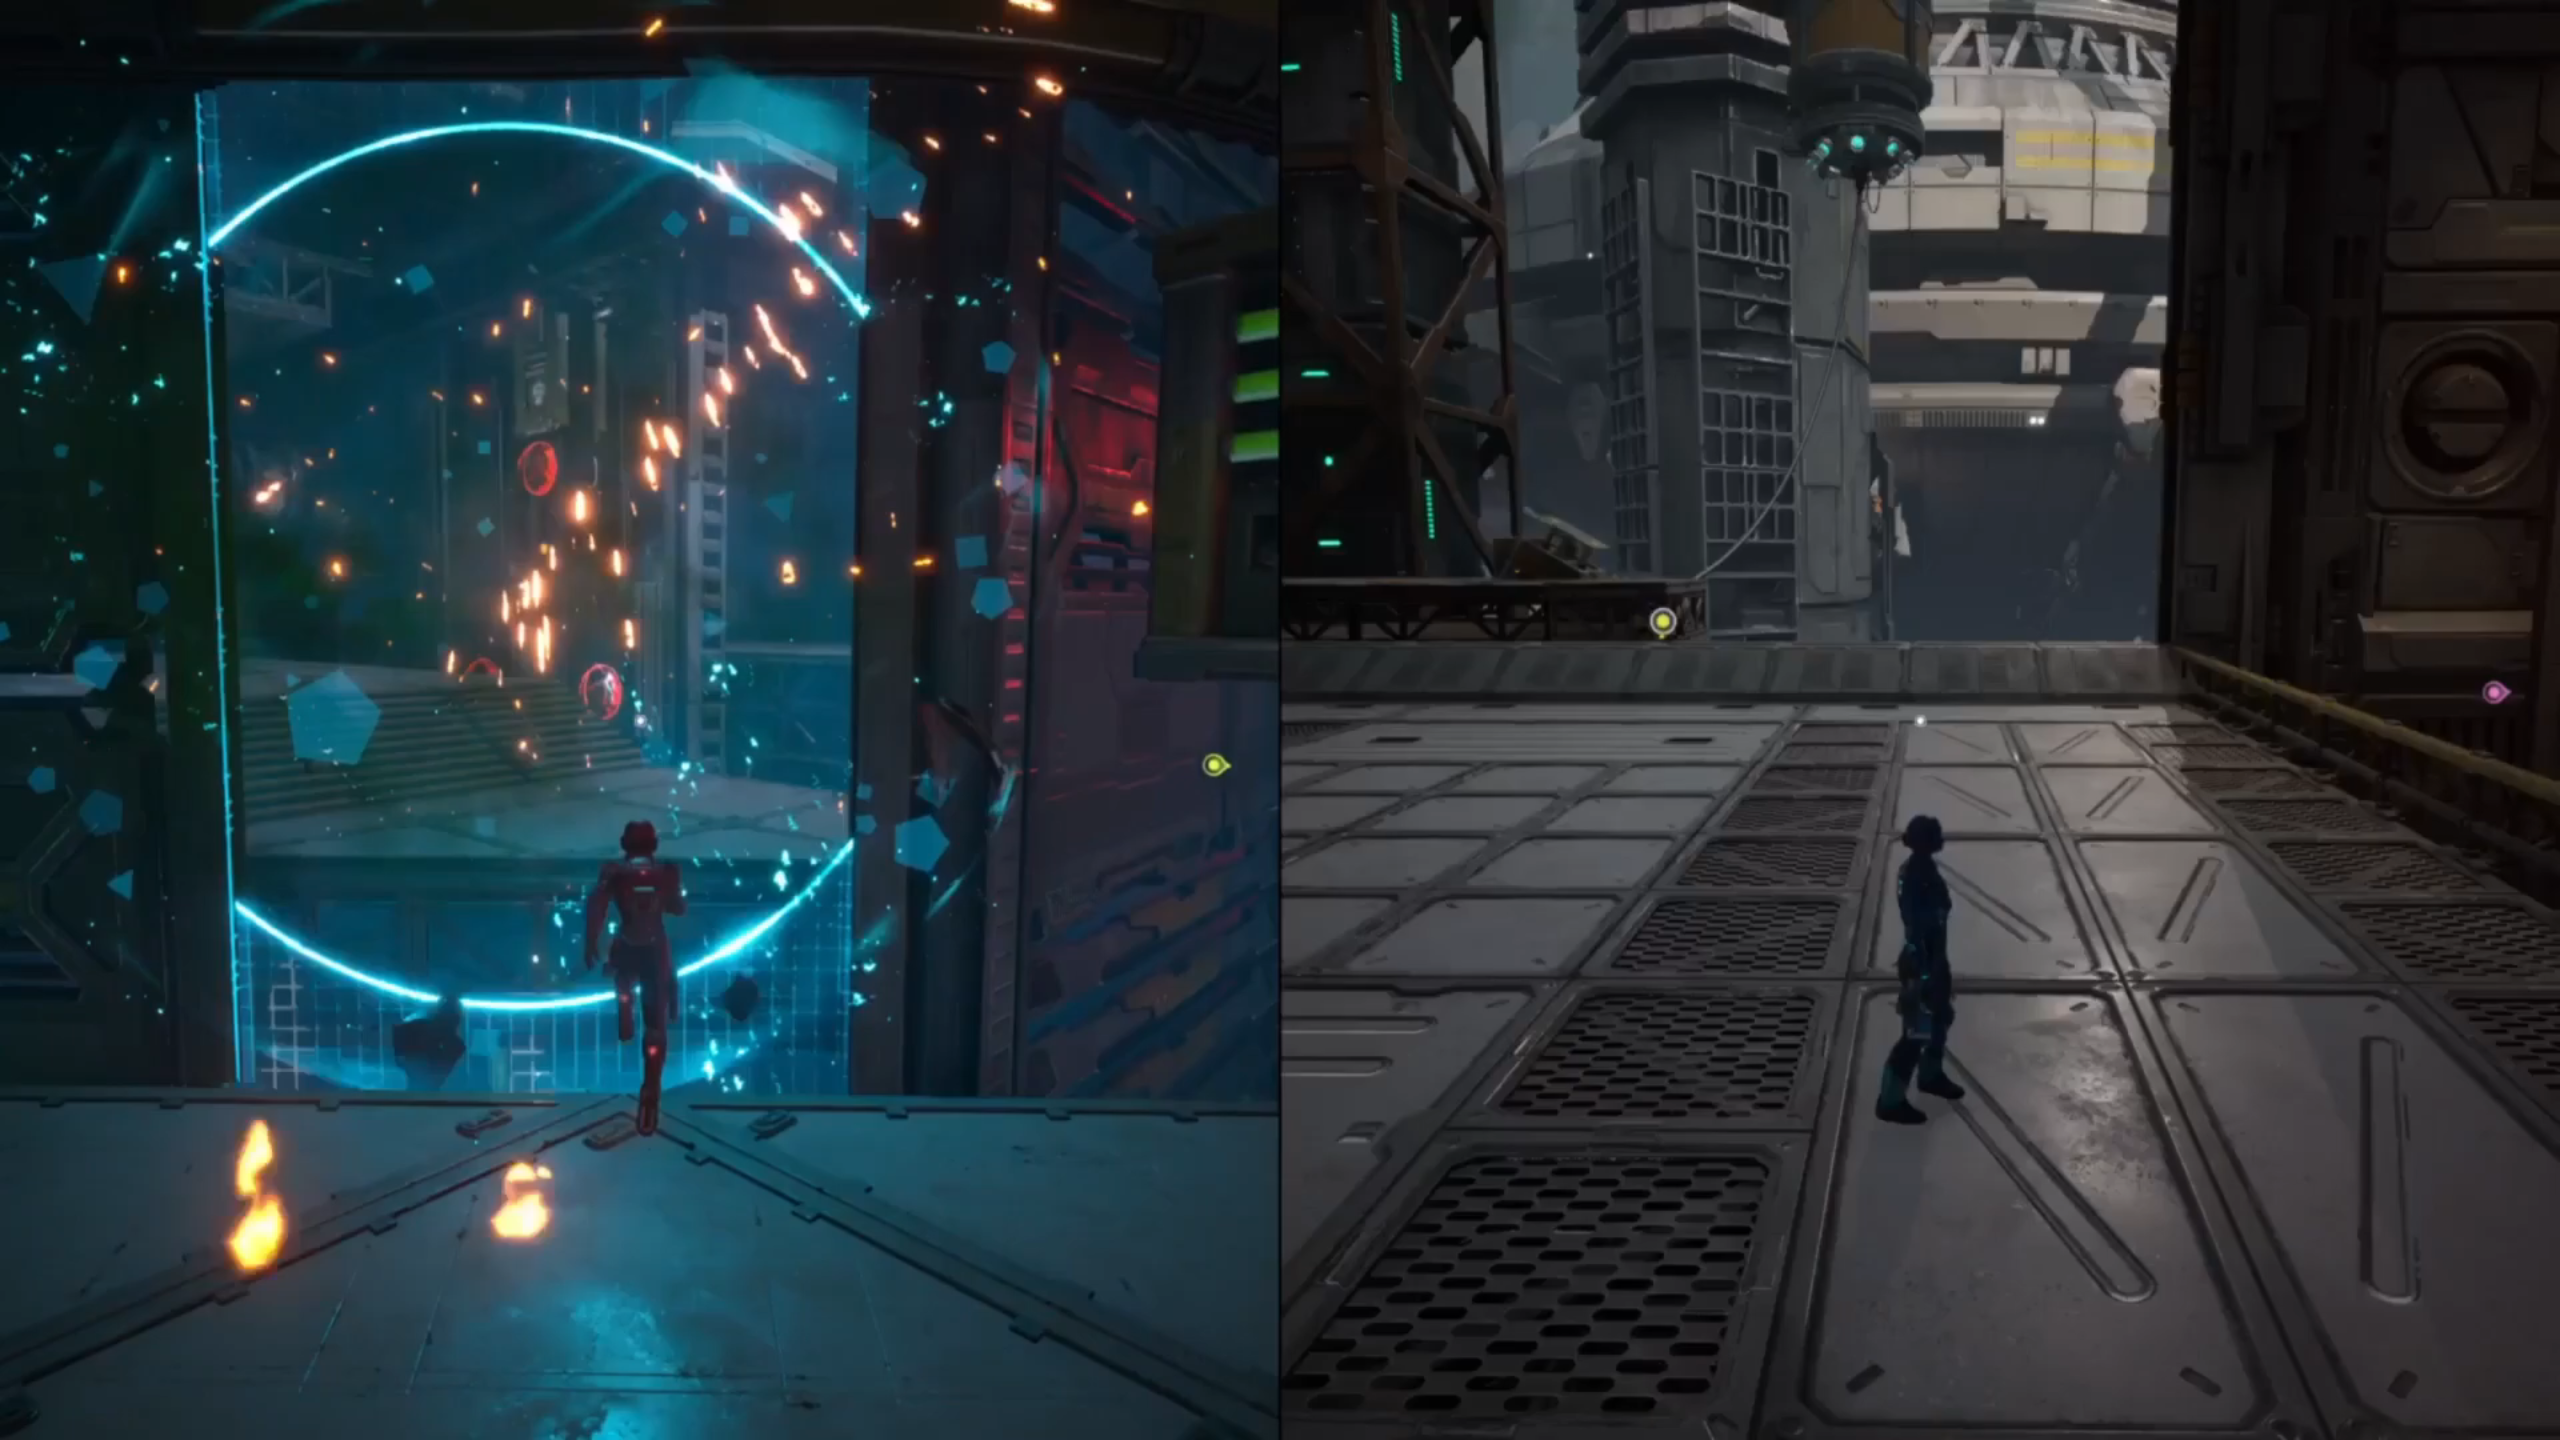
After using the Mech Balloons, use Mio to stand on the springboard machine and get launched to the other side. Enter the entrance to your right and look for the interactable machine to the right side of the entrance. Once interacted with, the entrance near the first platform opens up. Use Zoe to first grapple onto the hook and enter the entrance.
Once in the room, both of you will be separated by a giant red Laser Wall. There is a conveyor system transporting large crates. These crates move from Zoe’s side of the wall toward Mio, passing through the Laser Walls unharmed. These crates perform a quick 180-degree spin just as they pass through the Laser Wall.
The spinning of the crates is important, as proceeding to the next phase requires perfect timing and coordination aligned with the spinning of the crates.
Step 2 – Laser Walls
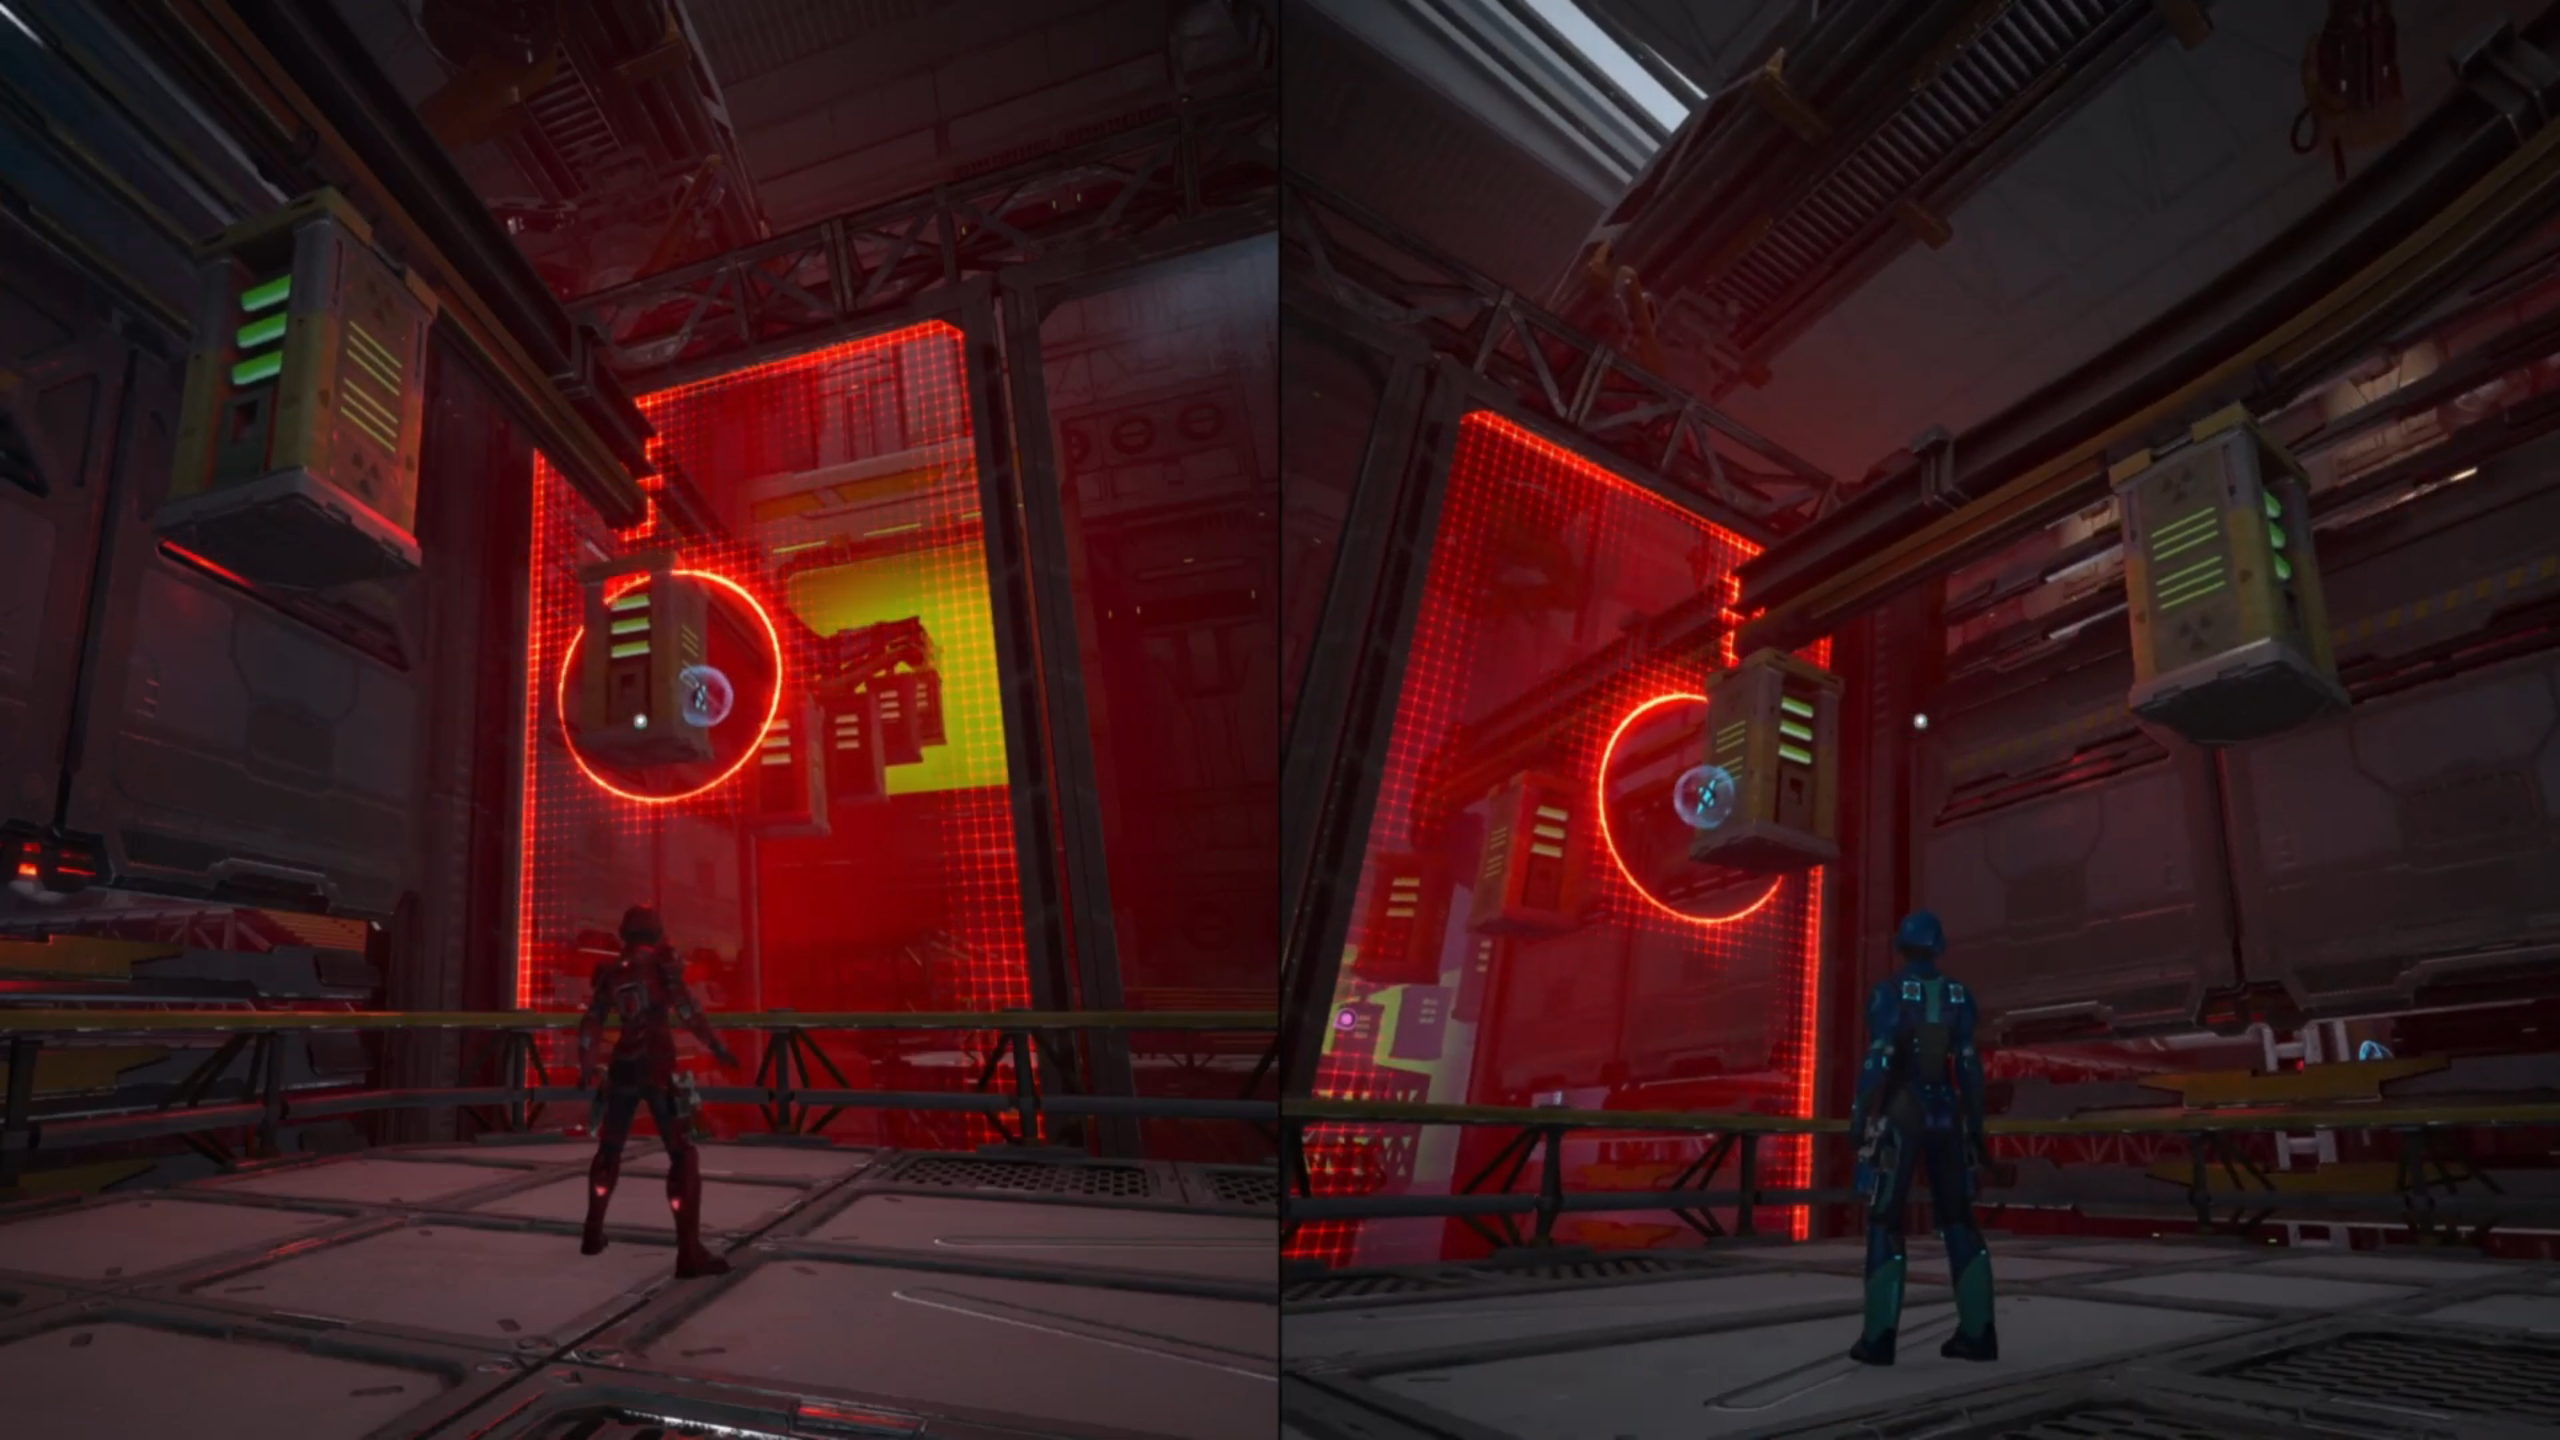
If you look to Mio’s left, you will see a blue Laser Wall. Now, Mio’s task is to pass through the Laser Wall unharmed. If you directly try to pass through, you will get killed and respawn.
Now, both of you are equipped with sticky grenades, which can be used to form a small crater in these walls, allowing you to pass through. Mio has red bombs, and Zoe has blue bombs, which work against their own respective colored Laser Walls.
First, use Mio to throw a sticky bomb on the Laser Wall. Now, use Zoe to throw a sticky bomb on the side of the crate that is facing you. Once done, use Mio to detonate the Laser Wall.
The crate holding Zoe’s sticky bomb will pass through and spin. The bomb will now be facing the wall. Once it reaches in front of the blue Laser Wall, use Zoe to detonate it.
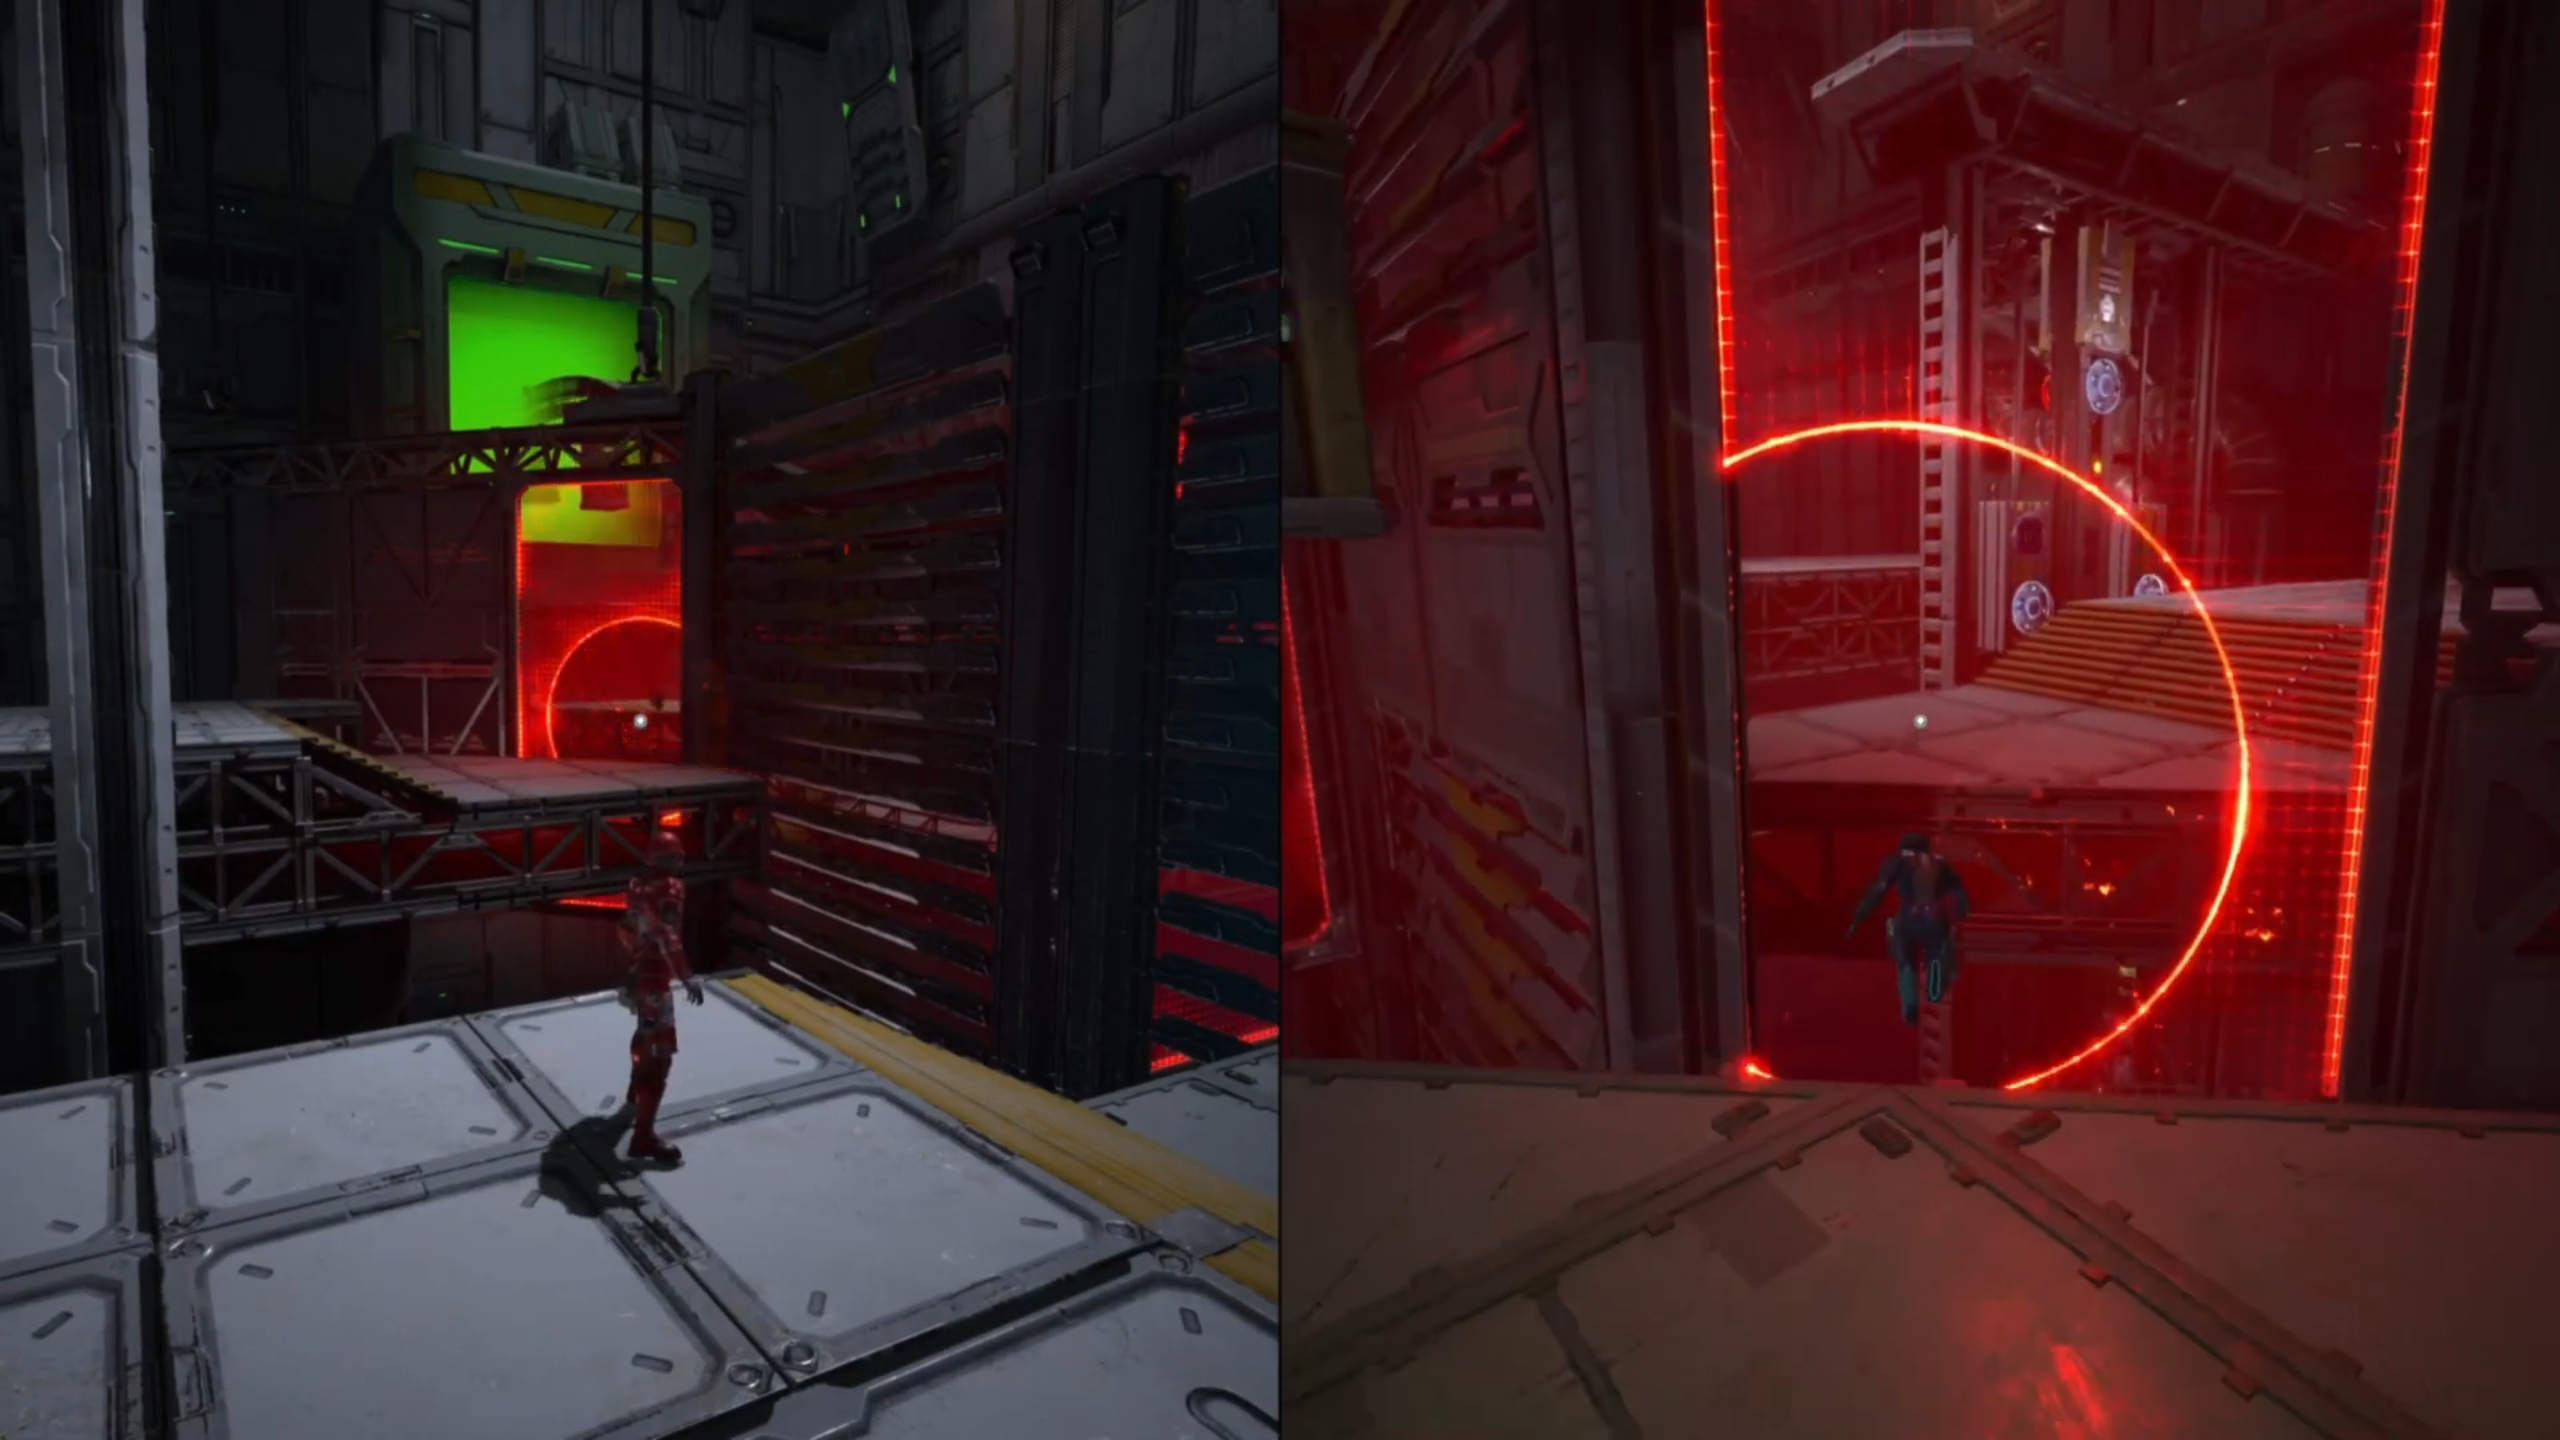
Now, use Mio to double jump her way through the wall. Once inside, throw the red sticky bomb on the red Laser Wall that you can see straight on the other side. Make a hole in that and have Zoe make her way up the stairs and through the hole.
Step 3 – Nodes
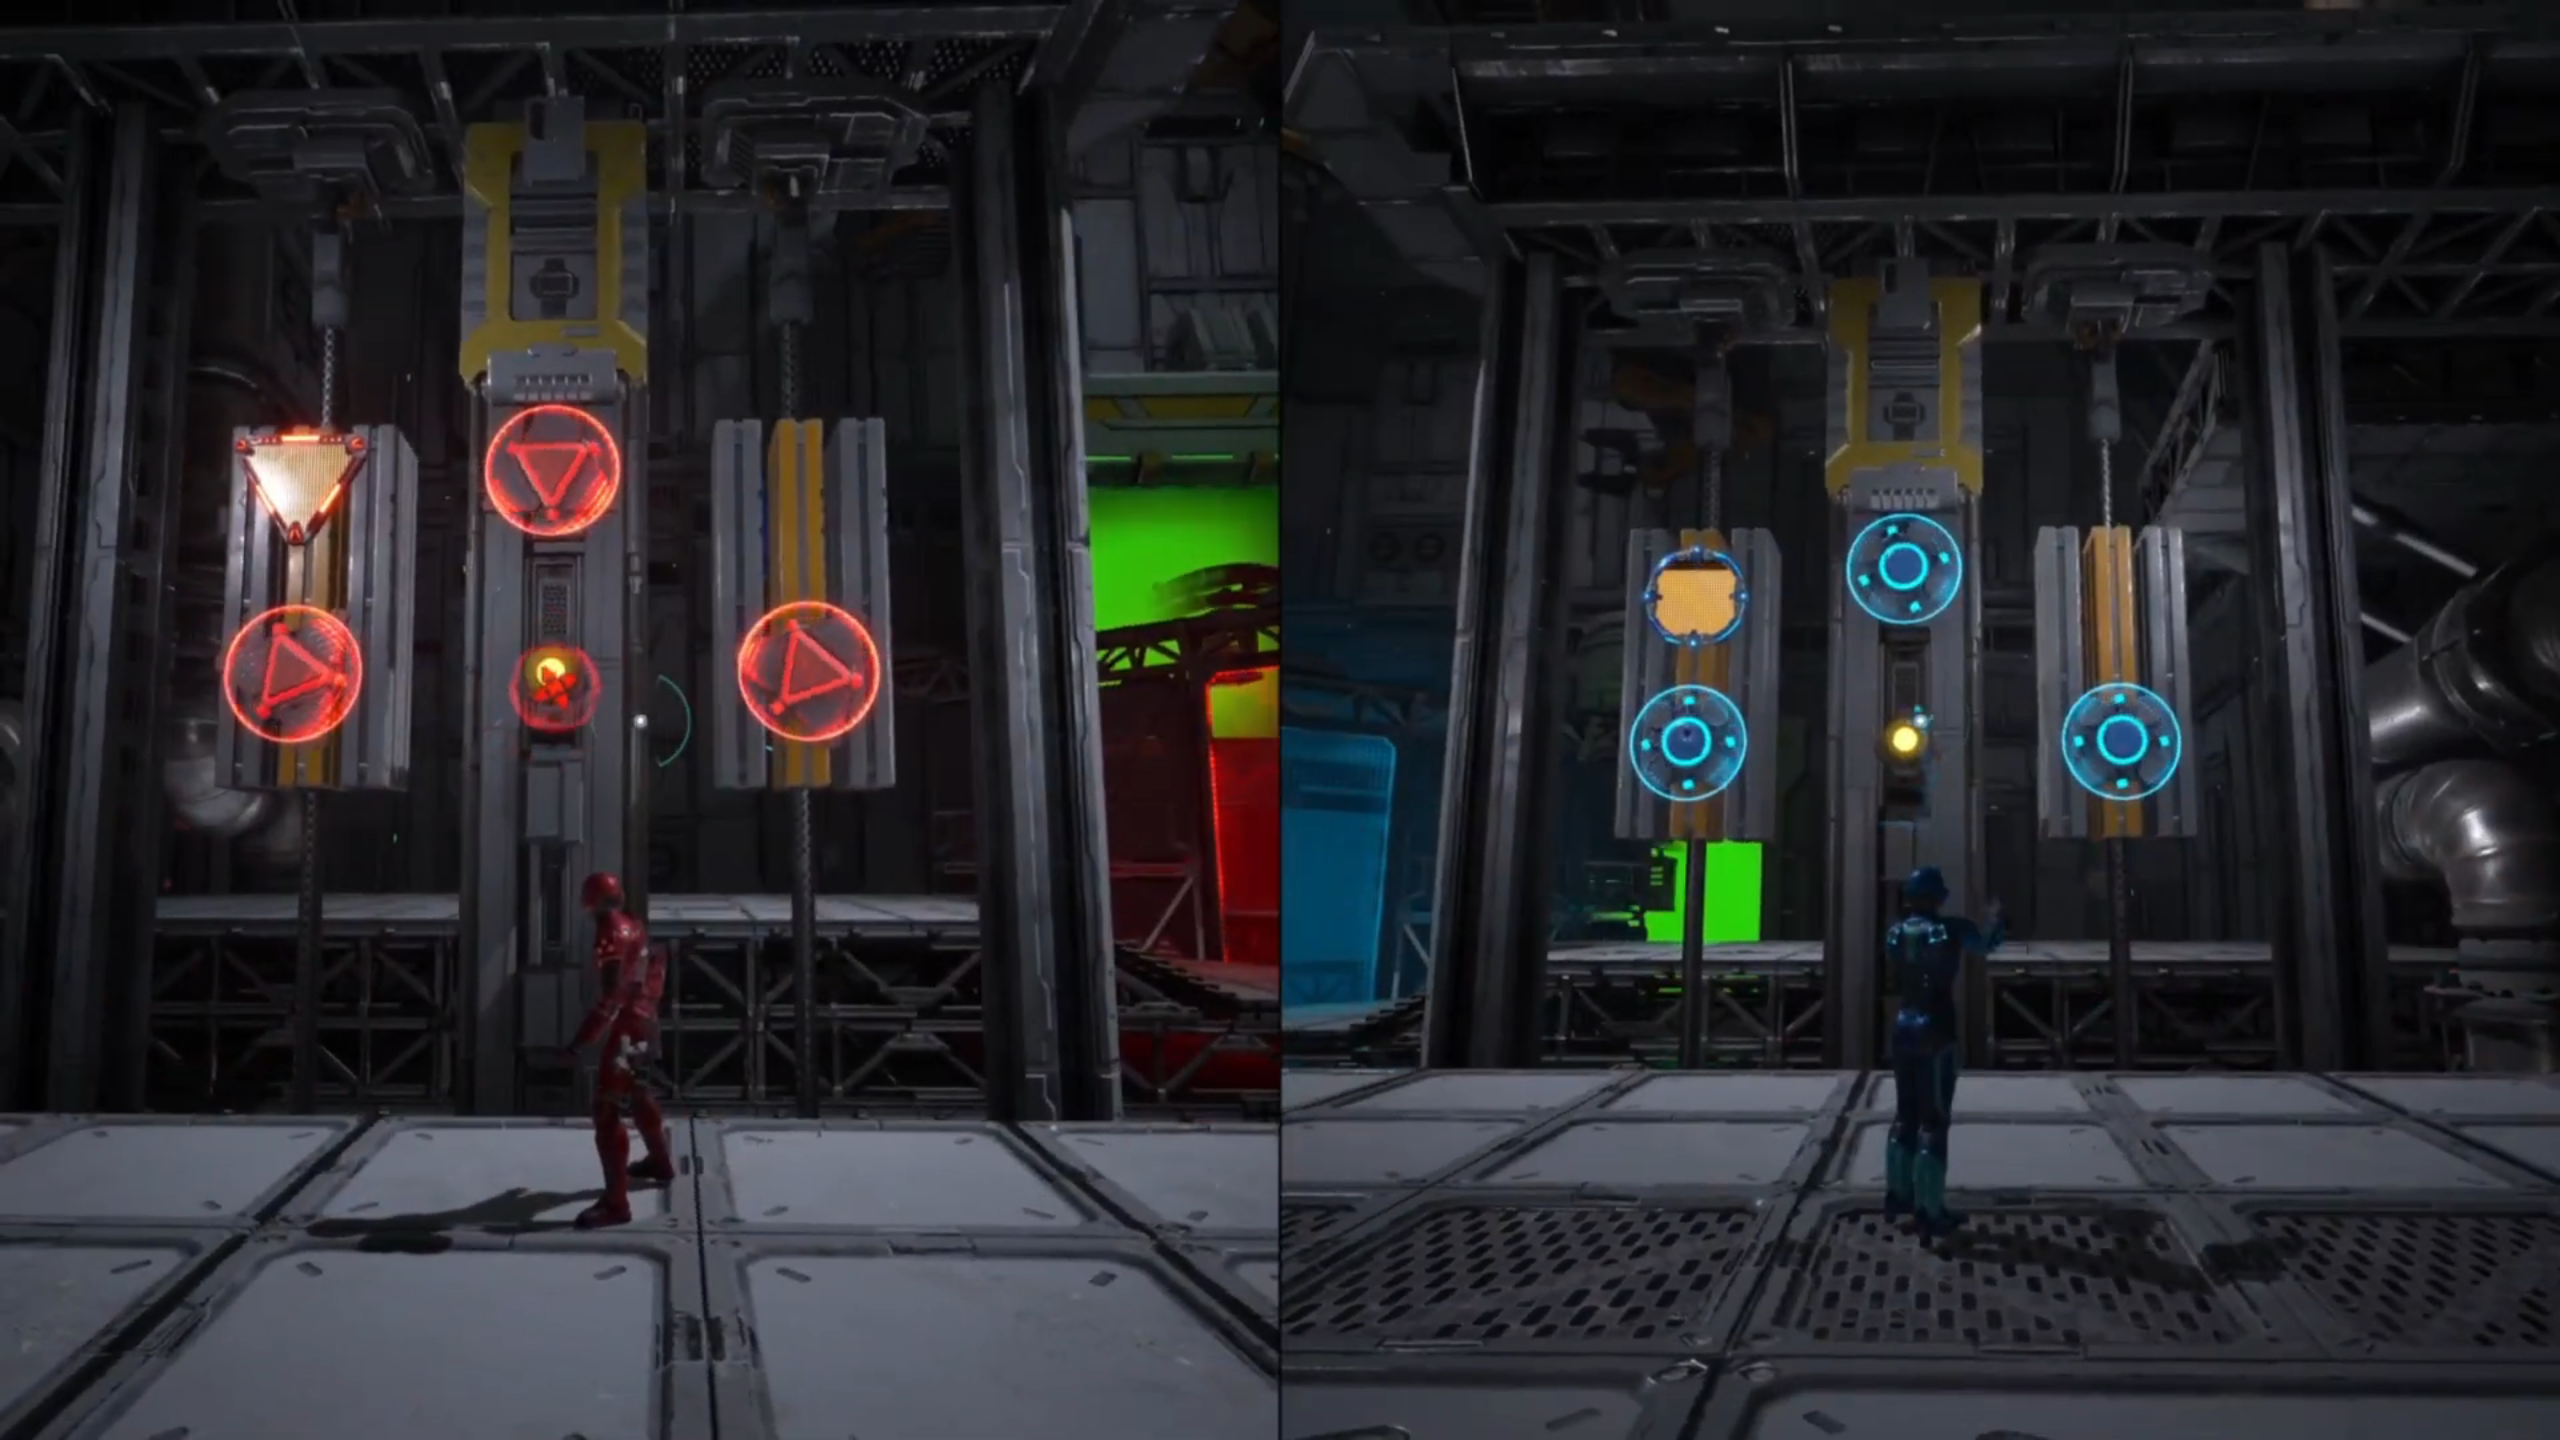
There is a huge machine separating both of you. First, you need to set the grenades on the yellow light on your respective sides of the machine. After that, you can use your energy guns to power up the unlit nodes on your respective sides. Once enough power is generated, the panels will shoot upwards.
Now, quickly detonate your bombs. This will cause the panel on top to break, initiating a connection sequence between the three nodes. Two jump pads will rise up from the ground, one for each of you.
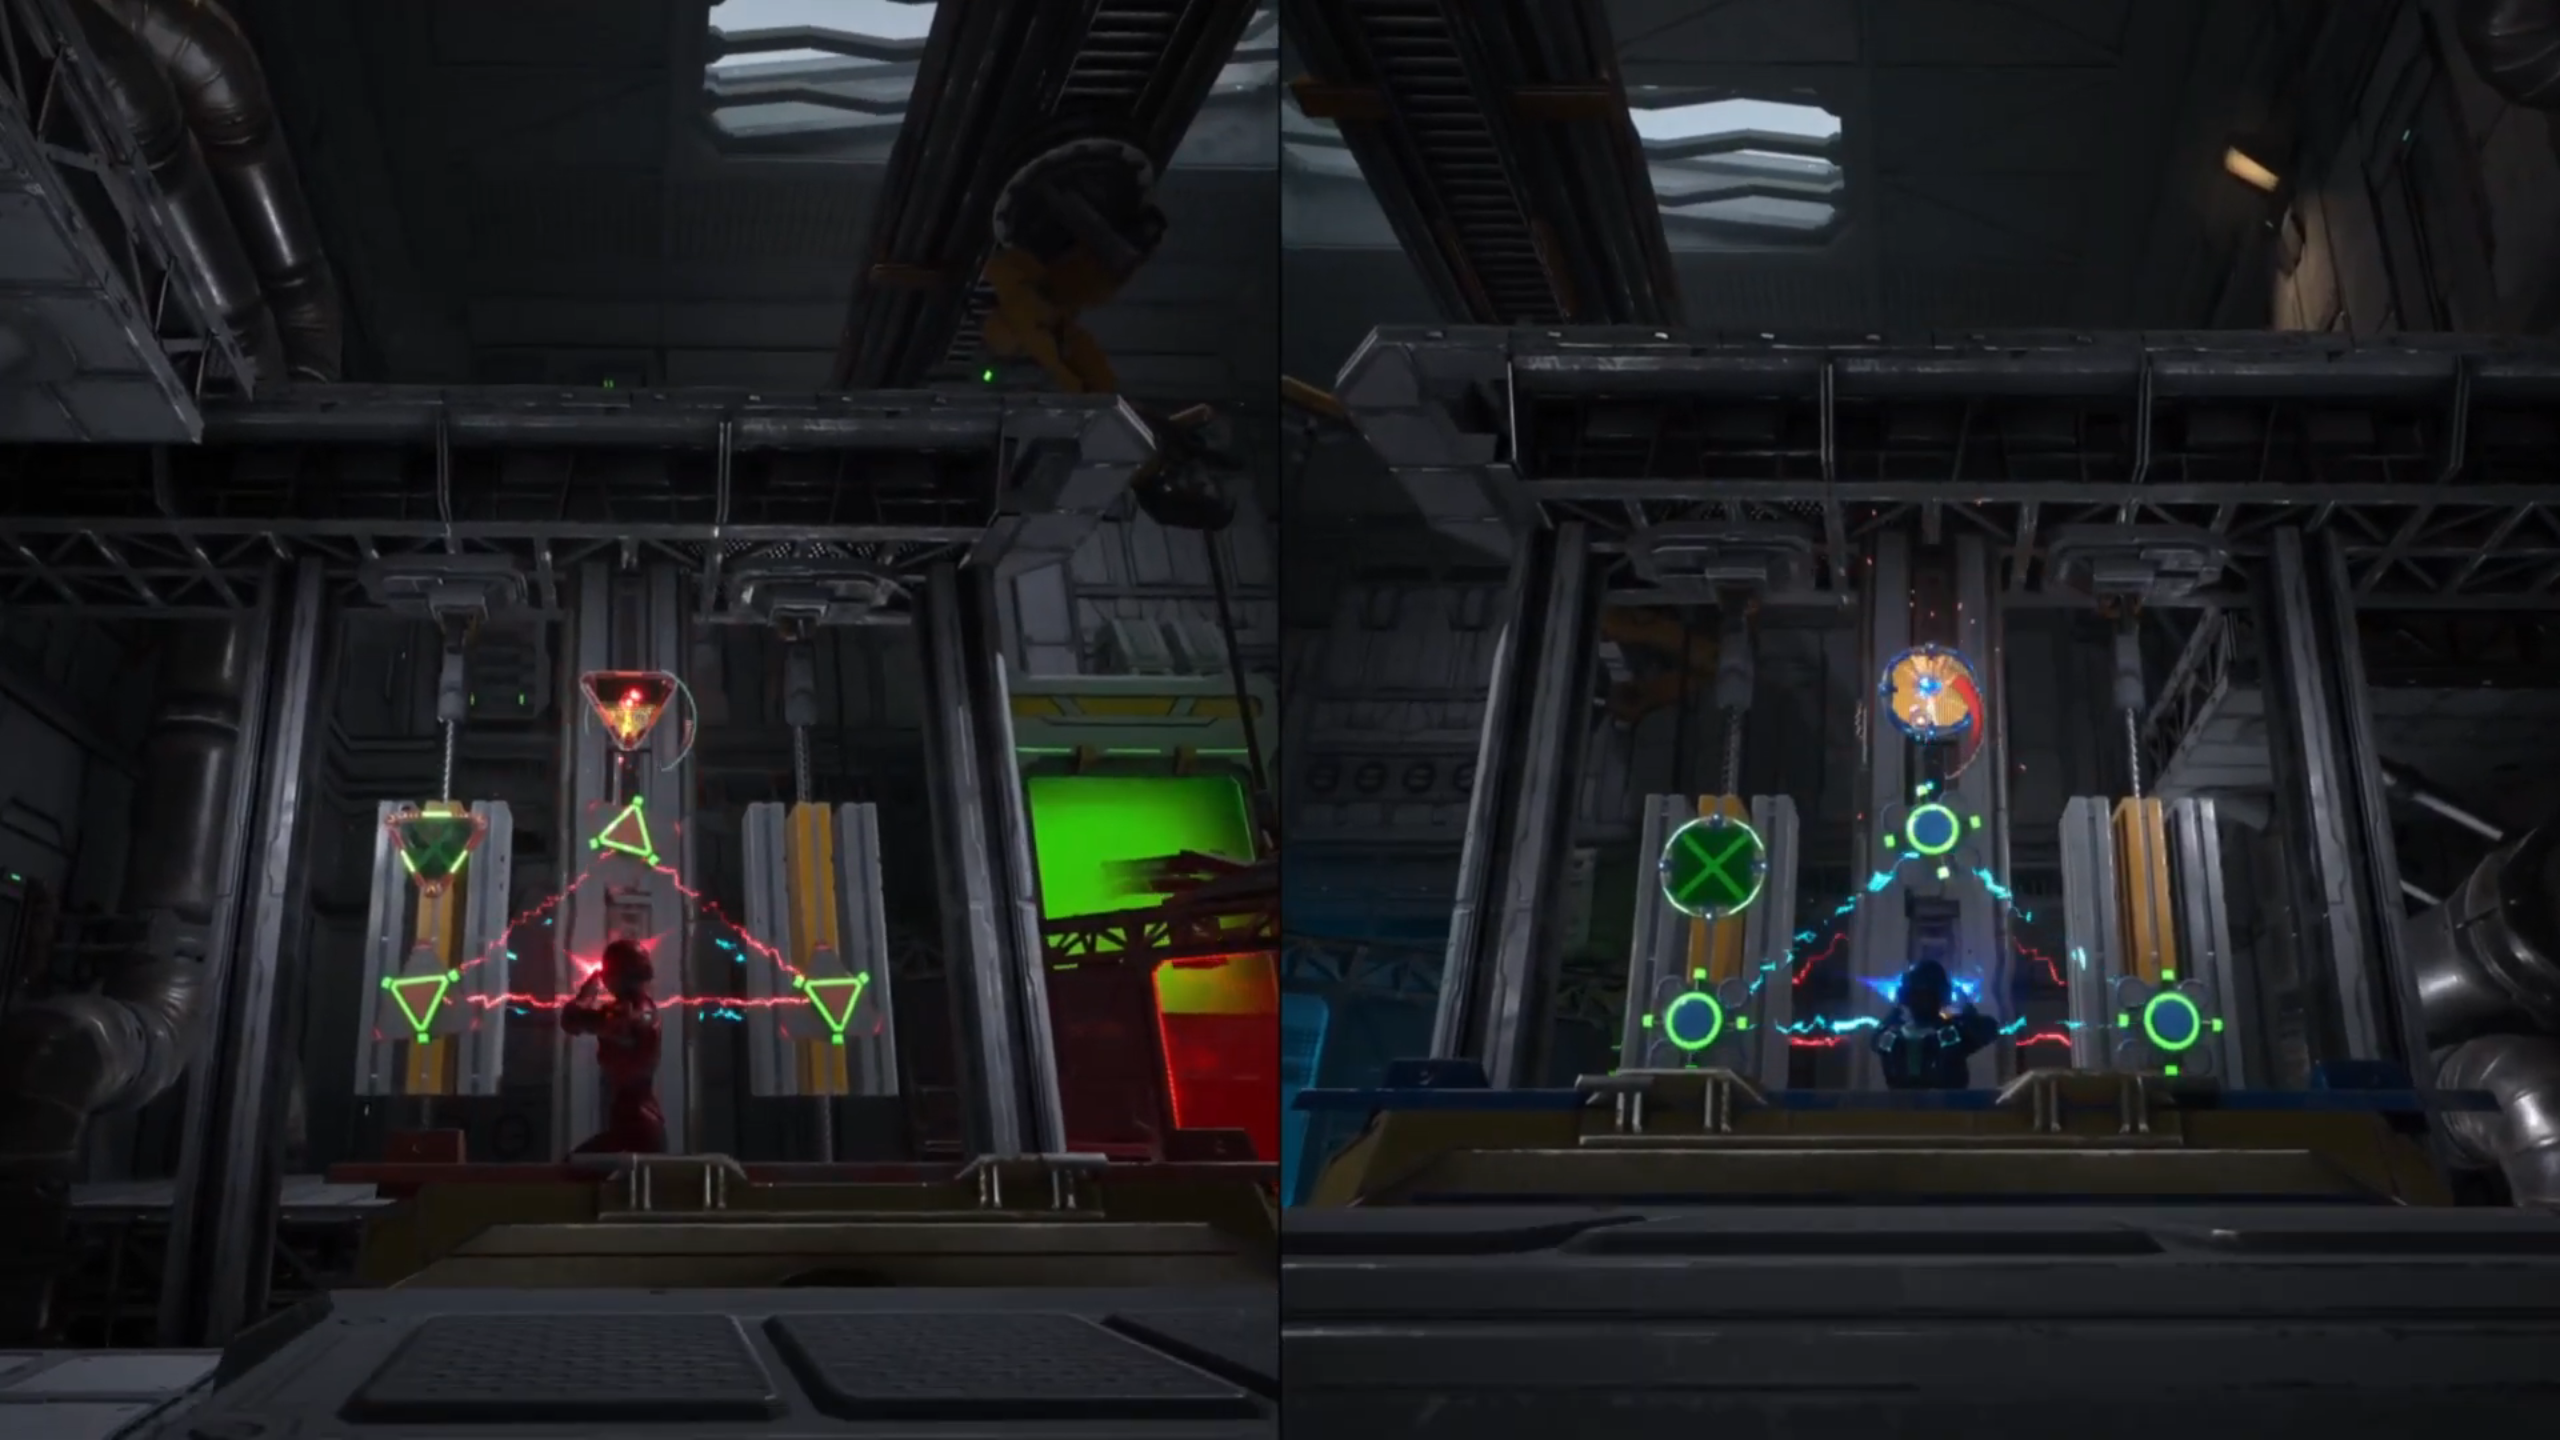
Stand on top of the jump pad, use your energy gun, and power up the top-most unlit node on the machine. Once fully charged, the jump pad charges backward and propels the two of you up into the sky, landing straight on top of the bridge above.
Looking For More?
Thank you for reading the article. We provide the latest news and create guides for Baldur’s Gate 3, Starfield, ARK Survival Ascended, and more. Also, watch Deltia play games on Twitch or visit his YouTube channel!