Down Below is the point of no return in Stalker 2. Learn how to complete this quest so you can put an end to the rest of the story fast.
Down Below is a mission in Stalker 2 that introduces the point of no return. So, first and foremost, if you have some business to take care of within the game, do it before you start this quest.
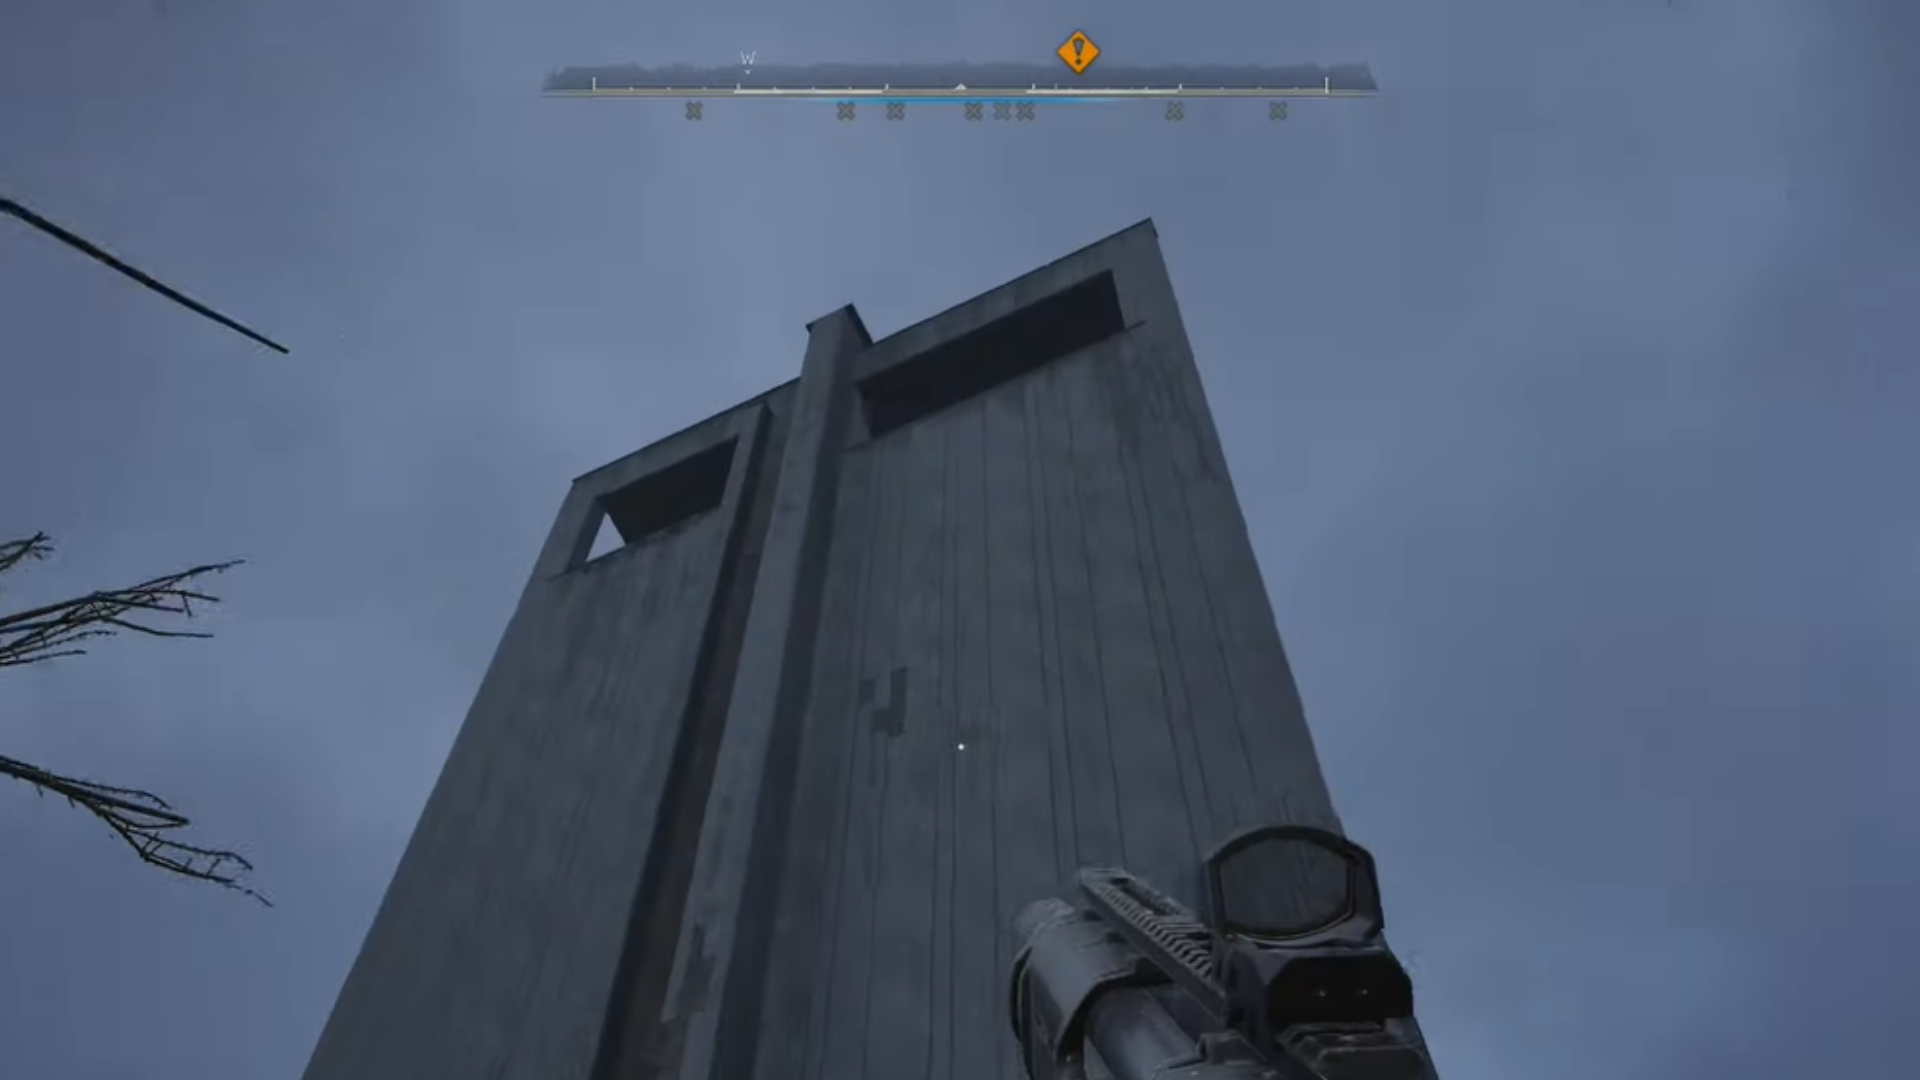
Once you do, you have to rendezvous with your allies at the Polissya Hotel. Your next set of objectives will be to wreak havoc on the Ward troops in a gray building nearby. They are all located only on the ground floor. There might be around 7-8 armed enemies here.
Taking them out is no joke because they are armored. But when you are all wrapped up, you must search the bodies for a keycard. We found the keycard on one Maj. Dvoryankov.
This will initiate the next phase of the mission, where things will get tricky, and the “point of no return” message will show up afterward.
Heading Down Below in Stalker 2
The First Phase of the Mission
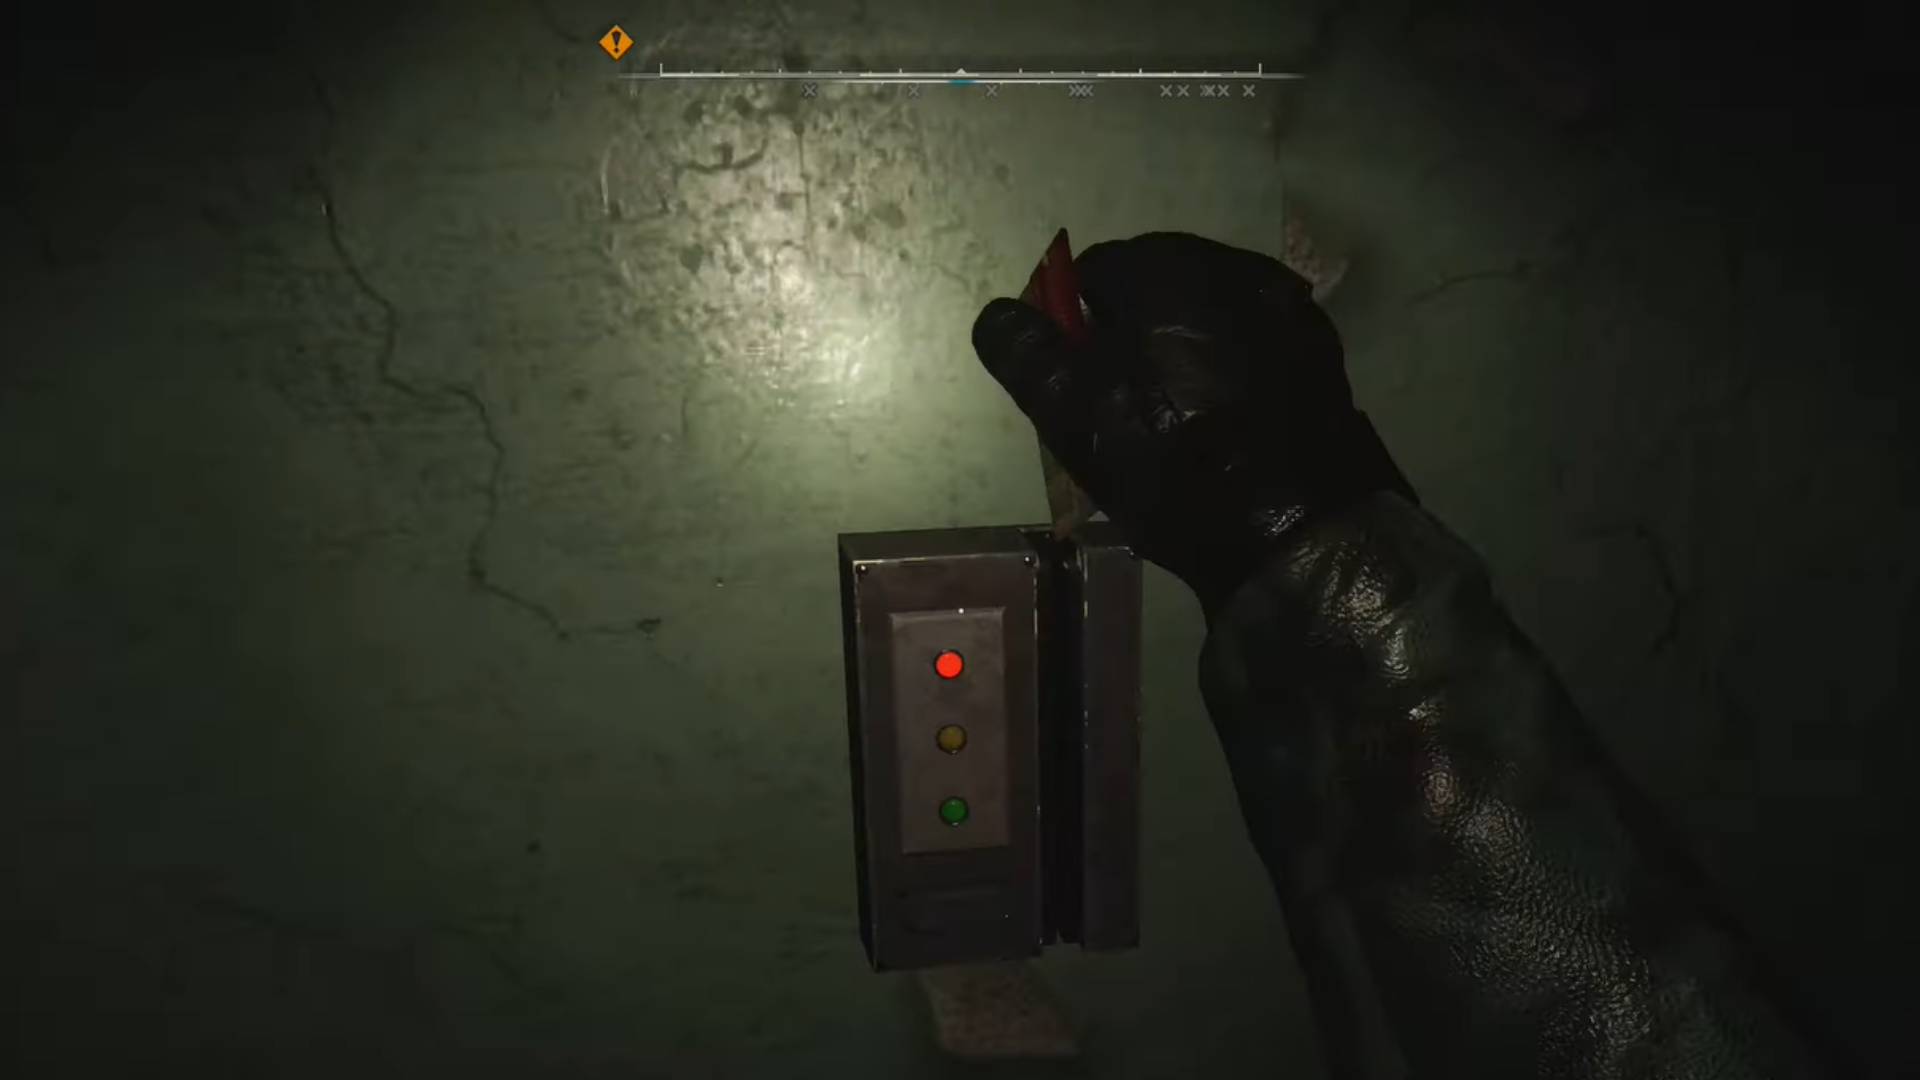
Once you have acquired the keycard, follow the right wall of the building until it turns at the corner. This is where you will find a stone staircase leading down into a basement.
Swipe the keycard to unlock the door. There will be ammo and healing items here that you can grab before proceeding further. This is also where the “point of no return” warning appears.
You must follow the quest marker and jump down into a tunnel. There will be a couple of mutants here that will shriek and come after you. Make your way to the end of the tunnel, and you will find yourself standing, facing an open shaft of sorts.
You have to enter the bottom-most tunnel on the wall right in front of you, but that’s impossible to do right away. For now, look to your right and jump on the pipes to descend carefully. There will be a tunnel where you can safely jump once you have reached the bottom-most pipe (the tunnel you need to enter is right below it, but you can’t get to it yet). Jump into the tunnel you can actually reach. There is nothing of interest here, so turn around and jump into the tunnel on your left instead. This is where you were supposed to go all along.
When you enter it, there is a medkit and two grenades on your left. Grab them, equip the grenades, and go right. You will be attacked by a bunch of aggressive rats. Grenades are the most effective way of dealing with them.
Keep heading where the tunnel leads you. You will eventually come across a kind of cell with a ladder in the middle. Climb it, and you will reach another room that you can loot for ammo and healing items.
Finding Your Allies
When you exit the said room, you will find some human enemies at a distance. Don’t be fooled; there are some nearby as well. We suggest you engage quietly to avoid too much loss of health. However, if you are feeling confident, you might as well shoot your way through.
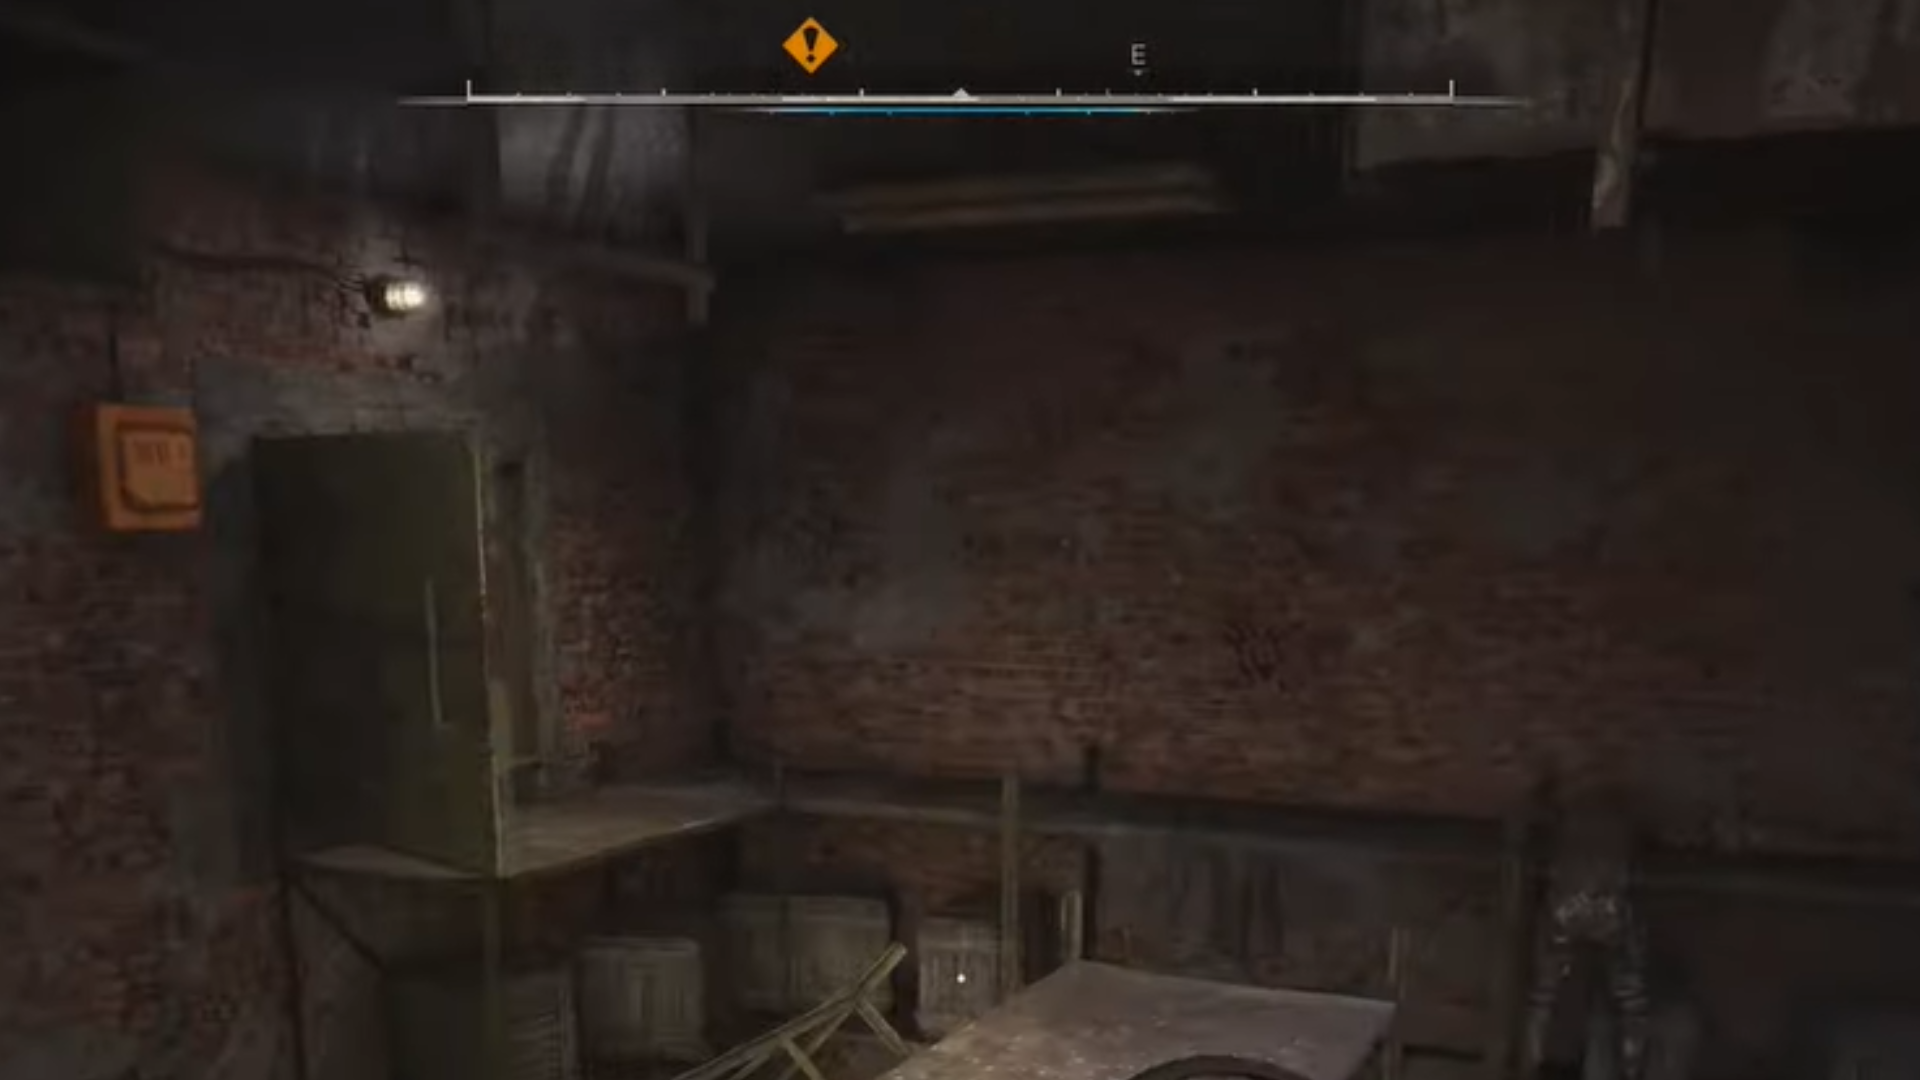
Follow the objective marker until you reach a room full of shelves. It looks like an abandoned storage room but creepier. Loot the room for supplies. There are boxes opposite where you entered the room. Climb atop, and once you are on the top shelf, you will notice a door (as shown in the image above).
Enter it, and there will be a vent that you crawl through to get to your next objective. Soon, you will find your allies. Follow one of them to a room with two security guards in it. Don’t worry; the cutscene will do all the work. It also kicks in dialogue that leads to the mission’s boss fight.
The Final Phase
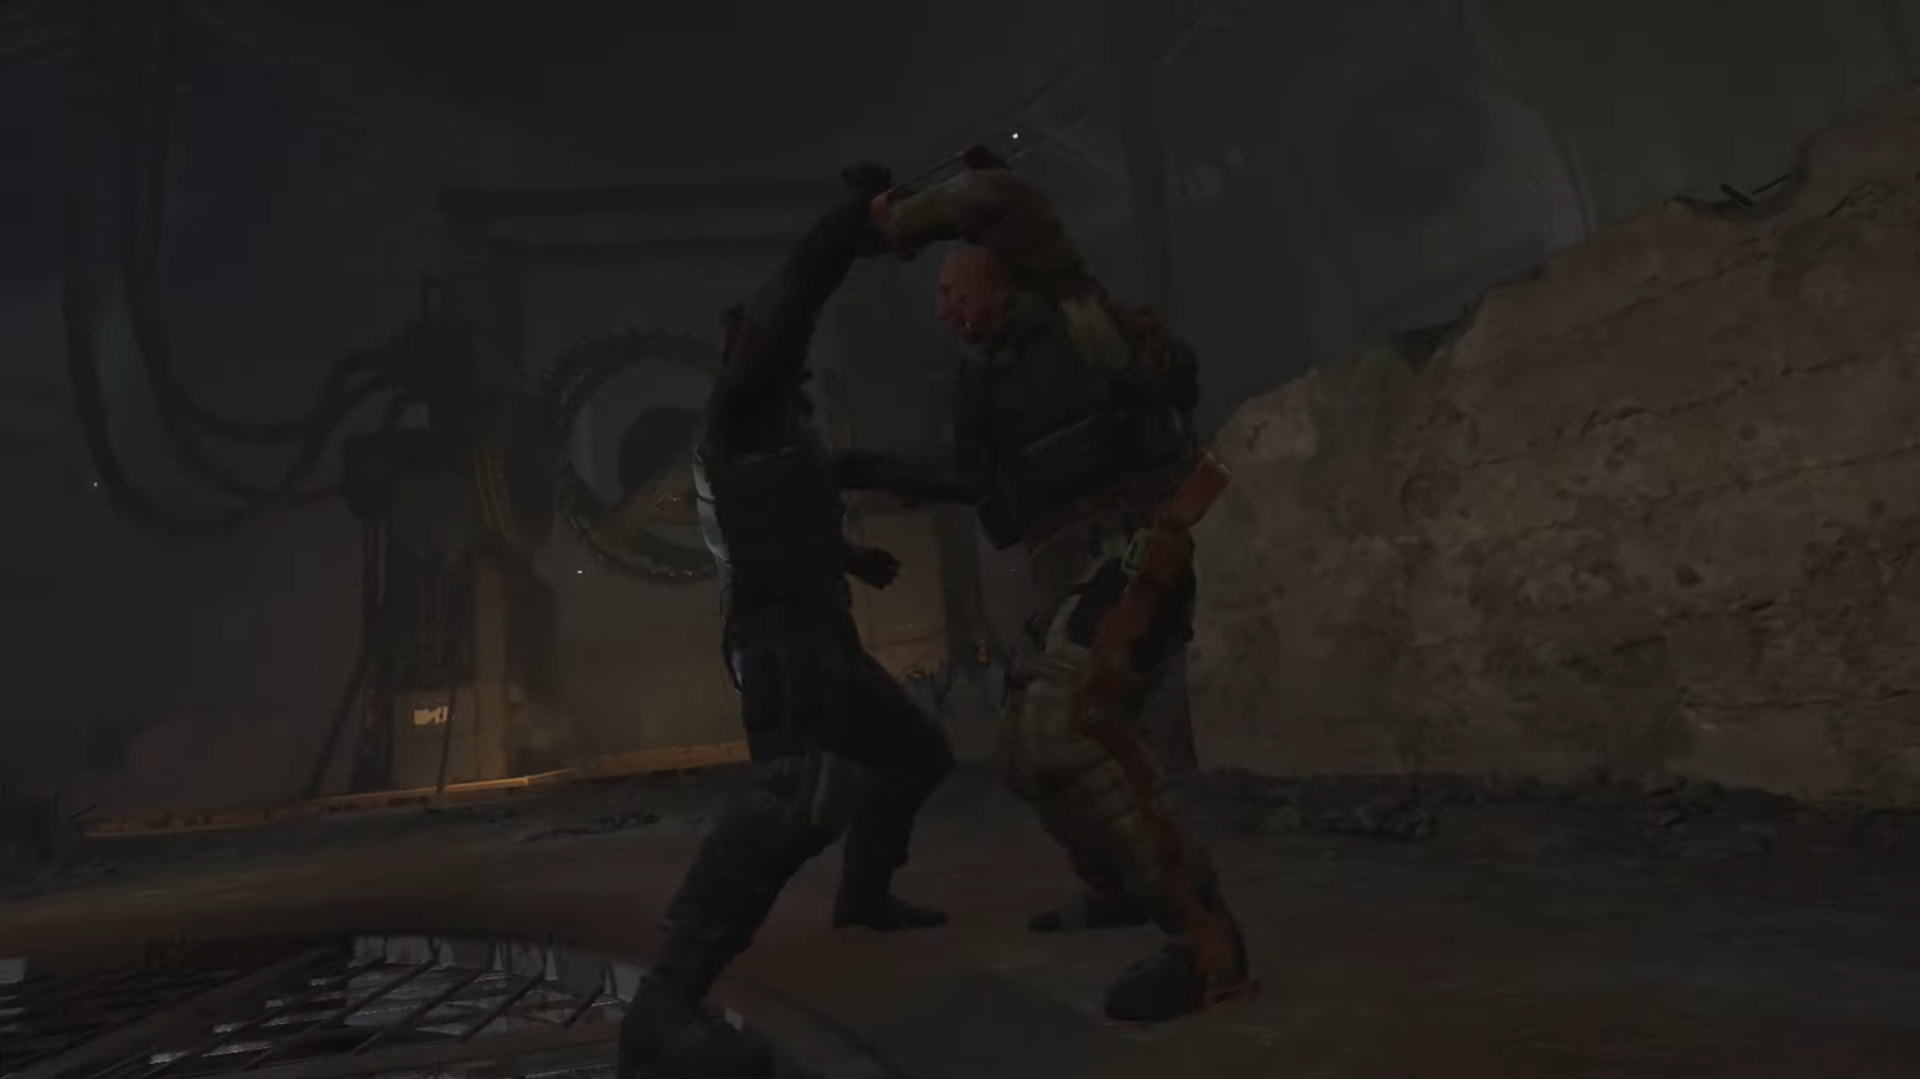
The final showdown will be between you, Col. Korshunov, and his soldiers. The Colonel is wearing some sort of electromagnetic armor that covers his head. Regardless of the protection, we found it useful to keep blasting it with bullets. If you have a sniper, now would be a great time to use it on him.
Try not to go too far, though, because once the armor is down, you will have to approach him with a knife for a cutscene. Repeat the steps once again, and another cutscene will play out. Loot his body to pick up the pendant and get to the controls.
Another cutscene will sync in with the next scene where you are talking to some of your allies, including Richter. Open the blue locker in the room to acquire the SEVA-I suit. Now, talk to Richter and proceed further.
You will find yourself standing in an open field as the next mission, The Last Wish, starts and Down Below ends.
Looking For More?
Thank you for reading the article. We provide the latest news and create guides for Baldur’s Gate 3, Starfield, ARK Survival Ascended, and more. Also, watch Deltia play games on Twitch or visit his YouTube channel!
 Reddit
 Email
Email
