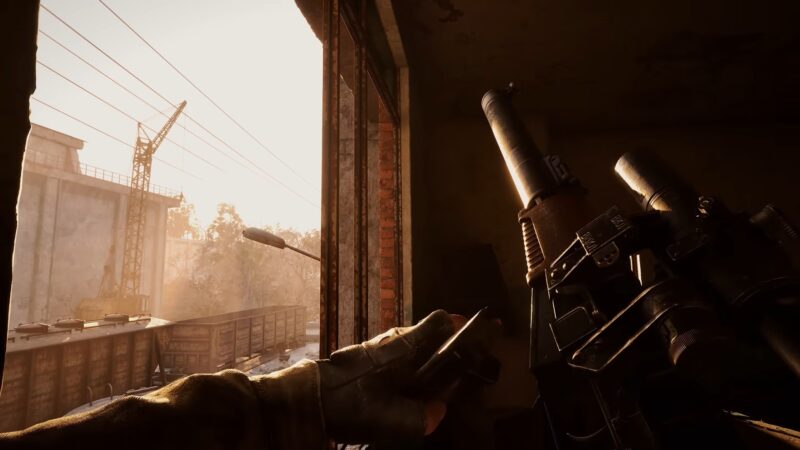
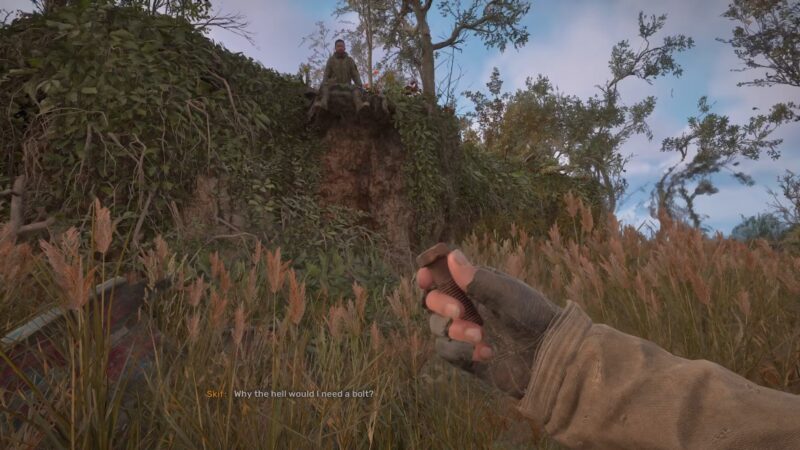
The Price Goes Up is a lengthy mission pretty early on in the game. Follow this guide to help yourself through it without much trouble.
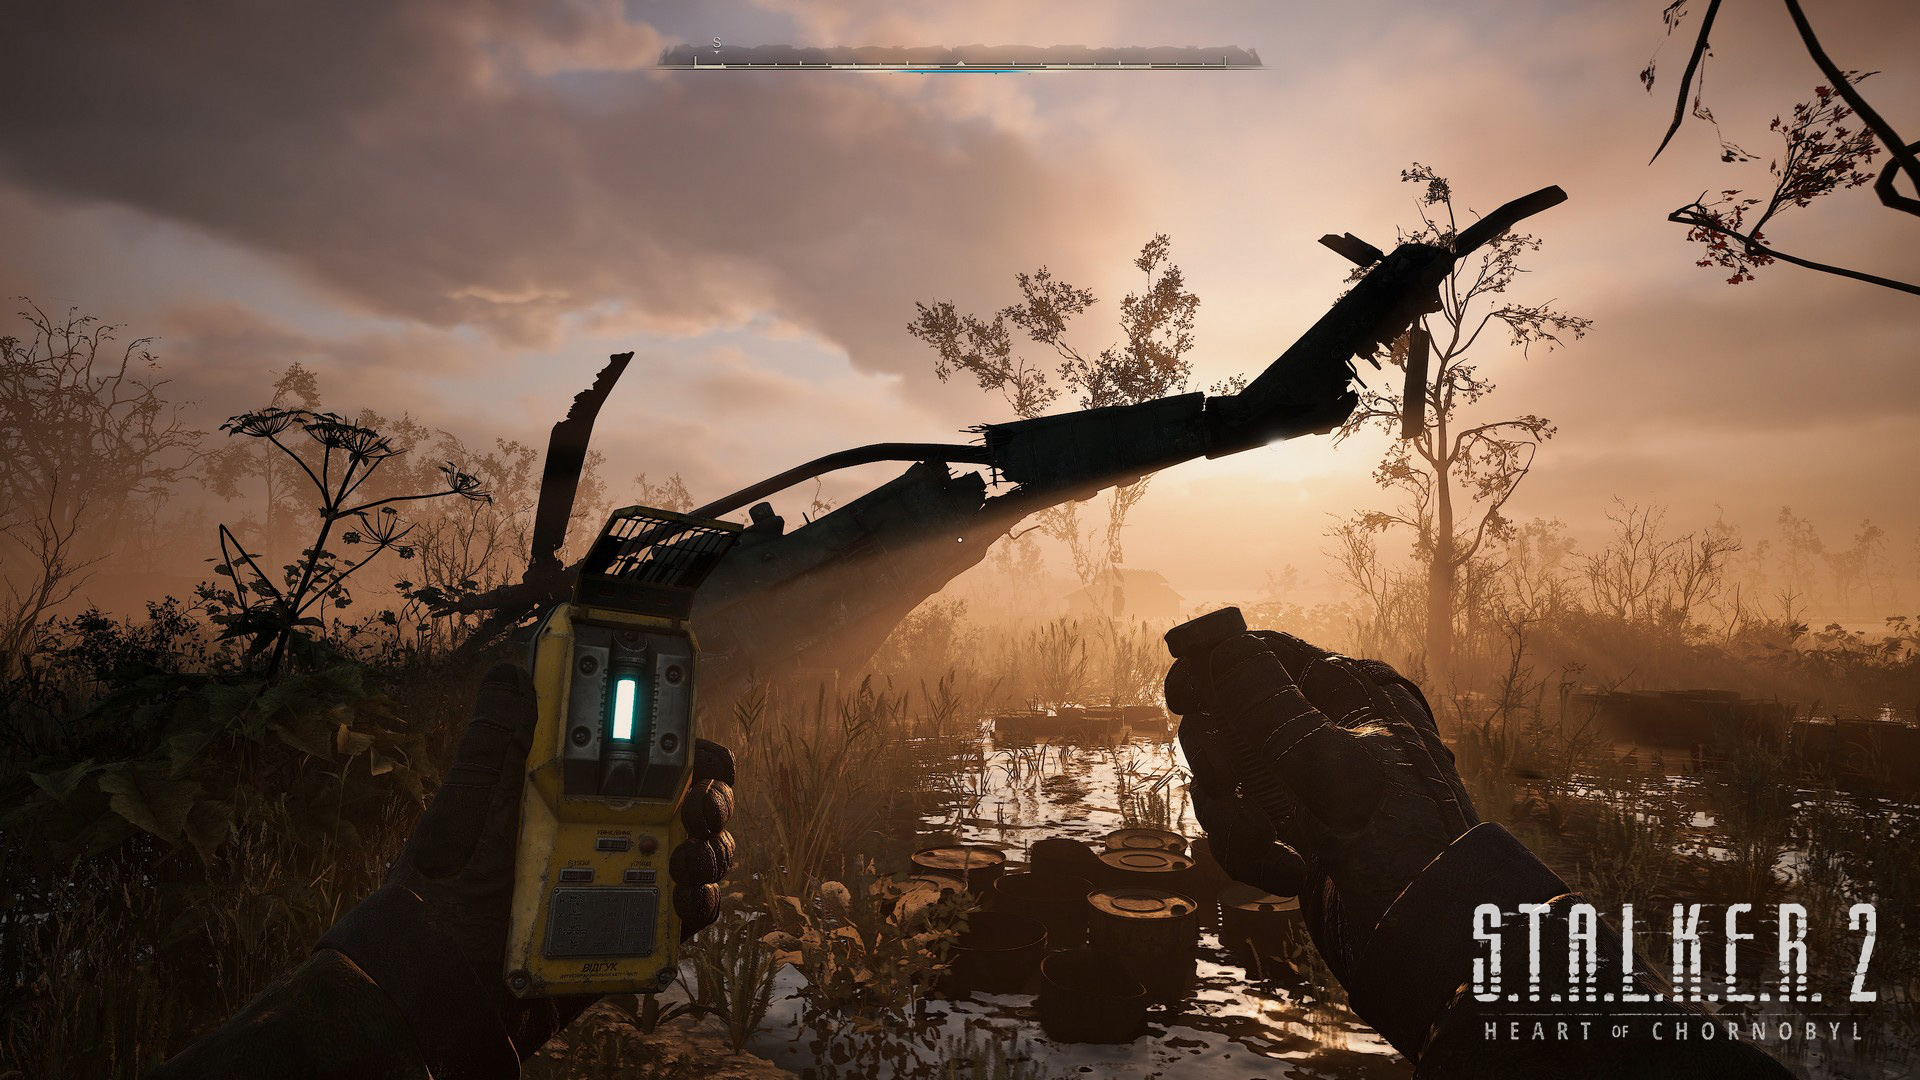
The fourth mission that you get in the main STALKER 2 storyline is called The Price Goes Up. The objectives of this quest are folded together in such a way that you cannot know what is coming next until you have completed a certain objective.
It all starts when you first chat with Diode at the Slag House. The location is marked on both your PDA map and the compass. However, if you are still having trouble finding it, it is situated northwest of the Detention Camp.
The mission brings along with it some troubles that you may not see coming. To add to the discomfort, you won’t get any completion rewards. But either way, you have to complete it to progress further into the story.
Completing the Price Goes Up Mission in Stalker 2
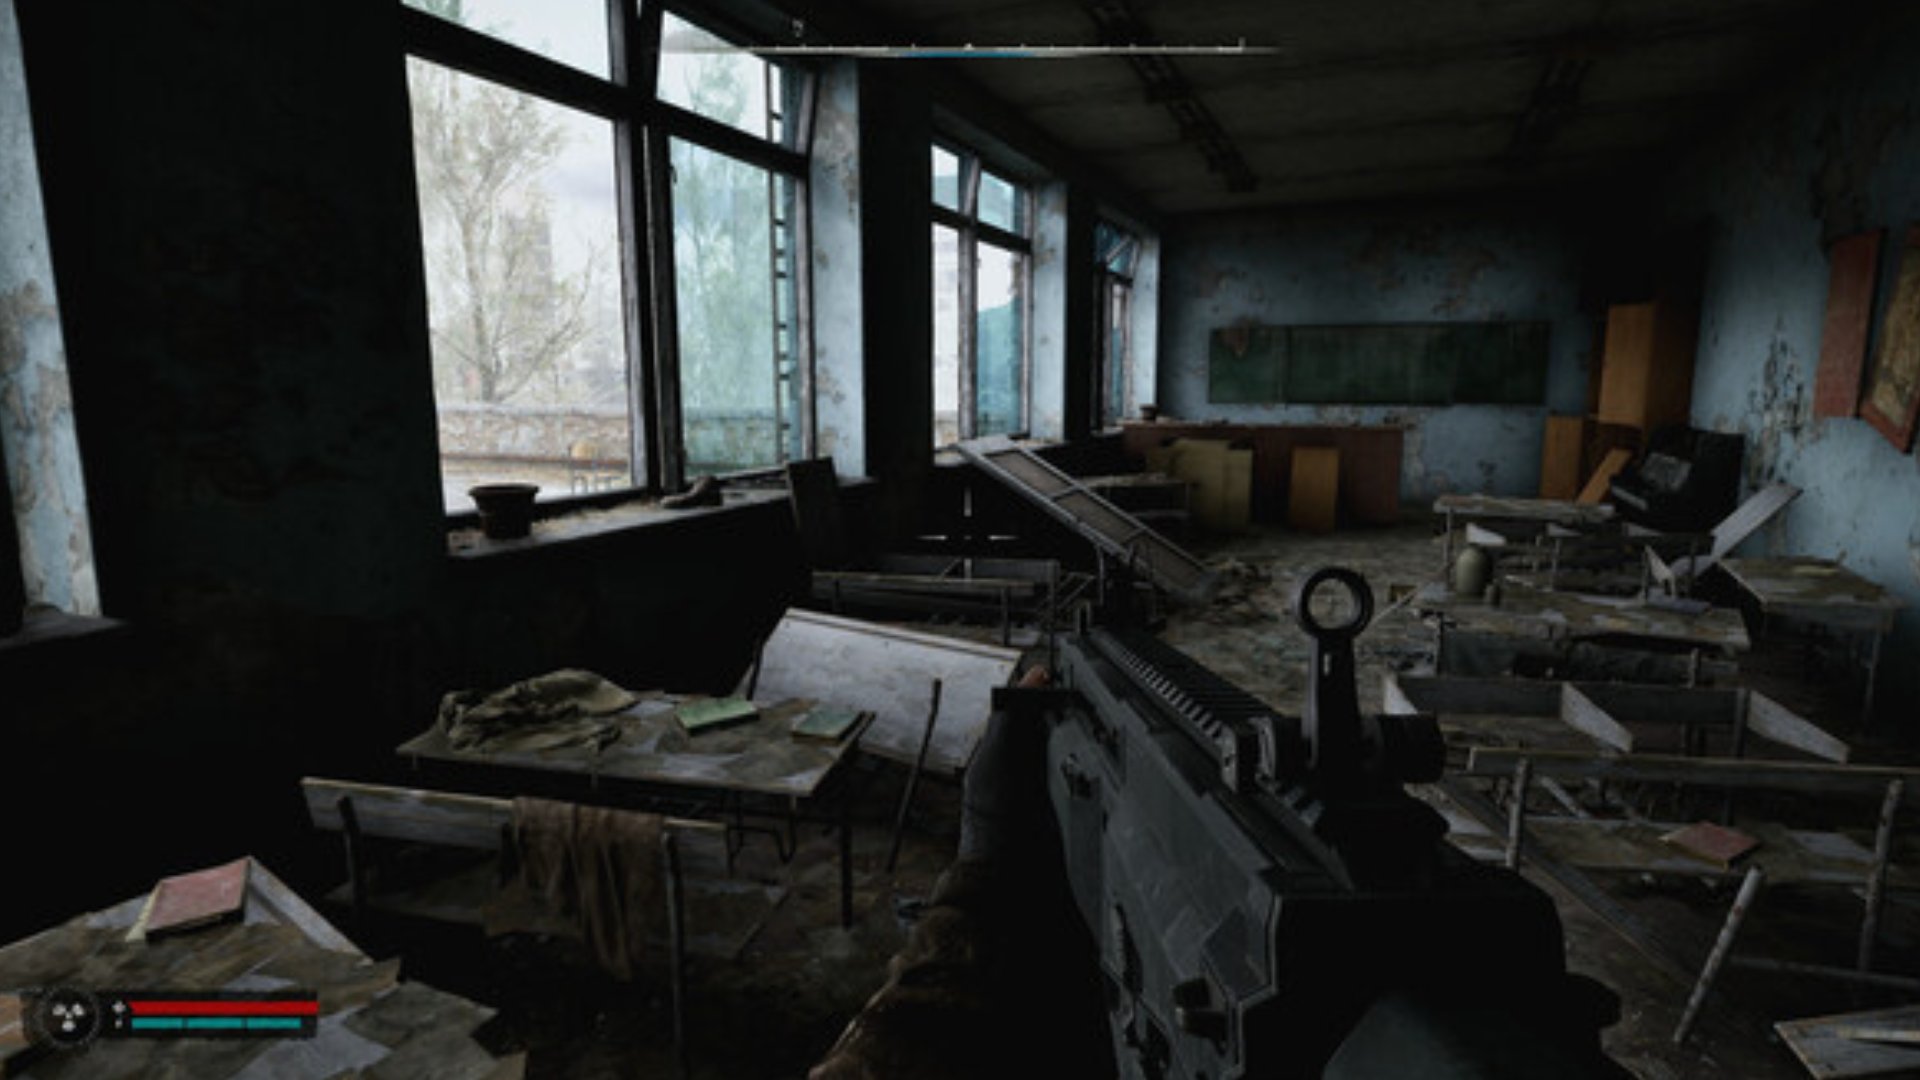
Once you talk to Diode at the Slag House, he will ask you to visit his workshop. The location will be marked on your compass. Once you reach the location, there will be a big concrete cylinder. You have to jump down the shaft and land on some wooden planks.
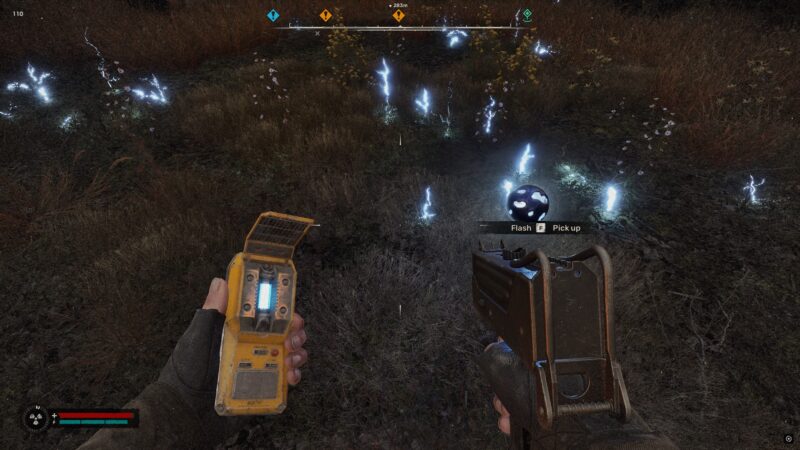
Now, melee the planks beneath you to fall further down. Be careful, though, there is an Electrical Anomaly down here. If you can, read its pattern and walk past it. If you can’t do so, use your bolts to make the area safer for you for a few moments. Make your way to Zhora Desman’s corpse and loot it to find Diode’s Workshop Card.
Make your way to the area where you jumped down from. Hit the anomaly with a bolt before climbing the ladder here. You will eventually come across a door on the upper floor where you can use the keycard to exit.
Report back to Diode, and he will let you in on Nestor’s Stash location. It will narrow down as you start on your journey. Once you reach the coordinates, enter a tunnel heading downstairs, platform a little, and you will get to a ladder. Climb it. Interact with the Richter by the broken crane, and at last, loot the stash.
Now, you have two options: either Enter the Dig Site or Look Around the Labyrinth. We did the former because it’s much simpler.
For this, you must follow the map and compass until you reach the dig site northeast of the crane. Now, look for a burrow entrance covered by some wooden logs. Be careful because two Burer Mutants will be waiting for you here.
Slay them and heal Kiddo. Talk to him to progress the main story further.
Looking For More?
Thank you for reading the article. We provide the latest news and create guides for Baldur’s Gate 3, Starfield, ARK Survival Ascended, and more. Also, watch Deltia play games on Twitch or visit his YouTube channel!
 Reddit
 Email
Email
