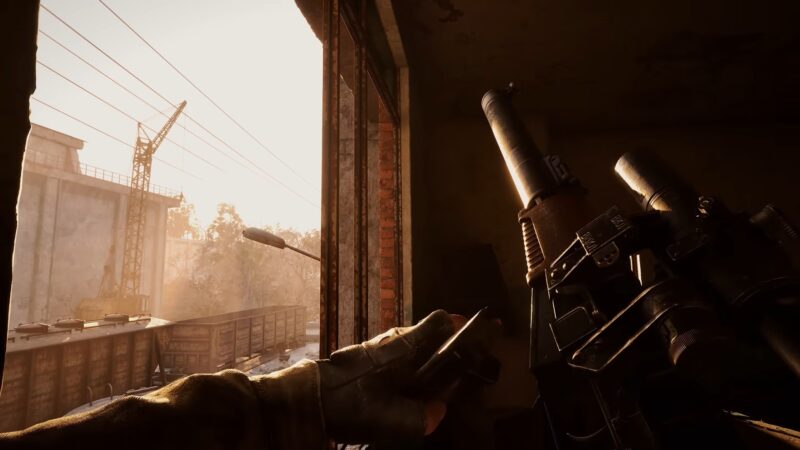
There and Back Again is the tutorial mission in Stalker 2. We are here to solve your troubles by showing you how to complete the prologue.
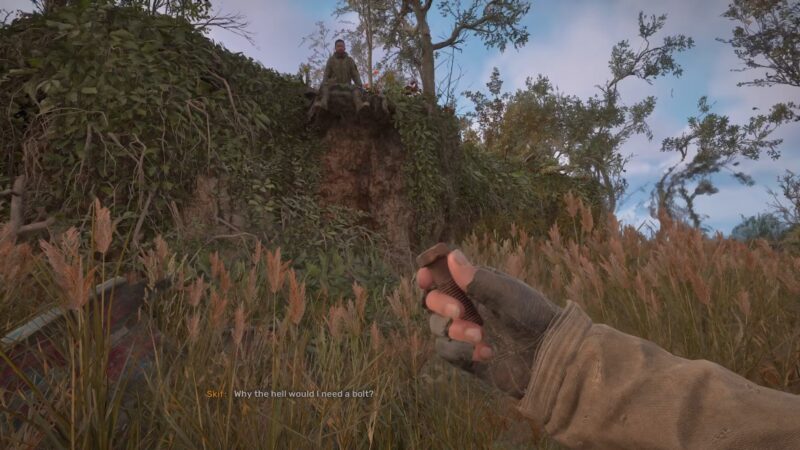
Stalker 2 opens with a cutscene, and then comes the prologue mission There and Back Again to set things in motion. The protagonist, Skif, seems to be up to a rather personal task. The game hurls you into the Lesser Zone as you are tasked with finding a way to cross the perimeter.
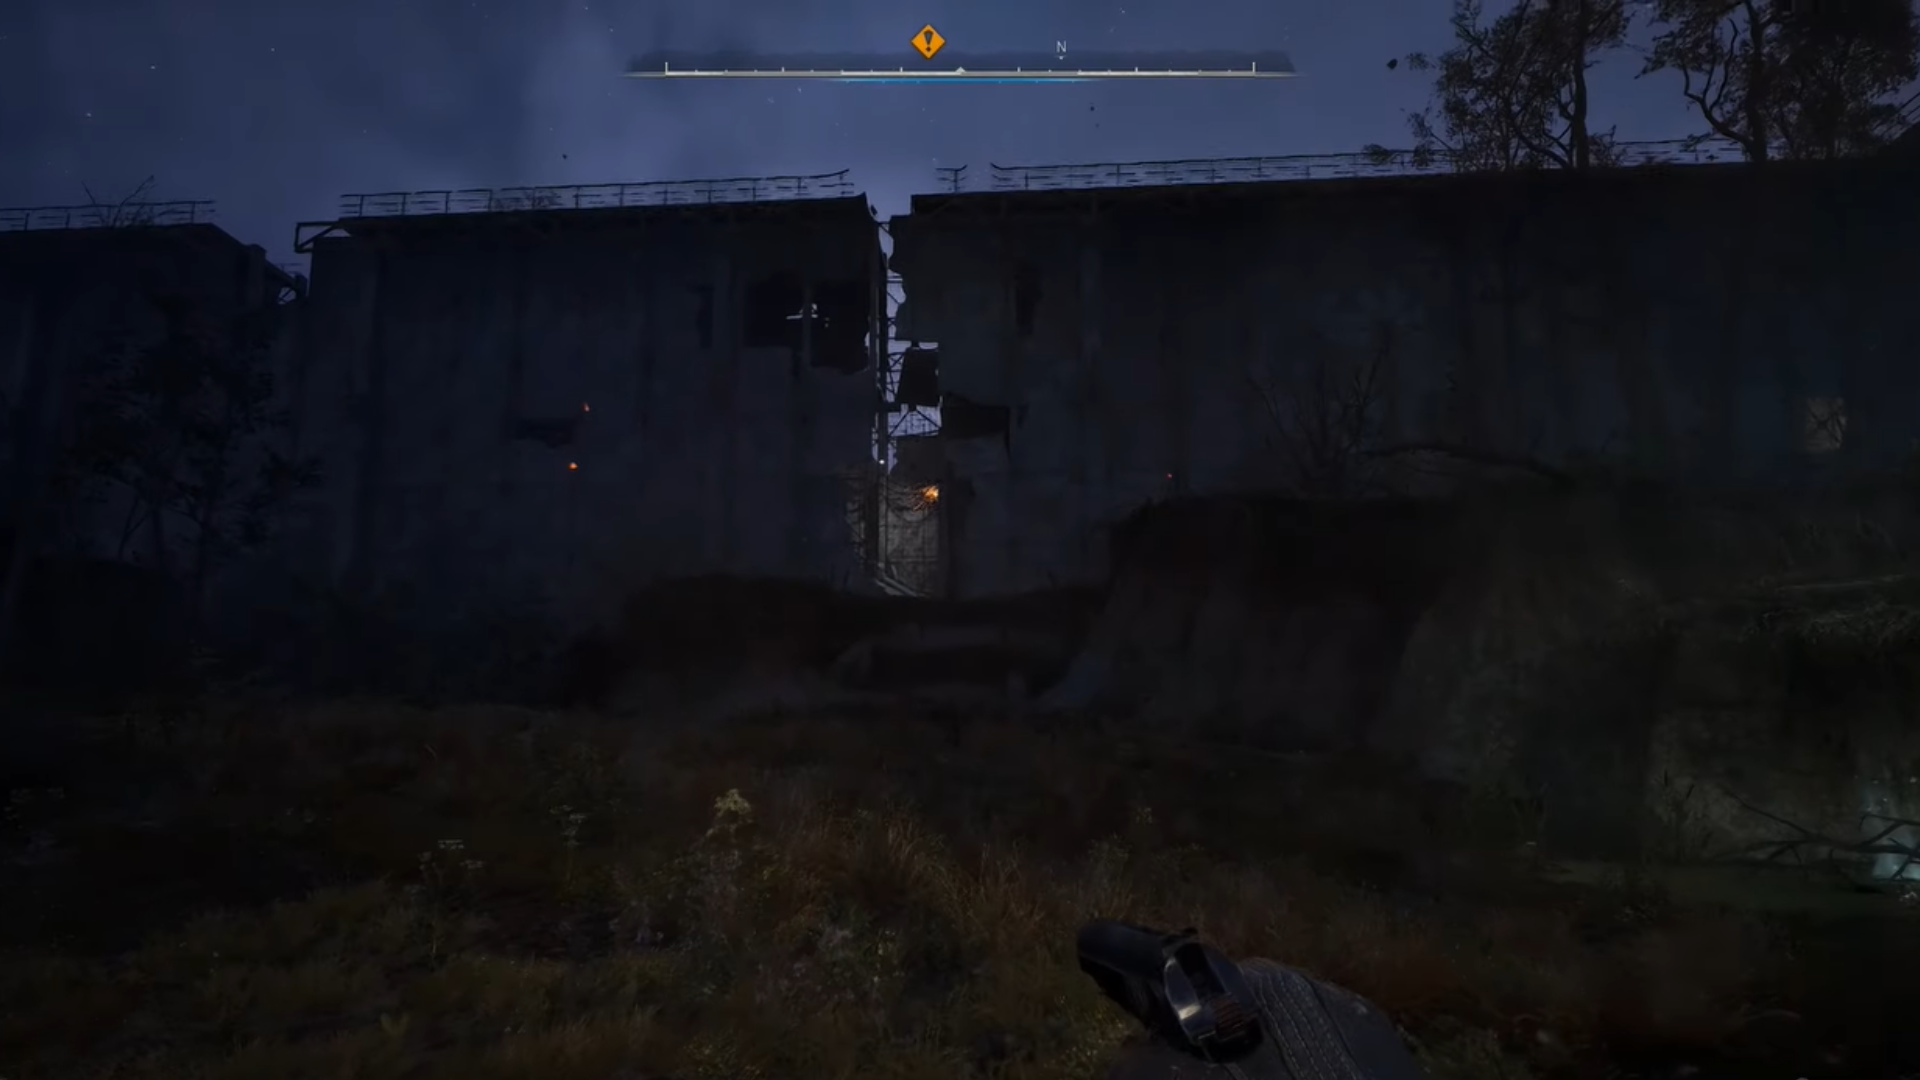
All you have to do is reach the big hole in the wall right in front of you when the game gives you complete control over Skif’s body. Climb atop the broken platforms, and this objective will be complete.
You will now have to make your way through a shady place. Don’t worry though, there is no combat required here, the area just naturally looks creepy. There will be a wooden blockade that you can get rid of using your knife from the weapon wheel. Don’t waste your bullets on it. Same goes for the lock on the door on your left, just ahead of the wooden blockade.
Once you are finally in the actual Lesser Zone, in the open fields, you will have to navigate your way to the Mobile Lab. You must find Anton Nehoda here to obtain something from him. This is where things can get a little tricky.
There and Back Again: All Major Objectives
The Mobile Lab and Anton Nehoda
When you find the Mobile Lab, climb atop it using the ladder. There will be an elevated platform a little to your northwest when you are at the top. Climb on it to find a hatch installed. Interact with it, and jump right in. As soon as you have jumped, make your way straight ahead, there will be a divider wall. Turn left from here, and then take the first left.
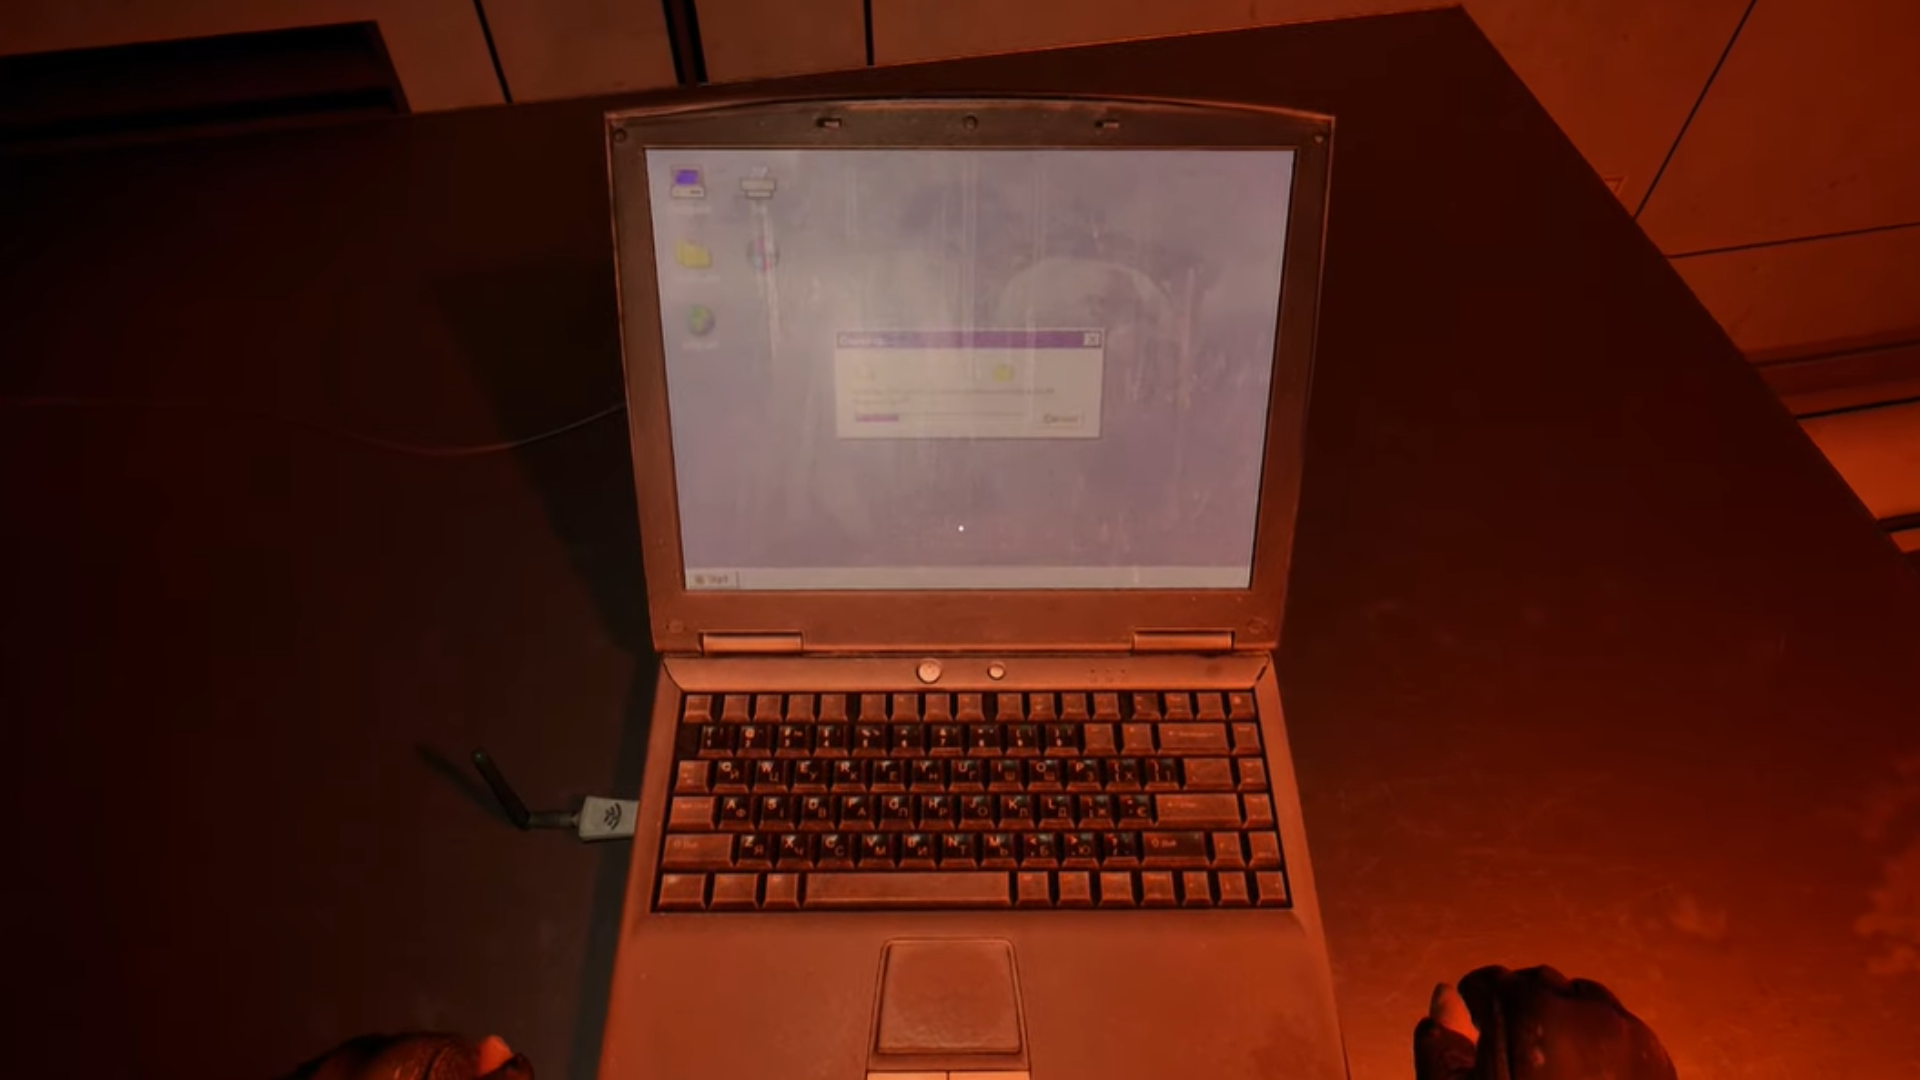
You will find Anton in a non-ideal condition. Loot his body, and a dialogue will play out. Now go back to the same spot where you jumped in. There will be a room to your left there. Enter it and find the laptop on the desk. Interact with it to copy Anton’s data.
Head to the divider wall, there is a dead body right behind it. Loot it to gather an Echo Detector. You can also pick up the gun lying here to use for the rest of your venture.
Locating the Artifact and Fending Off Danger
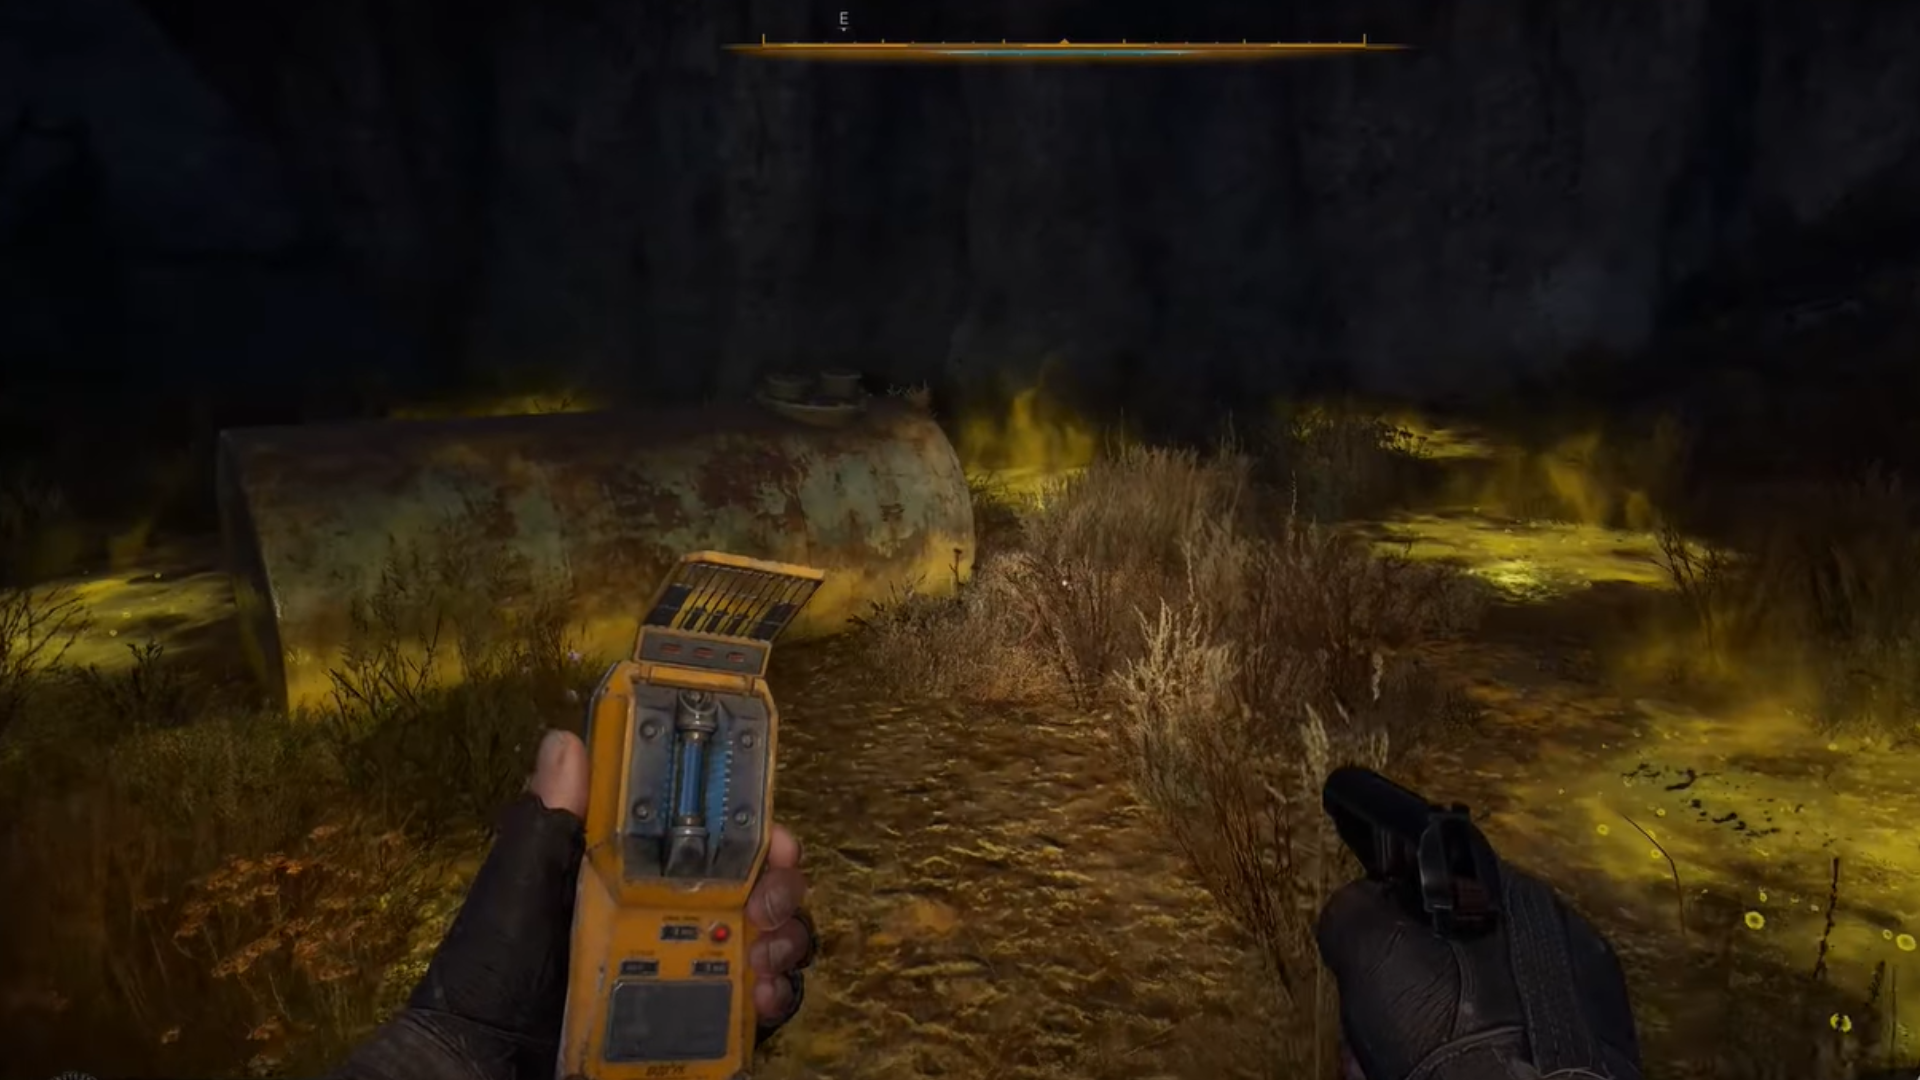
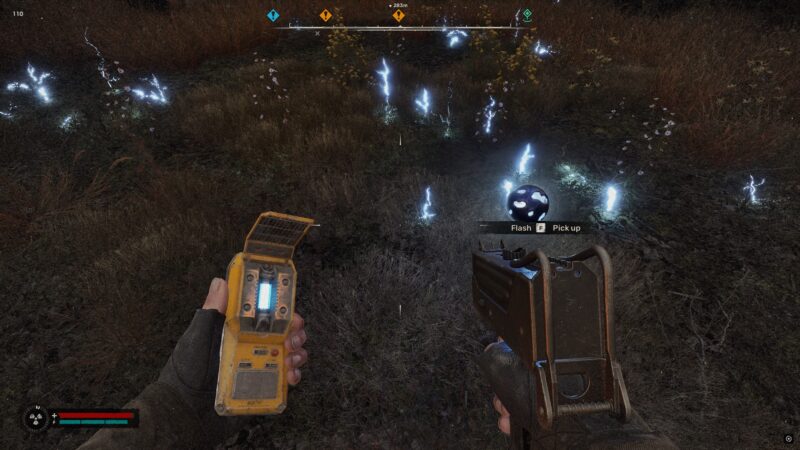
When you exit the mobile lab from the back door, there is a toxic sludge to your right where an artifact is located. Your Echo Detector will emit a high-pitched beep when an anomaly is near, while an artifact will make it clunk. Beware not to touch the yellow sludge.
The artifact is invisible until you are close enough. Make your way to the back of the giant pipe in the middle of the sludge pool, and it shall appear. Pick up the Slug and apply it if you wish.
Once you equip the artifact, a Bloodsucker will jump you. This is a tall mutant with a tentacled face. It can turn invisible and concuss Skif. The best way to deal with it is to aim down your sight and keep backing away slowly. Keep one finger on the fire button. As soon as it shows up, shoot. Try going for the headshot.
This should make quick work of our scary friend here, letting you deal with the main objectives first.
Using the Scanners
Travel to the coordinates marked on your PDA. It will most probably take you to a brick building. Move through it, and you will eventually come across a broken tower and a glowing anomaly. You can safely reach it and interact with it. Skif will then install the scanner there.
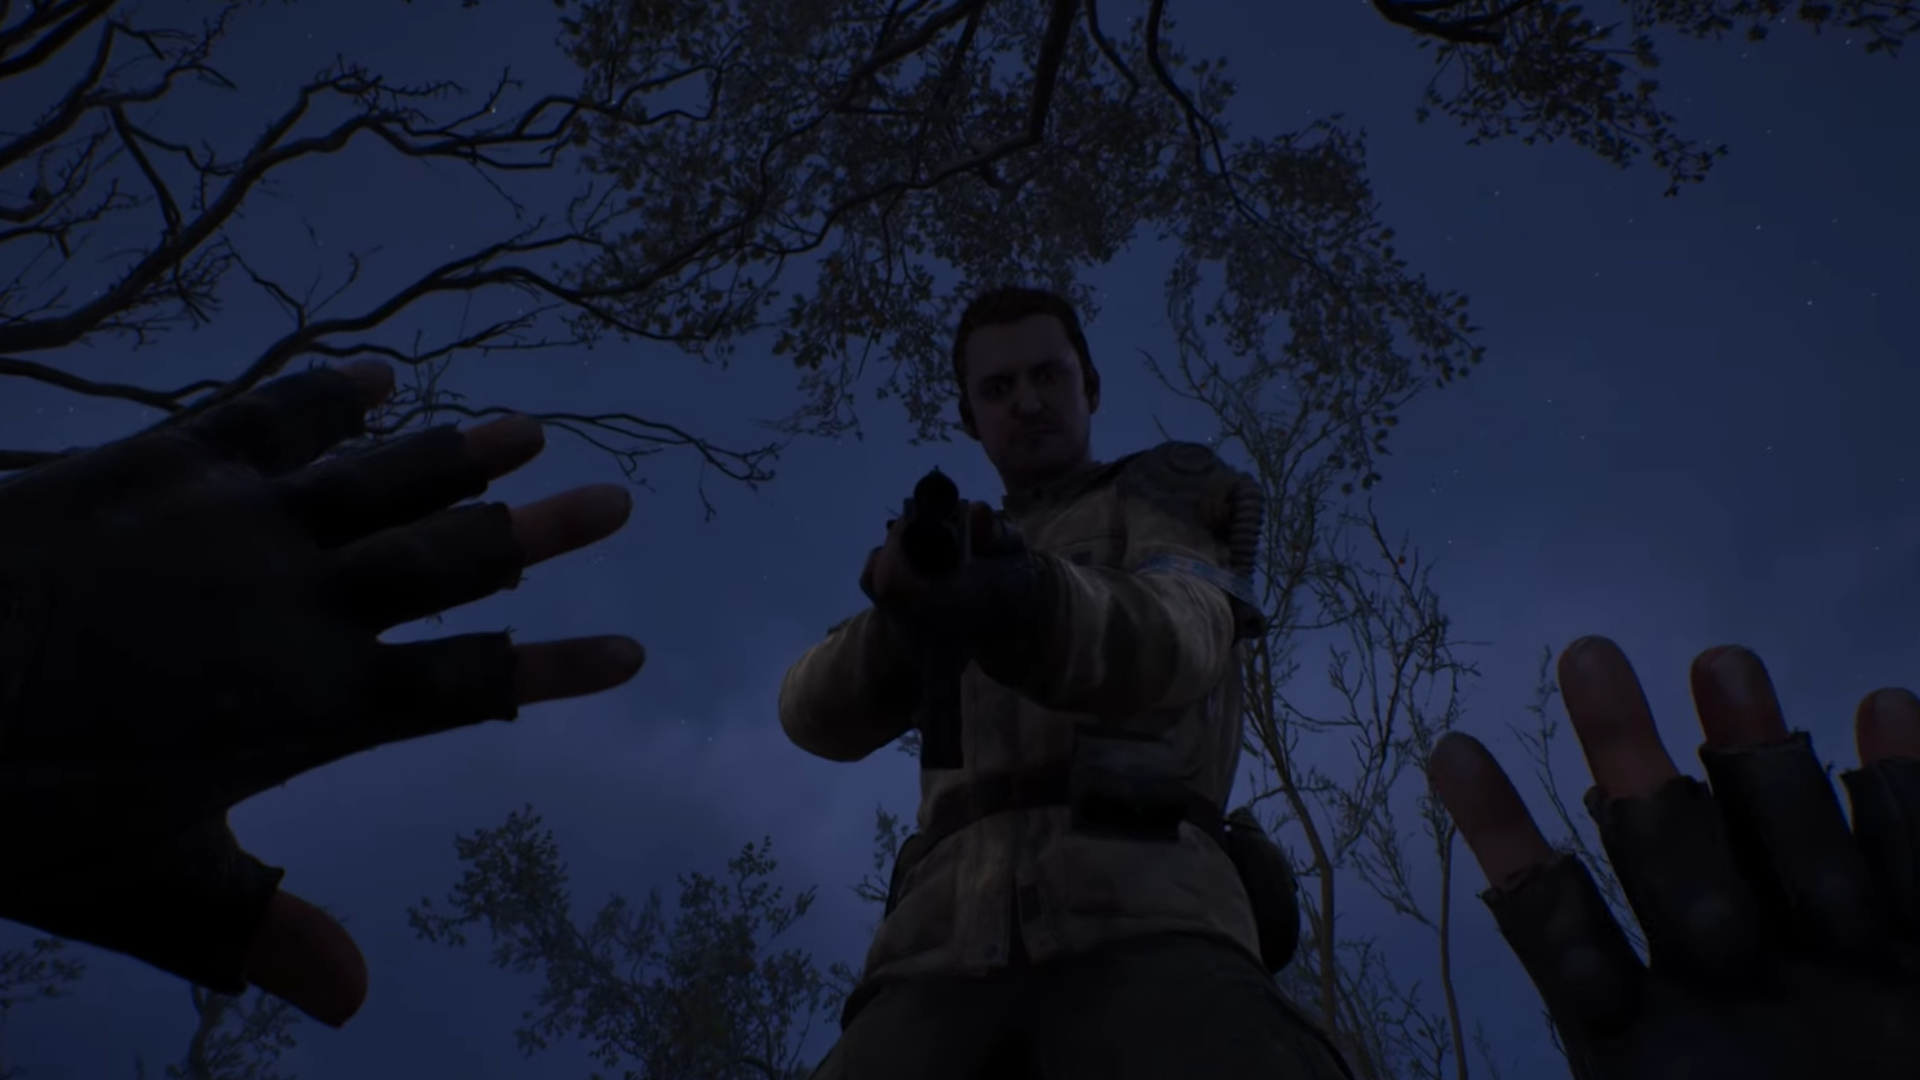
Unfortunately, it doesn’t work. But no need to worry; you can make your way past the broken wall here once the dialogue is done. Be wary of the human enemies here. You might not have the best gear equipped for a gunfight, but it shouldn’t take you too long to dismiss them.
Head to the next coordinates. This is a cave. You will find the same glowing bubble on the ground once you are there. Interact with it to plant the scanner on the ground. Yet again, it won’t be of any use.
Third time‘s the charm. When you go to the last coordinates, the glowing bubble is right outside the house, near the truck. Place your scanner there, and a cutscene will play out. It will wrap up with the end of the There and Back Again quest.
Looking For More?
Thank you for reading the article. We provide the latest news and create guides for Baldur’s Gate 3, Starfield, ARK Survival Ascended, and more. Also, watch Deltia play games on Twitch or visit his YouTube channel!
 Reddit
 Email
Email
