Facebook
 Reddit
 Email
Email
Learn the essentials of building a custom water cooling loop for your PC, including components, setup tips, and maintenance advice.

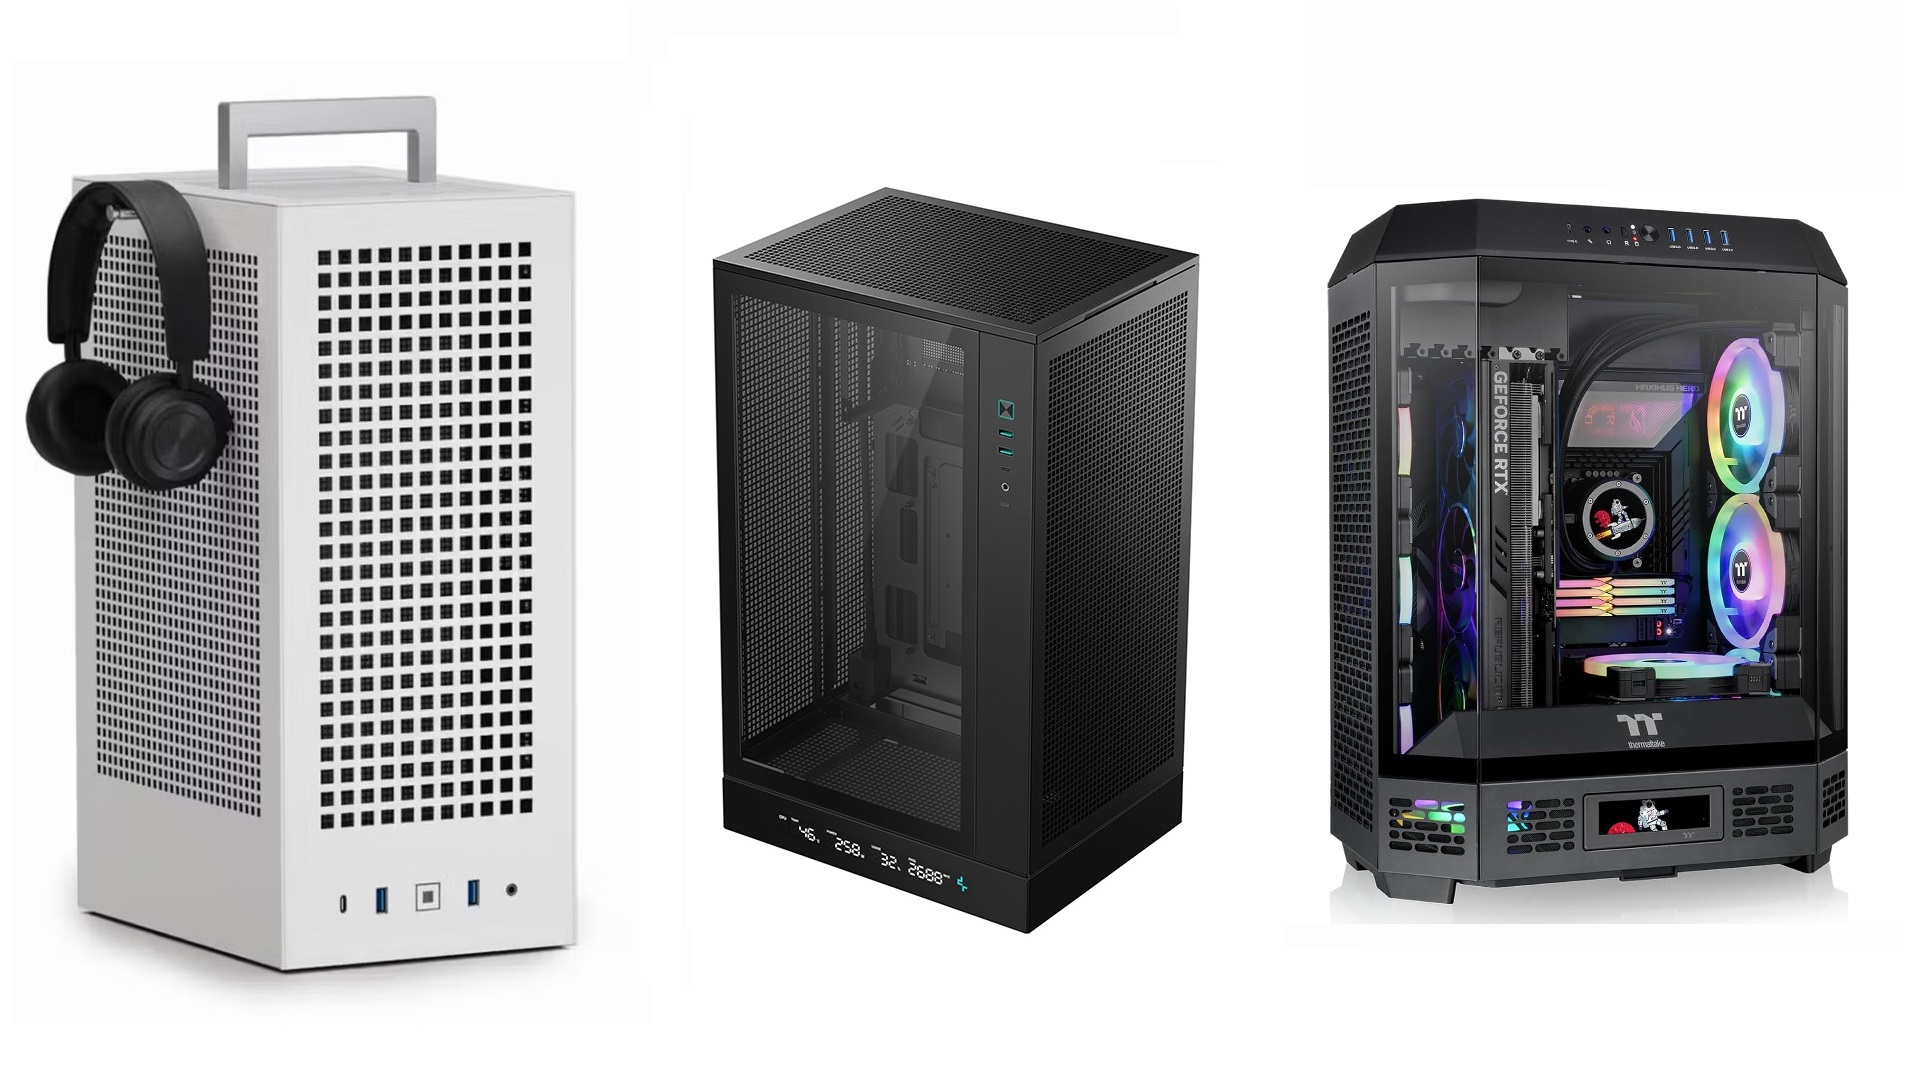
DIY custom water cooling solutions are the most complicated setups to pull off when building your PC. The result is a highly appealing system with incredible cooling efficiency. However, this approach requires careful planning, as mistakes in the process can damage your hardware. This guide covers a basic understanding of components, how to avoid common pitfalls, and how to efficiently set up your water cooling setup.
Note: DIY water cooling or custom water cooling is an incredibly complex and lengthy topic to discuss. The article will be extensive in detail, so a list-type structure is maintained for the best readability. Please note that the design choices can vary depending on your use case. Some advanced users opt for inverted mounting for improved thermal dissipation, though this significantly alters the design considerations mentioned here. If you are unsure of what you are doing, consult an expert in this domain for guidance.
Understanding Custom Water Cooling Fundamentals
Water cooling transfers heat from components through a liquid medium rather than air. The system is highly effective because the coolant used has a higher heat capacity than air due to its dense molecular structure. To recap, the oxygen molecules in the coolant are electronegative, attracting electrons from surrounding molecules, such as hydrogen molecules, to stick to oxygen.
This molecular magnetism gives the water cooling setup greater resistance to temperature changes than air, making it significantly stronger than traditional air cooling. In a custom water cooling loop, this principle is applied by circulating the coolant through different blocks attached to hot components (like CPUs, GPUs, RAM modules), carrying heat away to the radiators, where it is dissipated into the surrounding air. This process keeps repeating through a pump; thus, a lower temperature is maintained, even under heavy load.
Benefits and Drawbacks of Water Cooling
Pros
- Superior Thermal Performance: Enables higher overclocking potential by maintaining lower component temperatures. Users can also opt for de-lidded setups to target overclocks that are unfit for traditional liquid or air cooling solutions.
- Reduced Noise Levels: Custom cooling setups operate much quieter than air cooling.
- Aesthetic Customization: Supports RGB lighting, colored coolants, and sleek tubing layouts for visual appeal.
Cons
- Leak Risks: Potential for coolant leaks, which can damage expensive components if unchecked.
- High Initial Cost: Custom loops cost $300–$1,000+, and are more expensive than traditional cooling solutions.
- Maintenance Demands: Requires draining, cleaning, and refilling every 6–12 months to prevent algae/corrosion.
- Upgrade Complexity: Component swaps often necessitate partial disassembly of the loop. Users who upgrade every generation may not consider this approach.
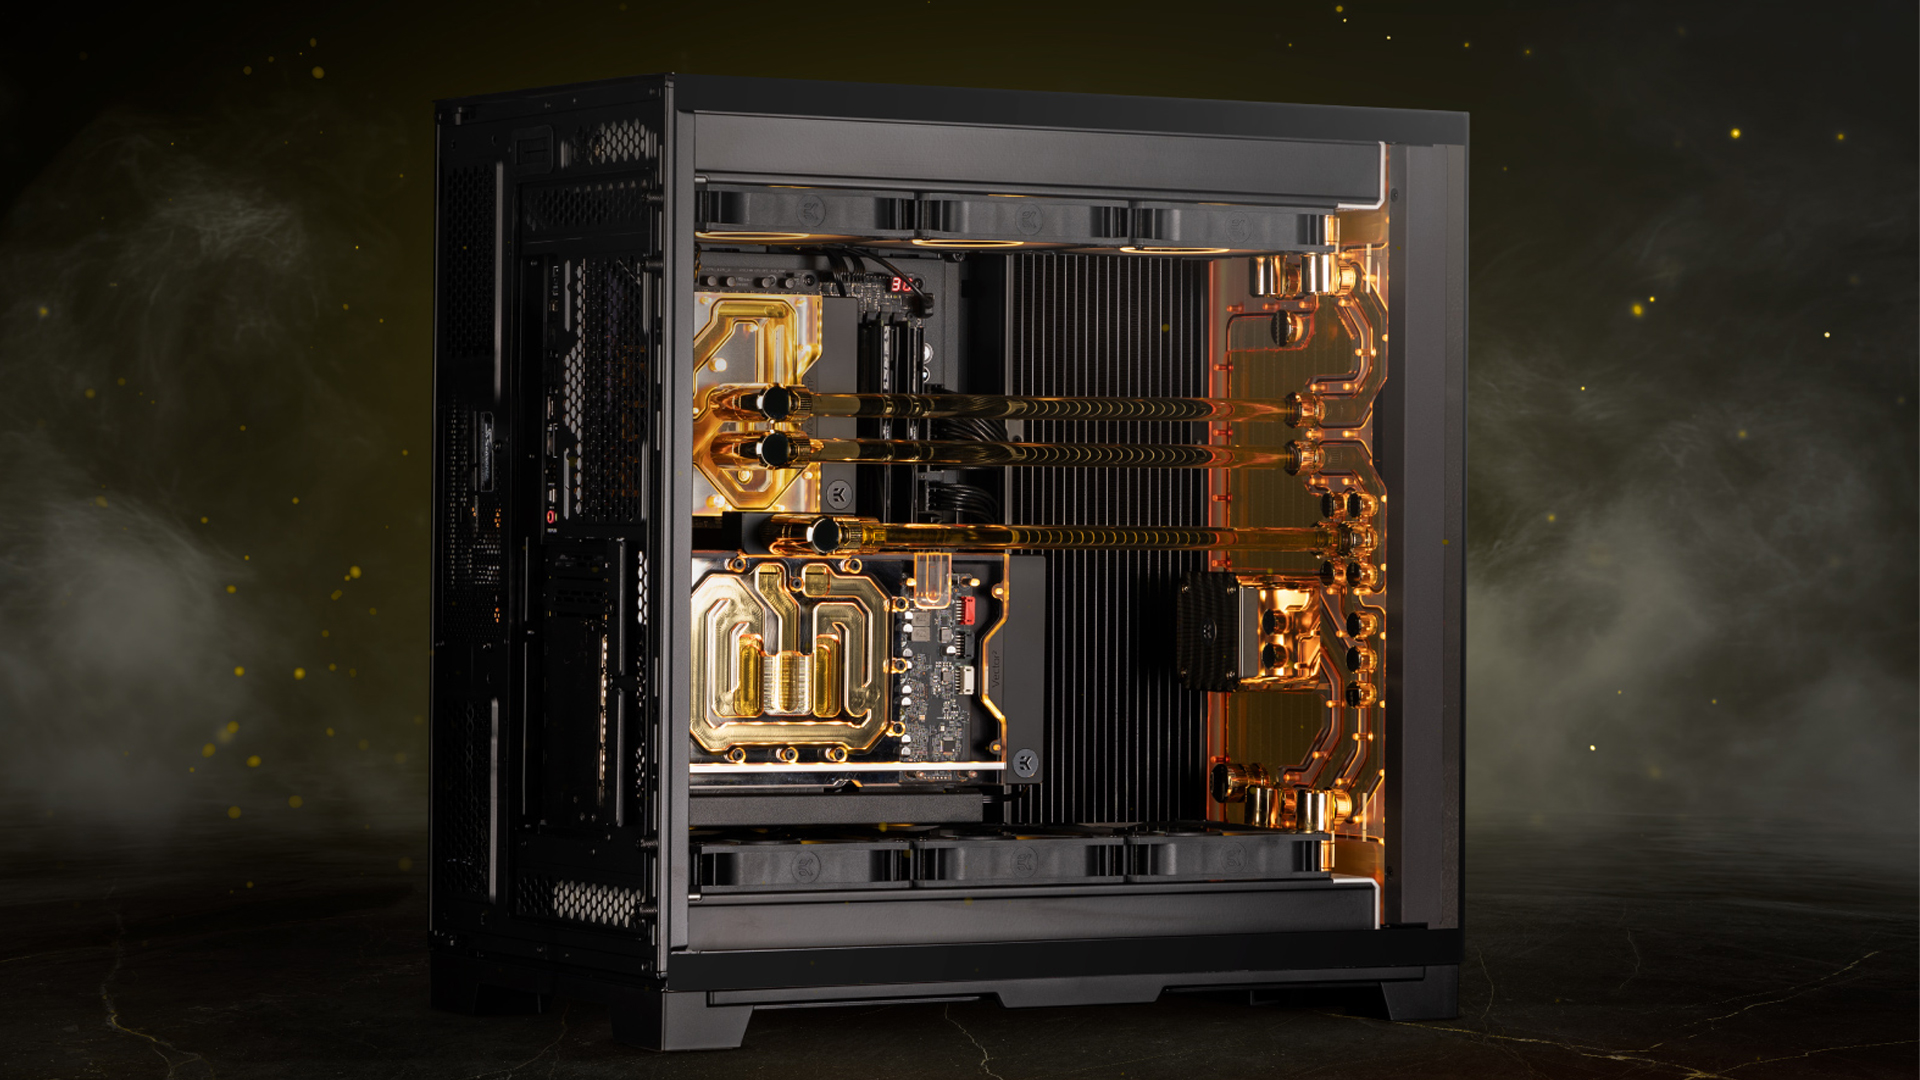
Essential Components of a Water Cooling System

Water Blocks
Water blocks directly transfer heat from the CPU/GPU to the coolant via micro-channel designs.
Types:
- CPU Blocks: Compatible with specific sockets (e.g., AM4, LGA 17/18xx, AM5, and more)
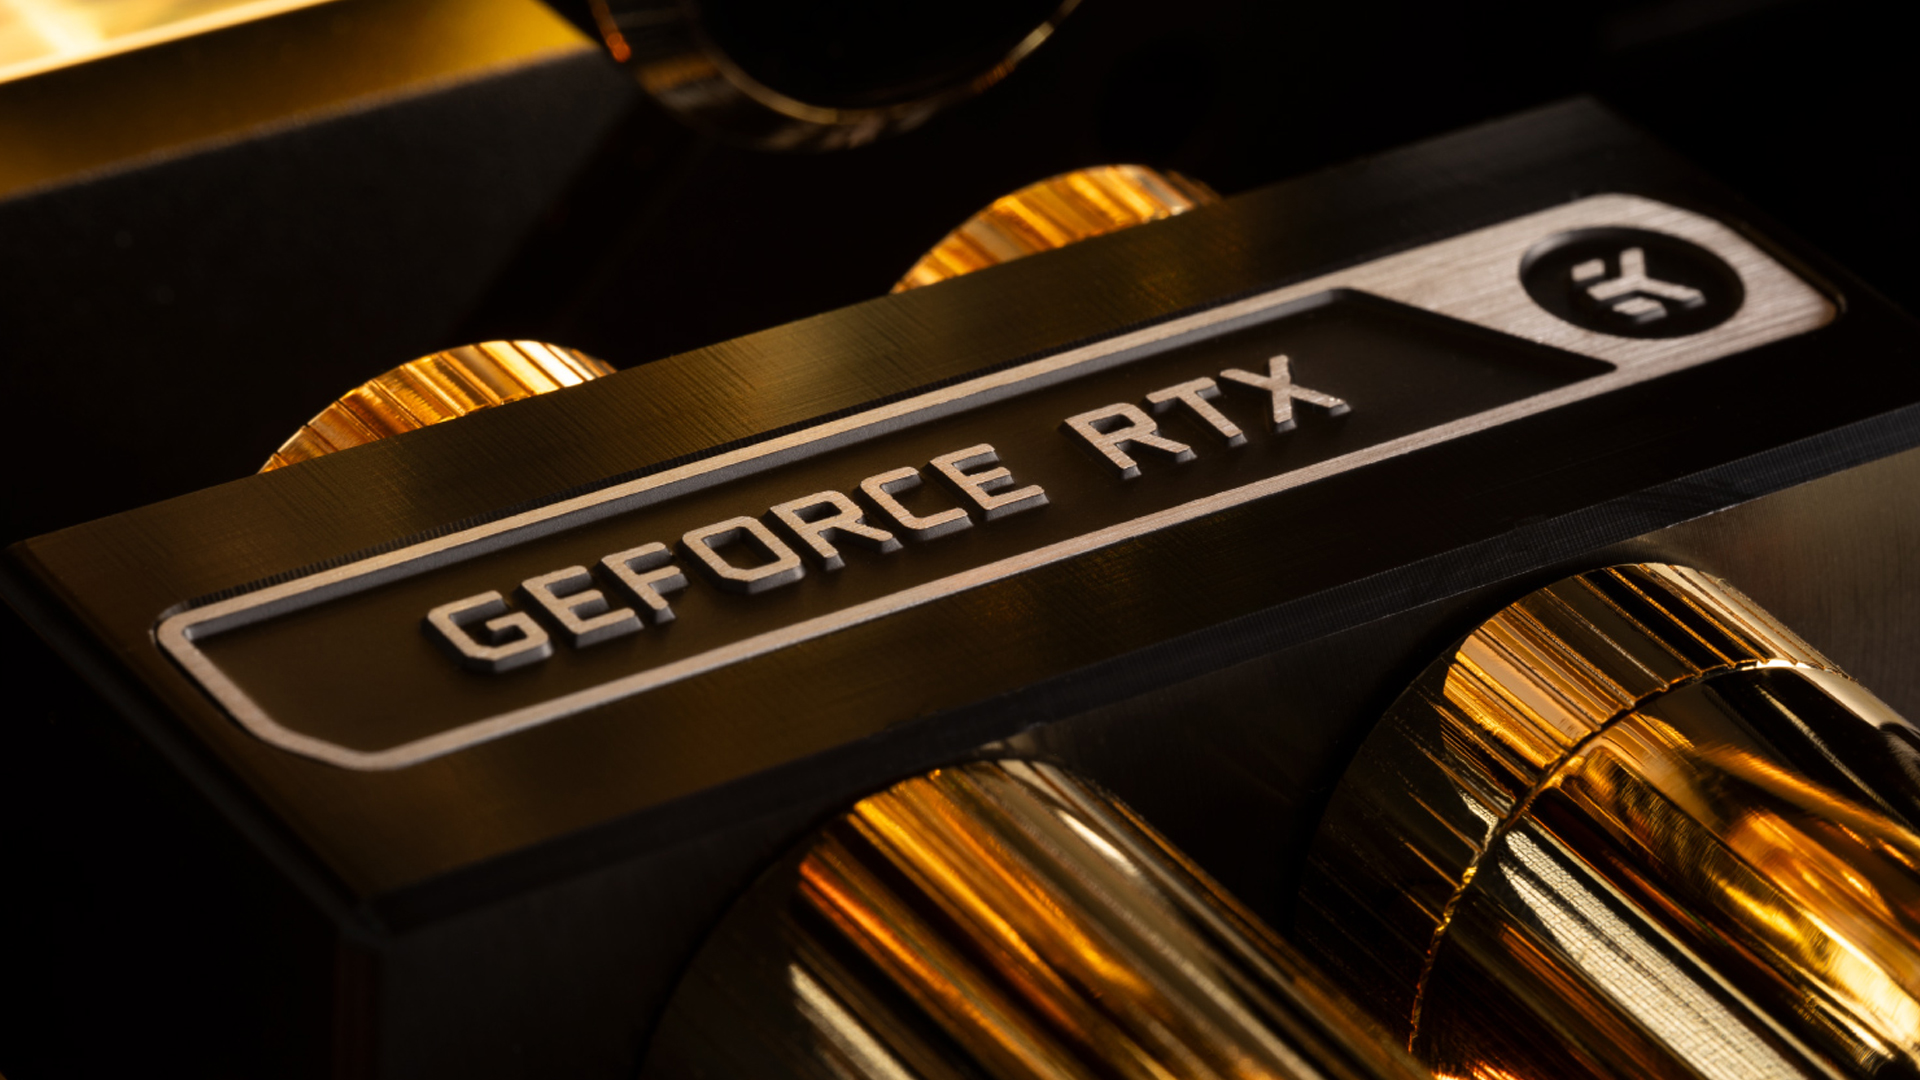
- GPU Blocks: Full-cover variants cool VRAM/VRMs; GPU-only targets the core section.
- Material: The copper/nickel-plated combination is best suited for efficiency; avoid mixing with aluminum to prevent corrosion.
Pumps and Reservoirs
There can be many pump options. The Corsair D5 is mentioned for reference, as it generally falls under a high-quality option.
- Pumps: D5 (1500 L/h flow) or DDC (higher pressure) models recommended for reliability.
- Reservoirs: The positioning should be above pumps to minimize air bubbles.
Radiators and Fans
- Sizing: Minimum 120mm radiators per component; 360 mm+ for serious overclocking.
- Fans: Use static-pressure fans in push/pull configurations for the best airflow.
- Placement: Top-mounted as exhaust to leverage natural heat rise.
Tubing and Fittings
- Soft Tubing: Flexible, easy to install (PVC/EPDM), ideal for beginners.
- Hard Tubing: Rigid (PETG/acrylic) for aesthetics; requires heat guns and precise bending.
- Fittings: Compression fittings for soft tubing. Use angled adapters to match the design in your mind.
Coolants and Additives
- Base Fluid: Use distilled water with biocides/corrosion inhibitors.
- Avoid Opaque Coolants: Colored particles within the coolant often clog micro-channels, requiring frequent maintenance.
Planning Your Water Cooling System
Compatibility and Space
- Case Size: Verify radiator clearance (thickness + fan space) and mounting points. Improper size will damage your chassis.
- Component Fit: Ensure the blocks match the exact CPU/GPU models. Incompatibility can damage your hardware beyond repair.
Tubing Selection
- First-Time Builds: If you’re building for the first time, use soft tubes; they’re much easier to manage.
- Hard Tubing Tips: Seasoned builders often use distribution plates to minimize complex bends.
Budget Considerations
- Priority Components: Invest the most in pumps, radiators, and blocks first.
- Hidden Costs: Include coolant, tools (cutters, pressure testers), and extra fittings. And yes, aesthetics, those golden color fittings will likely cost more.
Common Mistakes To Avoid
Inadequate Radiator Capacity
- Rule of Thumb: 240mm per component for modern hardware; add extra for overclocking.
- Thick Radiators: For 60 mm+ radiators, use push-pull fan setups. Please do not cut costs in this area; it’s vital for your build.
Mixing Metals
- Galvanic Corrosion: Mixing copper/aluminum causes rapid component degradation.
- Solution: Use all-copper/nickel-plated parts.
Neglecting Drain Valves
- Installation: Place the loop’s lowest point with a T-fitting for easy maintenance. Depending on your aesthetic choices, this can vary, but the general idea remains the same.
Skipping Leak Tests
- Procedure: Run the loop with distilled water for 2–24 hours before powering components. Users generally run for 30 minutes, then call it a day off.
Installation Best Practices
Component Preparation
- Radiator Flushing: Remove manufacturing debris with distilled water.
- Tubing Cuts: Ensure clean, perpendicular edges to prevent leaks.
Loop Configuration
- Order Matters: Ensure the reservoir feeds directly into the pump. The component order (CPU → GPU → radiator, etc.) works fine as long as the flow is continuous and efficient.
- Airflow Management: Position radiators as exhaust to avoid recirculating hot air.
Maintenance Schedule
- Routine Checks: Monitor coolant color/flow; replace every 6–12 months.
- Coolant Temperatures: Keep the coolant temperature below 40°C for longevity, and adjust the fan curves within your motherboard or fan controller hub as needed.
Conclusion
Custom water cooling indeed balances performance and aesthetics and offers a near-silent build, but it requires an incredible skill level, planning, and budget to fully execute it. If you really like the custom cooling idea but the process throws you off, you can buy a good AIO liquid cooler and call it a day.
Looking For More Related to Tech?
We provide the latest news and “How To’s” for Tech content. Meanwhile, you can check out the following articles related to PC GPUs, CPU and GPU comparisons, mobile phones, and more:
- 5 Best Air Coolers for CPUs in 2025
- ASUS TUF Gaming F16 Release Date, Specifications, Price, and More
- iPhone 16e vs iPhone SE (3rd Gen): Which One To Buy in 2025?
- Powerbeats Pro 2 vs AirPods Pro 2: Which One To Get in 2025
- RTX 5070 Ti vs. RTX 4070 Super: Specs, Price and More Compared
- Windows 11: How To Disable Lock Screen Widgets