Facebook
 Reddit
 Email
Email
This article covers the critical details before enabling XMP/EXPO profiles on your motherboard.
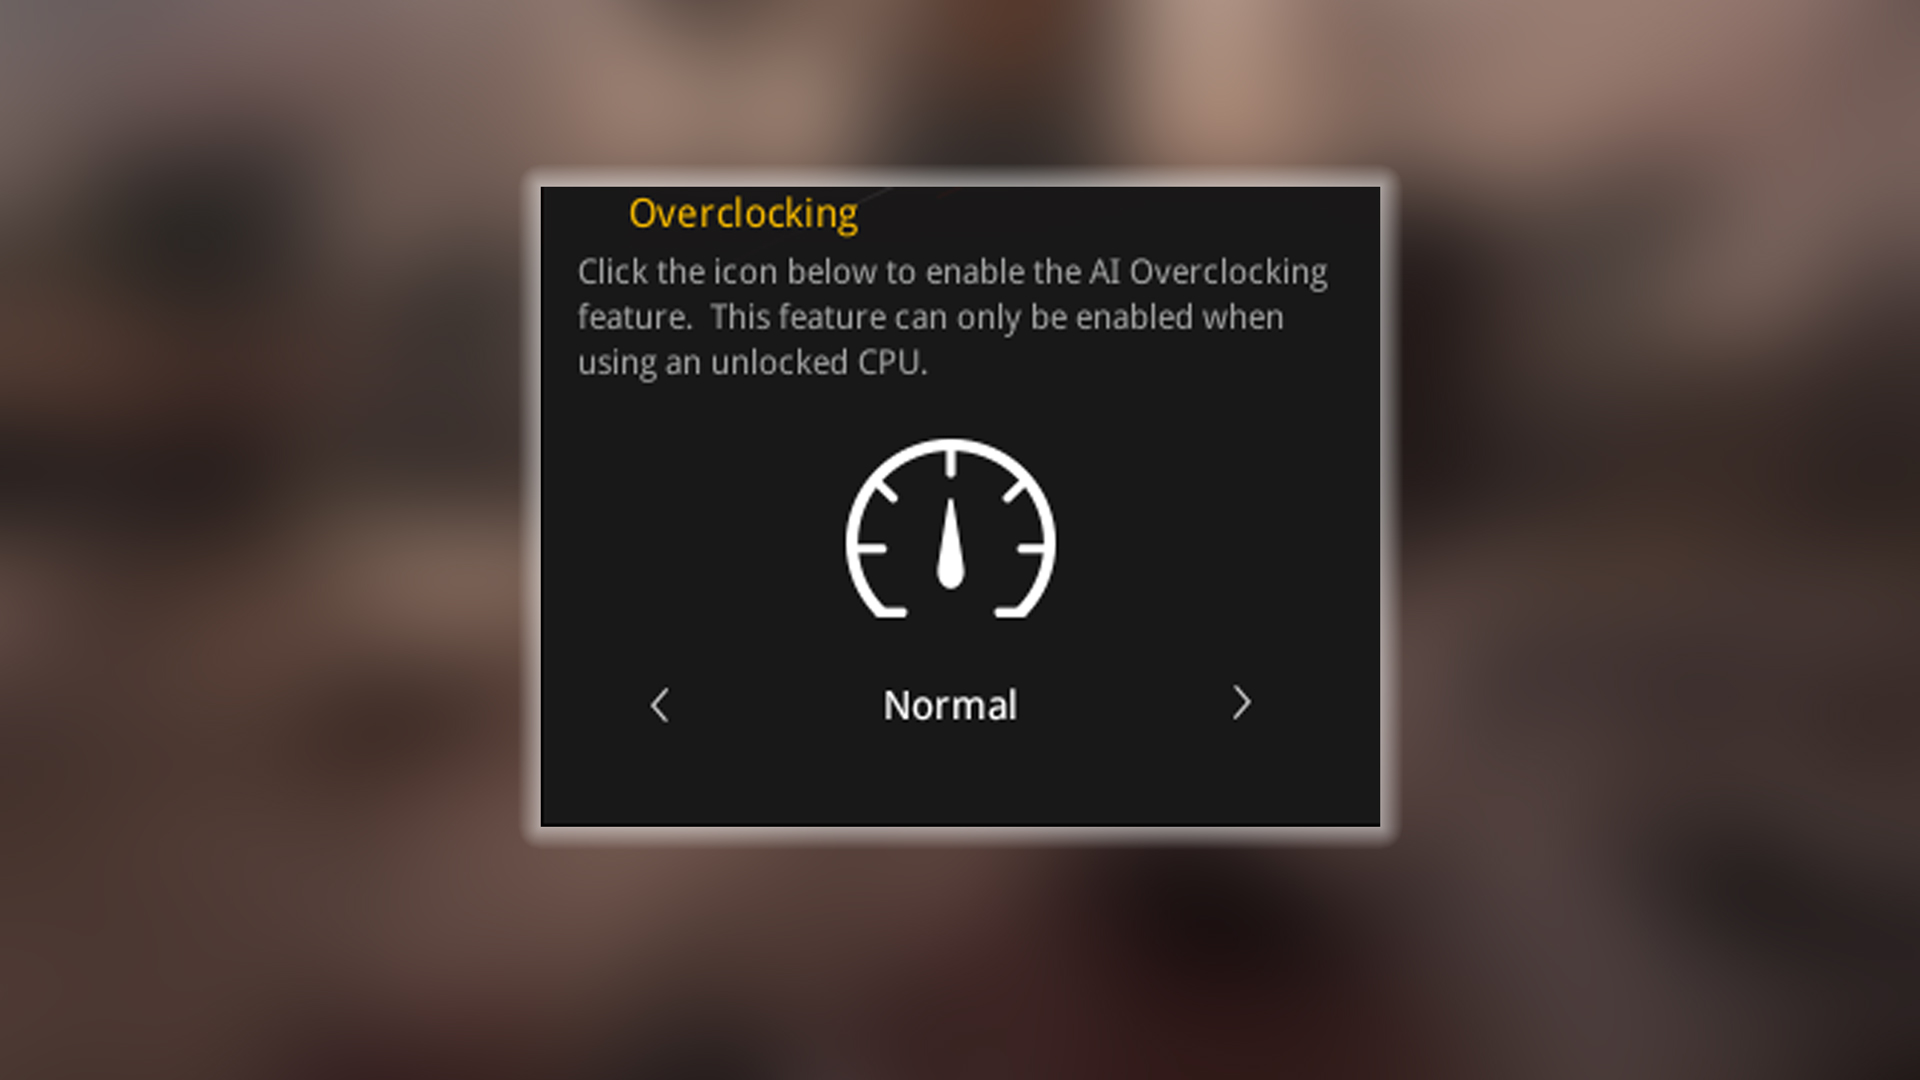
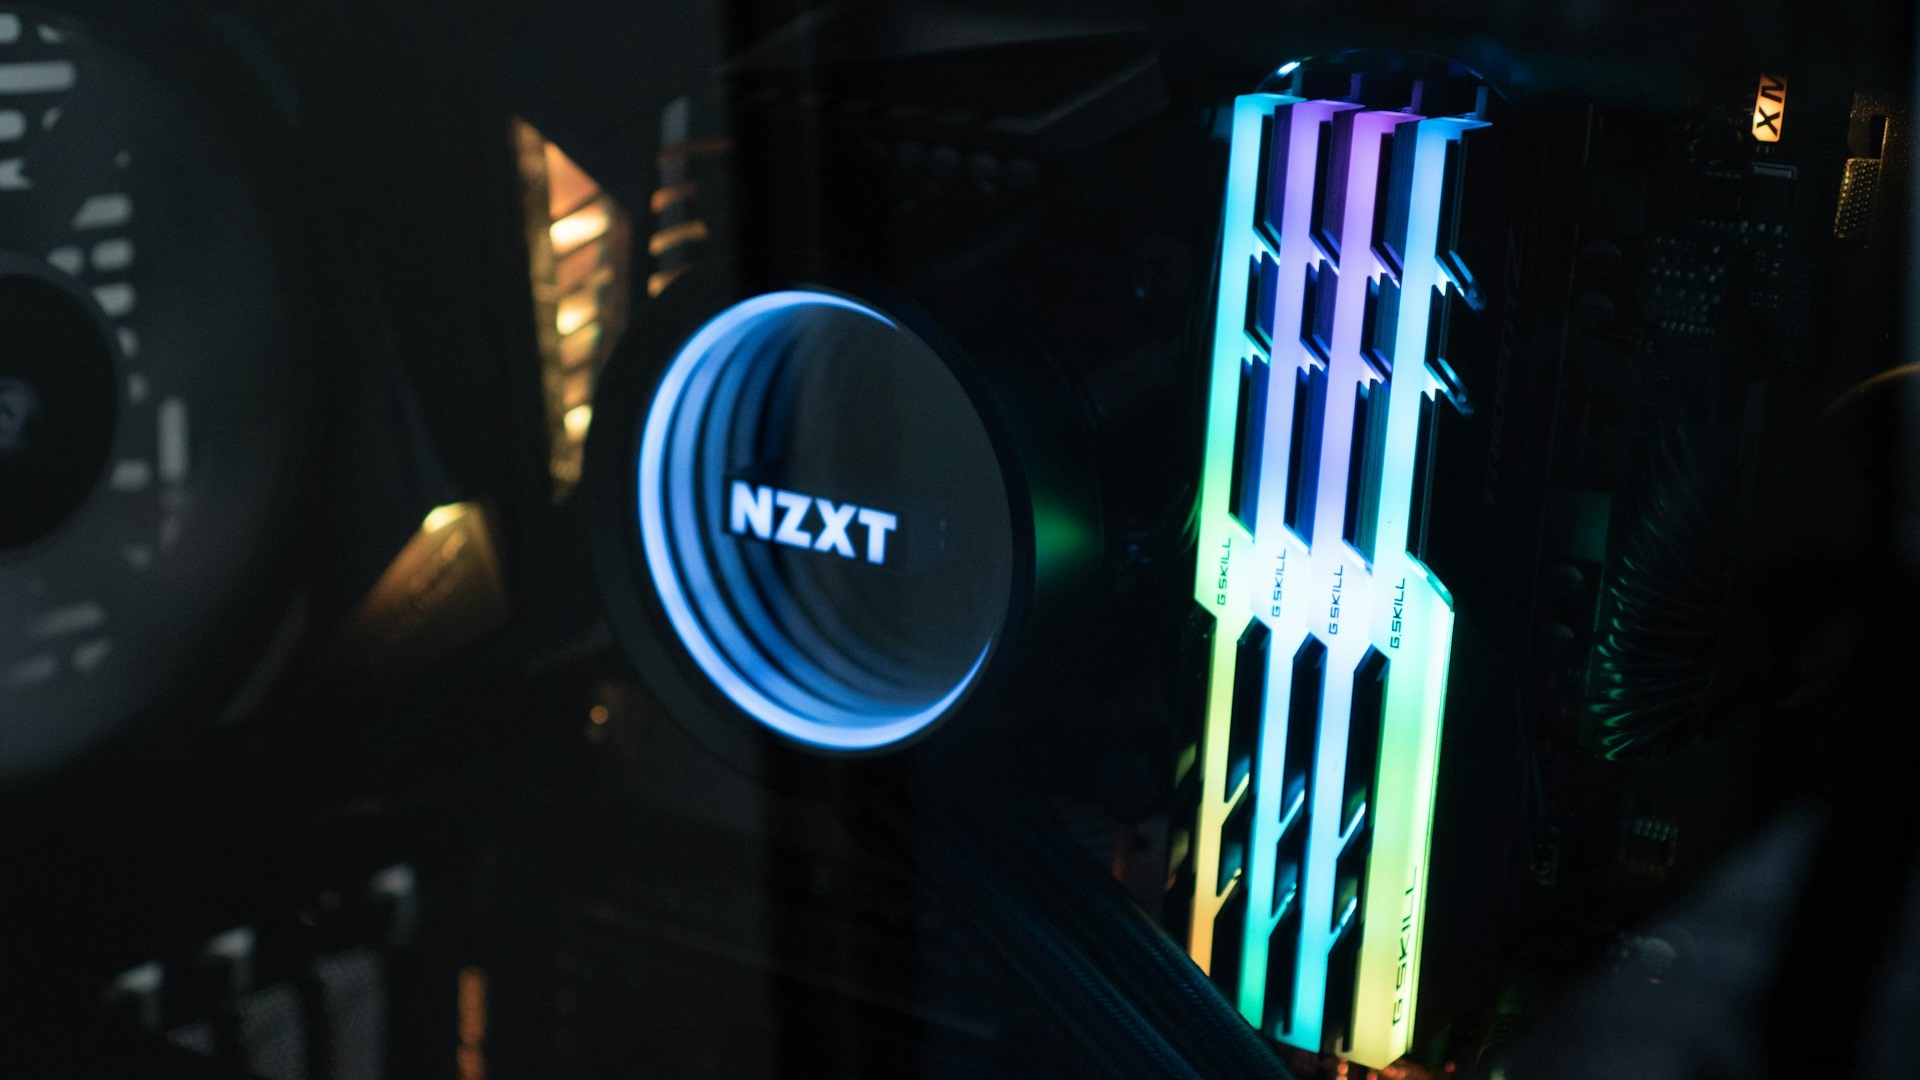
Who doesn’t love overclocking, or get excited hearing about it? Enabling XMP means you are overclocking your memory (RAM) within a company speed margin. But it’s not always fun and games; there are specific terms such as IMC speed, gear, LLC, motherboard’s VRM, or even memory channels, which factor in stability, latency, and performance.
While you may buy the fastest RAM on the market, check the QVL of your motherboard. Chances are that you will still run into compatibility issues due to factors such as your CPU’s IMC (integrated memory controller) being unable to keep up. This article will walk you through the essential checks you need to make to maintain stability.
Understanding XMP Basics

XMP (Extreme Memory Profile) is Intel’s technology that allows your RAM to run at speeds and timings beyond the default JEDEC specifications. When you install RAM (memory) in your PC, it defaults to the safe standard speed, prioritizing compatibility over performance. XMP profiles contain pre-configured settings for frequency, timings, and voltage that help your RAM operate at its advertised higher speeds. This is still overclocking, but within advertised specs.
AMD systems use a similar technology called EXPO (Extended Profiles for Overclocking), which functions in the exact same way but is tuned for AMD platforms. Some motherboard manufacturers, like ASUS, use their own technology to replicate XMP, called DOCP (Direct Overclock Profile), on ASUS AMD motherboards.
Understanding the Role of the Integrated Memory Controller (IMC)

As mentioned in the beginning, the CPU’s integrated memory controller (IMC) is your RAM’s performance gatekeeper. CPUs in recent days embed the IMC directly in the silicon, which helps a lot in handling high-speed memory. Earlier in the 2000s, there was the concept of Northbridge, where the memory controller lay, and Southbridge, where the I/O controller lay, in the motherboard, ofc. Intel’s 12th-gen Alder Lake CPUs natively support DDR4-3200 memory, but pushing beyond this is possible; it depends on how good the IMC is binned, as IMC’s ability to synchronize with the RAM’s frequency is vital for the overclock to work correctly.
AMD’s Ryzen 7000-series processors utilize EXPO to optimize DDR5’s throughput, but their IMCs struggled a lot, exceeding 6000 MHz without manual tuning, such as substantially increasing IMC voltage.
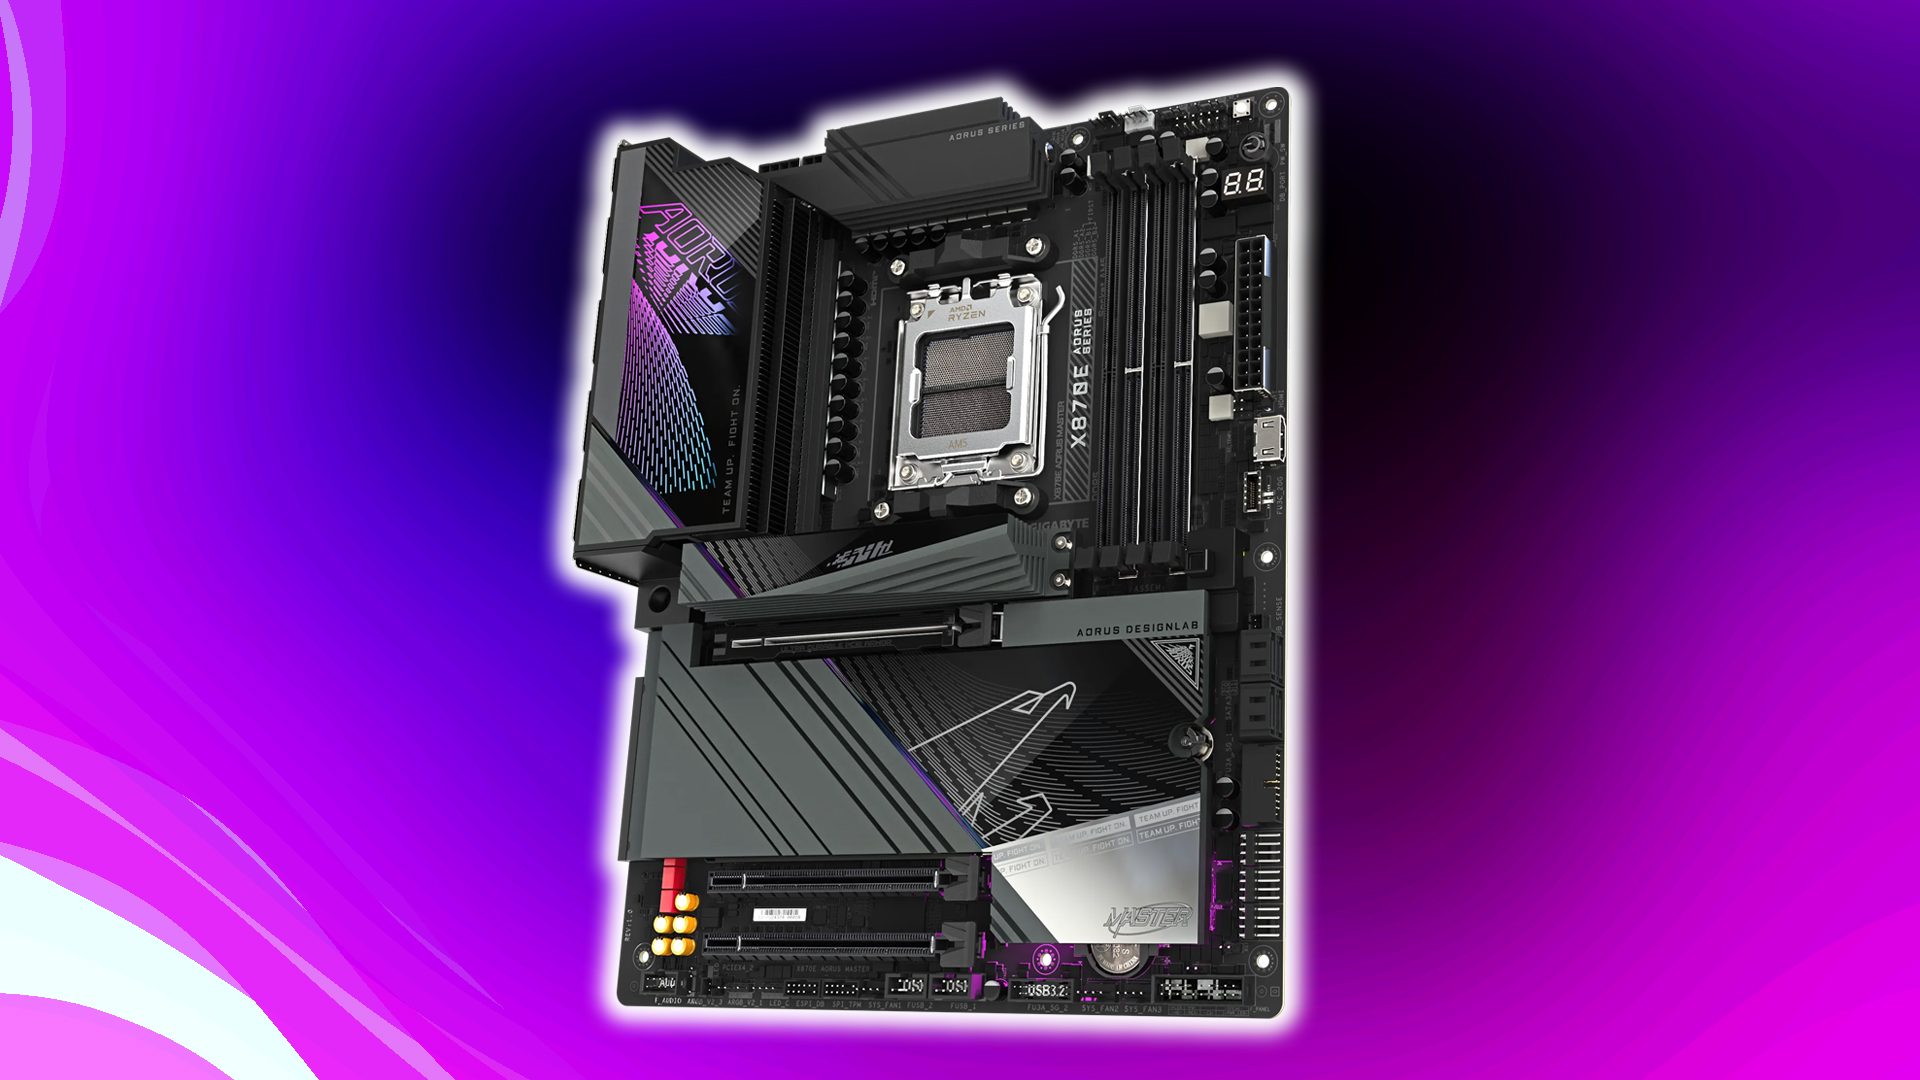
Motherboard Compatibility: QVL, VRMs, and Topology
Qualified Vendor Lists (QVLs)
Motherboard manufacturers publish the QVL list to certify tested and compatible RAM kits. However, these lists are often static and exclude newer models with different memory chips. For instance, motherboard vendors might skip superfast memory kits but end up supporting them. Users should always cross-reference the RAM manufacturer’s compatibility list and prioritize kits validated for their specific CPU generation.
Voltage Regulation Modules (VRMs)
The motherboard VRM converts and regulates power to the CPU and RAM. High-quality VRMs are vital for a stable XMP or EXPO overclock, especially when overvolting. Budget boards generally have weak VRMs and will likely fail a super-speed memory configuration with tight timings. For example, DDR5 7200 kits caused voltage droop on mid-tier Z790 boards. Look for at least an 8+ phase in a motherboard, which will help you plug in high-quality RAM sticks and use the EXPO or XMP.
Memory Topology and Channels
Motherboards generally use daisy chaining or T-topology layouts for memory traces. Dual-channel motherboards using T-topology tend to perform better with four DIMMs installed than daisy chain layouts. However, this is just a hit or miss. Also, remember that enabling XMP on a 4x16GB setup sometimes reduces bandwidth by 10-15% compared to 2x16GB setups.
RAM Configuration: Timings, Voltages, and Cooling
Gear Modes and Command Rates
Intel has a gear ratio setup; they did this with 11th gen, and keep this design of choice still apparent as of today. Intel’s Gear1 is a (1:1 ratio between IMC and RAM clock), which minimizes latency but limits maximum frequency. But the Gear 2 has a (1:2 ratio), which allows higher speeds at the cost of increased latency. This allows DDR5 to run at higher speeds; for example, DDR5 7200 in gear two says that the CPU’s IMC is running at 3600 MHz, and the memory is running at 7200 MHz.
Gear 2 introduces latency issues, which can be mitigated by tightening secondary timings like tRFC and tWR. Fear not, there will be a dedicated memory overclocking guide; stay tuned. Similarly, the Command Rate (CR) settings-1T vs 2T-affect how quickly the IMC issues commands. 1T is the key to low latency, and 2T balances speed and latency in high-performance kits.
Note – Motherboard’s memory topology, channels, and VRM are also vital when exploring these advanced memory tuning options.
Voltage and Thermal Management
XMP profiles, or even manual tuning, raise DRAM voltage (VDD/VDDQ) to 1.35- 1.45V for DDR4 and 1.4- 1.6V for DDR5. Ensure that the RAM kit you are buying has a beefy heatsink and that your cabinet has good airflow, so the sticks get sufficient breathing room. Otherwise, if you guessed it correctly, it will get cooked pretty soon. Jokes aside, thermal issues will arise, and you will notice a lot of artifacts in your system. The manufacturer may deny RMA for your unit.
Stability Testing and Troubleshooting
Although this section will briefly touch on testing and troubleshooting, it is strongly suggested that you watch media outlets like Skatterbench and Buildzoid (actually hardcore overclocking) for perfect execution in case anything fails.
Anyway, here is how you can validate whether your overclock (XMP / EXPO) worked correctly.
Validate system stability after activating XMP/EXPO.
- Run MemTest86: It usually detects immediate errors in 4–8 passes.
- Run y-cruncher VST stress-tests the IMC and fabric clock under extremely intensive AVX workloads. Ensure that your cabinet has adequate airflow; you can even point a fan directly at your kits. It’s better to be safe than sorry.
- OCCT Memory Test: This does an excellent job of identifying intermittent errors caused by thermal fluctuations.
Common Issues and Fixes
You may encounter stability issues; these are just surface-level opinions. As mentioned earlier, to fully understand how memory overclocking works, watch the media outlets mentioned in the stability and testing section.
- Boot Failures: Reset CMOS and manually input XMP timings/voltages. Increase VCCSA/VSOC in 0.05V increments up to 1.3V.
- Random Crashes: Loosen tRFC by 10% or raise tRCD/tRP by 1–2 cycles.
- Performance Regression: Synchronize Gear Mode (Intel) or UCLK (AMD). If supported, DDR5 users should enable the “High Bandwidth/Low Latency” mode.
These are just for reference. These may or may not represent real-world errors, but chances are, if you run into issues, they will likely be like the ones mentioned above.
Conclusion
Wrapping up, memory overclocking, especially manual tuning, can be highly rewarding. For example, you can tune a Core i5 13600K with faster memory to not bottleneck an RTX 4090, even in ray-traced titles. But remember, this is a high-risk, high-reward endeavor, and you need good hardware. Attempting this without a deep knowledge of budget boards like B760, under $150, is challenging. It’s not impossible, but yes, definitely not recommended for beginners.
Looking For More Related to Tech?
We provide the latest news and “How To’s” for Tech content. Meanwhile, you can check out the following articles related to PC GPUs, CPU and GPU comparisons, mobile phones, and more:
- 5 Best Air Coolers for CPUs in 2025
- ASUS TUF Gaming F16 Release Date, Specifications, Price, and More
- iPhone 16e vs iPhone SE (3rd Gen): Which One To Buy in 2025?
- Powerbeats Pro 2 vs AirPods Pro 2: Which One To Get in 2025
- RTX 5070 Ti vs. RTX 4070 Super: Specs, Price and More Compared
- Windows 11: How To Disable Lock Screen Widgets