Facebook
 Reddit
 Email
Email
Learn the necessary precautions to take before updating your motherboard’s BIOS, including key considerations such as compatibility and more.
Updating the BIOS can easily scare people off, as there is a lot of misinformation spread worldwide that updating the BIOS damages the motherboard or bricks the system. While this information is partially correct, it is not entirely accurate. Not updating the BIOS won’t damage your components. The real danger lies in improper updates, such as interrupting the process or flashing the wrong file, which can brick the motherboard.
Before proceeding with a BIOS update, you must perform several checks to ensure the entire process is successful. A successful BIOS update can enhance your system’s stability and allow newer hardware to be supported, but it can be risky if you are not careful. Follow the steps below to be technically sound when performing a BIOS update.
Determine If a BIOS Update Is Necessary
Brands will make sure to market it to you whenever there is a crucial update, such as performance enhancements. If something significant happens, you will see videos on the internet. For example, take Intel Arrow Lake. Despite an underwhelming launch, Intel has offered continuous microcode updates to vendors, who then compiled them as BIOS versions. As a result, there are drastic performance enhancements. Many media outlets have covered benchmarks comparing old microcodes to new ones.
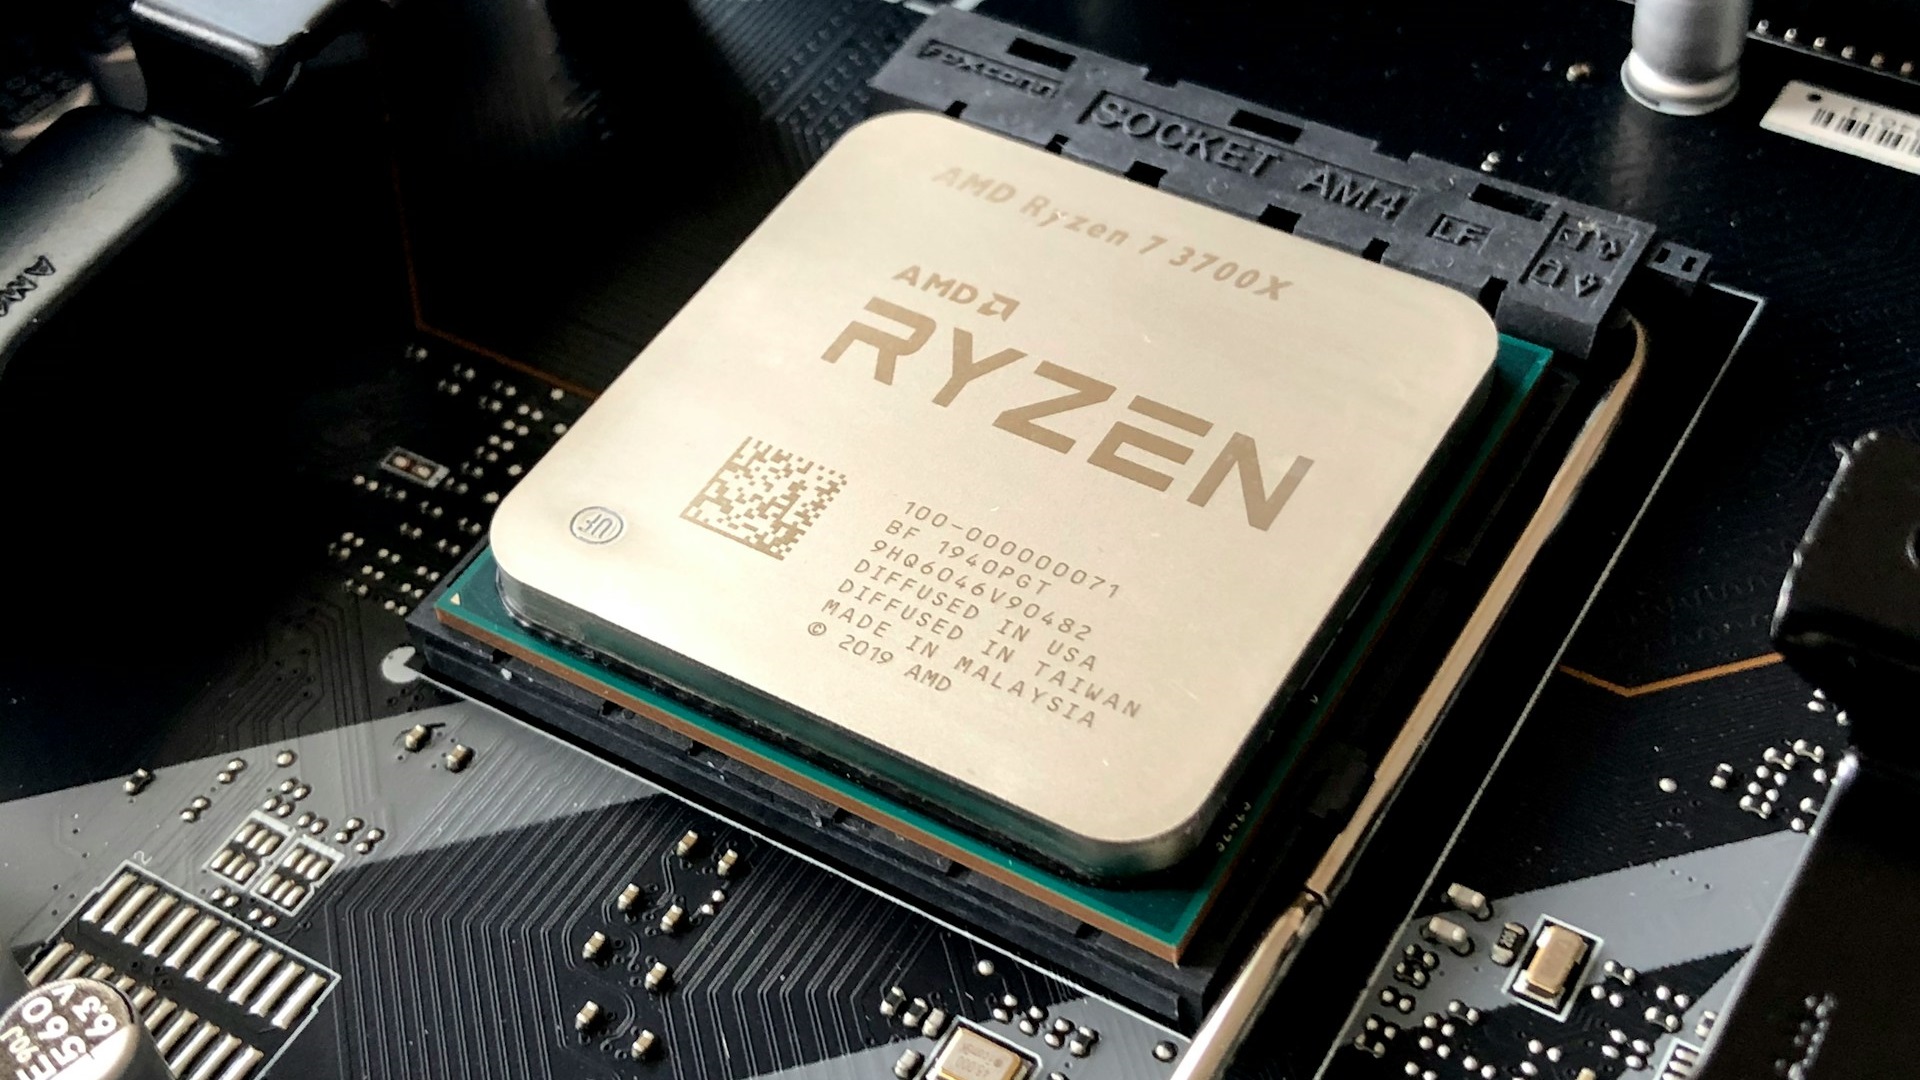
If these are the reasons, or if you are using an AMD AM5 board and want to upgrade from the 7000 series to the 9000 series of CPUs on your X670E motherboard, then a BIOS update is necessary. Another situation that was very common with AM4 was DDR4 support. Users who installed four DDR4 modules saw 32/64 GB of memory installed, but only half of it was usable. A BIOS update mitigated this. Apart from these real-world use cases, consider the guidelines below:
First, evaluate whether you need to update your BIOS:
- Check if your current hardware functions properly with the existing BIOS.
- Update only if you’re experiencing specific issues that newer BIOS versions address.
- Consider updating for new CPU and RAM compatibility.
- Review the update notes on the manufacturer’s website to see if the update resolves the problems you’re experiencing.
- For new builds with recent processors (like Intel 13th/14th gen), updates may be required for stability.
Remember: As long as your current BIOS supports your CPU and RAM, updates are not mandatory unless you’re experiencing issues.
Check Update Compatibility
Now that you are prepared and have decided to update your BIOS, there are steps to help you easily complete the process. Ensure that the update you’re considering is appropriate for your system:
- Visit the official manufacturer’s website and locate the support section for your specific motherboard model.
- Check the CPU support list to confirm compatibility with your processor.
- For Intel boards, verify if the Management Engine (ME) firmware needs to be updated before the BIOS. Some BIOS versions won’t install unless the ME firmware is current.
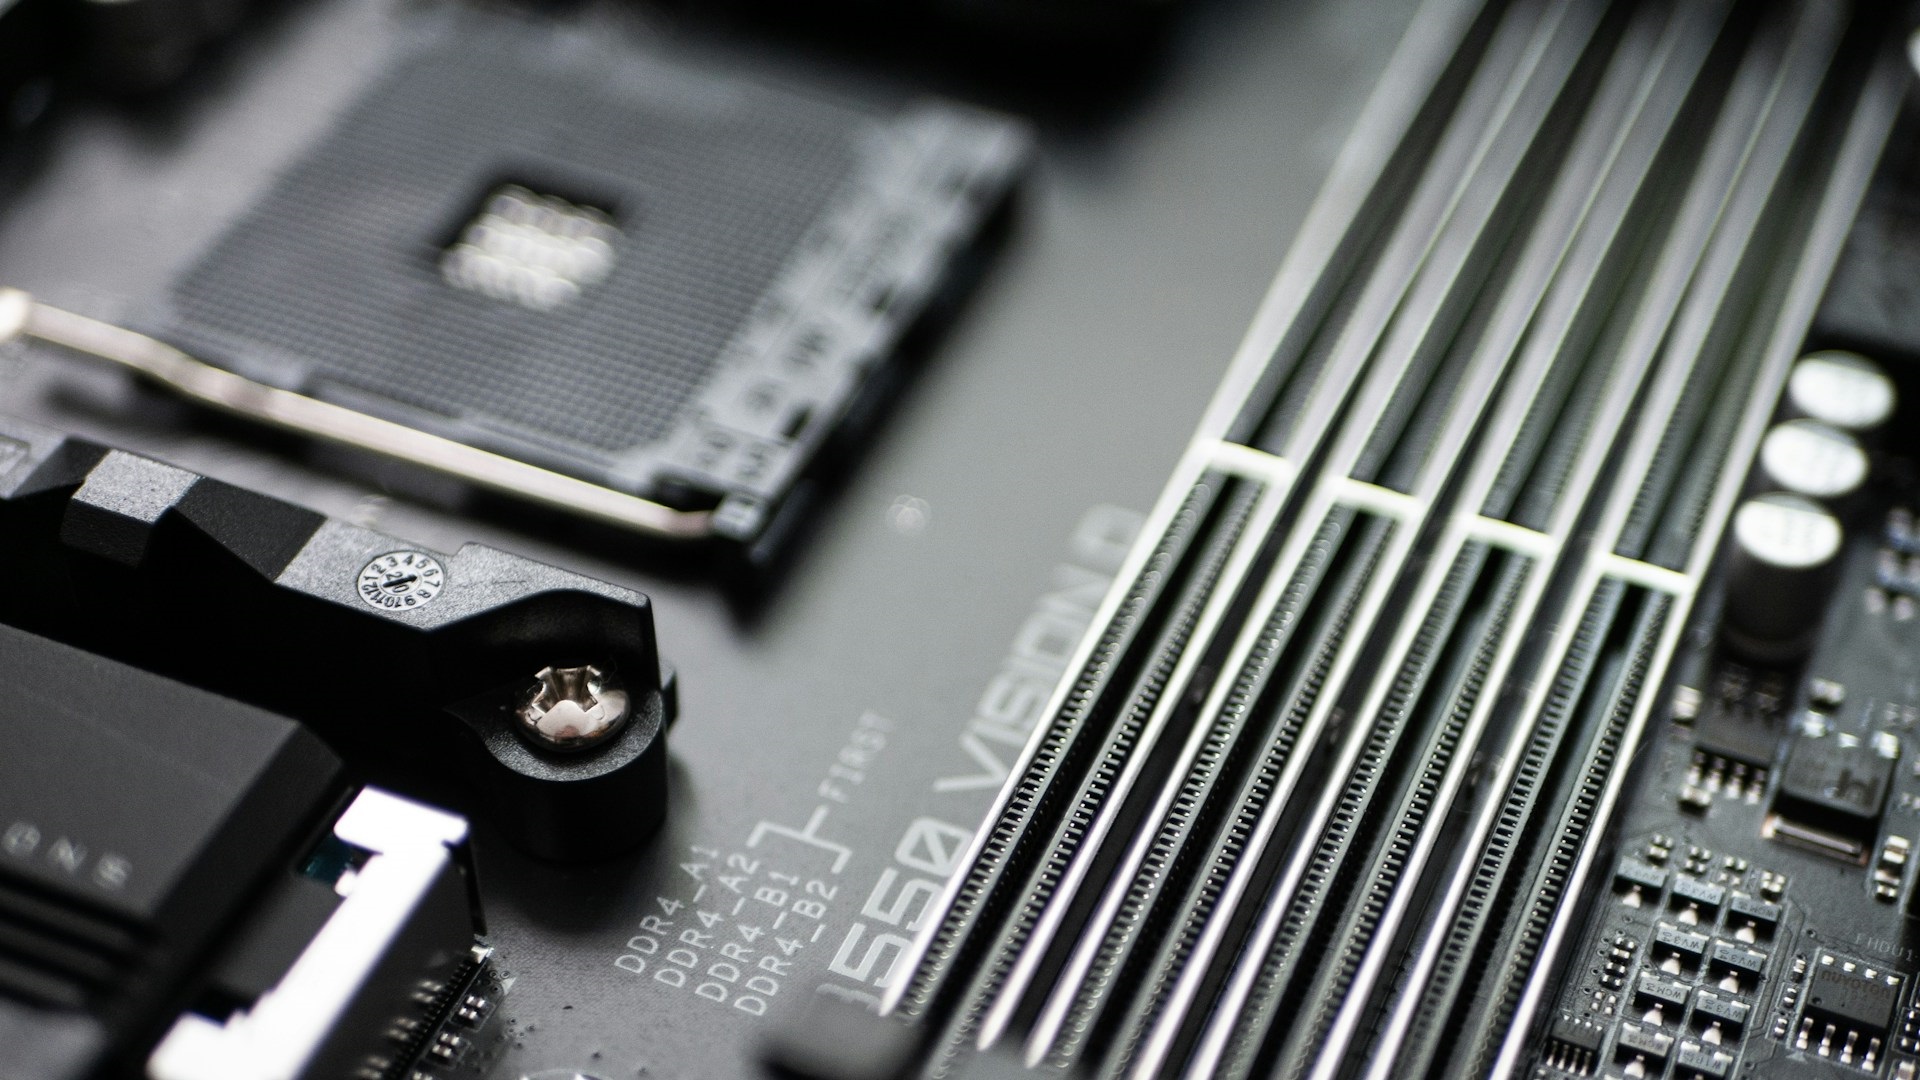
- Check your Motherboard’s revision.
- Verify the update sequence. Some updates require installing previous versions first, such as the Ryzen 5000 series, which required a few AGESA microcode patches before full support.
Back Up Important Data
BIOS updates rarely cause data loss, but take precautions:
- Back up important files to an external drive or cloud storage.
- Save any custom BIOS settings you’ve configured (take photos of essential screens).
- Keep tools like Hirens Boot CD ready in case your motherboard bricks. You can start up Windows on the live and recover stuff from there.
Prepare Your Update Materials
Gather everything needed for a successful update:
- Format a USB drive to the FAT32 file system with MBR partitioning.
- Use a smaller capacity USB drive (<16GB), as some motherboards have trouble with larger drives.
- Download the correct BIOS file from the manufacturer’s website.
- Place the BIOS file in the root directory of the USB drive.
- Rename the file if required by your motherboard (check the manual).
- Ensure you have a stable power source during the update process.
Verify Your Update Method
Different motherboards use different update methods:
- Check if your motherboard has a dedicated BIOS flashback button.
- Determine if you need to update from within the BIOS or using a special utility.
- For new builds with incompatible CPUs, confirm if your motherboard supports USB BIOS flash without a CPU installed.
Final Pre-Update Checks
Before starting the update process:
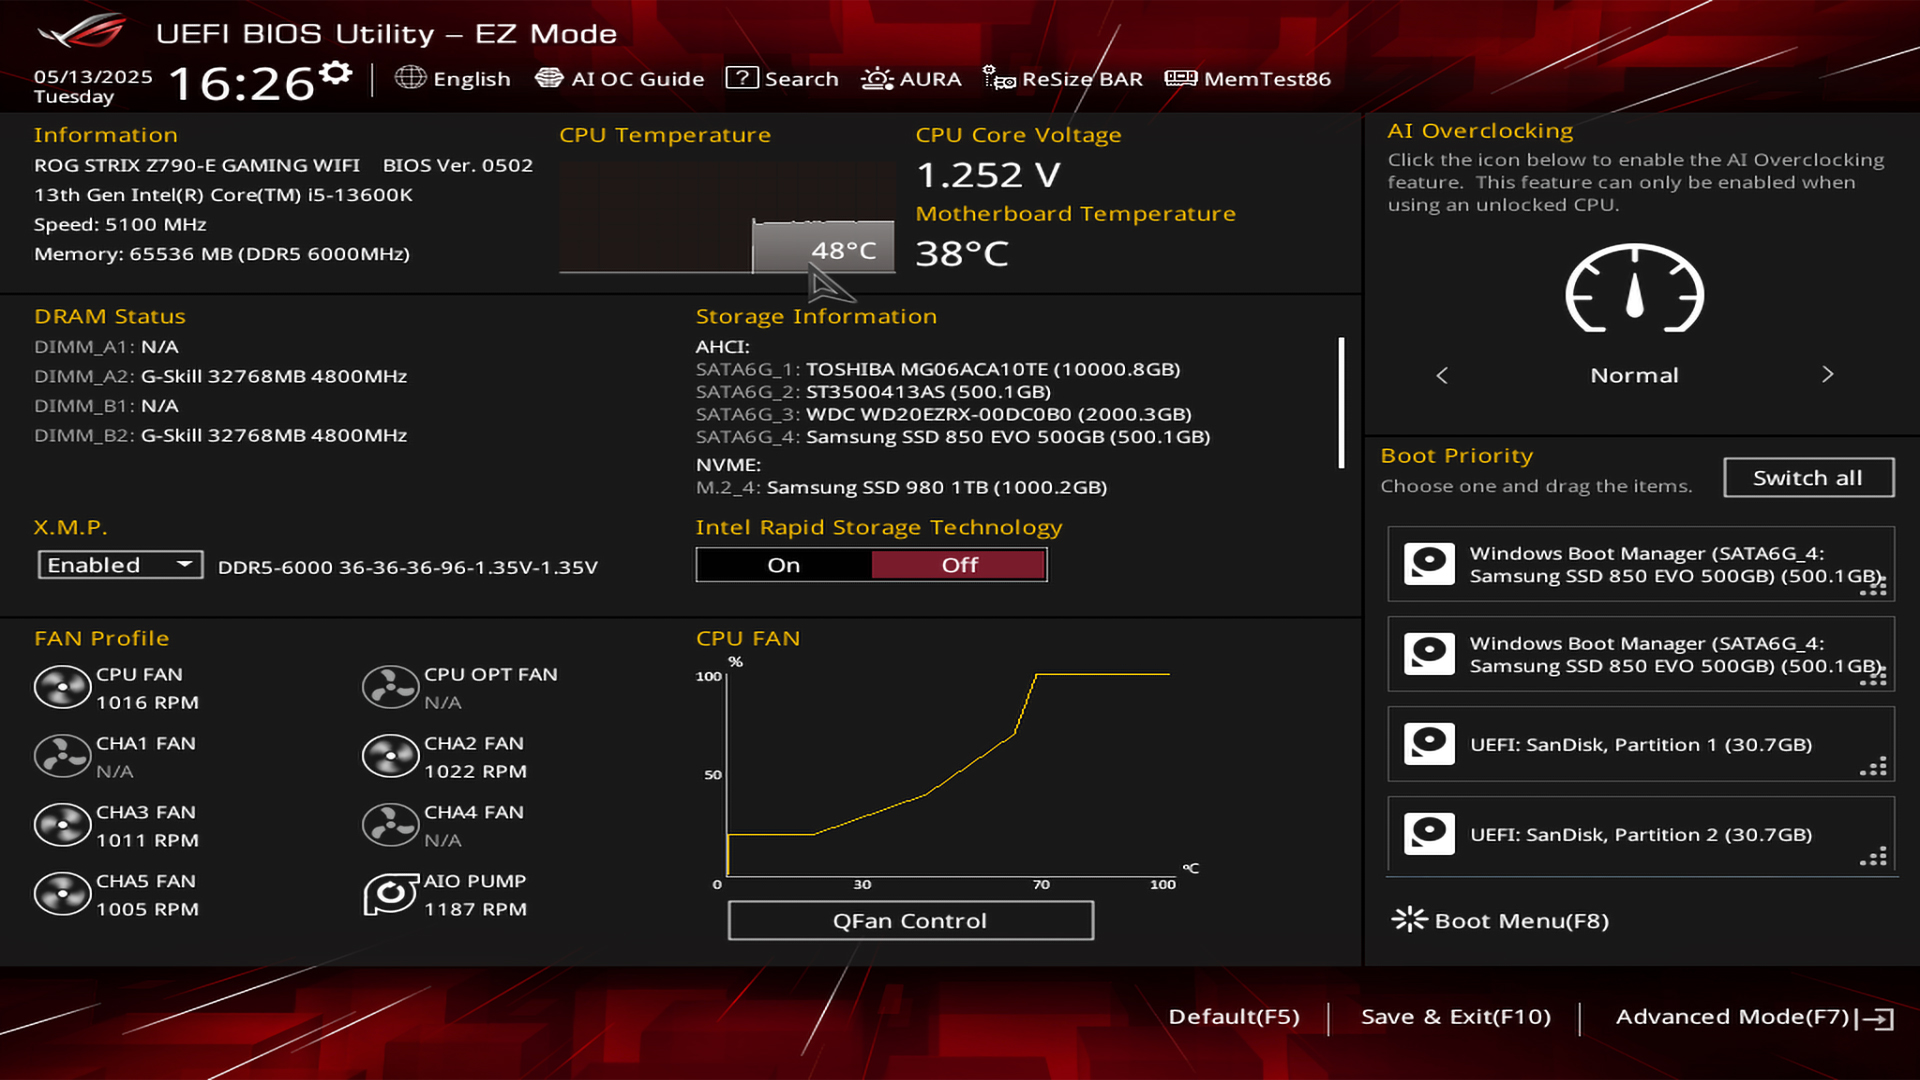
- Disable any overclocking settings and return to default/optimized settings.
- Ensure your computer has a stable power source (preferably use a UPS).
- If updating from within Windows, close all applications. This is an option for laptop and OEM users. Updating firmware from the software level is not recommended. Instead, enter the BIOS and perform the update there.
- Plan for what to do if the update fails (have recovery options, as mentioned earlier).
Remember These Critical Rules
- Never interrupt a BIOS update once started.
- For Intel systems, constantly update the Management Engine firmware before updating the BIOS.
- Be patient during the update process (can take 5-10 minutes or longer).
- Follow the exact instructions provided by your motherboard manufacturer.
Following these checks and preparation steps allows you to update your BIOS easily and avoid bricking your motherboard. Ensure that you pay close attention to your motherboard revision. With changes in motherboard revisions, vendors often change many things internally. From the outside, these may look identical and carry the exact same model name.
Looking For More Related to Tech?
We provide the latest news and “How To’s” for Tech content. Meanwhile, you can check out the following articles related to PC GPUs, CPU and GPU comparisons, mobile phones, and more:
- 5 Best Air Coolers for CPUs in 2025
- ASUS TUF Gaming F16 Release Date, Specifications, Price, and More
- iPhone 16e vs iPhone SE (3rd Gen): Which One To Buy in 2025?
- Powerbeats Pro 2 vs AirPods Pro 2: Which One To Get in 2025
- RTX 5070 Ti vs. RTX 4070 Super: Specs, Price and More Compared
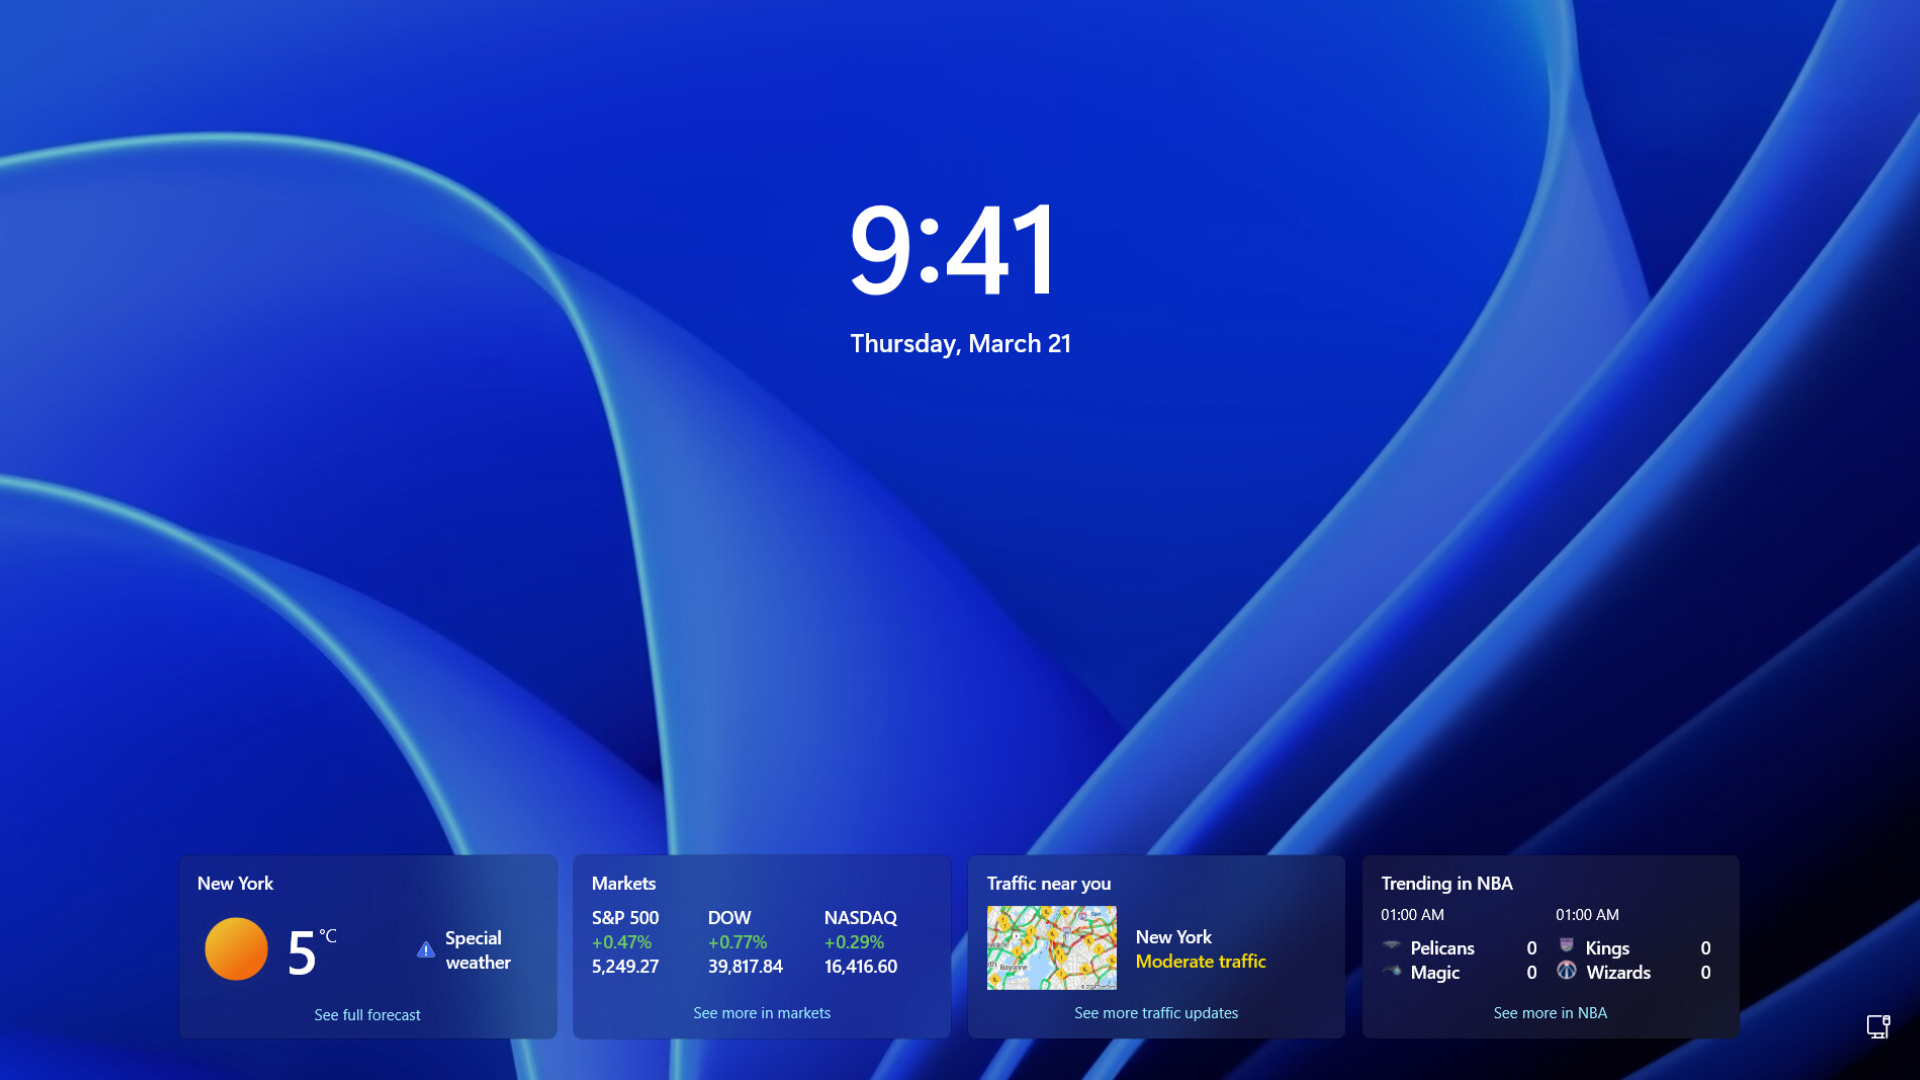
- Windows 11: How To Disable Lock Screen Widgets