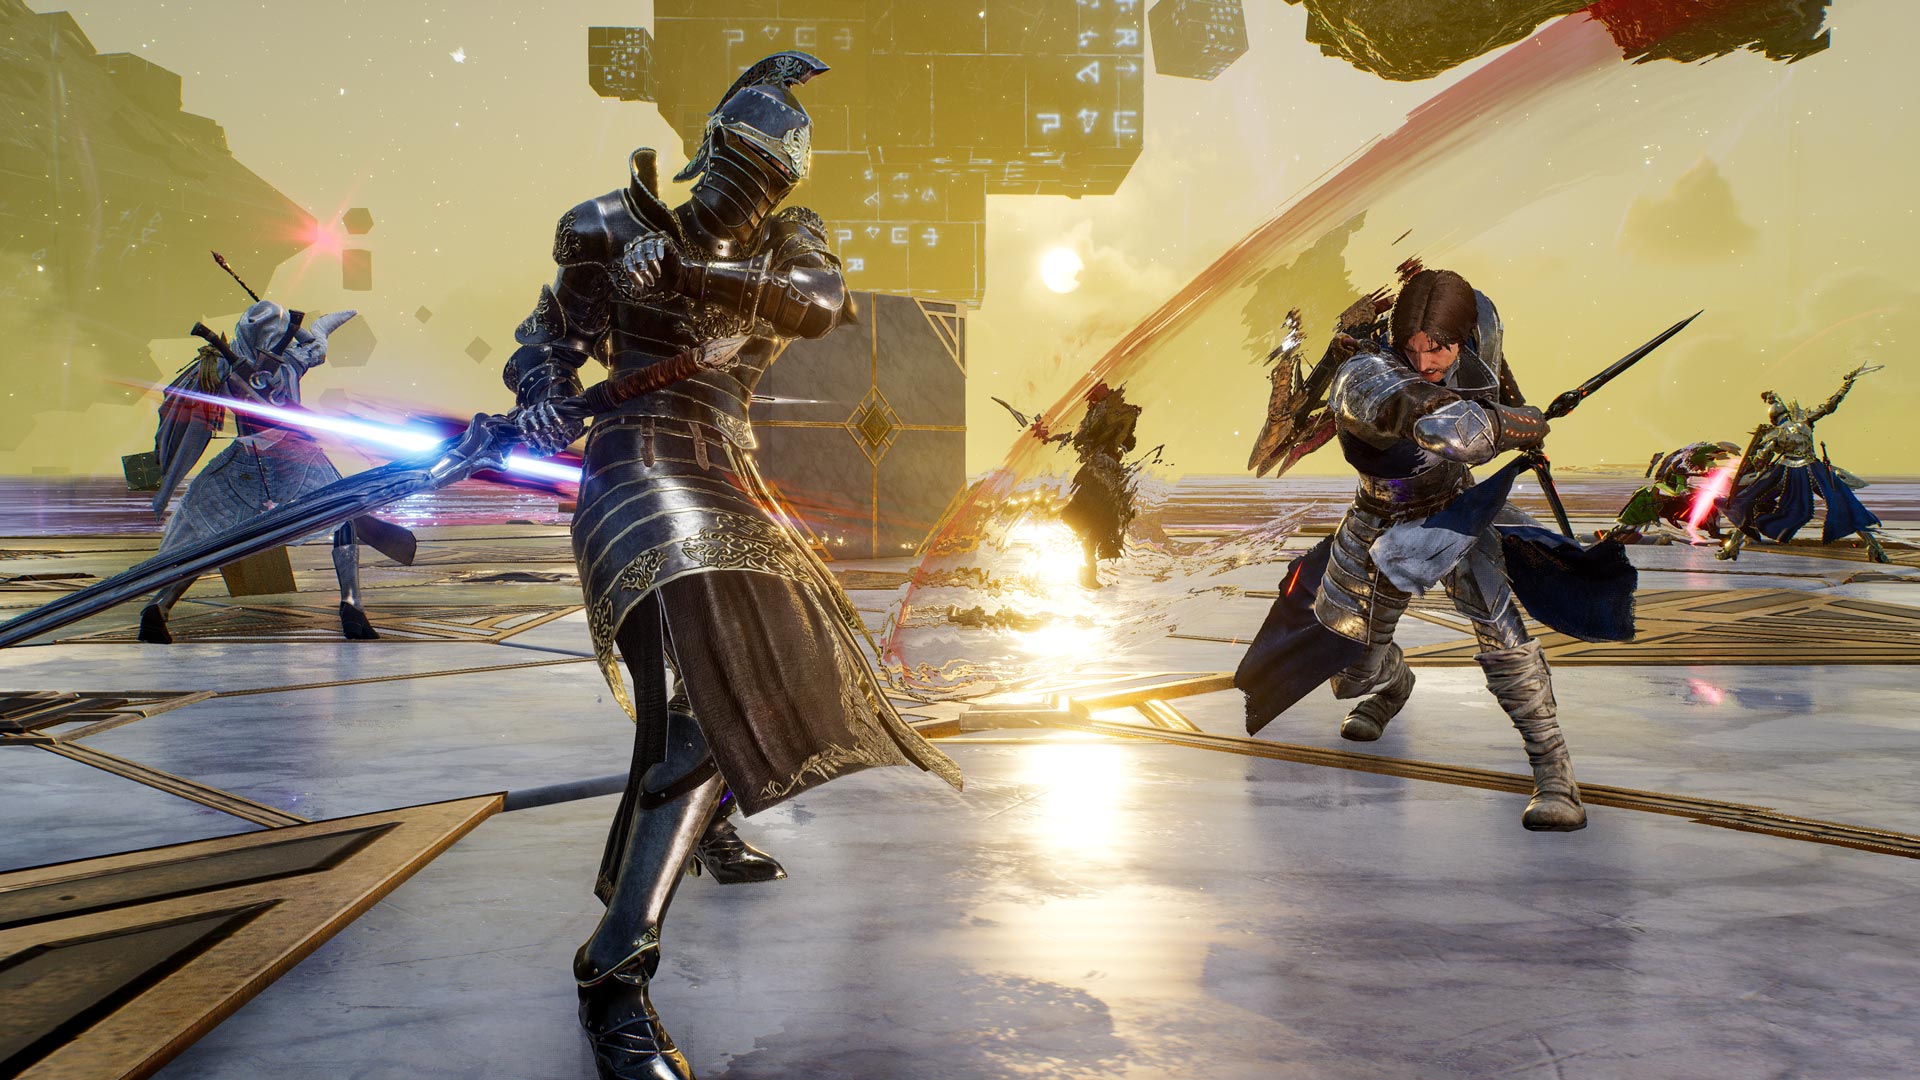
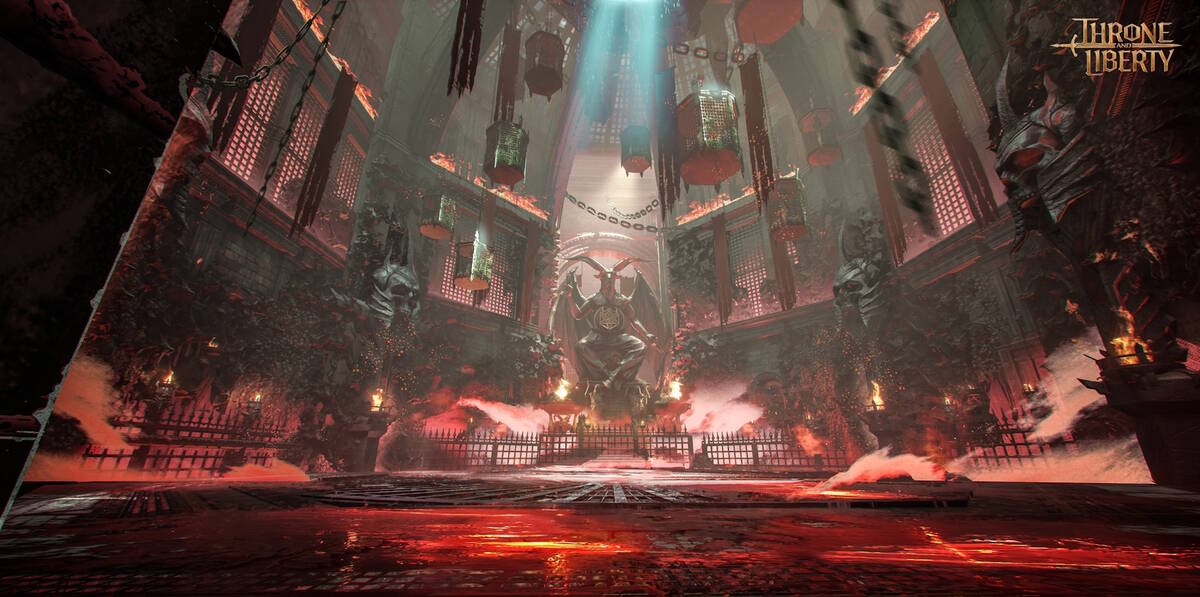
Check out this guide for tips and tricks you need to know before entering the Torture Chamber of Screams Dungeon in Throne and Liberty.

Throne and Liberty, an MMO by NCSoft, offers various challenges to the players. Dungeon quests are probably the most difficult among them. The Co-op Dungeon mode allows you and your party to face a variety of bosses with unique mechanisms. You should be aware of the attack patterns and overall mechanism of a particular Dungeon in order to complete it efficiently.
The Torture Chamber of Screams is a Tier -2 (Dimensional Circle ++ ) Dungeon. Your character should be at least at Level 50 to be able to play this Dungeon. This is also one of the lengthiest Dungeons in the game. It will take defeating two mini-bosses and completing two puzzles, to take up the final boss – Kaligras.
Related: Throne And Liberty Roaring Temple Dungeon Walkthrough
How to Complete the Torture Chamber Of Screams Dungeon in Throne and Liberty
In the Torture Chamber Of Screams Dungeon, you will face several basic mobs such as Mutated Rat, Brainwashed Zombie, Imprinted Zombie, and Decaying Test Subject. You will meet your first mini-boss after clearing the Three Brainwashed Guards. Although the Brainwashed Guards have some basic melee attacks, look out for their charging dashing attack, which would deplete your whole health bar immediately. Whenever a Brainwashed Guard says, “Crush them all!”, he follows it up with this deadly dash attack.
Once all the Three Brainwashed Guards are taken care of, proceed through the hallway to the first mini-boss chamber.
Torture Chamber Warden – First Mini-Boss
Torture Chamber Warden is your first mini-boss in this Dungeon. The boss will not pose as a huge threat as long as you steer clear from his Axe.
Torture Chamber Warden has two distinct Fury attacks up his sleeve, the one with a purple circle and the one with a purple diamond indicator. Keep your timing right as you work around the purple indicator for Fury Attacks. Moreover, keep up with his different voice lines, as each voice line is followed by an unique attack from the mini-boss.
Once defeated, the Torture Chamber Warden drops his Axe. If you pick up the Axe, you will get the Polymorph of the Torture Chamber Warden and can able to transform into the Boss. This will allow you to use some new skills, which will assist in the later part of the Dungeon.
Solving Puzzles
On your way through the dungeon, you will encounter two puzzles one after the other.
The first one is a Cell Puzzle, where you need to note down the code of four symbols written on the wall. Clear the mobs in the next section of the dungeon with several cells. The player in your team who has morphed into the Torture Chamber Warden uses a special ability to unlock the cells and see the corresponding symbols on each cell. Once opened, you need to activate the symbols in the corresponding order to the ones written on the wall. This will open the gates of the cell and allow the players to proceed to the next puzzle section.
The second puzzle is less complex than the first one. You will find three Scream Collection Devices arranged in a circular path. Kill all the mobs near the devices to fill them. Once all three devices are filled, the puzzle will be solved. Make your way to the second mini-boss.
Master Torture Technician – Second Mini-Boss
Master Torture Technician is the second mini-boss of the Dungeon. Defeating this boss is not that difficult. Dealing constant DPS will do the trick. However, you need to be careful with one mechanism. During the battle, the entire arena will turn red except one spot. You need to rush to the said spot in order to avoid the spikes that shoot out. Clear all the spikes by attacking them to make your way to the boss.
Read More: Throne and Liberty Island of Terror Dungeon Guide
How to Defeat Kaligras – Torture Chamber Of Screams Dungeon Final Boss

Kaligras will be one of the toughest bosses in Throne and Liberty, armed with strong attacks and various mechanism.
Vials of Blood
There are five Vials of Blood located at the end of the arena. You must monitor the Vials on a regular basis. Your entire party attempting this Dungeon will be wiped if all five Vials become either empty or full. The Vials start filling up during several attacks from the boss, but you can drain them.
Basic Attacks
The boss uses several basic attacks along with some Fury Attacks. You can avoid the Fury Attacks by timing properly around the purple circle or diamond indicator. You need to press dodge or move along with the block option to counter the Fury Attacks.
Phase 1
The boss goes on with basic attacks for some time. Then he launches an array of arrows that track the location of your entire party and drop over them. These arrows deal heavy damage, so be wary of them.
Afterward, the boss targets three random players in your party with a red marker. These players are met with a red shockwave. If you are marked, make sure not to be close to other players, as the boss launches consecutive shockwaves.
Phase 2 – Blood Swirl
Here comes a huge threat to the players, the blood swirl mechanism. During this attack, Kaligras launches a red circle of blood swirls on all players. It drains your health points drastically and fills up three Vials. Assigning the Stalwart Bastion skill with at least level 4 for the Tank is the key to survival in this battle. It reduces the incoming damage. The healer plays a big role during this attack by healing everyone. It is also recommended that you and your party should have at least 200 Skill Damage Resistance to prevent the huge damage intake. You can also rely on healing portions to survive this phase.
Phase 3 – Charging Dash
The boss marks any random player in the party and teleports them to the other end of the arena. The movement of that player gets restricted as well. The boss then charges toward the player with full power.
Teamwork plays a huge role in overcoming this attack. If you did not fall prey to this mechanism, act quickly and place yourself along with your teammates in between Kaligras and the affected player. Performing three successful blocks during the Dash attack helps free the targeted player. Once freed, you and your party should go behind the boss. At this time, the Tank should be positioned closest to the boss, as Kaligras will launch a beam toward the closest player. This act replenishes the Vial.
Phase 4 – Zombie – Smoke
Zombie-Smoke is the final phase. Once the arena fills with smoke, it indicates that this phase is about to begin. Marking pings from 1 to 5 from the center to the end of the area is recommended. During this phase, three random players are marked as targets by the zombies. An open and a closed eye icon appears over the zombie and the corresponding player. If this phase happens again later in the battle, five players will be targeted instead of three.
If you are targeted, you need to quickly head towards the Vial to reveal the number of your Zombie. Now as the number is revealed from 1 to 5, place yourself in the arena based on your Zombie number. For instance, 5 means near the Vial at the end of the arena, and 1 means near the boss at the center. If you have placed yourself correctly based on the corresponding number, you will be briefly stunned at the end of the phase. In contrast, if you are in the wrong position, a reaper will spawn and instantly kill you.
After this phase, one player remains marked throughout the rest of the battle. Their role is to monitor the Vials to make sure all five Vials neither gets full nor empty. That player from the party can interact with the Vials and drain them.
Following the mechanism throughout these phases and taking advantage of them will make clearing the Dungeon a cakewalk for you.
Looking For More About Throne and Liberty?
Thank you for reading the guide. We provide the latest news and create guides for Throne and Liberty, Enshrouded, ESO, Baldur’s Gate 3, and More. Also, watch Deltia play games on Twitch or visit his YouTube channel!
 Reddit
 Email
Email

![Getting male dinosaurs in Jurassic World Evolution 3 [Source: Frontier]](https://static.deltiasgaming.com/2025/10/MixCollage-27-Oct-2025-11-43-AM-2999.jpg)